Blog — Gab with Gaby

Gab with Gaby

An engineer's creative corner studio.

Brown girls craft

Cricut Bright Pad and Tombow Markers

Hand Lettering, Tutorial, Graphic design, Cricut, Drawing, ColorGabriela SimsComment

Hi there, it's Gaby here with a quick project that will let you work on your hand lettering without eraser marks!

Meow!

Meow!

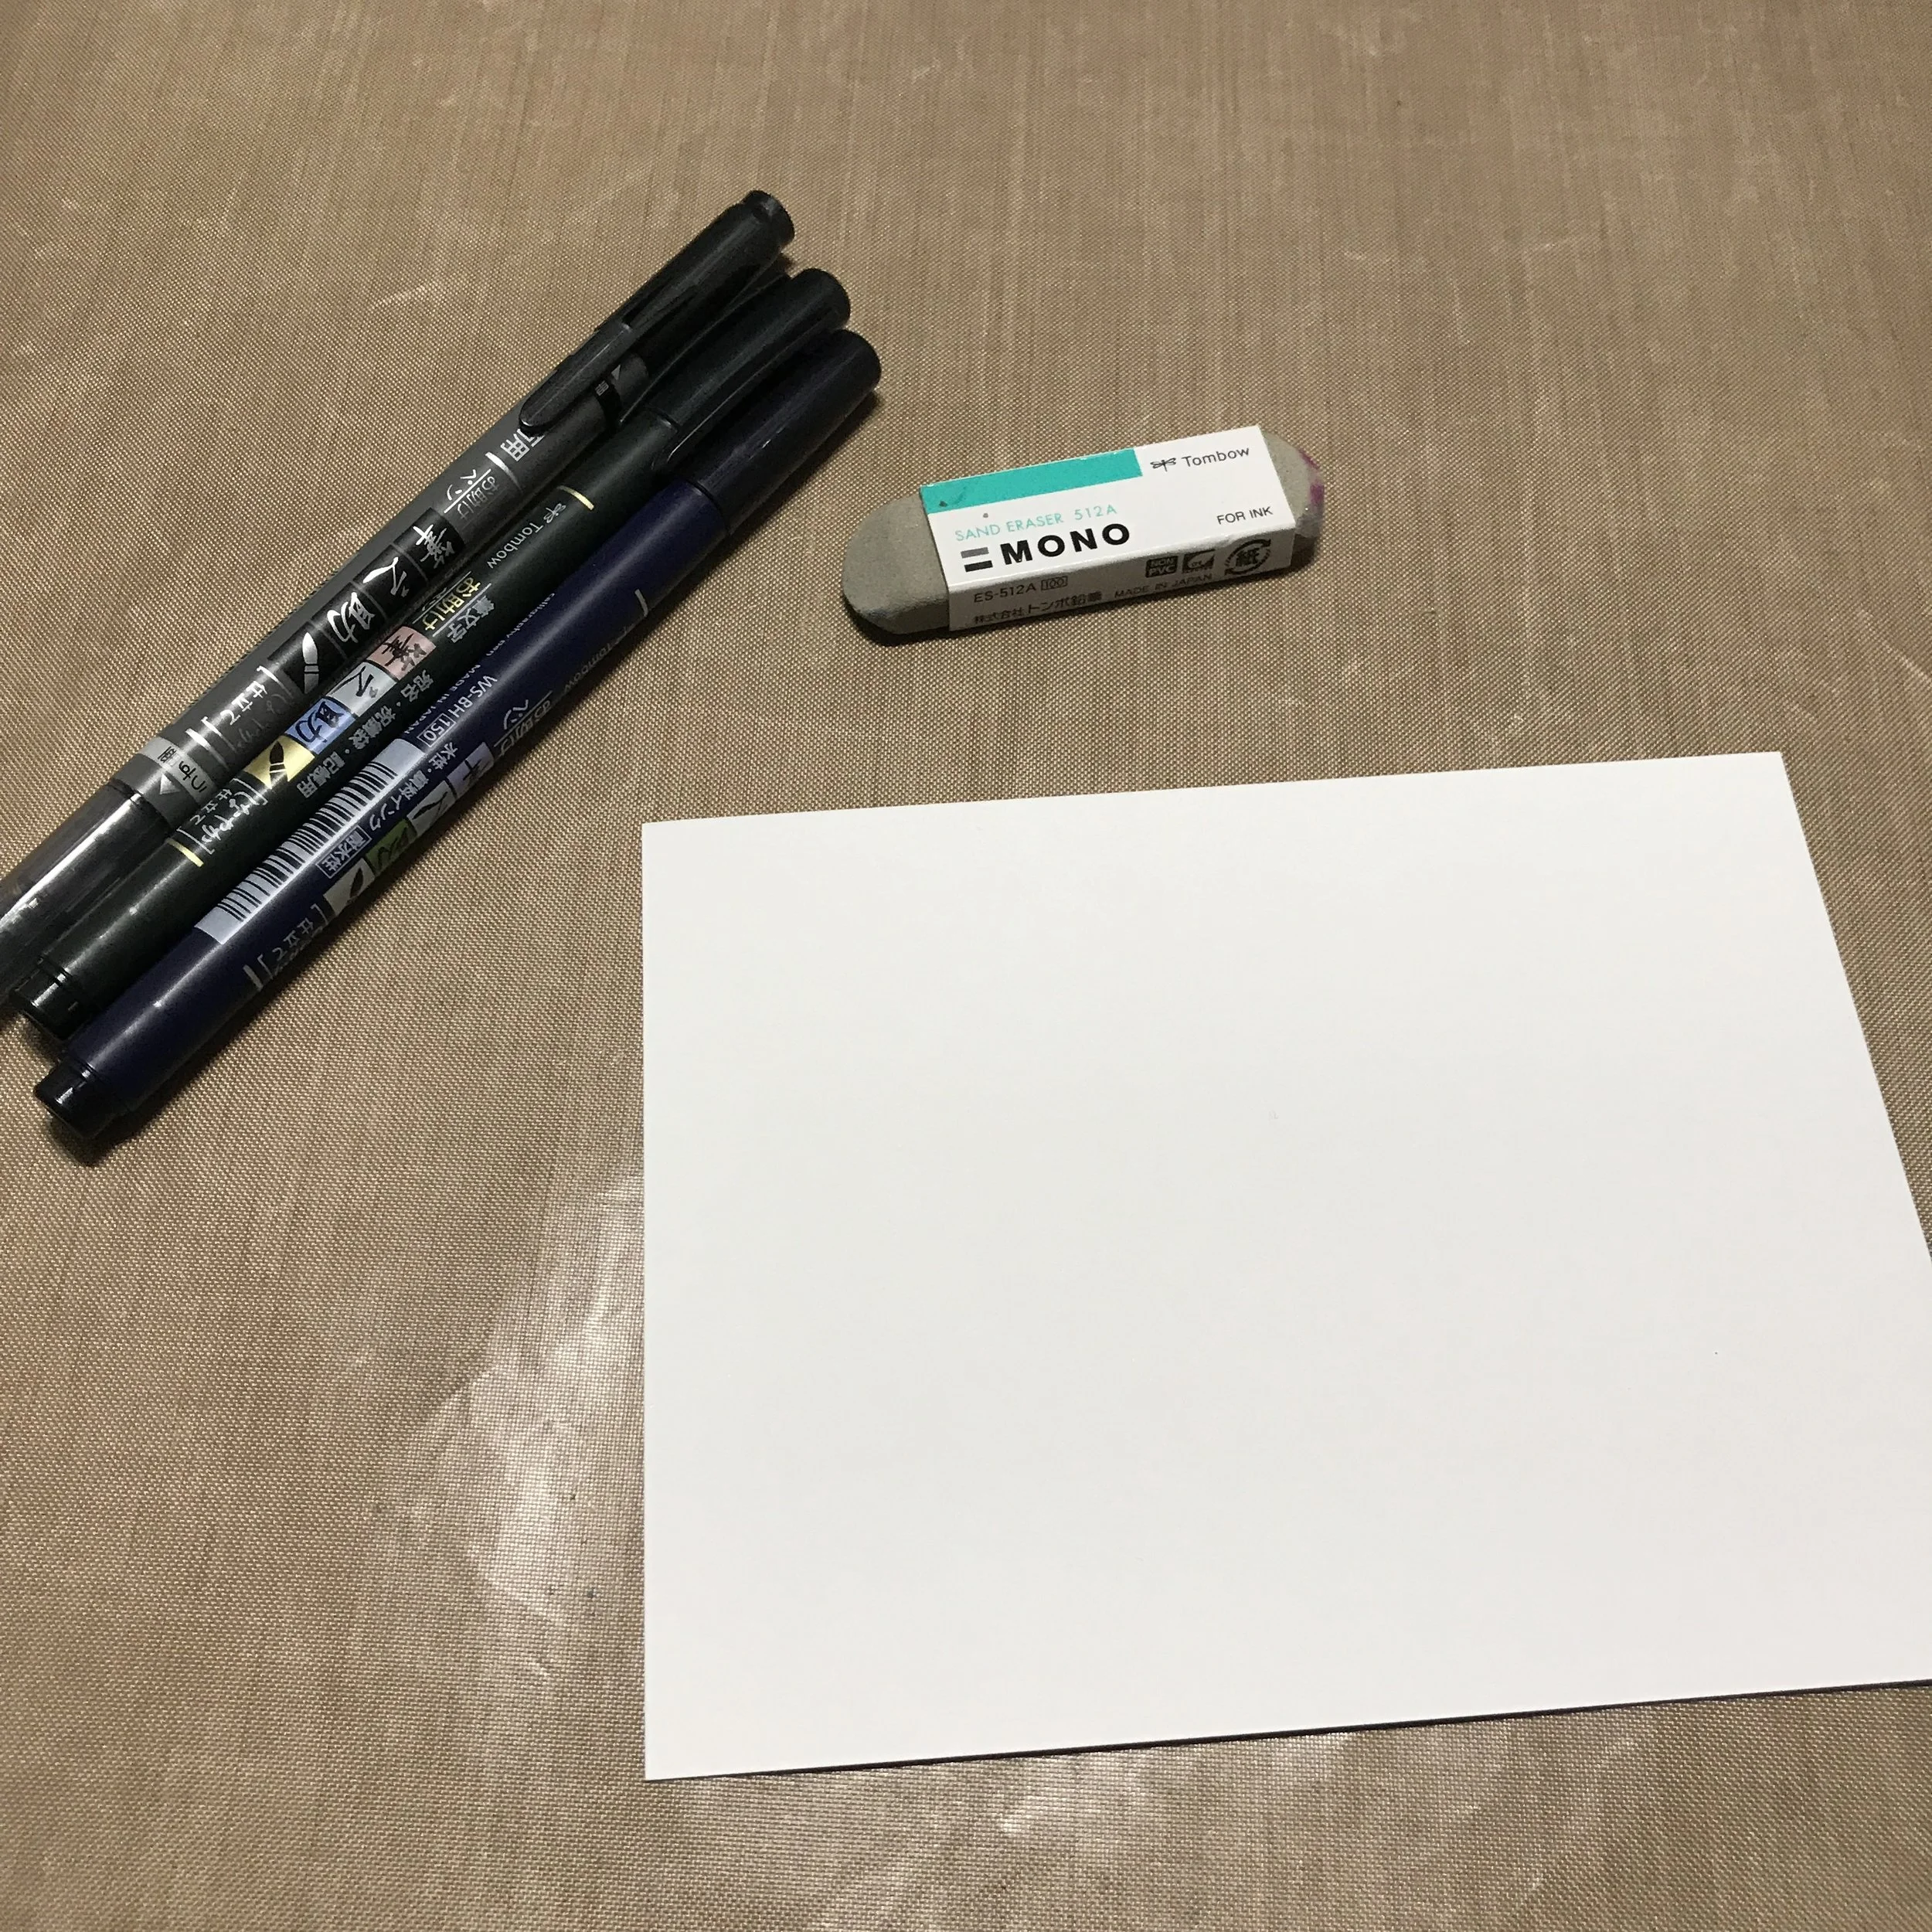
I started with some drawing paper and a few Tombow pens.

IMG_0141.JPG

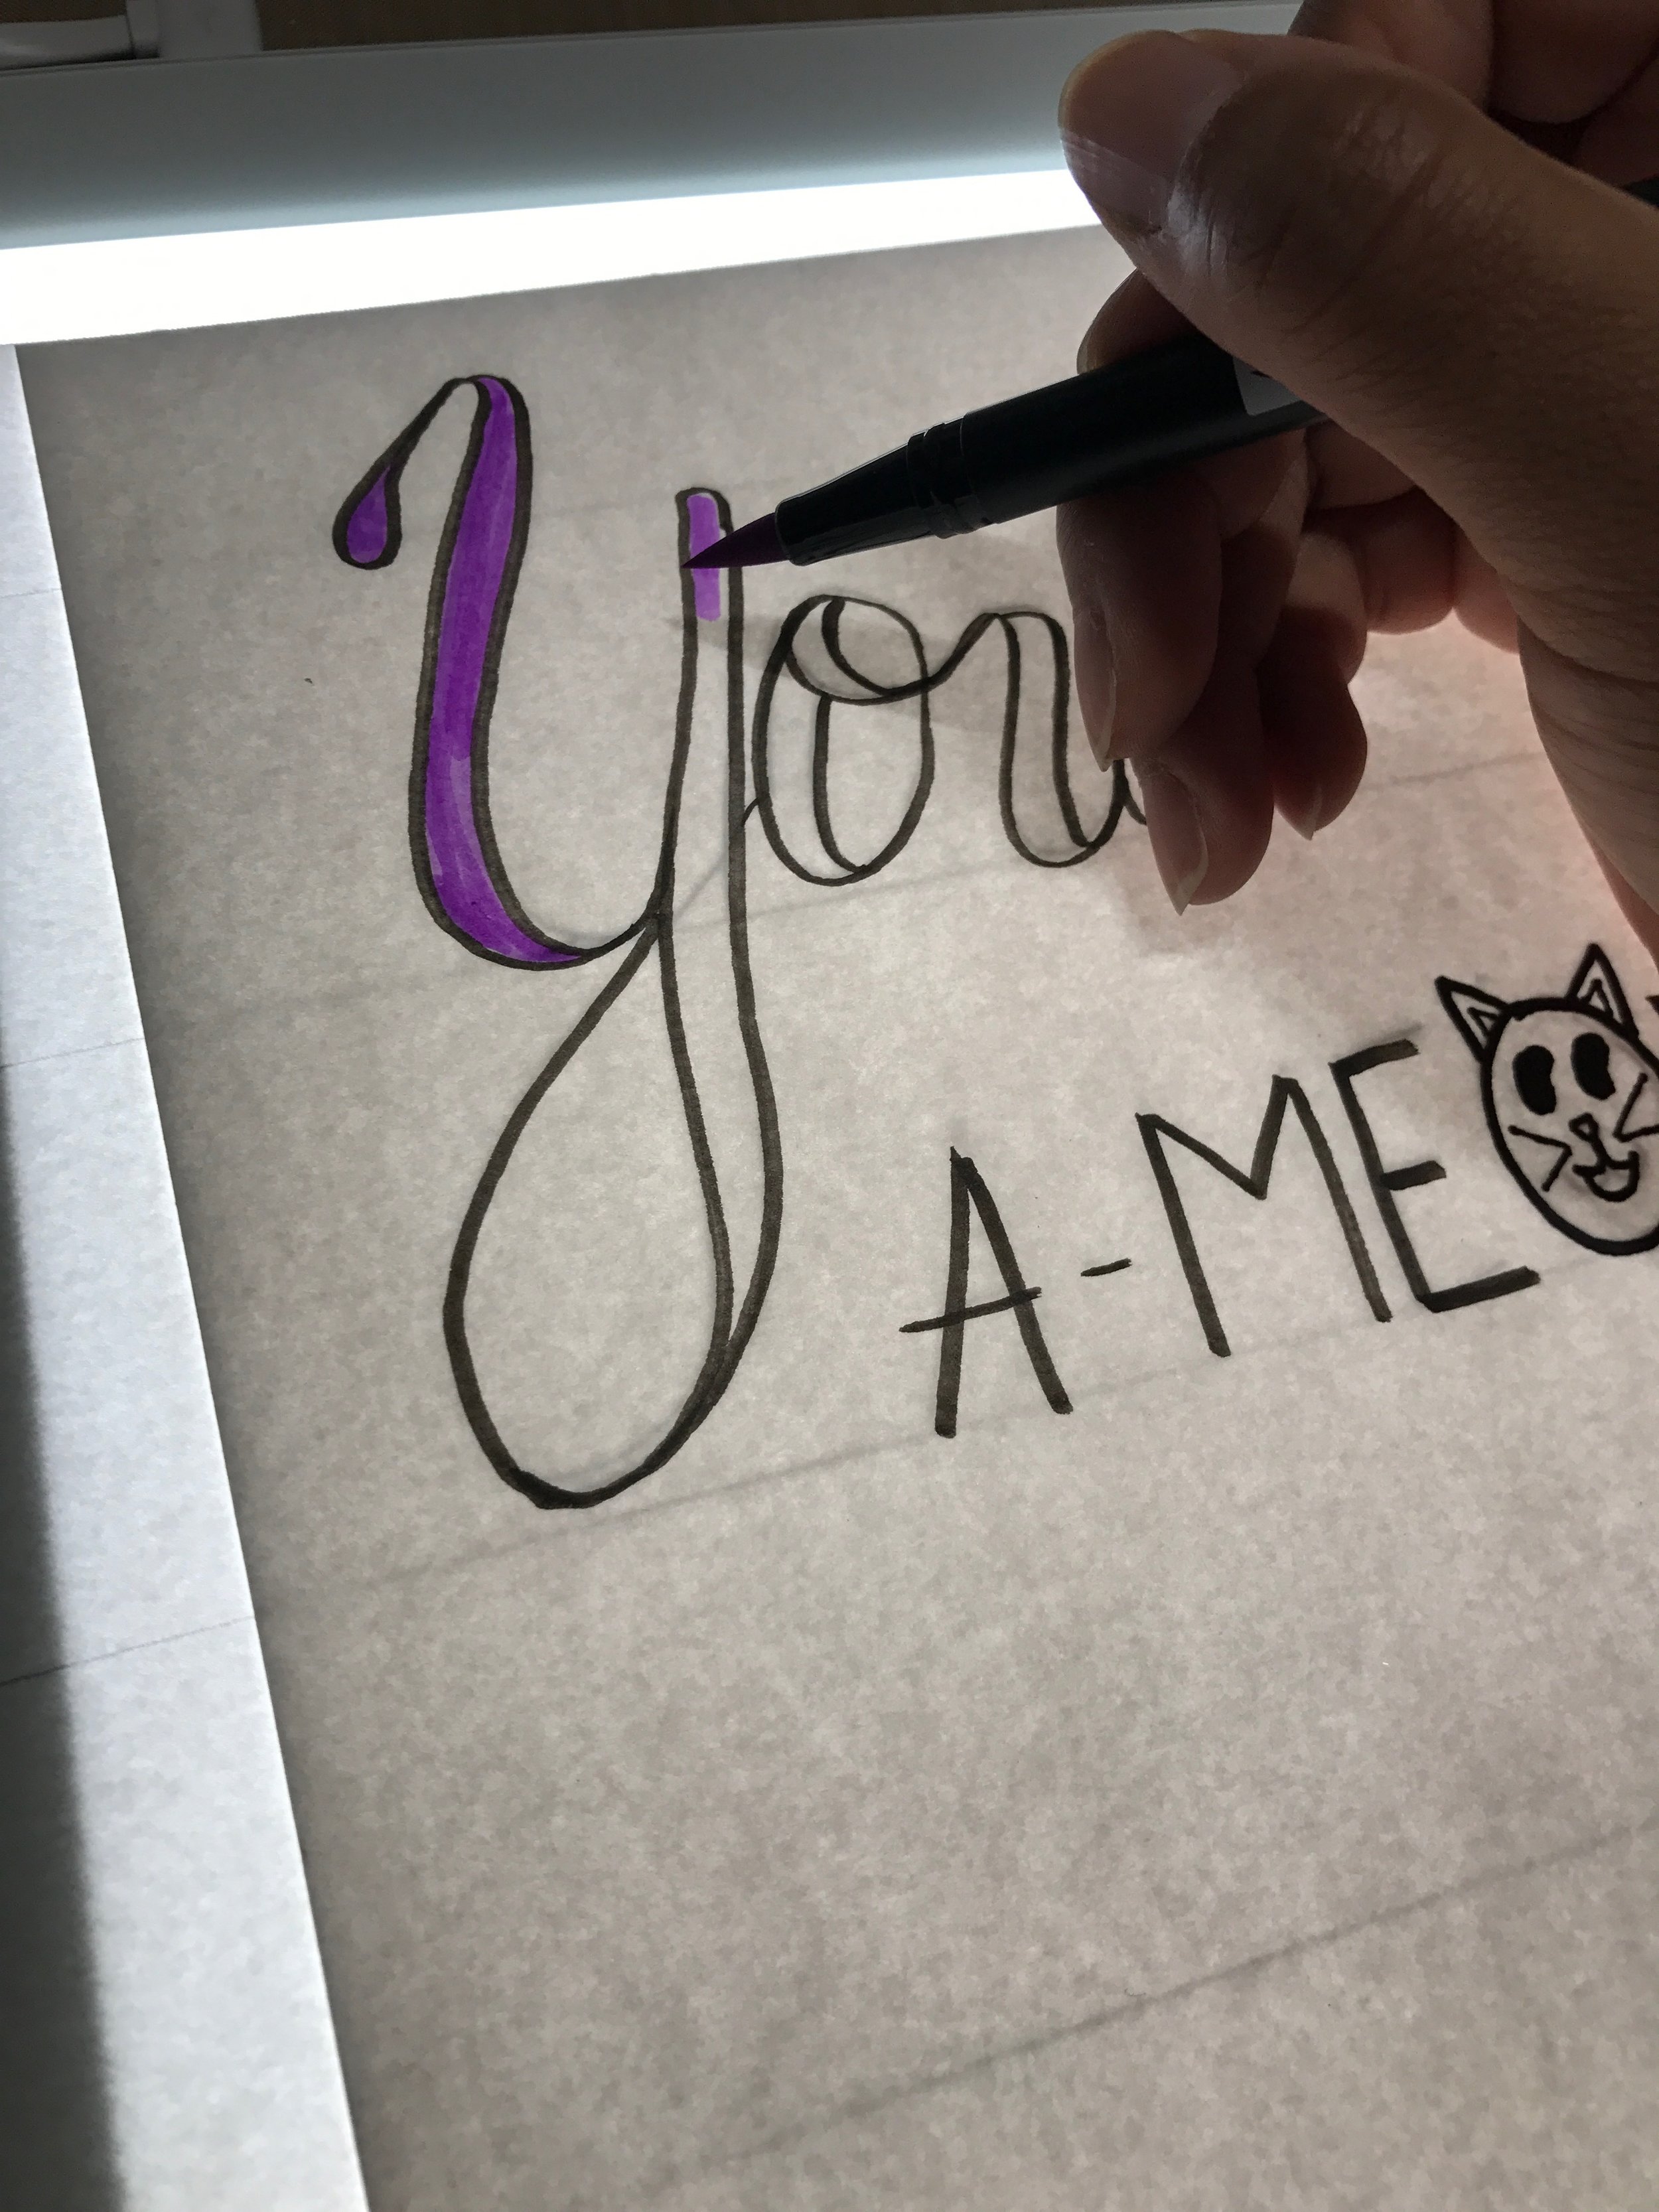
I drew my image on paper and then put it over my Bright Pad with another sheet of drawing paper on top.

IMG_0144.JPG

Then I traced the drawing and added some color!

IMG_0145.JPG
IMG_0299.JPG
IMG_4184.JPG

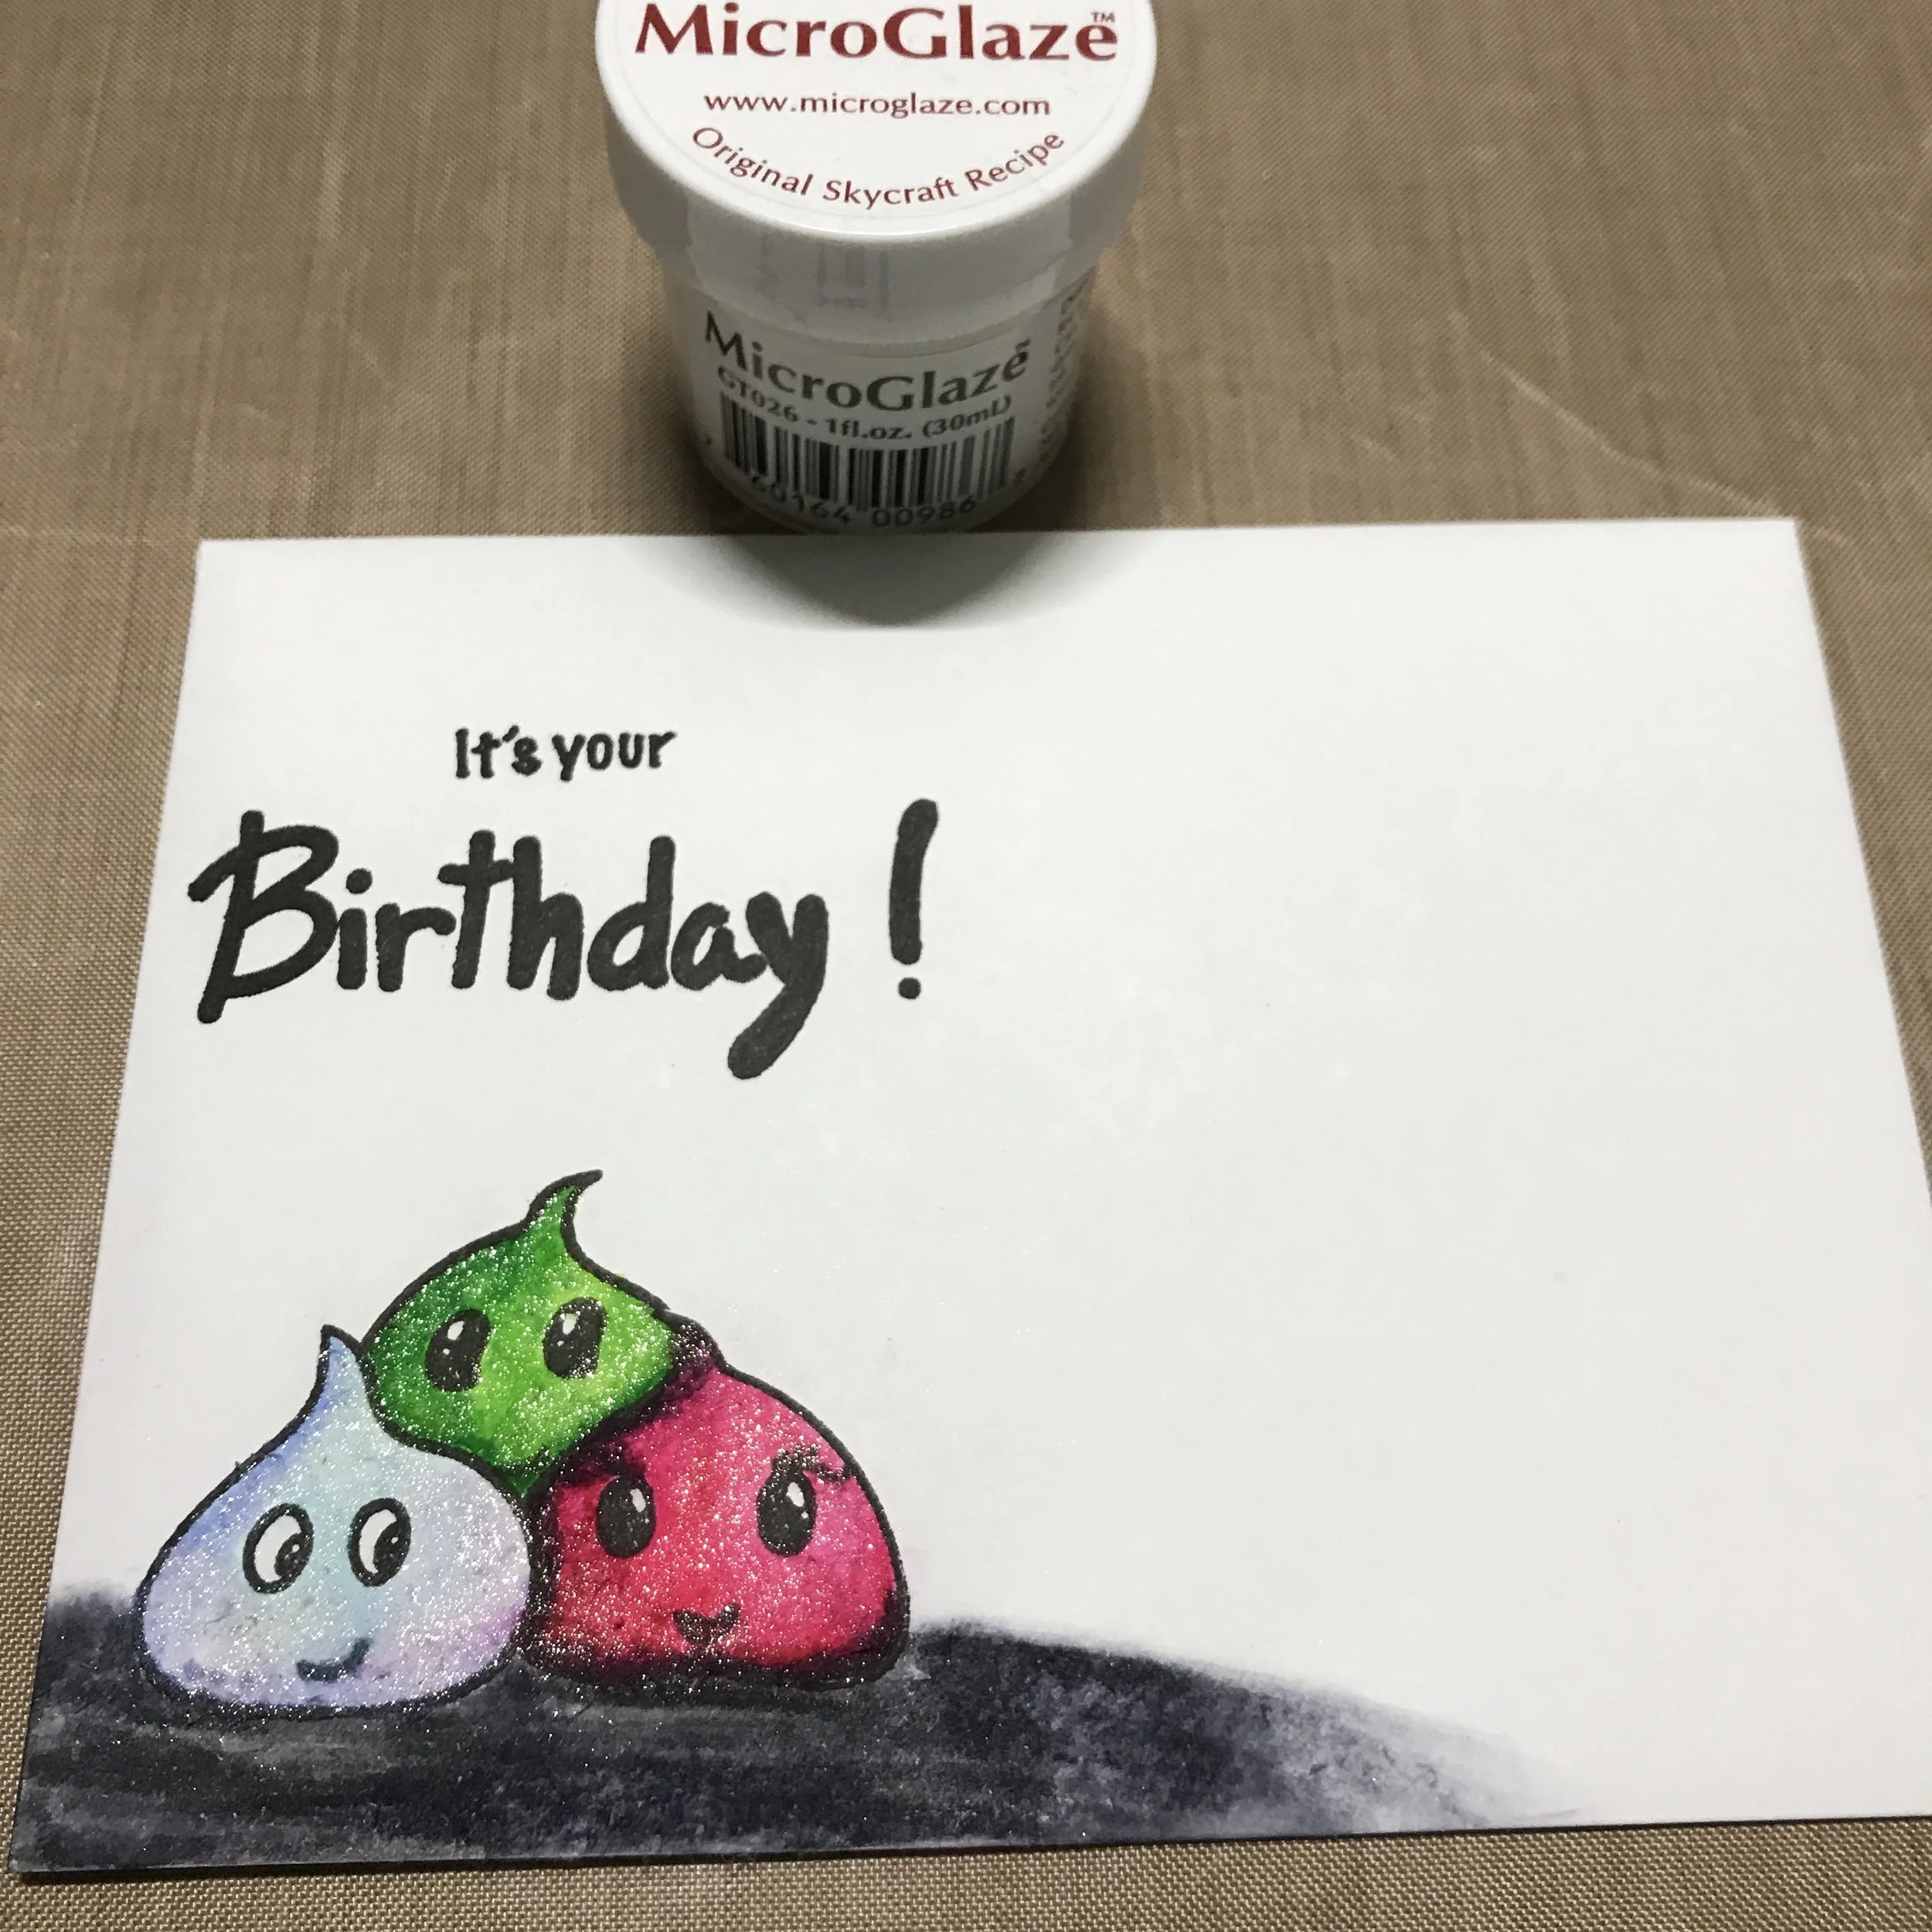
I added some details and a few more colors and it was all done!

IMG_0154.JPG

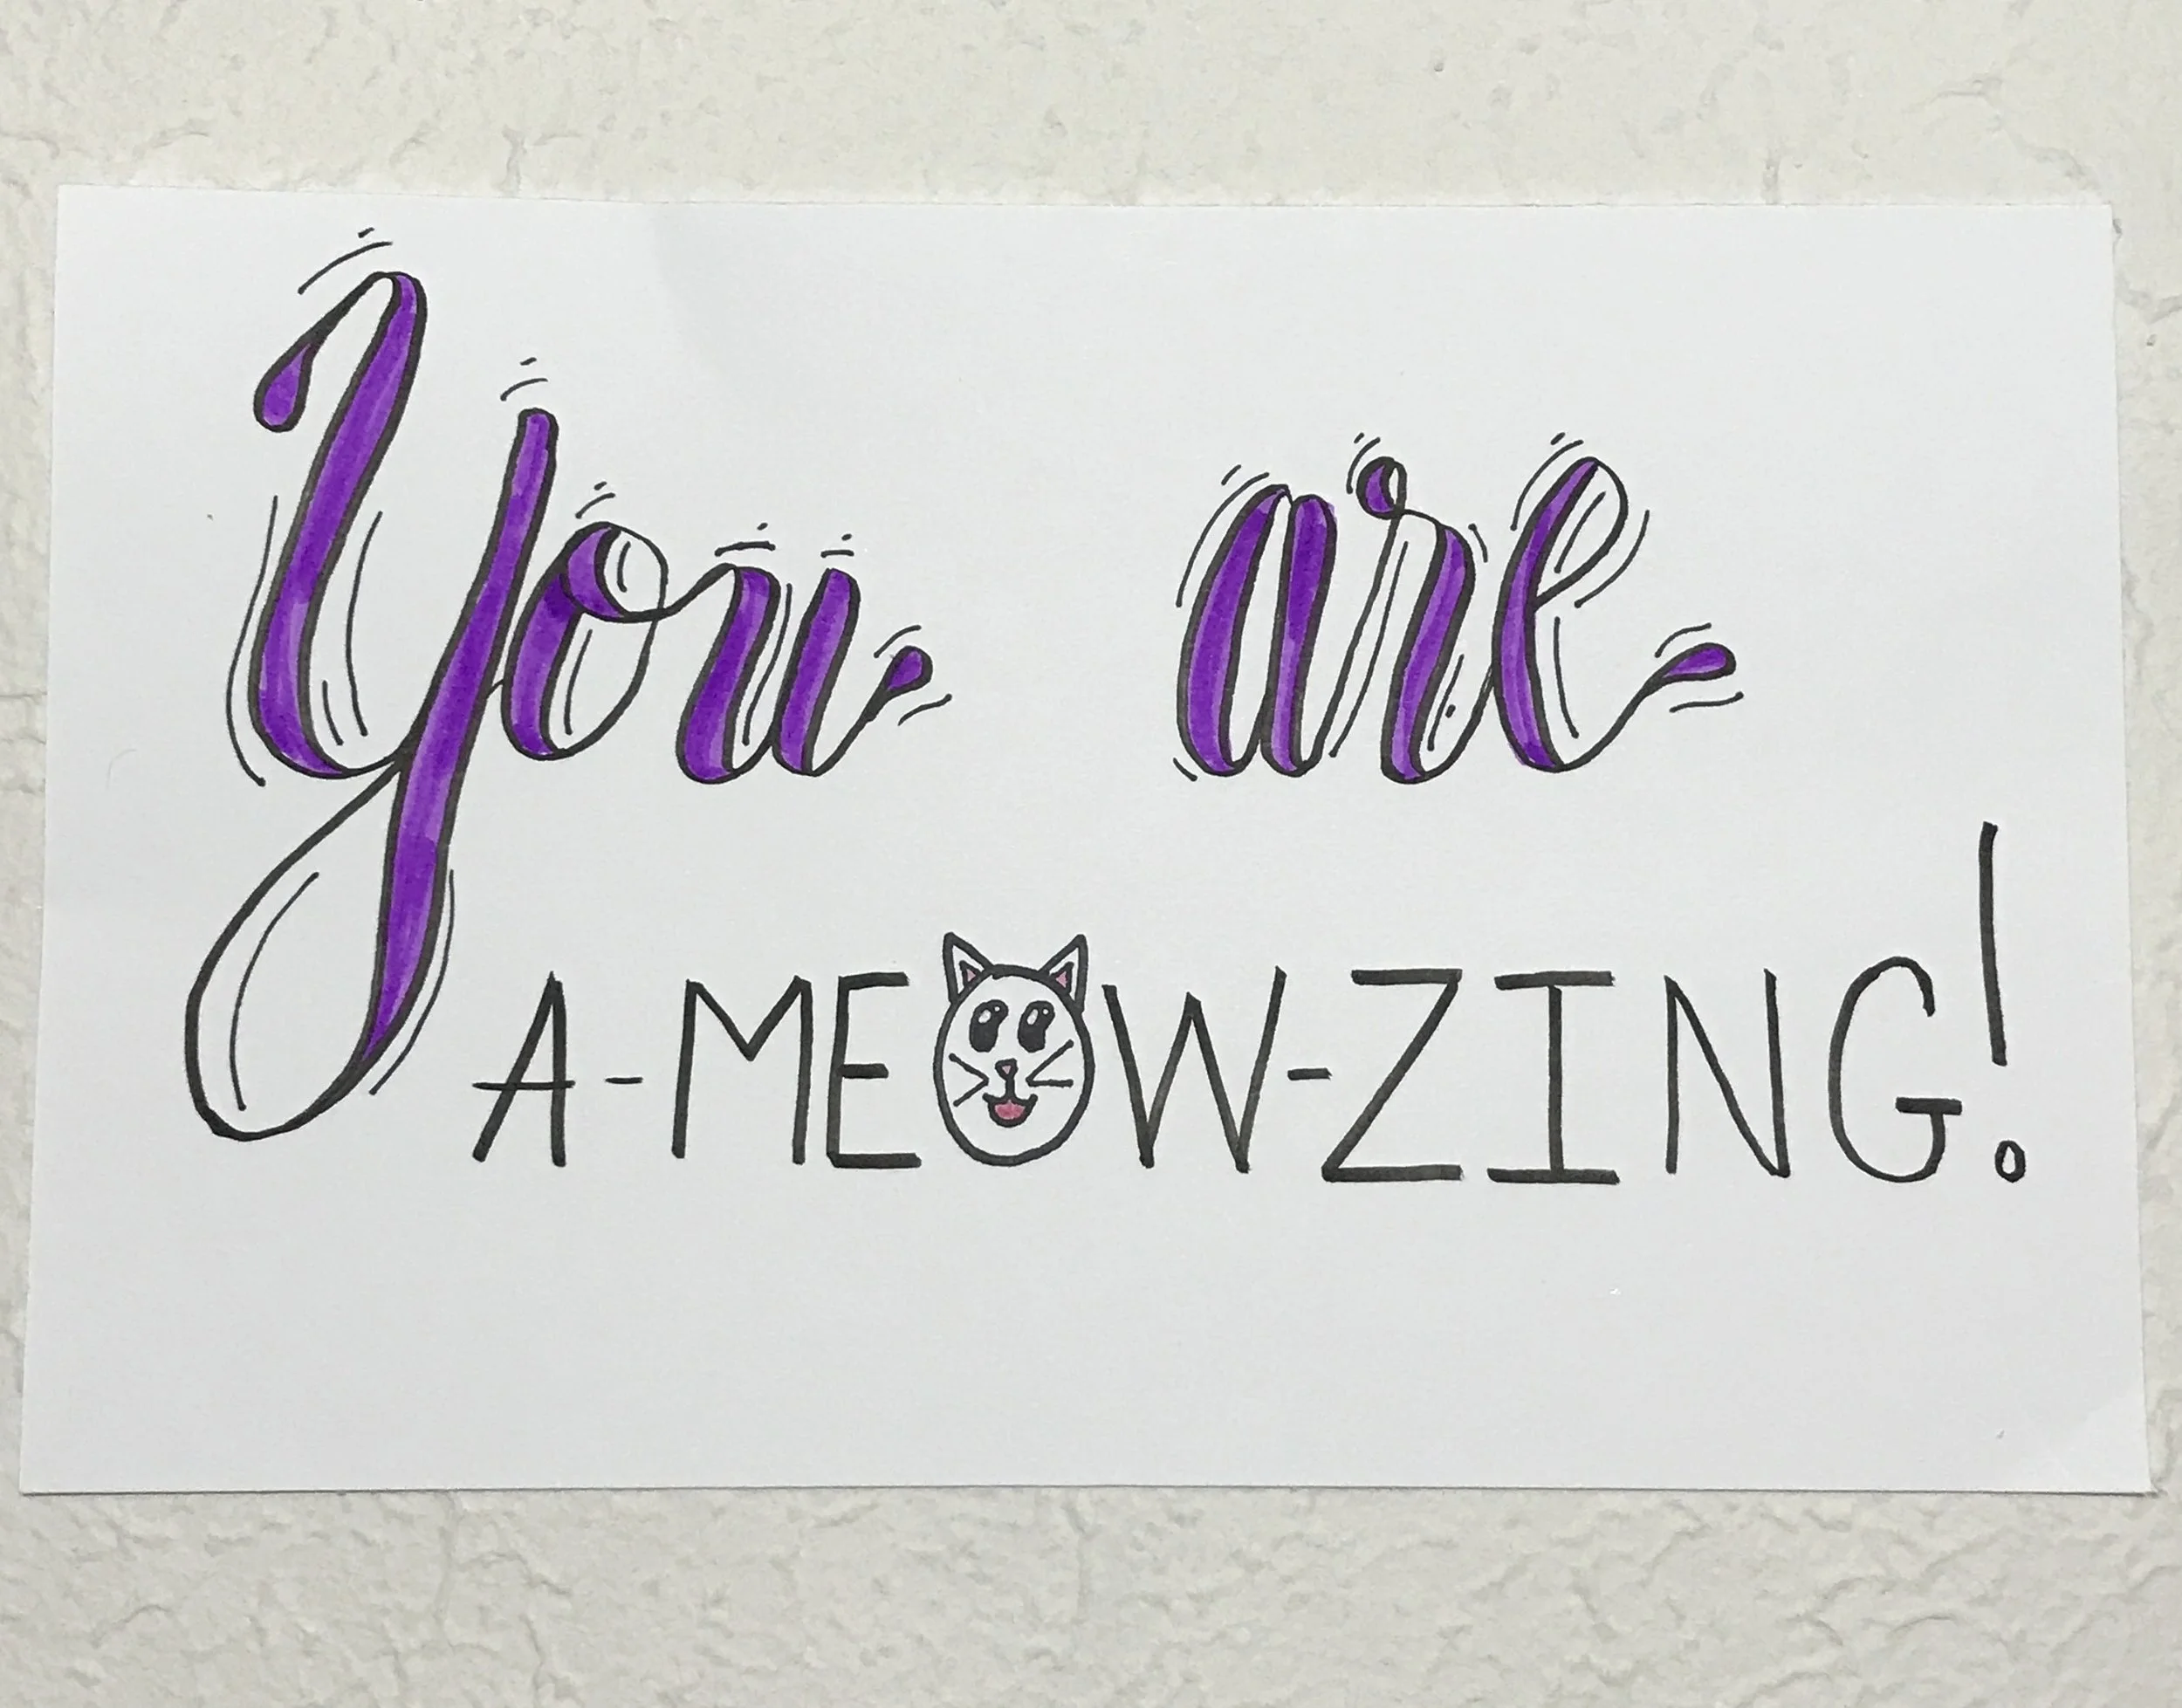
I did my tracing with a Tombow Fudenosuke and then added details with my Monotwin. This was a fun, easy project and this would be a good way to practice your hand lettering as well.  Until next time, happy crafting!

-Gaby

Decorate an Envelope

Stamping, Gab with Gaby Stamps, Paper crafting, The Gab with Gaby ShopGabriela SimsComment

Hi there, Gaby here with an idea you can use to pretty up any envelope!  I used Tombow markers for this and a Wink of Stella pen.


IMG_0158.JPG

I put a piece of card-stock in the envelope to keep any ink from seeping through the paper.


IMG_0123.JPG

I started by using the Meet The Jelly Friends stamp set and did some masking to group three of them together. I used pigment ink here so my stamped image would not bleed.


Hey guys!

Hey guys!

IMG_0129.JPG

I did my coloring here by doing the back ground first and then coloring in each stamped image.

IMG_0134.JPG

I added my Wink of Stella and then used my Monotwin to fill in the part of my sentiment that did not fully stamp.

IMG_0138.JPG

Finally, I cleaned up my image and then covered it with MicroGlaze, that way when it goes through the mail it will be water resistant.

IMG_0139.JPG

If you do use MicroGlaze, write the recipient's address and apply your postage first because the glaze is almost like a wax.  I had to glue on a stamp once because I forgot!


IMG_0158.JPG

I used the Mono Sand Eraser to clean up pills before I applied the MicroGlaze.  That's all for today, I hope you make some amazing mail art! Happy crafting.

-Gaby

Currently...

How toGabriela SimsComment

Hi there everyone! I am sooooo far behind with product reviews and tutorials it's crazy.  I have 2 card kits I need to review, a light pad, several markers, and a cutting machine. Whew! I was so focused on the craft show that I literally fell behind on everything else, except school and work. Now that the show is done, I'm slowly getting back into the groove and I will be updating again. Thank you for sticking with me, happy crafting!


-Gaby

Balloons for a Craft Show

Gab with Gaby Stamps, Balloons, Craft Shows, Crafts, DecorGabriela SimsComment

Hi everyone! Gaby here with some real talk about balloon decor. First let me start by saying I have never done balloon art or balloon sculptures in my life...until last Sunday. I decided to add balloons to my setup for the craft show, so I started watching a few YouTube videos...and this happened!

FullSizeRender.jpg

I had so much fun making that, I made this: 


IMG_7059.JPG

And this: 


IMG_7078.JPG

And finally, this: 


IMG_7074.JPG

That was all in the span of a few days, but I really enjoyed it. I am still working out my booth decorations, but rest assured there will be balloons! Happy crafting!


-Gaby

Scatter Kindness Card

How to, Watercolor, Cards, ColoringGabriela SimsComment

Hi there, it's Gaby and today's tutorial is about making a background with markers and embossing powder. I will be showing how to make the card below; it may look complex, but it's easy to do.

This uses lots of heat embossing. 

This uses lots of heat embossing. 

I started by creating my background and used Bristol paper because I wanted to use my Tombow markers to "watercolor". The Bristol paper is cut to 4-1/4x 5-1/2. 

I love seeing all the colors! 

I love seeing all the colors! 

I used a Winnie & Walter "Kindness" stamp set and some Versamark ink to stamp multiple leaves to create my background. 

Such a unique stamp set with great sentiments. 

Such a unique stamp set with great sentiments. 

IMG_0077.JPG
IMG_0078.JPG

Then I used white embossing powder on the paper and heat set it. 


I catch the powder in a coffee filter to put it back in the jar. 

I catch the powder in a coffee filter to put it back in the jar. 

IMG_0082.JPG
IMG_0083.JPG

Next I added some color with my markers and just put them in different areas and used a water brush to blend them. 


IMG_0085.JPG
IMG_0086.JPG

Once I added a little pink and blended it all, I grabbed some metallic gold to add splatters.


I used an acrylic block as a "palette". 

I used an acrylic block as a "palette". 

Then I stamped the sentiment in gold embossing powder on vellum. 


IMG_0091.JPG

I heat set it and cut it into a banner shape. I used a Tombow glue pen to trace behind the embossing so the glue would be invisible from the front.


IMG_0094.JPG

I weight the vellum down with some acrylic blocks to let the glue dry.

IMG_0095.JPG

Finally, I taped the card front to a top folding notecard. 


FullSizeRender.jpg

That's it, you're done! I hope this post was helpful and that you have a chance to try some of these techniques. Happy crafting! 

-Gaby