Gab with Gaby

An engineer's creative corner studio.

How to

Sewing Clear Pouches (Easy)

How to, Project Ideas, Tutorial, Sewing, Diy, ReviewsGabriela SimsComment

Hi everyone! I have been doing some sewing lately to keep in line with my resolution for crafting this year and I came across this amazing pattern for making clear pouches. I was on Pinterest and found this great pattern with some great pictures and easy to follow instructions.  I was able to cut a bunch of these out and then sew them very quickly. I used ribbon for some of them, but eventually opted to just use the fabric and switch up the sewing order to assemble them faster. 

IMG_1186.JPG
IMG_1188.JPG
Zelda fabric! 

Zelda fabric! 

IMG_1201.JPG
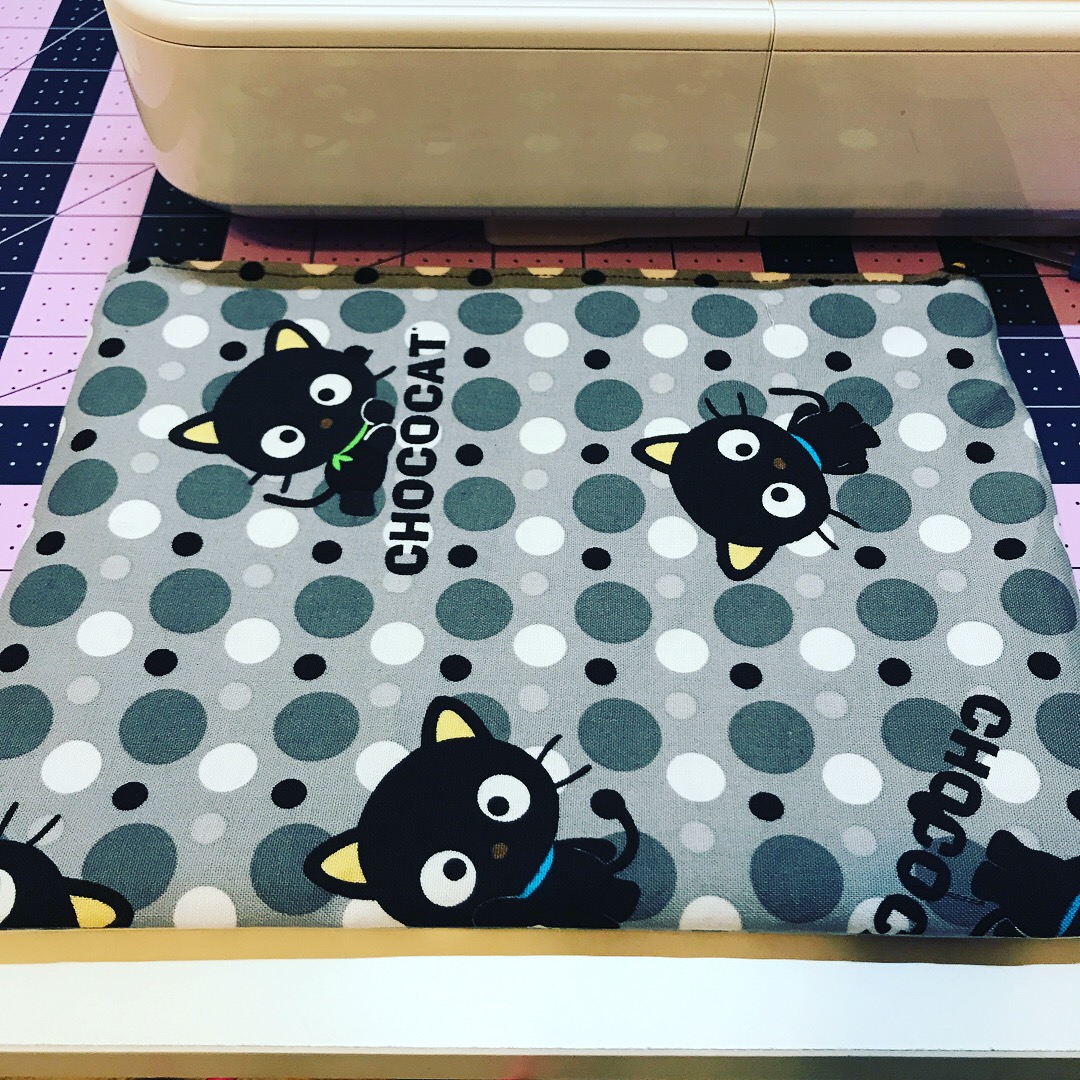
Chococat everything! 

Chococat everything! 

Hiw cute are these birds?

Hiw cute are these birds?

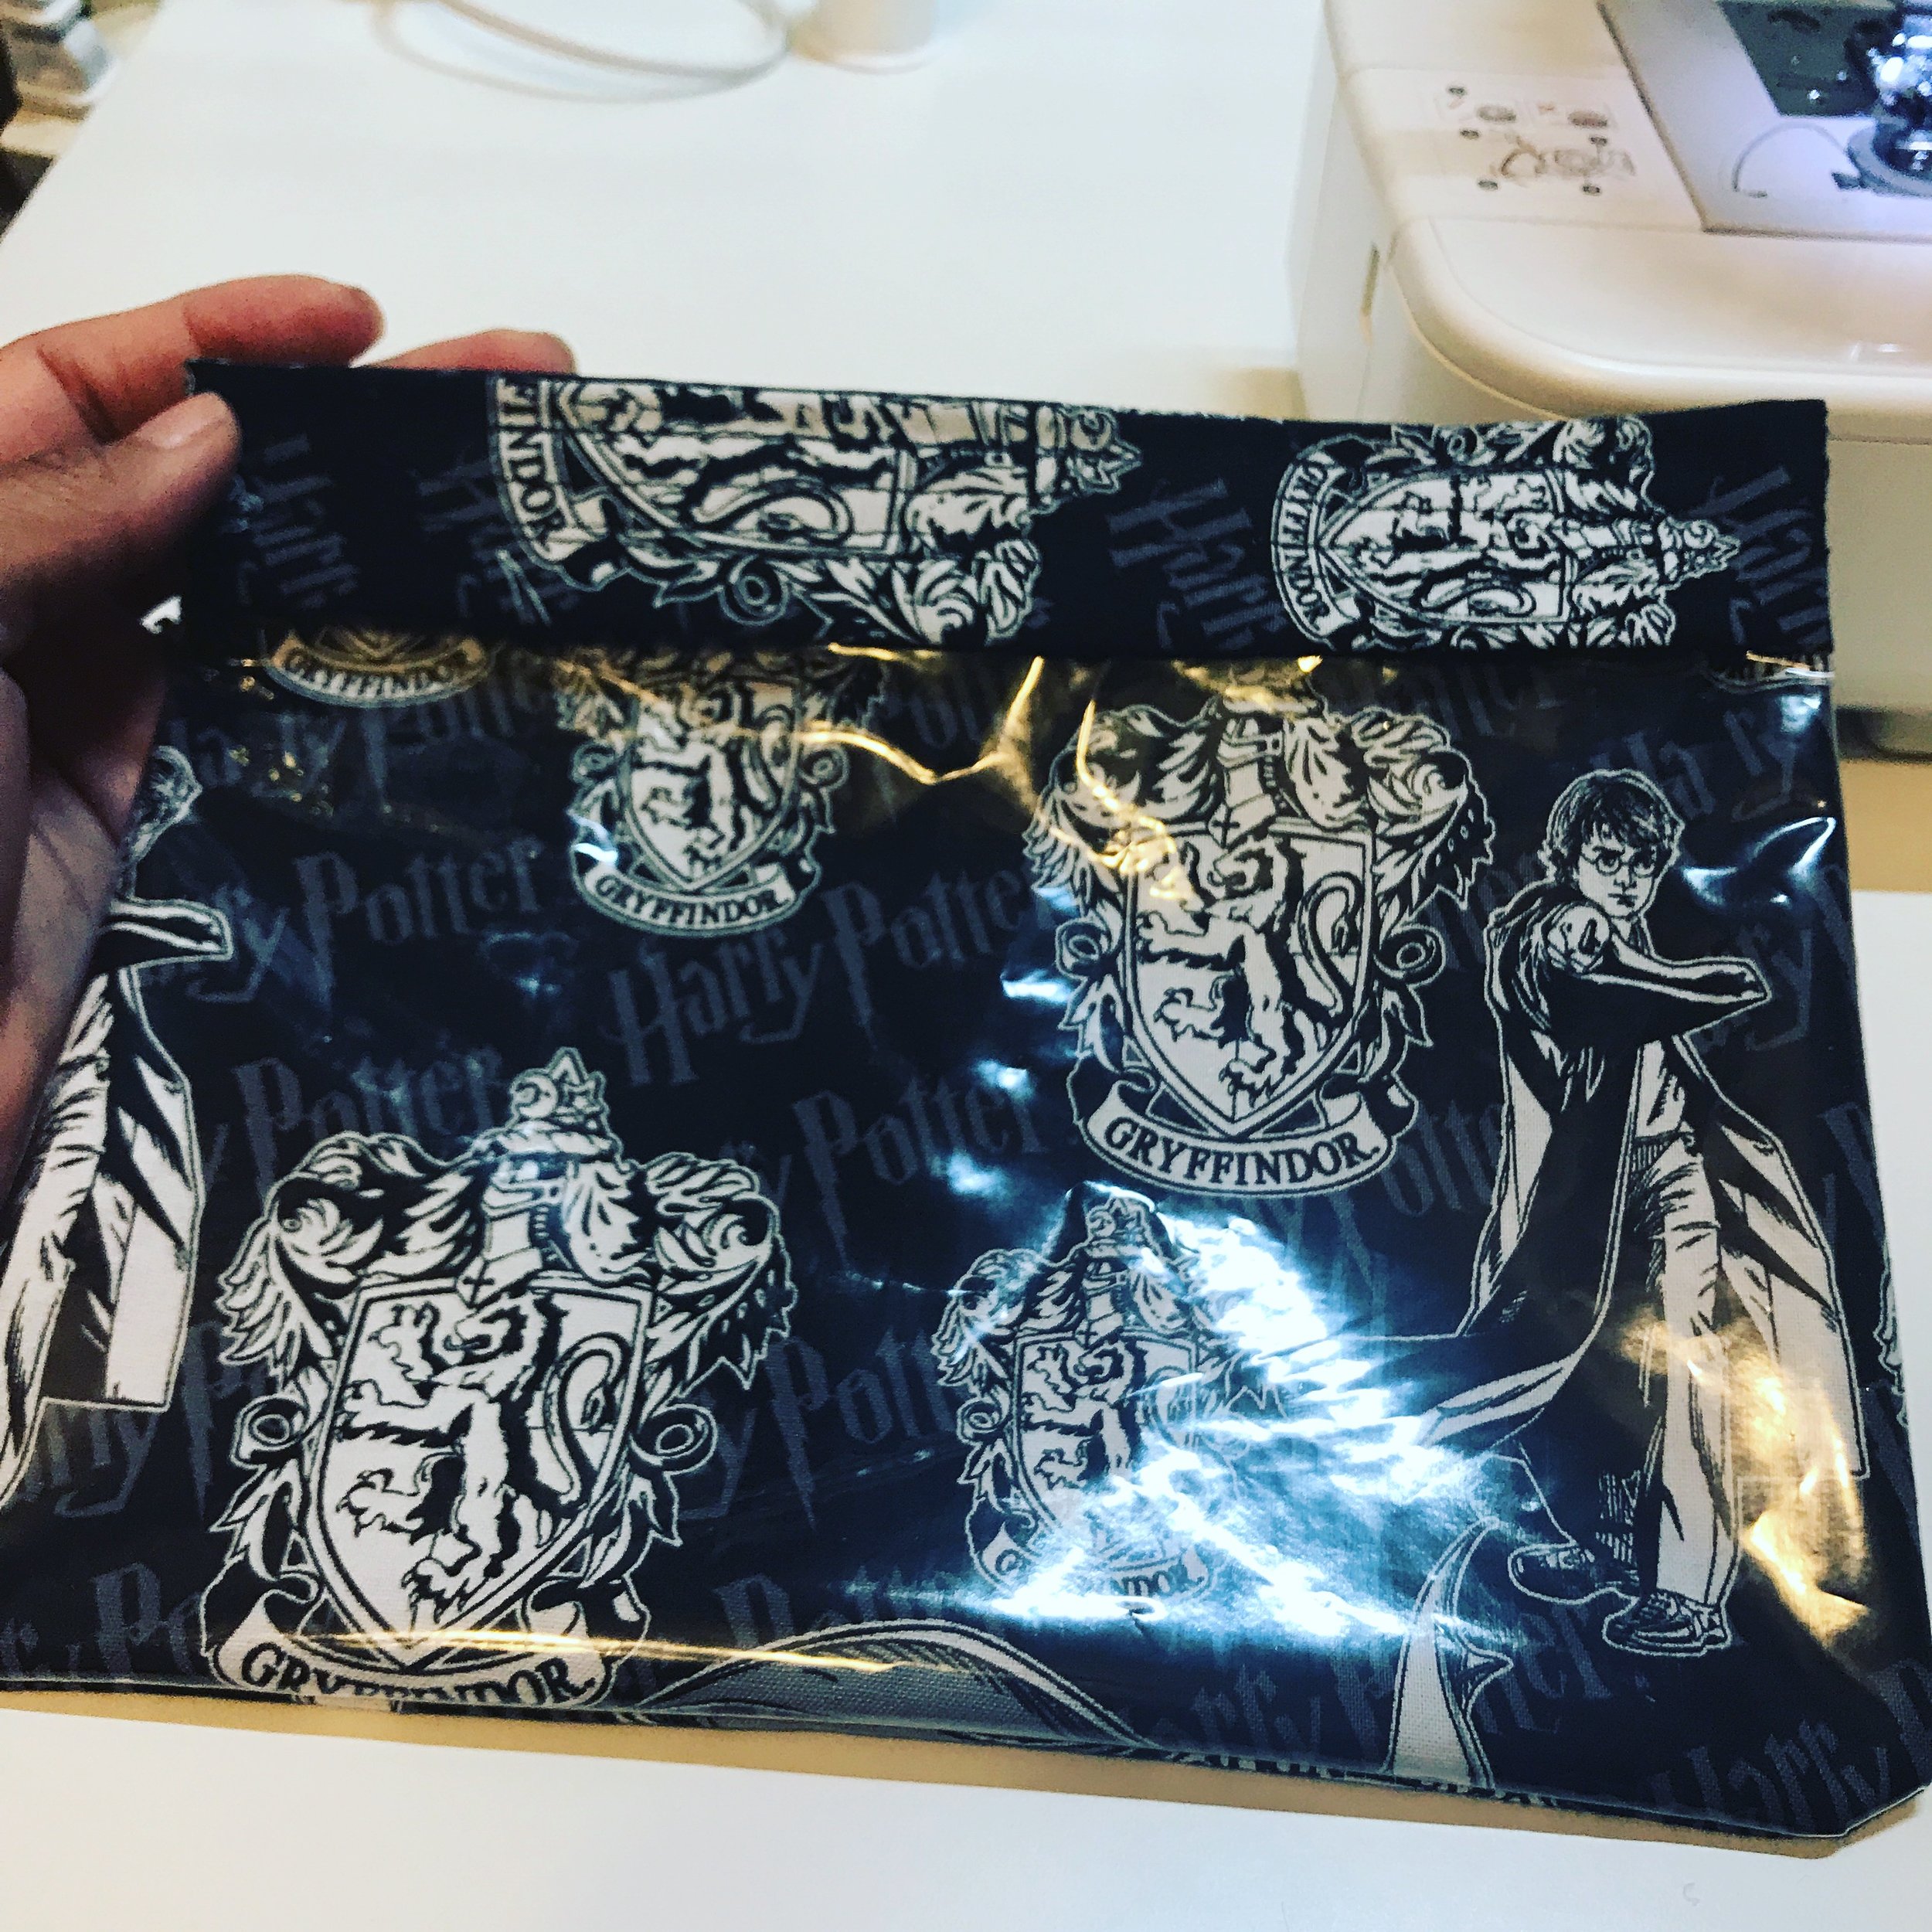
Harry Potter fabric. 

Harry Potter fabric. 

Zelda fabric again.  

Zelda fabric again.  

If you have some cute fabric that you have been wanting to use, this pattern is great because the size is perfect for a travel makeup bag, pencil case, or toiletry bag.  As you can see with the photos above, I got carried away and made several. If you are going to do any embroidery like I did, cut your fabric first and then just center the design in your hoop.

Hey Mickey! 

Hey Mickey! 

IMG_1196.JPG
These will hold brush markers and colored pencils! 

These will hold brush markers and colored pencils! 

These are easy to mass produce and a little less intimidating if you want to make bags, but you are not super confident in your zipper installation capabilities (no shame, I'm just saying). Thanks for stopping by, until next time, happy crafting.

-Gaby

Quiltologie Mini Quilt Kit Review

Quilting, Tutorial, Decor, Reviews, Crafts, Sewing, How to, DiyGabriela SimsComment

Hello there everyone! I saw these wonderful quilt kits at JoAnn and decided to try one out. They come with everything except the batting, fusible web, and thread, but if you quilt, you already have those things! The pattern has all of the cutting and piecing instructions; so you can get started right away even if you do not have any batting handy. I did my cutting all at once and then started piecing.


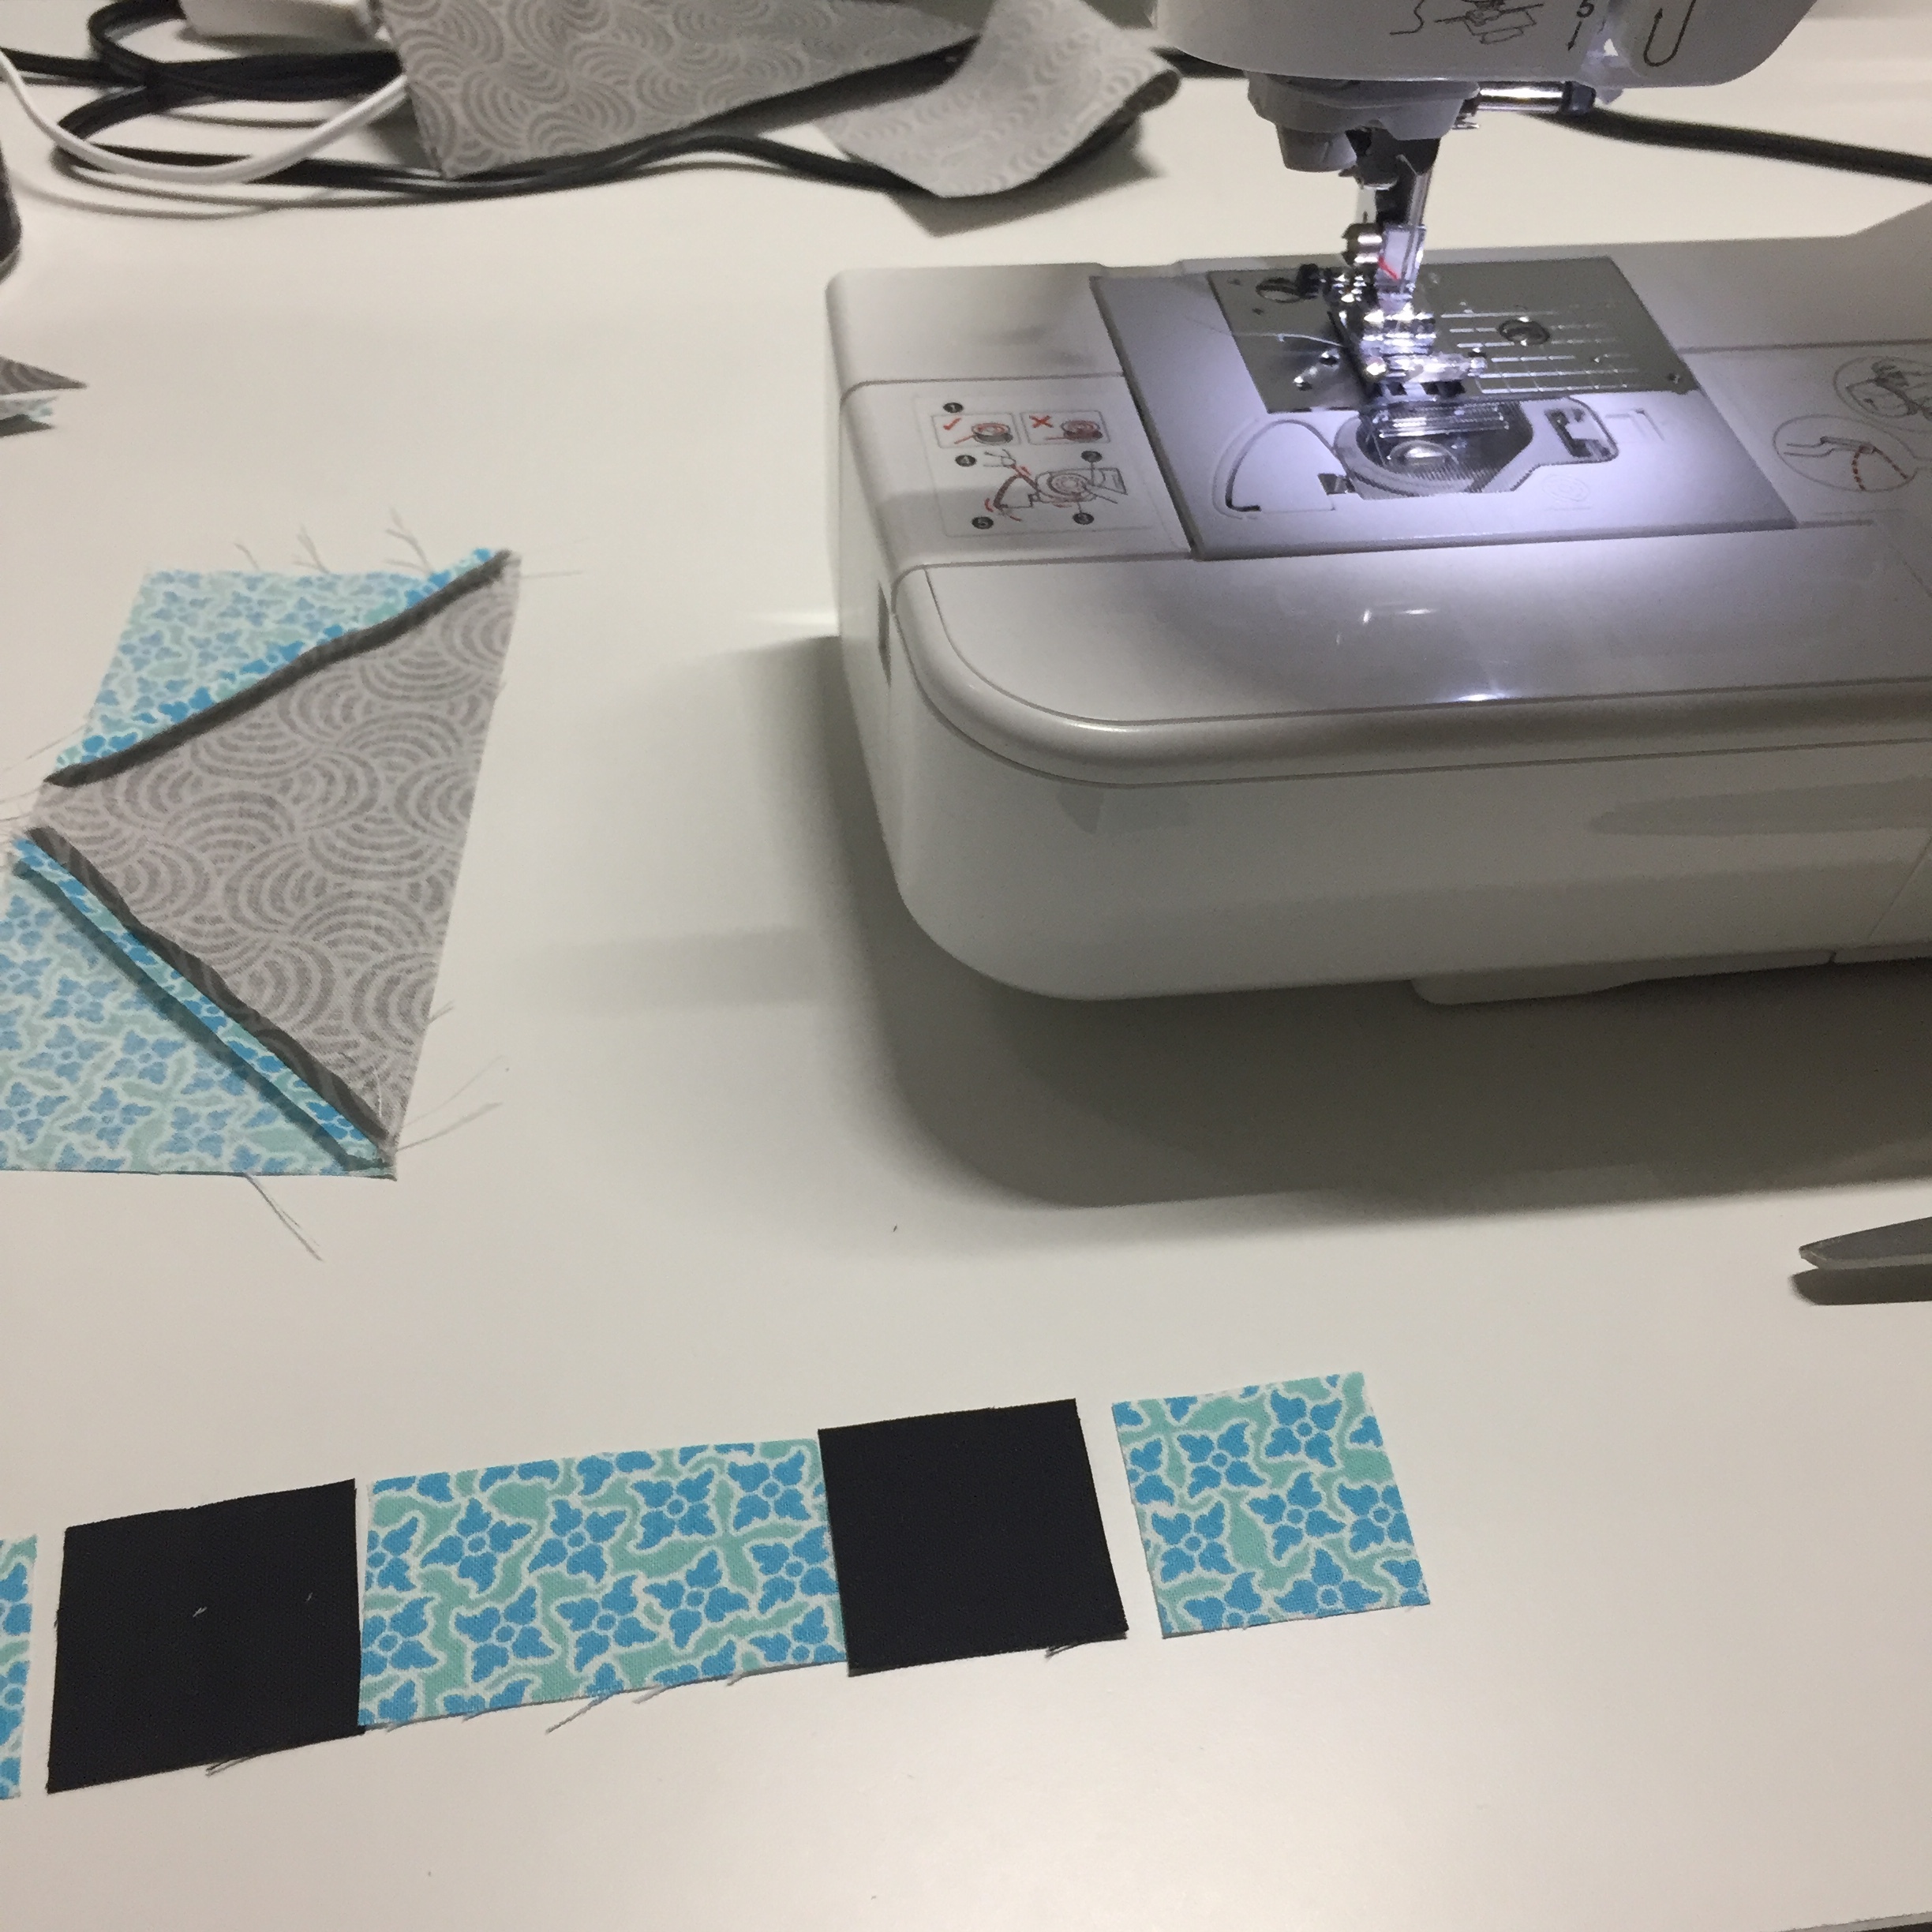
These are eyes! 

These are eyes! 

The most satisfying part was getting all of my fox blocks done.  This is also the most challenging part, if you make it through this, everything else is a breeze.


Pressed and ready! 

Pressed and ready! 

I finished with some simple FMQ and this is now proudly displayed in my cube at work! 


This was before the "final" press. 

This was before the "final" press. 

I had a great time making this and I was able to complete it in a weekend, but you could do it in a few hours if you focus. I think it's totally worth the price and if you use a 40% off coupon, you can get it for under $10. There are several patterns available, so if you want to start quilting, these are great! Thanks for stopping by, happy crafting!

-Gaby

Currently...

How toGabriela SimsComment

Hi there everyone! I am sooooo far behind with product reviews and tutorials it's crazy.  I have 2 card kits I need to review, a light pad, several markers, and a cutting machine. Whew! I was so focused on the craft show that I literally fell behind on everything else, except school and work. Now that the show is done, I'm slowly getting back into the groove and I will be updating again. Thank you for sticking with me, happy crafting!


-Gaby

Scatter Kindness Card

How to, Watercolor, Cards, ColoringGabriela SimsComment

Hi there, it's Gaby and today's tutorial is about making a background with markers and embossing powder. I will be showing how to make the card below; it may look complex, but it's easy to do.

This uses lots of heat embossing. 

This uses lots of heat embossing. 

I started by creating my background and used Bristol paper because I wanted to use my Tombow markers to "watercolor". The Bristol paper is cut to 4-1/4x 5-1/2. 

I love seeing all the colors! 

I love seeing all the colors! 

I used a Winnie & Walter "Kindness" stamp set and some Versamark ink to stamp multiple leaves to create my background. 

Such a unique stamp set with great sentiments. 

Such a unique stamp set with great sentiments. 

IMG_0077.JPG
IMG_0078.JPG

Then I used white embossing powder on the paper and heat set it. 


I catch the powder in a coffee filter to put it back in the jar. 

I catch the powder in a coffee filter to put it back in the jar. 

IMG_0082.JPG
IMG_0083.JPG

Next I added some color with my markers and just put them in different areas and used a water brush to blend them. 


IMG_0085.JPG
IMG_0086.JPG

Once I added a little pink and blended it all, I grabbed some metallic gold to add splatters.


I used an acrylic block as a "palette". 

I used an acrylic block as a "palette". 

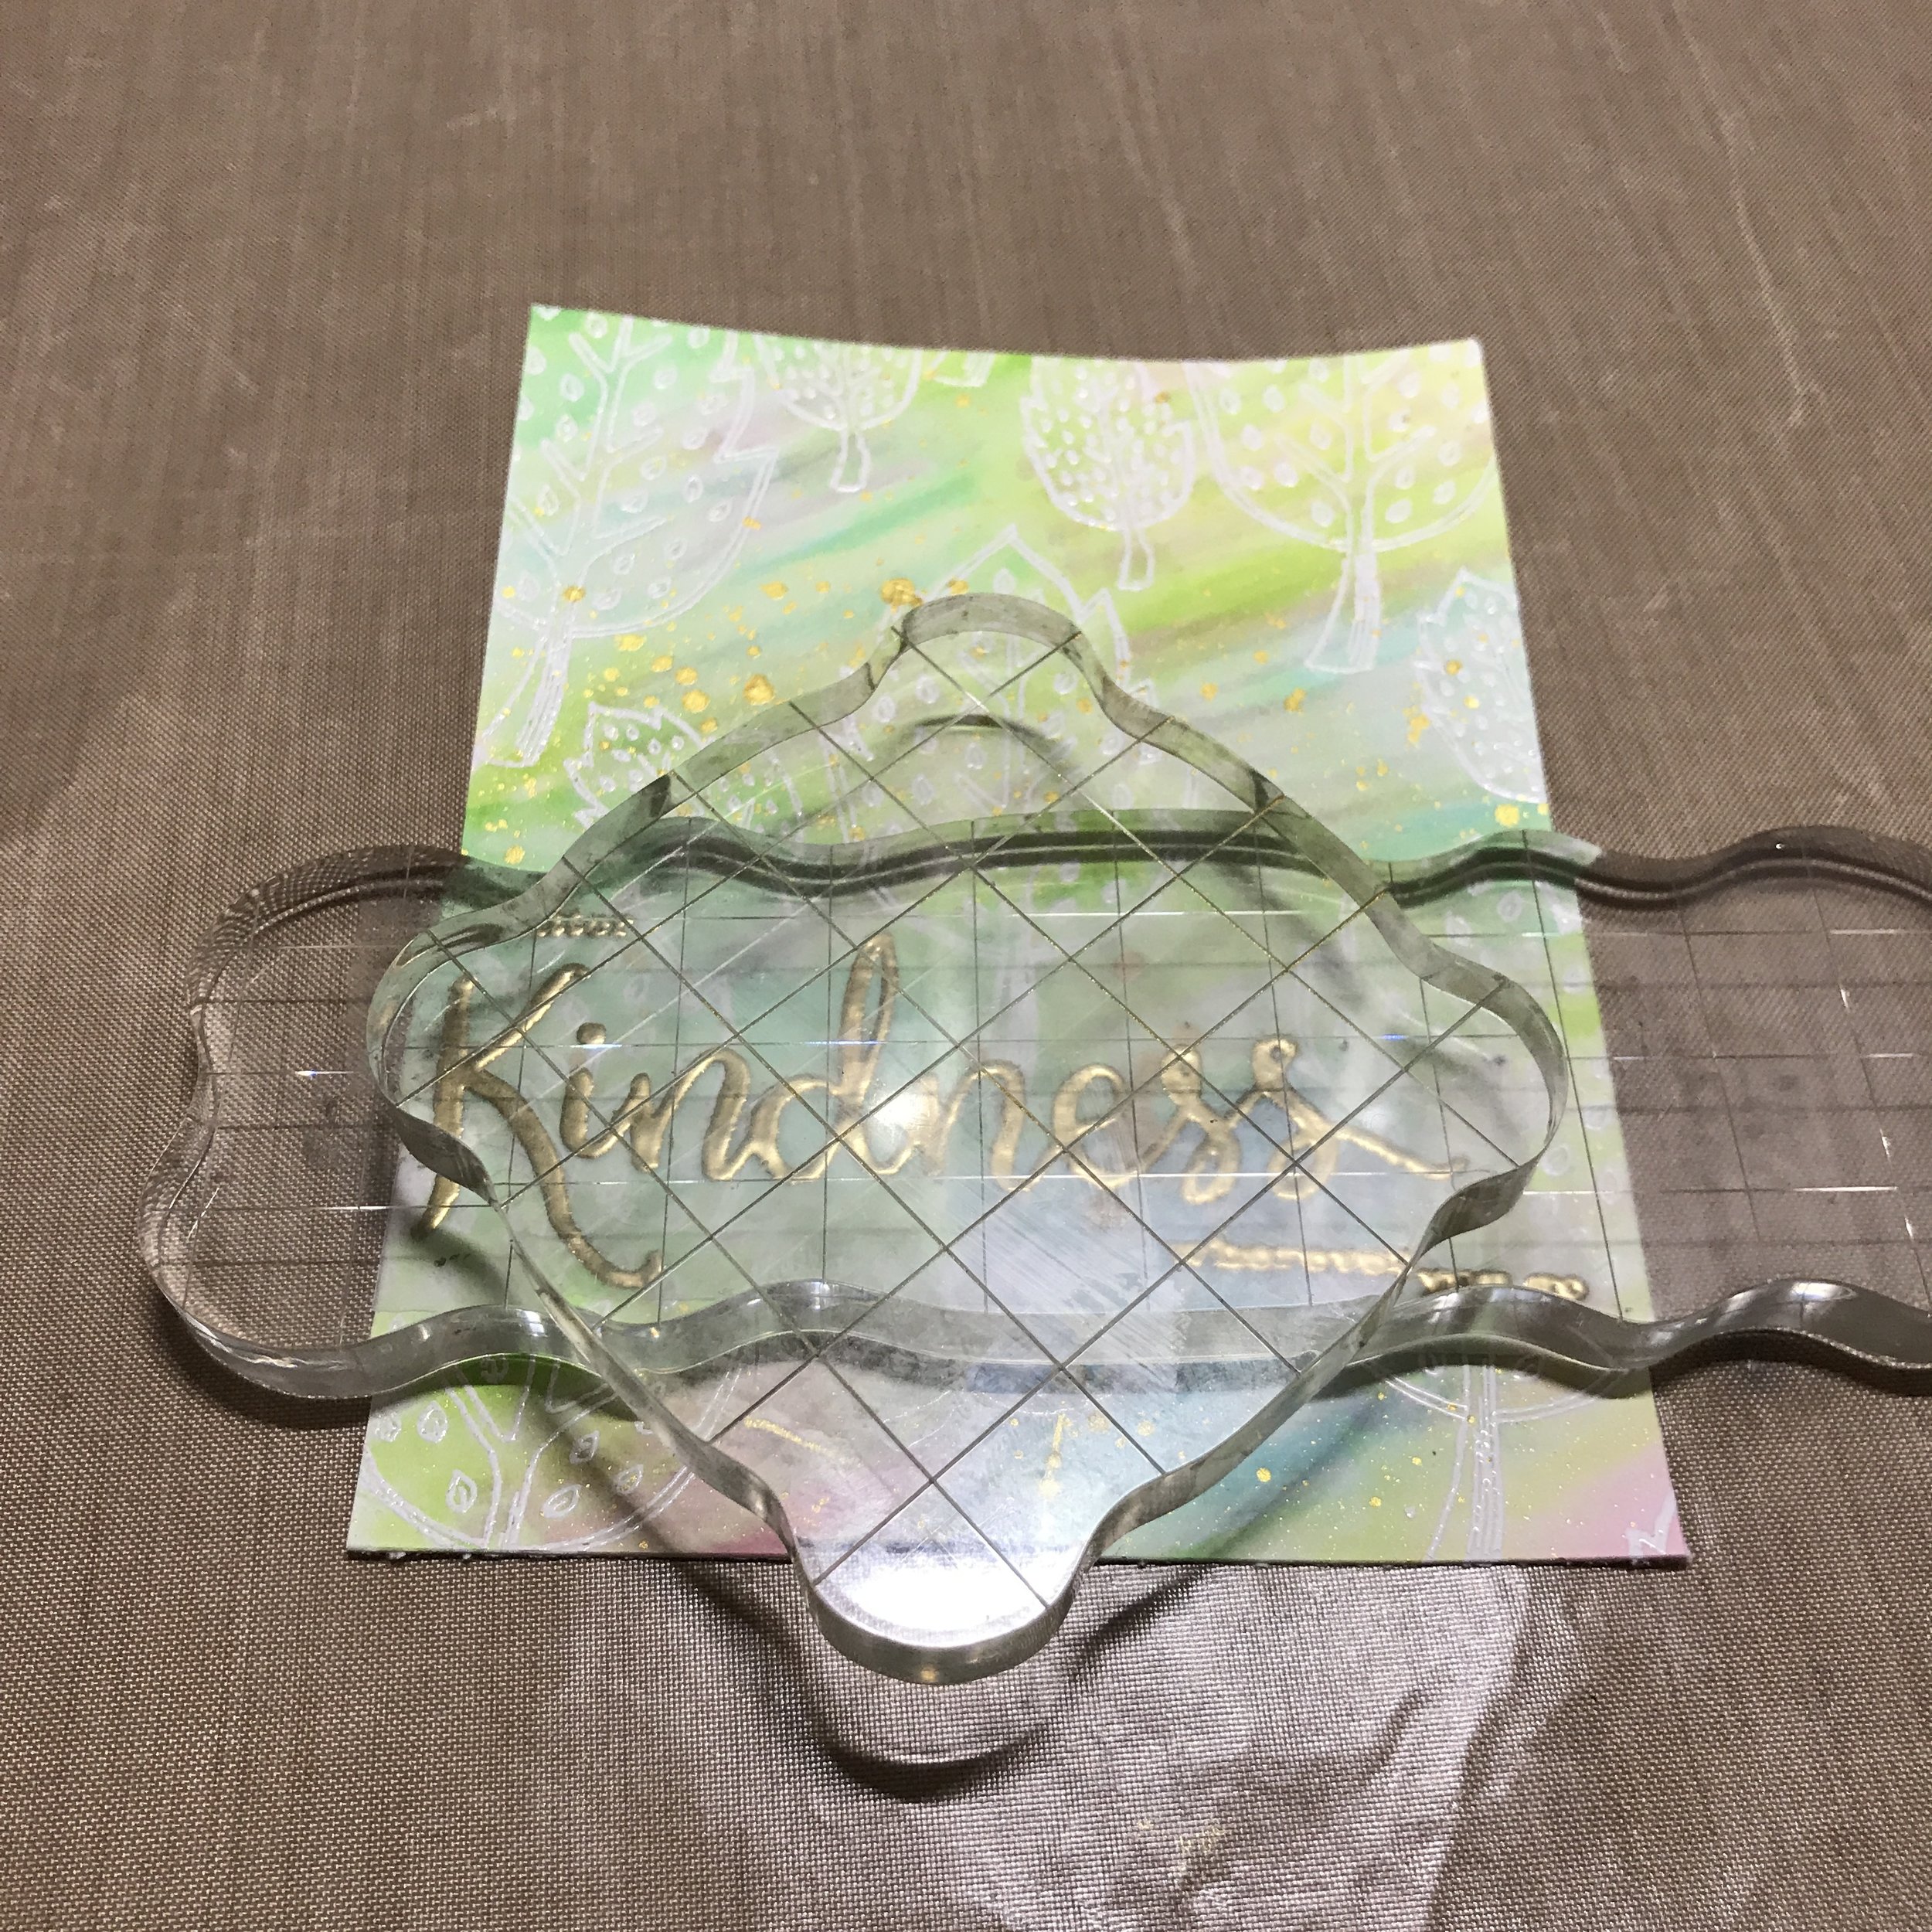
Then I stamped the sentiment in gold embossing powder on vellum. 


IMG_0091.JPG

I heat set it and cut it into a banner shape. I used a Tombow glue pen to trace behind the embossing so the glue would be invisible from the front.


IMG_0094.JPG

I weight the vellum down with some acrylic blocks to let the glue dry.

IMG_0095.JPG

Finally, I taped the card front to a top folding notecard. 


FullSizeRender.jpg

That's it, you're done! I hope this post was helpful and that you have a chance to try some of these techniques. Happy crafting! 

-Gaby