Gab with Gaby

An engineer's creative corner studio.

Coloring

Gab about COPIC Ciao Markers Refills

Copic Markers, Markers, ColoringGabriela SimsComment

Hello and welcome to another crafty chat on my blog. Today I’m talking about ways to get more life out of your Copic Markers; my Copic of choice is usually a Ciao marker. I chose Ciaos because the come in 180 colors at a lower price point than the Sketch version. Quite frankly, those are enough colors for me and it allowed me to buy more colors when I was starting out. Ink refills are available for all of the Ciao colors as well as replacement Super Brush Nibs. But how to refill them?

You will need:

-Your dried out markers

-Matching refills

-A gram scale

-Some patience  

To check all of my markers (approximately 105) and refill the ones in need (approximately 10) it took me about 1.5 hours.

I found many videos on the Sketch markers, but not much on Ciaos. The technique is the same, but the amount of ink needed varies. For a new Ciao, I weighed it with the caps on and found it to be between 10-11 grams. 

IMG_1083.JPG

I then weighed a marker I knew was drying out and got a weight of 8-9g. I put those to the side and then weighed my refill with the cap off, a full refill weighs about 26g with no cap.

IMG_1084.JPG

Next, I removed my chisel nib from my marker and added 10-15 drops and the reweighed my refill, as the value decreased, I knew how many grams were transferred to my marker. I continued until I had added 2g to each dried out marker or brought the weight back up to 10g. A word of caution, 11g proved to be too much ink for my markers and I had to do some coloring on a scratch pad to run off the excess, I would stay as close to 10g as possible so you do not waste ink.

IMG_1085.JPG

I also noted the markers that weighed in at 9g so I would know which refills I need to pick up soon! 

I hope this tutorial was helpful for any other Ciao artists out there, until next time, stay safe in these crafting streets! 

Happy crafting,

Gaby

Gab about Lawnfawnatics - Wonderful Winter

Color, Christmas, Coloring, Cards, Paper crafting, Lawn FawnGabriela Sims2 Comments

Hi everyone! Anyone who reads my blog knows I’m a longtime Lawn Fawn fan. I finally decided to try one of the challenges. This time it’s Wonderful Winter, so I used the Winter Skies set, my Copic Ciaos, and some tips from Sandy Allnock in this amazing video.  I might try this again with a pastel winter sky or maybe a fall sky/background.  Take a look at Sandy’s channel for a ton of coloring tips for Copics, Watercolor, and Colored Pencils. 

IMG_1016.JPG


I have linked* to the stamps and dies below below and until next time, be safe in these crafting streets.

Lawn Fawn Stamp Sets

Lawn Fawn Die Sets

Copic Markers

Happy Crafting,

Gaby

*Affiliate links


Scatter Kindness Card

How to, Watercolor, Cards, ColoringGabriela SimsComment

Hi there, it's Gaby and today's tutorial is about making a background with markers and embossing powder. I will be showing how to make the card below; it may look complex, but it's easy to do.

This uses lots of heat embossing. 

This uses lots of heat embossing. 

I started by creating my background and used Bristol paper because I wanted to use my Tombow markers to "watercolor". The Bristol paper is cut to 4-1/4x 5-1/2. 

I love seeing all the colors! 

I love seeing all the colors! 

I used a Winnie & Walter "Kindness" stamp set and some Versamark ink to stamp multiple leaves to create my background. 

Such a unique stamp set with great sentiments. 

Such a unique stamp set with great sentiments. 

IMG_0077.JPG
IMG_0078.JPG

Then I used white embossing powder on the paper and heat set it. 


I catch the powder in a coffee filter to put it back in the jar. 

I catch the powder in a coffee filter to put it back in the jar. 

IMG_0082.JPG
IMG_0083.JPG

Next I added some color with my markers and just put them in different areas and used a water brush to blend them. 


IMG_0085.JPG
IMG_0086.JPG

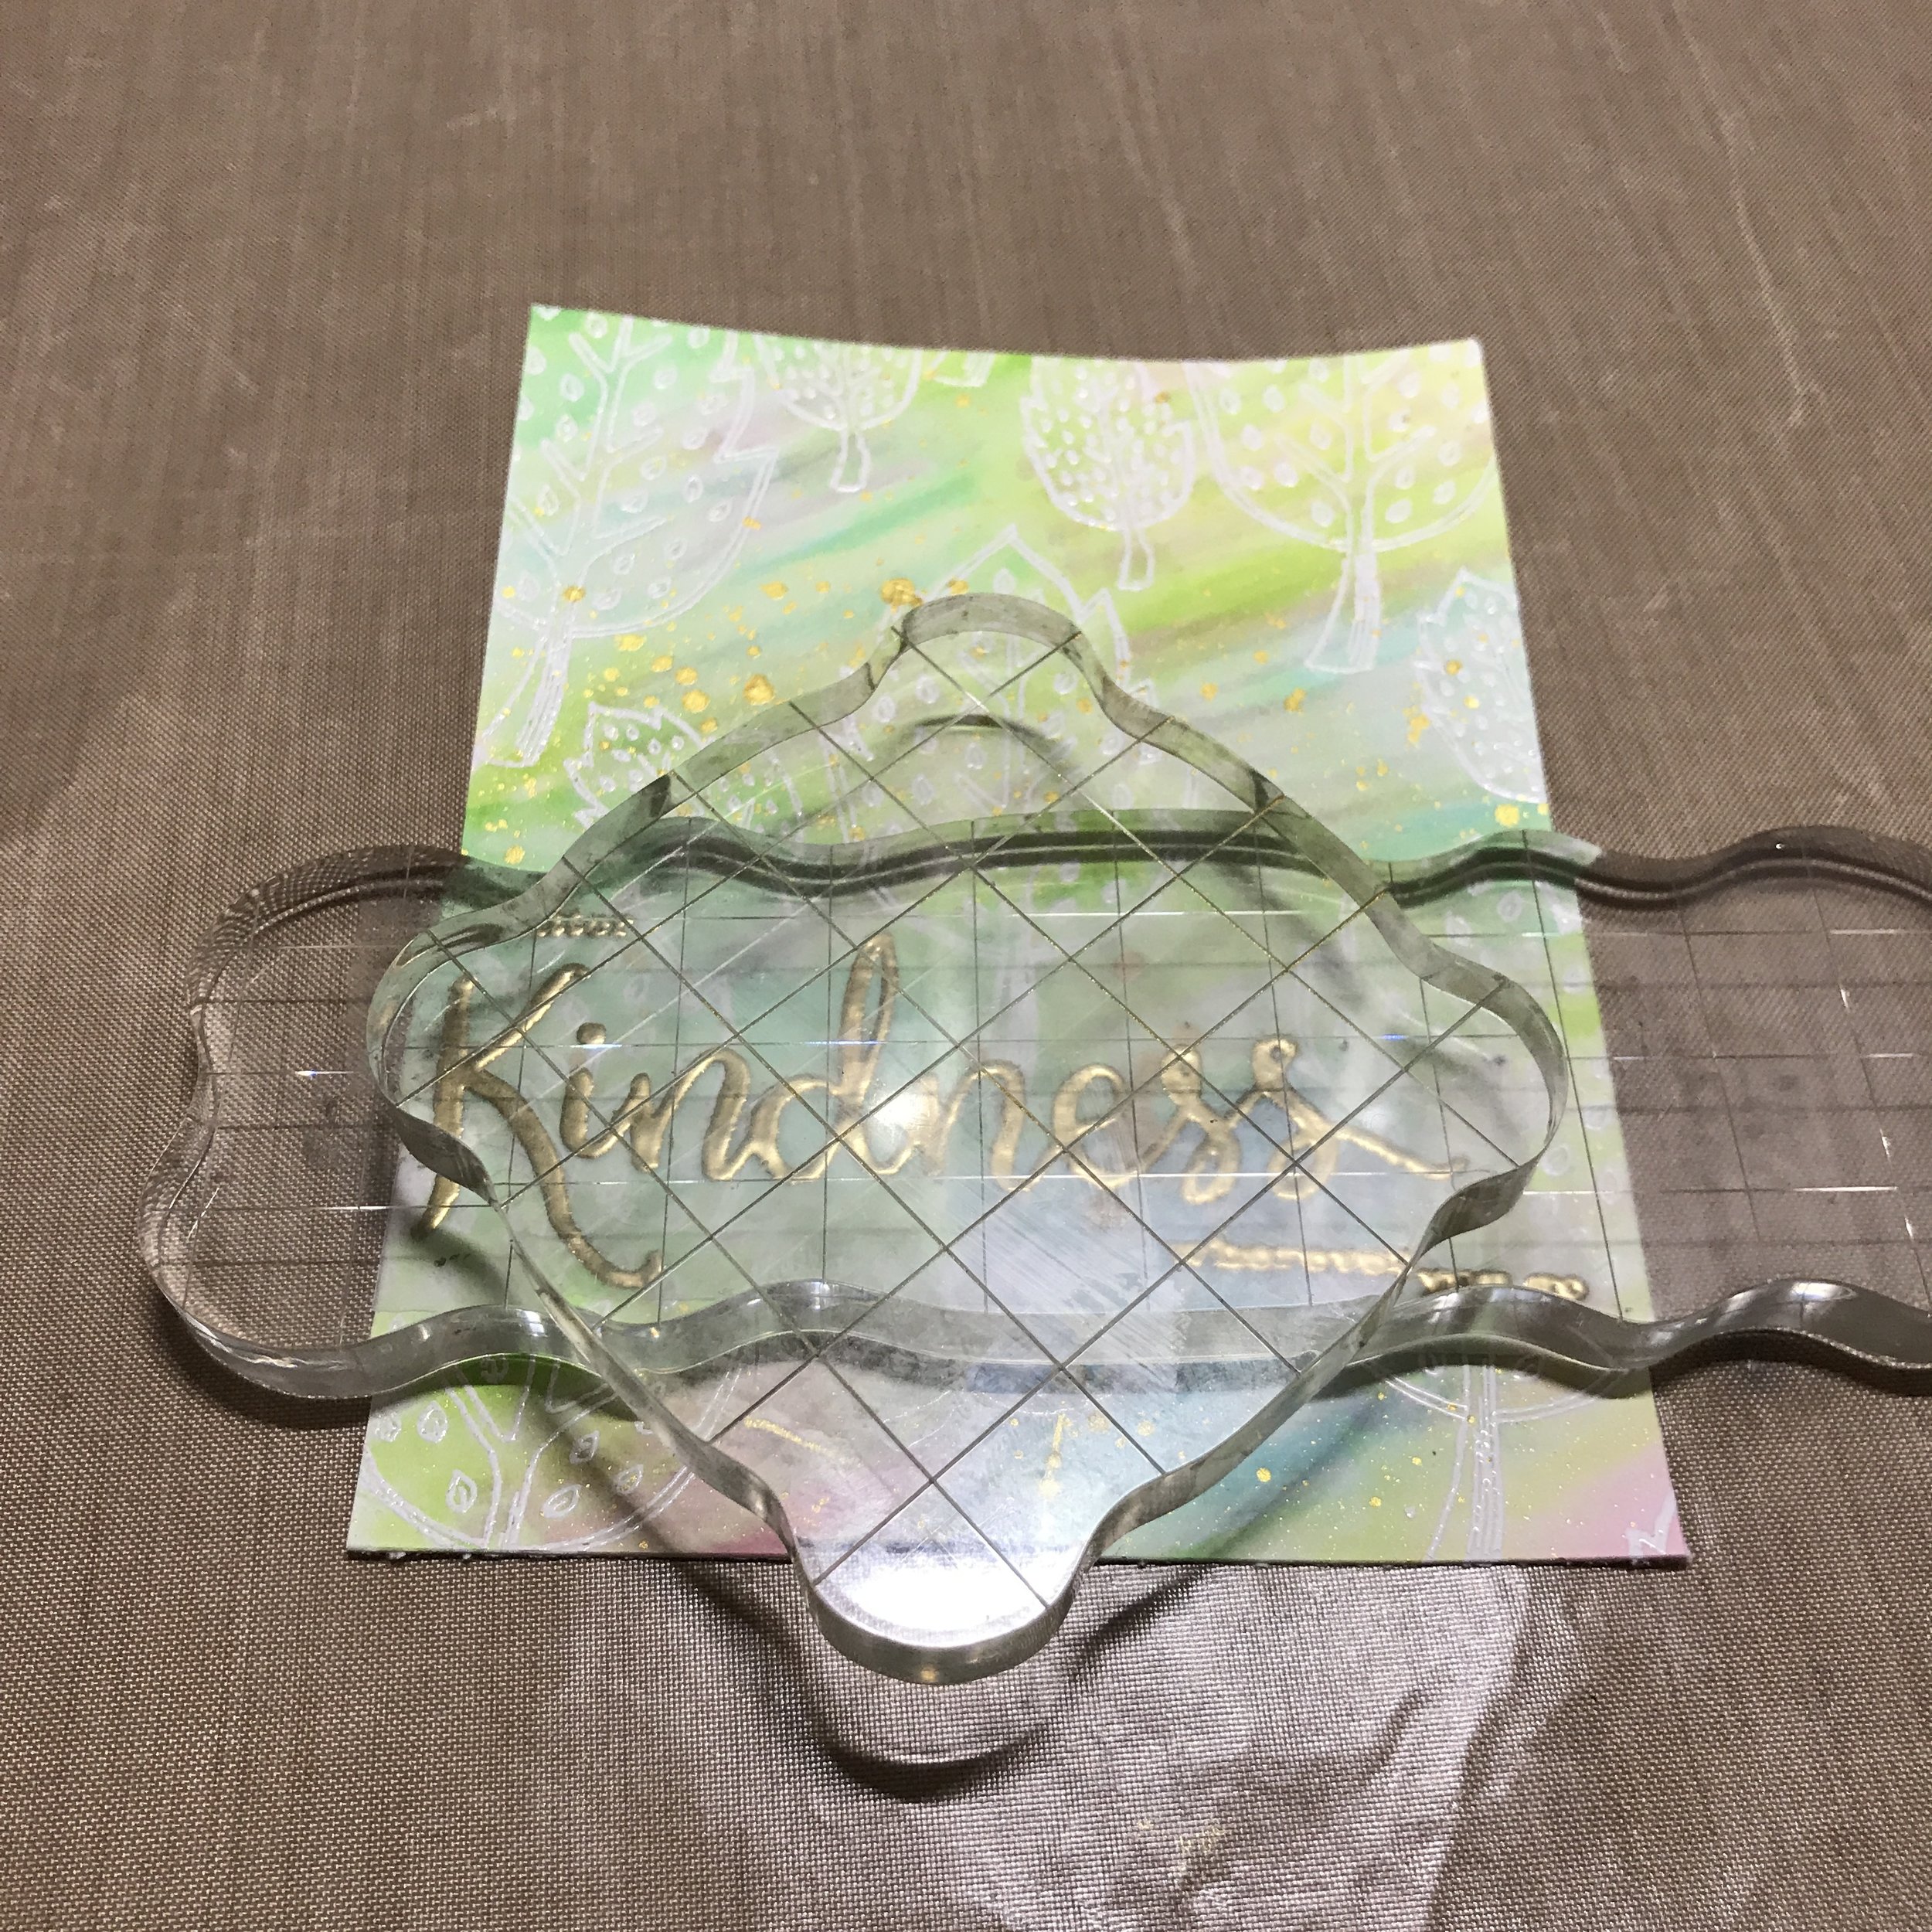
Once I added a little pink and blended it all, I grabbed some metallic gold to add splatters.


I used an acrylic block as a "palette". 

I used an acrylic block as a "palette". 

Then I stamped the sentiment in gold embossing powder on vellum. 


IMG_0091.JPG

I heat set it and cut it into a banner shape. I used a Tombow glue pen to trace behind the embossing so the glue would be invisible from the front.


IMG_0094.JPG

I weight the vellum down with some acrylic blocks to let the glue dry.

IMG_0095.JPG

Finally, I taped the card front to a top folding notecard. 


FullSizeRender.jpg

That's it, you're done! I hope this post was helpful and that you have a chance to try some of these techniques. Happy crafting! 

-Gaby

Monster Shaker - Bo Bunny and Hero Arts

Bo Bunny, Tutorial, Stamps, Stamping, Paper crafting, Lawn Fawn, How to, Hampton Art, Coloring, CardsGabriela SimsComment

Hi everyone, Gaby here with a little shaker card in a monster's belly.  I saw this stamp set and thought about how fun it would be to make it into a mini shaker window.  I used some turquoise card stock, Crumb Cake card stock, 80# and 110# Neenah Solar White  card stock. Copic Ciao markers, Pretty Pink Posh sequins, Stampin' Up! ink, my Stamp Perfect Tool, my Big Shot, and Lawn Fawn dies. Check out the video below.


I hope you enjoyed the video, I think this card could be used for several occasions and even as an everyday "hello" card.   Thanks for watching and stopping by; I still have an announcement coming this month and I'm still really excited about it.  Happy crafting!

How to Make a Magic Slider Card

How to, Stamps, Coloring, Color, Cards, Diy, Crafts, Paper crafting, TutorialGabriela SimsComment

Hi everyone! Today I will be showing you how to make a Magic Slider Card using some supplies you already have around.  I am using nesting heart dies from Spellbinders, Neenah Solar White Card Stock in 80# and 110#, Copic Markers, Staz-On Ink, Memento Tuxedo Black Ink, and Distress Ink; all things I have in my craft room.  These cards are super fun to make and they allow a lot of room for creativity.  You can use the traditional shape of a rectangle, or you can use any other shape you have in your die collection.  It would even be fun to do one of these with a jar stamp/die!  Check out the video below for how to make one of your own.  


I did not include the dimensions for this because unless you are using this exact set of dies, it will not be very helpful.  The main thing to remember is that you need enough space on each side of the window for the slider to fit in with about 1/4" left for the edges of the stopper, so your slider does not come out of the card.  I wanted to be sure that my coloring did not show through even though I wanted the card to open like a regular card.  

I hope you enjoyed this video and I will be trying to get on a regular posting schedule this year with reviews and craft ideas.  Thanks for stopping by and happy crafting! :)