Gab with Gaby

An engineer's creative corner studio.

Watercolor

Online Card Classes - Simply Watercolor

Diy, Watercolor, Hand Lettering, DrawingGabriela Sims1 Comment

Hi everyone! I signed up for Kristina Werner’s Simply Watercolor Class and it is fantastic! I will share my cards here, but not all of the steps since this is a class that is being sold. The price point is really good, the class is $20 and there are around 20 cards that you can make! 

A labor of love! 

A labor of love! 

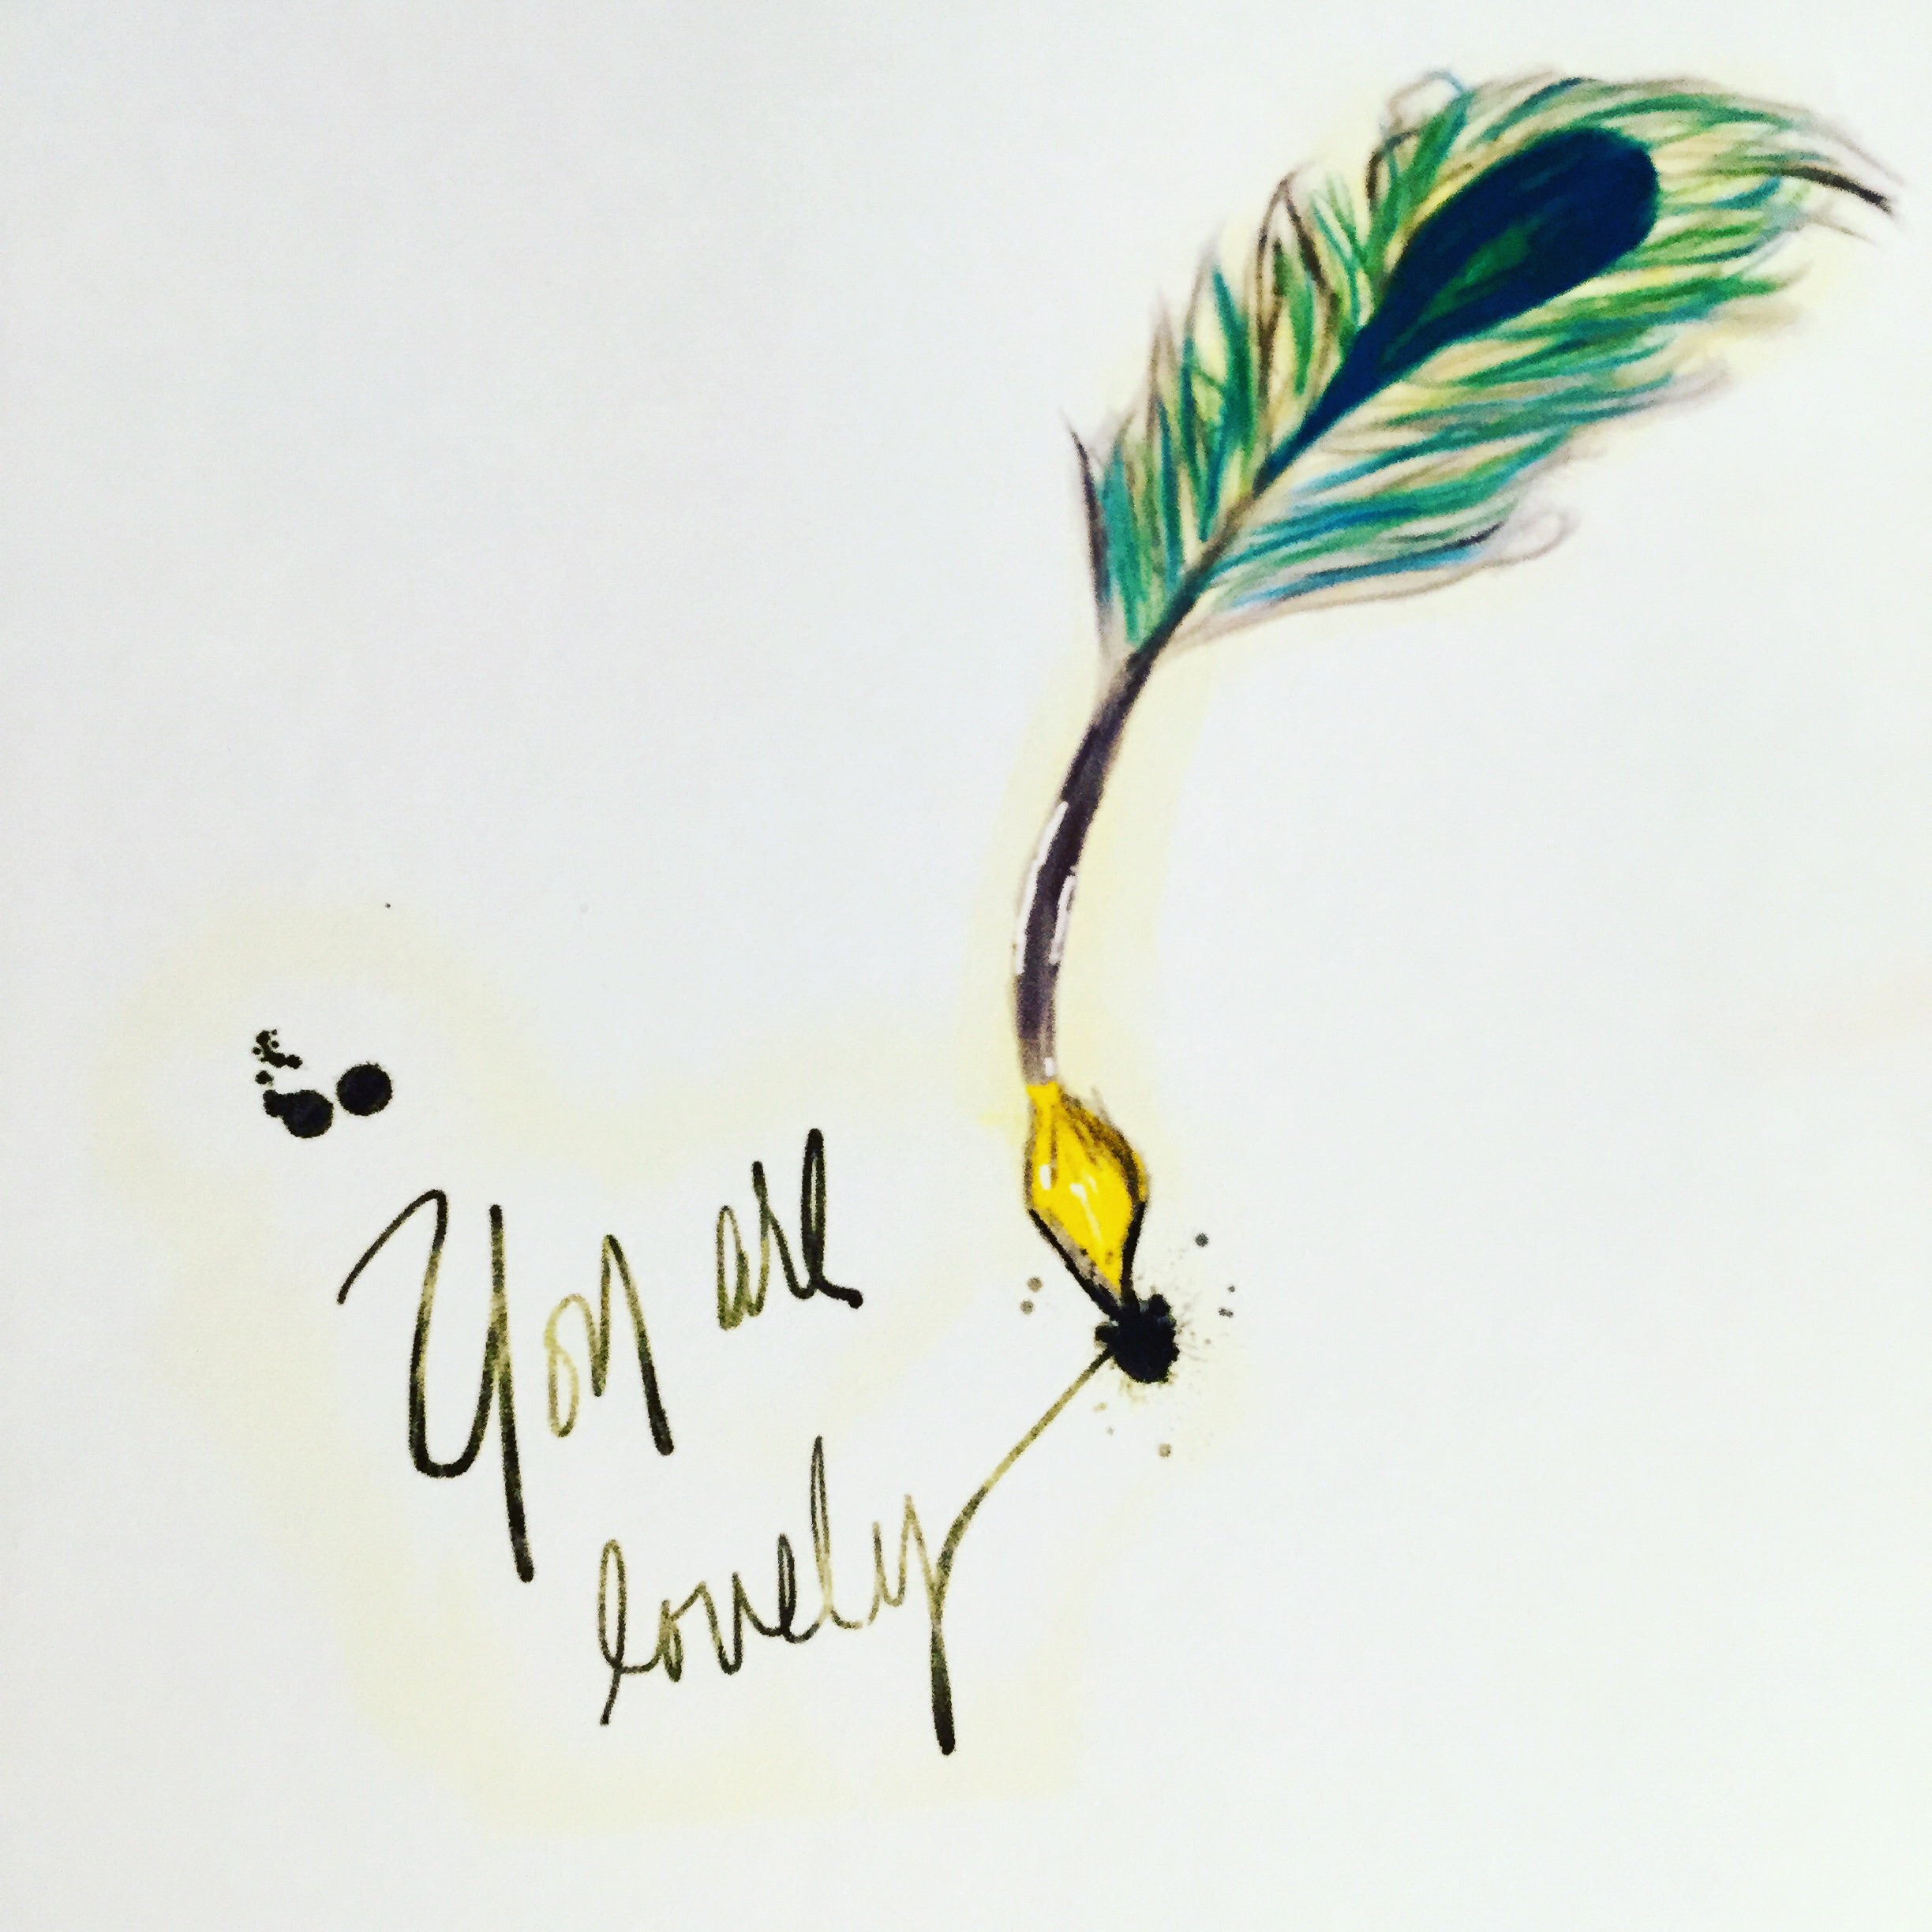
I had so much fun making this card using nothing but pencil and watercolor. It really inspired me to try more cards like this in the future. I even did some hand lettering at the bottom! Now I just have to find someone to send this to. Until next time, happy crafting!

Gaby

Scatter Kindness Card

How to, Watercolor, Cards, ColoringGabriela SimsComment

Hi there, it's Gaby and today's tutorial is about making a background with markers and embossing powder. I will be showing how to make the card below; it may look complex, but it's easy to do.

This uses lots of heat embossing. 

This uses lots of heat embossing. 

I started by creating my background and used Bristol paper because I wanted to use my Tombow markers to "watercolor". The Bristol paper is cut to 4-1/4x 5-1/2. 

I love seeing all the colors! 

I love seeing all the colors! 

I used a Winnie & Walter "Kindness" stamp set and some Versamark ink to stamp multiple leaves to create my background. 

Such a unique stamp set with great sentiments. 

Such a unique stamp set with great sentiments. 

IMG_0077.JPG
IMG_0078.JPG

Then I used white embossing powder on the paper and heat set it. 


I catch the powder in a coffee filter to put it back in the jar. 

I catch the powder in a coffee filter to put it back in the jar. 

IMG_0082.JPG
IMG_0083.JPG

Next I added some color with my markers and just put them in different areas and used a water brush to blend them. 


IMG_0085.JPG
IMG_0086.JPG

Once I added a little pink and blended it all, I grabbed some metallic gold to add splatters.


I used an acrylic block as a "palette". 

I used an acrylic block as a "palette". 

Then I stamped the sentiment in gold embossing powder on vellum. 


IMG_0091.JPG

I heat set it and cut it into a banner shape. I used a Tombow glue pen to trace behind the embossing so the glue would be invisible from the front.


IMG_0094.JPG

I weight the vellum down with some acrylic blocks to let the glue dry.

IMG_0095.JPG

Finally, I taped the card front to a top folding notecard. 


FullSizeRender.jpg

That's it, you're done! I hope this post was helpful and that you have a chance to try some of these techniques. Happy crafting! 

-Gaby

Xyron and Quick Quotes Blog Hop

Crafts, Diy, How to, Paper crafting, Quick Quotes, Watercolor, XyronGabriela SimsComment

Hi everyone, Gabriela here today with a fun project that you can customize for yourself or as a gift. I'm using the Anchors Aweigh Collection along with some of my favorite Xyron products to make a mobile that you can gift for a baby shower or use as an inspiration for yourself. I'm using some supplies I found in my craft room, so this is a simple project you can do in an afternoon/evening.

Check out the video below. I had a fun time making this project and I will be hanging my dream mobile in my craft room to keep me inspired. 

You can find the products from the video below, happy crafting!
-Gaby

Quick Quotes Products Used:
Anchors Aweigh - 102, 103, 104, 105, and 108
Powder Puff Chalking Inks - Mahogany, Aqua, and Desert Sun
Twine - Included in Club Q for October

Xyron Products Used:
Creative Station Lite
Sticker Maker

All I do is craft, craft, craft...

Drawing, Watercolor, Coloring, Color, Cards, Crafts, How to, Hand Lettering, Paper crafting, Thrift, SuppliesGabriela SimsComment

Not really, but I wish that were true! I have been trying to up my crafting game and it's resulted in some purchases of supplies and then actively using them.  I try to make sure that I use my supplies regularly and I haven't bought new supplies (besides adhesive) in a few weeks. That might not sound spectacular, but for me that's a long time.  The truth is I realized I have enough supplies right now to go "shopping" in my craft studio; that realization forces me to use/rediscover what I already own.  Doing this has yielded some "Responsible Crafting".  I'm using that to refer to things like making swatches:


Zig Clean Color Real Brush Pens

Zig Clean Color Real Brush Pens

Practicing my handlettering: 


Done with Tombow Dual Brushpens

Done with Tombow Dual Brushpens

And even working on my digital art: 


Wacom Pad using Sketchbook

Wacom Pad using Sketchbook

I've been working to really get the most out of my supplies and I have to say I'm pretty happy.  I feel like I have fallen in love with some of my supplies all over again, which I like because I think it's easy to fall into the trap of "hoarding" supplies and being afraid to use your "good" supplies. To be honest, the whole reason you buy things should be so you can use them. I'm trying to take my own advice there, happy crafting!