Gab with Gaby

An engineer's creative corner studio.

Cricut

Cricut Maker Unboxing

Unboxing, Cricut, Reviews, TutorialGabriela SimsComment

Hi there everyone! I am back with a review and unboxing of the Cricut Maker.  What can I say? I absolutely love it and I have not even had as much time to use it as I would like.  However, I was able to get one a day or two after launch, but due to a packed schedule, I was not able to get this video done until just recently.  In this video I am doing the unboxing, but I am also showing an overview of the Maker and cutting some cotton fabric.  This is a simple but in-depth review, check it out below.

I hope the video offers some clarity on the product and helps anyone who might be on the fence. I forgot to mention it in the video, but I did not use the USB cable because my internet at home is wireless and my computer I used for this is a laptop, so for anyone wondering, it does have a USB port and cord.  That's all for today, but my next few videos will cover the Brightpad and the Easy Press because I was fortunate enough to get them all and I wanted to share any info with you all.  Until next time, happy crafting!

-Gaby


Cricut Bright Pad and Tombow Markers

Hand Lettering, Tutorial, Graphic design, Cricut, Drawing, ColorGabriela SimsComment

Hi there, it's Gaby here with a quick project that will let you work on your hand lettering without eraser marks!

Meow!

Meow!

I started with some drawing paper and a few Tombow pens.

IMG_0141.JPG

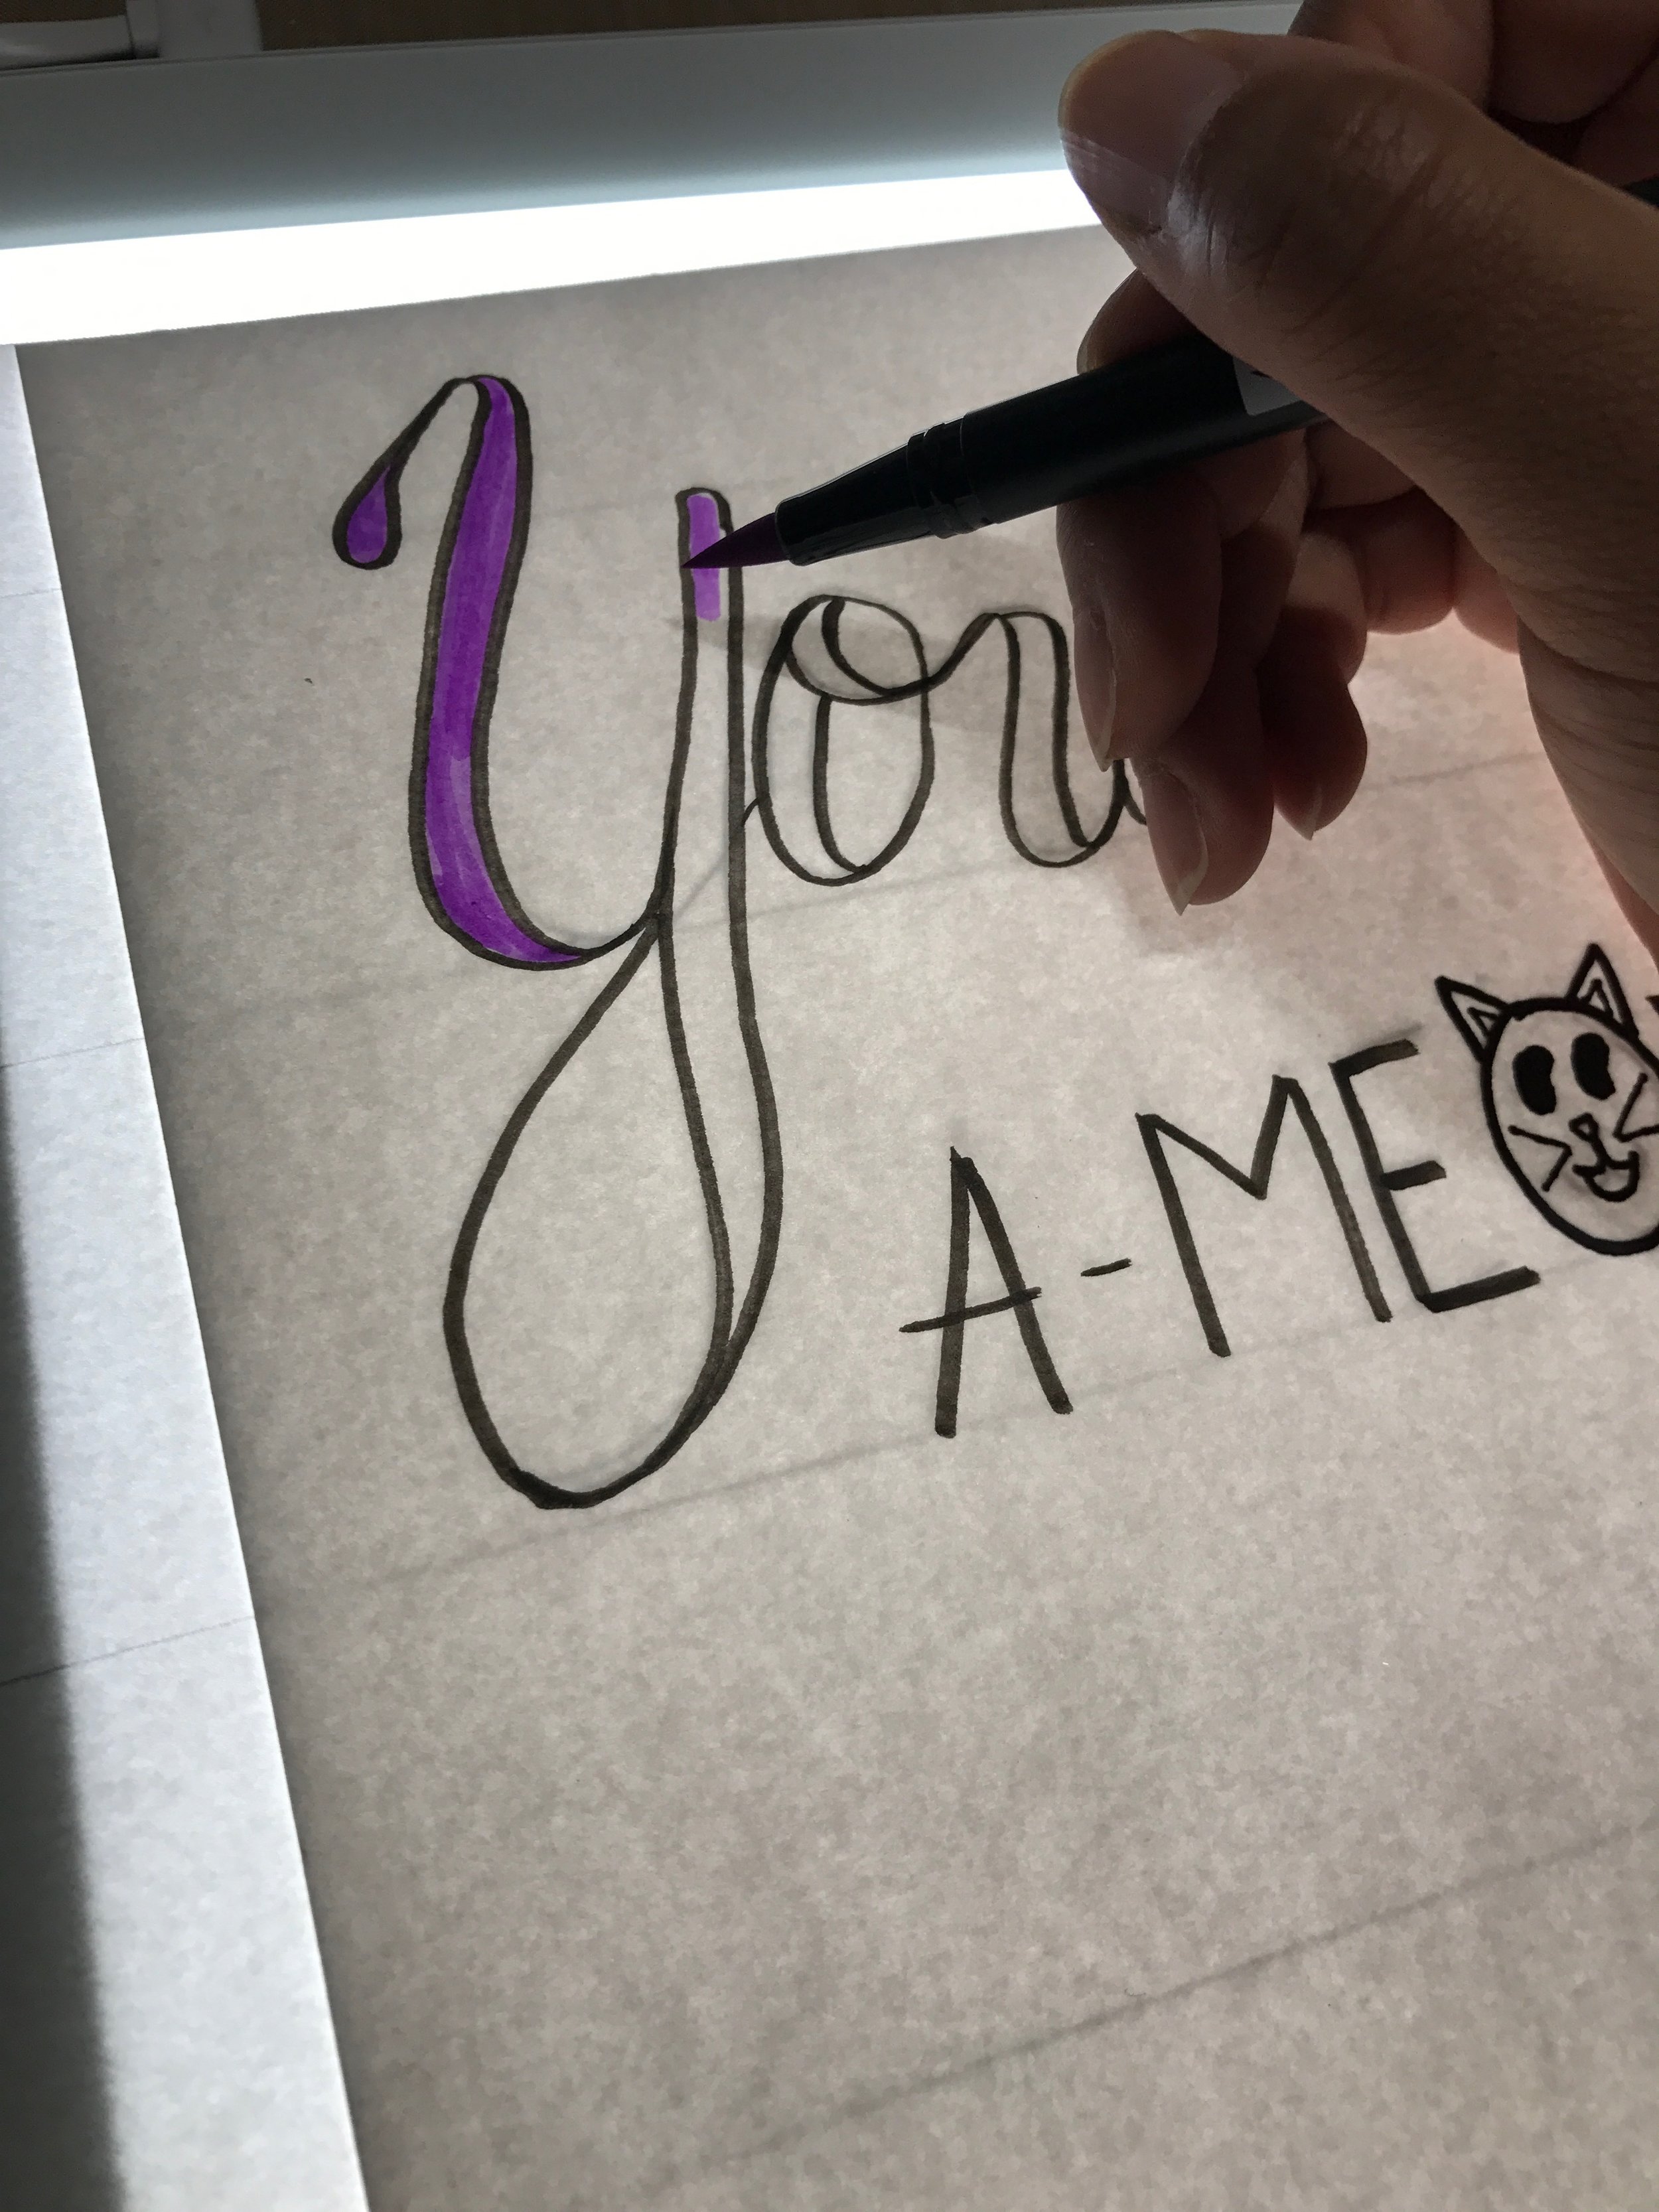
I drew my image on paper and then put it over my Bright Pad with another sheet of drawing paper on top.

IMG_0144.JPG

Then I traced the drawing and added some color!

IMG_0145.JPG
IMG_0299.JPG
IMG_4184.JPG

I added some details and a few more colors and it was all done!

IMG_0154.JPG

I did my tracing with a Tombow Fudenosuke and then added details with my Monotwin. This was a fun, easy project and this would be a good way to practice your hand lettering as well.  Until next time, happy crafting!

-Gaby

QuickQuotes PowderPuff Chalking Inks Techniques

Color, Quick Quotes, Supplies, Layout, Scrapbooking, Coloring, Crafts, Tutorial, Paper crafting, Cricut, Graphic, How to, DiyGabriela Sims1 Comment

Hi everyone, Gabriela here with a video tutorial about ways to use your PowderPuff Chalking Inks. I typically use inks for distressing edges, but there are many other ways to use them. I will be showing how to make a patterned background using a few paper stencils and some ink blenders.


QuickQuotes Products:
Anchors Aweigh 102
PowderPuff Chalking Ink Berry Jam
PowderPuff Chalking Ink Barn Board
PowderPuff Chalking Ink Pixie Pink
PowderPuff Chalking Ink Desert Sun
PowderPuff Chalking Ink Aqua

Other products used:

Canon Selphy

Cricut Explore

Colorbox Blending Pads

Stampin' Up Scallop Punch