Gab with Gaby

An engineer's creative corner studio.

Quilting

Quiltologie Mini Quilt Kit Review

Quilting, Tutorial, Decor, Reviews, Crafts, Sewing, How to, DiyGabriela SimsComment

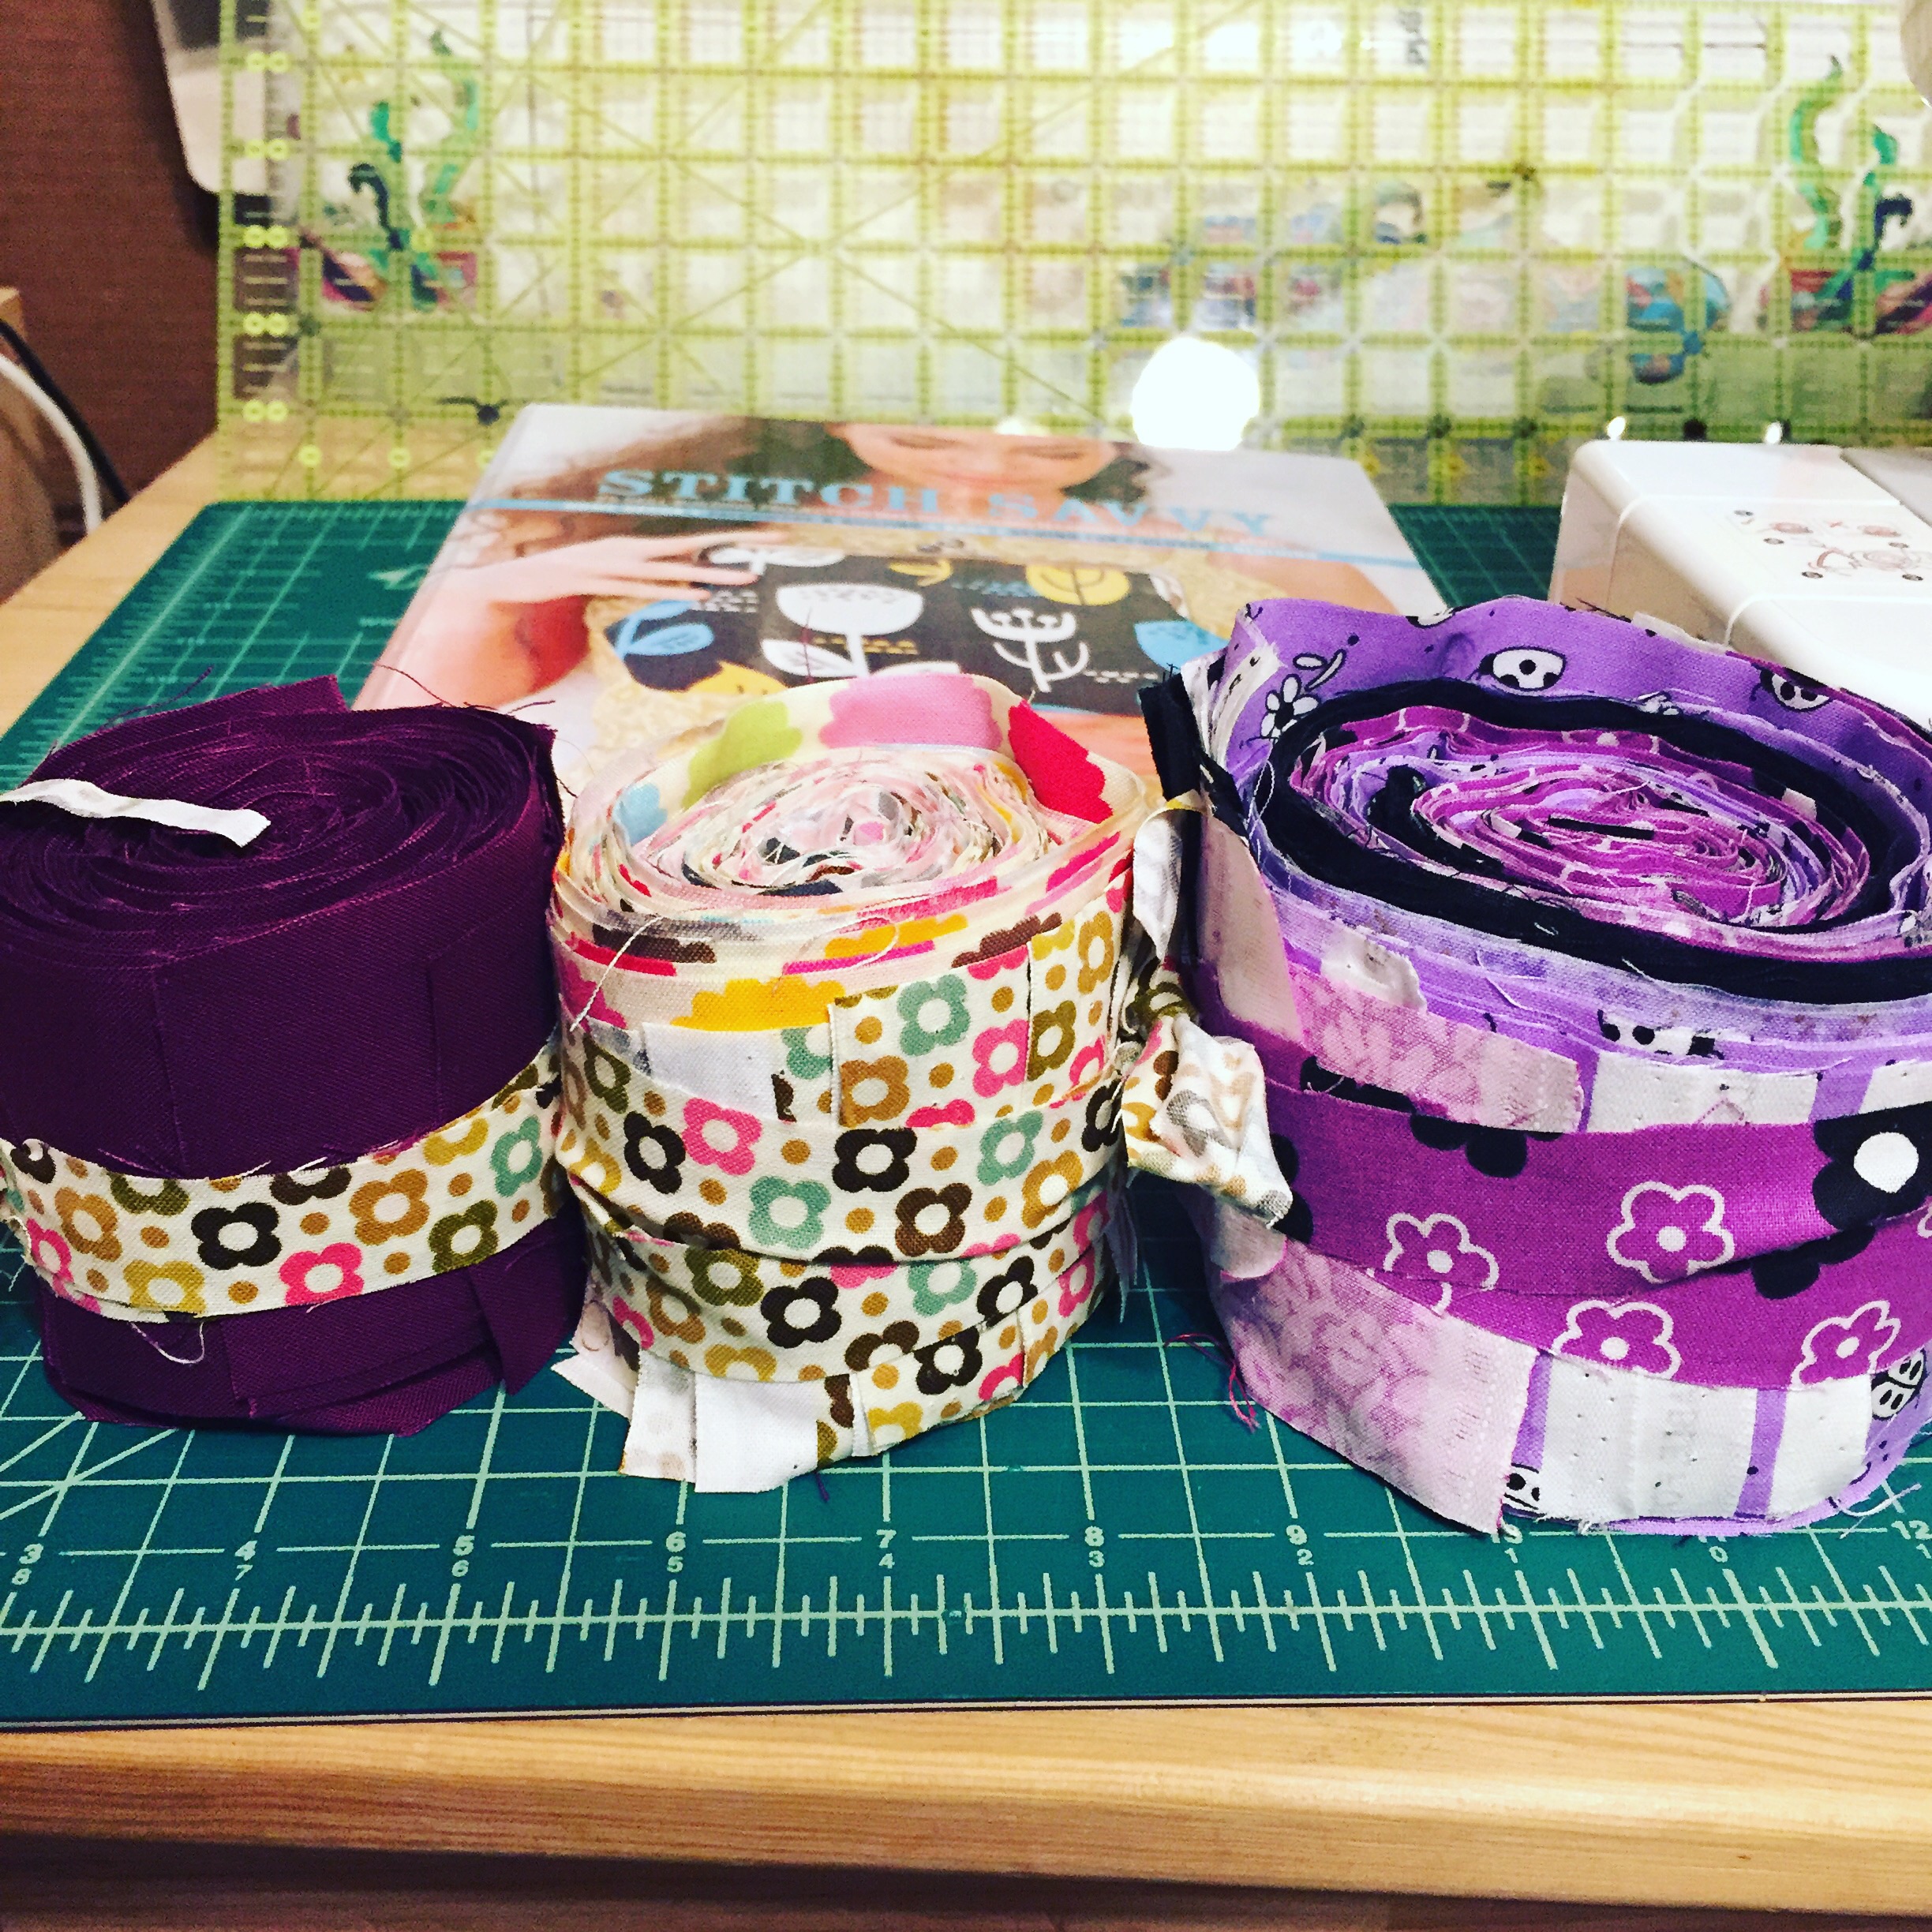
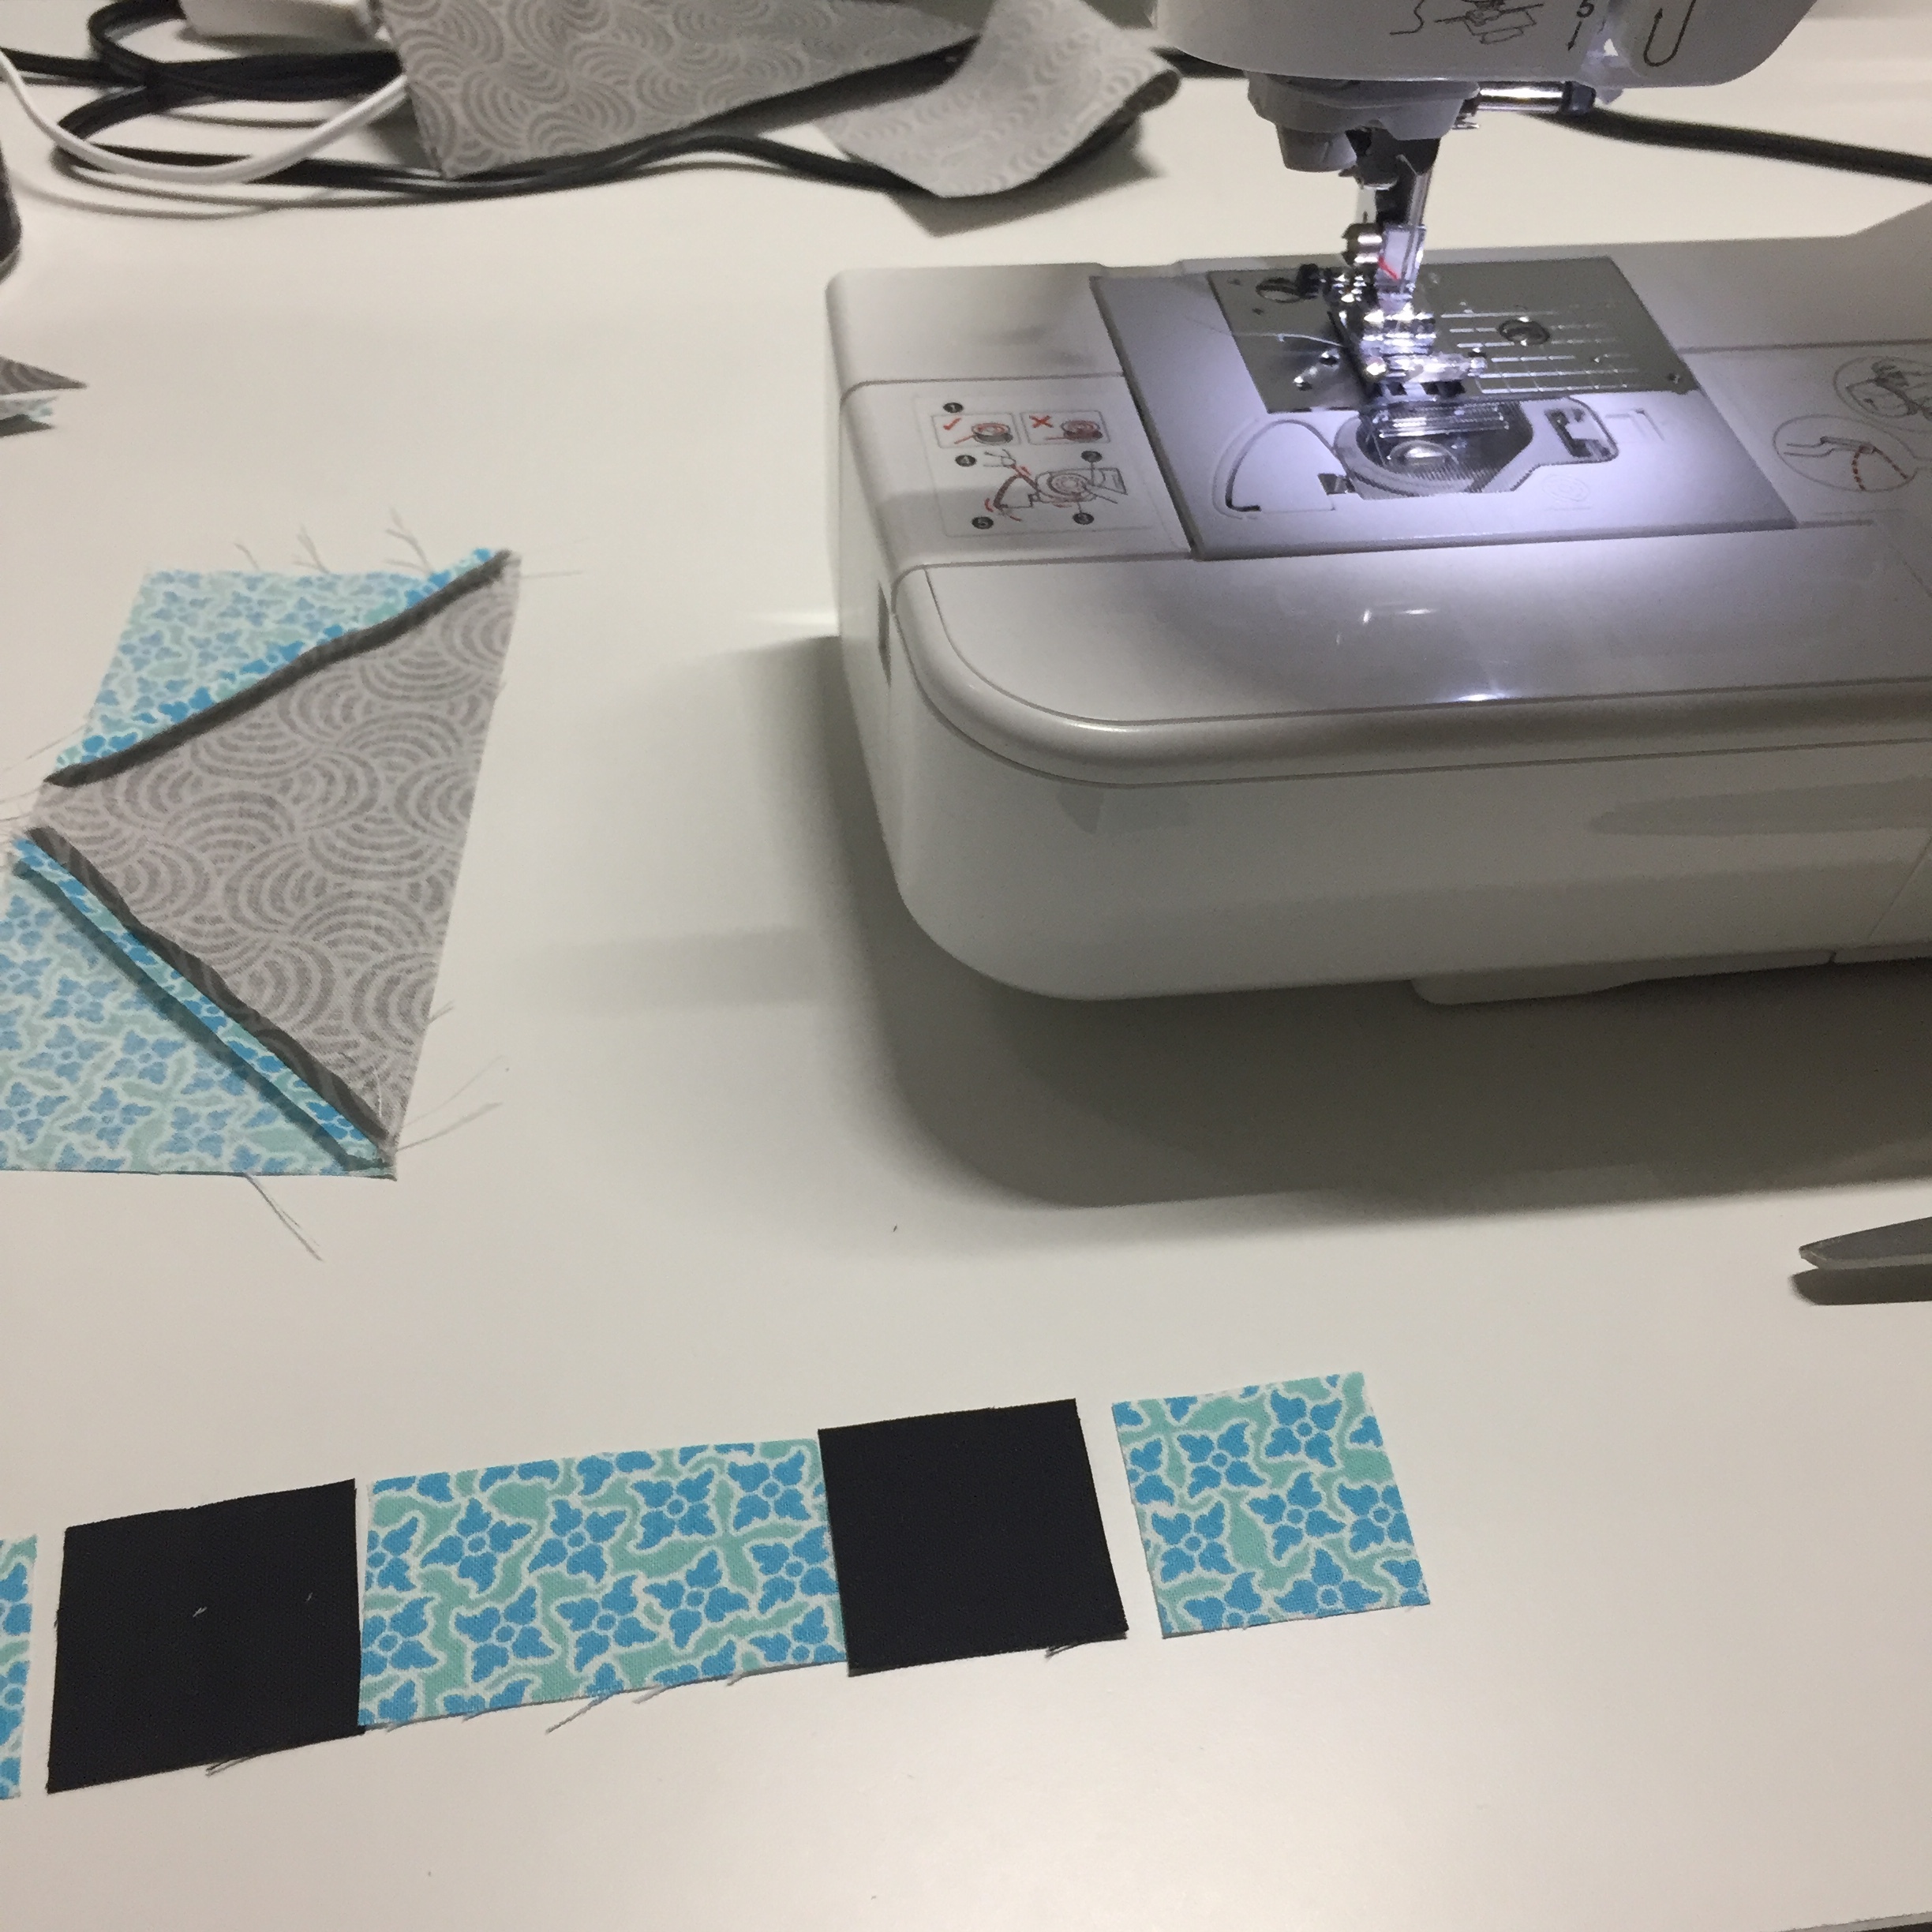
Hello there everyone! I saw these wonderful quilt kits at JoAnn and decided to try one out. They come with everything except the batting, fusible web, and thread, but if you quilt, you already have those things! The pattern has all of the cutting and piecing instructions; so you can get started right away even if you do not have any batting handy. I did my cutting all at once and then started piecing.
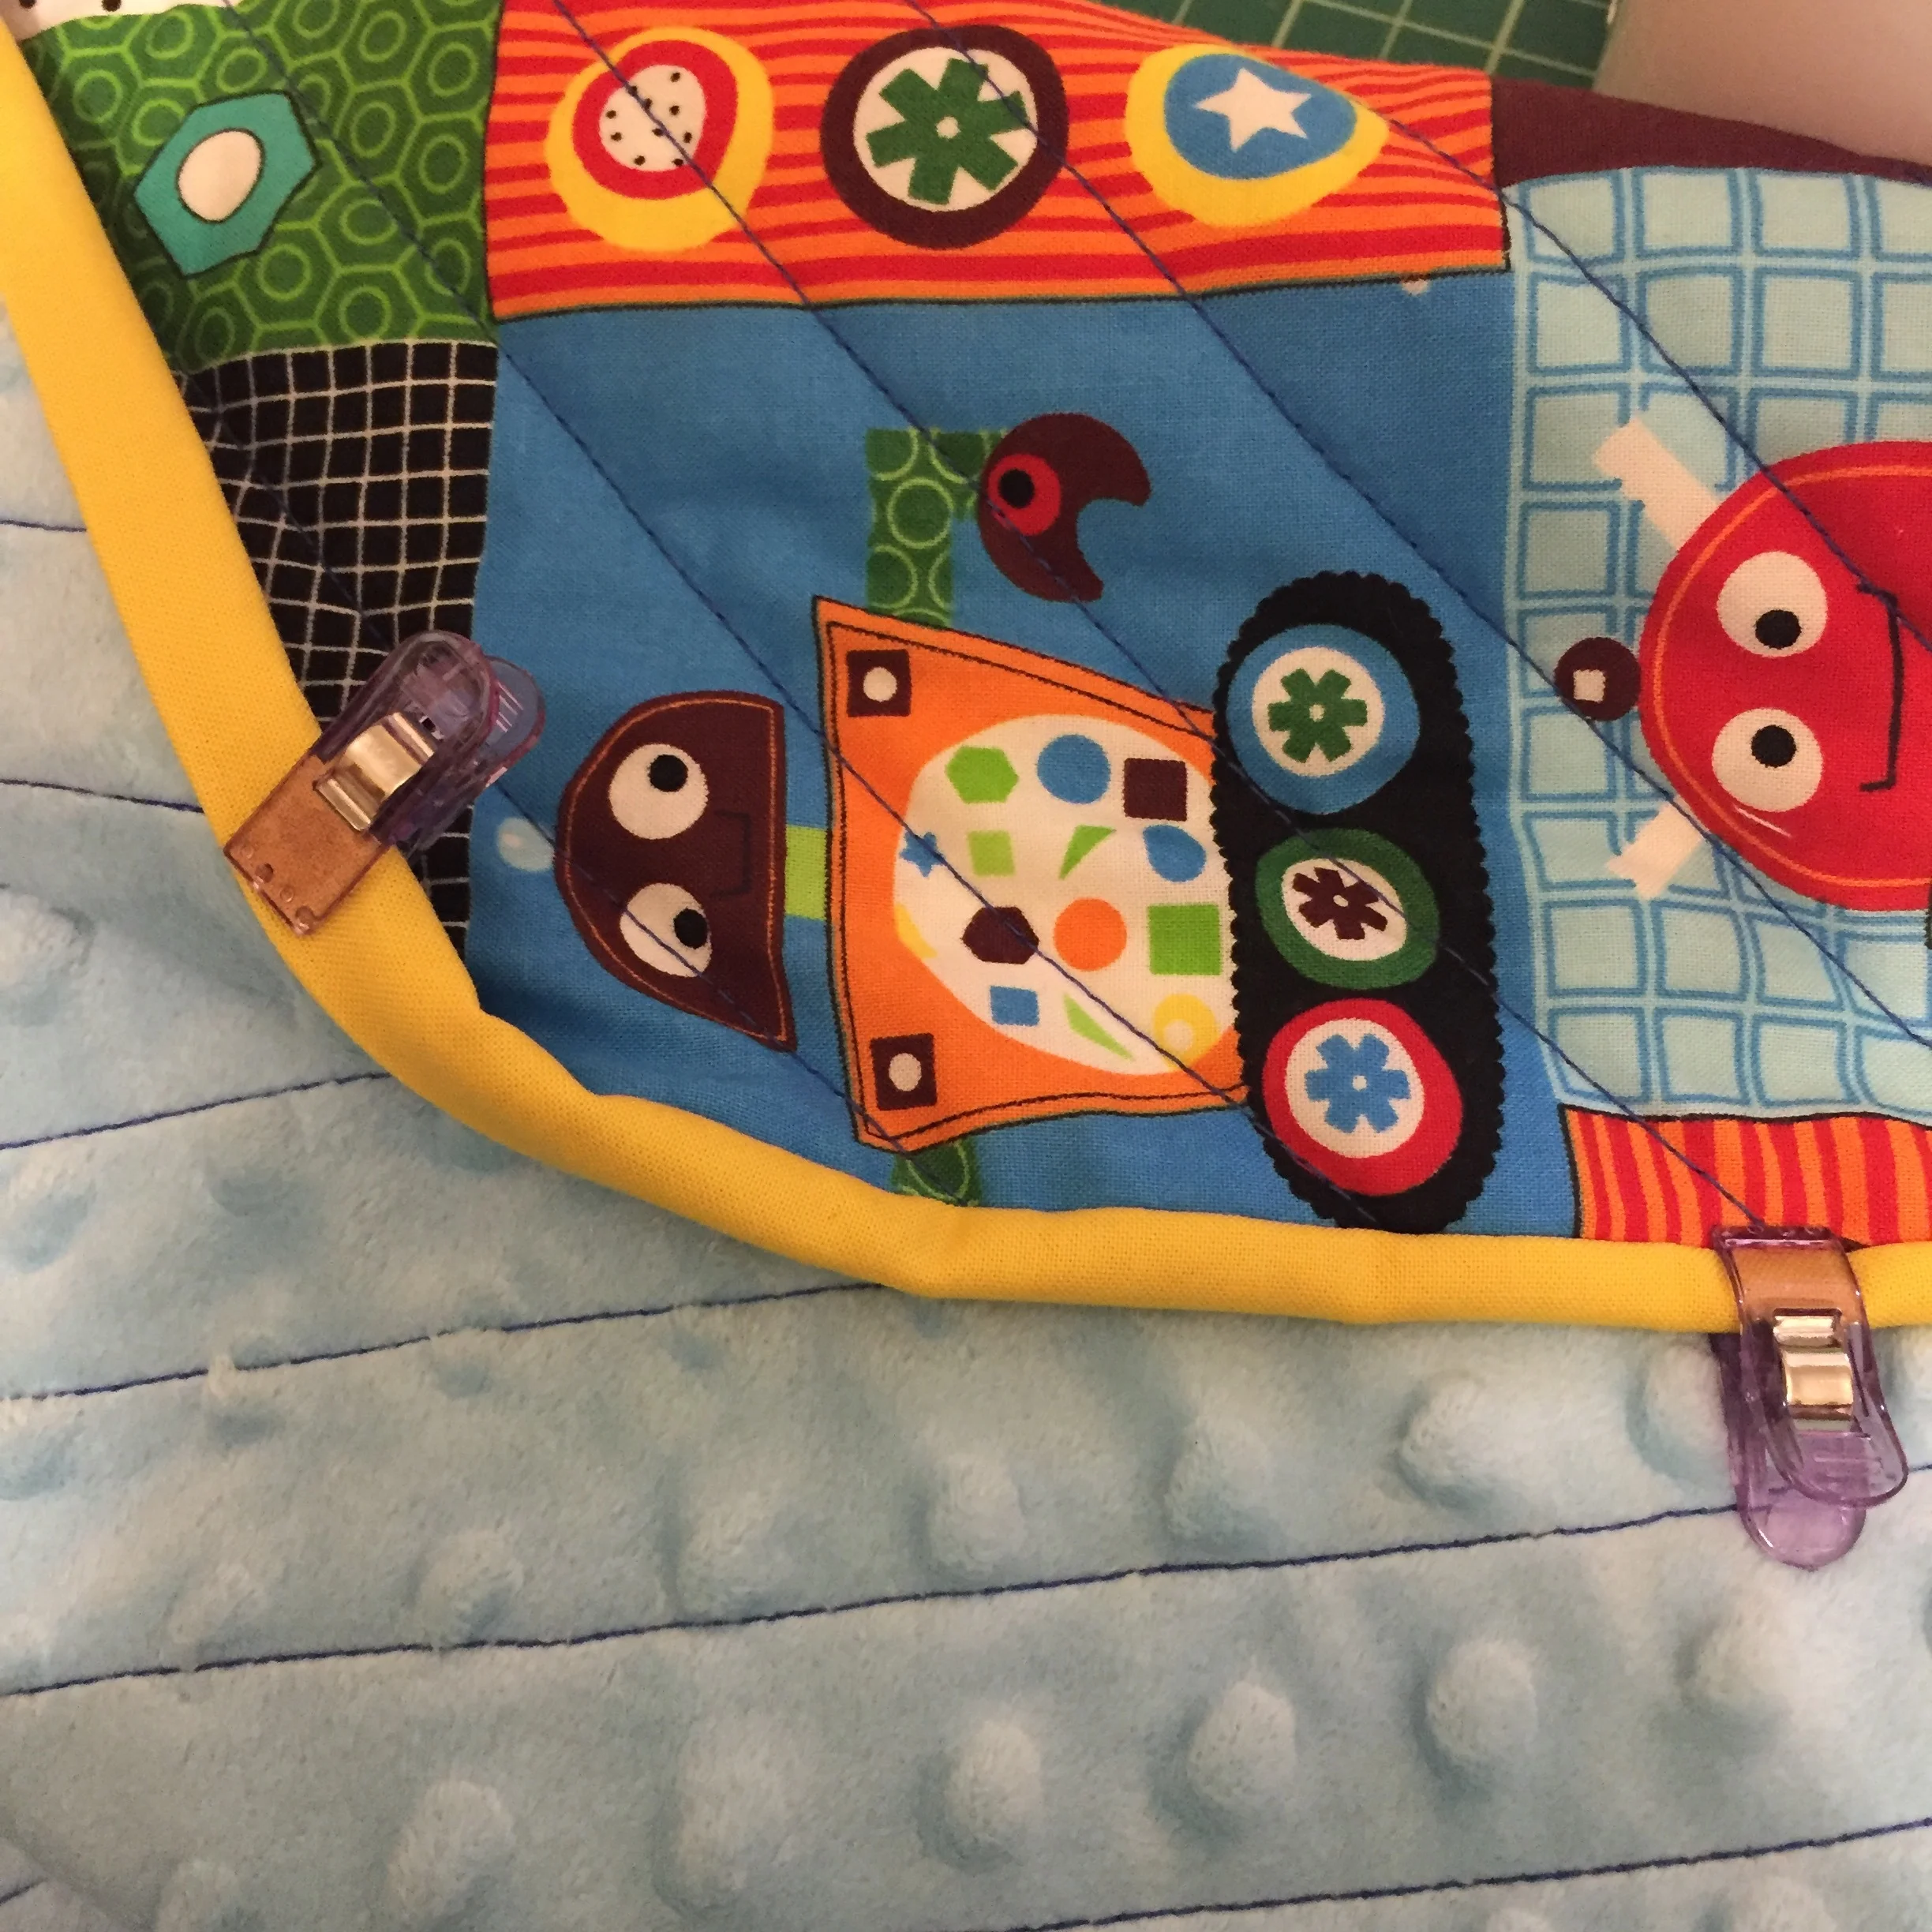
 

These are eyes! 

These are eyes! 

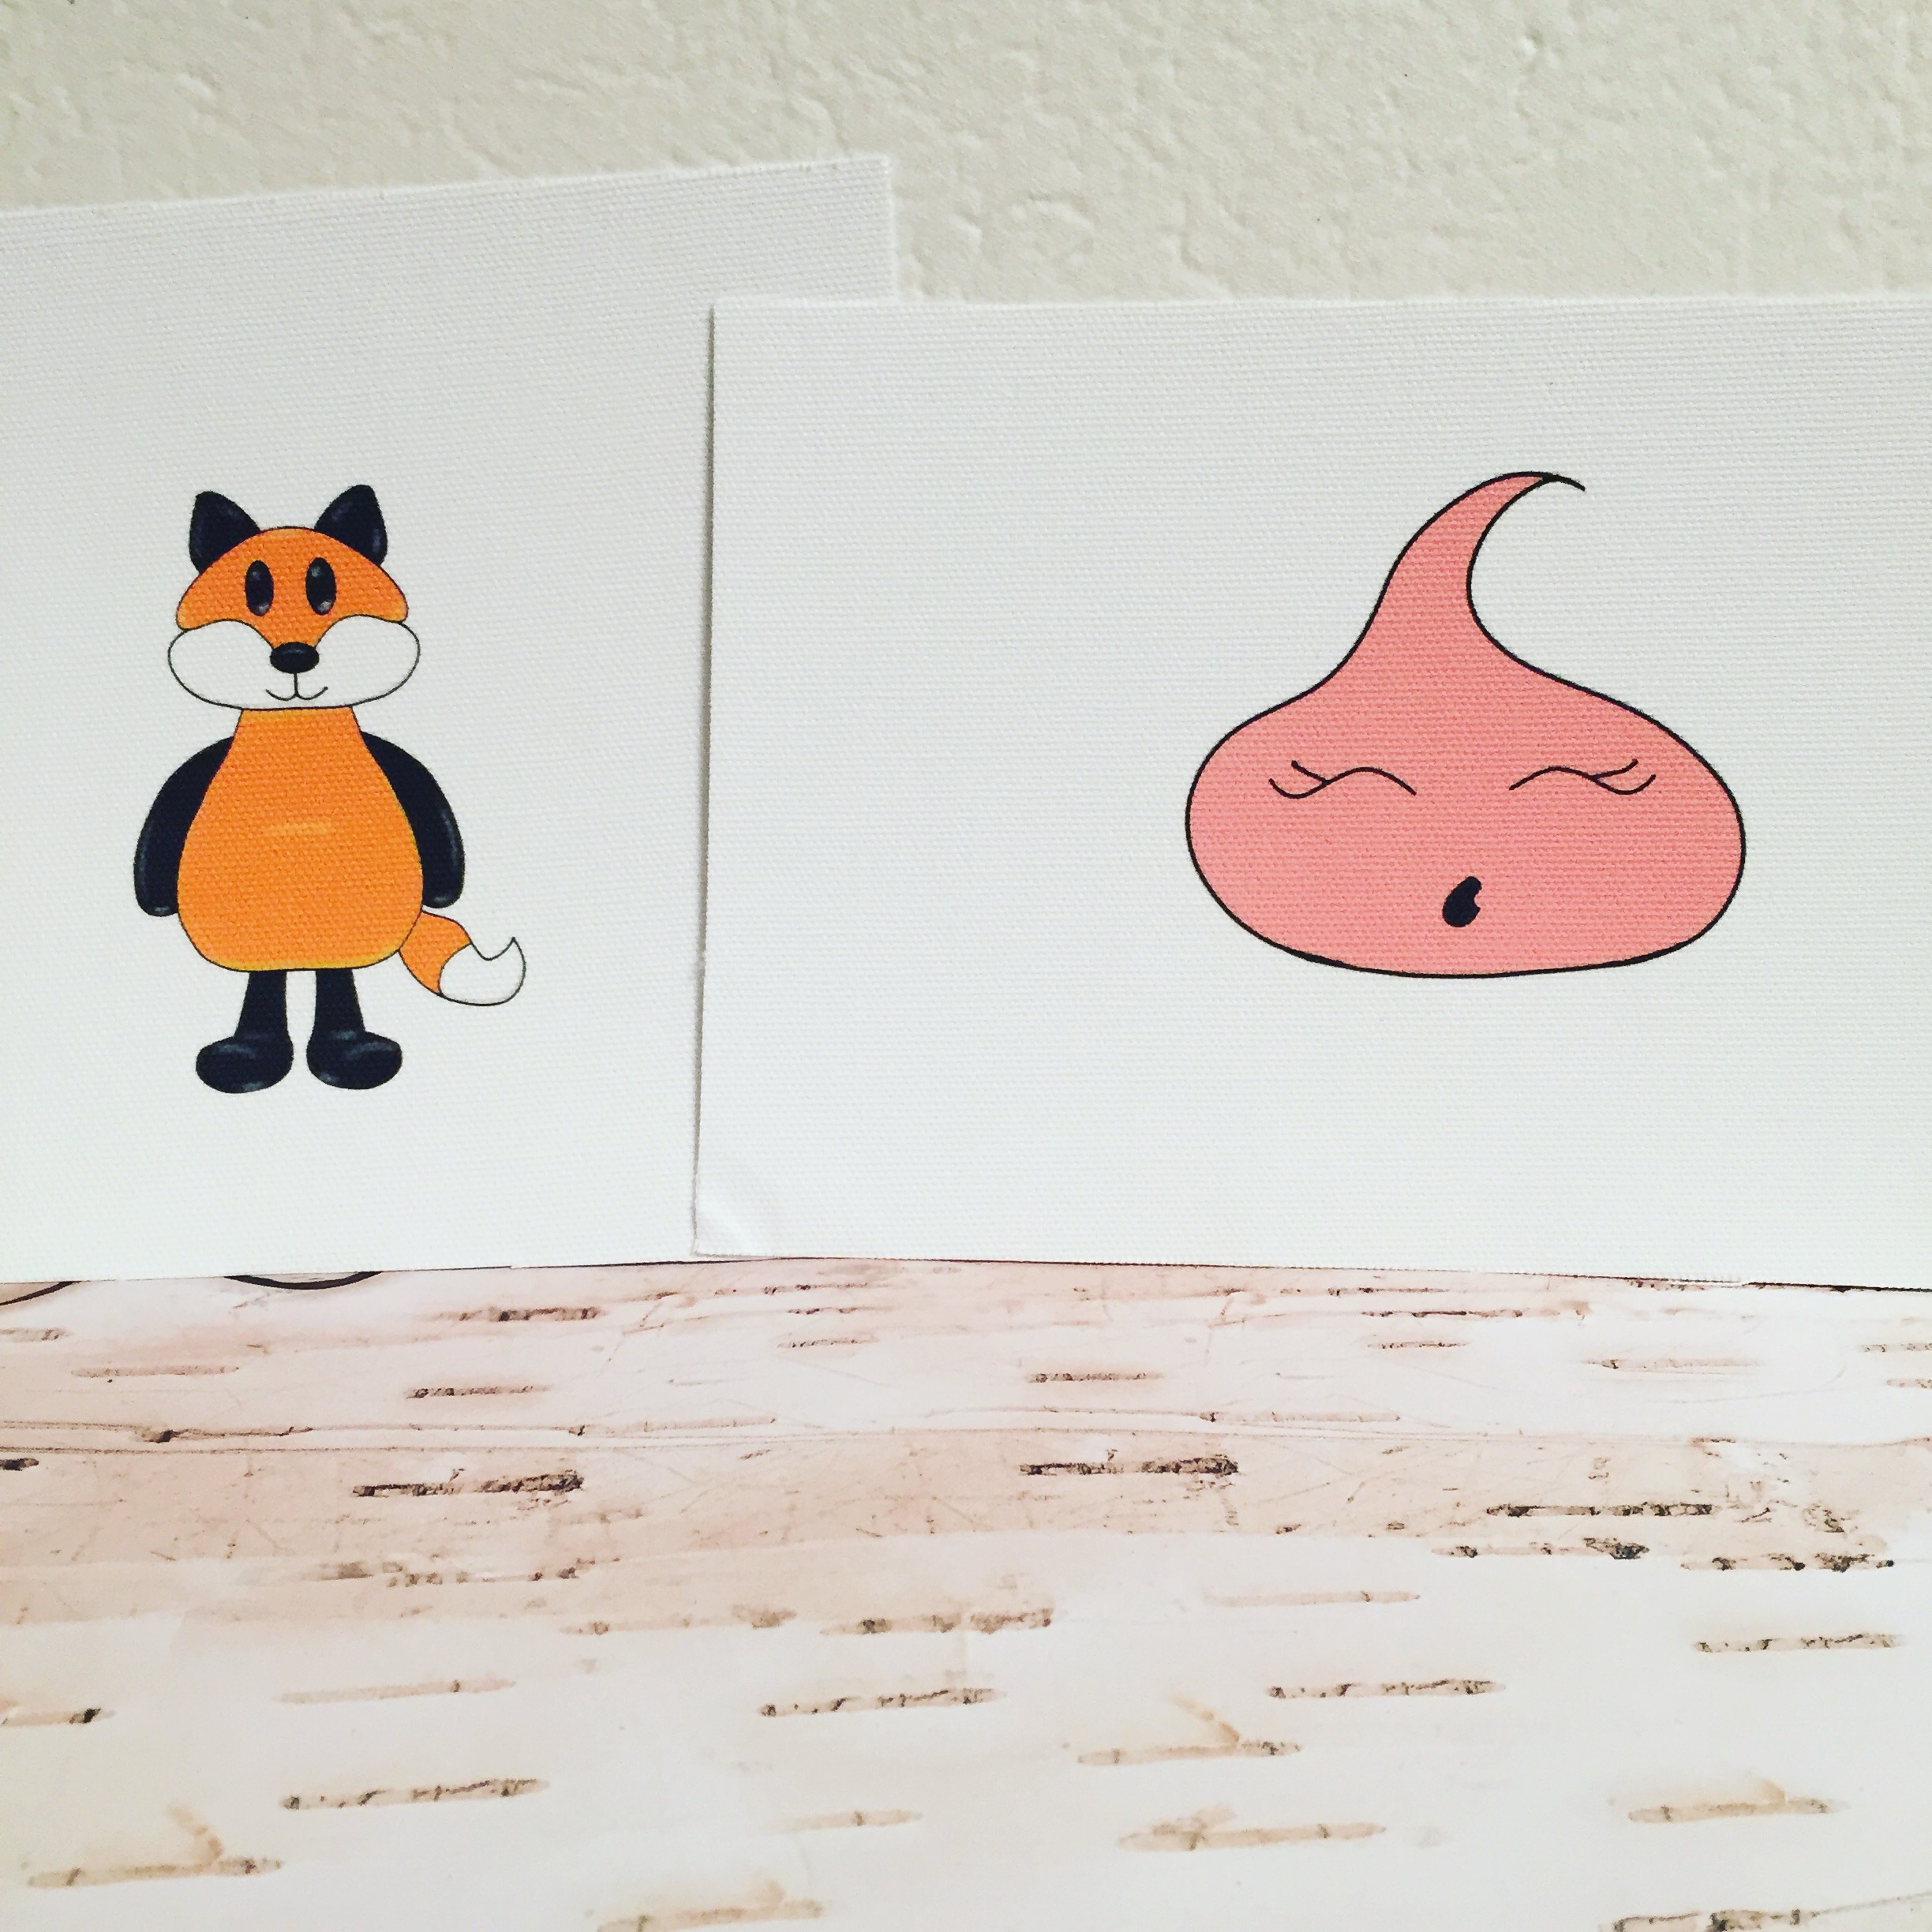
The most satisfying part was getting all of my fox blocks done.  This is also the most challenging part, if you make it through this, everything else is a breeze.


Pressed and ready! 

Pressed and ready! 

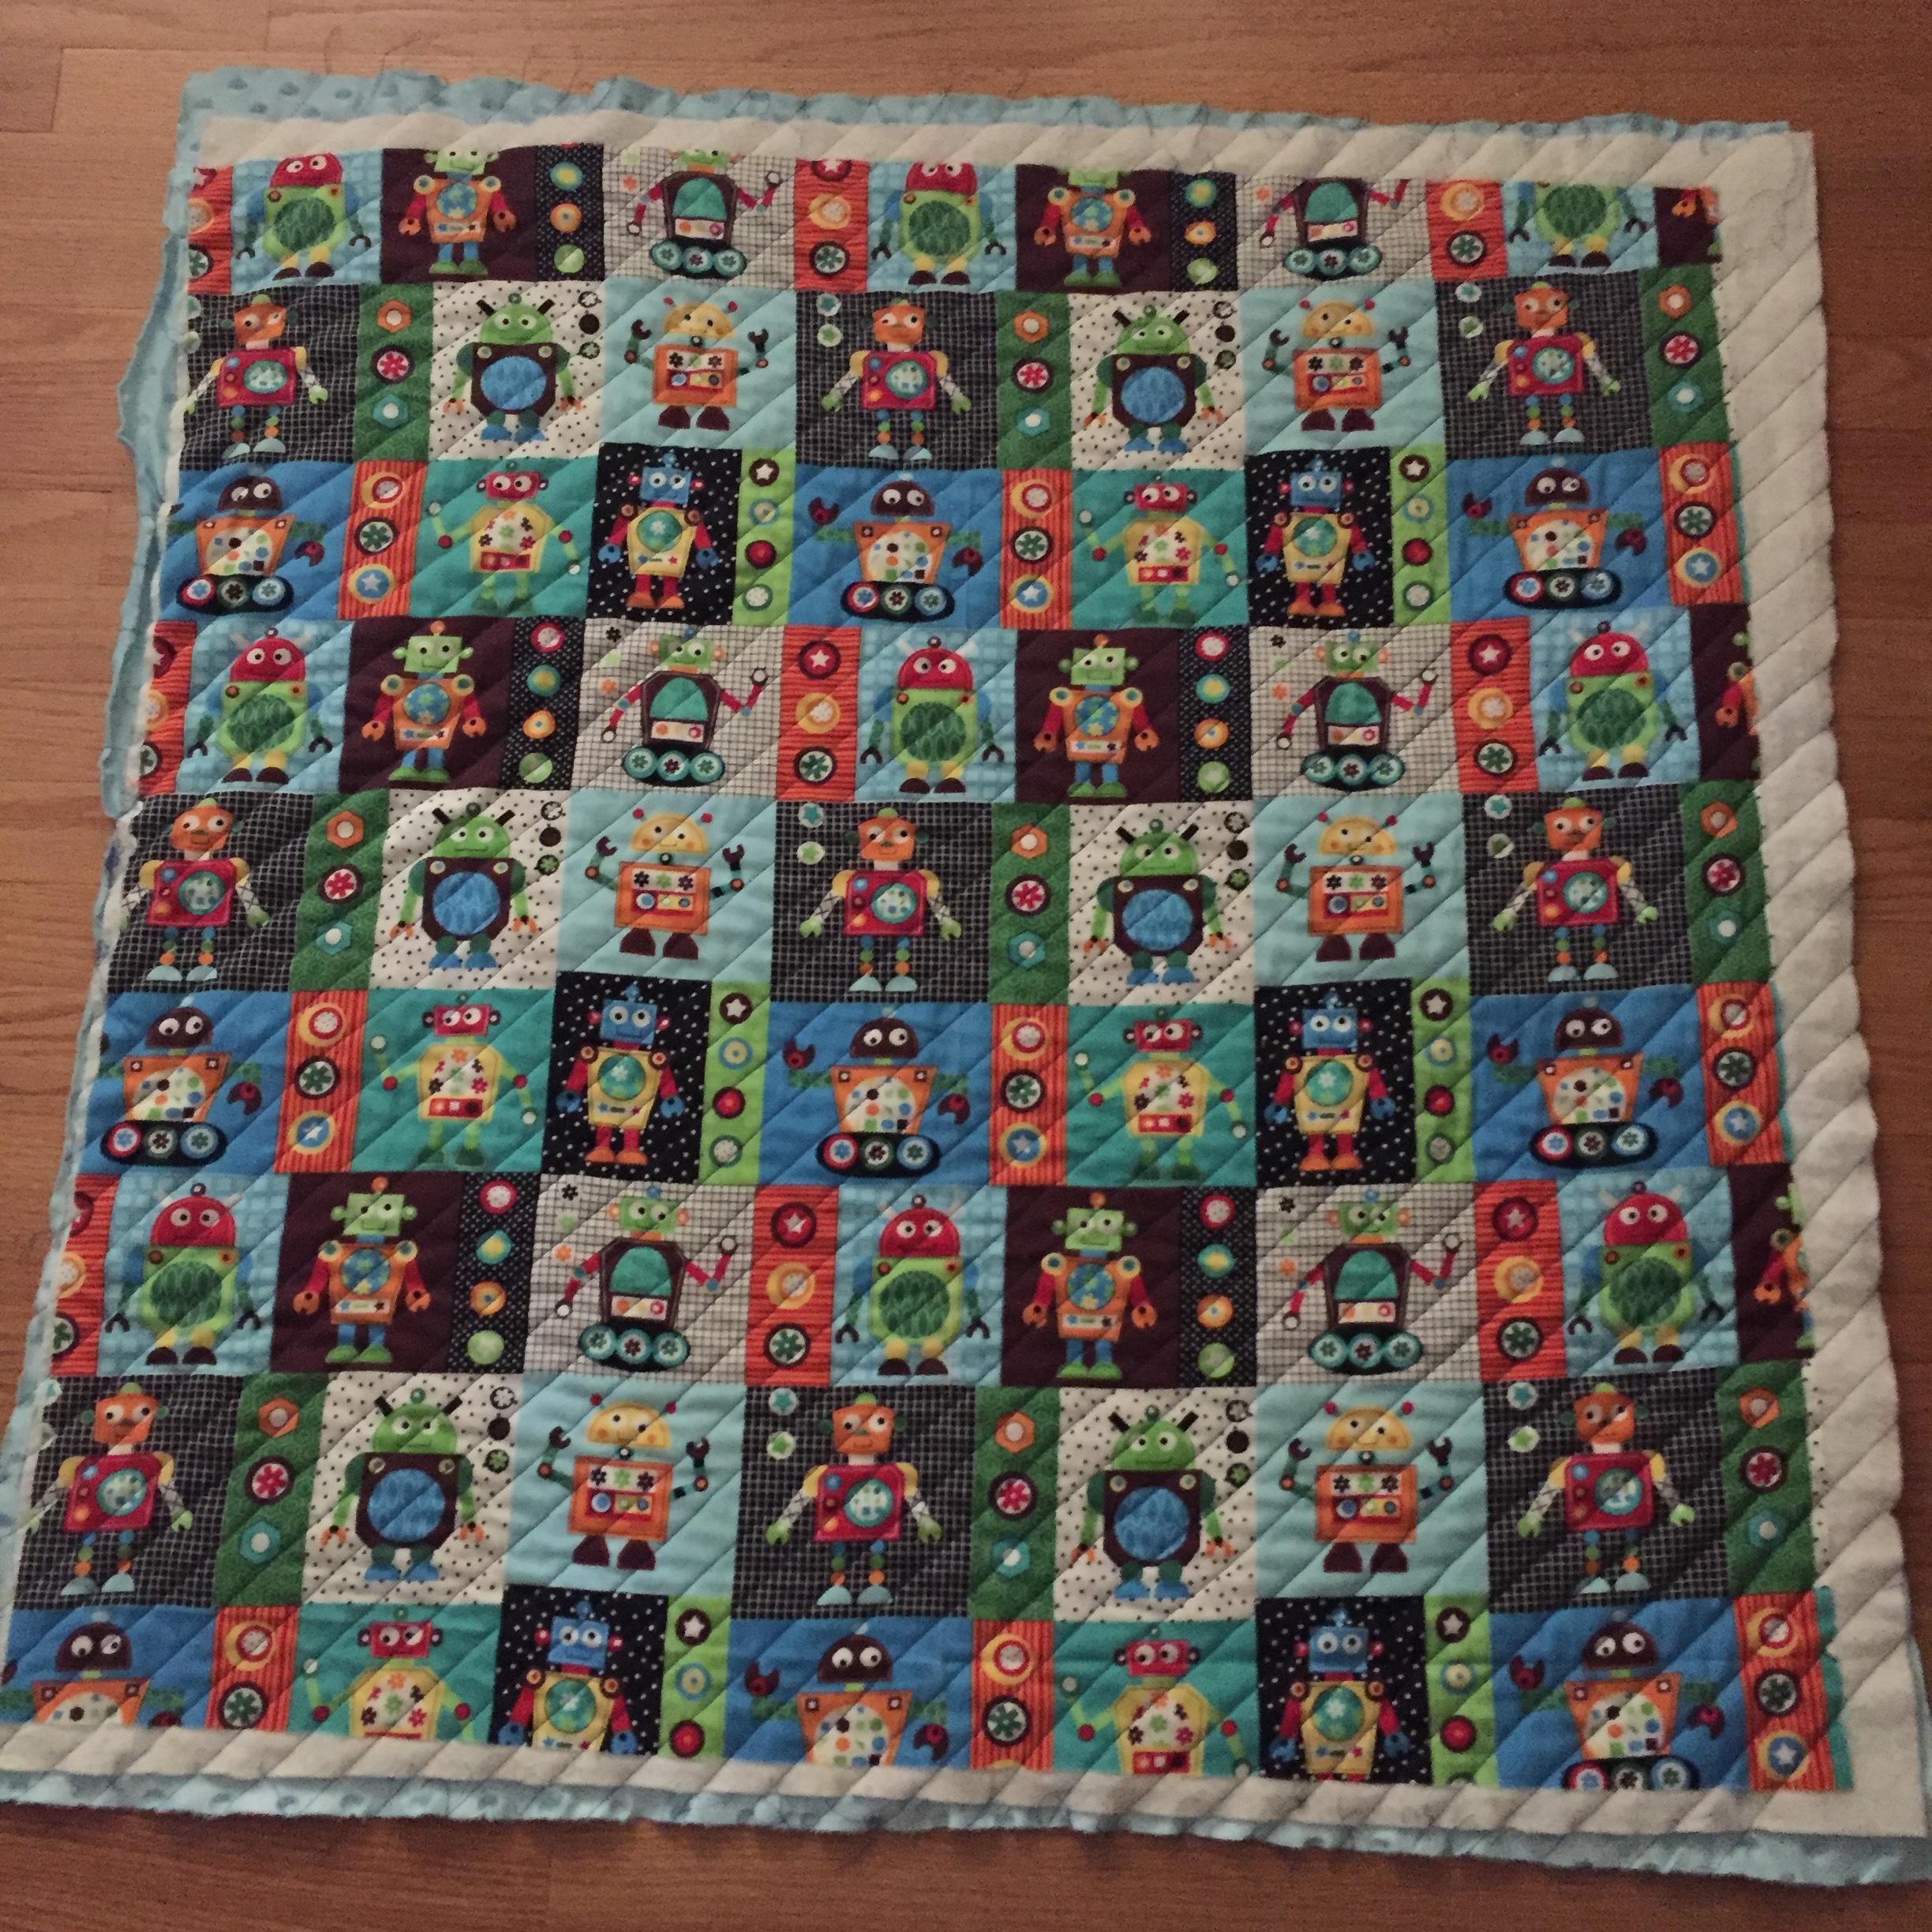
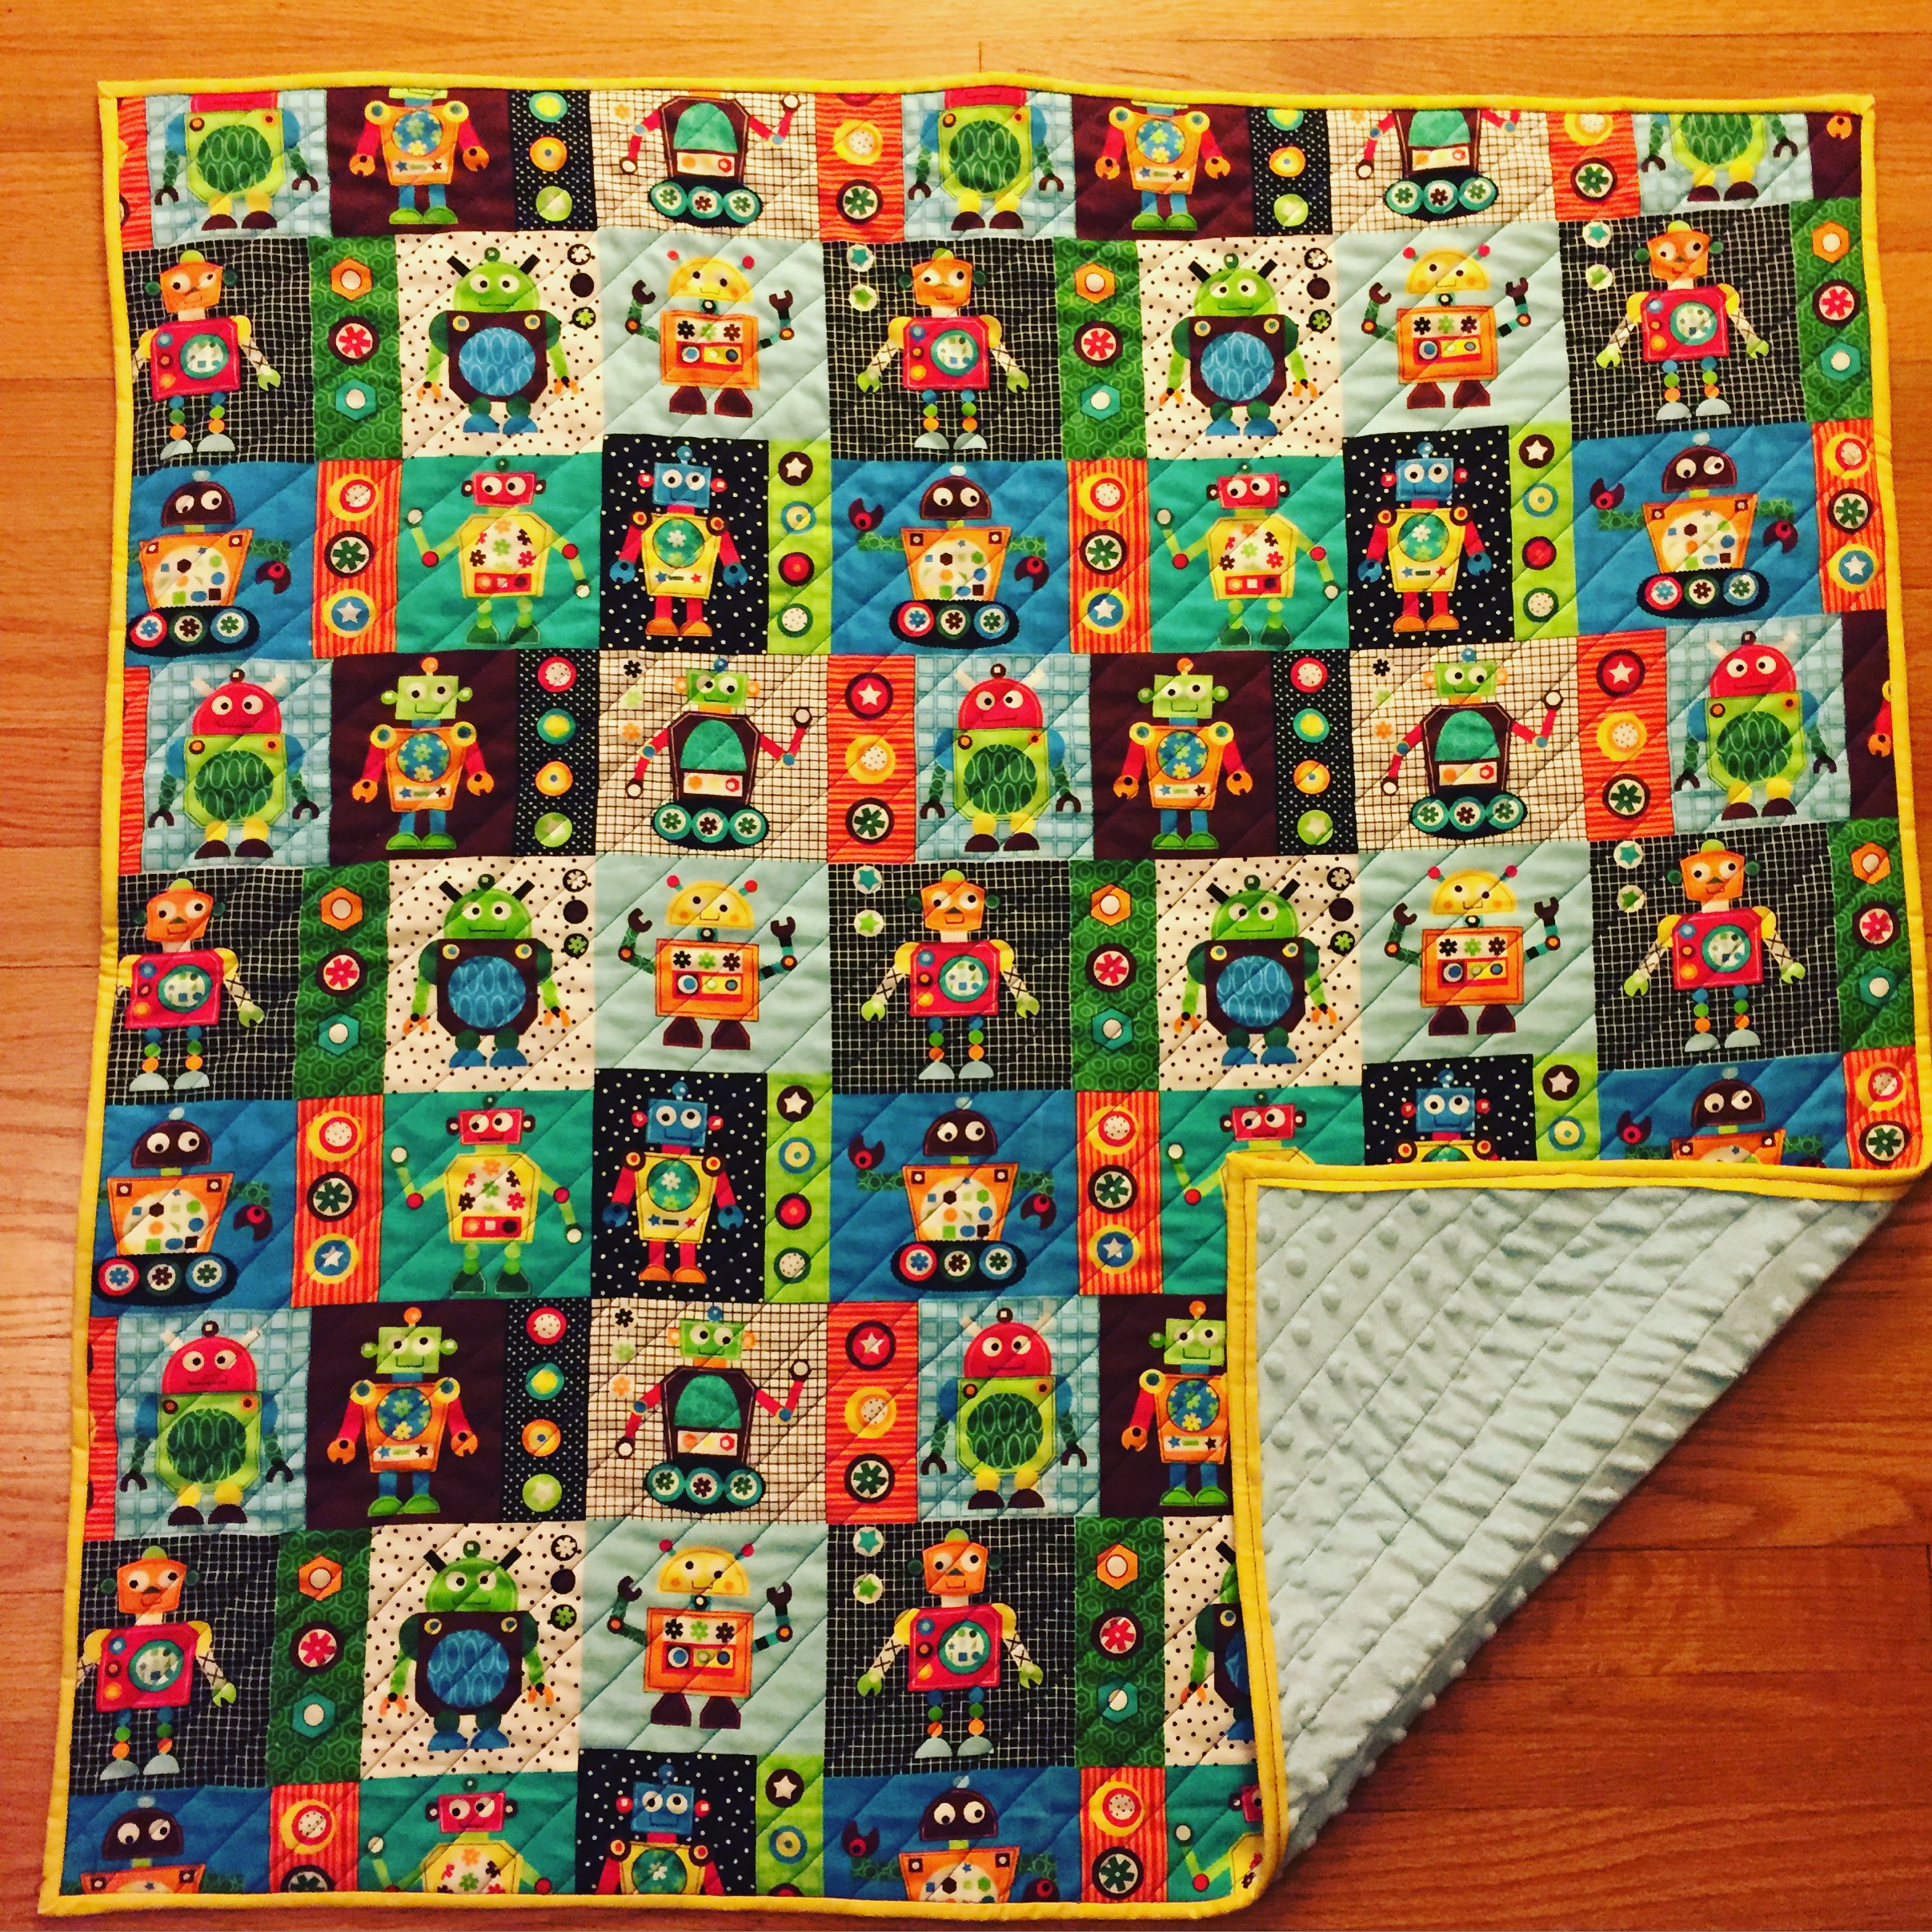
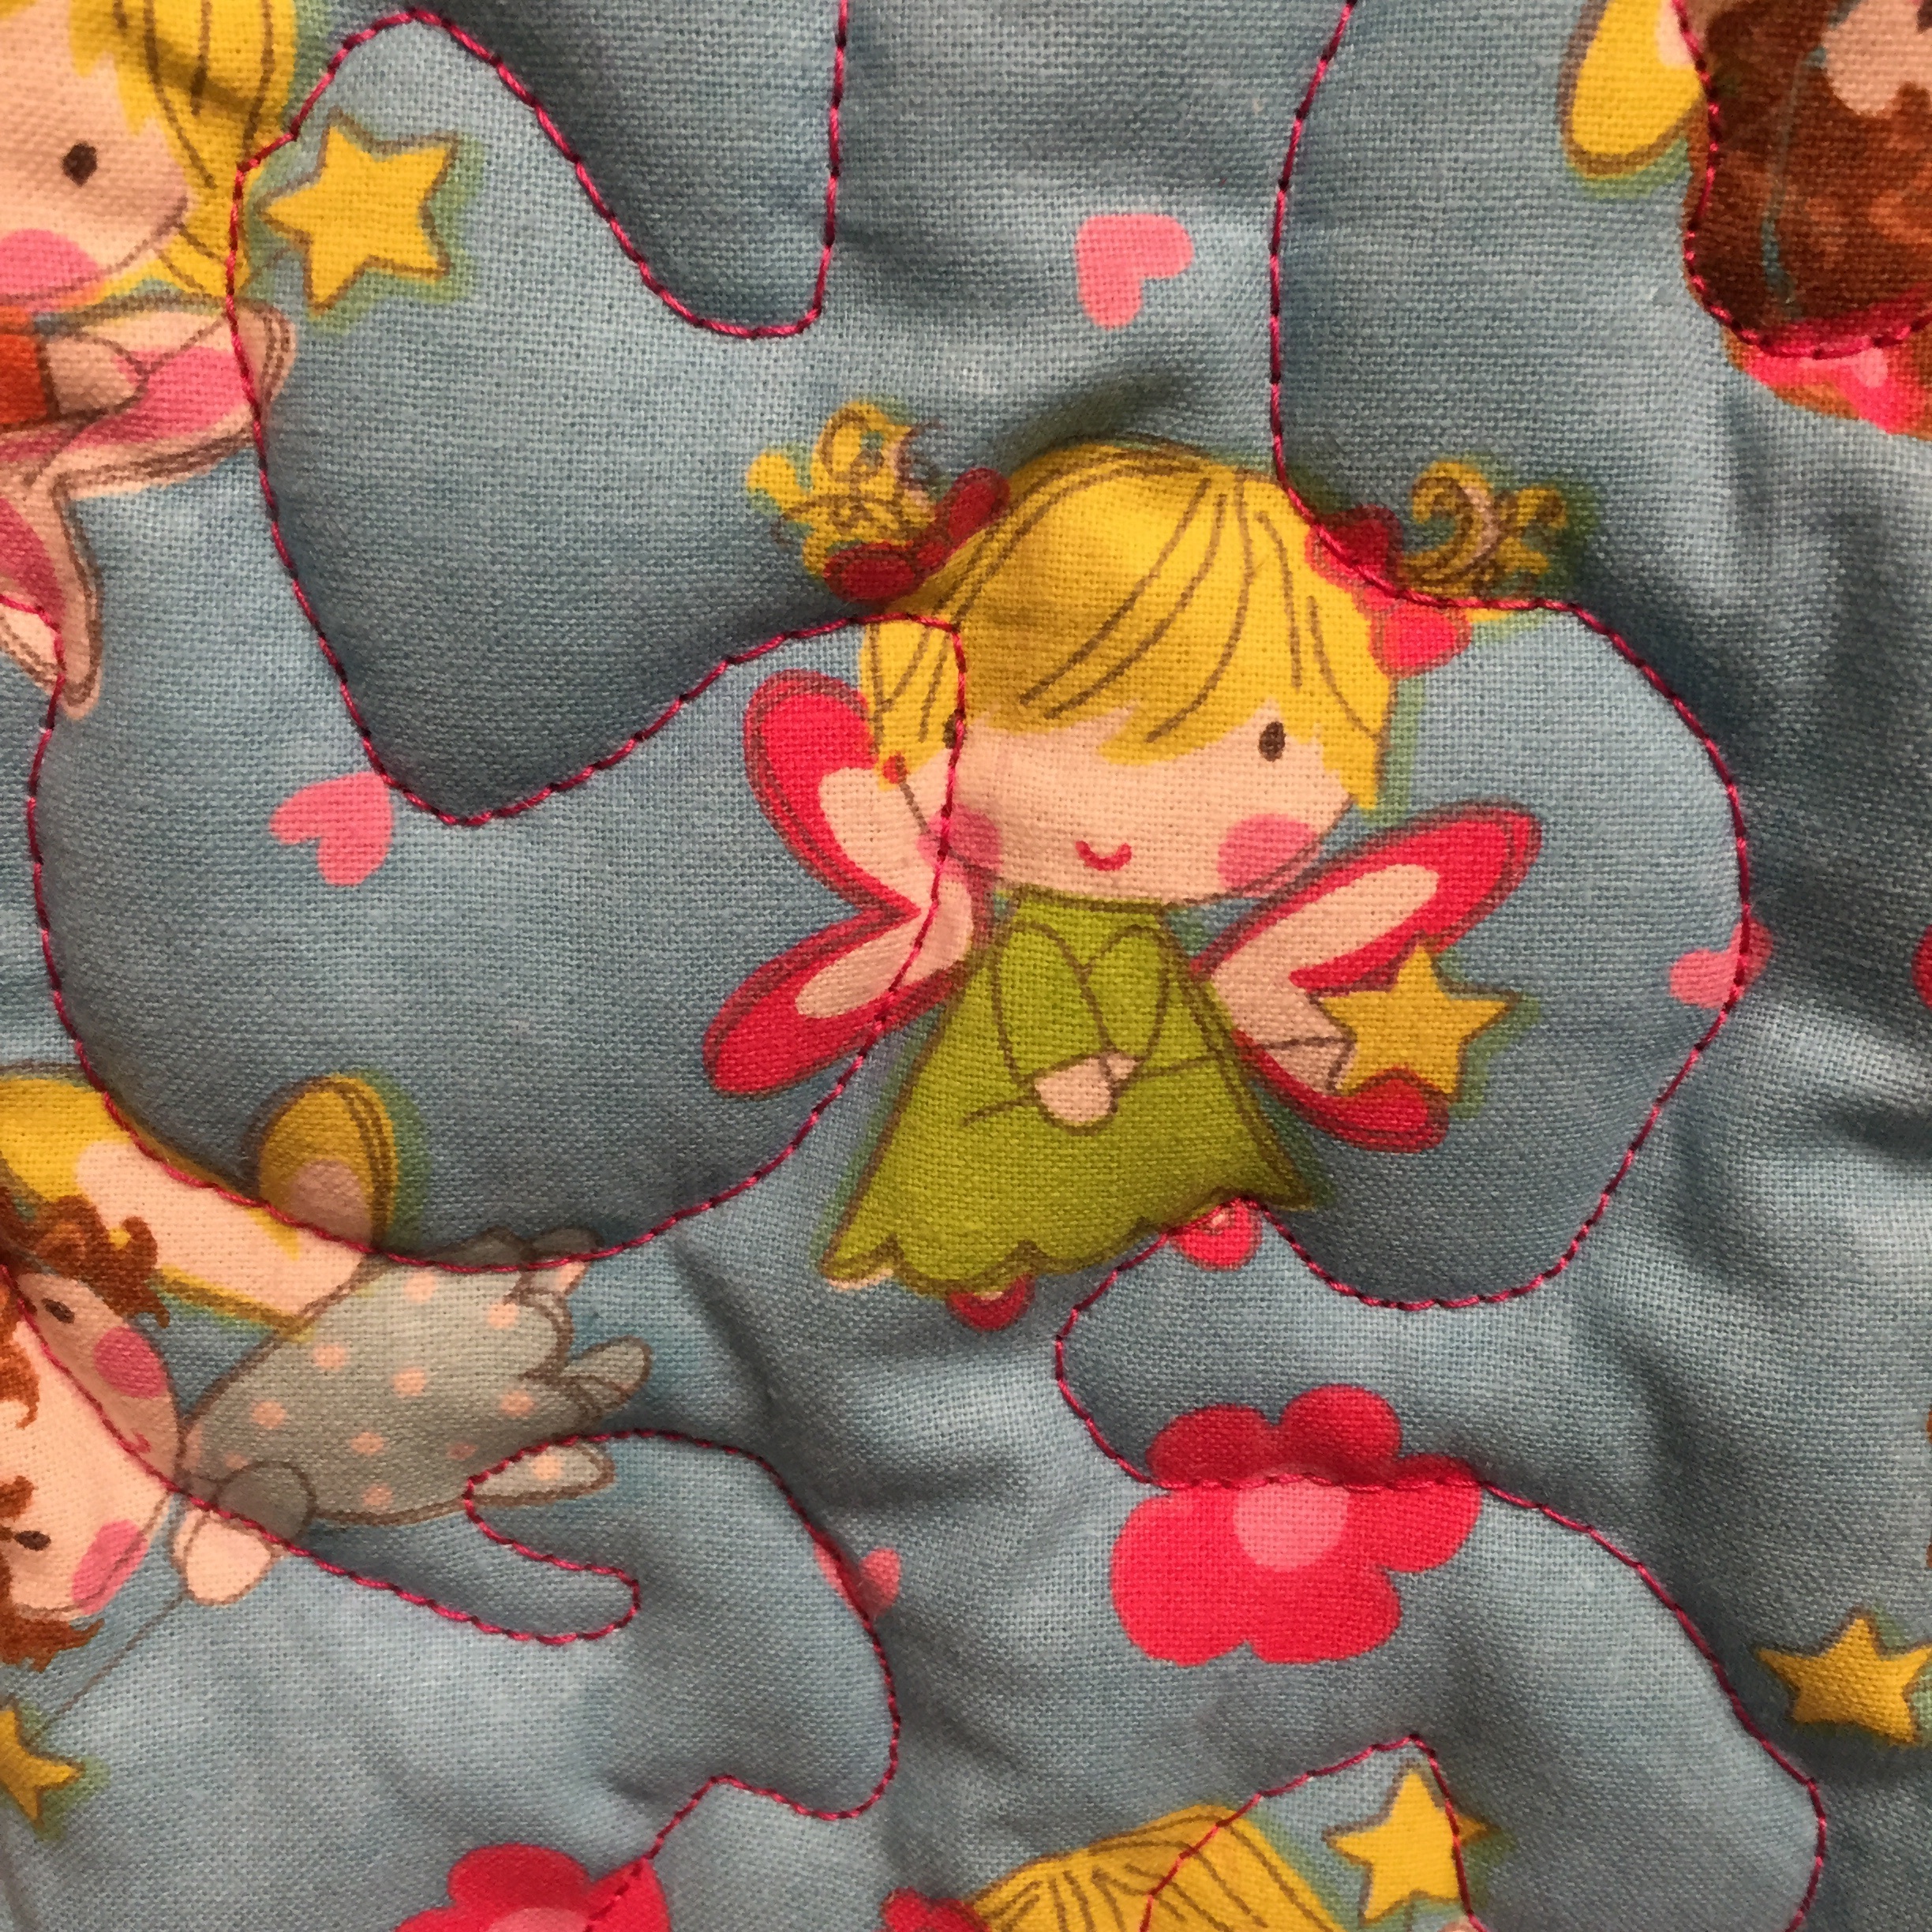
I finished with some simple FMQ and this is now proudly displayed in my cube at work! 


This was before the "final" press. 

This was before the "final" press. 

I had a great time making this and I was able to complete it in a weekend, but you could do it in a few hours if you focus. I think it's totally worth the price and if you use a 40% off coupon, you can get it for under $10. There are several patterns available, so if you want to start quilting, these are great! Thanks for stopping by, happy crafting!

-Gaby

Making Robot Baby Quilts is a Great Way to Spend a Weekend

Blankets, Crafts, Diy, How to, QuiltingGabriela SimsComment

Hi everyone! Gabriela here with my latest project, an easy baby quilt that you can complete on a Saturday morning/afternoon. I bought this fantastic robot fabric from Hobby Lobby and the binding as well.  I decided to use minky for the backing in a baby blue color as this quilt is for a friend having a baby boy.  First I cut a panel of the robot fabric to 36" x 36", I used some Warm & Natural batting cut slightly larger.

Fabric sandwich.

Fabric sandwich.

I tried to keep the edges as straight as possible and then I spray basted the layers.  I wanted to do some simple, clean quilting, so I used some masking tape as a guide and taped it corner to corner and then quilted along each side.

To keep the quilting even, I used my walking foot to measure the spacing.

Once the quilting was finished, I trimmed up and squared the layers.

Time to square up.

Time to square up.

I prepared my binding and attached it to the top.

So I just discovered the joy of Wonder Clips from Clover!  These cut my binding time by at least 1/3, they are handy little clips with an excellent grip.  No more using a bunch of pins and poking myself or watching my pins slip and shift.  I cannot believe I just found out about these!

Binding

Now stitch in the ditch for finishing the binding.

That's it, now you're done!

Front.

Front.

Baby Quilt with Minky

I decided to make this quilt out of one big panel because I really loved this fabric.  You could do this with any fabric that you like and you could even add an appliqué.   I hope you make a ton of quilts like this and please let me know if you have any questions.

As a bonus, I also made this little mug rug for my hubby.

Happy crafting! I'll be posting some new lettering soon too. 

When Sewing Takes Over

Graphic design, Scrapbooking, Blankets, Diy, Graphic, How to, Crafts, Drawing, Sewing, Color, QuiltingGabriela SimsComment

I have been busy making things like there is no tomorrow! I just realized I haven't posted anything in over a week, so today, here is a crafty, sewing showcase.

Let's start with the baby quilt that is a companion to the "Amelia" quilt I made. 


Just like the other one, but different colors.

Just like the other one, but different colors.

I also decided to try working on my own fabric by putting my drawings on mug rugs and I started with one of the Jelly Friends, Tamber Melon and my resident Meowfox Mr. Snugglekins.

Hi guys! 

Hi guys! 

Then I coordinated background fabric and attached them to the centers. 


image.jpg

Finally I applied backing and binding. 


All done!  

All done!  

Posing as a mini rug! 

Posing as a mini rug! 

I cannot stress enough how happy it makes me to create things and I am so happy to have a new way to create by being able sew things and quilt.  I wish I'd been doing it forever, but I'm happy I started at all. I encourage you to start doing whatever it is you would like to do, today!!! I have learned to knit, crochet, paper craft, and sew...in the last 5 years! I keep telling anyone who will listen that I am so happy I started seeing because there's this whole world of fabric and patterns that I have access to now! I am really enjoying sewing and I look forward to improving as I keep working! Tomorrow I will be posting a video about making inked backgrounds for your layouts, happy crafting!

Quilt Fabric Storage Idea with the Big Shot

Sewing, Diy, How to, Quilting, Crafts, Storage, TutorialGabriela SimsComment

Hi everyone! I just started using my Sizzix Big Shot to cut fabric and I had an epiphany. I'm a modern quilter and I love jelly roll quilts. I was cutting some fabric last night and decided to "kit" my jelly rolls. 


Cutting 2.5" strips

Cutting 2.5" strips

Strips galore! 

Strips galore! 

Then I put them into groups I would probably use together. 


I tied the rolls with scrap strips from cutting.

I tied the rolls with scrap strips from cutting.

Then I can just stack them up and save space! This would make an awesome gift for a fellow quilter as well. Hope this helps organize your stash, happy crafting!

Easy Baby Quilt With Appliqué

How to, Diy, Sewing, Quilting, ColorGabriela SimsComment

Hey there! Gabriela here with another quilt project. This time I decided to do a modern quilt with a little appliqué. I am making two of these quilts so I cut all of my fabric at once. 


The white is my background and the fairies will be my center. 

The white is my background and the fairies will be my center. 

Next I laid out my blocks to get a feel for how much space I would have for the appliqué.  


A little rough. 

A little rough. 

Then I pressed and sewed the blocks together. 


All squared up!  36" x 36"

All squared up!  36" x 36"

I did the appliqué by drawing my letters on my Cricut Explore.


I did this in Design Space. 

I did this in Design Space. 

Then I fussy cut the letters and heart. 


A little curled up. 

A little curled up. 

I applied Heat n' Bond to the backs and pressed them. 


Crispy and fresh! 

Crispy and fresh! 

Next I fused them to the quilt top and stitched around the edges. 


image.jpg

Then I attached the back and the batting!


image.jpg

Now the quilting! 

Trying out free motion. 

Trying out free motion. 

Then the binding and it's done. 


image.jpg

I'll be making another quilt like this and then making a Queen size quilt after that. I hope the directions were clear, happy crafting!