Gab with Gaby

An engineer's creative corner studio.

Cards

Gab about Lawnfawnatics - Wonderful Winter

Color, Christmas, Coloring, Cards, Paper crafting, Lawn FawnGabriela Sims2 Comments

Hi everyone! Anyone who reads my blog knows I’m a longtime Lawn Fawn fan. I finally decided to try one of the challenges. This time it’s Wonderful Winter, so I used the Winter Skies set, my Copic Ciaos, and some tips from Sandy Allnock in this amazing video.  I might try this again with a pastel winter sky or maybe a fall sky/background.  Take a look at Sandy’s channel for a ton of coloring tips for Copics, Watercolor, and Colored Pencils. 

IMG_1016.JPG


I have linked* to the stamps and dies below below and until next time, be safe in these crafting streets.

Lawn Fawn Stamp Sets

Lawn Fawn Die Sets

Copic Markers

Happy Crafting,

Gaby

*Affiliate links


Scatter Kindness Card

How to, Watercolor, Cards, ColoringGabriela SimsComment

Hi there, it's Gaby and today's tutorial is about making a background with markers and embossing powder. I will be showing how to make the card below; it may look complex, but it's easy to do.

This uses lots of heat embossing. 

This uses lots of heat embossing. 

I started by creating my background and used Bristol paper because I wanted to use my Tombow markers to "watercolor". The Bristol paper is cut to 4-1/4x 5-1/2. 

I love seeing all the colors! 

I love seeing all the colors! 

I used a Winnie & Walter "Kindness" stamp set and some Versamark ink to stamp multiple leaves to create my background. 

Such a unique stamp set with great sentiments. 

Such a unique stamp set with great sentiments. 

IMG_0077.JPG
IMG_0078.JPG

Then I used white embossing powder on the paper and heat set it. 


I catch the powder in a coffee filter to put it back in the jar. 

I catch the powder in a coffee filter to put it back in the jar. 

IMG_0082.JPG
IMG_0083.JPG

Next I added some color with my markers and just put them in different areas and used a water brush to blend them. 


IMG_0085.JPG
IMG_0086.JPG

Once I added a little pink and blended it all, I grabbed some metallic gold to add splatters.


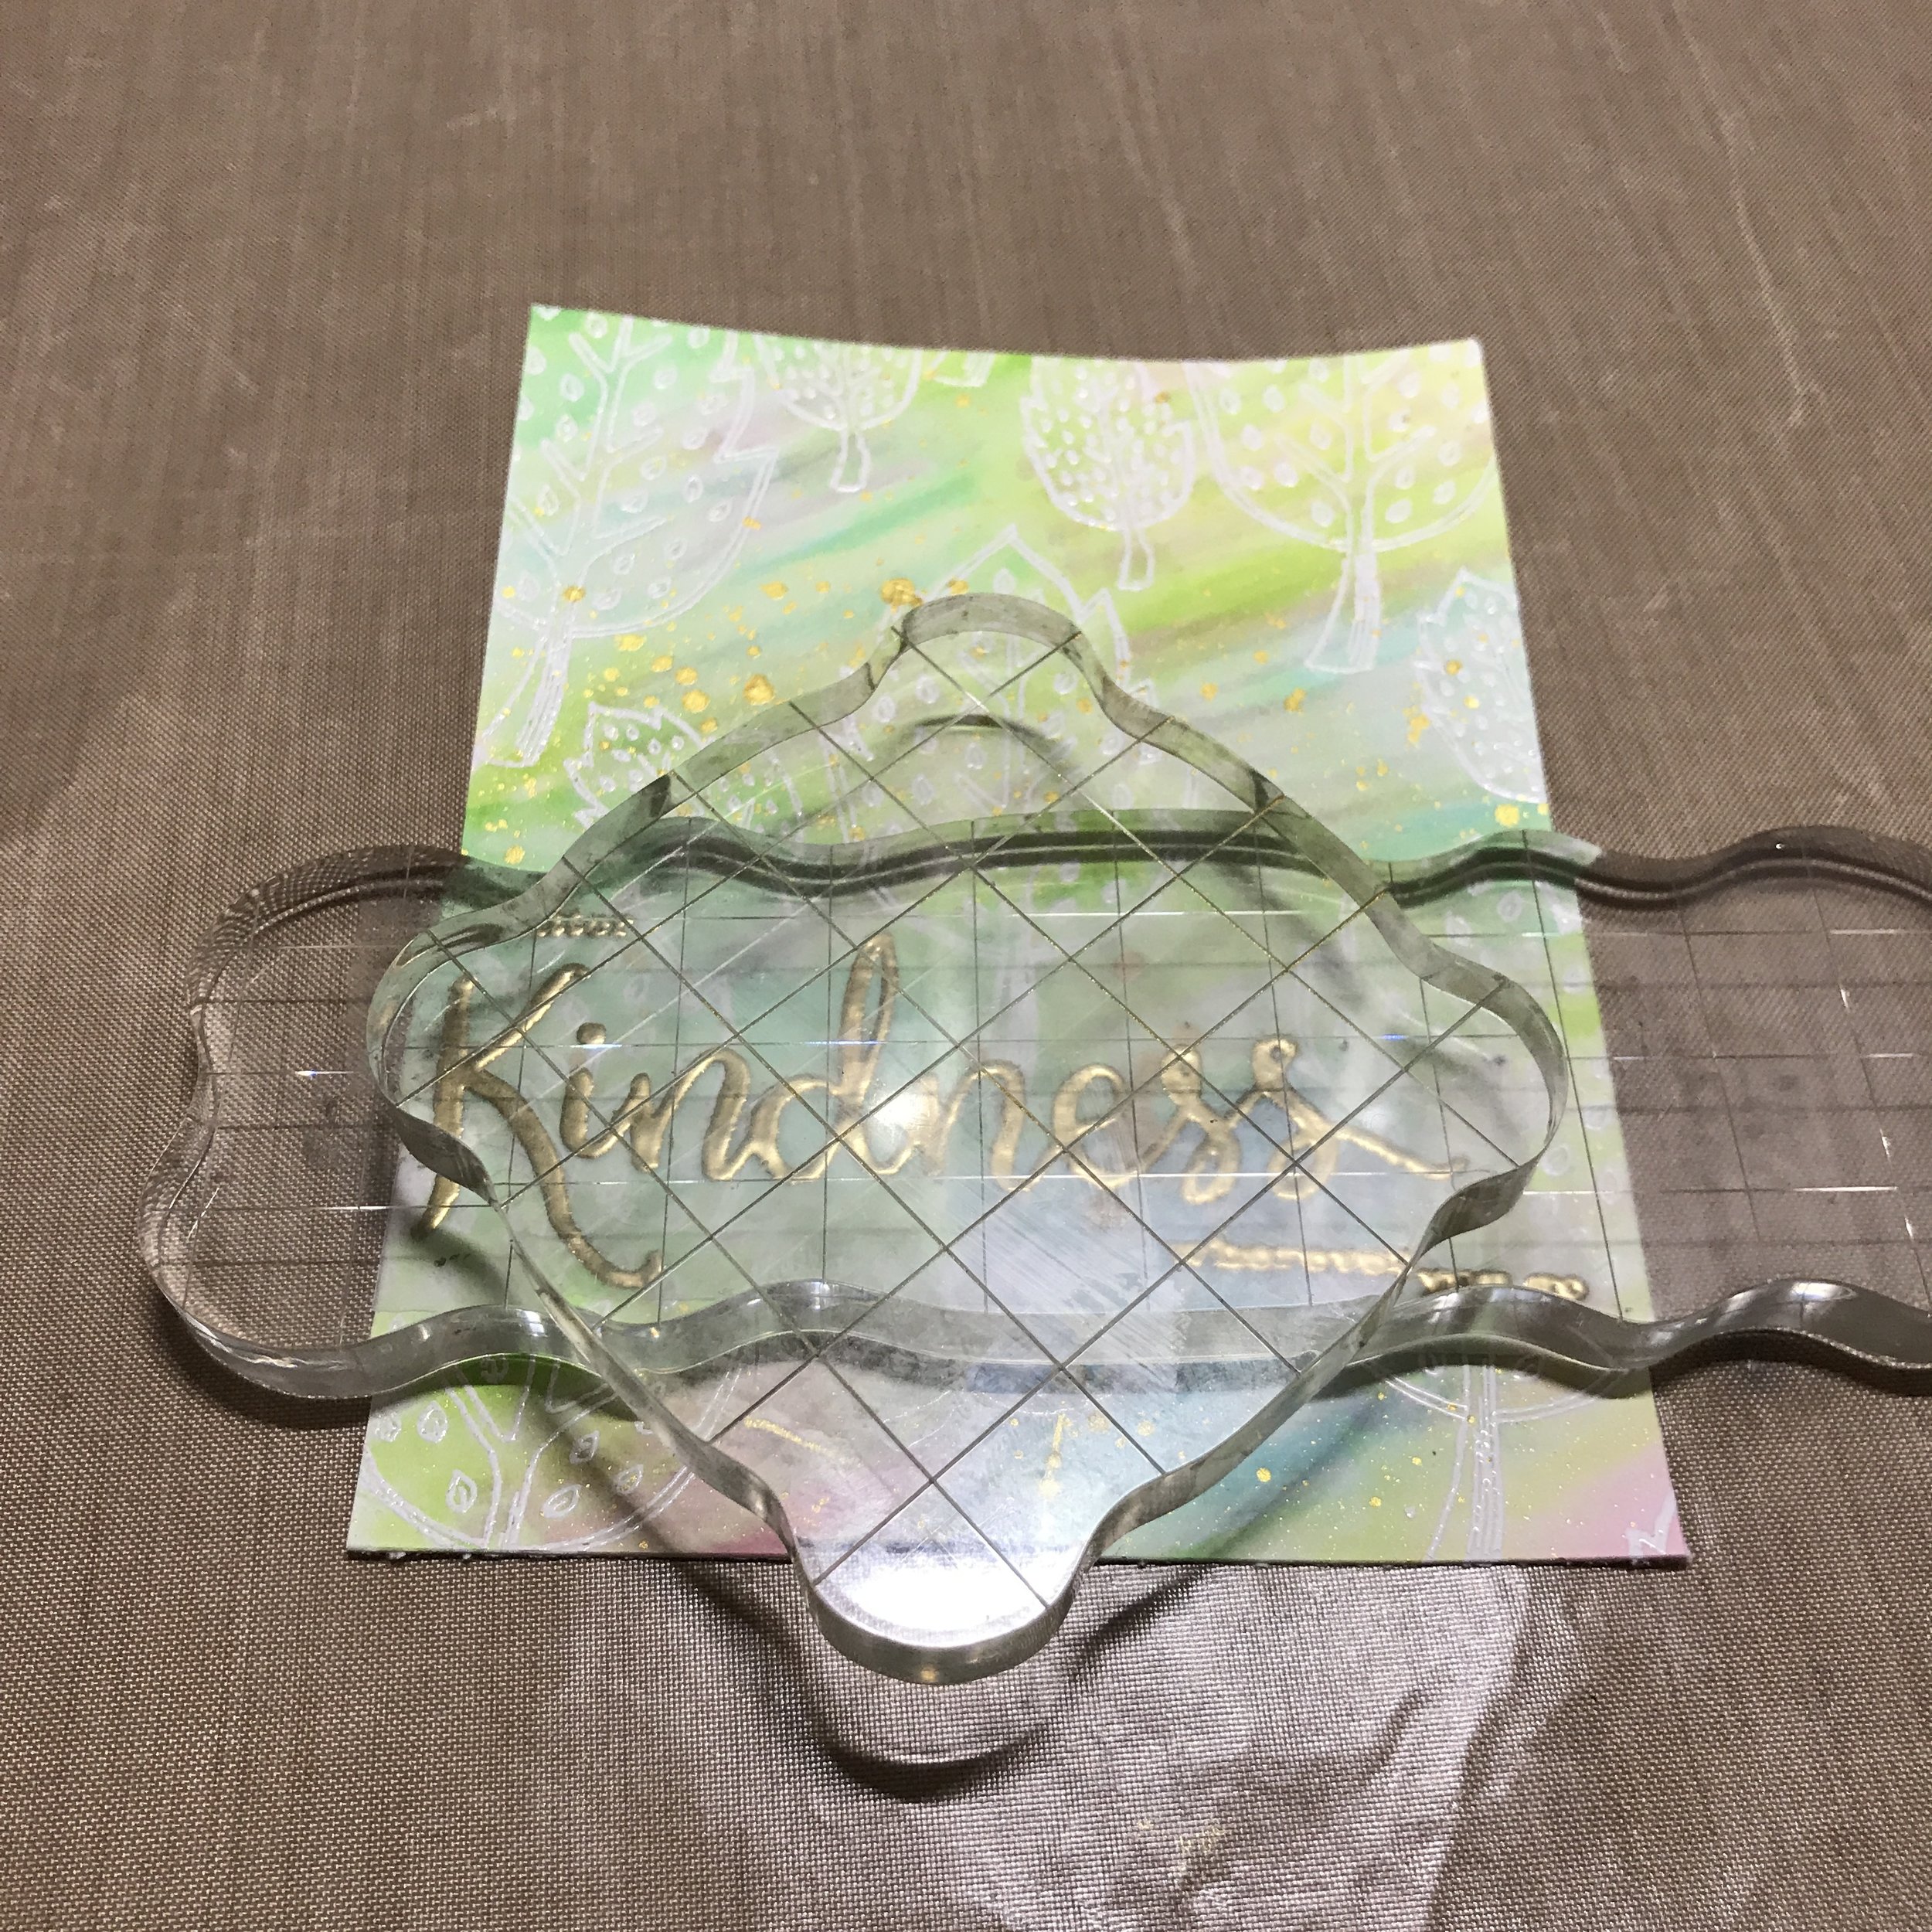
I used an acrylic block as a "palette". 

I used an acrylic block as a "palette". 

Then I stamped the sentiment in gold embossing powder on vellum. 


IMG_0091.JPG

I heat set it and cut it into a banner shape. I used a Tombow glue pen to trace behind the embossing so the glue would be invisible from the front.


IMG_0094.JPG

I weight the vellum down with some acrylic blocks to let the glue dry.

IMG_0095.JPG

Finally, I taped the card front to a top folding notecard. 


FullSizeRender.jpg

That's it, you're done! I hope this post was helpful and that you have a chance to try some of these techniques. Happy crafting! 

-Gaby

My Monthly Hero - April 2017 Review and Card

Cards, Crafts, Paper crafting, Reviews, Unboxing, Hero ArtsGabriela SimsComment

Hello there! I hope you are doing well.  I recently ordered my first kit from Hero Arts' My Monthly Hero Kit and I will be reviewing that today and making a card. I received my kit on Friday and made a card the same night because I was so excited about it.  I have been of the fence a few times with kits and ultimately did not buy them, but I am very happy with this one. You get a really nice value, the kit is $34.99 plus shipping, but the stamp and die set would probably cost that much on their own, so it's like all of the other things are free.  Check out the review below.


As you can see, I am very happy with this kit and that card came together very quickly. I have not started a subscription yet, but I will be keeping an eye out on the kit contents from now on.  Thanks for stopping by and happy crafting.

-Gaby

Lawnfawnatics Challenge - Interactive Cards

Lawn Fawn, Crafts, Stamps, CardsGabriela Sims3 Comments

Hi there! I absolutely love Lawn Fawn products and I thought I would play along with this challenge.   The theme for this one is  interactive cards. I used the "Bicycle for You" and "Bun in the Oven" stamp sets for this as well as the "Simple Road Border" die. This was so fun to make and when you pull the tab, the bicycle moves. I used "Slide on Over" to create the slider portion.

IMG_6917.JPG

Here is a quick video to show him riding along!

I used the tiny faces from "Bun in the Oven" for the balloons and the "Congrats!" from that set for the pull tab. I did not make a video for this card, but I might recreate it in the future. Thanks for stopping by and happy crafting! 

 -Gaby