Gab with Gaby

An engineer's creative corner studio.

Gab with Gaby Stamps

Gab about Foiling - Embossing Powder and Stamps

Stamping, Tutorial, Sending All These Things, The Gab with Gaby Shop, Techniques, Gab with Gaby Stamps, FoilingGabriela SimsComment

Hello there! Today I am sharing a new discovery that I made using my Sending All These Things stamp set and my Minc. I love using my Minc and am always looking for new ways to use it; I’m also a big fan of stretching my stamps. I decided this technique would make a great video tute, so I filmed the whole process, this includes the first attempt that was a total disaster. 


If you do not have time to watch the video, what I learned is that you can use any stamp set that you have with clear embossing powder. Turn your Minc on to the “1” heat setting until the light is green, then let it cool down for about 5 minutes and turn it back on, you can set it to, “0” this time and run your image through with the foil on top inside the carrier folder (or copy paper) and you will get a crisp, foiled image. This means you can now foil tons of images and get completely new looks!


522D2221-1E1B-42FA-A4F5-B952BF0FF0DB.JPG
60B6CE5C-7FB1-4E2D-BC39-38F5E116802C.JPG

I foiled this stamp 2 times, 3 if you watched the video, and added some sequins and starts to finish the card. Any heat foil will work, I used some Deco Foil and some Minc Foil and both results were gorgeous. 

Until next time, stay safe in these crafting streets. 

Happy crafting, 

Gaby

I have linked the supplies I used below: 

Sending All These Things

Sunshine Sequin Mix

Decorate an Envelope

Stamping, Gab with Gaby Stamps, Paper crafting, The Gab with Gaby ShopGabriela SimsComment

Hi there, Gaby here with an idea you can use to pretty up any envelope!  I used Tombow markers for this and a Wink of Stella pen.


IMG_0158.JPG

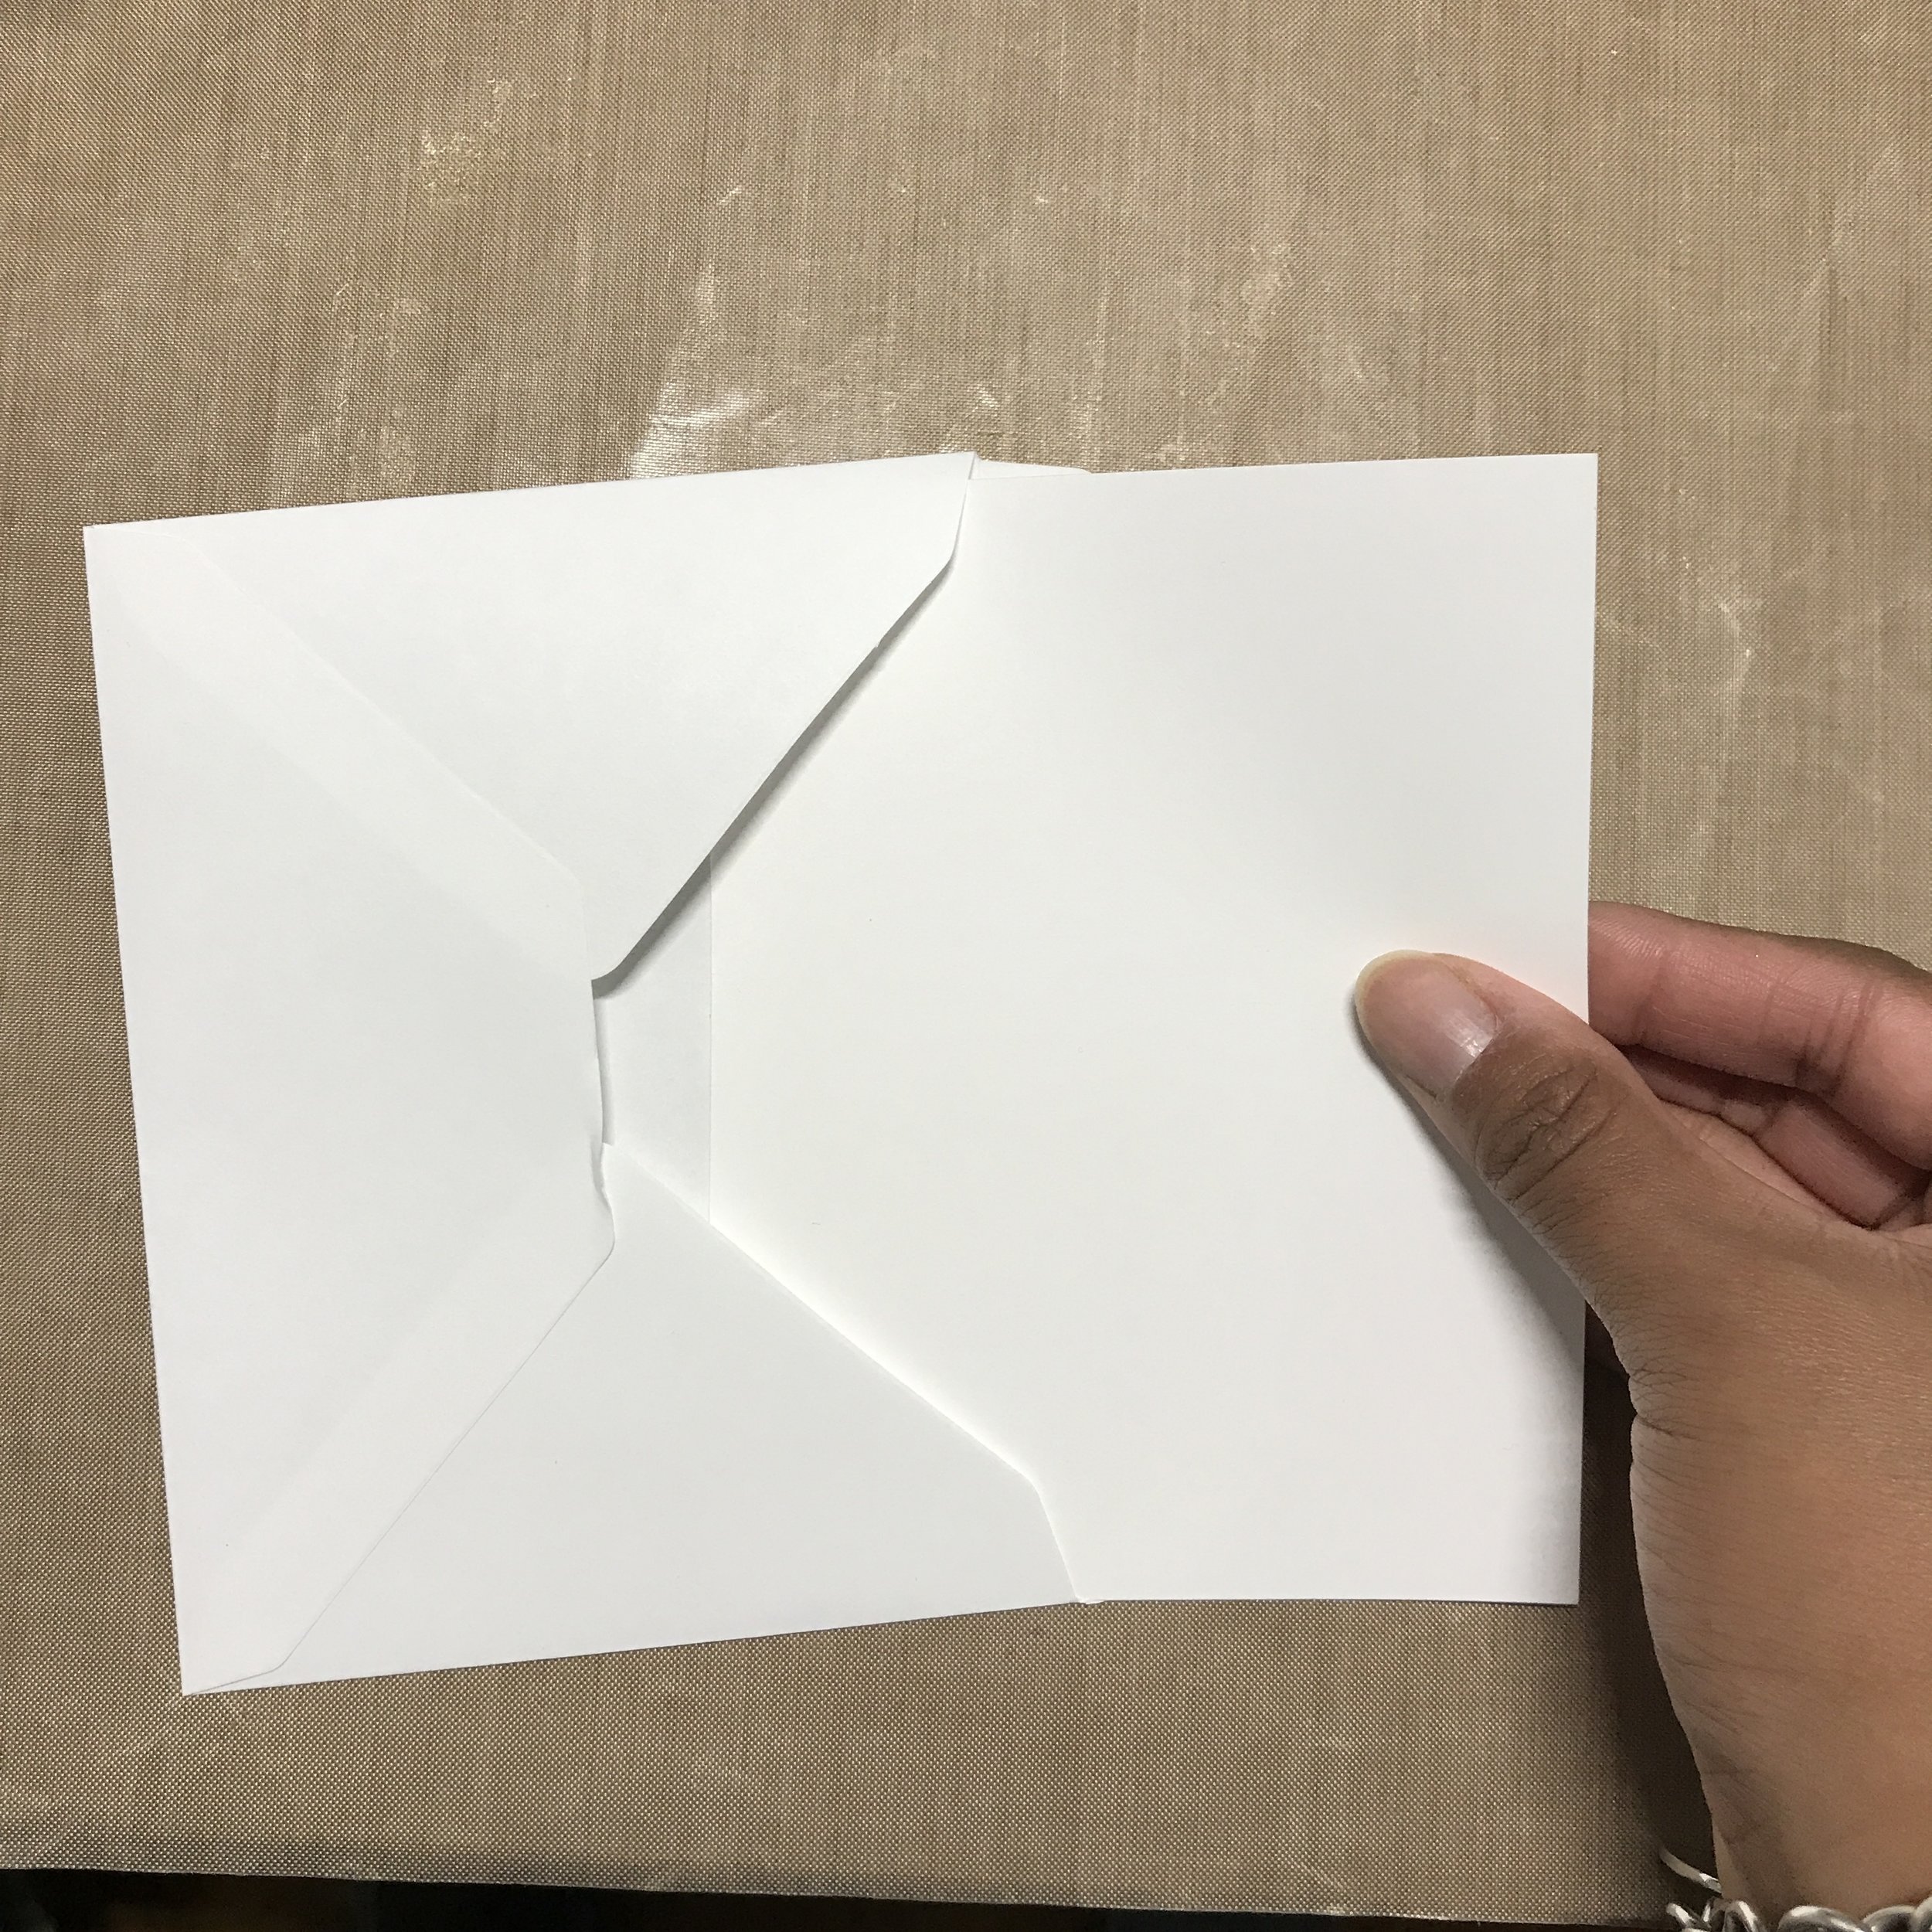
I put a piece of card-stock in the envelope to keep any ink from seeping through the paper.


IMG_0123.JPG

I started by using the Meet The Jelly Friends stamp set and did some masking to group three of them together. I used pigment ink here so my stamped image would not bleed.


Hey guys!

Hey guys!

IMG_0129.JPG

I did my coloring here by doing the back ground first and then coloring in each stamped image.

IMG_0134.JPG

I added my Wink of Stella and then used my Monotwin to fill in the part of my sentiment that did not fully stamp.

IMG_0138.JPG

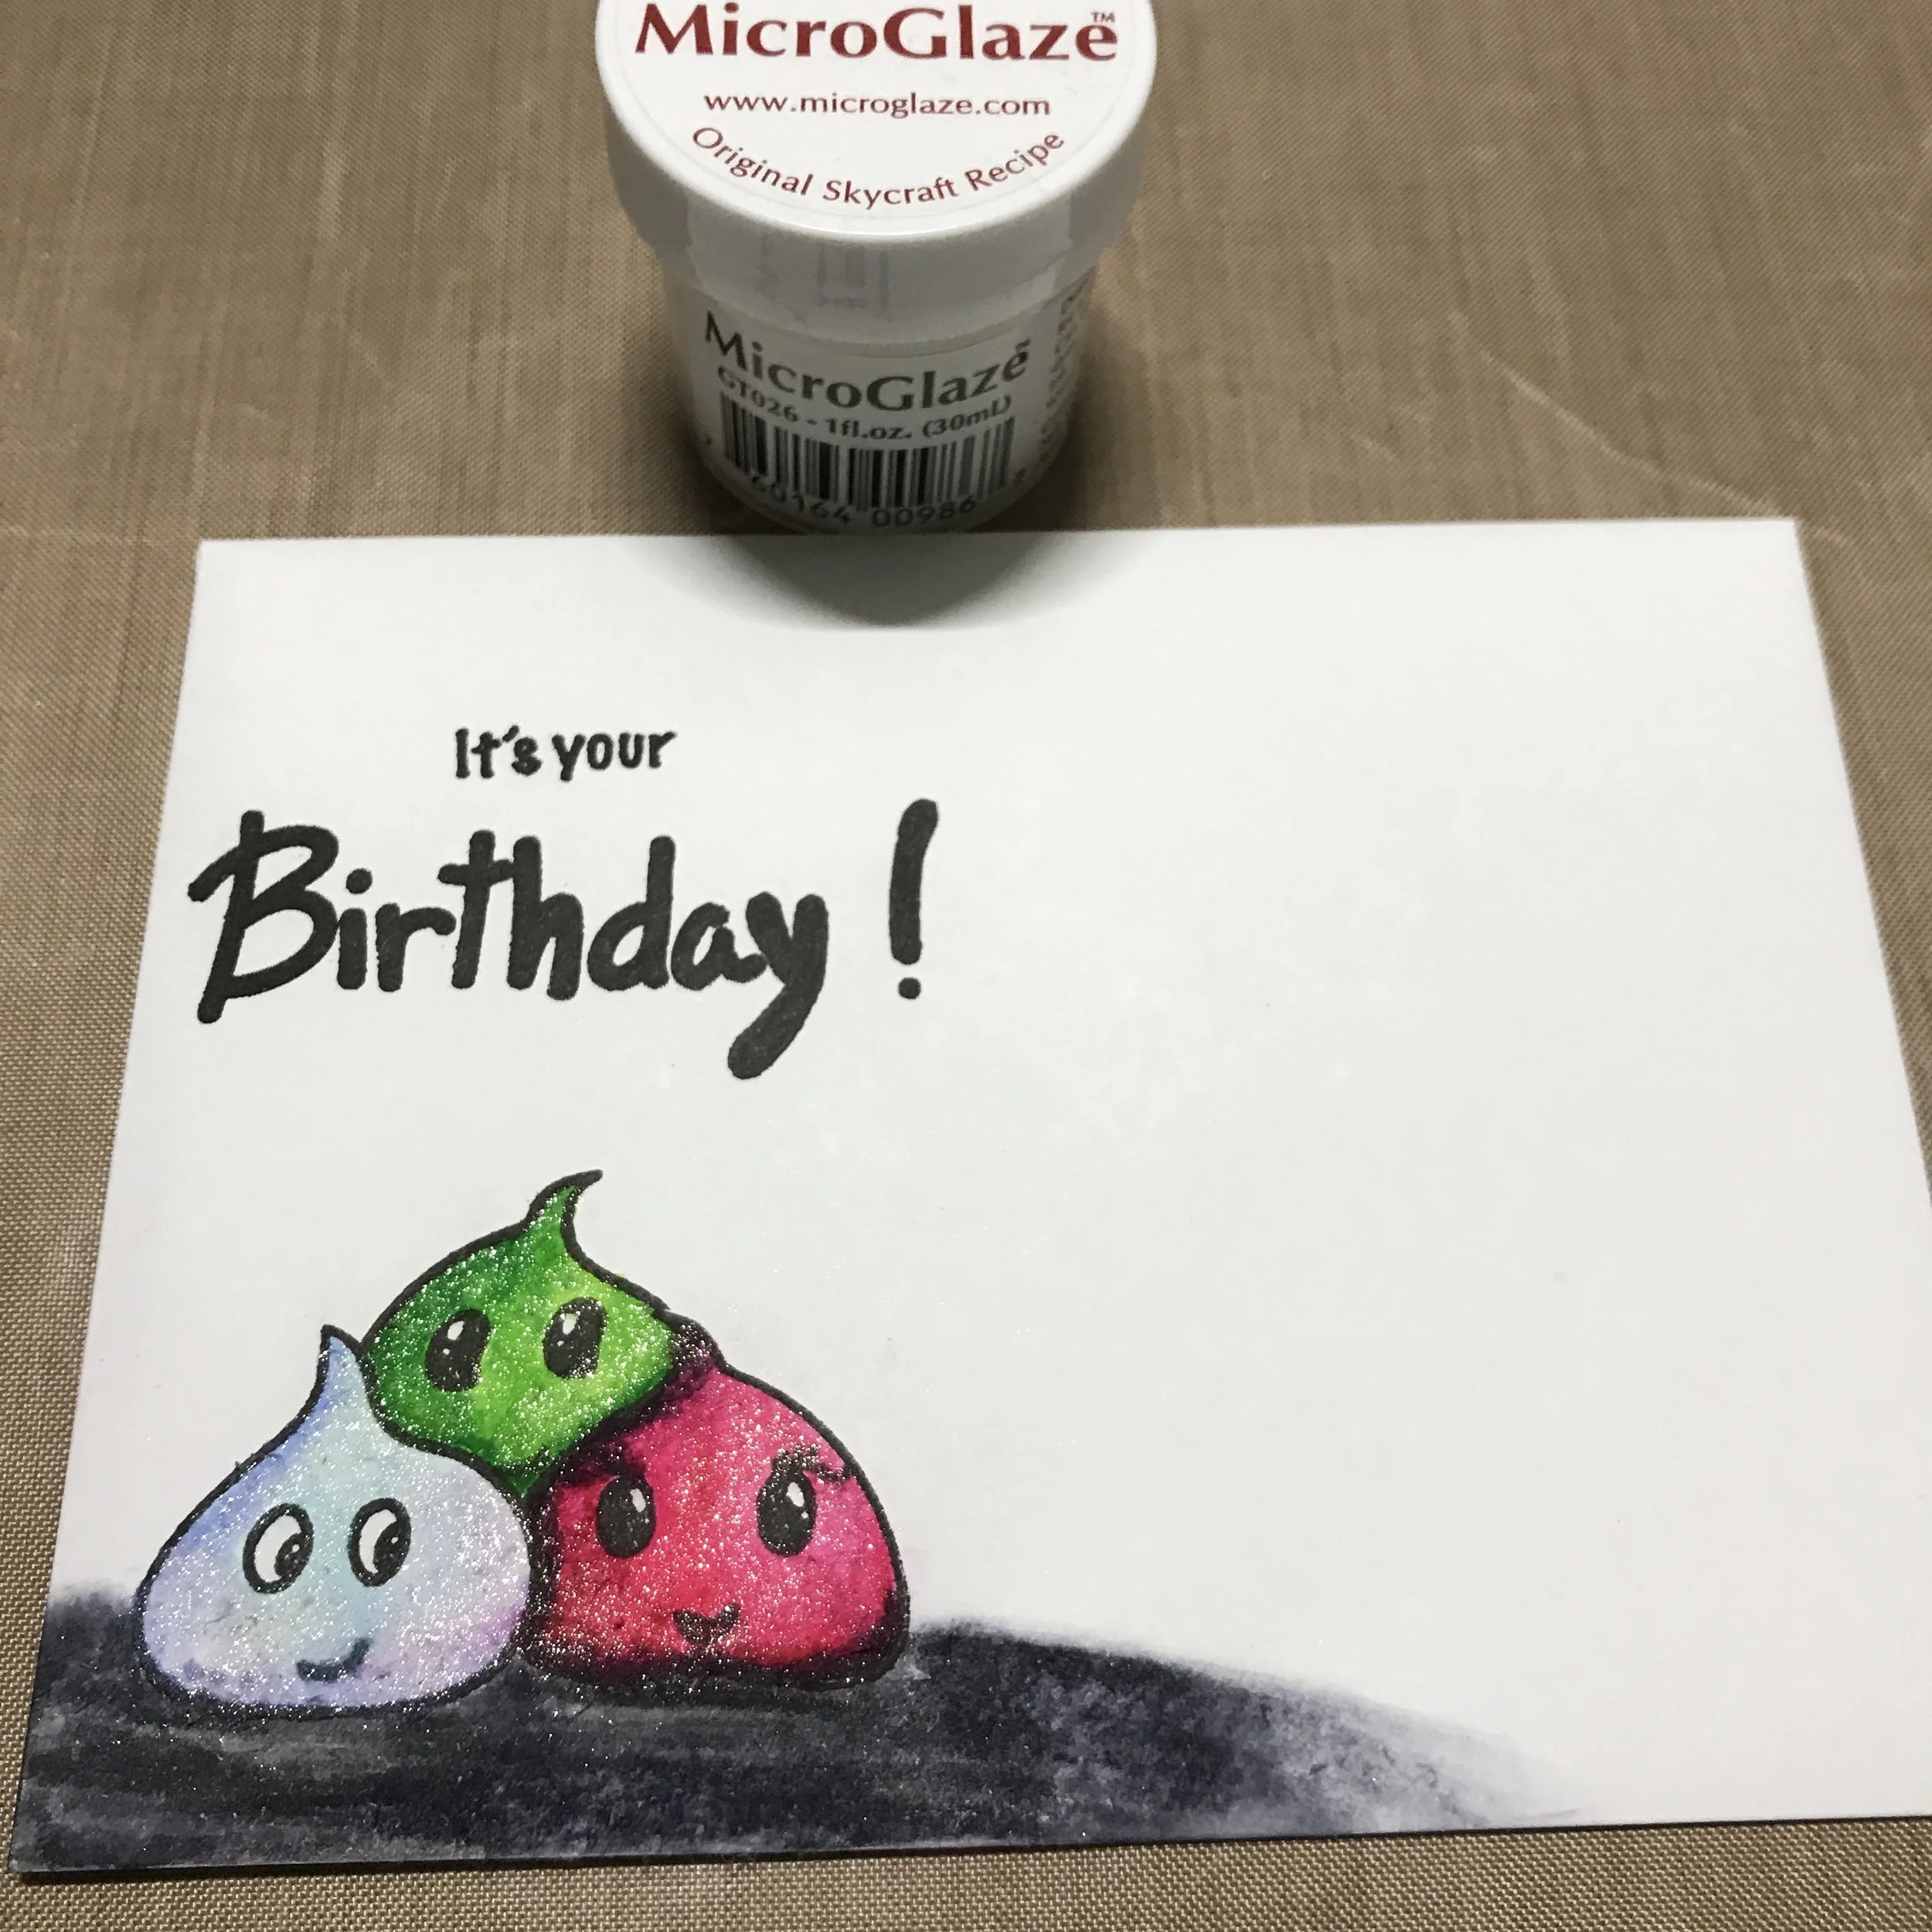
Finally, I cleaned up my image and then covered it with MicroGlaze, that way when it goes through the mail it will be water resistant.

IMG_0139.JPG

If you do use MicroGlaze, write the recipient's address and apply your postage first because the glaze is almost like a wax.  I had to glue on a stamp once because I forgot!


IMG_0158.JPG

I used the Mono Sand Eraser to clean up pills before I applied the MicroGlaze.  That's all for today, I hope you make some amazing mail art! Happy crafting.

-Gaby

Balloons for a Craft Show

Gab with Gaby Stamps, Balloons, Craft Shows, Crafts, DecorGabriela SimsComment

Hi everyone! Gaby here with some real talk about balloon decor. First let me start by saying I have never done balloon art or balloon sculptures in my life...until last Sunday. I decided to add balloons to my setup for the craft show, so I started watching a few YouTube videos...and this happened!

FullSizeRender.jpg

I had so much fun making that, I made this: 


IMG_7059.JPG

And this: 


IMG_7078.JPG

And finally, this: 


IMG_7074.JPG

That was all in the span of a few days, but I really enjoyed it. I am still working out my booth decorations, but rest assured there will be balloons! Happy crafting!


-Gaby

Preparing for a Craft Show

Crafts, Diy, Gab with Gaby Stamps, Hand Lettering, Craft ShowsGabriela SimsComment

Hi everyone! So I finally did it...I booked a craft show.  I have never done one before, but I have visited many, so I at least sort of know what I'm getting into.  I have been reading articles and it's amazing how many little things I overlooked when I was thinking of what I would need to bring. Like change, a receipt book, and bags for customers! Now I am aware of those things and I have started building my booth/display and I'm sure I will learn a lot more in that process.  I will be documenting the process in posts here and I have put up the info here. I will be updating that page as I do more shows/events. I decided to go with grids for my items because it would allow everything to be displayed.

Cards on display!  

Cards on display! 


I also made some blankets for this show, so I tested out hanging those as well. 


I'll probably need to get some new hangers, haha. 

I'll probably need to get some new hangers, haha. 

Of course I'll be selling Gab with Gaby stamps too and a certain pin. 


Had to zoom in here! 

Had to zoom in here! 

I am still working on a small card display for boxed sets of cards, but I think I have a solution, I'll post that once I check it out. In the meantime, I am organizing and recording inventory to make sure that I have enough stock, but not too much! I am creating3 prints for this show based on my hand lettering/drawing and I have to work out that display too. 

Design number one. 

Design number one. 

I also need to make signs and decorations, so it looks like I still have a ton of work to do! I cannot wait until this show, I feel like I will learn a lot and have a lot of fun. Until next time, happy crafting!