Hi there! I wanted to pop in and give you guys a quick tutorial of how to jazz up your hand lettering. I have an Intuos Wacom Pad that I really love for digital drawing and I wanted to do some lettering on it as well. I used Adobe Illustrator for this project; a simple graphic of my web address. You can play around with some of the settings, I settled on a Calligraphic Brush at .75 pt.

Then once I finalized and smoothed everything out, I sent the image to my toner printer and printed it on 2 sheets of cardstock, a purple sheet and a white sheet.

Then to apply the foil I used my trusty Minc with fuschia and holographic foils.
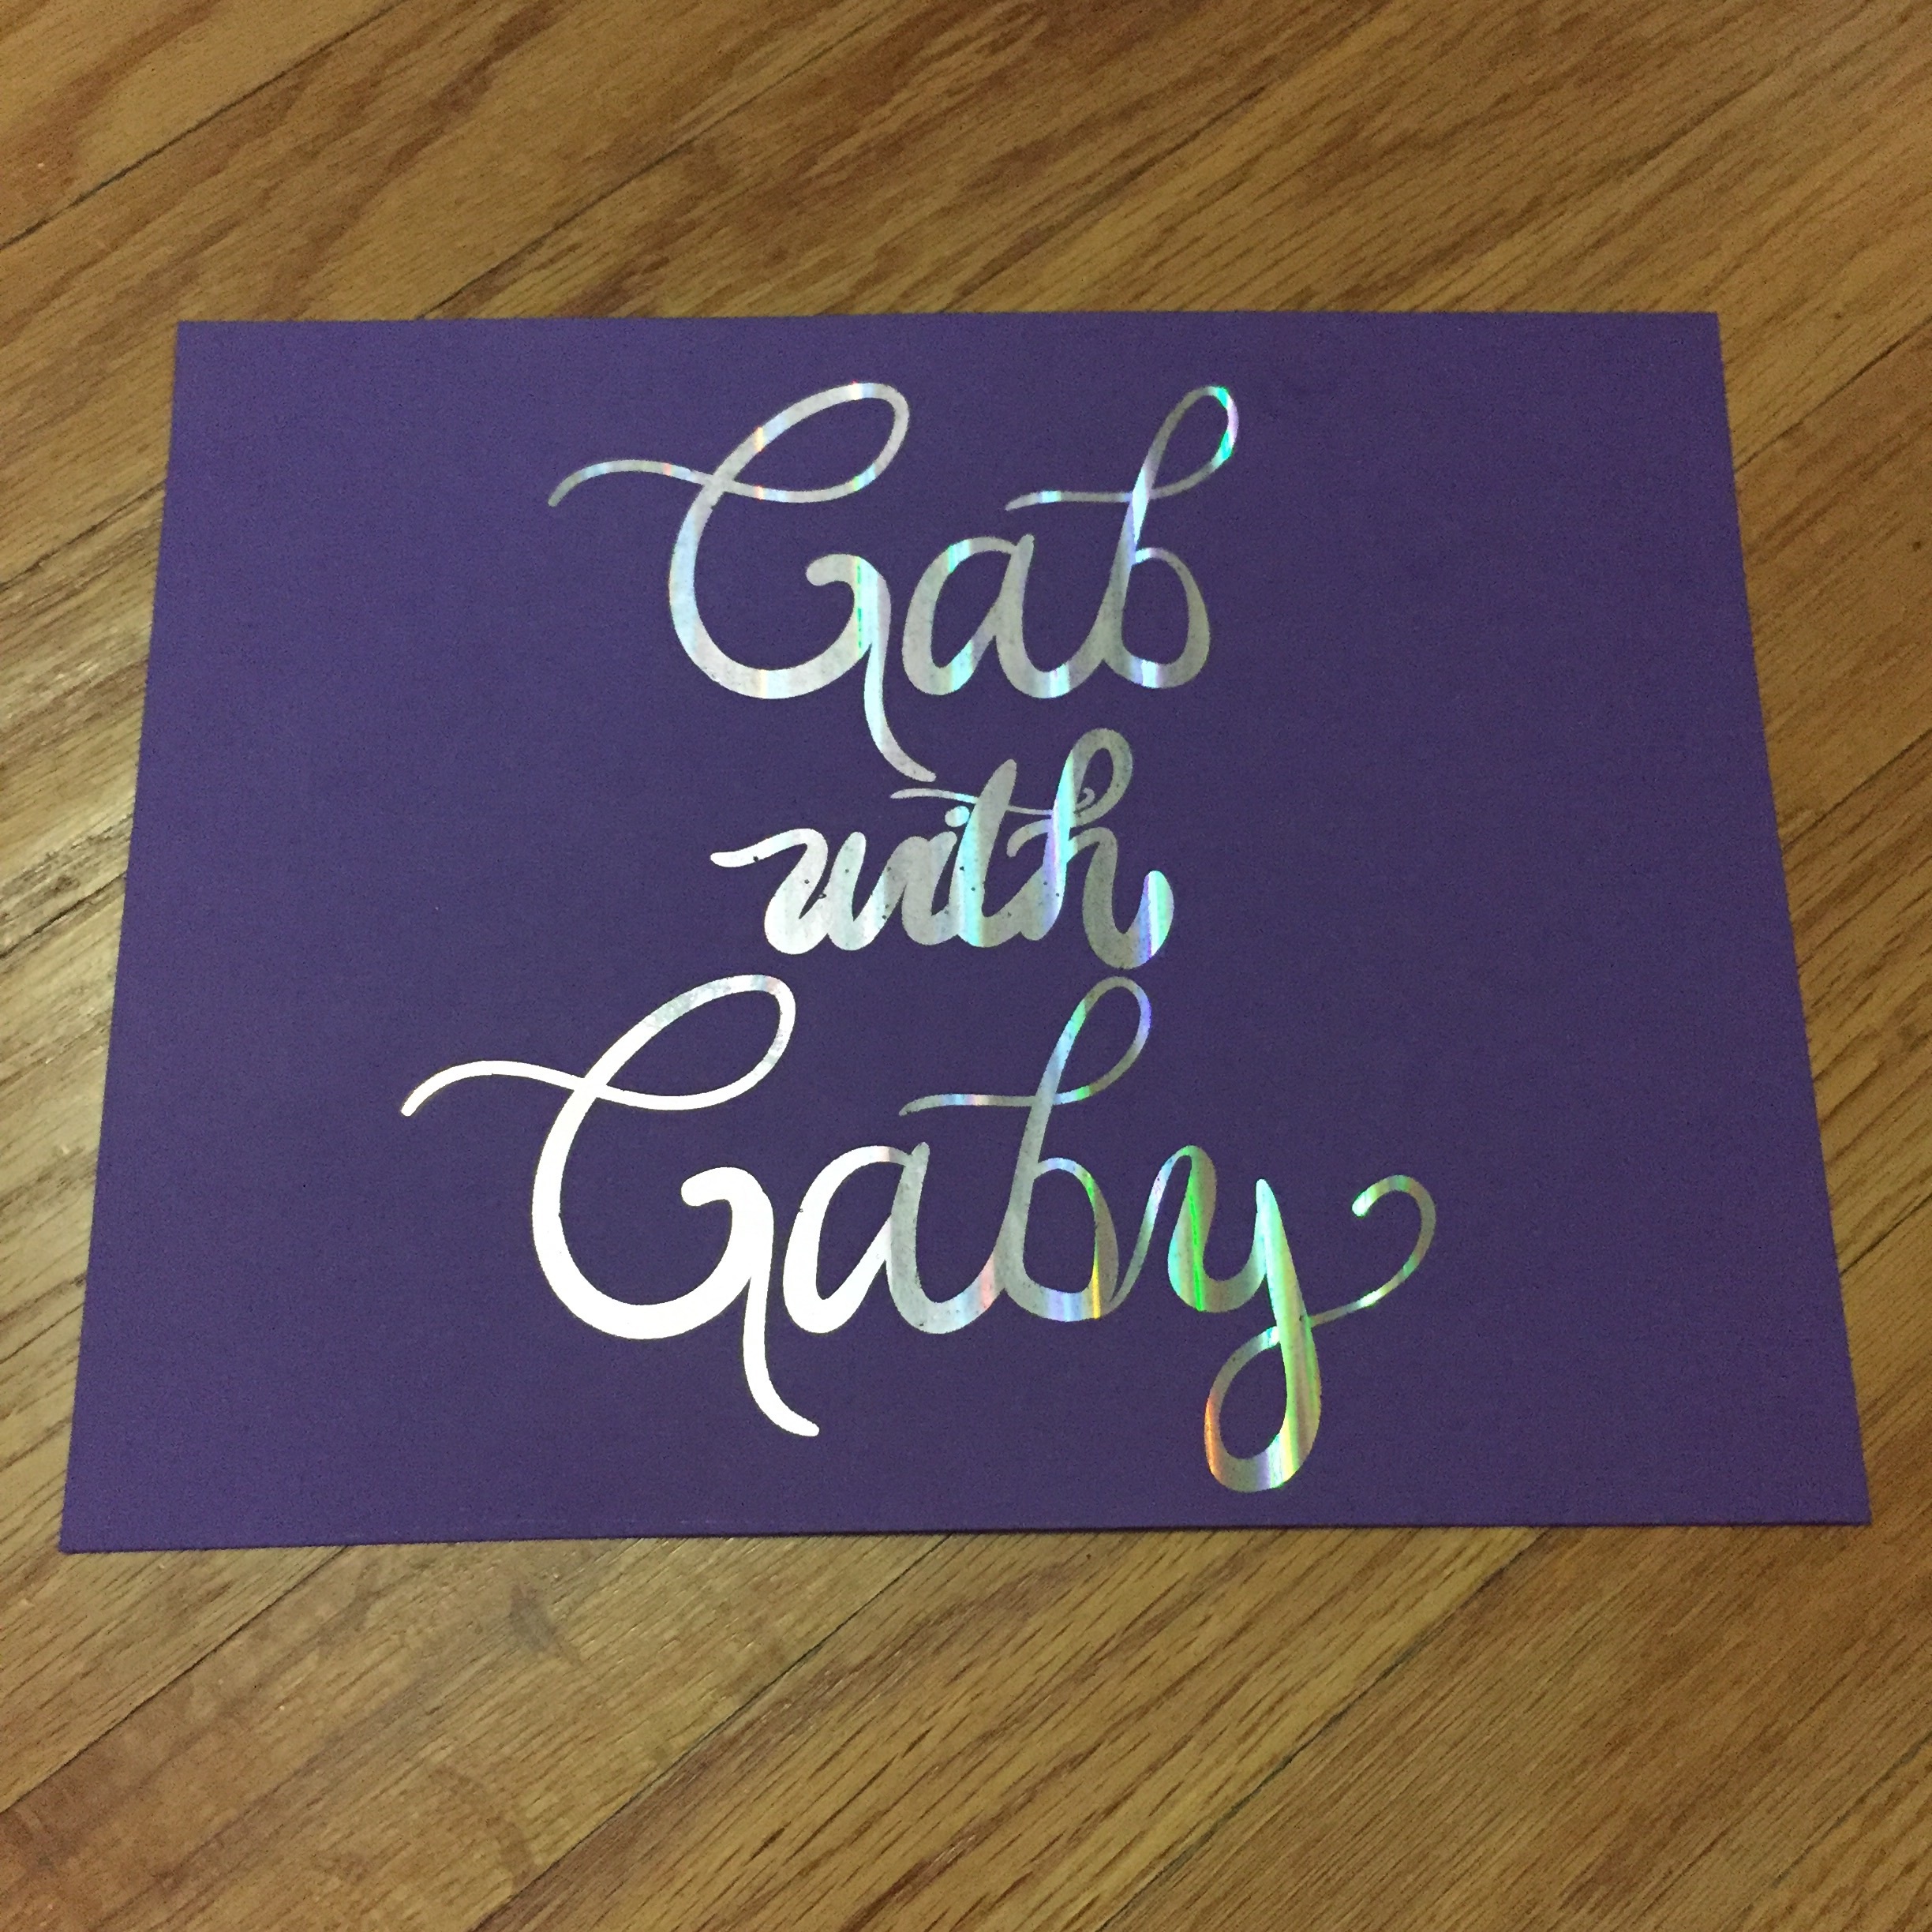
Holographic on purple.

Fuschia on white.
These were so fun to make! I can see myself making lots of prints like this and experimenting with more brush types and techniques and doing more digital stamps. See you soon, happy crafting!