Gab with Gaby

An engineer's creative corner studio.

Make Your Own Pocket Page for Project Life Cards

ColorGabriela SimsComment

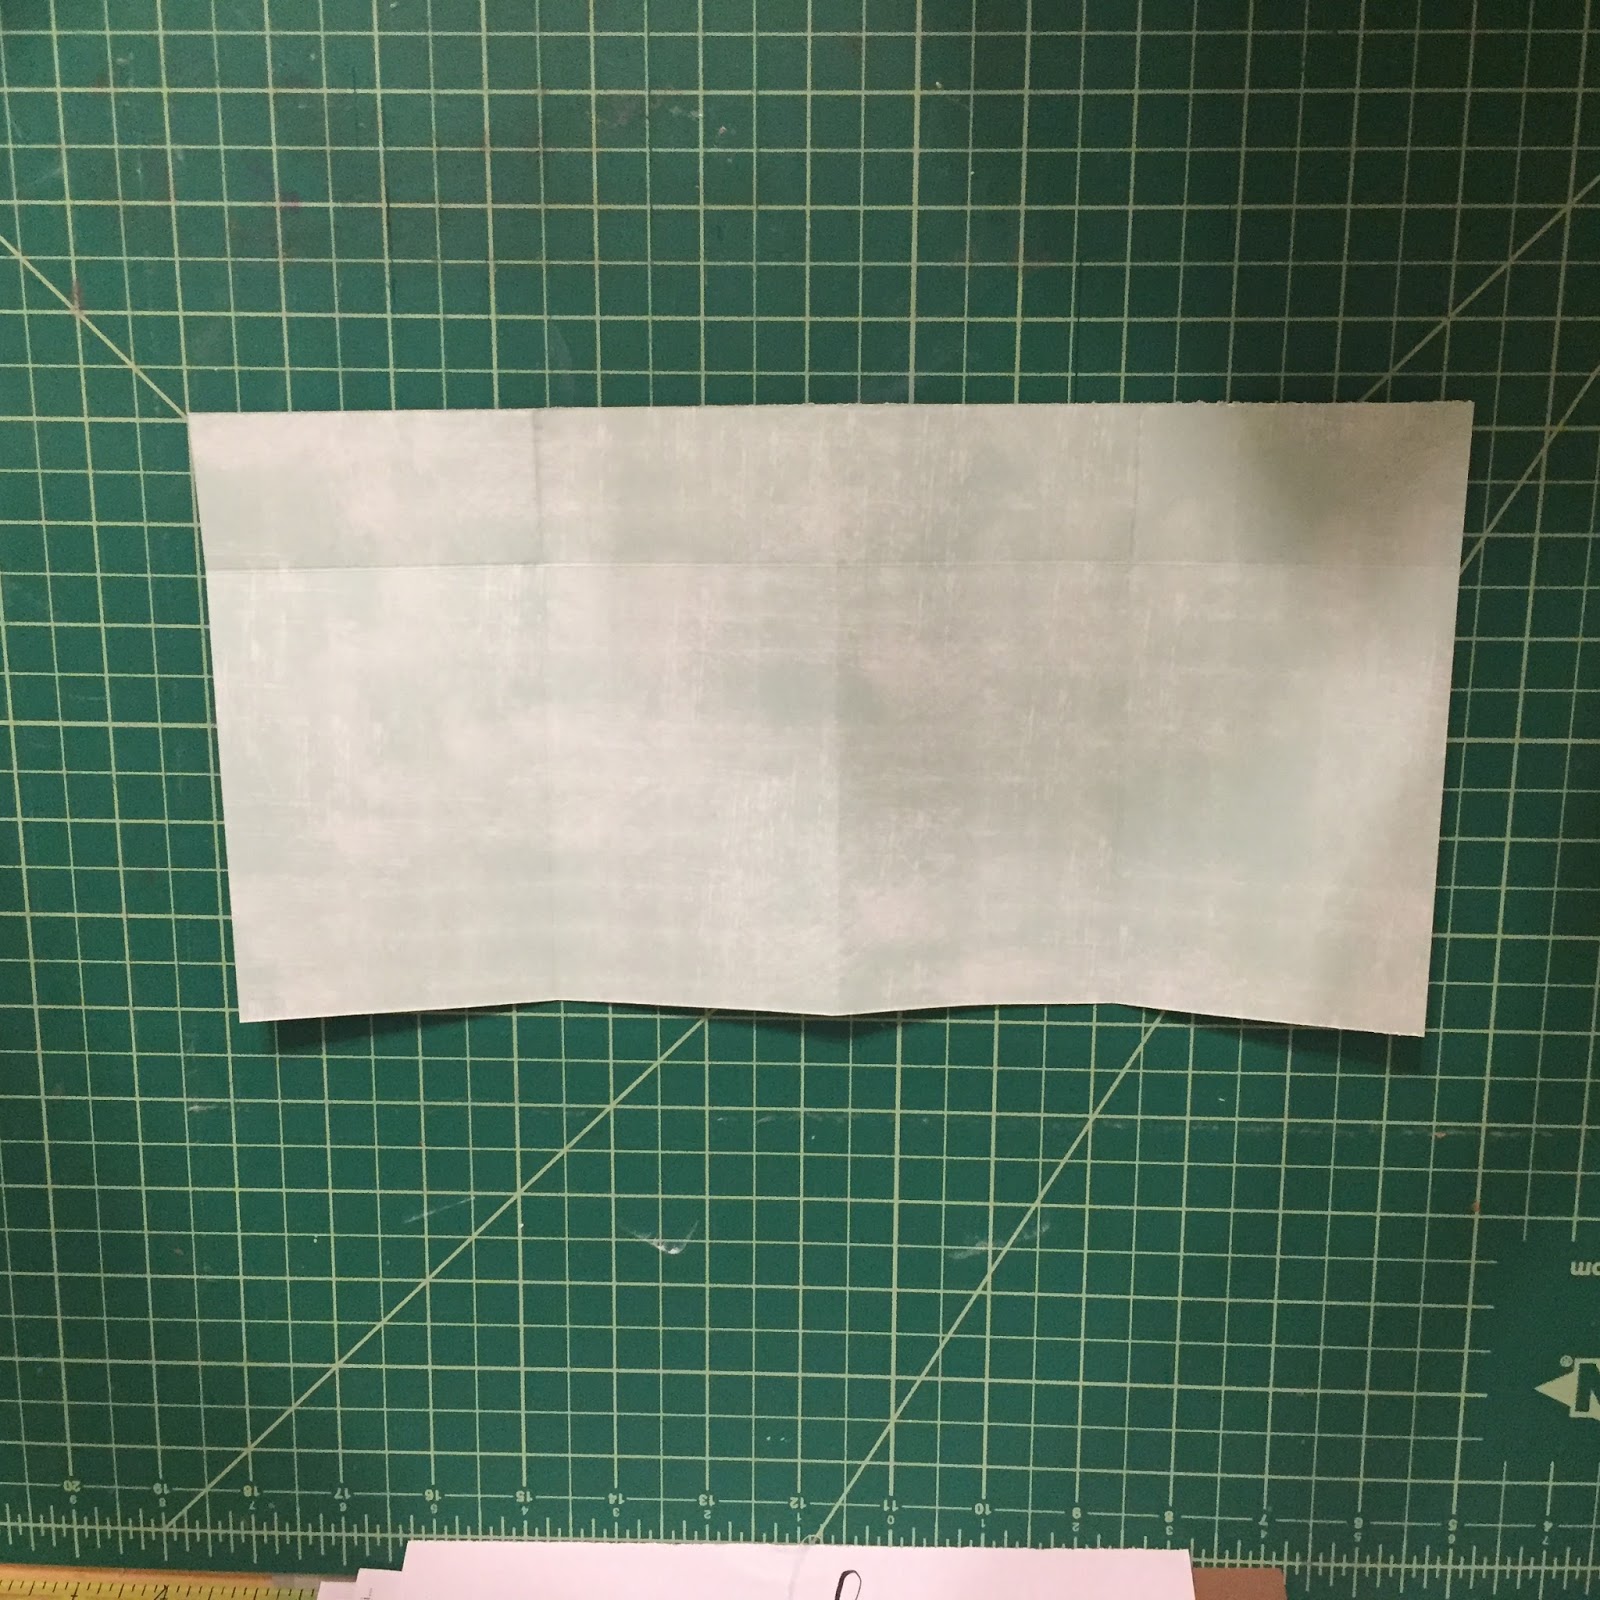
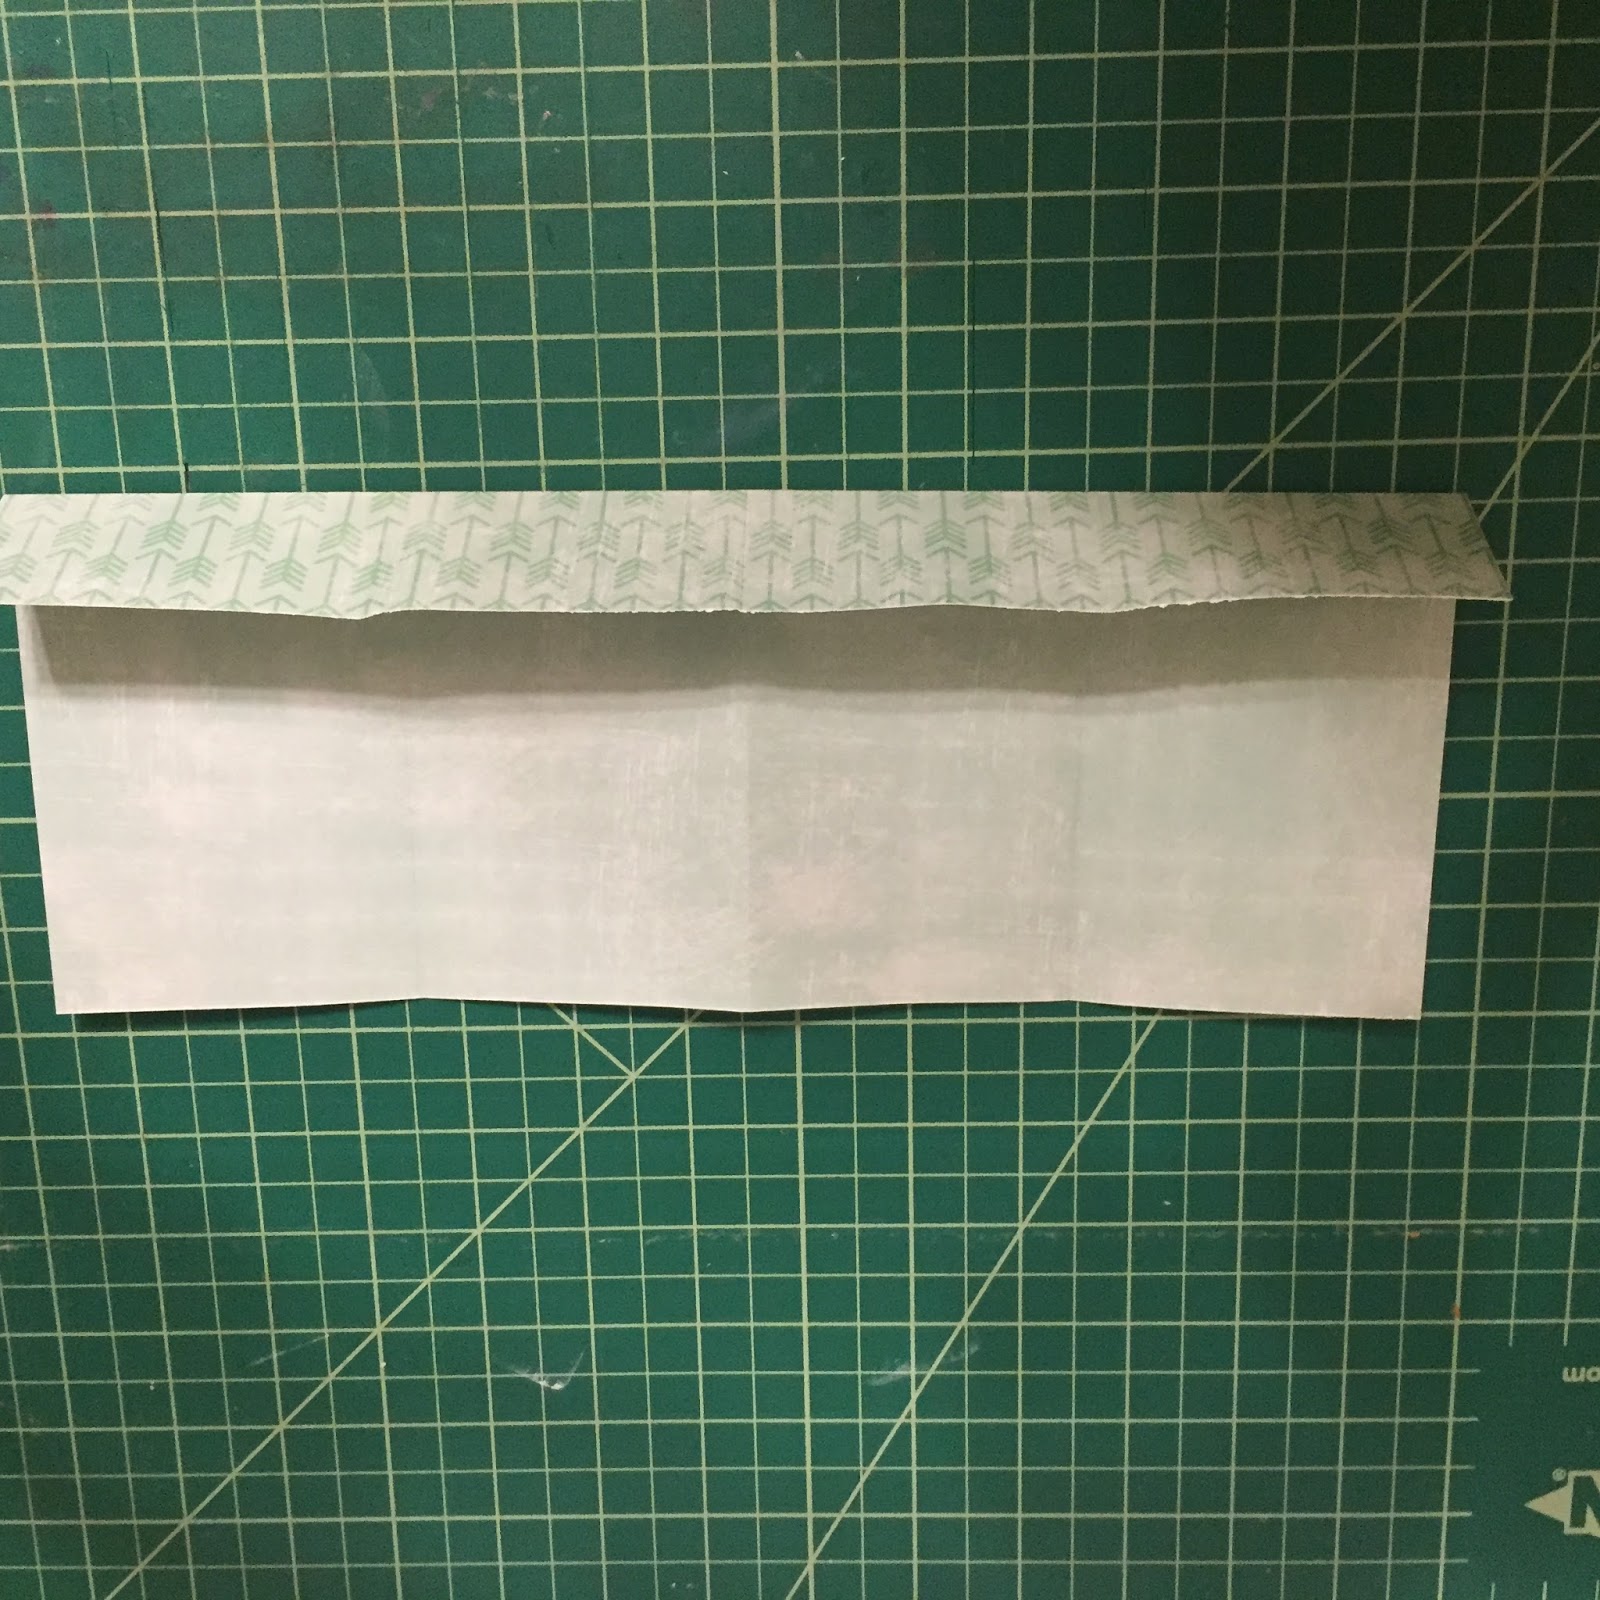
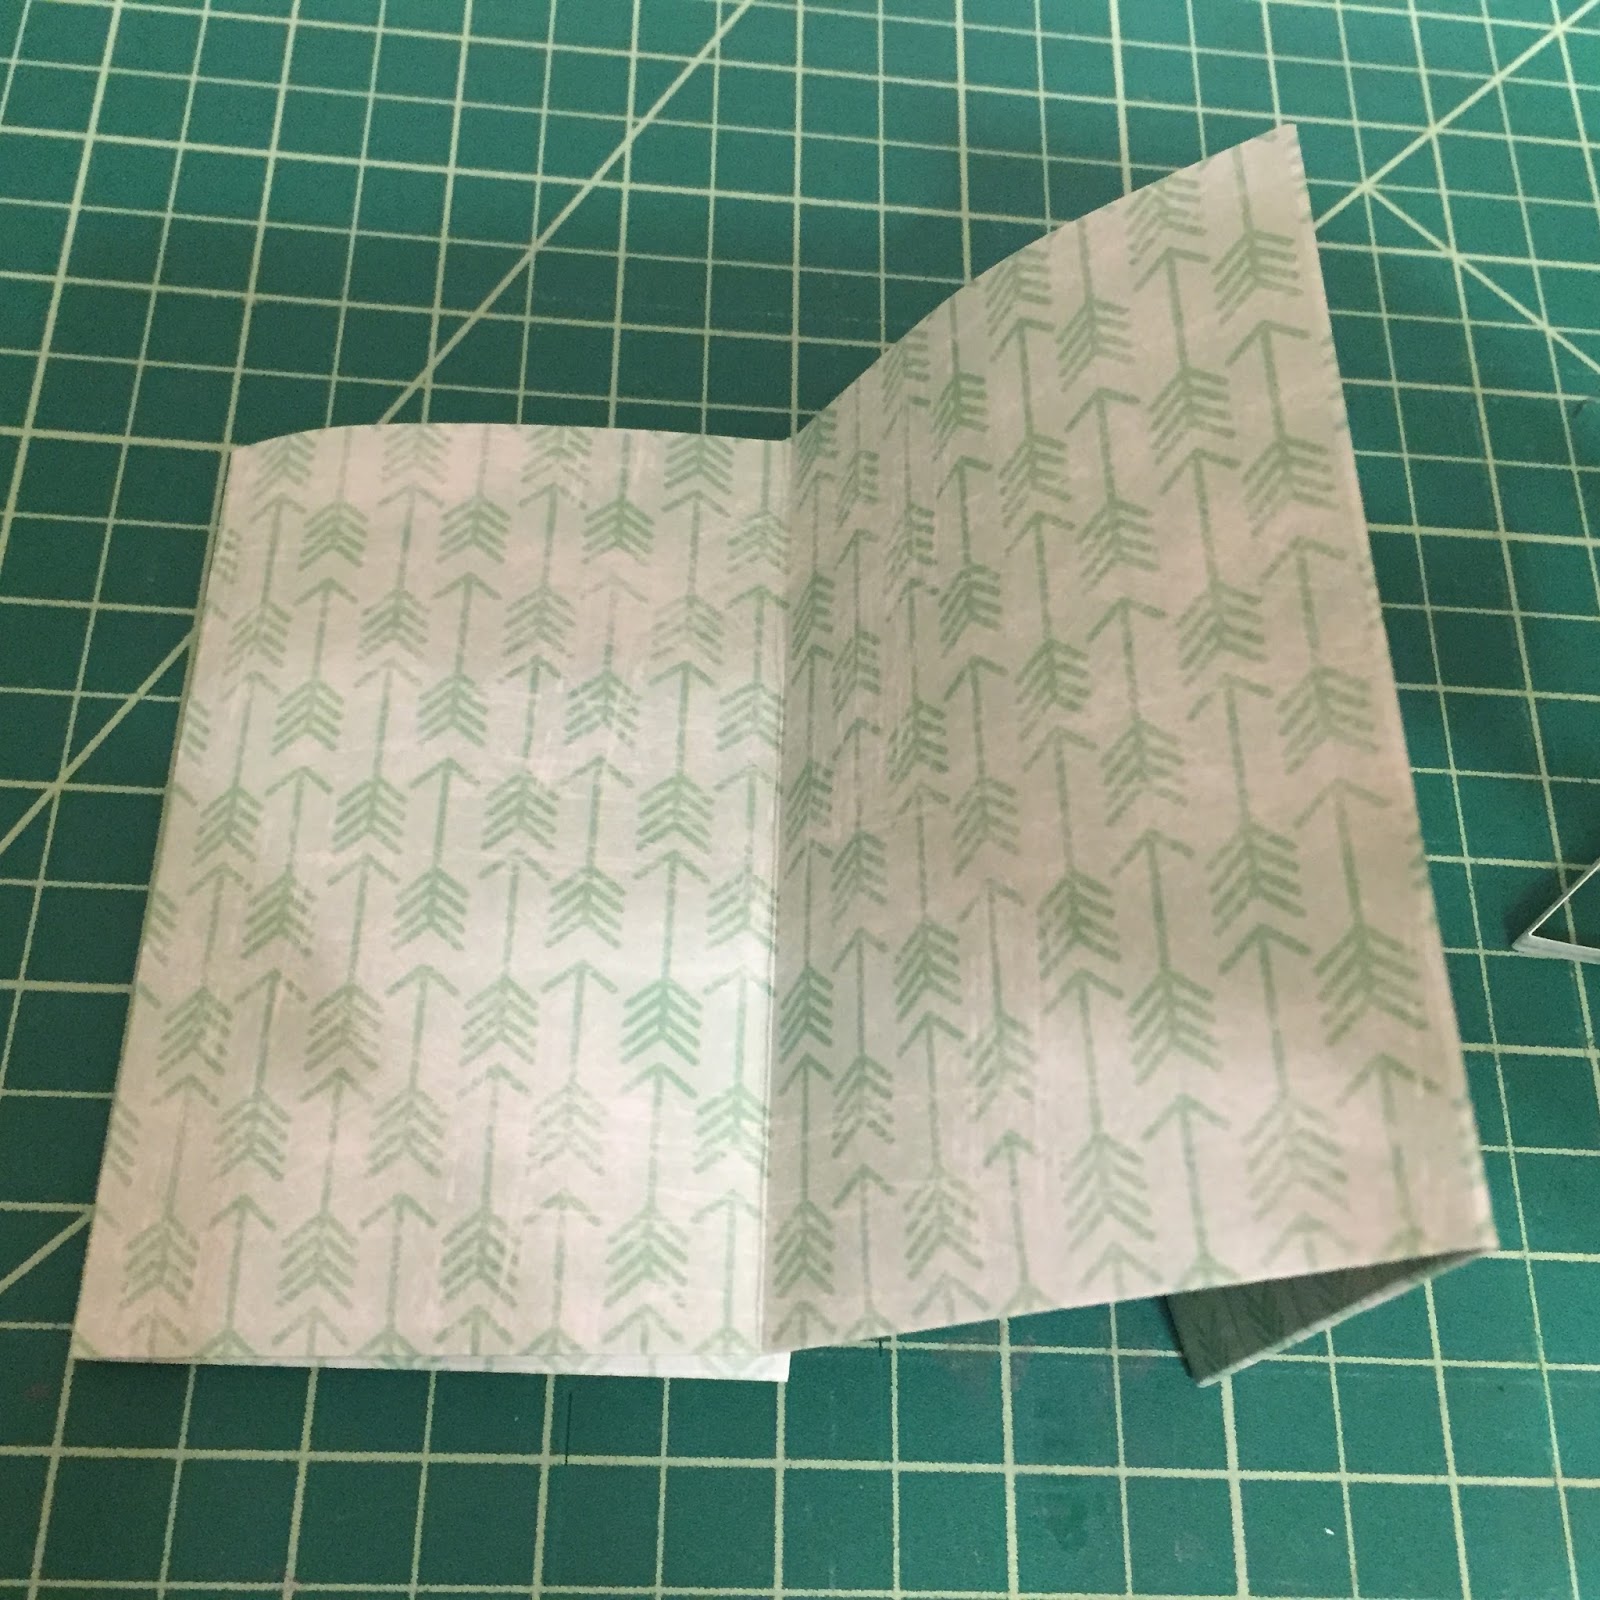
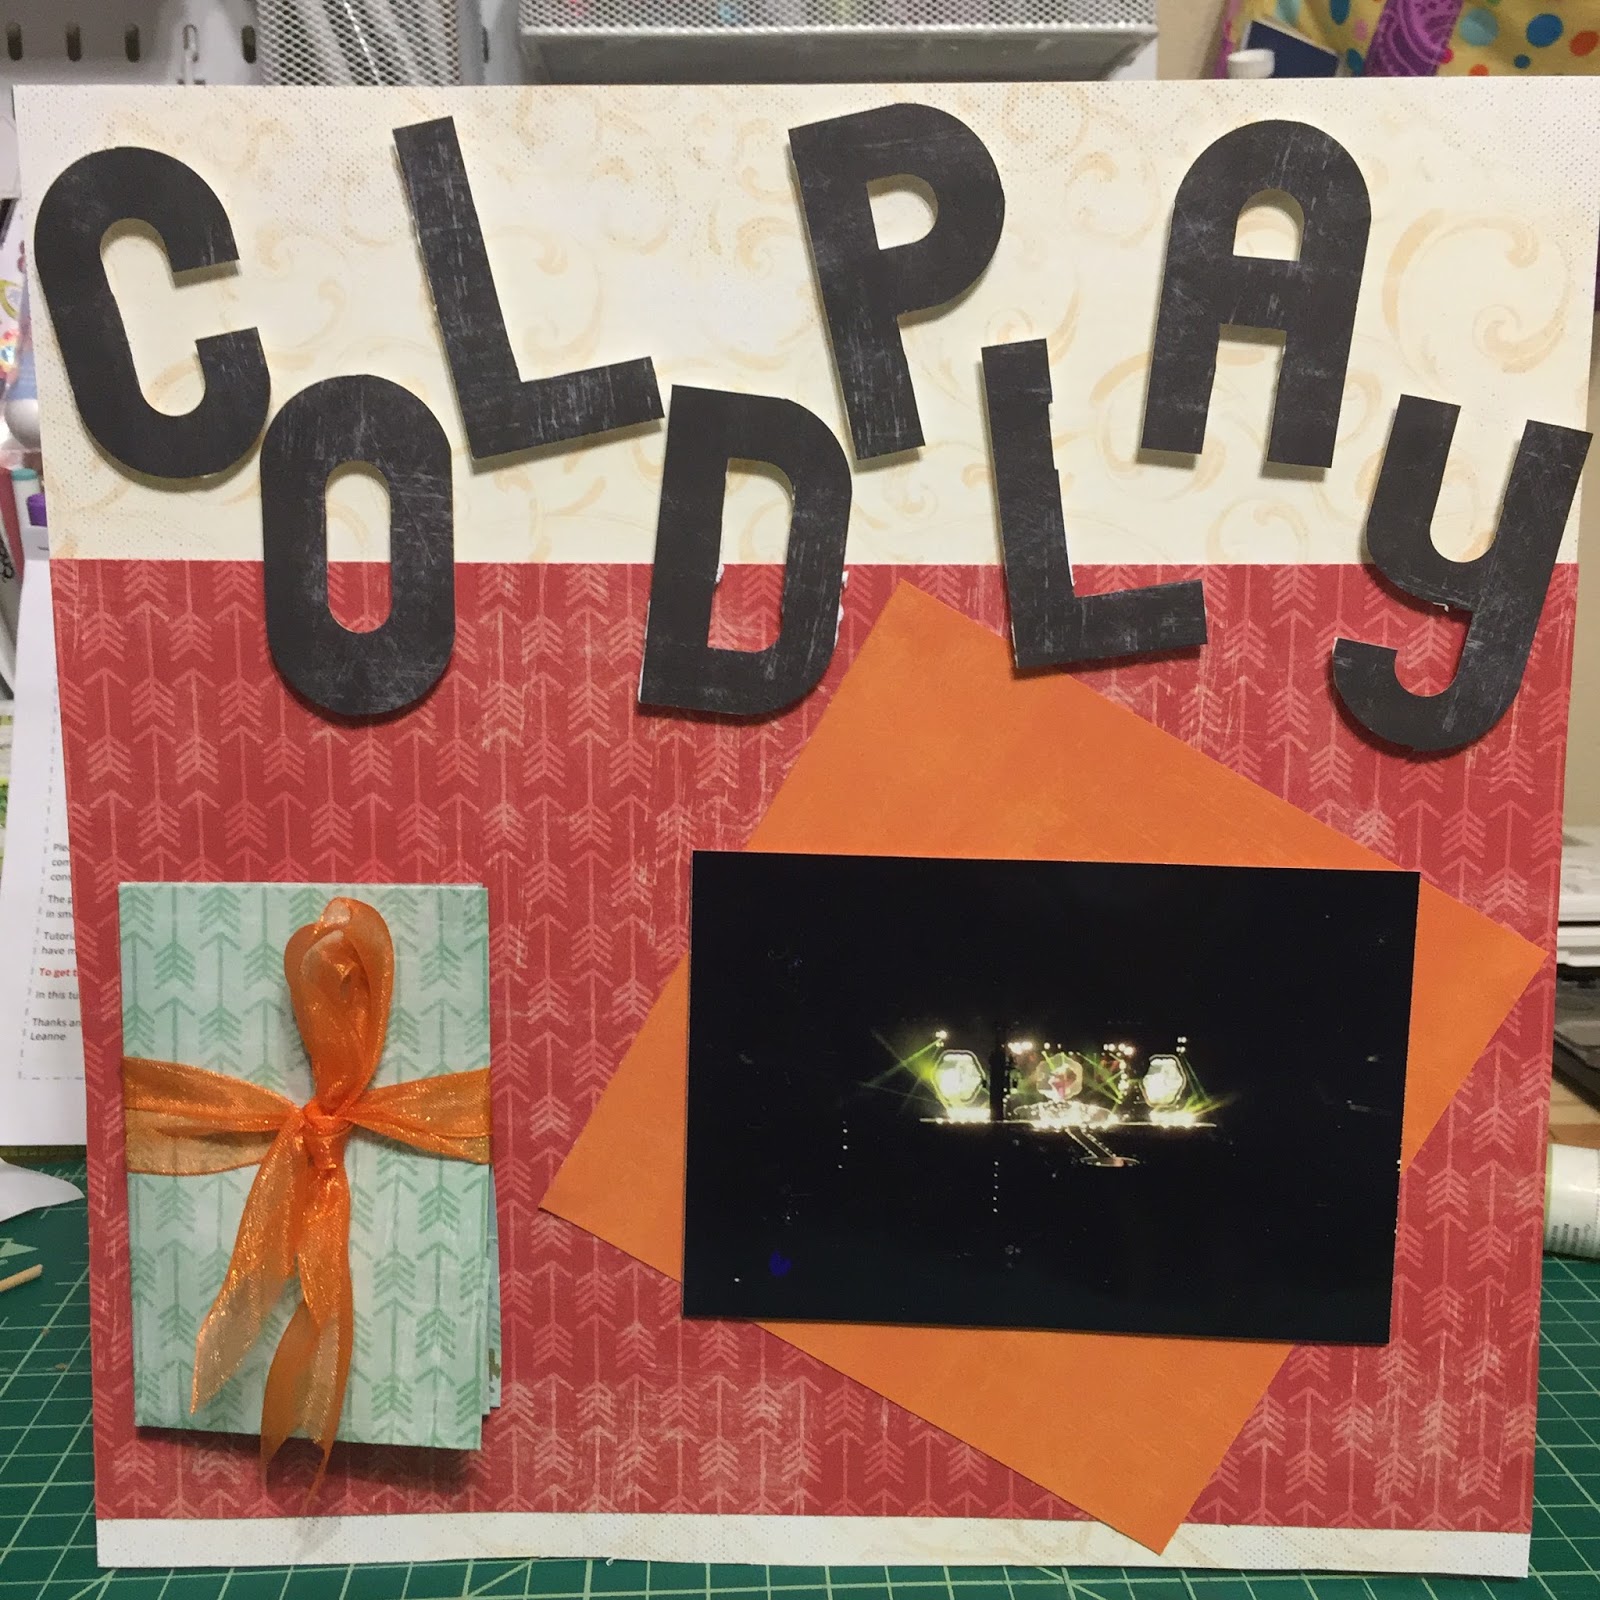
Hi everyone, Gabriela here today with a new way to use your paper.  Sometimes you have a really nice piece of paper that you want to use because it just looks amazing.  Pocket pages allow you to showcase several paper patters and even multiple photos.  I used my Fuse to turn an ordinary scrapbook page cover into a pocket page for Back to School, check out the video below.


I hope you enjoyed the video and found a new way to use some papers you already have, thanks for stopping by.

Quick Quotes Products Used:
Urban Oasis - 100 & 104
Whistling Dixie - 108


Scrapping with Coldplay

Scrapbooking, Paper crafting, Color, How to, Quick Quotes, Layout, We R Memory KeepersGabriela SimsComment

Hi everyone, Gabriela here today with a page I loved doing. I went to see Coldplay in Chicago last month and I knew I wanted to scrap the concert and use some bold colors. I started by making a mini pocket album.  I cut my paper at 12" x 6" and scored at 1.5" across and 3" vertically.

These panels will be taped together.
Then I added a background and my letters.
  
I chose a picture from when the band was performing "Yellow" and adhered the mini pocket album to the page.  Inside that I placed the ticket stubs and a journaling card.


This concert was absolutely amazing and to be honest, I will probably scrap it again :), happy crafting.

Quick Quotes products used:

Whistlin' Dixie - 109, 104, 108
Urban Oasis - 103
49 Shades of Gray - 104

Two Tutus and a Cape

Sewing, CraftsGabriela SimsComment

Hi everyone, back today with some projects I've completed for some of my friends with children. I was inspired by some super cute designs I saw and decided to tackle making tutus! Garments! I have gone from casually sewing to feeling confident enough to make actual clothes. So I started by cutting my tulle, I used bolt fabric instead of the rolls.  


A relaxing part of the process. 

A relaxing part of the process. 

Then I made my waistband and started applying the strips.

1st piece. 

1st piece. 

 Once that was done, I cut my ribbon using my wood burning tool's cutting attachment.

image.jpg

I added tulle until it was the correct size and then sewed the ribbon on, this was the most time consuming part.


image.jpg

After some trimming, here is the final product. 


image.jpg
image.jpg

I enjoyed making that one so much that I tried making another one with an elastic waistband...and Pom poms inside!  This was actually faster than the one above, it just required elastic and Pom poms in addition to the tulle.

I cut my tulle and sewed it. 


image.jpg

Then added Pom Poms. 


Almost finished. 

Almost finished. 

Then added elastic. 


image.jpg

And here is the finished product! 


image.jpg

If you are making a gift for boys, you can try making a cool cape!


Some appliqué using my embroidery machine. 

Some appliqué using my embroidery machine. 

Complete with 2 colors and Velcro. 


image.jpg

Next time I'll be back with another self binding blanket and a baby quilt! Happy crafting! 

Make a Brag Book

Coloring, Diy, How to, Paper crafting, Quick Quotes, TutorialGabriela SimsComment

Hi everyone, Gabriela here with a project made from this month's Club Q.  I immediately fell in love with the small bound book and since I am preparing a set of baby items for one of my friends, I thought I would create a small book to go with the quilt and burp cloths.  I mention in the video that I am making a book for colors, but you can use this as a brag book or a miniature art journal as well.


I left a space on the front for a name for baby, I'll be putting "Colors" in that space; check out the video below.


I hope you enjoyed the video and you make something amazing with your Club Q.

Quick Quotes Products Used:

Club Q
Powder Puff Chalking Ink - Lemon Sorbet

Happy crafting, my next post will be all about sewing...I think.

Making Robot Baby Quilts is a Great Way to Spend a Weekend

Blankets, Crafts, Diy, How to, QuiltingGabriela SimsComment

Hi everyone! Gabriela here with my latest project, an easy baby quilt that you can complete on a Saturday morning/afternoon. I bought this fantastic robot fabric from Hobby Lobby and the binding as well.  I decided to use minky for the backing in a baby blue color as this quilt is for a friend having a baby boy.  First I cut a panel of the robot fabric to 36" x 36", I used some Warm & Natural batting cut slightly larger.

Fabric sandwich.

Fabric sandwich.

I tried to keep the edges as straight as possible and then I spray basted the layers.  I wanted to do some simple, clean quilting, so I used some masking tape as a guide and taped it corner to corner and then quilted along each side.

To keep the quilting even, I used my walking foot to measure the spacing.

Once the quilting was finished, I trimmed up and squared the layers.

Time to square up.

Time to square up.

I prepared my binding and attached it to the top.

So I just discovered the joy of Wonder Clips from Clover!  These cut my binding time by at least 1/3, they are handy little clips with an excellent grip.  No more using a bunch of pins and poking myself or watching my pins slip and shift.  I cannot believe I just found out about these!

Binding

Now stitch in the ditch for finishing the binding.

That's it, now you're done!

Front.

Front.

Baby Quilt with Minky

I decided to make this quilt out of one big panel because I really loved this fabric.  You could do this with any fabric that you like and you could even add an appliqué.   I hope you make a ton of quilts like this and please let me know if you have any questions.

As a bonus, I also made this little mug rug for my hubby.

Happy crafting! I'll be posting some new lettering soon too.