Follow along to make this cute everyday card!
Color
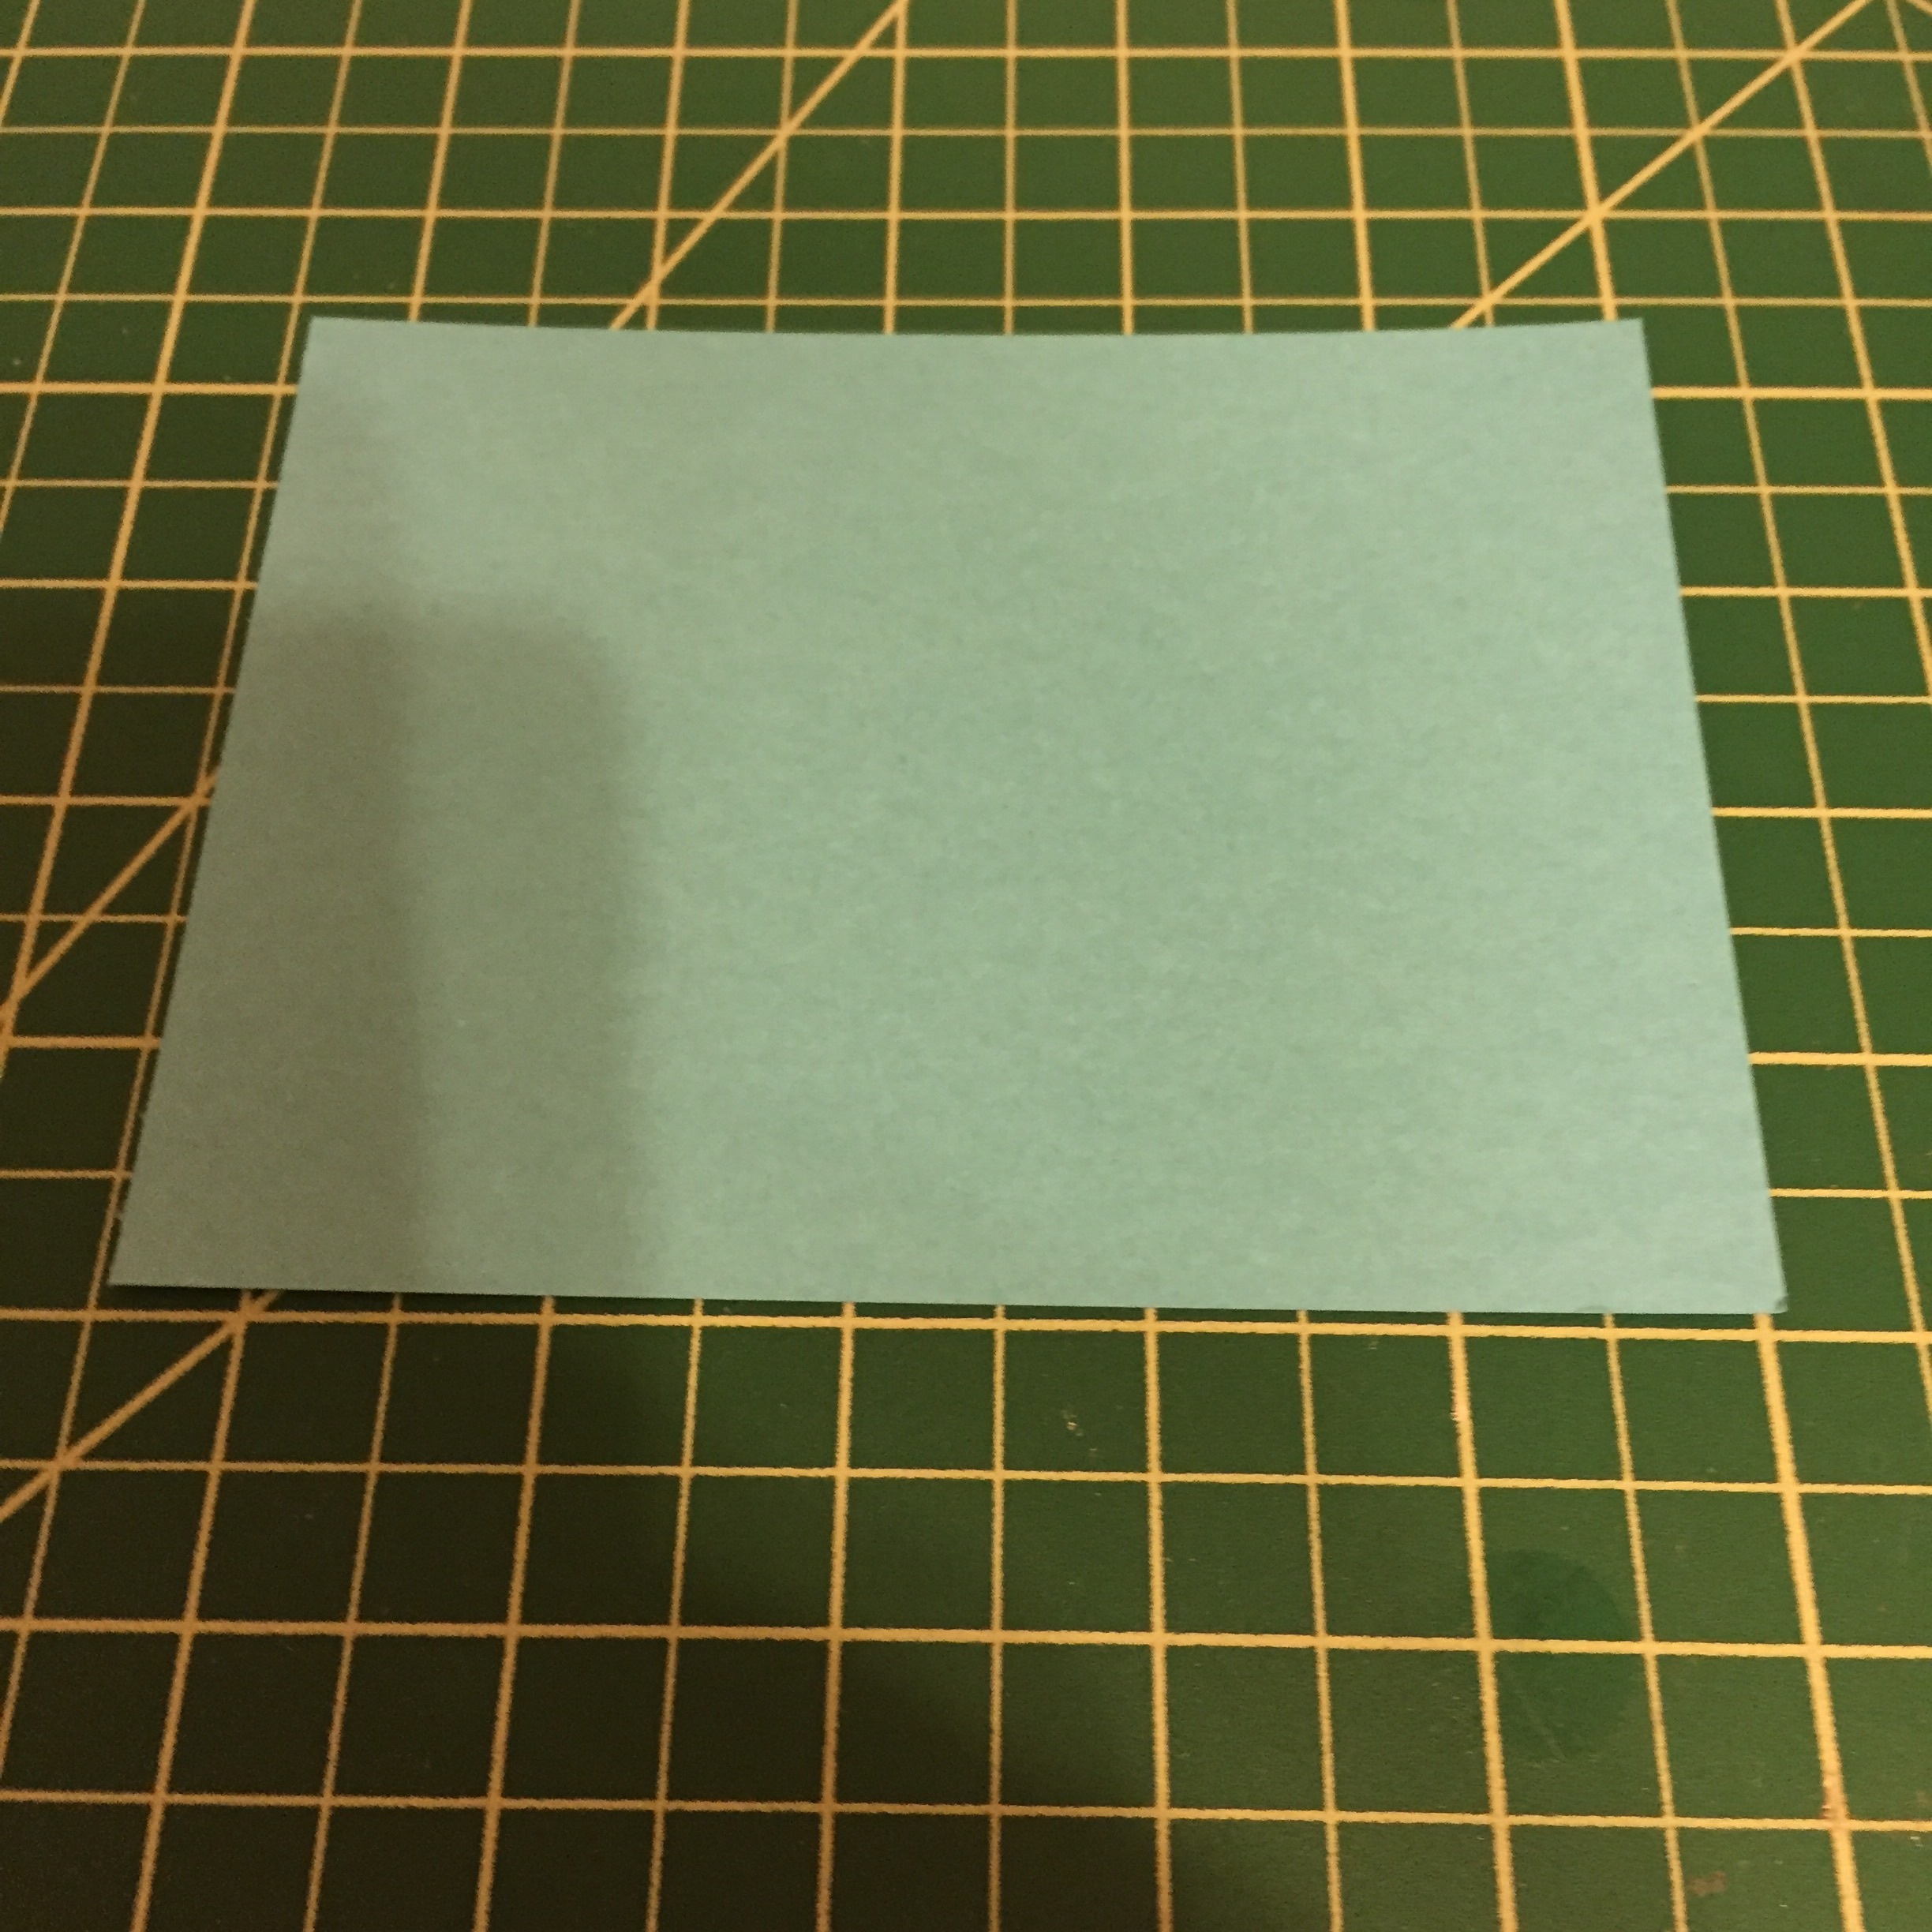
Shaker card for hope
Supplies, Tutorial, Stamps, How to, Paper crafting, Crafts, Cards, Diy, Tools, Color1 CommentI recently found out someone I know was battling a serious illness and they beat it. I immediately wanted to make them an extra special card, here it is! Start by cutting a 4 x 5.25 inch piece of card stock

4 x 5.25
and another at 4.25 x 5.5 inches.
4.25 x 5.5
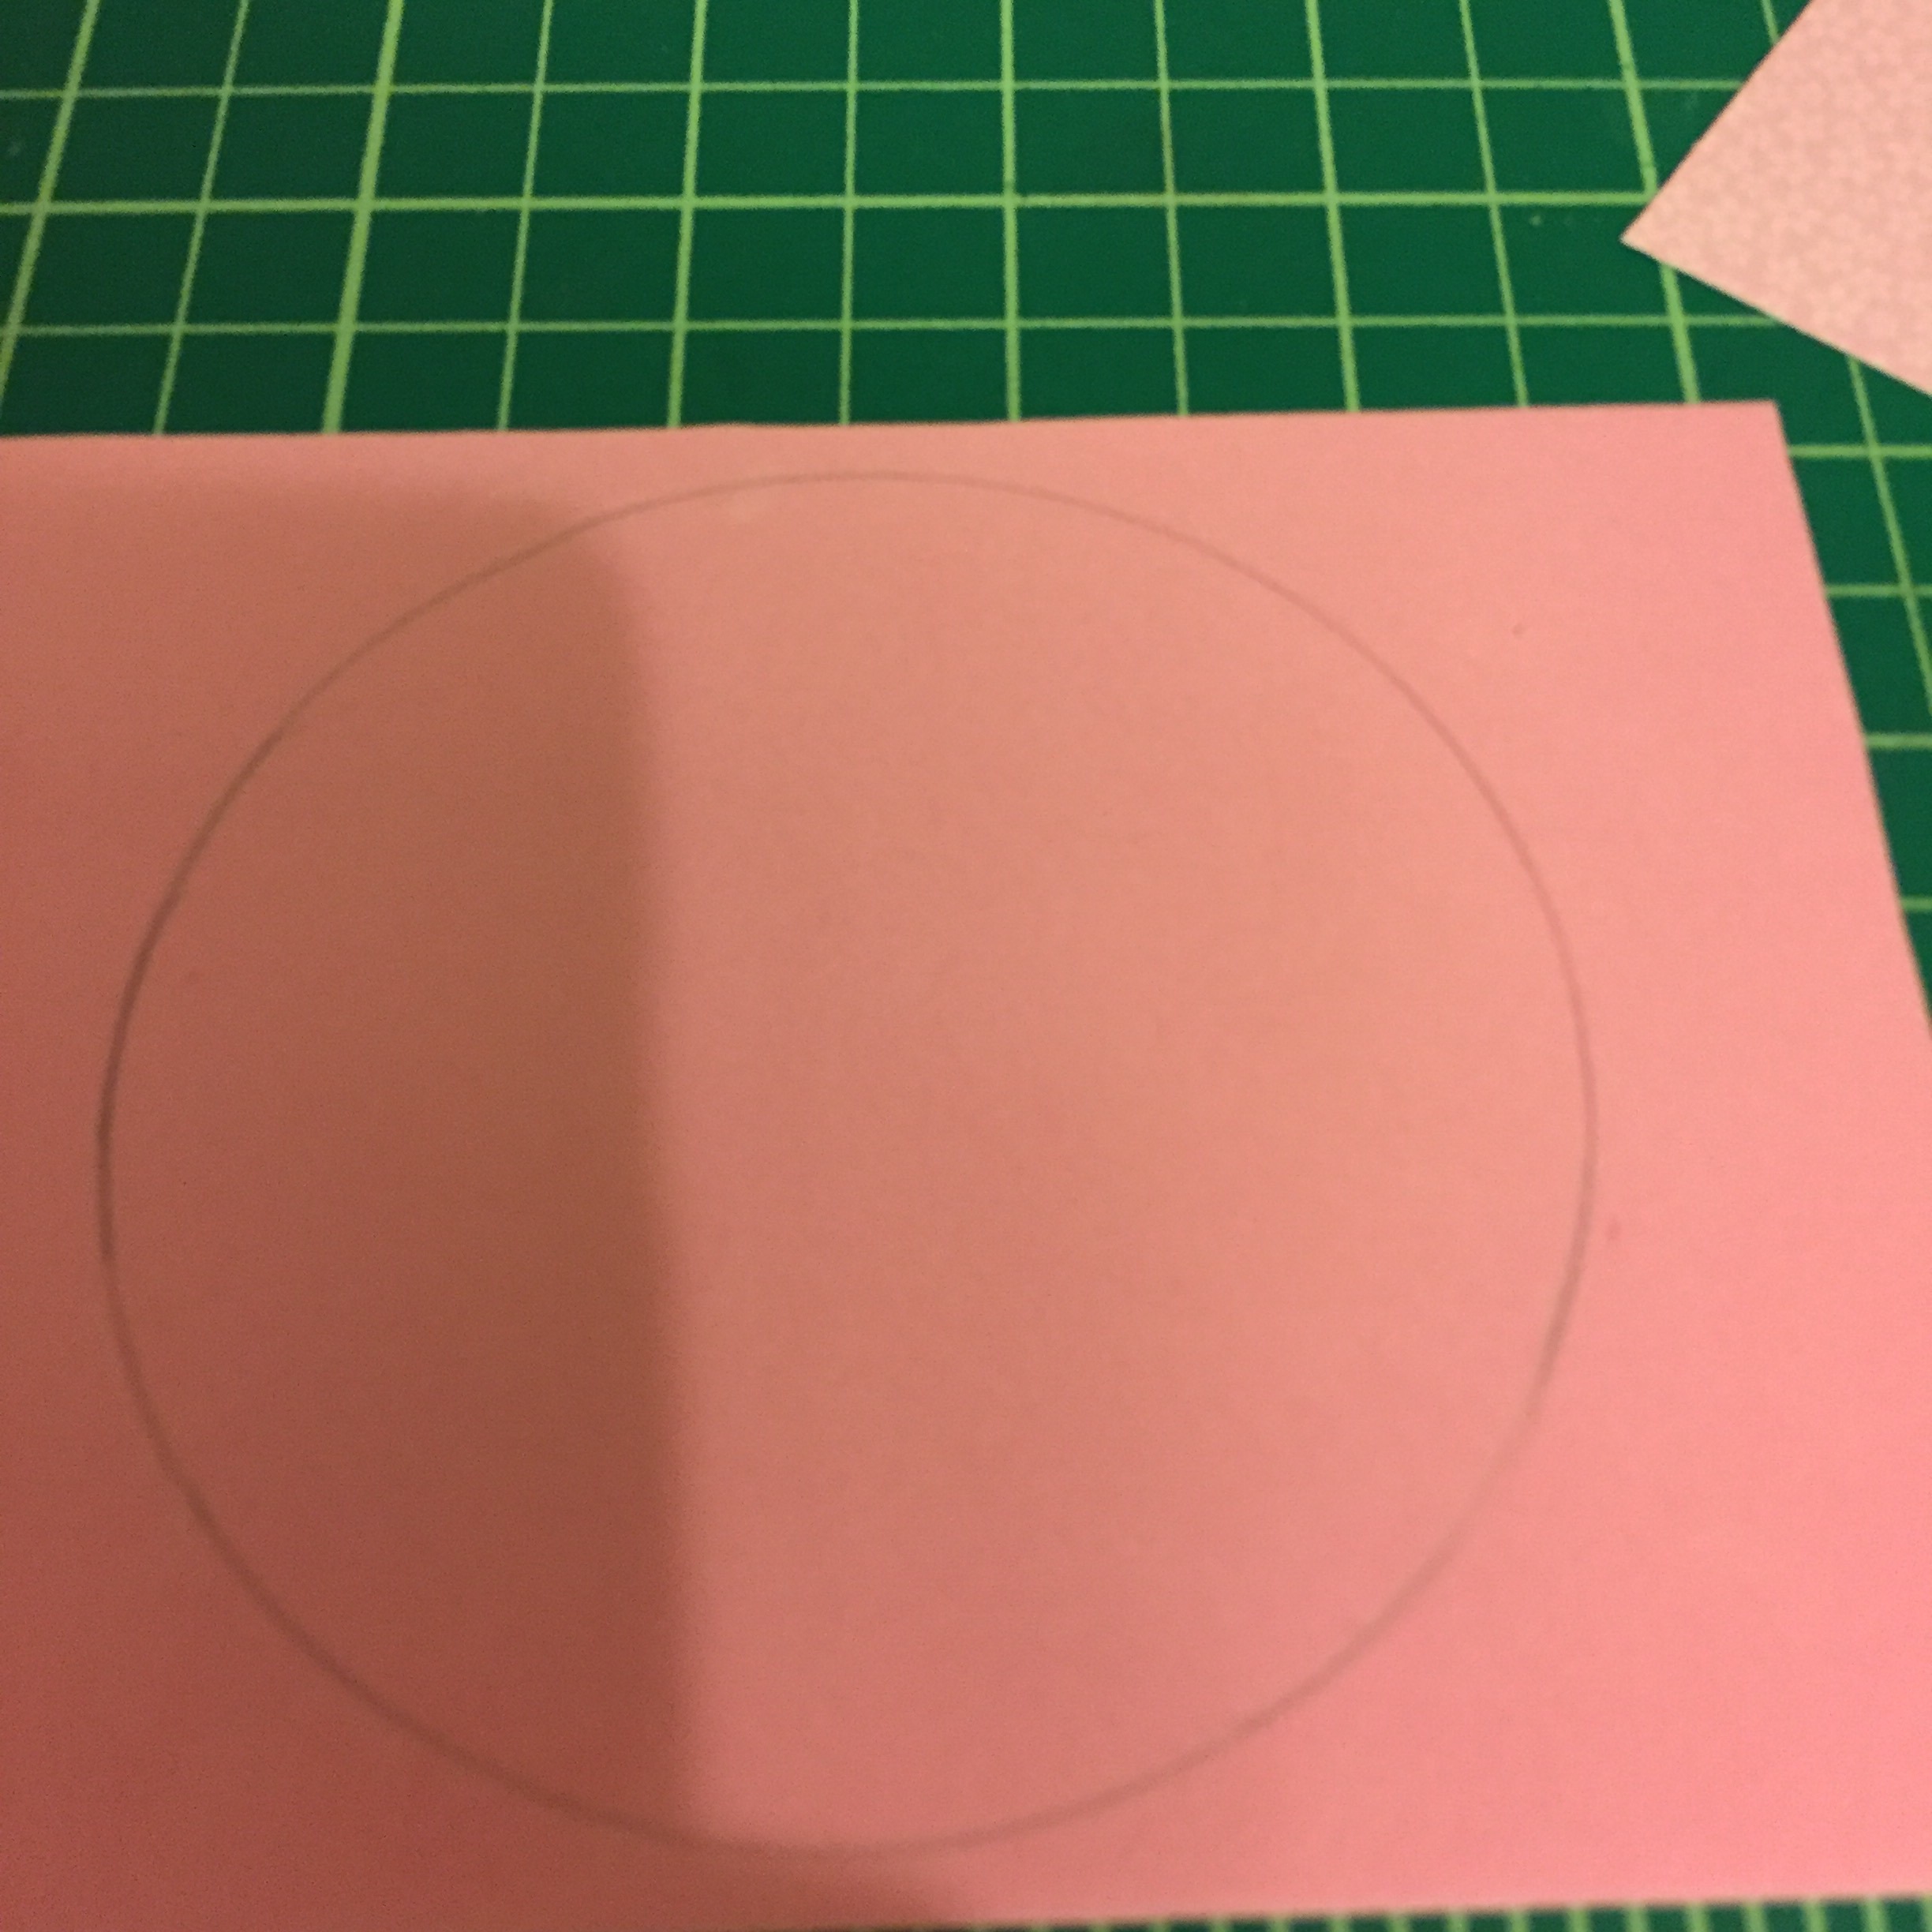
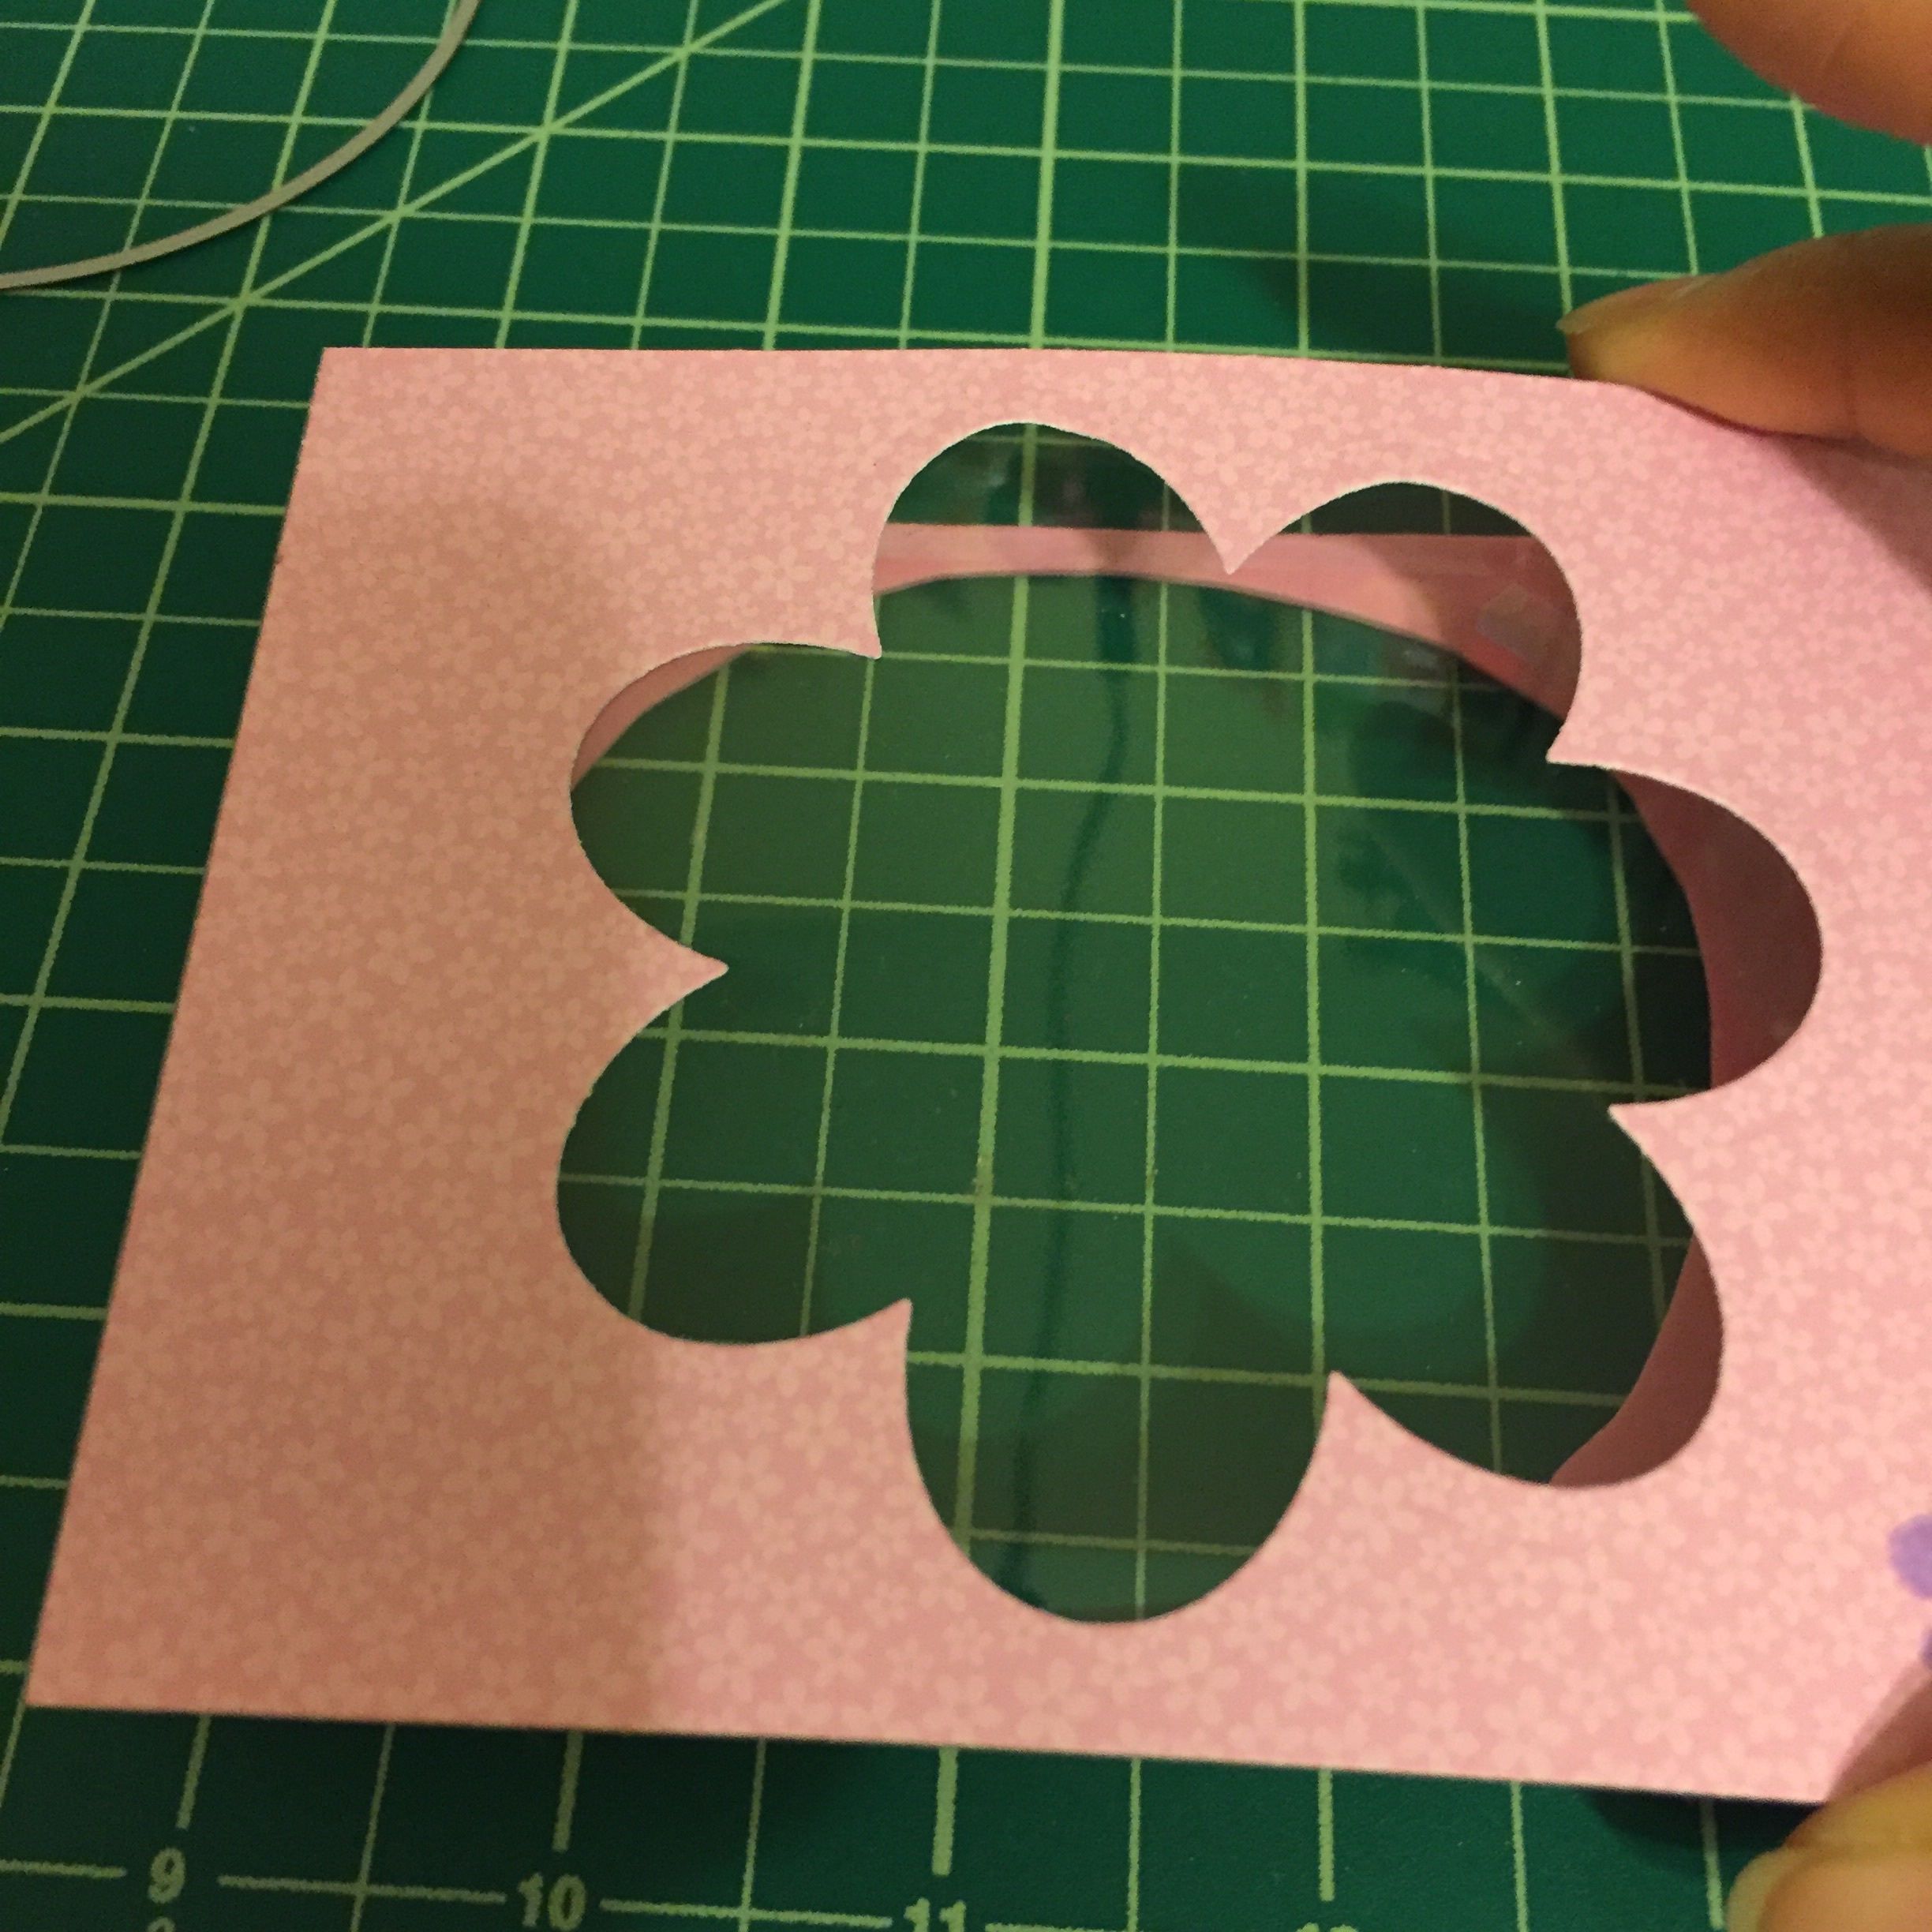
Then cut a shape from the smaller block and a circle smaller than the shape you chose out of the larger block.

Big shape small block, larger block smaller circle.
Then mark the front of your notecard base and cut out the same circle.

Mark the card.
Also mark the inside of the card to line up with the opening.
Cut a piece of acetate the same size as the 4 x 5.25 block and attach it.

Cut a piece of craft foam to 4 x 5.25 and cut a bigger circle out of it.

Foam piece.
Cut this circle.
Attach the foam to the smaller block.

I decided to stamp a small flower on the front and added some rain stones.

Flower stamp.

I attached them with my Pick-me-up and some Glossy Accents.
Attach another small piece of acetate behind the circle opening on the bigger block.

Next, pick out what you want to put inside of your shaker and attach the layers.

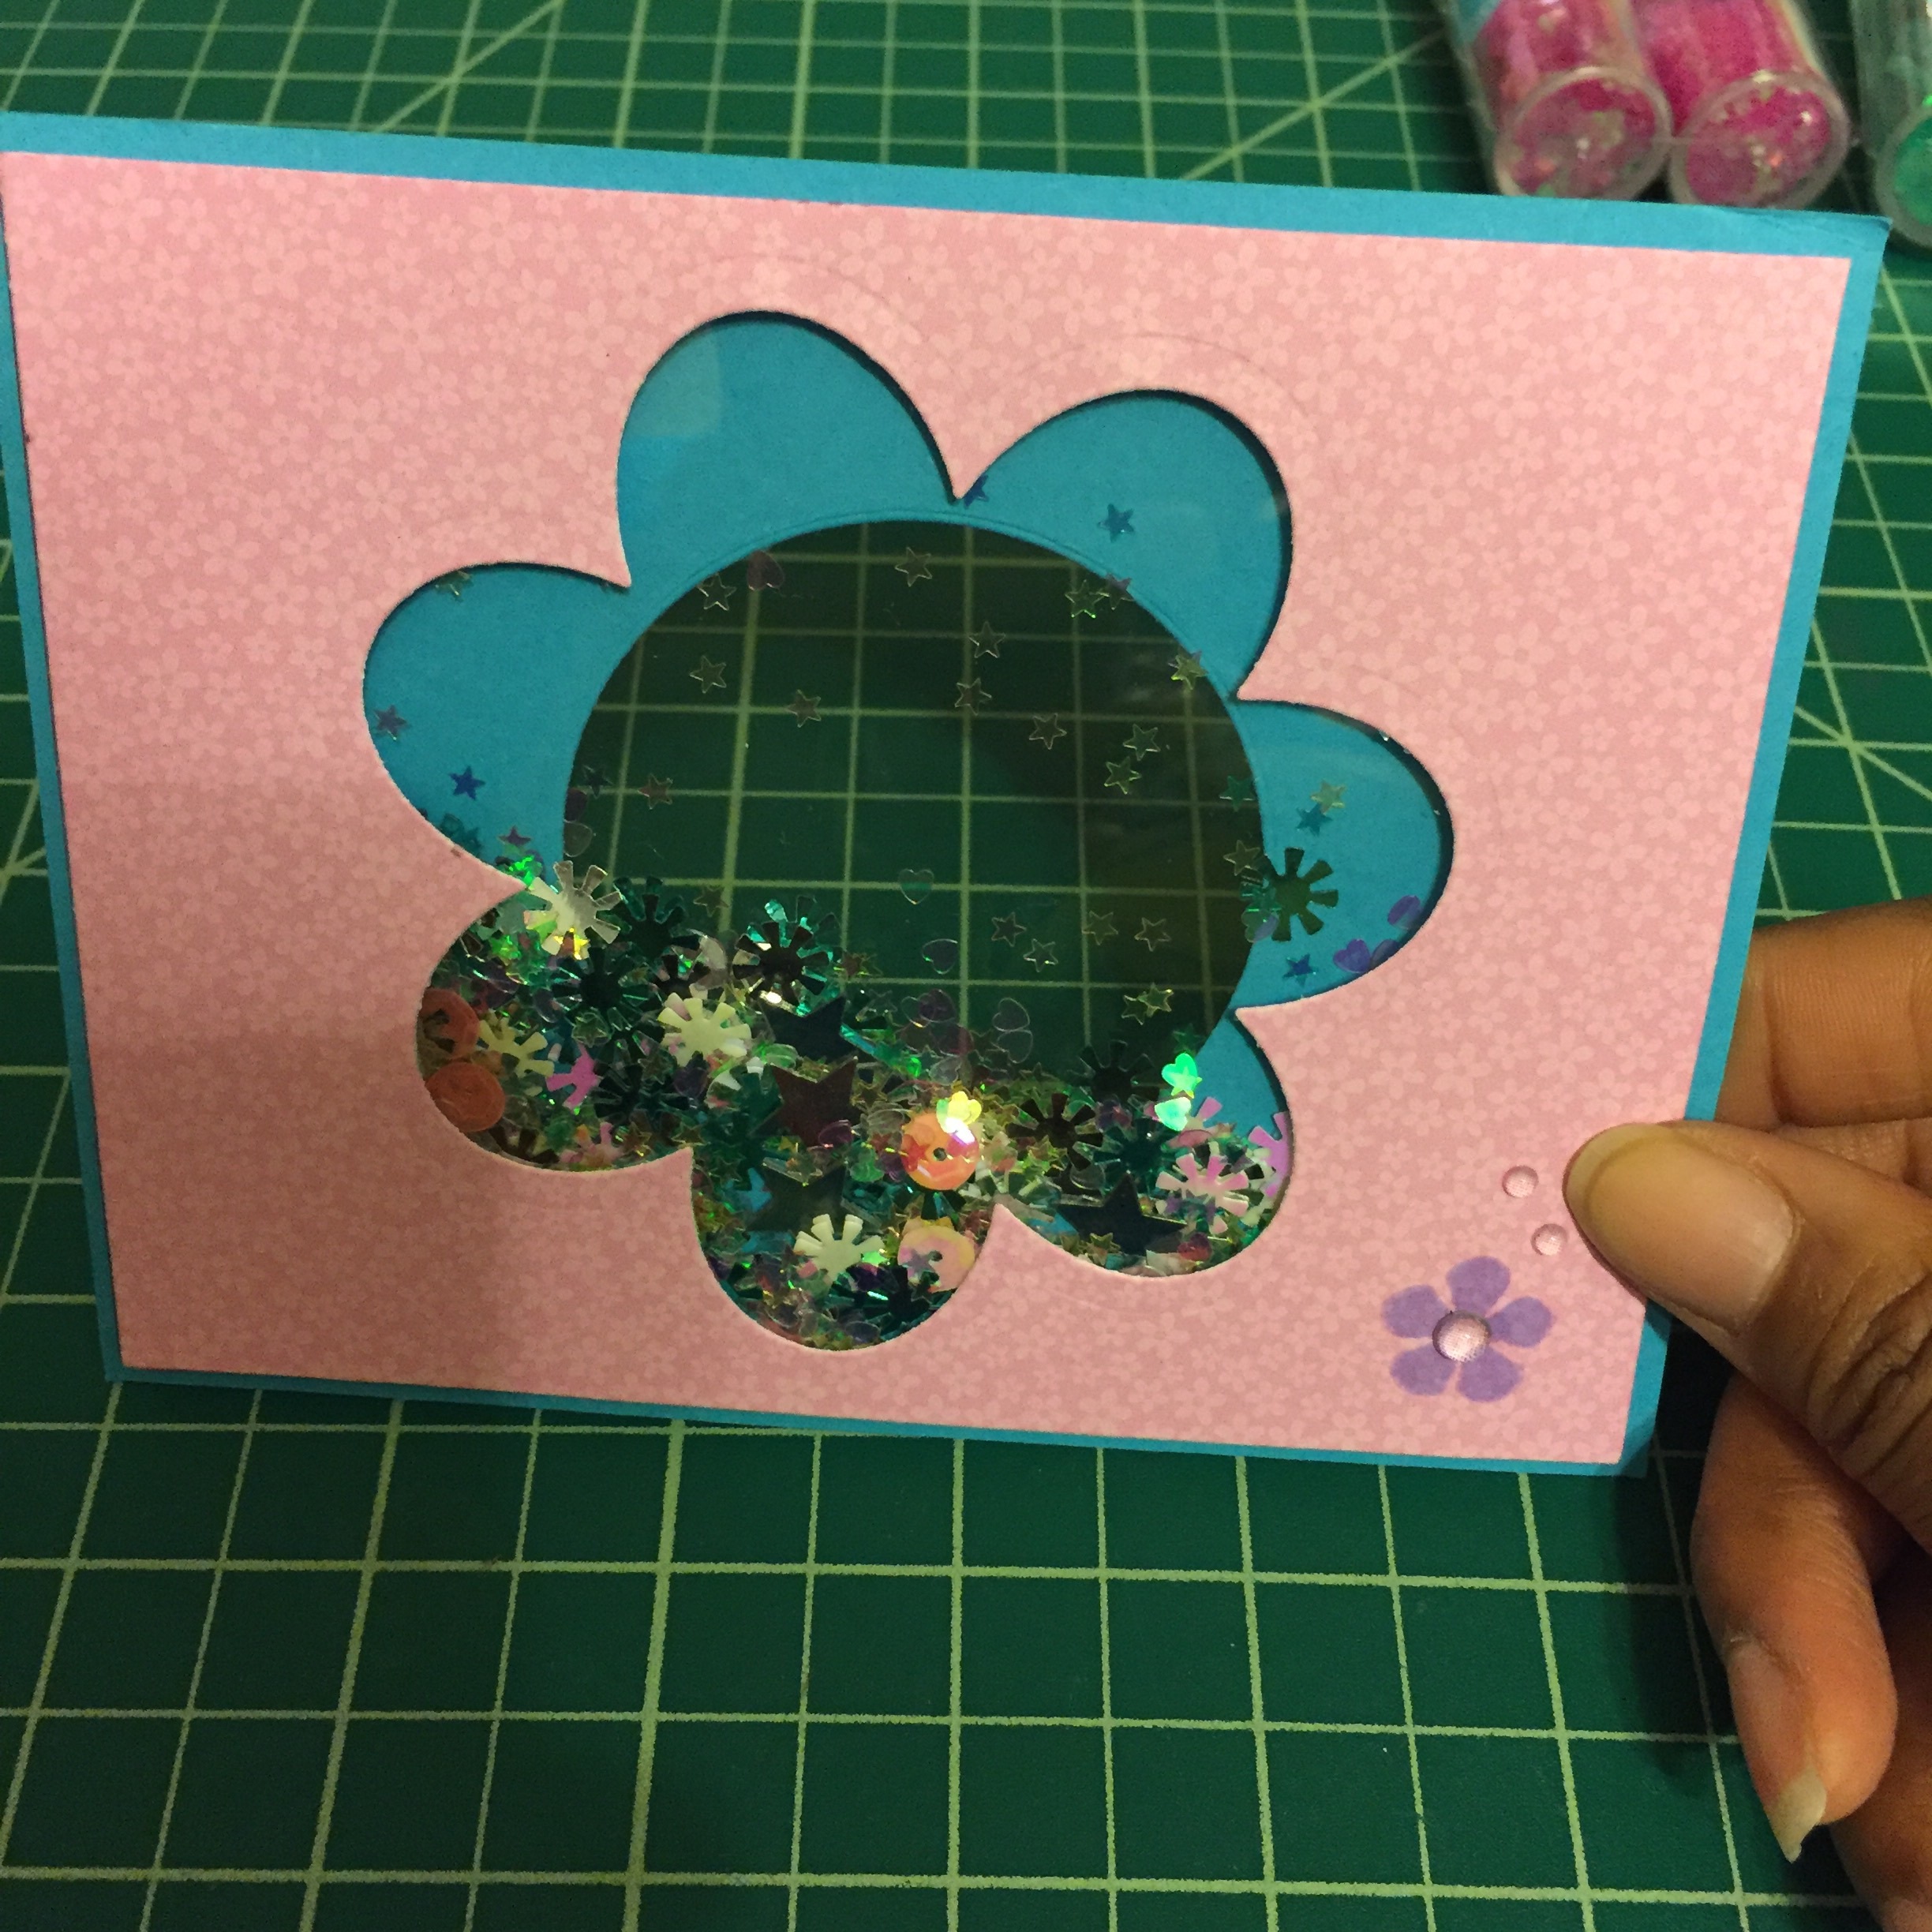
Finished card front.
Now attach the front to the card base and line up the circle cut outs.

Now you can stamp your sentiment where it will be visible through the front.

You'll see the "hope" through the front.

Finished card!
I hope this inspires you to make a card and brighten someone's day! Happy crafting! !!
Watercolor, hand lettering, and masking.
Drawing, Color, Paper crafting, Supplies, Tutorial, Graphic design, Graphic, How to, Tools, Cards, Diy, Coloring, Watercolor, CraftsCommentI wanted to try doing some hand lettering and water coloring and I thought the easiest way to do it would be to use my Molotow masking pen.
I started by finding a quote I really liked from Aesop, and hand lettered it in pencil on a piece of Bristol paper.

Beginning and some guide lines.

Completed quote
Then I covered all of the lettering with the Molotow masking pen.

All masked and ready to go.
What I should have done here is erased my guidelines, but I didn't so they're slightly visible in the finished work, but if you are making this, now is a good time to erase them being careful not to disturb the masking fluid.
Then I added my watercolor background and dried it with my heat tool.

Before the reveal...
Finally I removed the mask with an adhesive eraser (they're very handy and won't cause your paper to pill).

Finished product!
Overall, I'm pretty happy with the results! The next time I do this though, I will erase my guidelines earlier and I will use a lighter sketch pencil when I do my hand lettering. Hope you enjoyed this, Happy Crafting!
New cards with new stuff
Stamps, Tutorial, Cricut, Coloring, Cards, Watercolor, How to, Supplies, Color, CraftsCommentLast time I talked about my amazing watercolors and yesterday I finally put them to work on a card. I cut out the hearts on my Cricut Explore and used a piece of Tim Holtz Ranger Watercolor paper for the background. I chose 3 colors I really liked and put them down first as a wash and then flicked some dark purple and dark blue on top. I dried it all with my heat gun and then adhered the hearts using some Sticky Dots. Then I finished it by adding some Doodlebugs sequins using Glossy Accents and my Pick Up stick. Finally I stamped the sentiment with an Avery Elle stamp and a Versacolor ink pad.
I hope you enjoy the video and Happy Crafting.
Gab about Watercolors
Supplies, Tools, Reviews, Drawing, Cards, Crafts, Unboxing, Shopping, Diy, Coloring, ColorCommentI love watercolors and I use them in various states, pencils, crayons, markers, and traditional cakes. I have 2 travel sets, one is Cotman and the other is Koi. They are both wonderful, but my only complaint is that you get 6-12 colors and you have to "make" the rest yourself. This is common, but time consuming...and then I found the Kuretake GansaibTambib sets! They are everything!! I chose the largest set, 36 colors, and I could not be more satisfied. The colors are vibrant and smooth plus the box they come in is beautiful.

Before the unboxing.
Then when you open them there is a color chart on the interior of the lid.
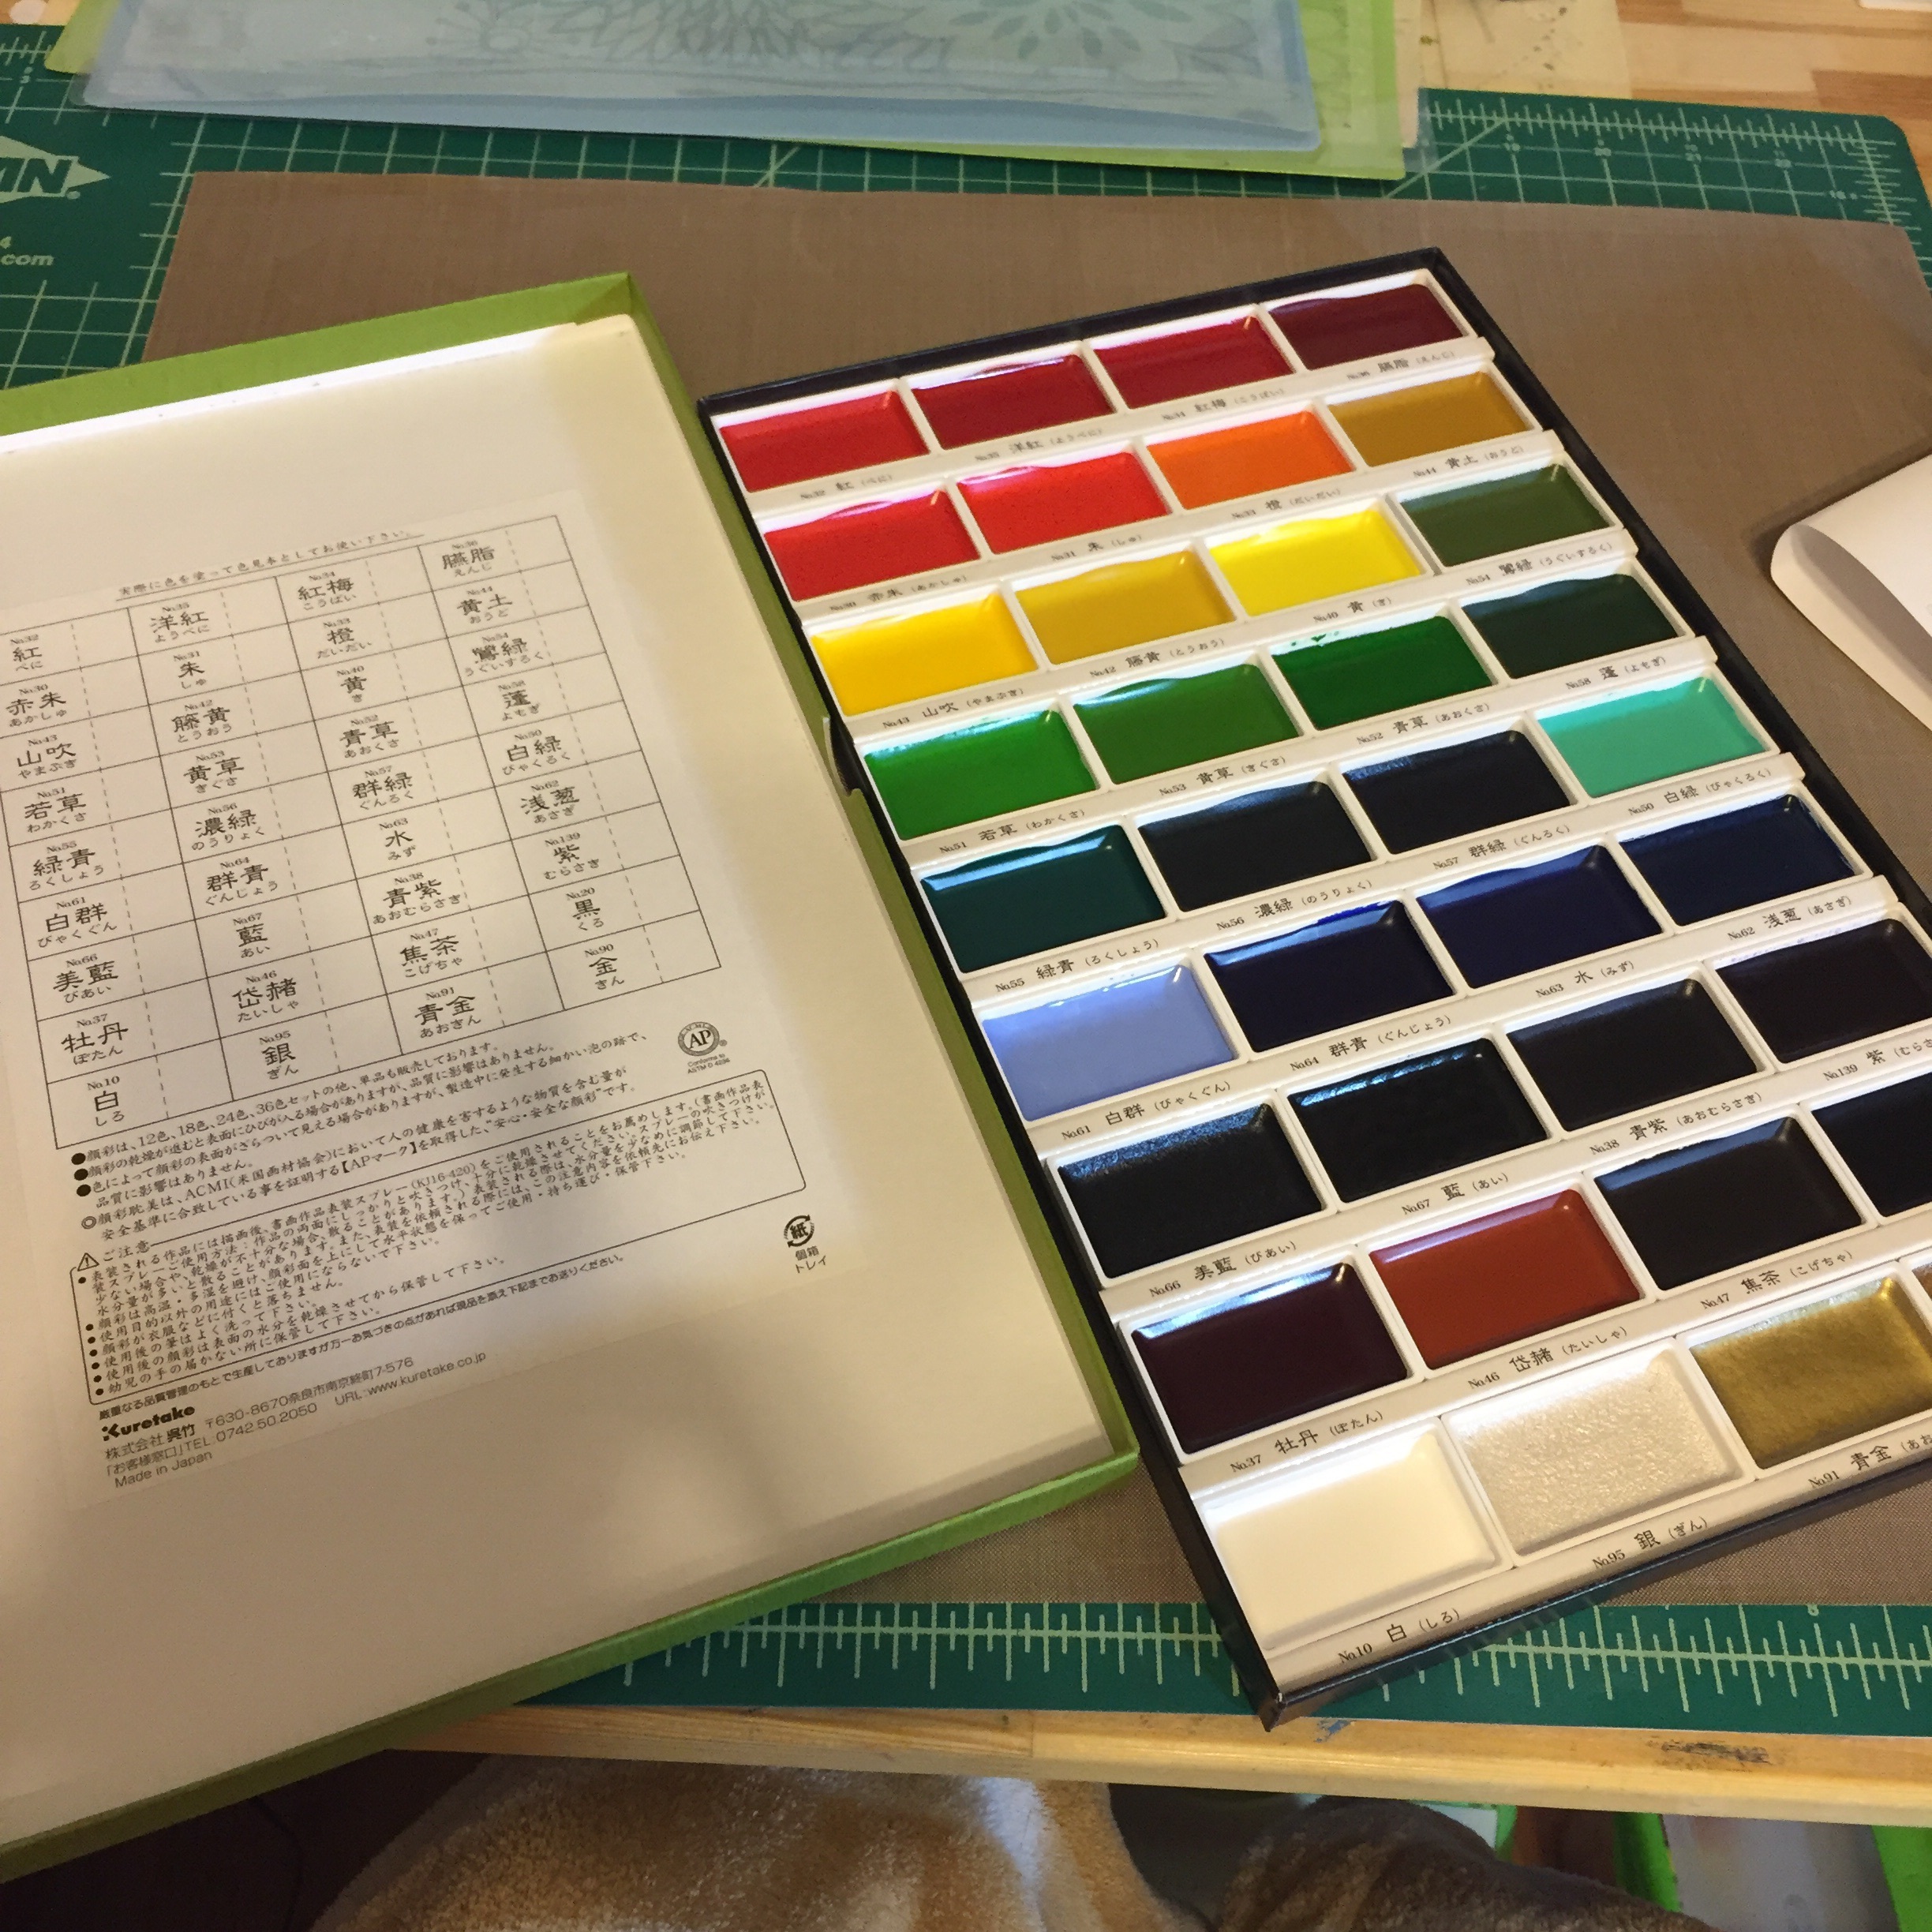
A handy surprise.
It took a few minutes to get all of the colors done, but the chart makes me even happier because of how the colors look, and this is on ordinary paper!
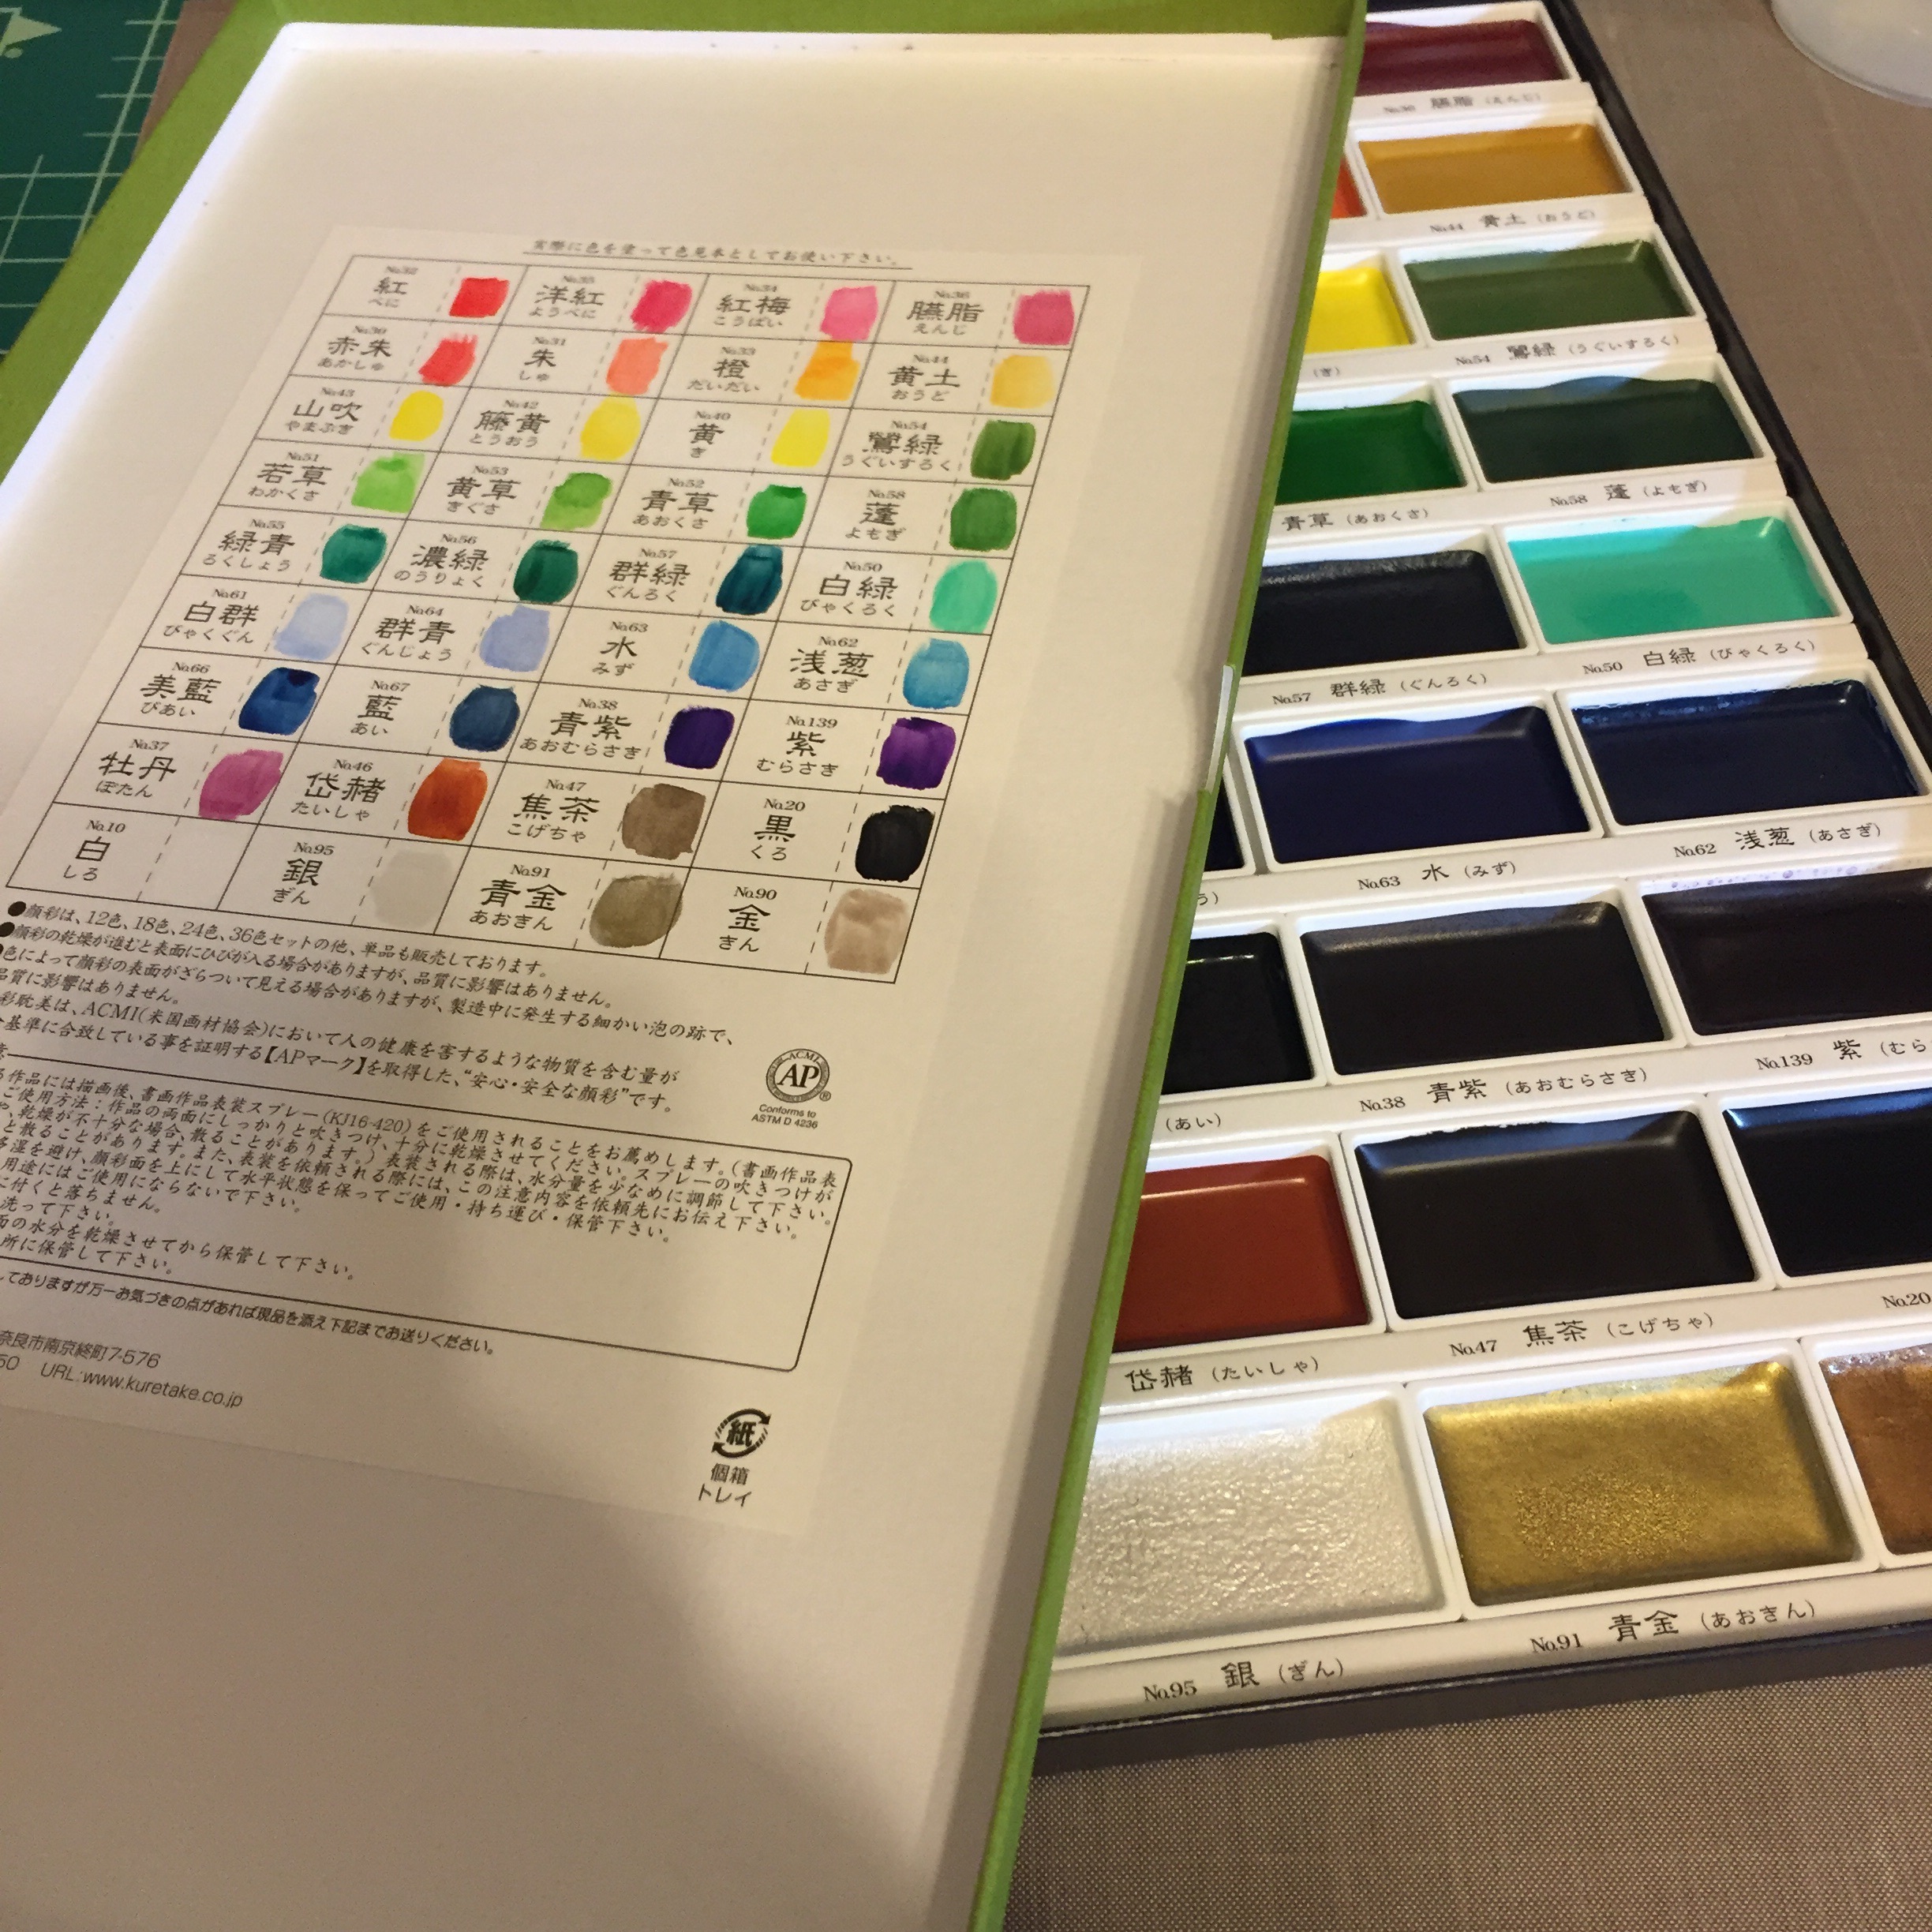
Completed chart!
The set includes 33 "traditional" colors including white, and 3 metallic colors. Each cake has the corresponding chart number on the bottom, so that if you ever mix them up, you can reorganize them with ease. I have to say I am very impressed with the set and cannot wait to make some cards with these, happy crafting!