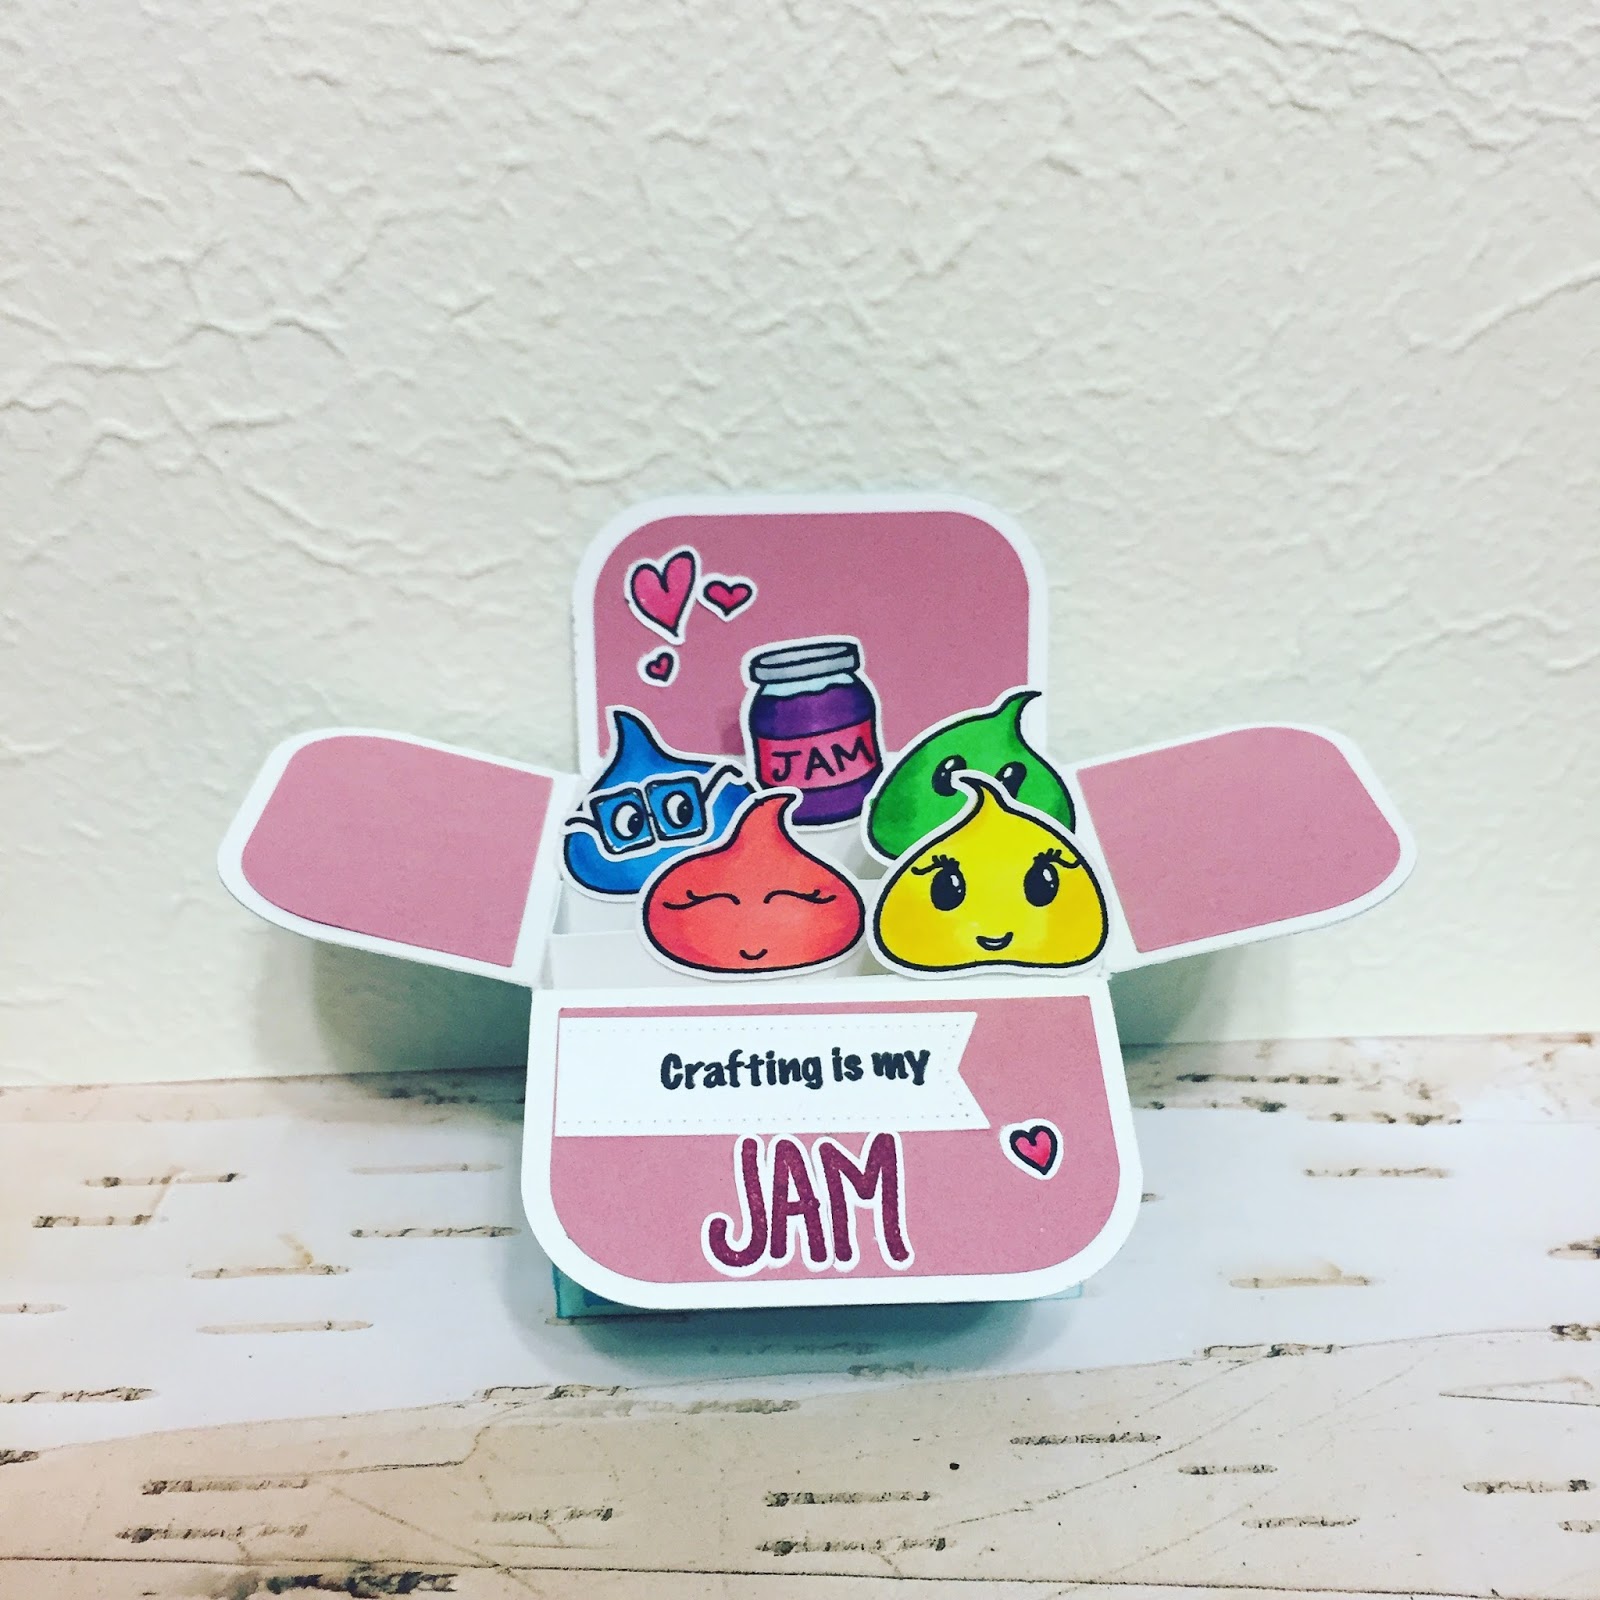
Hello everyone, this is Gaby from Gab with Gaby Stamps and I am so happy to be posting on the CardMaker blog today! I will be walking you through how to make this adorable pop-up card using a stamp set from my line of stamps.

To start you will need a sheet of heavy card stock and another sheet of paper or card stock that you like. I will be using 80lb white card stock and some pretty pink card stock along with the "Meet the Jelly Friends - My Jam" stamp set.

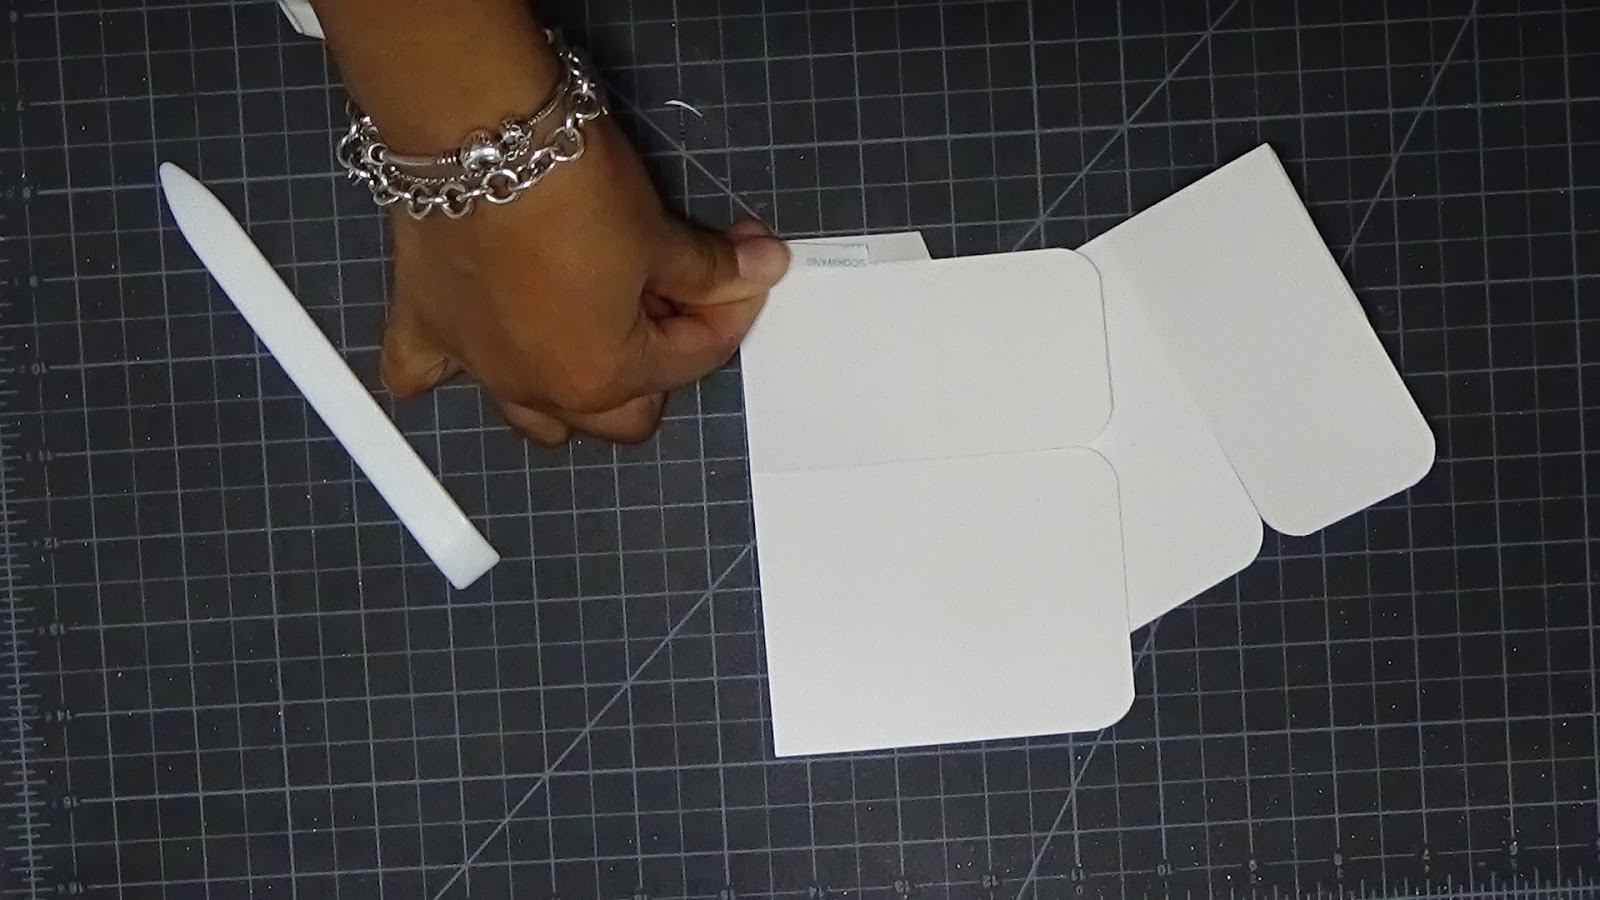

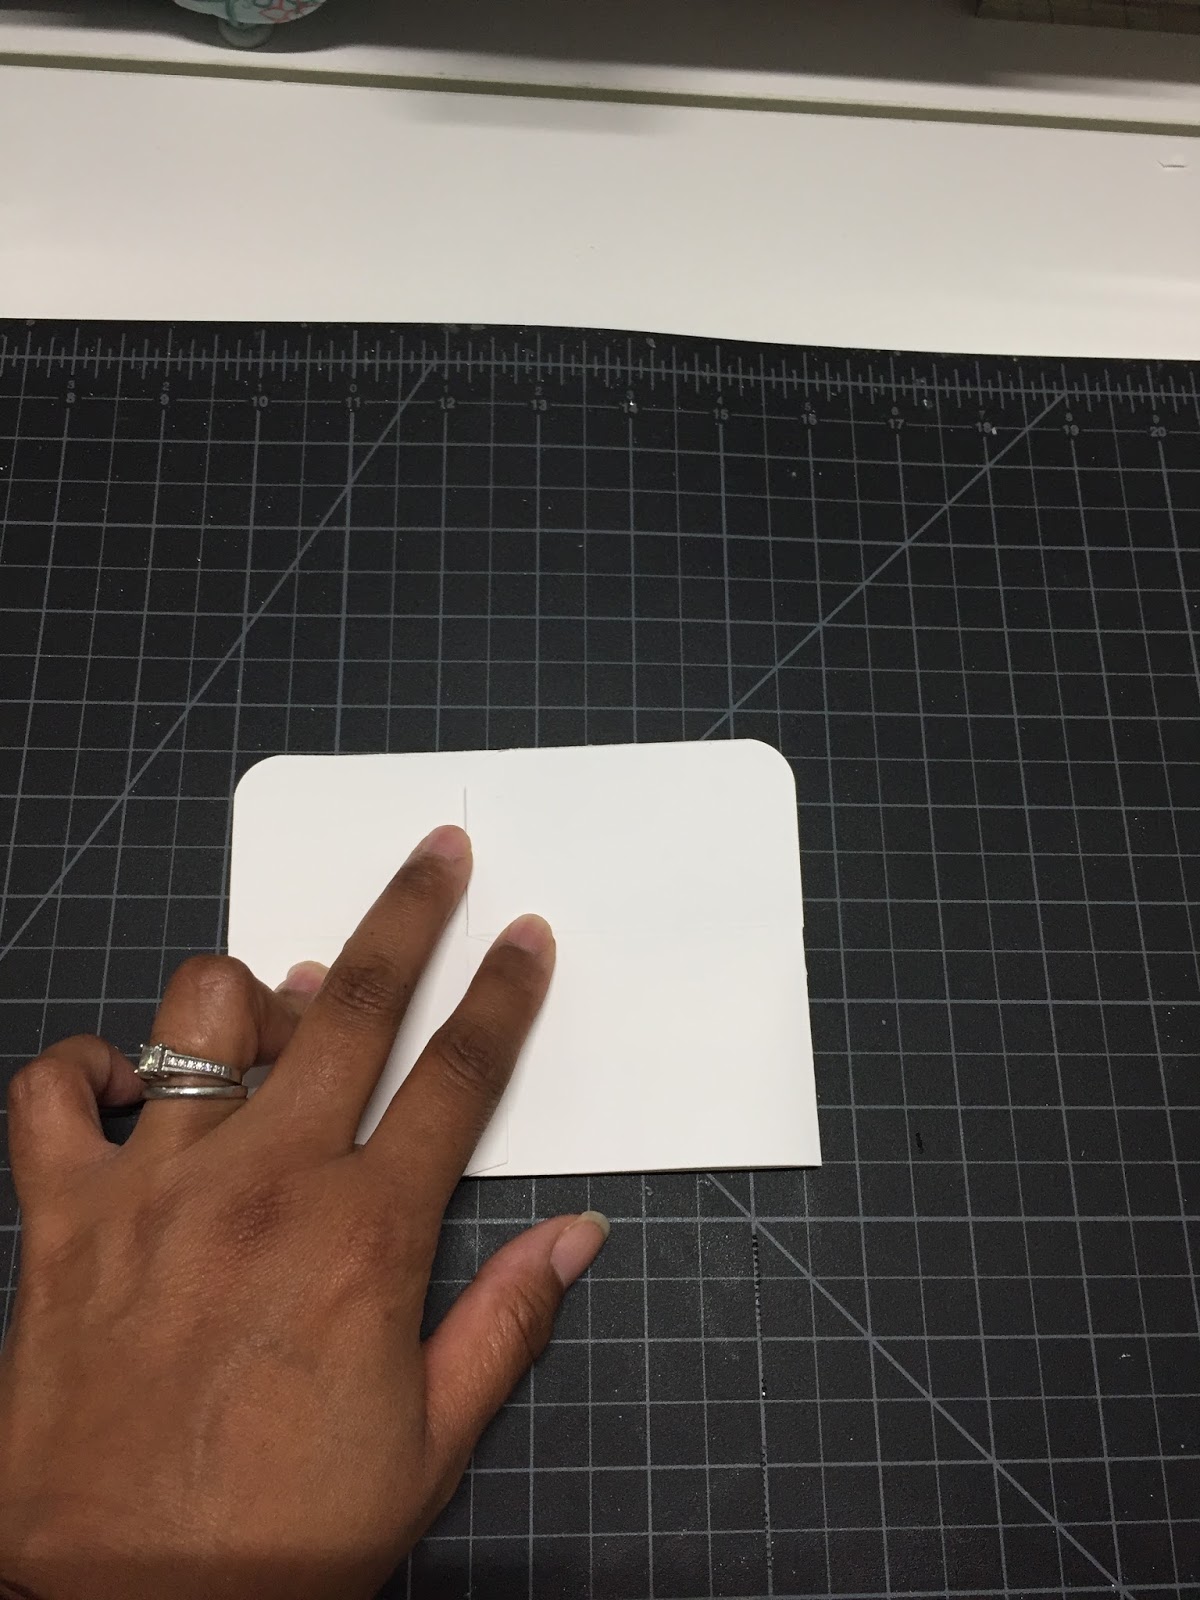
Cut 3 rectangles to 4" by 1-1/8" and score on each end at 3/8".

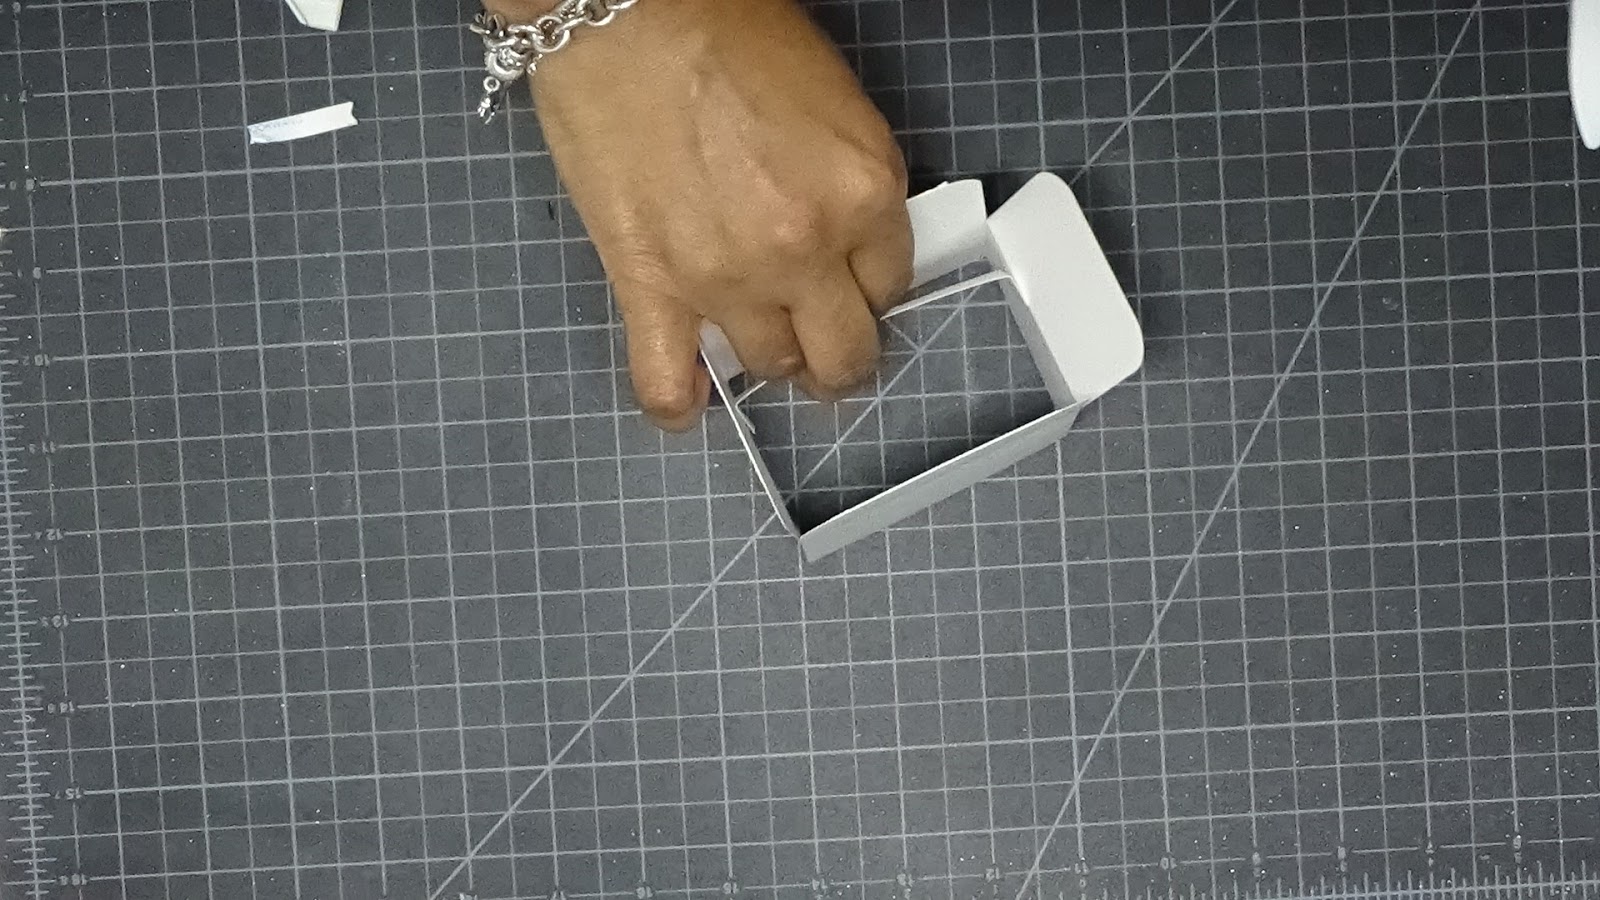
Apply glue or tape to the ends of the small rectangles and attach to the inside of the box.
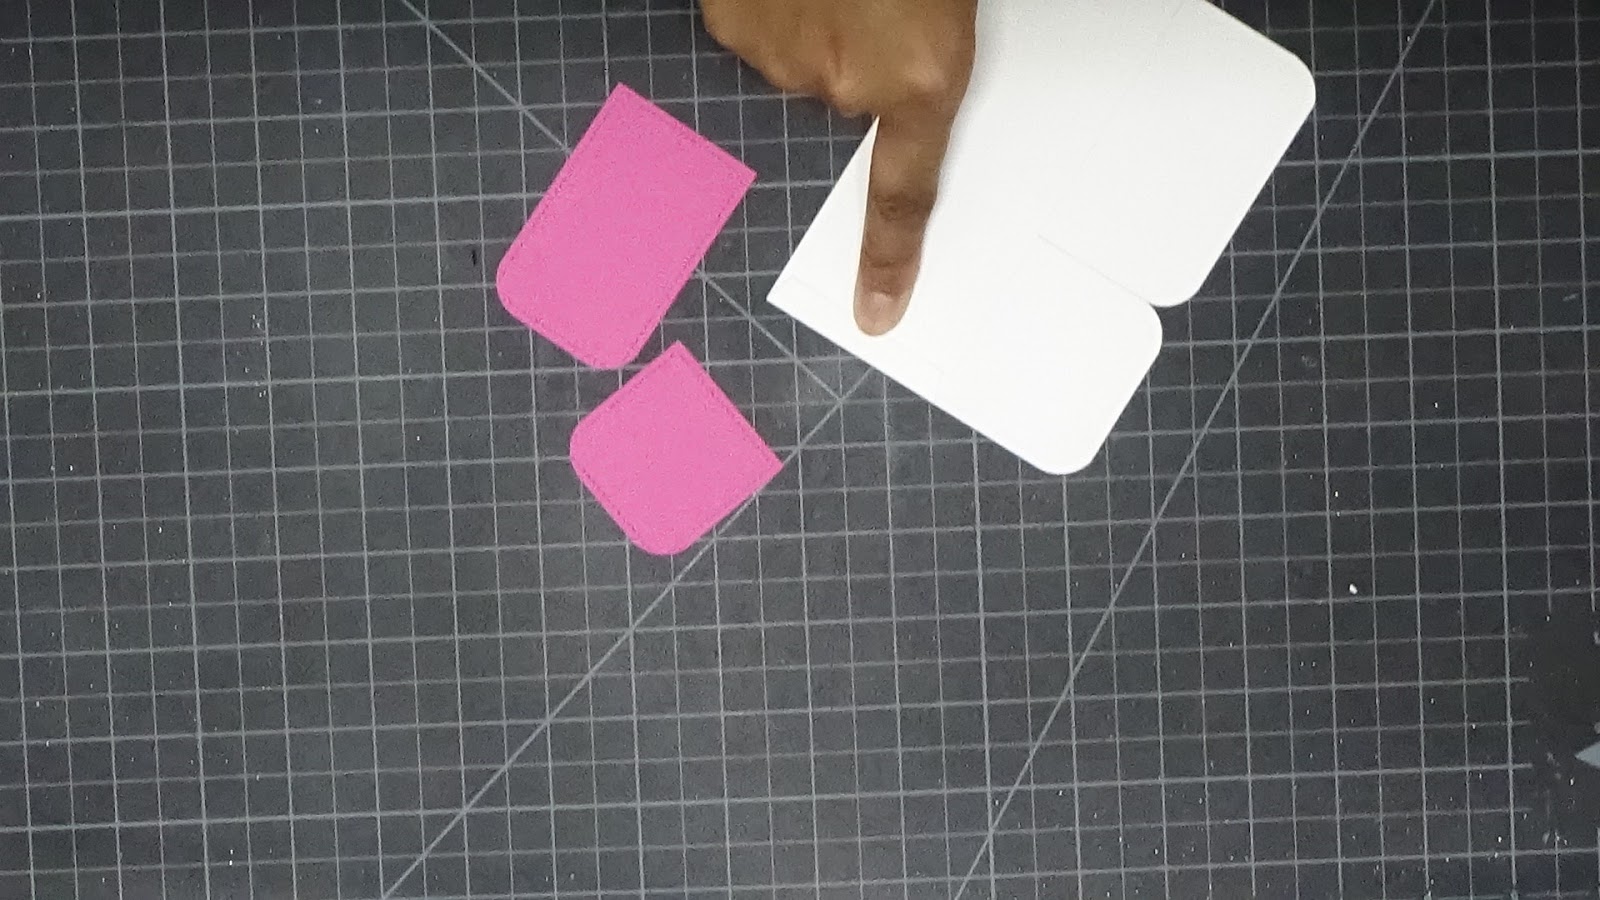
Now that you have built your pop-up, from the other card stock cut two each of the following rectangles: 2-7/8" x 1-7/8", 2-7/8" x 1-9/16", 1-7/8" x 1-9/16" and two 1-7/8" squares. These will be used for decorating your card, I also rounded these corners.

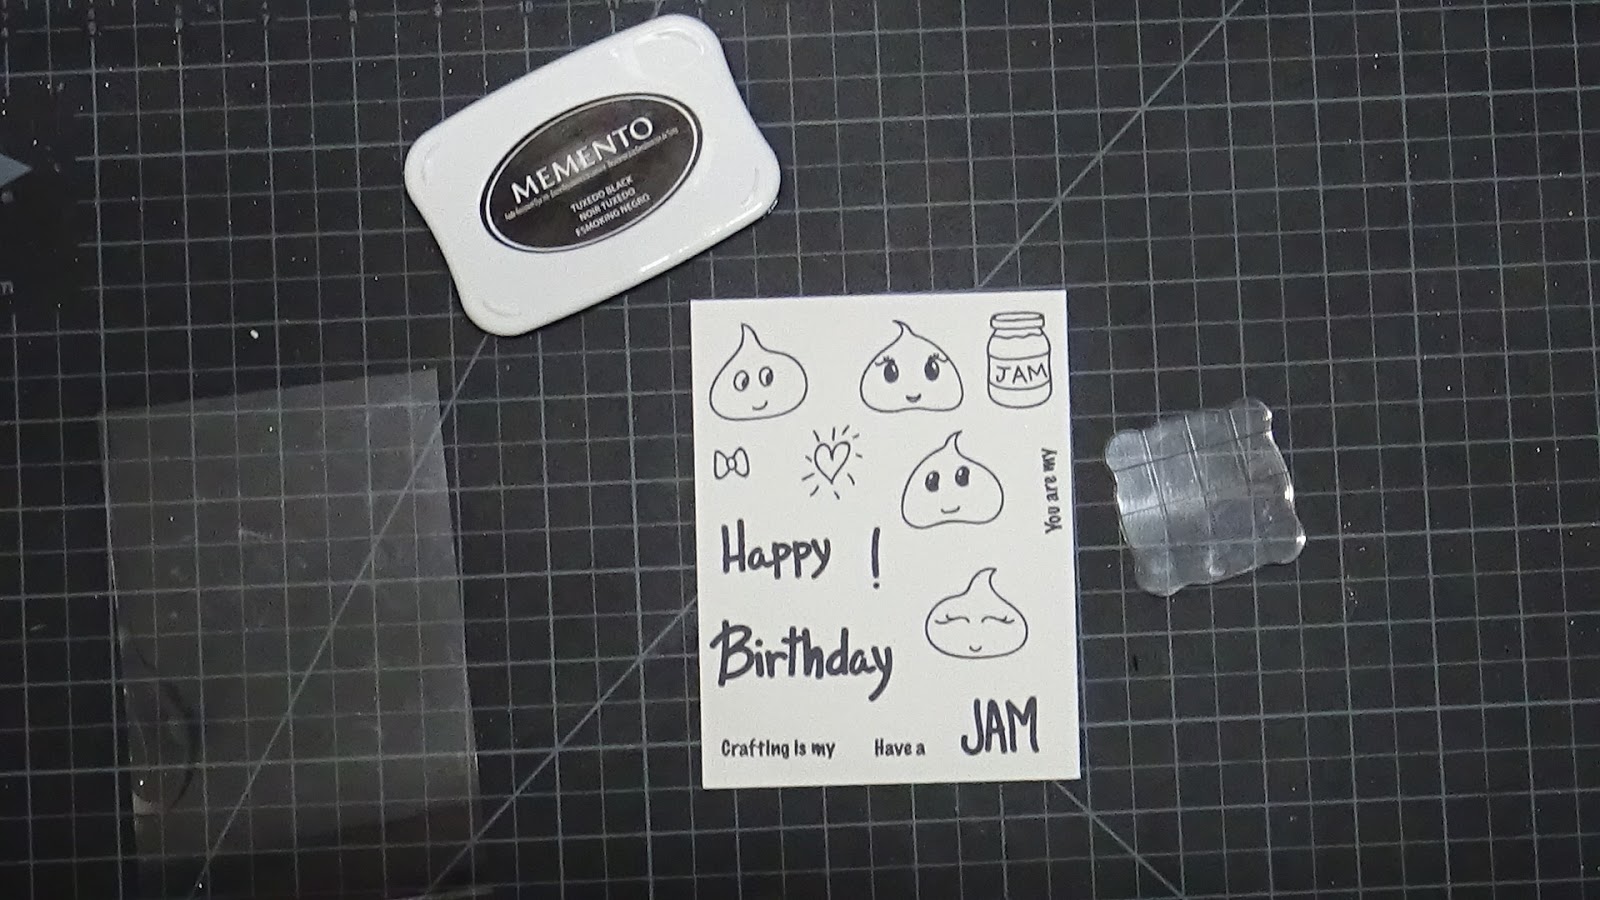
Now you can stamp your images on the remaining white card stock. I stamped my images with dye ink because I am using Copic markers for coloring. I stamped all of the Jelly Friends, the glasses, bow, hearts, and jar of jam. These will be used to "pop-up" out of the card.
Once your images are colored, cut them all out and begin arranging them along the rectangles you adhered to the inside of the box.

This card will fit in a regular A2 envelope and go through the mail, just fold it flat.
I stamped "Crafting is my JAM!" on the front of the card to finish it, then I sent it to a crafty friend! I hope you liked this tutorial and you make your own pop-up cards.
Try using different patterned papers for more looks and even strips of acetate to give your images different heights. Until next time, happy crafting!
Be sure to head over to the CardMaker blog to see more beautiful projects!