I wanted to make these really cool invitations that I saw from a coworker's wedding but couldn't find a full tutorial, so through some trial and error I made my own.
What you'll need:
12" x 12" card stock (main envelope color)
8.5" x 11" card stock (accent color 1)
8.5" x 11" card stock (light color)
12" x 12" card stock (accent color 2)
Paper trimmer
Scoring board
Bone folder/scoring tool
Glue Runner or Craft Bond Glue
Getting Started:
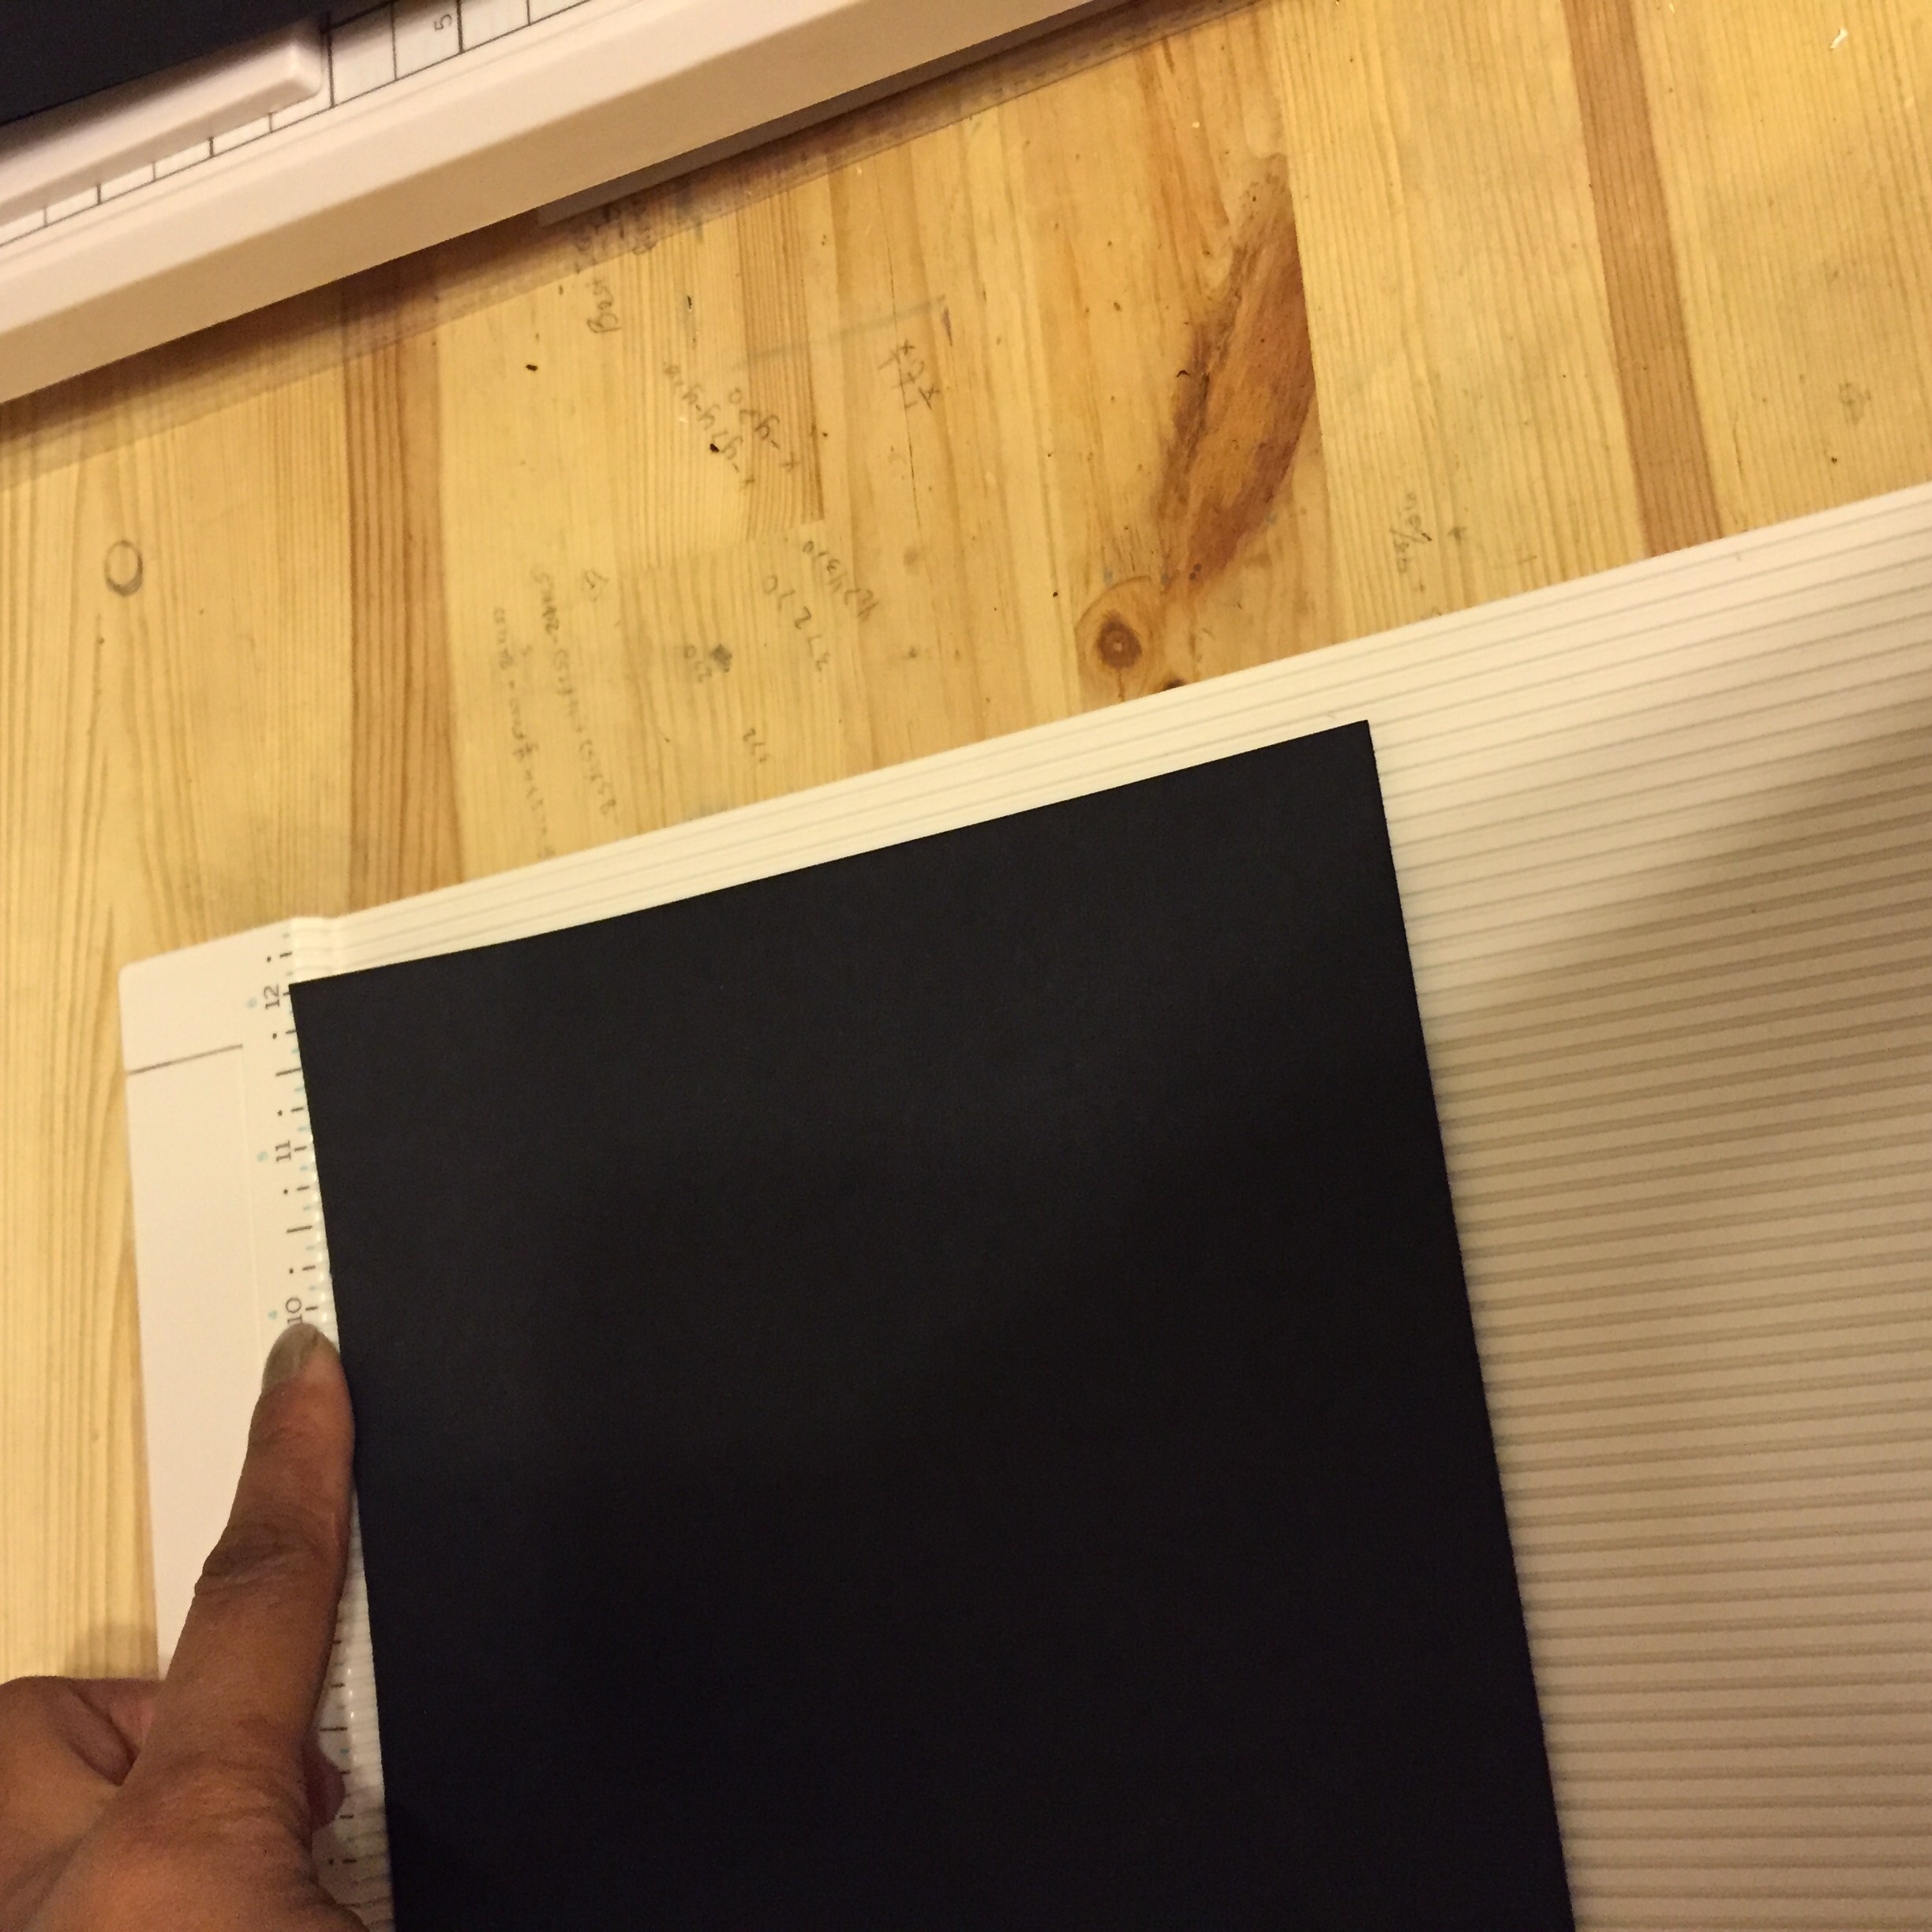
1. Cut main color into rectangles measuring 7" x 12" (save your scraps)

I cut 3 or 4 sheets at a time.
2. Then cut from scraps a 7.5" x 4" rectangle.

3. Score the large rectangles at 4-7/8" and at 9-7/8" .

4. Then score the smaller rectangle at 1/2" (along shorter side) and at 7".

5. Turn rectangle longwise and score at 1-1/2".

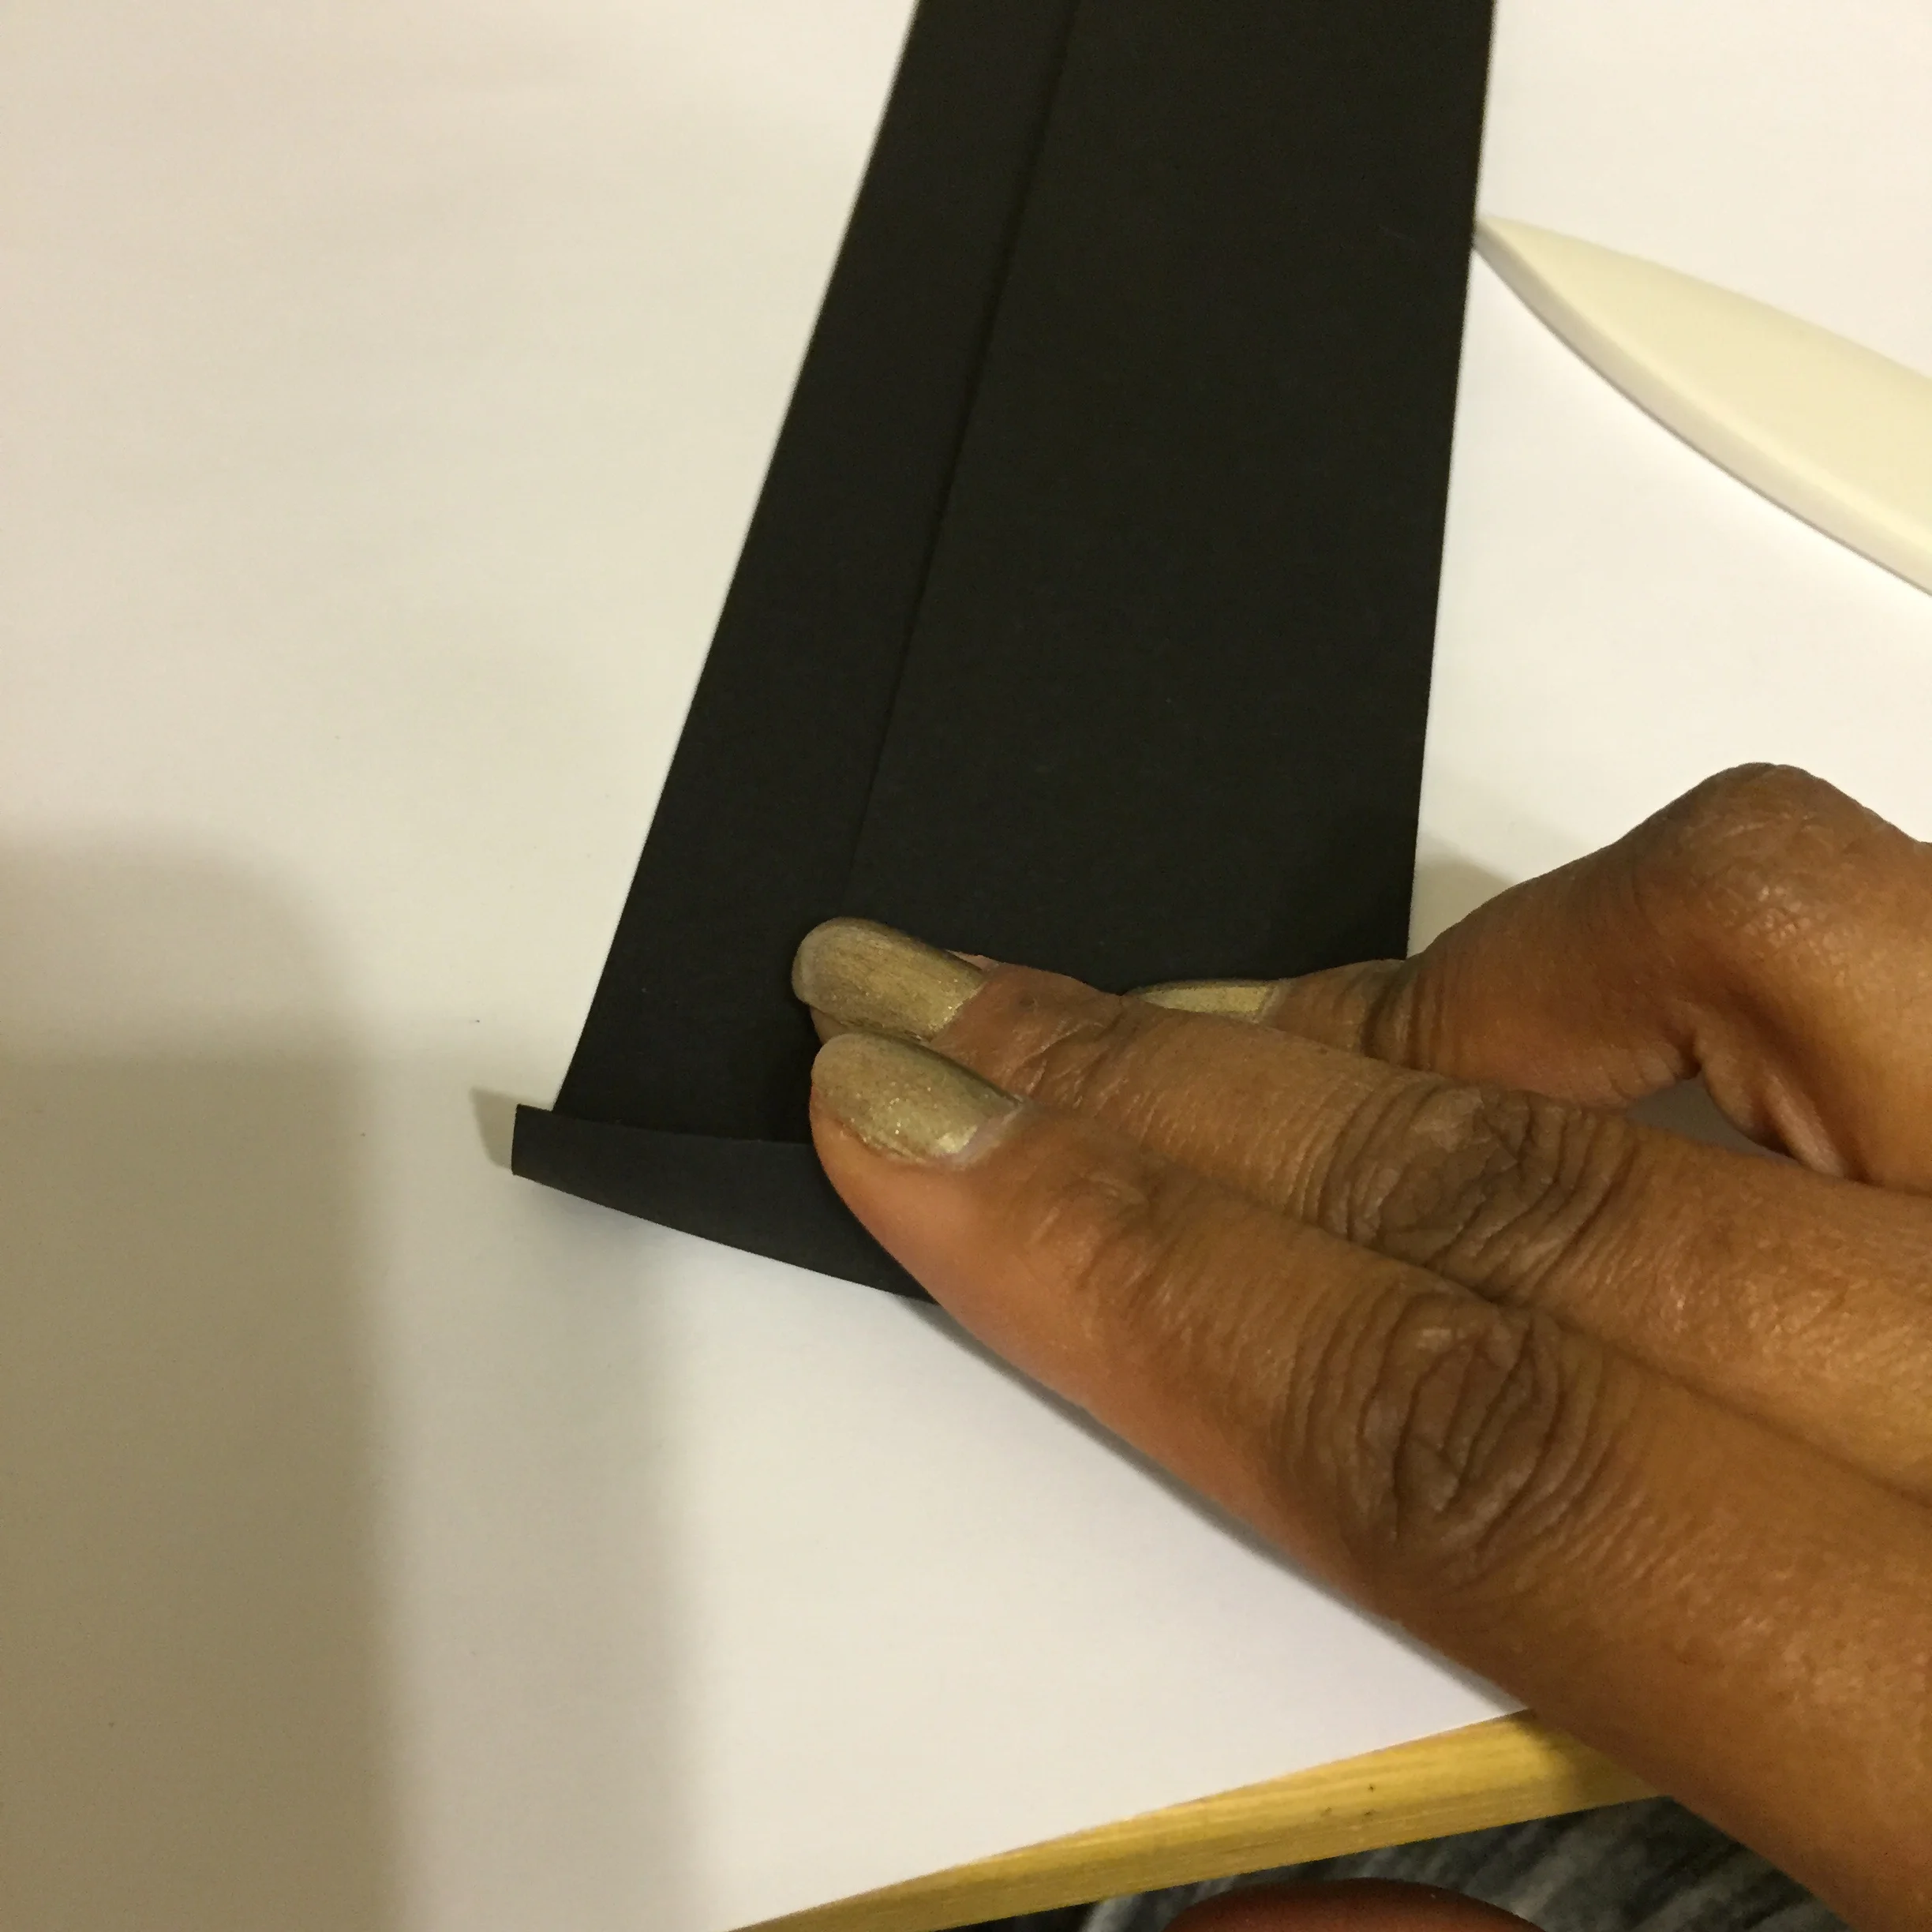
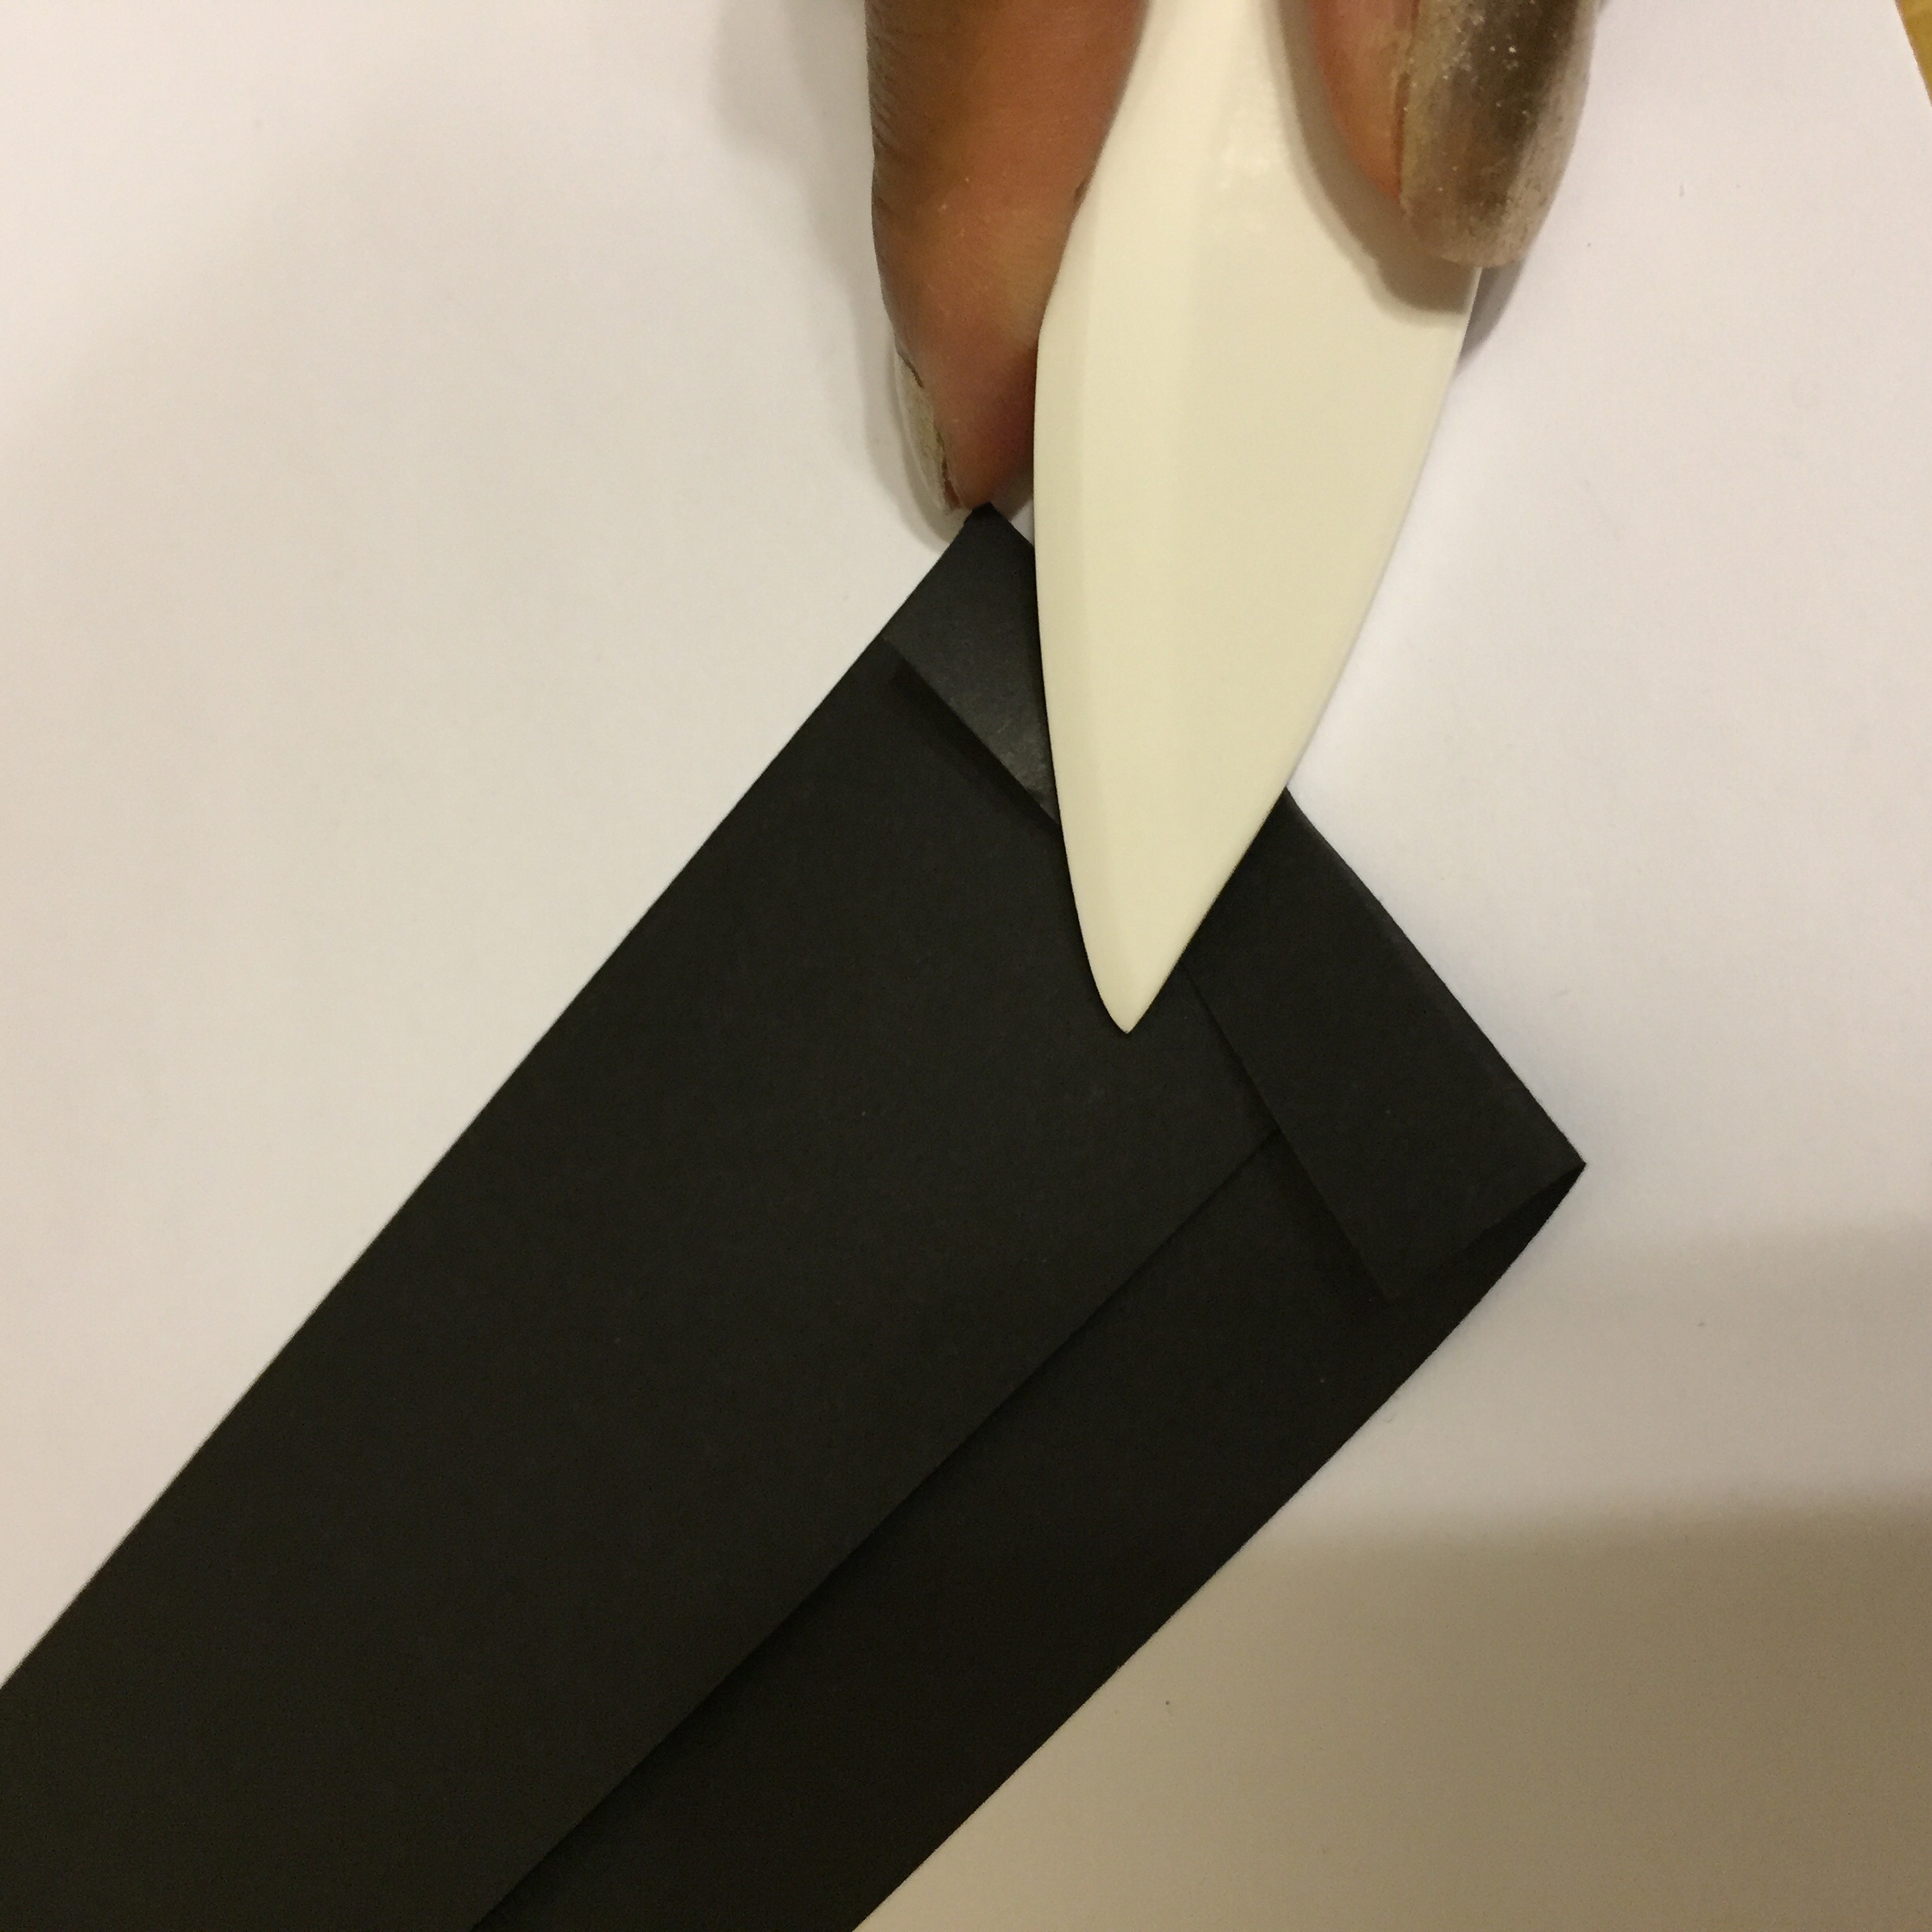
6. Trim where score marks meet. Cut a slight angle on each side of scoring on the shorter end of the rectangle.

This shorter section of the rectangle will be folded.
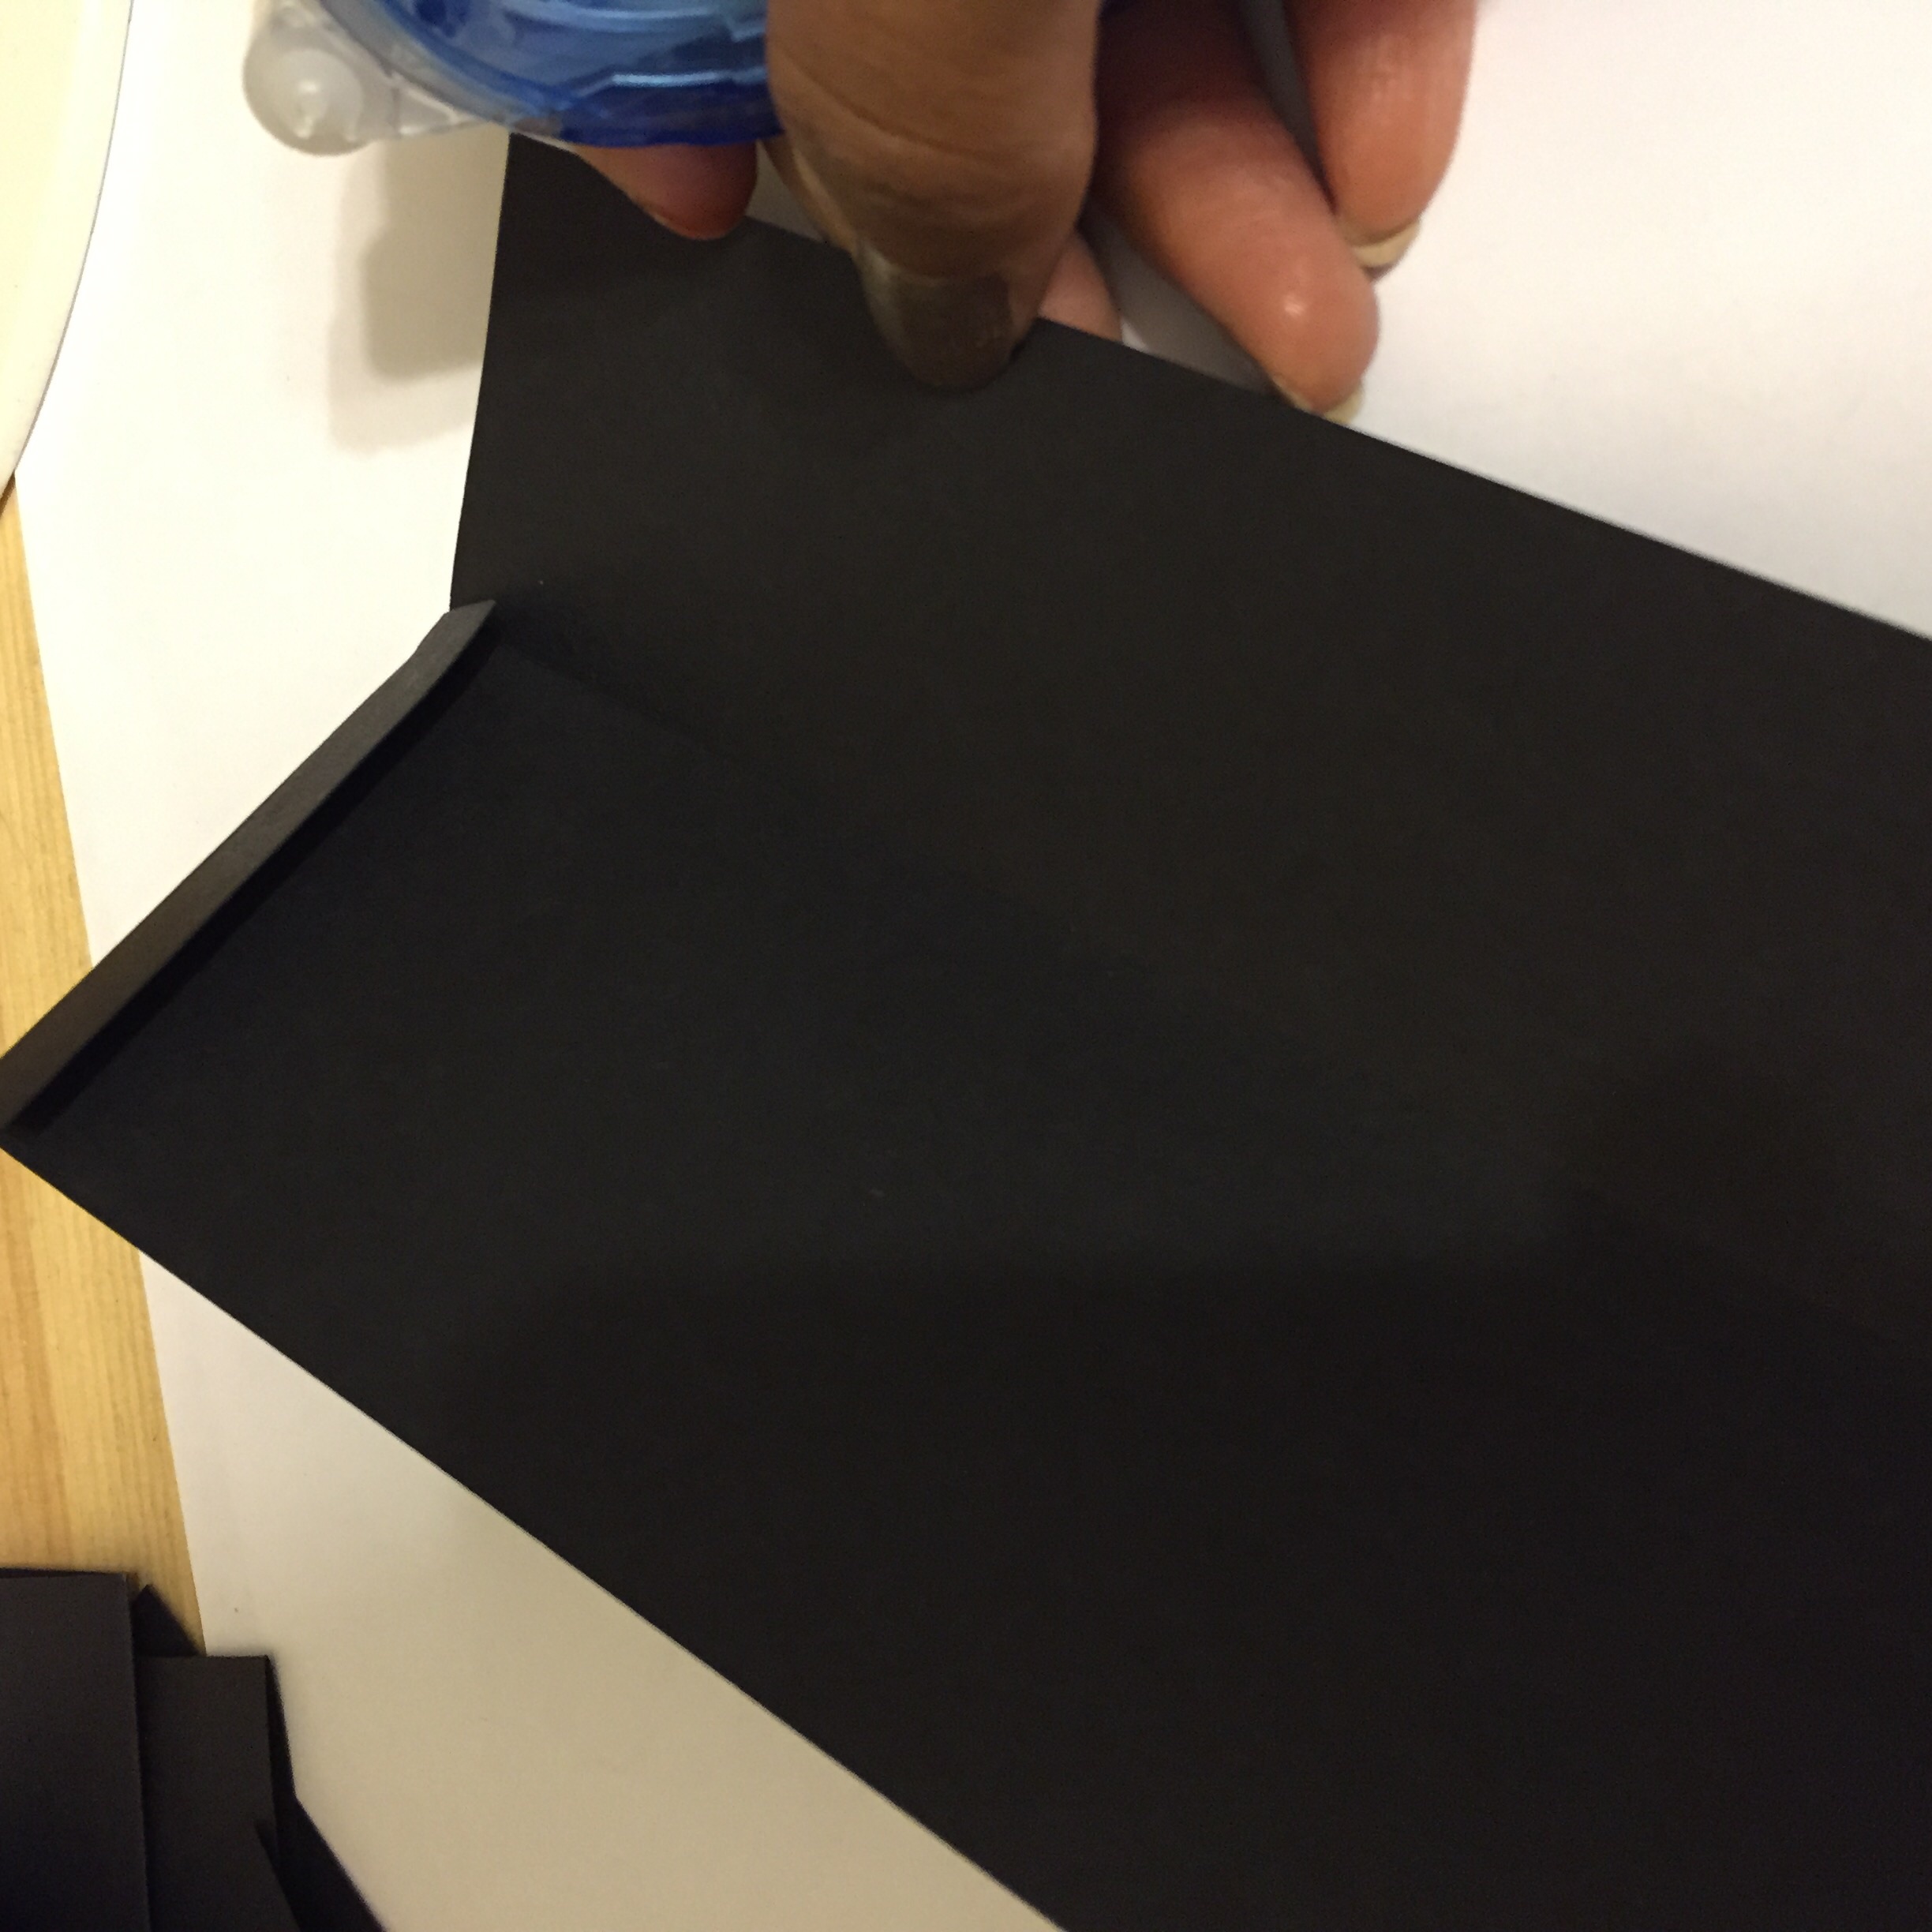
7. Fold the large rectangle along score lines and use bone folder to crease.

I used a corner punch along the 2" flap to round the square edges, not needed, just my personal preference.
8. Fold small rectangle along score lines and use bone folder to crease.


9. Use glue runner or craft bond to stick the flaps together on the small rectangle.


10. Now put adhesive on the back of the three sides you just glued.

11. Stick this on the bottom inside of your big rectangle, opposite the 2" flap.

Try to line up the corners and edges as evenly as possible.
12. Now get your accent color 1 card stock and cut out 6-1/2" by 4-1/2" rectangles.

13. Put adhesive on the back of a rectangle and stick it in the inside of your big envelope.

I repeated the process with another accent cut at 6" x 4" to show layering options.
Now you can customize the outside, put your inserts into the pocket, and add embellishments. Good luck, happy crafting. If you have comments or suggestions, let me know.
Part 2 will show a finished invitation complete with measurements for how to cut your inserts. I'll also be using my printer for part of the invitations.