Craft goals for 2018? Buy less and make more!
handmade
Monster Shaker - Bo Bunny and Hero Arts
Bo Bunny, Tutorial, Stamps, Stamping, Paper crafting, Lawn Fawn, How to, Hampton Art, Coloring, CardsCommentHi everyone, Gaby here with a little shaker card in a monster's belly. I saw this stamp set and thought about how fun it would be to make it into a mini shaker window. I used some turquoise card stock, Crumb Cake card stock, 80# and 110# Neenah Solar White card stock. Copic Ciao markers, Pretty Pink Posh sequins, Stampin' Up! ink, my Stamp Perfect Tool, my Big Shot, and Lawn Fawn dies. Check out the video below.
I hope you enjoyed the video, I think this card could be used for several occasions and even as an everyday "hello" card. Thanks for watching and stopping by; I still have an announcement coming this month and I'm still really excited about it. Happy crafting!
Christmas Place Cards with Quick Quotes using Action Wobbles
Christmas, Crafts, Diy, How to, Paper crafting, Quick Quotes, Stamping, TutorialCommentHi everyone, Gaby here today with a small project you can do if you are having guests over for the holidays. I made some place cards like this for Thanksgiving and I thought it would be fun to recreate this with a Christmas theme. You can do these in one evening if you prep all of your paper and die cuts beforehand.


Check out the video below for what you'll need to make these.
Quick Quotes Products Used:
Powder Puff Chalking Inks 2016
Winter Bliss - WI102 & WI103 New Collection
I am trying to finish up a video for my next product review, it is the Brother Scan n Cut 2. Hopefully I can get it posted soon! Thanks for stopping by!
Pop-Up with Quick Quotes and Lawn Fawn
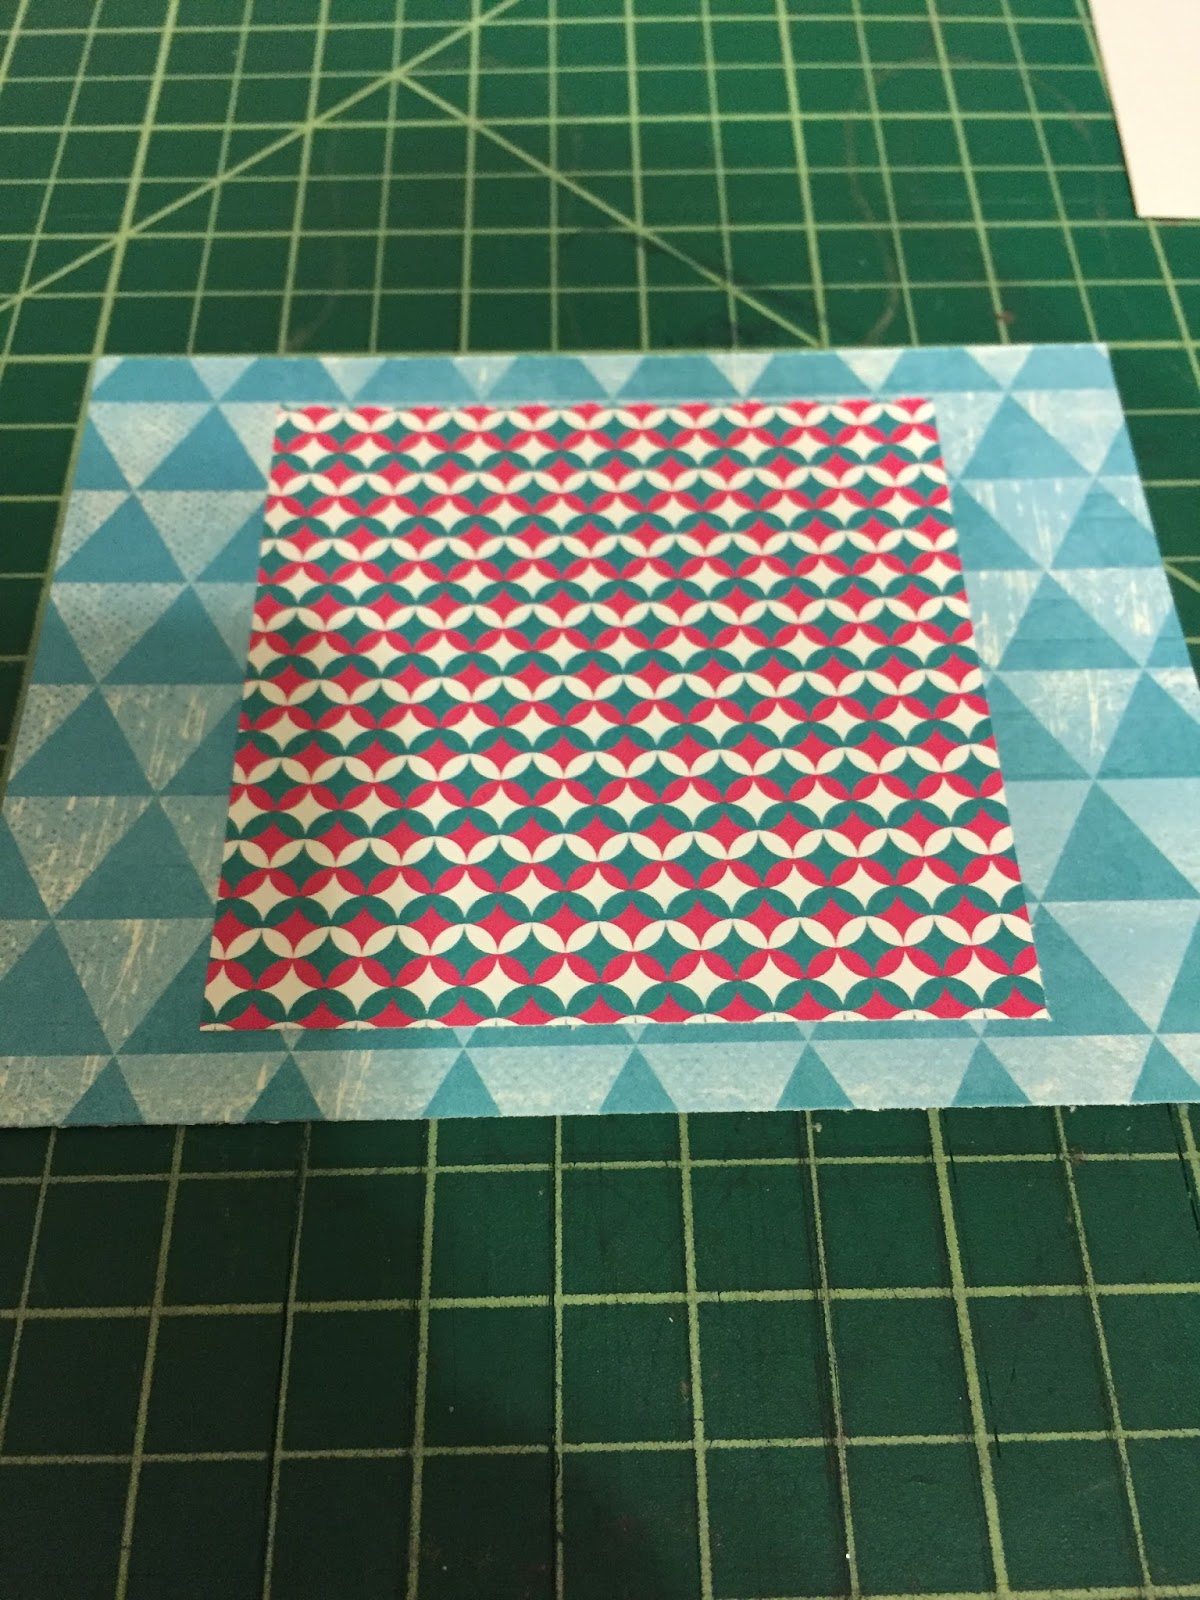
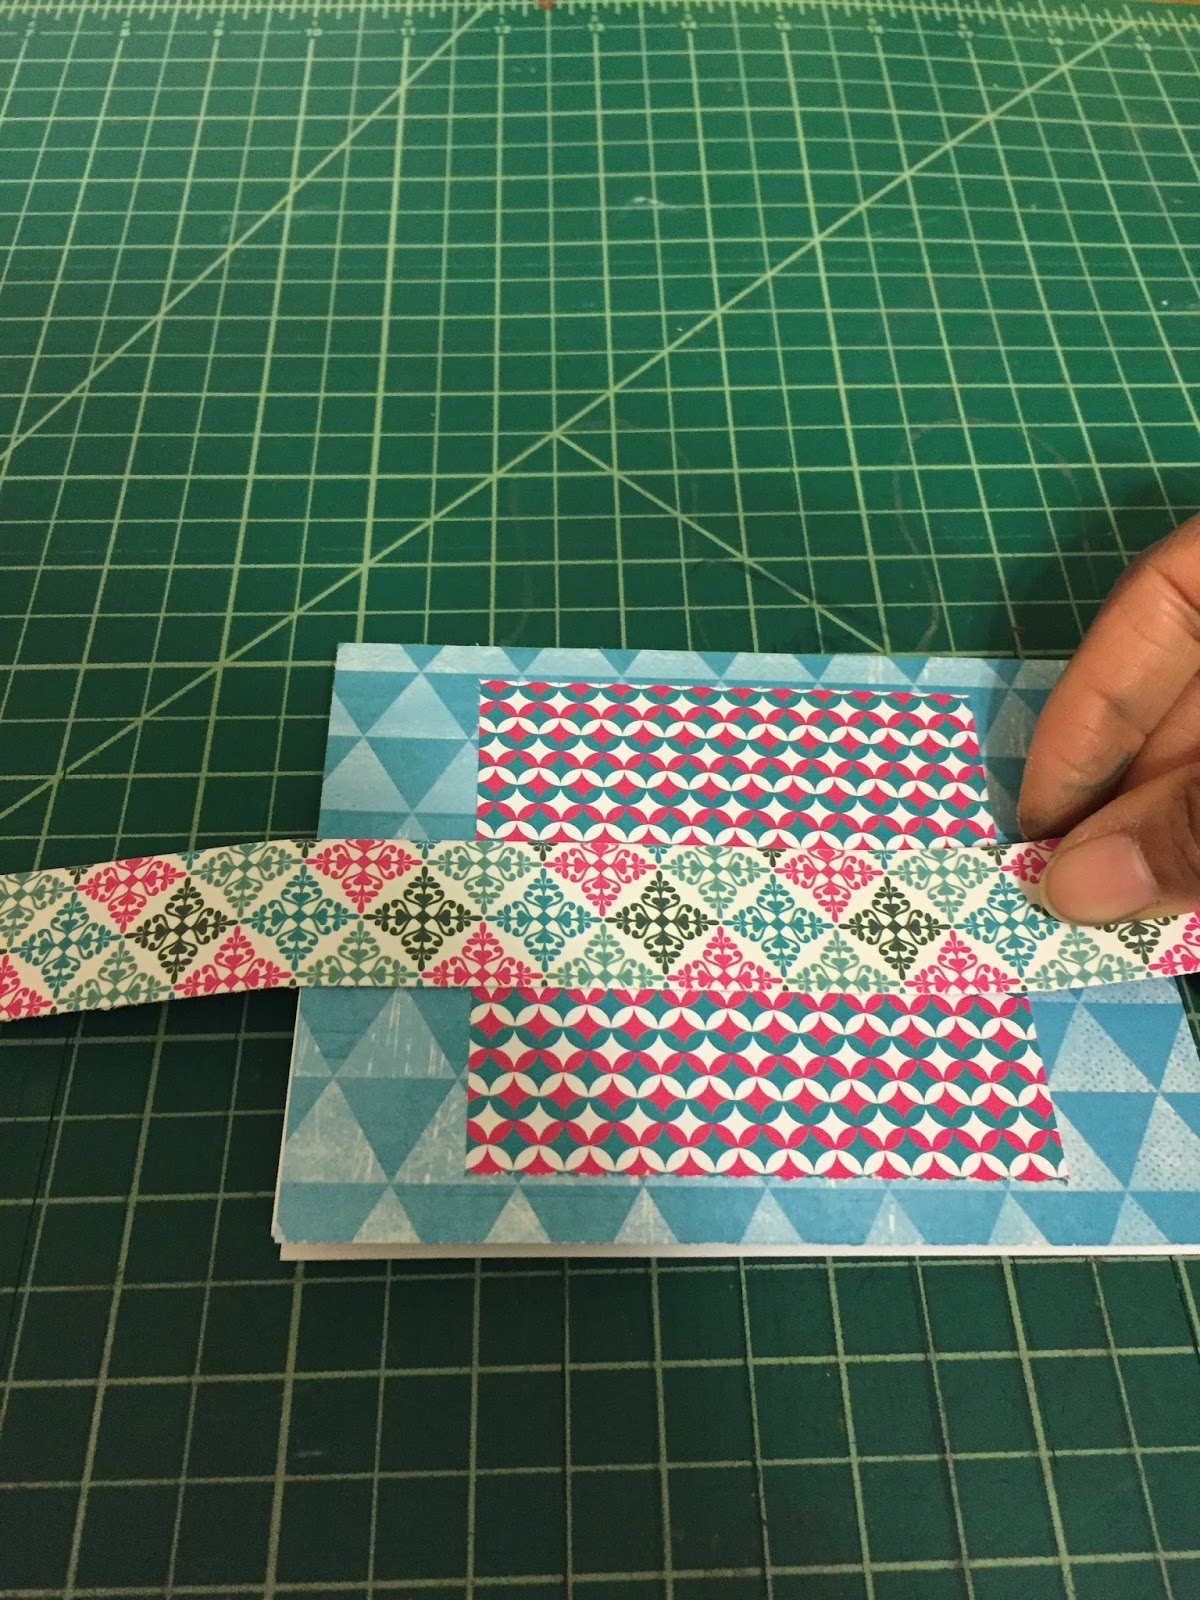
Cards, Crafts, Diy, How to, Paper crafting, Stamps, TutorialCommentHi everyone, Gabriela here today with a way to showcase your paper patterns and have some fun with stamps or die cuts. This card is a pop-up inside and has a decorative band holding it closed.
 | ||||||||||||||||
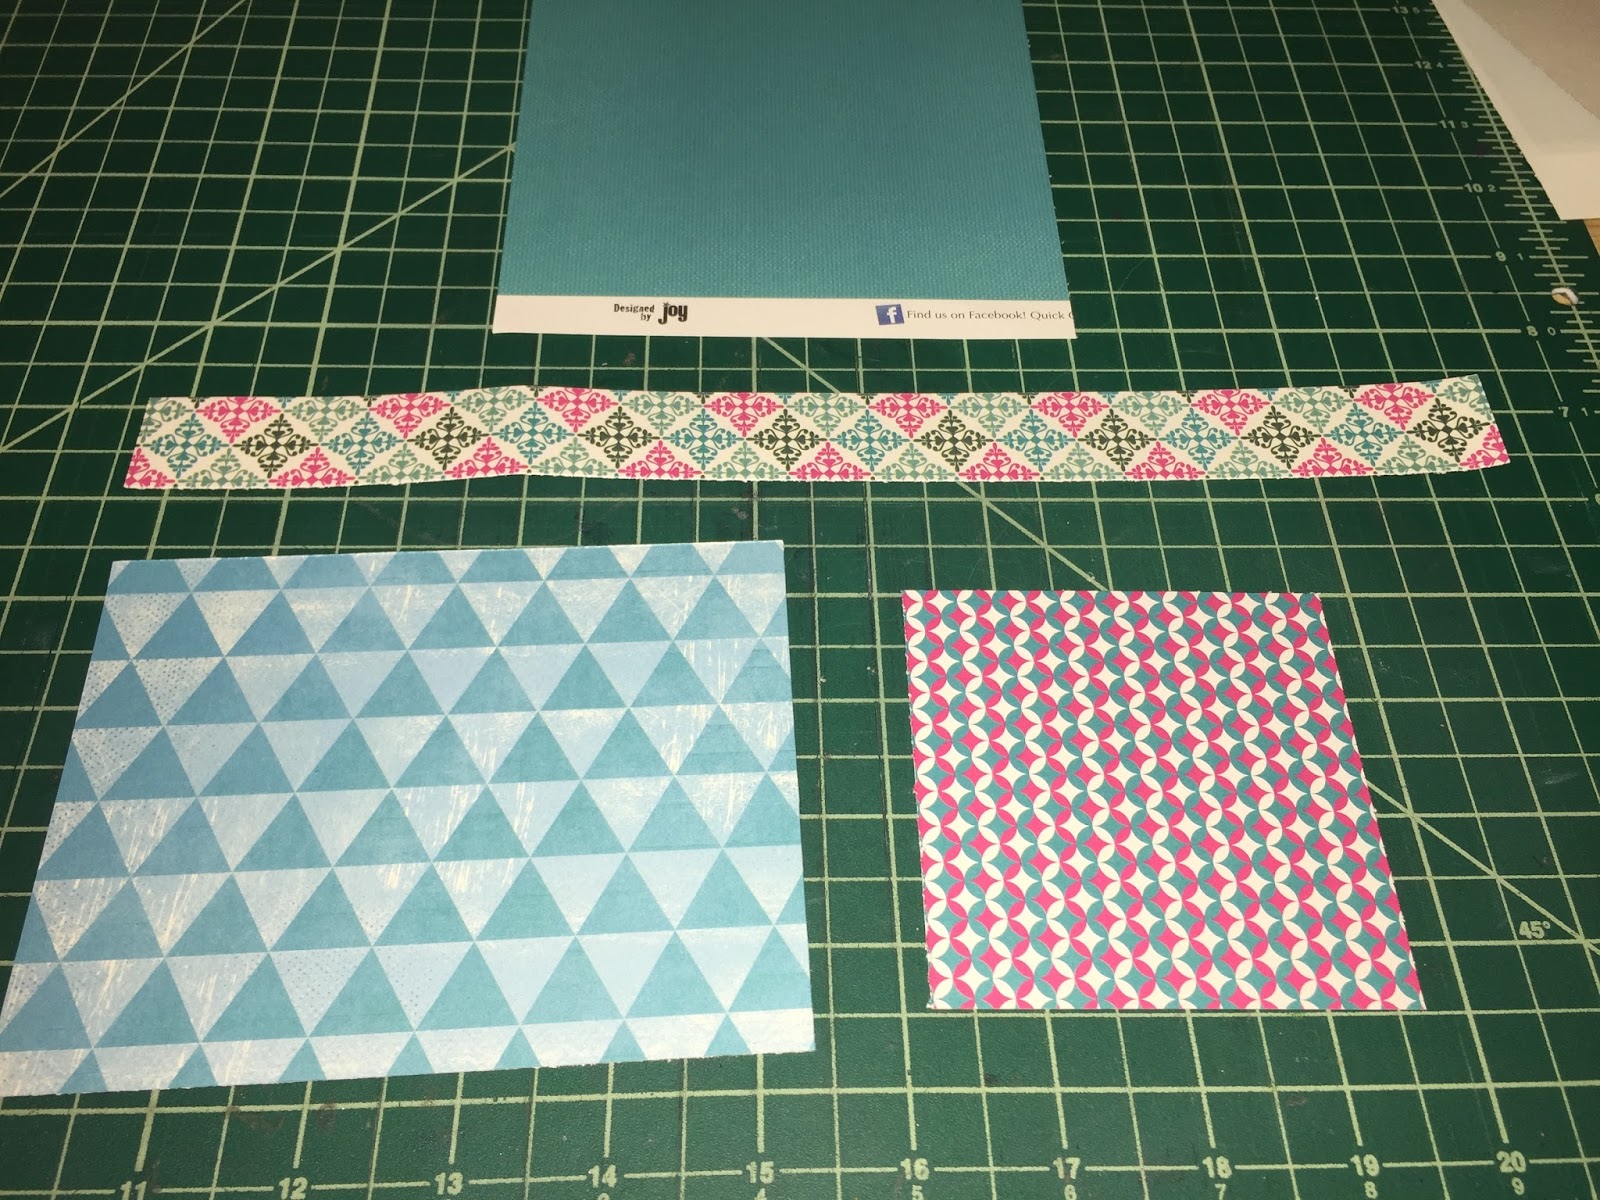
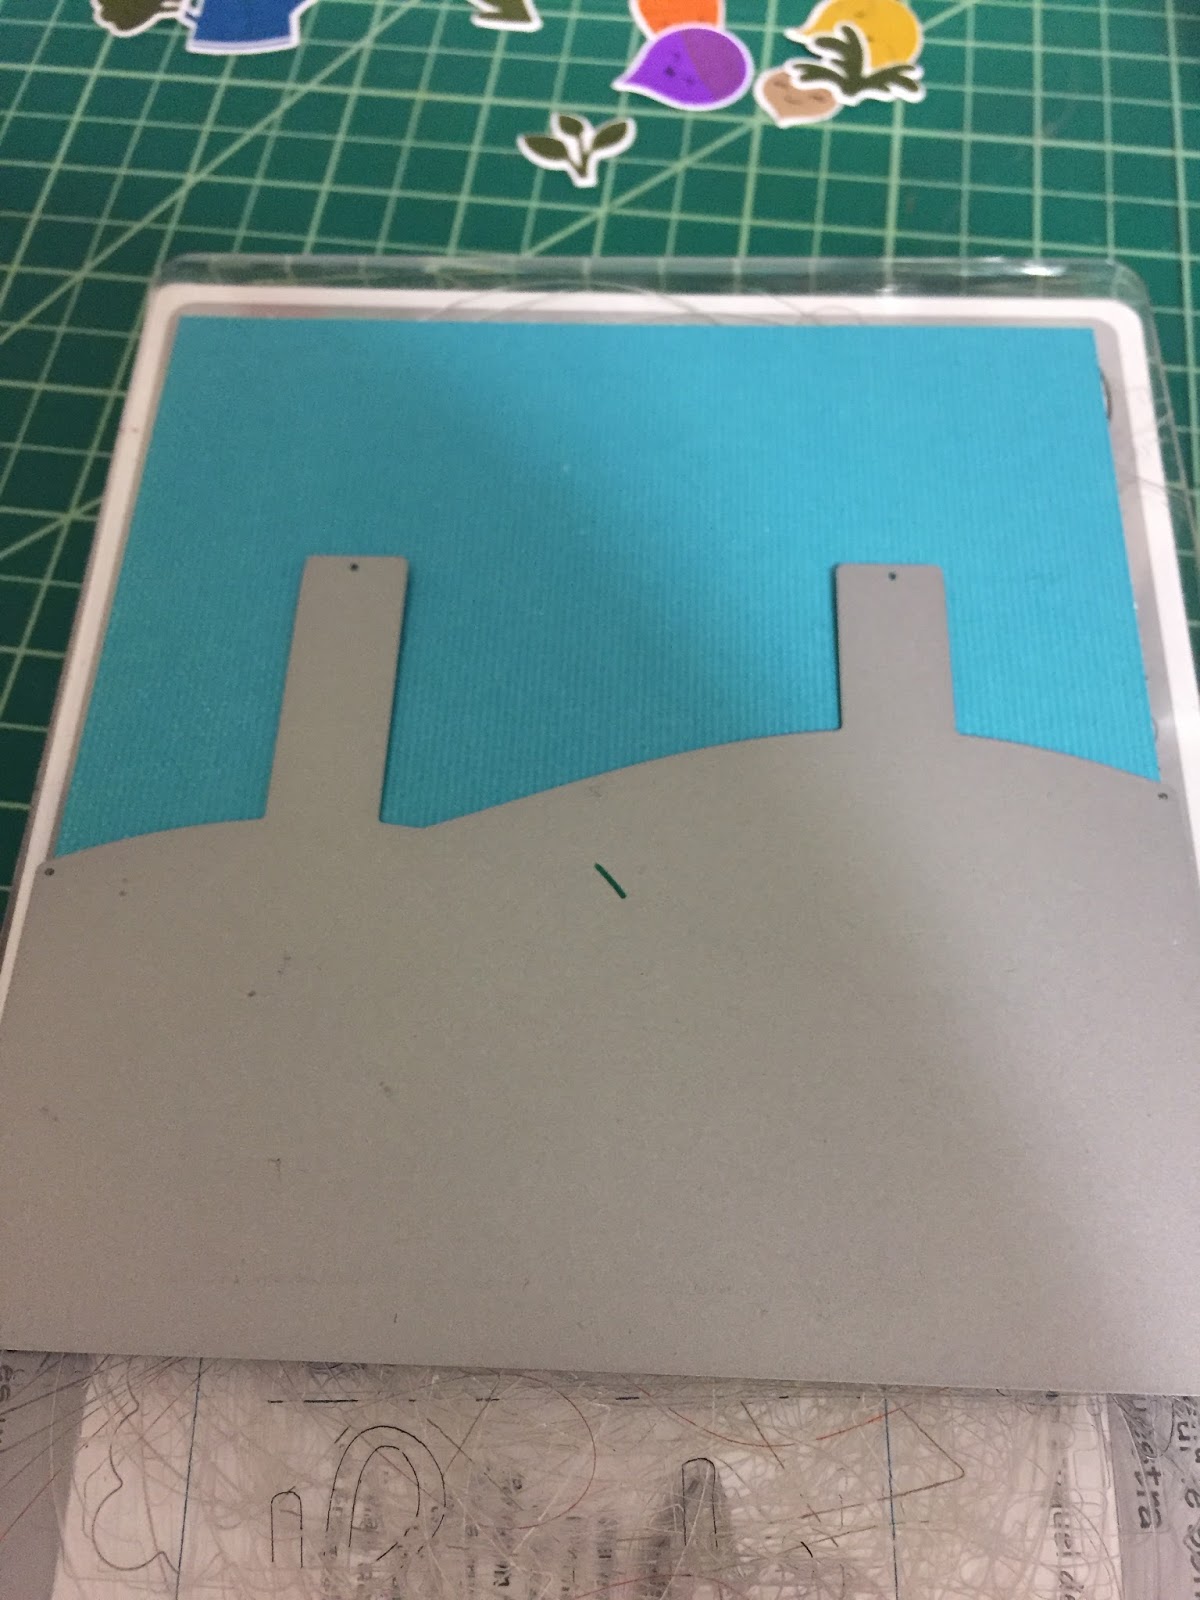
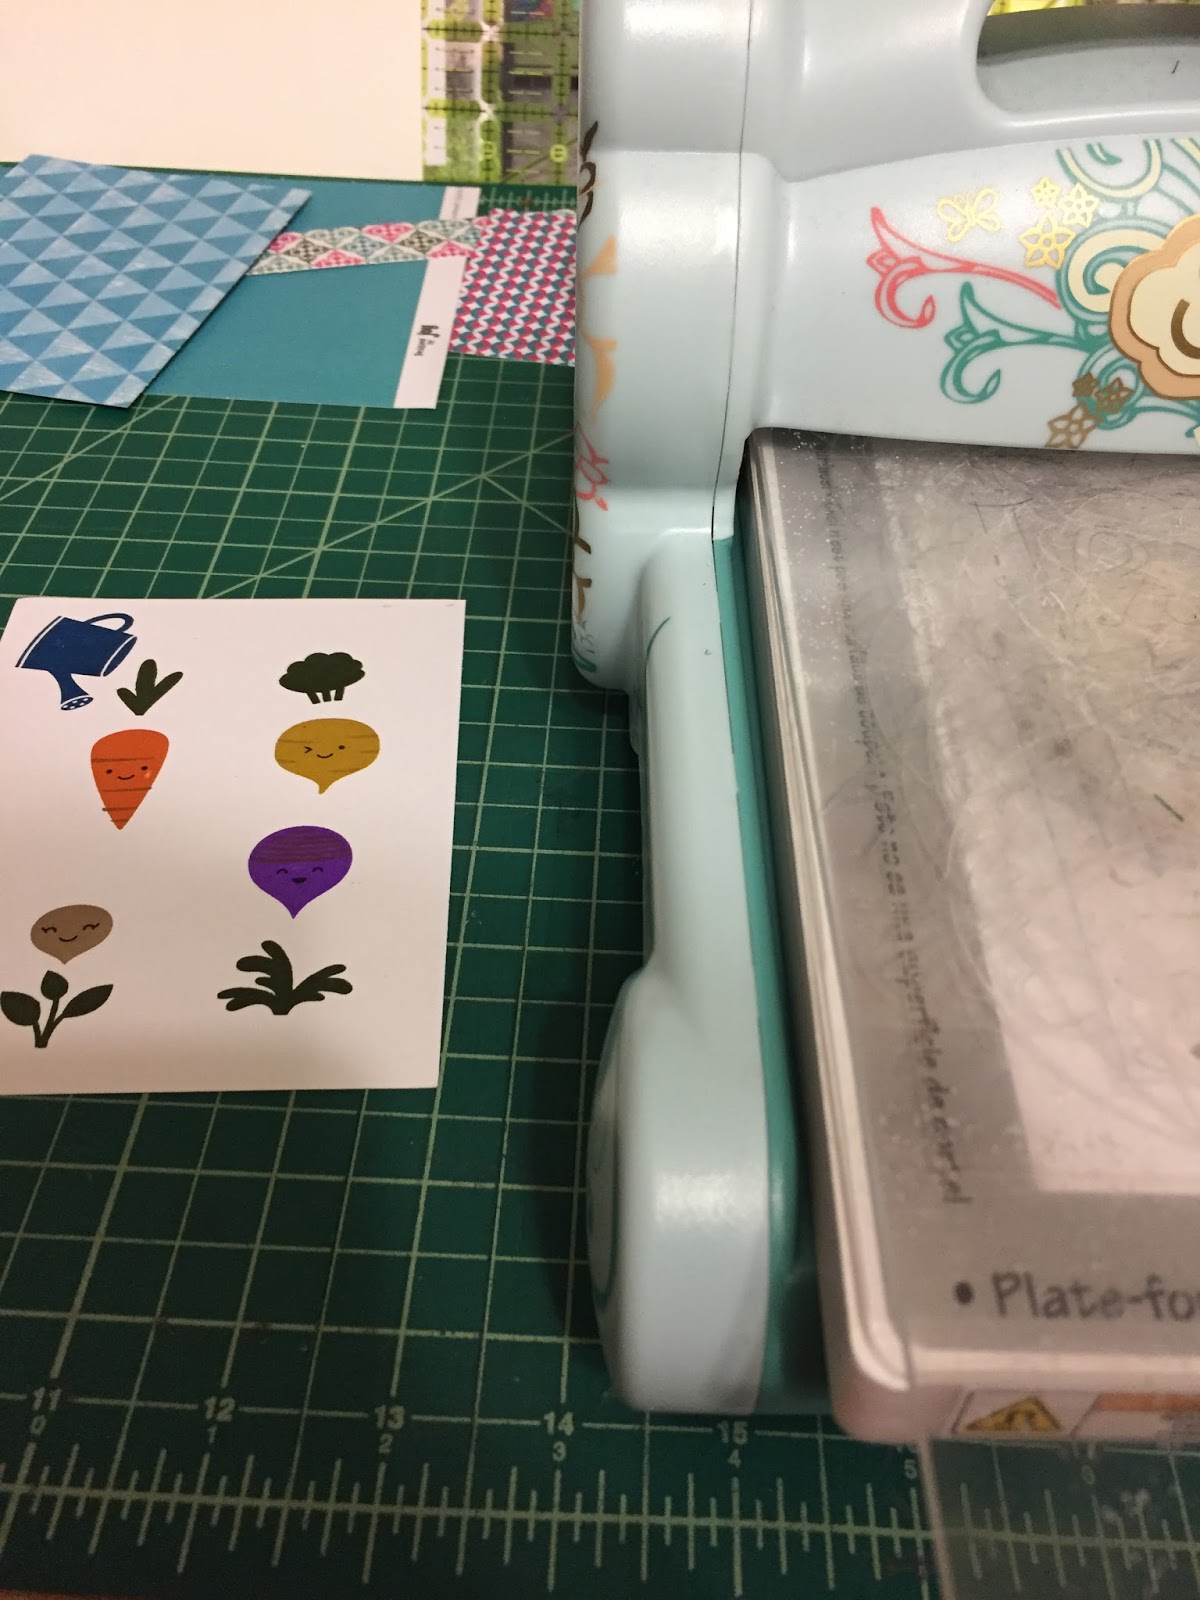
I stamped my images using my amazing Stamp Perfect tool and used a pop-up die for the inside of the card.
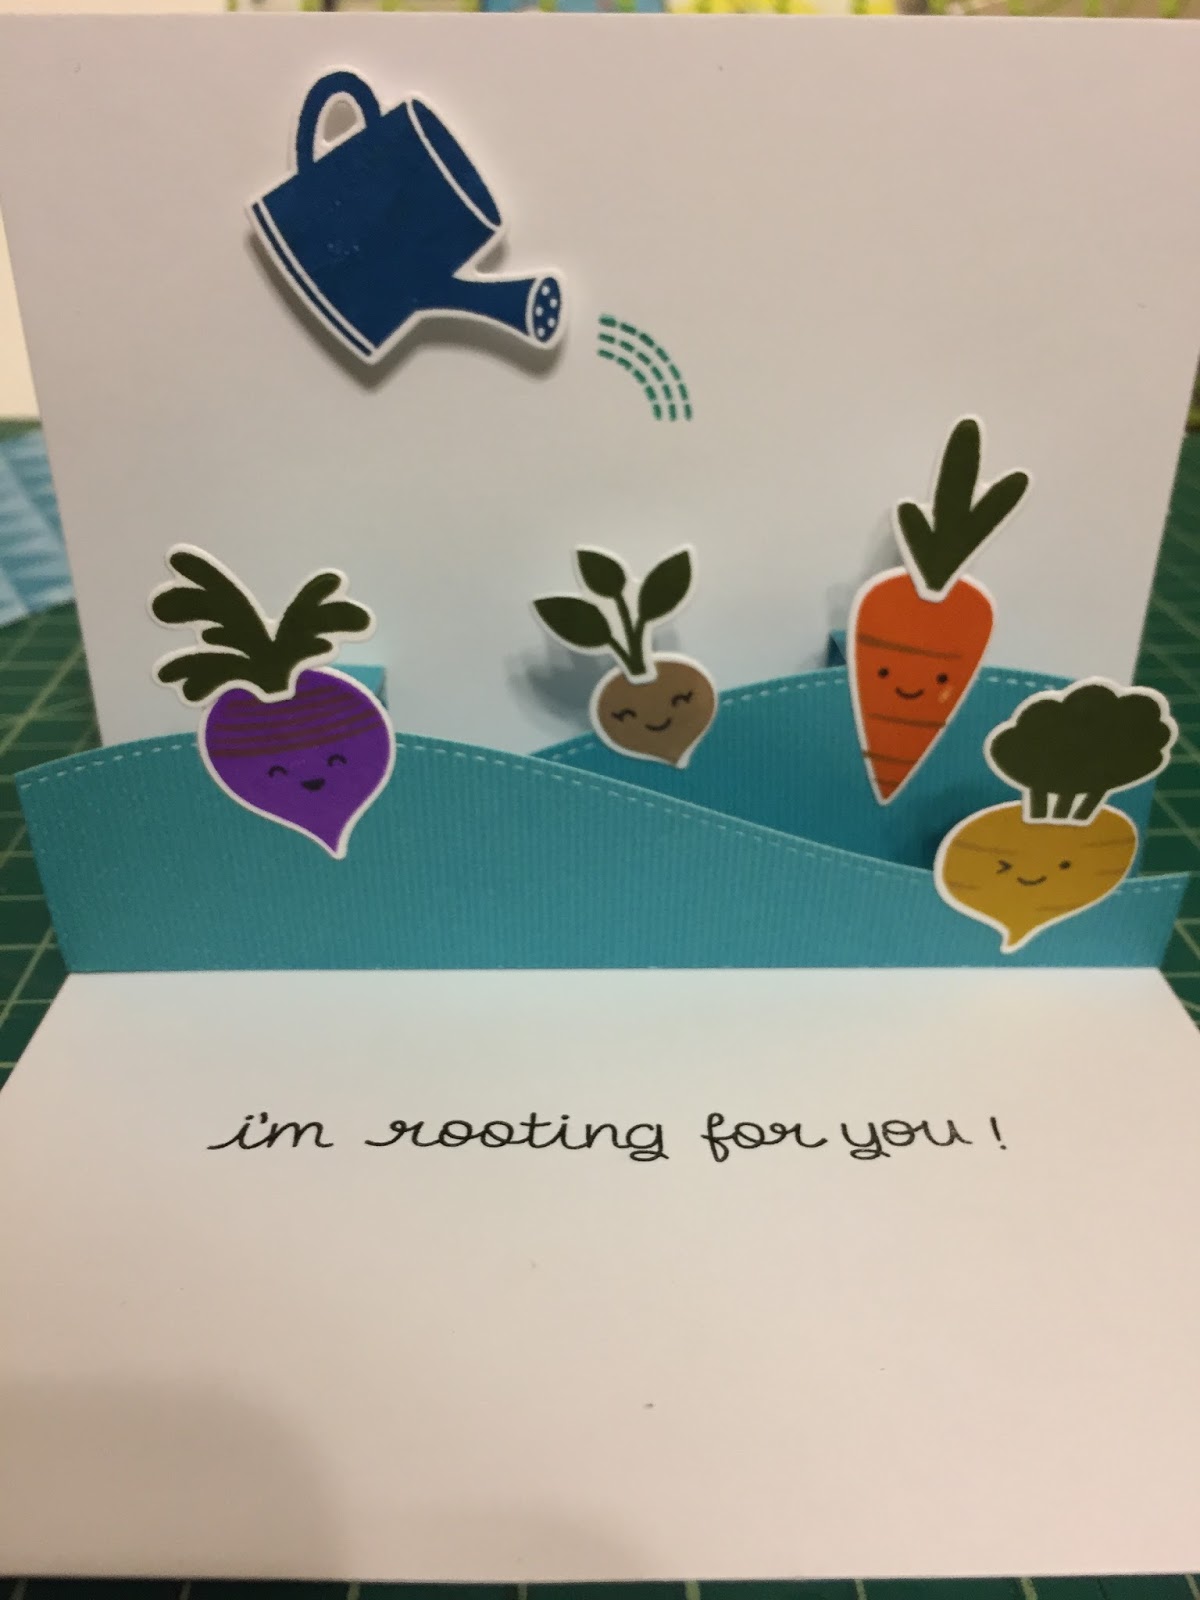

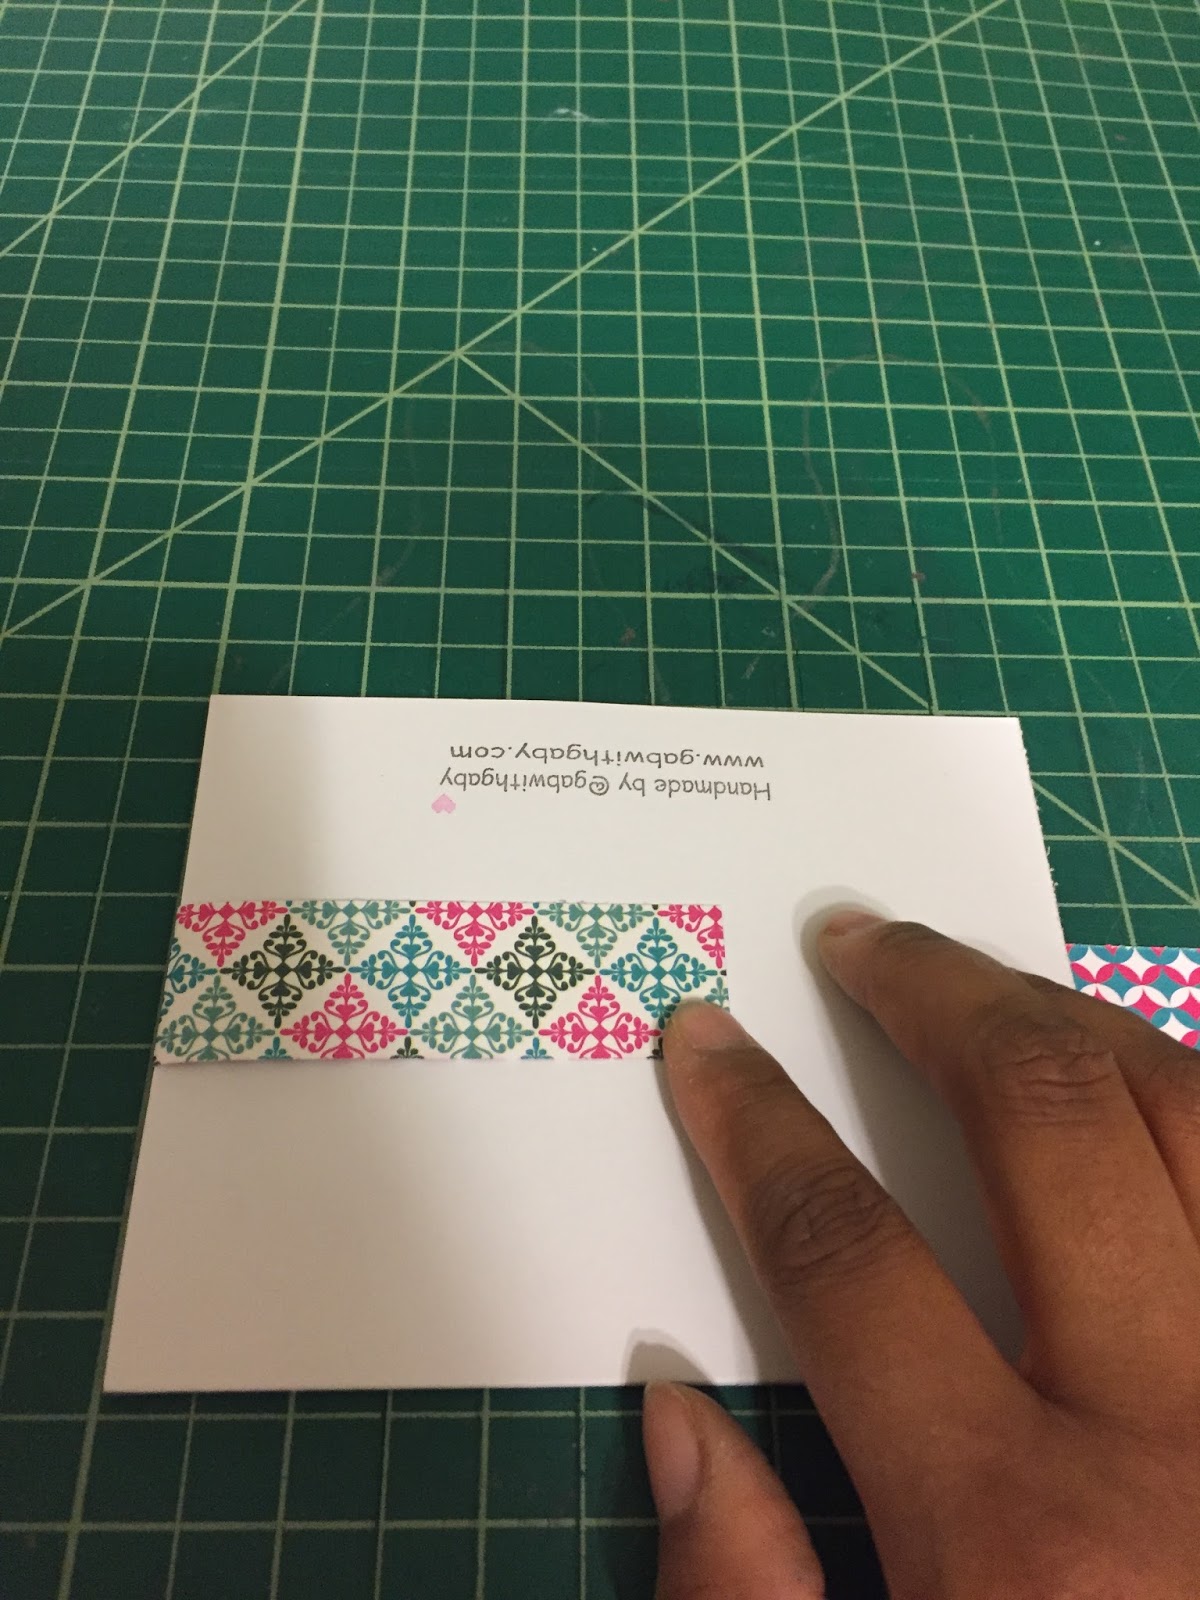
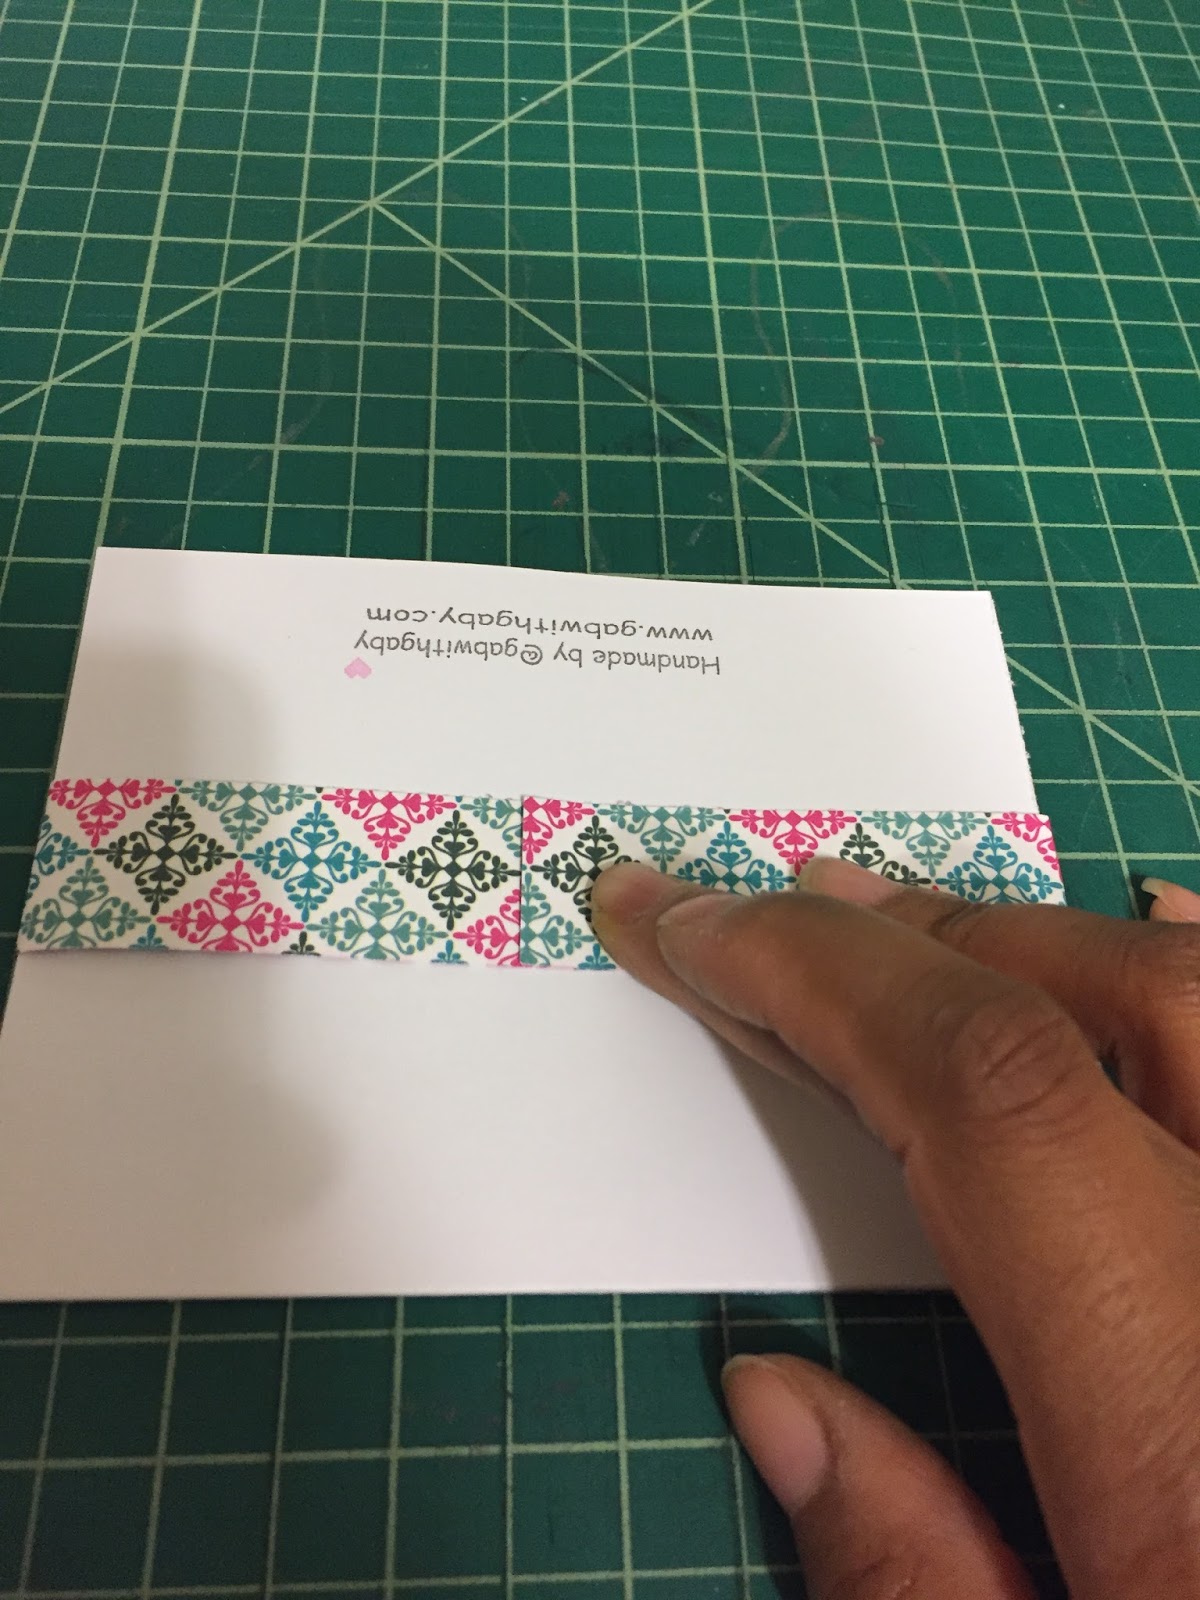
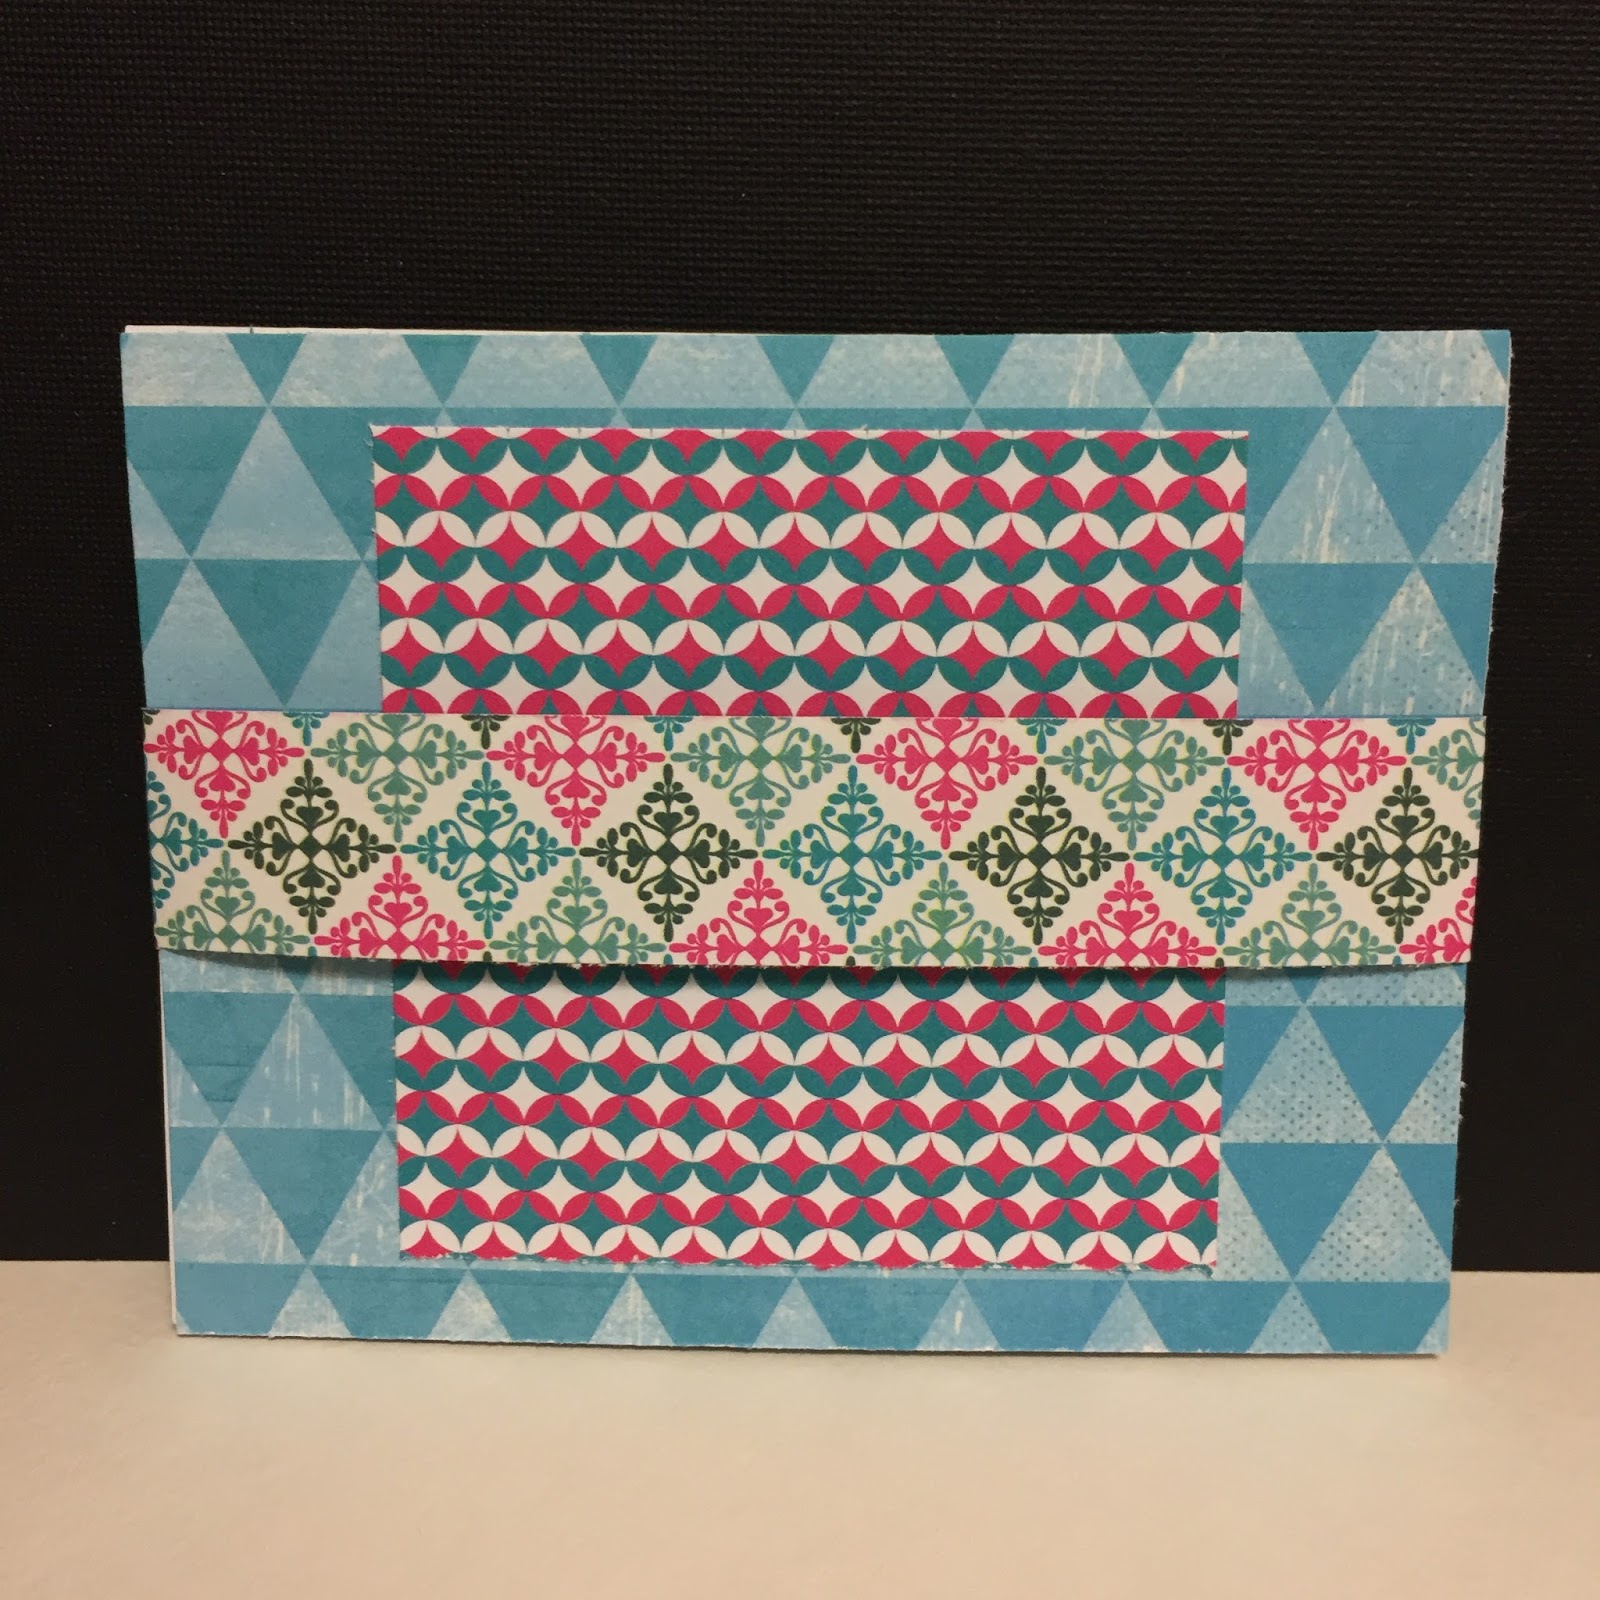
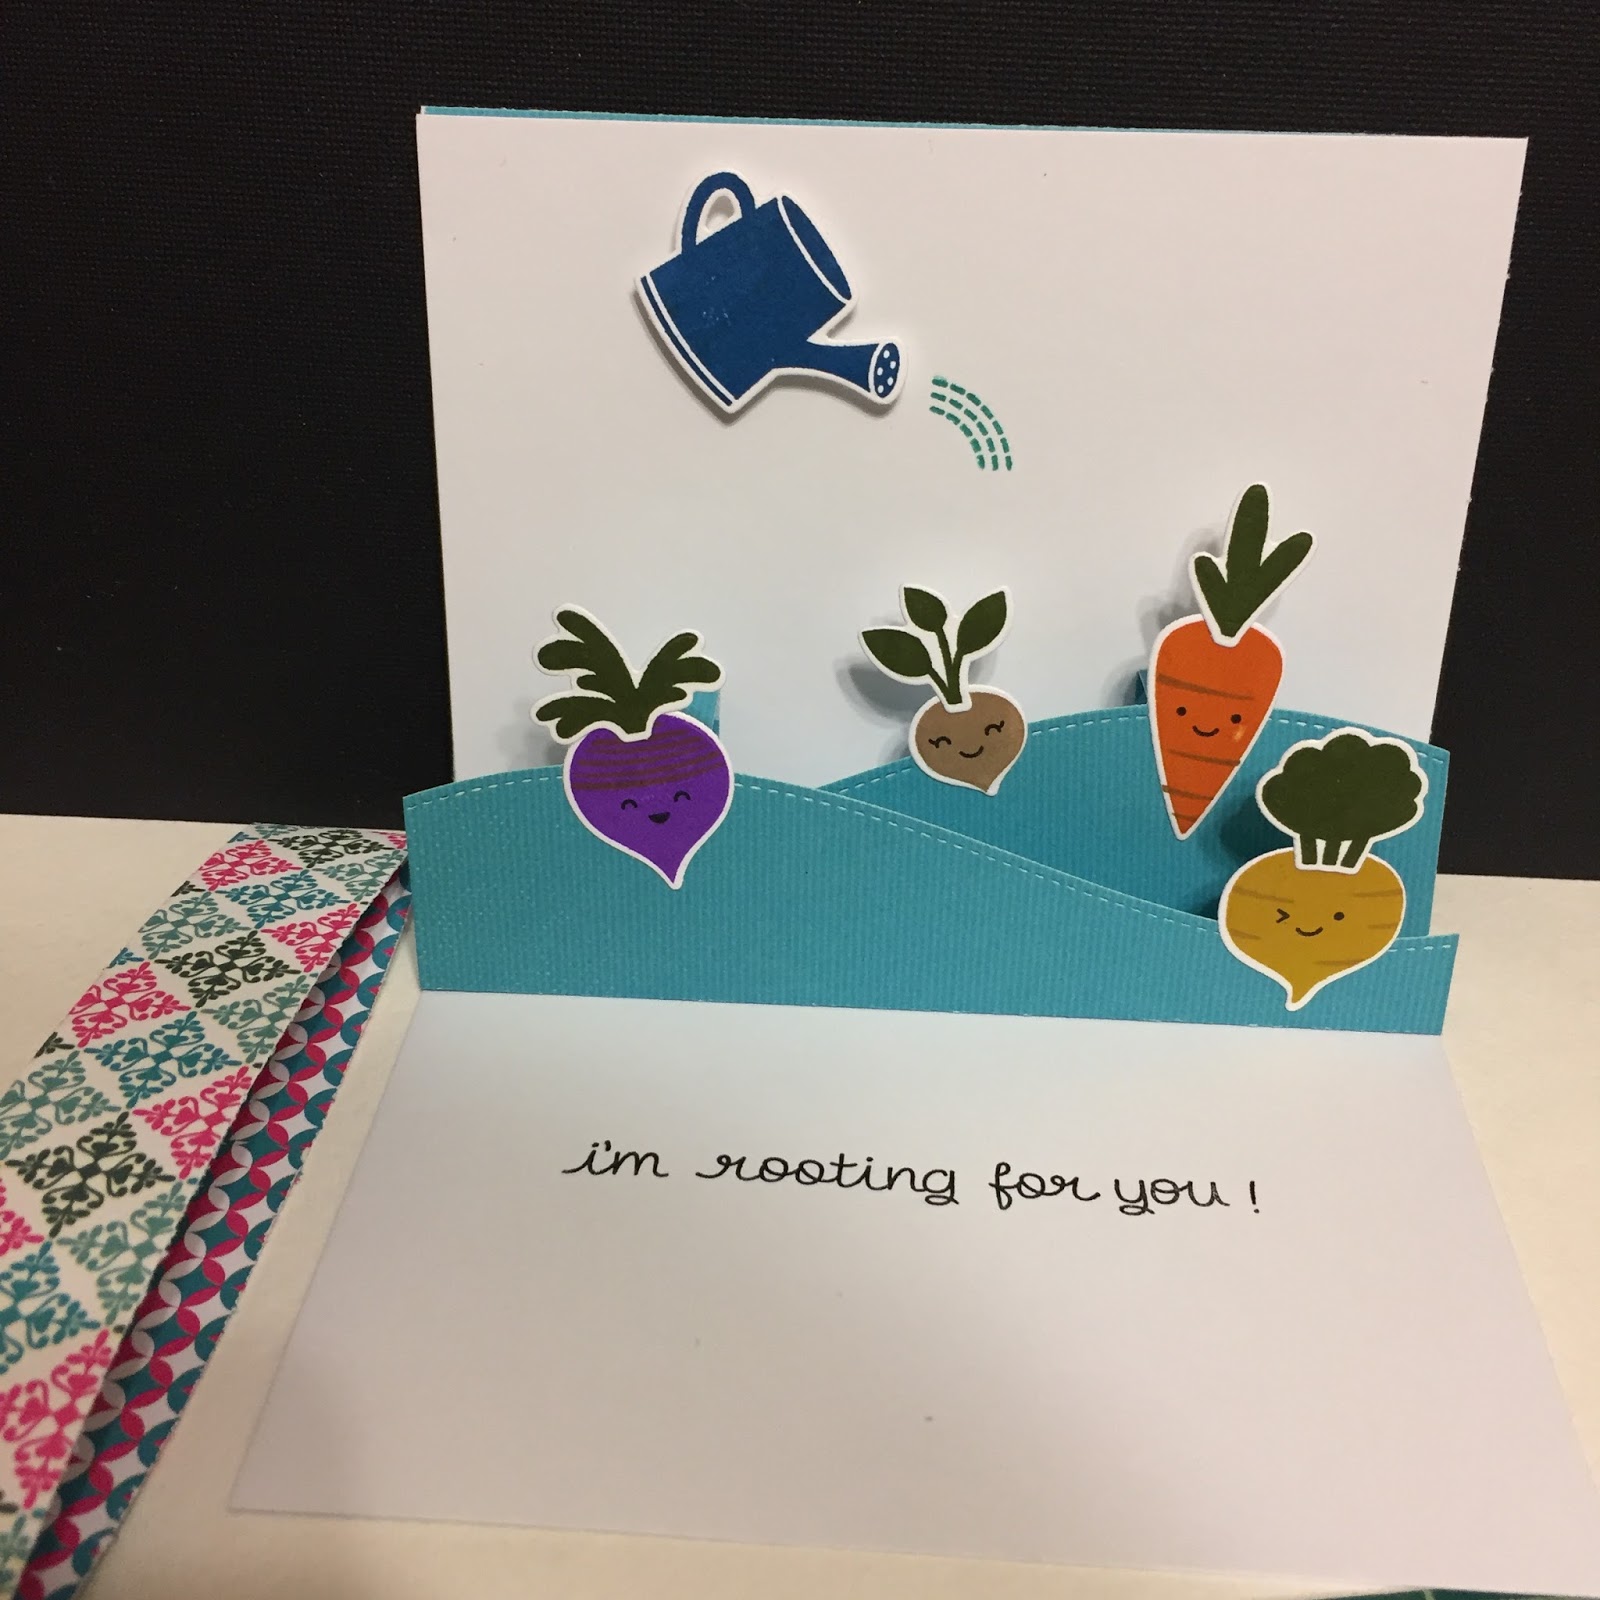
This card is motivational, but any occasion will work; Winter Bliss is my favorite collection right now, but you can use any of the beautiful Quick Quotes collections to make a project like this. I hope you enjoyed this project and thanks for stopping by.
Quick Quotes Products Used:
Winter Bliss - New
Lawn Fawn Products Used:
Rooting for you - Stamps and Dies. Stitched Pop-Up
Happy Crafting!! A review of the Stamp Perfect tool is on its way (I love it!!!).
Here's a Stop Motion Video I Made
Color, Coloring, Graphic, Crafts, Drawing, Stop Motion, DiyCommentSo I have a super quick post today. I was inspired to keep doodling this month, so I thought, why not make a stop motion video? The result is below.
I had so much fun making this, I just wanted to share it! I'll be back in a few days with a post on how I made my Thanksgiving place cards! Happy crafting.