In Part 1 we made the envelopes and part of the backing, this will show how to complete the invitation. I used Word to design my text and graphic inside of a 4" x 6" space and printed it.

Tree graphic with 2 little birdies.
I then cut them out and used my glue runner to adhere them to the flat part of the invitation. I decided to move the glitter rectangle to go "inside"/behind the pocket, because I liked how it looked.
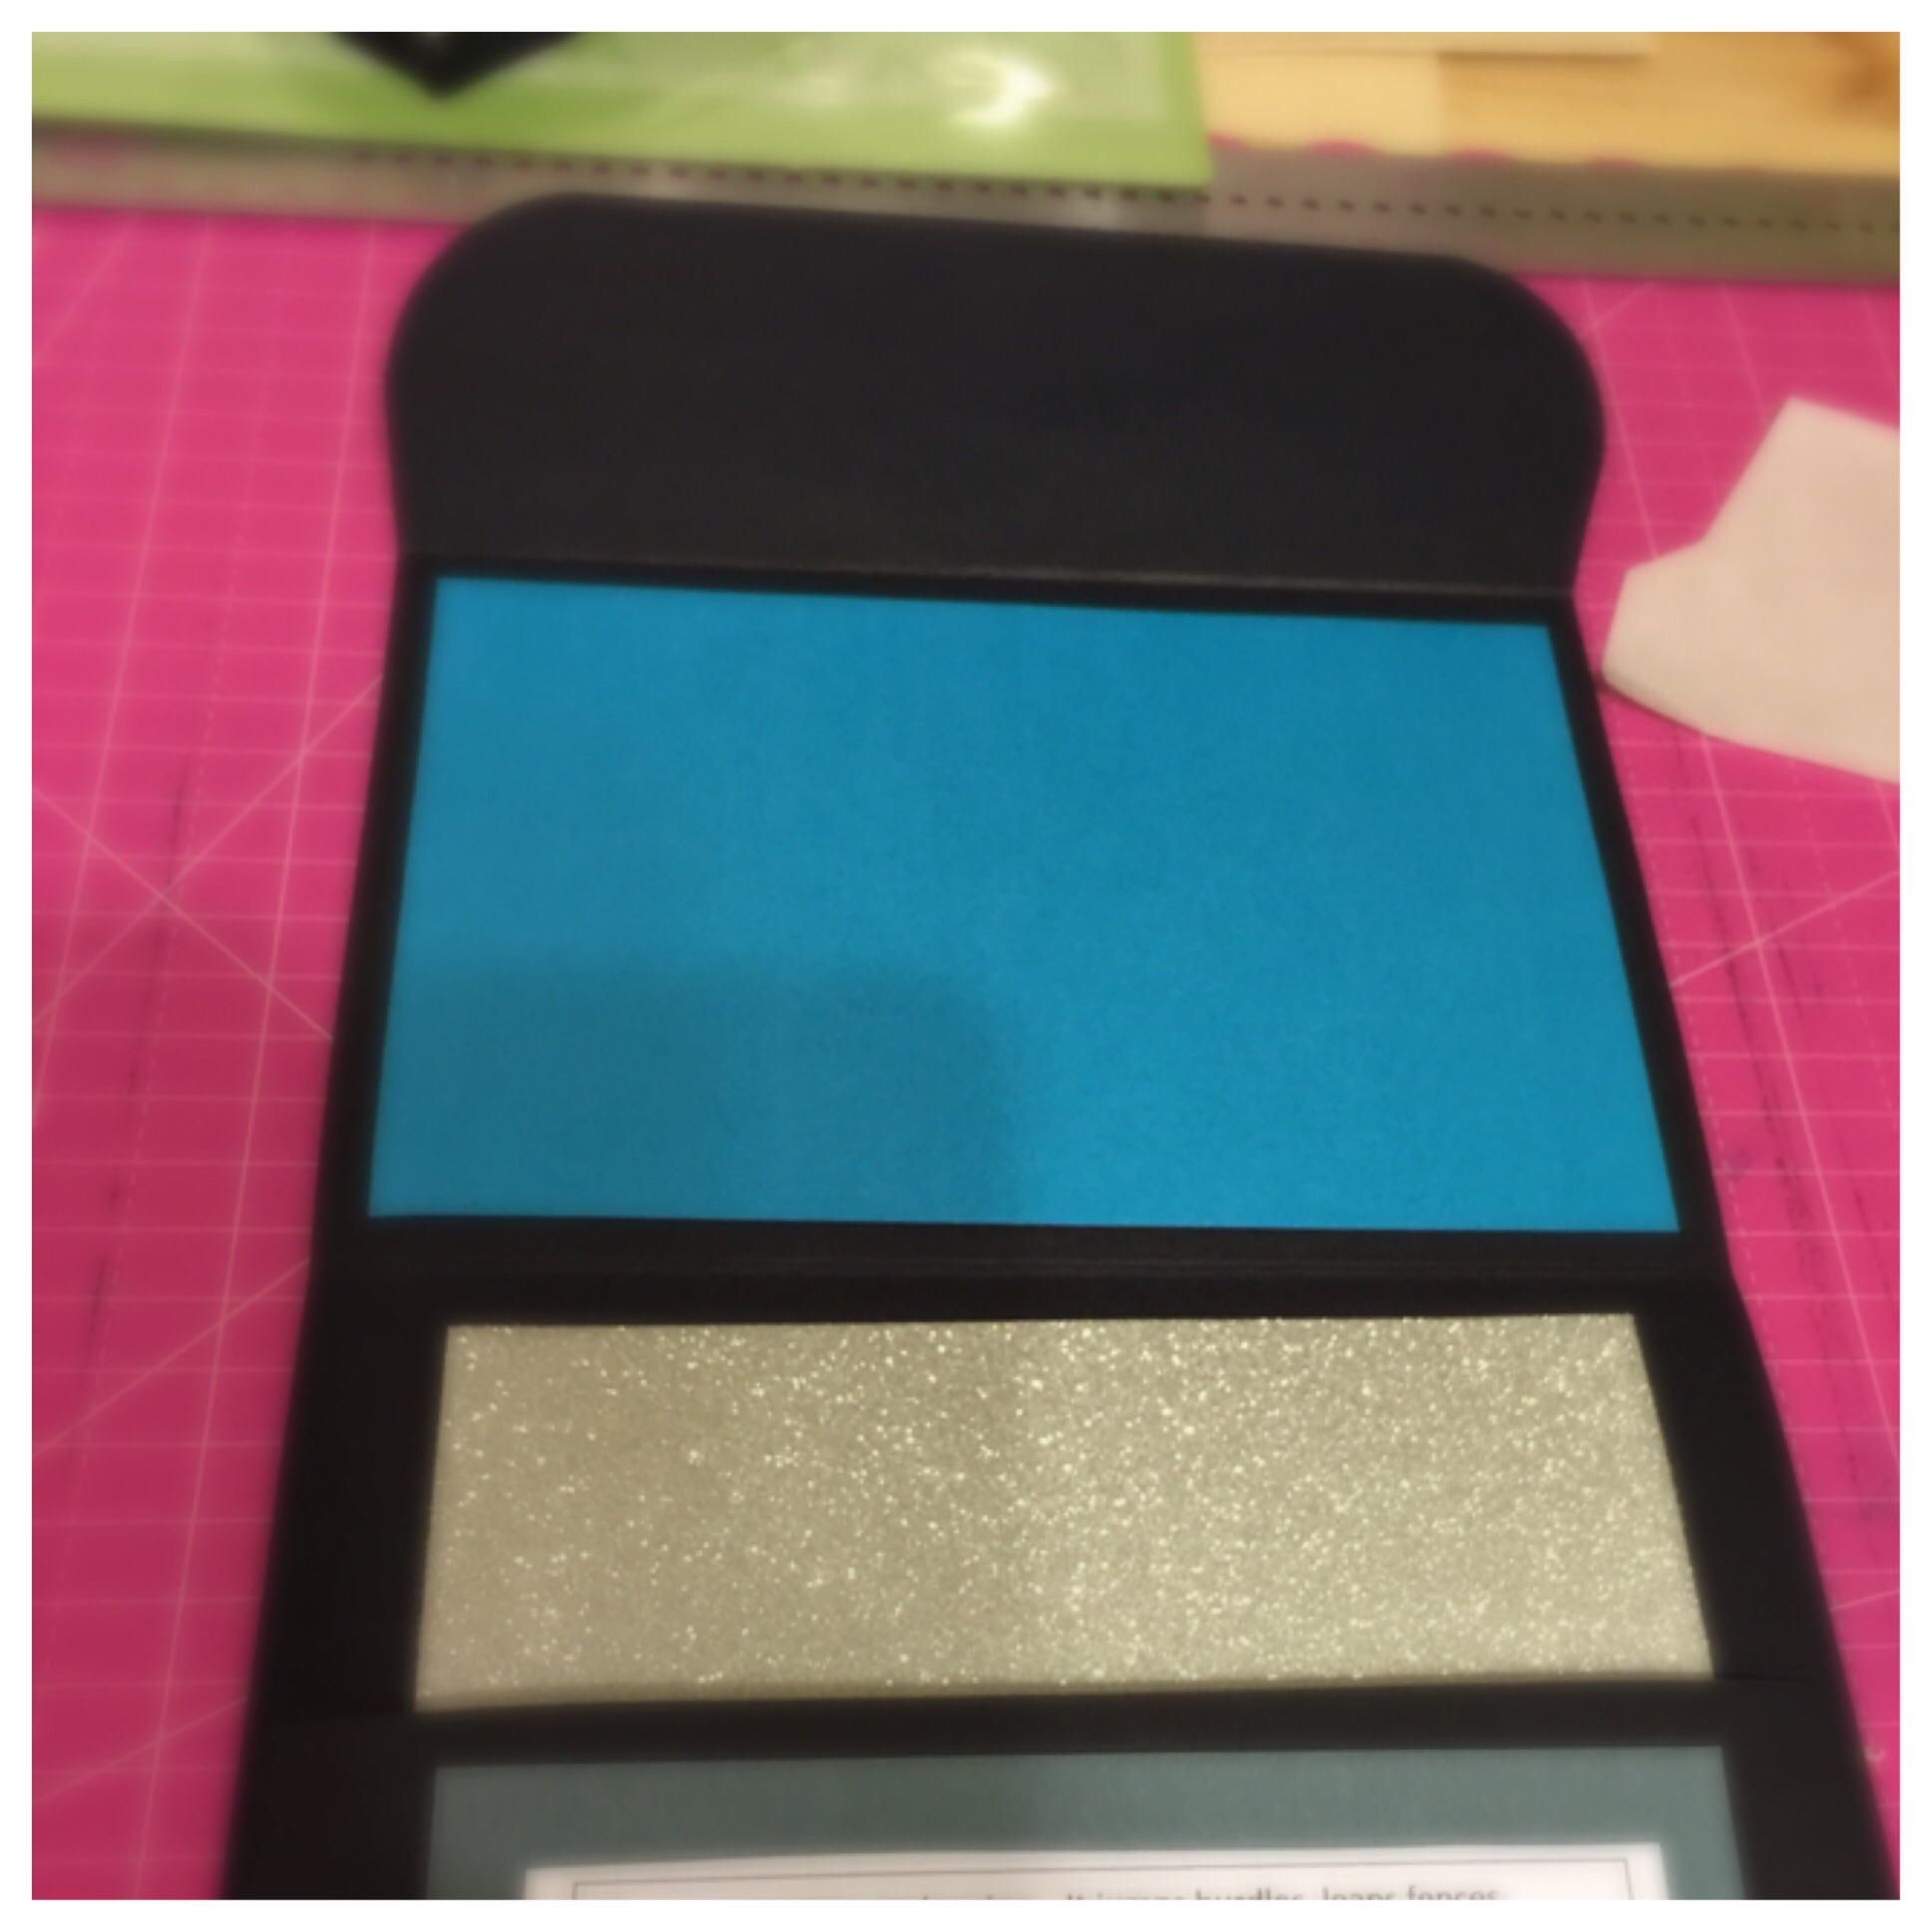
Glitter paper in pocket.
I also added a quote that I printed and then placed that on top of a rectangle of coordinating vellum, but let creativity be your guide, this was just what I chose.
I also used word to type up my directions and RSVP. They directions were cut to 4" x 5.5", but anything under 5"x 7" will fit. I cut the RSVP to 3.5" x 5.5" so that when they were stacked together they would later nicely.

Inserts in pocket.
Now you're all done! The invitations here will fit inside A7 sized envelopes and the RSVP inserts will fit inside A2 sized envelopes. Mine were .70 to mail each, and I also added a small Velcro closure for my invitations to give them a little, well, snap. :) Happy Crafting!