Gab with Gaby

An engineer's creative corner studio.

How to

Scatter Kindness Card

How to, Watercolor, Cards, ColoringGabriela SimsComment

Hi there, it's Gaby and today's tutorial is about making a background with markers and embossing powder. I will be showing how to make the card below; it may look complex, but it's easy to do.

This uses lots of heat embossing. 

This uses lots of heat embossing. 

I started by creating my background and used Bristol paper because I wanted to use my Tombow markers to "watercolor". The Bristol paper is cut to 4-1/4x 5-1/2. 

I love seeing all the colors! 

I love seeing all the colors! 

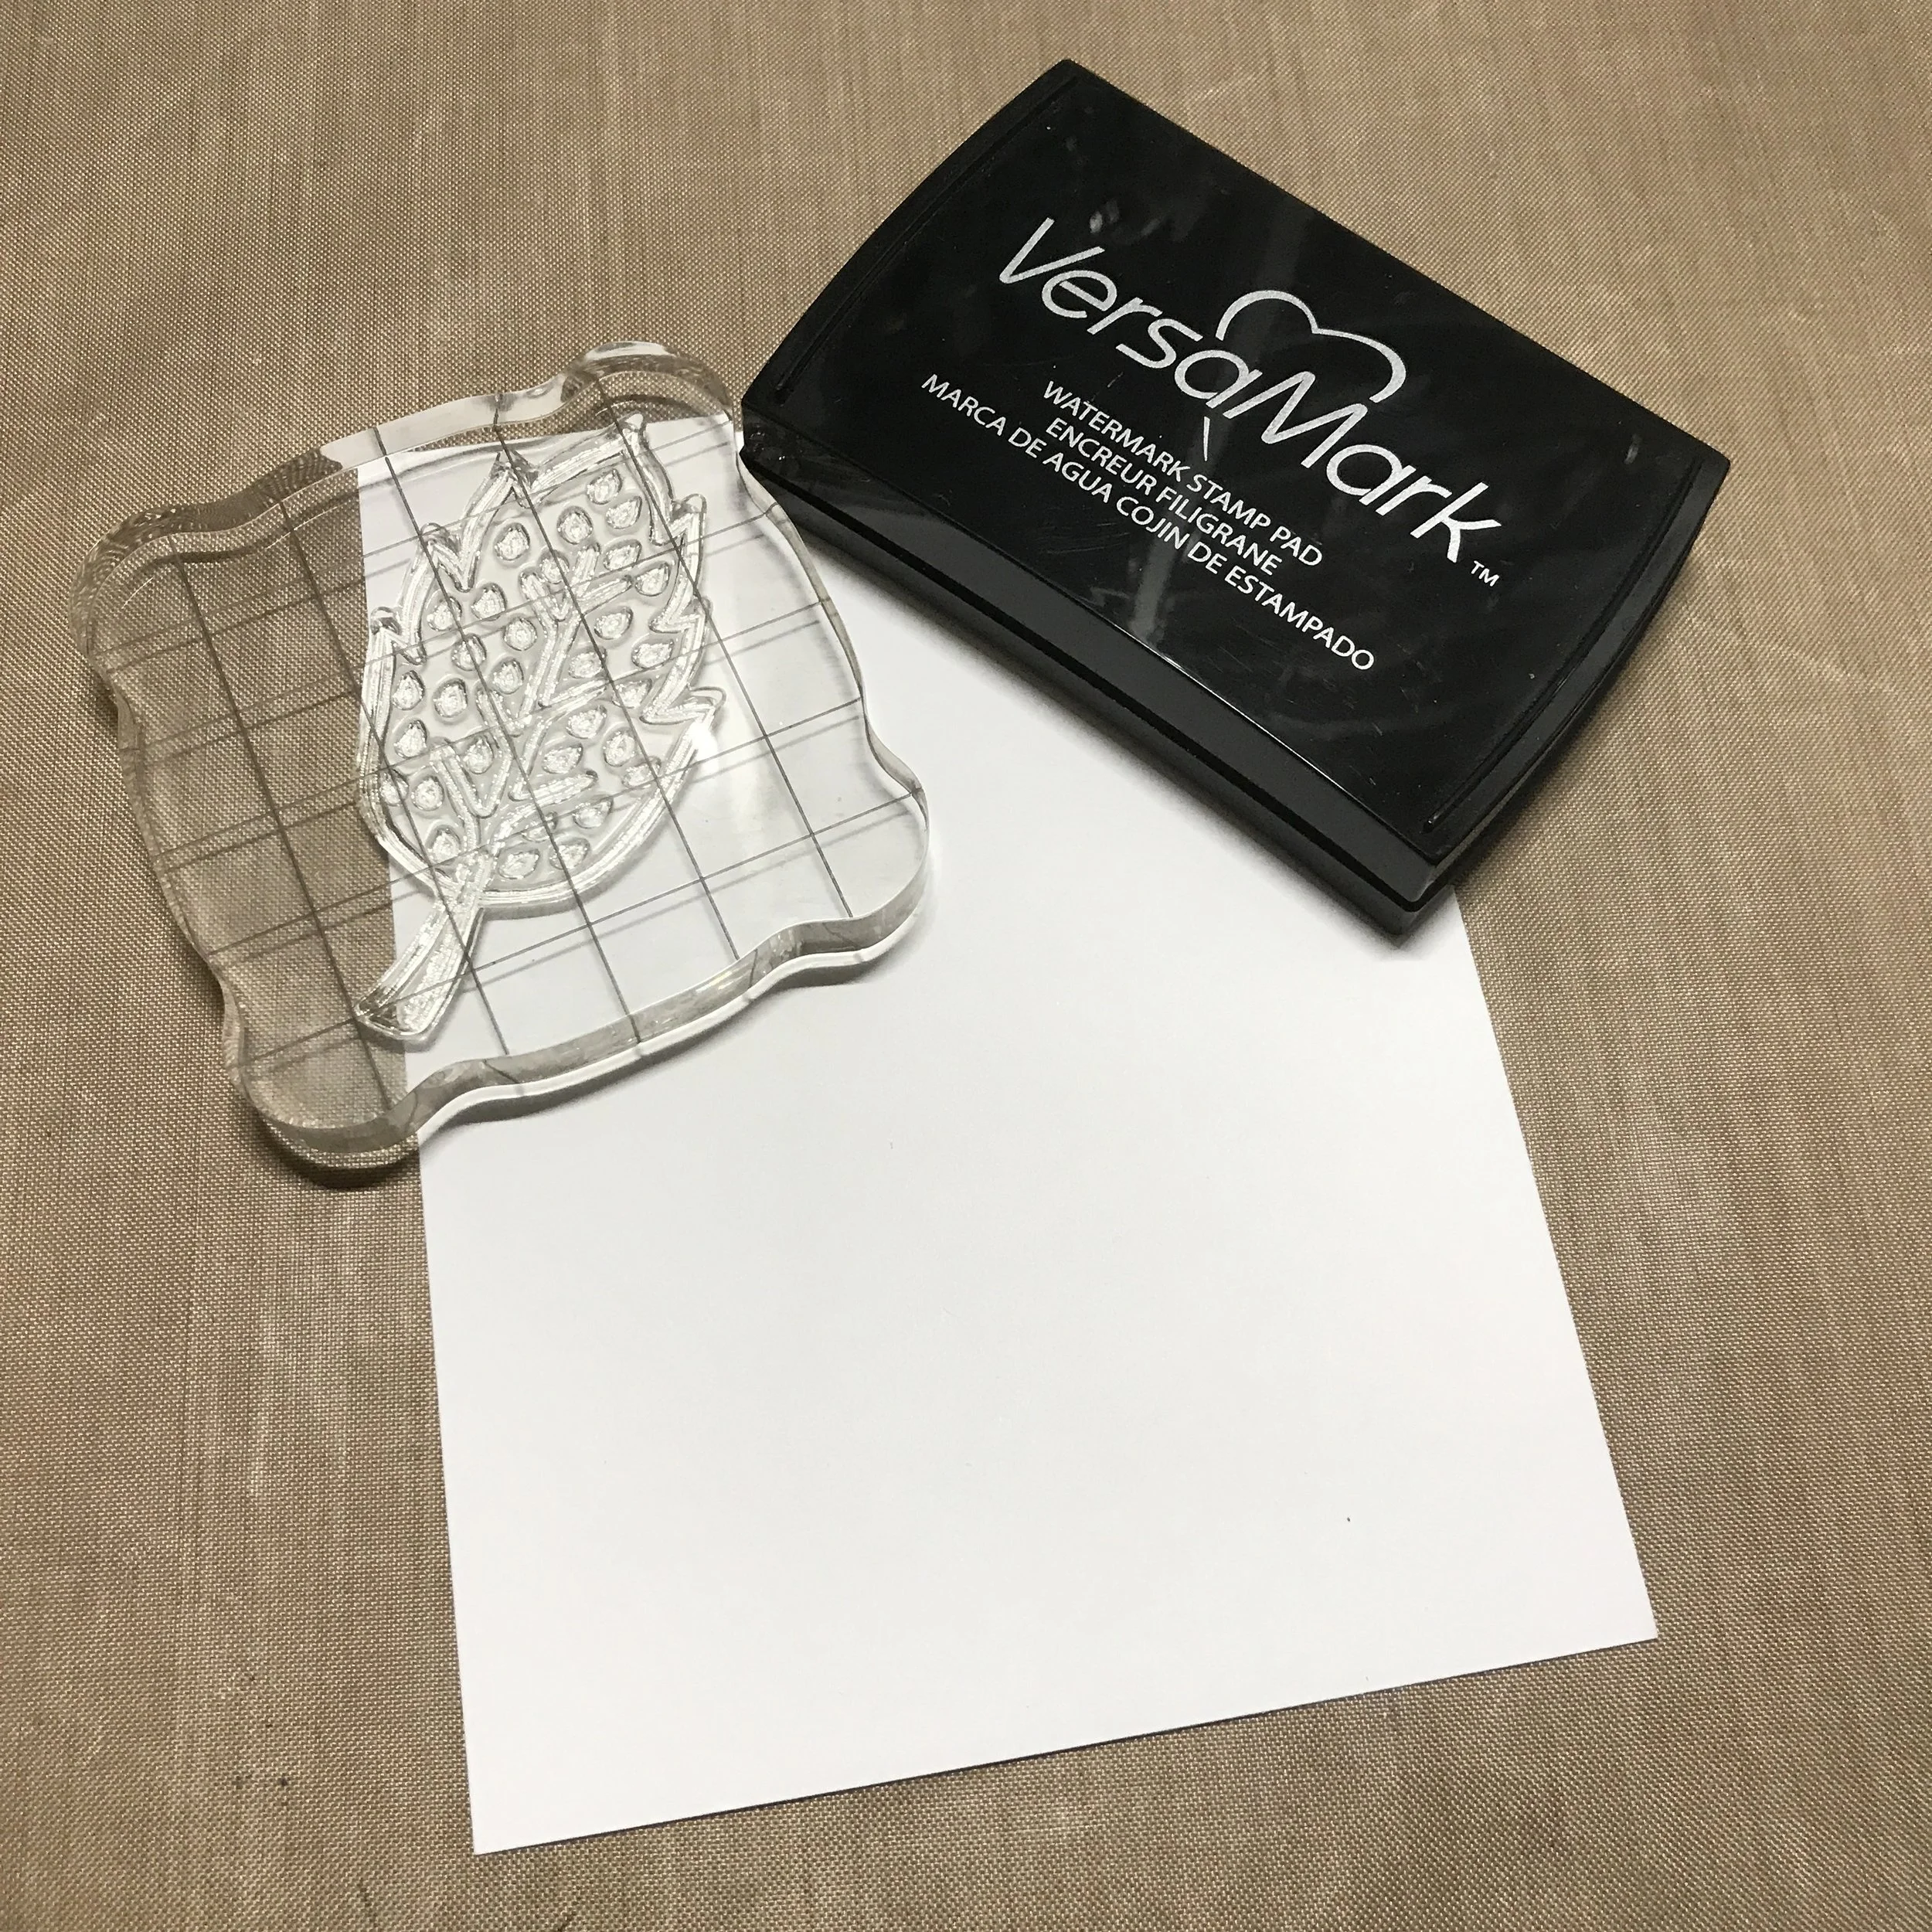
I used a Winnie & Walter "Kindness" stamp set and some Versamark ink to stamp multiple leaves to create my background. 

Such a unique stamp set with great sentiments. 

Such a unique stamp set with great sentiments. 

IMG_0077.JPG
IMG_0078.JPG

Then I used white embossing powder on the paper and heat set it. 


I catch the powder in a coffee filter to put it back in the jar. 

I catch the powder in a coffee filter to put it back in the jar. 

IMG_0082.JPG
IMG_0083.JPG

Next I added some color with my markers and just put them in different areas and used a water brush to blend them. 


IMG_0085.JPG
IMG_0086.JPG

Once I added a little pink and blended it all, I grabbed some metallic gold to add splatters.


I used an acrylic block as a "palette". 

I used an acrylic block as a "palette". 

Then I stamped the sentiment in gold embossing powder on vellum. 


IMG_0091.JPG

I heat set it and cut it into a banner shape. I used a Tombow glue pen to trace behind the embossing so the glue would be invisible from the front.


IMG_0094.JPG

I weight the vellum down with some acrylic blocks to let the glue dry.

IMG_0095.JPG

Finally, I taped the card front to a top folding notecard. 


FullSizeRender.jpg

That's it, you're done! I hope this post was helpful and that you have a chance to try some of these techniques. Happy crafting! 

-Gaby

How to Make a Magic Slider Card

How to, Stamps, Coloring, Color, Cards, Diy, Crafts, Paper crafting, TutorialGabriela SimsComment

Hi everyone! Today I will be showing you how to make a Magic Slider Card using some supplies you already have around.  I am using nesting heart dies from Spellbinders, Neenah Solar White Card Stock in 80# and 110#, Copic Markers, Staz-On Ink, Memento Tuxedo Black Ink, and Distress Ink; all things I have in my craft room.  These cards are super fun to make and they allow a lot of room for creativity.  You can use the traditional shape of a rectangle, or you can use any other shape you have in your die collection.  It would even be fun to do one of these with a jar stamp/die!  Check out the video below for how to make one of your own.  


I did not include the dimensions for this because unless you are using this exact set of dies, it will not be very helpful.  The main thing to remember is that you need enough space on each side of the window for the slider to fit in with about 1/4" left for the edges of the stopper, so your slider does not come out of the card.  I wanted to be sure that my coloring did not show through even though I wanted the card to open like a regular card.  

I hope you enjoyed this video and I will be trying to get on a regular posting schedule this year with reviews and craft ideas.  Thanks for stopping by and happy crafting! :) 

I Love You - Want2Scrap and Quick Quotes

How to, Paper crafting, Tutorial, Quick Quotes, Crafts, Coloring, Scrapbooking, Layout, StampsGabriela SimsComment

Hi everyone, Gabriela here today and I finally made a page I've been thinking about for a while. I thought it would be fun to make a page with a shaker window, so I tried it out. I used a chipboard cutout from Want2Scrap along with some of their bling and of course paper and ink from Quick Quotes. I scrapped a picture of my husband and I on vacation in New Orleans a few years ago, it's one of my favorite pictures of us and it seemed like a good fit for this page.

Me and my hubby on vacay! 

Me and my hubby on vacay! 

​Check out the video below!


Quick Quotes Products Used:

Urban Oasis - 101
Honeycomb - 105
Powder Puff Chalking Inks - Barn Board, Pixie Pink

Want2Scrap:
I Love You Chipboard
Self Adhesive Bling

Thanks for stopping over and happy crafting!  Please ask any questions below. 

When Sewing Takes Over

Graphic design, Scrapbooking, Blankets, Diy, Graphic, How to, Crafts, Drawing, Sewing, Color, QuiltingGabriela SimsComment

I have been busy making things like there is no tomorrow! I just realized I haven't posted anything in over a week, so today, here is a crafty, sewing showcase.

Let's start with the baby quilt that is a companion to the "Amelia" quilt I made. 


Just like the other one, but different colors.

Just like the other one, but different colors.

I also decided to try working on my own fabric by putting my drawings on mug rugs and I started with one of the Jelly Friends, Tamber Melon and my resident Meowfox Mr. Snugglekins.

Hi guys! 

Hi guys! 

Then I coordinated background fabric and attached them to the centers. 


image.jpg

Finally I applied backing and binding. 


All done!  

All done!  

Posing as a mini rug! 

Posing as a mini rug! 

I cannot stress enough how happy it makes me to create things and I am so happy to have a new way to create by being able sew things and quilt.  I wish I'd been doing it forever, but I'm happy I started at all. I encourage you to start doing whatever it is you would like to do, today!!! I have learned to knit, crochet, paper craft, and sew...in the last 5 years! I keep telling anyone who will listen that I am so happy I started seeing because there's this whole world of fabric and patterns that I have access to now! I am really enjoying sewing and I look forward to improving as I keep working! Tomorrow I will be posting a video about making inked backgrounds for your layouts, happy crafting!