A video showing Zig Clean Color Real Brush Pens in action.
Supplies
QuickQuotes PowderPuff Chalking Inks Techniques
Color, Quick Quotes, Supplies, Layout, Scrapbooking, Coloring, Crafts, Tutorial, Paper crafting, Cricut, Graphic, How to, Diy1 CommentHi everyone, Gabriela here with a video tutorial about ways to use your PowderPuff Chalking Inks. I typically use inks for distressing edges, but there are many other ways to use them. I will be showing how to make a patterned background using a few paper stencils and some ink blenders.
QuickQuotes Products:
Anchors Aweigh 102
PowderPuff Chalking Ink Berry Jam
PowderPuff Chalking Ink Barn Board
PowderPuff Chalking Ink Pixie Pink
PowderPuff Chalking Ink Desert Sun
PowderPuff Chalking Ink Aqua
The Daily Marker 30 Day - All of the Brush Pens
Paper crafting, Drawing, Coloring, How to, Supplies, Graphic design, Stamps, Graphic, Color, Hand Lettering, Watercolor, Crafts, Diy, ToolsCommentI have been coloring quite a bit and working on my hand lettering. This week I crammed in several projects for the challenge, so I am listing them at once, rather than posting daily.

Tombow ink blending on Bristol paper with white gel pen accents, and gold metallic marker accents.

More Tombow on Bristol and some more ink blending.

This was done with Zig Clean Color Brush Pens on Drawing Paper

Also Zig Clean Color on card stock. Background is Distress Ink.

Zig Clean Color on shimmer card stock.
I did several pieces this week, and tried a few different tools. I have to say I loved the Kuretake brush pens right out of the box, fro drawing, coloring, and handlettering. They proved to be extremely versatile and easy to use, I wish I'd ordered them sooner! Next week I will have a post with a tutorial video showcasing some of the 2016 QuickQuotes PowderPuff Chalking Inks, until then, happy crafting!
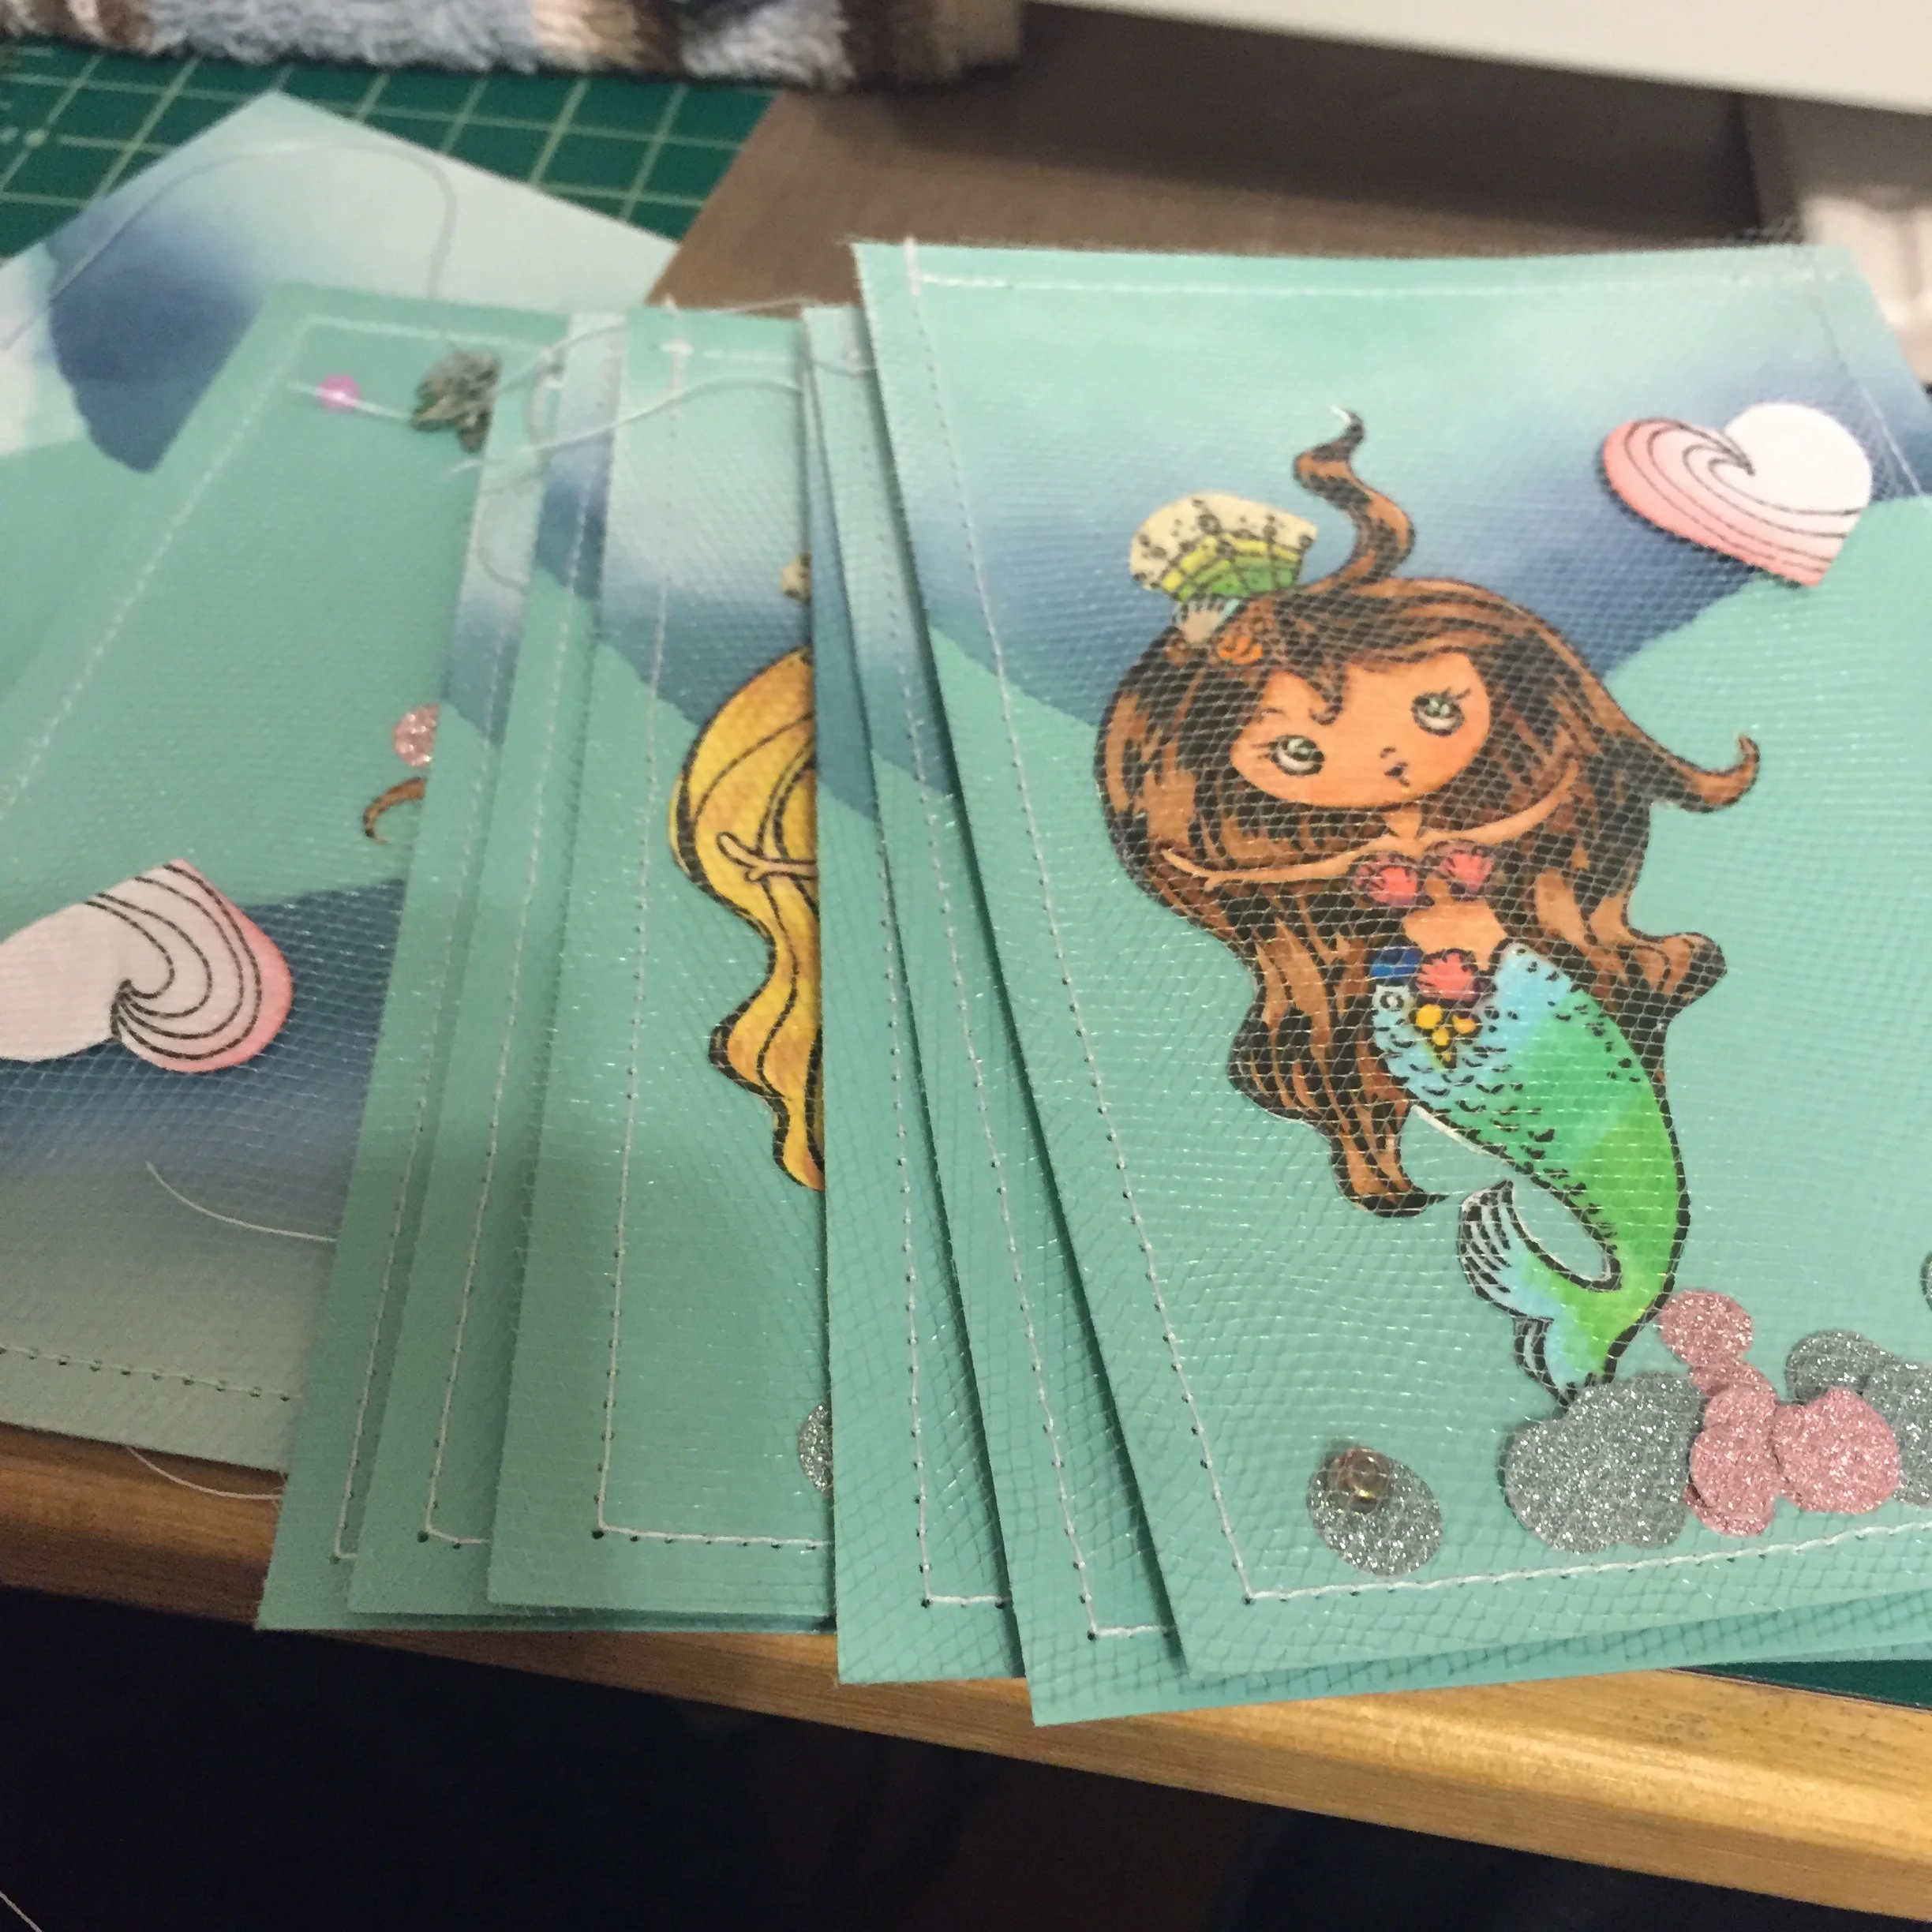
Tulle Shaker Mermaid Cards
Supplies, Stamps, How to, Tools, Crafts, Diy, Color, Cards, Graphic, Coloring, Paper craftingCommentSo I have been working on the Daily Marker 30 Day challenge and I have spent about 5 days on these, but I am so happy with the result.

All boxed up.
I started by stamping all of my mermaids and coloring them, and then fussy cut them all.

A school of mermaids.
Then I did some distress ink backgrounds to resemble water and then sewed tulle around the edge to make shaker pockets.

I sewed circles on to make pockets.
Then I used my We R Memory Keepers DIY Confetti Punch to make "Bubbles" out of glitter paper and trimmed down the tulle.
Almost done.
Finally I sewed up the tops and attached them to A2 sized note cards.

Done.
I boxed them up with envelopes to complete the set and shipped them to a friend.

I hope you try some new ways to make shaker cards and you have the chance to send someone happy mail! Happy crafting!
The Daily Marker 30 Day -Day 7
Crafts, Graphic, Color, Cards, Diy, Supplies, Stamps, Paper crafting2 CommentsI'm a little behind, but here are some mermaids that are for a card set for a friend. These were done on Bristol paper with Copic Ciao markers. That's one of my favorite stamps and I stamped the image using Memento in Tuxedo Black.

7 Mermaids waiting for their close up.
Surprisingly this didn't take that long, fussy cutting them was probably the most tedious part. I will post the completed set when they are done, happy crafting!