Gab with Gaby

An engineer's creative corner studio.

Card

Gab about Lawnfawnatics - Happy Little Critters

Stamping, Copic Markers, Lawn Fawn, StampsGabriela Sims3 Comments

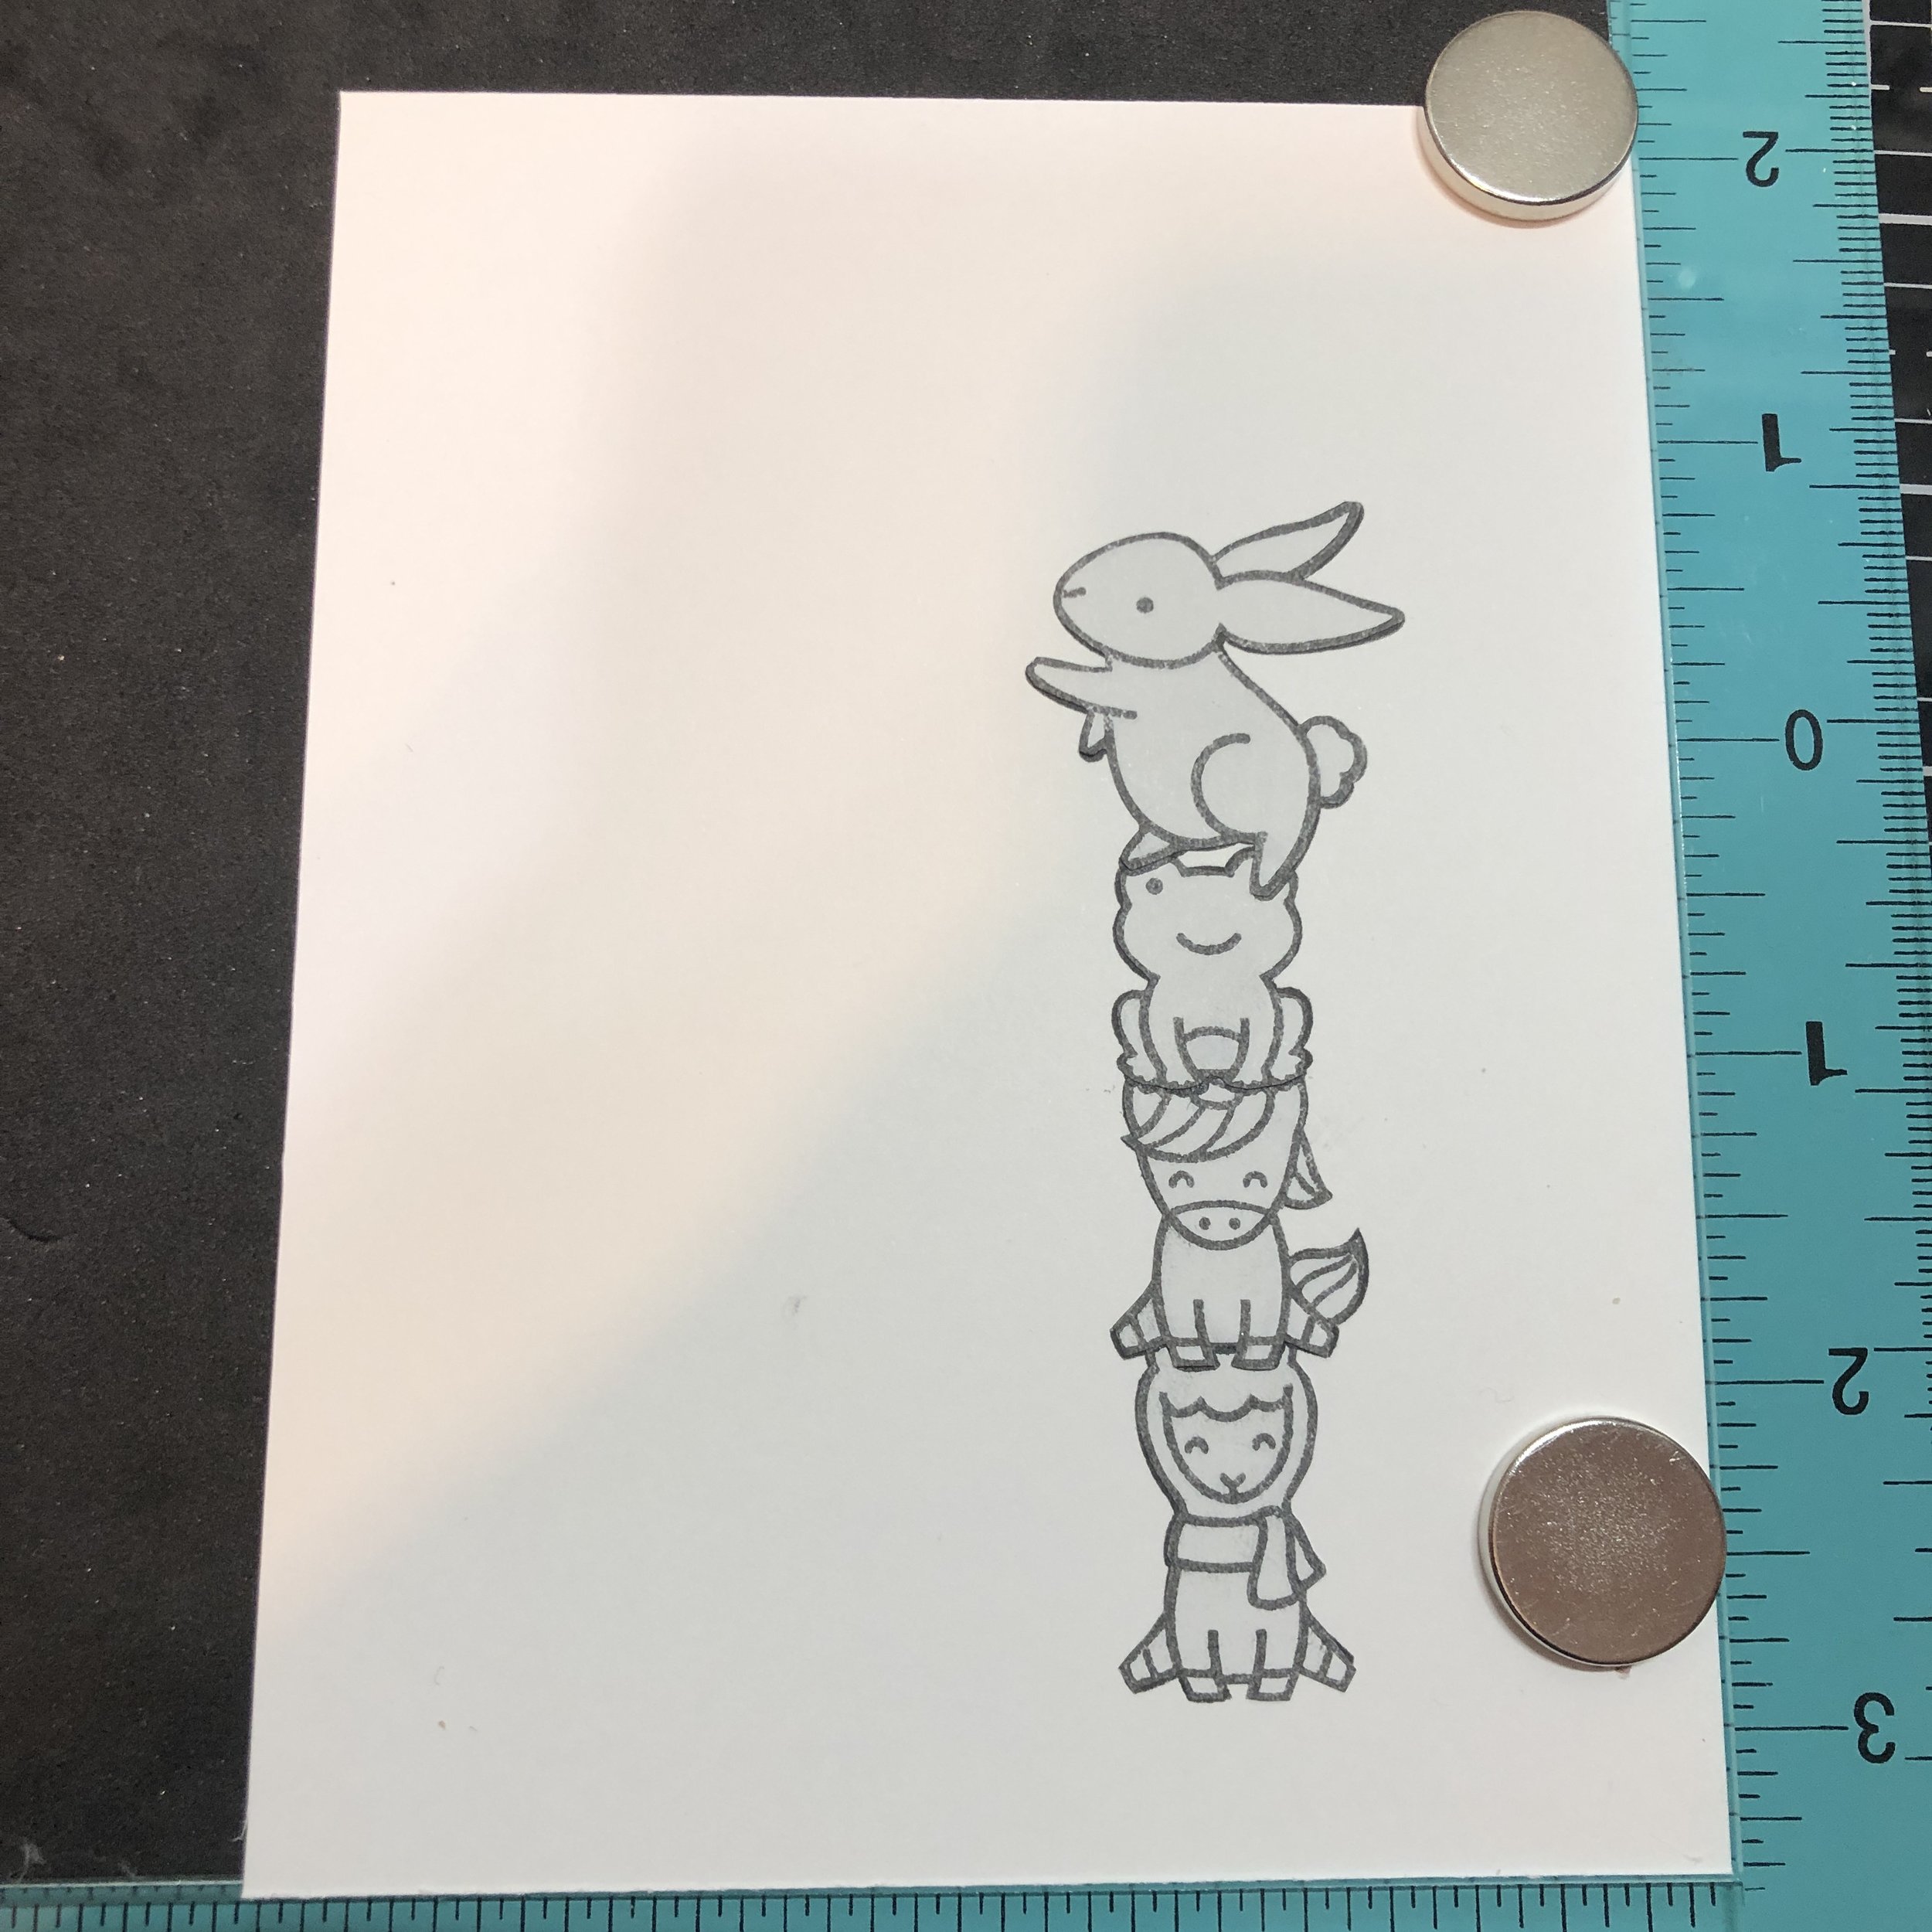
Hello there! The new challenge is all about critters so I pulled out several stamp sets and got to work. I decided to do a one layer card that involved Copic coloring and some masking. I wanted my critters to be doing something normal, so I decided to have them  delivering a handmade card. I used Toadally Awesome, Say What? Christmas Critters, Love Letters, Yay Kites, and Jump for Joy. I started by arranging my images to get an idea of what I would need to mask.

IMG_1189.JPG

Then I started stamping and masking using some Post-it tape. 

IMG_1190.JPG

I then used my copics to color the sky and grass.

IMG_1192.JPG

Next I peeled the images off one by one and started to color them.


IMG_1194.JPG

My sentiment is from the Yay, Kites set and I stamped it with some Versamark ink and heat set it with white embossing powder. I finished by adding some Spectrum Noir Sparkle Pen, some tiny hearts, and some Gelly Roll pen accents. I trimmed a piece of Gotta Have Gingham down and mounted it on a 4.25” x 5.5” card base. 

IMG_1199.JPG

This was a super fun card to make and it reminded me that I have quite a few Lawn Fawn sets that I really love. Until next time, stay safe in these crafting streets.

Happy crafting,

Gaby

I have linked* to the supplies I used below:

Yay, Kites

Toadally Awesome

Say What? Christmas Critters

Love Letters

Jump for Joy

Gotta Have Gingham

Embossing Powder - White

Gelly Roll Pen

VersaMark Watermark Stamp Pad

Copic Markers

*Affiliate links used at no additional cost to you.

Scatter Kindness Card

How to, Watercolor, Cards, ColoringGabriela SimsComment

Hi there, it's Gaby and today's tutorial is about making a background with markers and embossing powder. I will be showing how to make the card below; it may look complex, but it's easy to do.

This uses lots of heat embossing. 

This uses lots of heat embossing. 

I started by creating my background and used Bristol paper because I wanted to use my Tombow markers to "watercolor". The Bristol paper is cut to 4-1/4x 5-1/2. 

I love seeing all the colors! 

I love seeing all the colors! 

I used a Winnie & Walter "Kindness" stamp set and some Versamark ink to stamp multiple leaves to create my background. 

Such a unique stamp set with great sentiments. 

Such a unique stamp set with great sentiments. 

IMG_0077.JPG
IMG_0078.JPG

Then I used white embossing powder on the paper and heat set it. 


I catch the powder in a coffee filter to put it back in the jar. 

I catch the powder in a coffee filter to put it back in the jar. 

IMG_0082.JPG
IMG_0083.JPG

Next I added some color with my markers and just put them in different areas and used a water brush to blend them. 


IMG_0085.JPG
IMG_0086.JPG

Once I added a little pink and blended it all, I grabbed some metallic gold to add splatters.


I used an acrylic block as a "palette". 

I used an acrylic block as a "palette". 

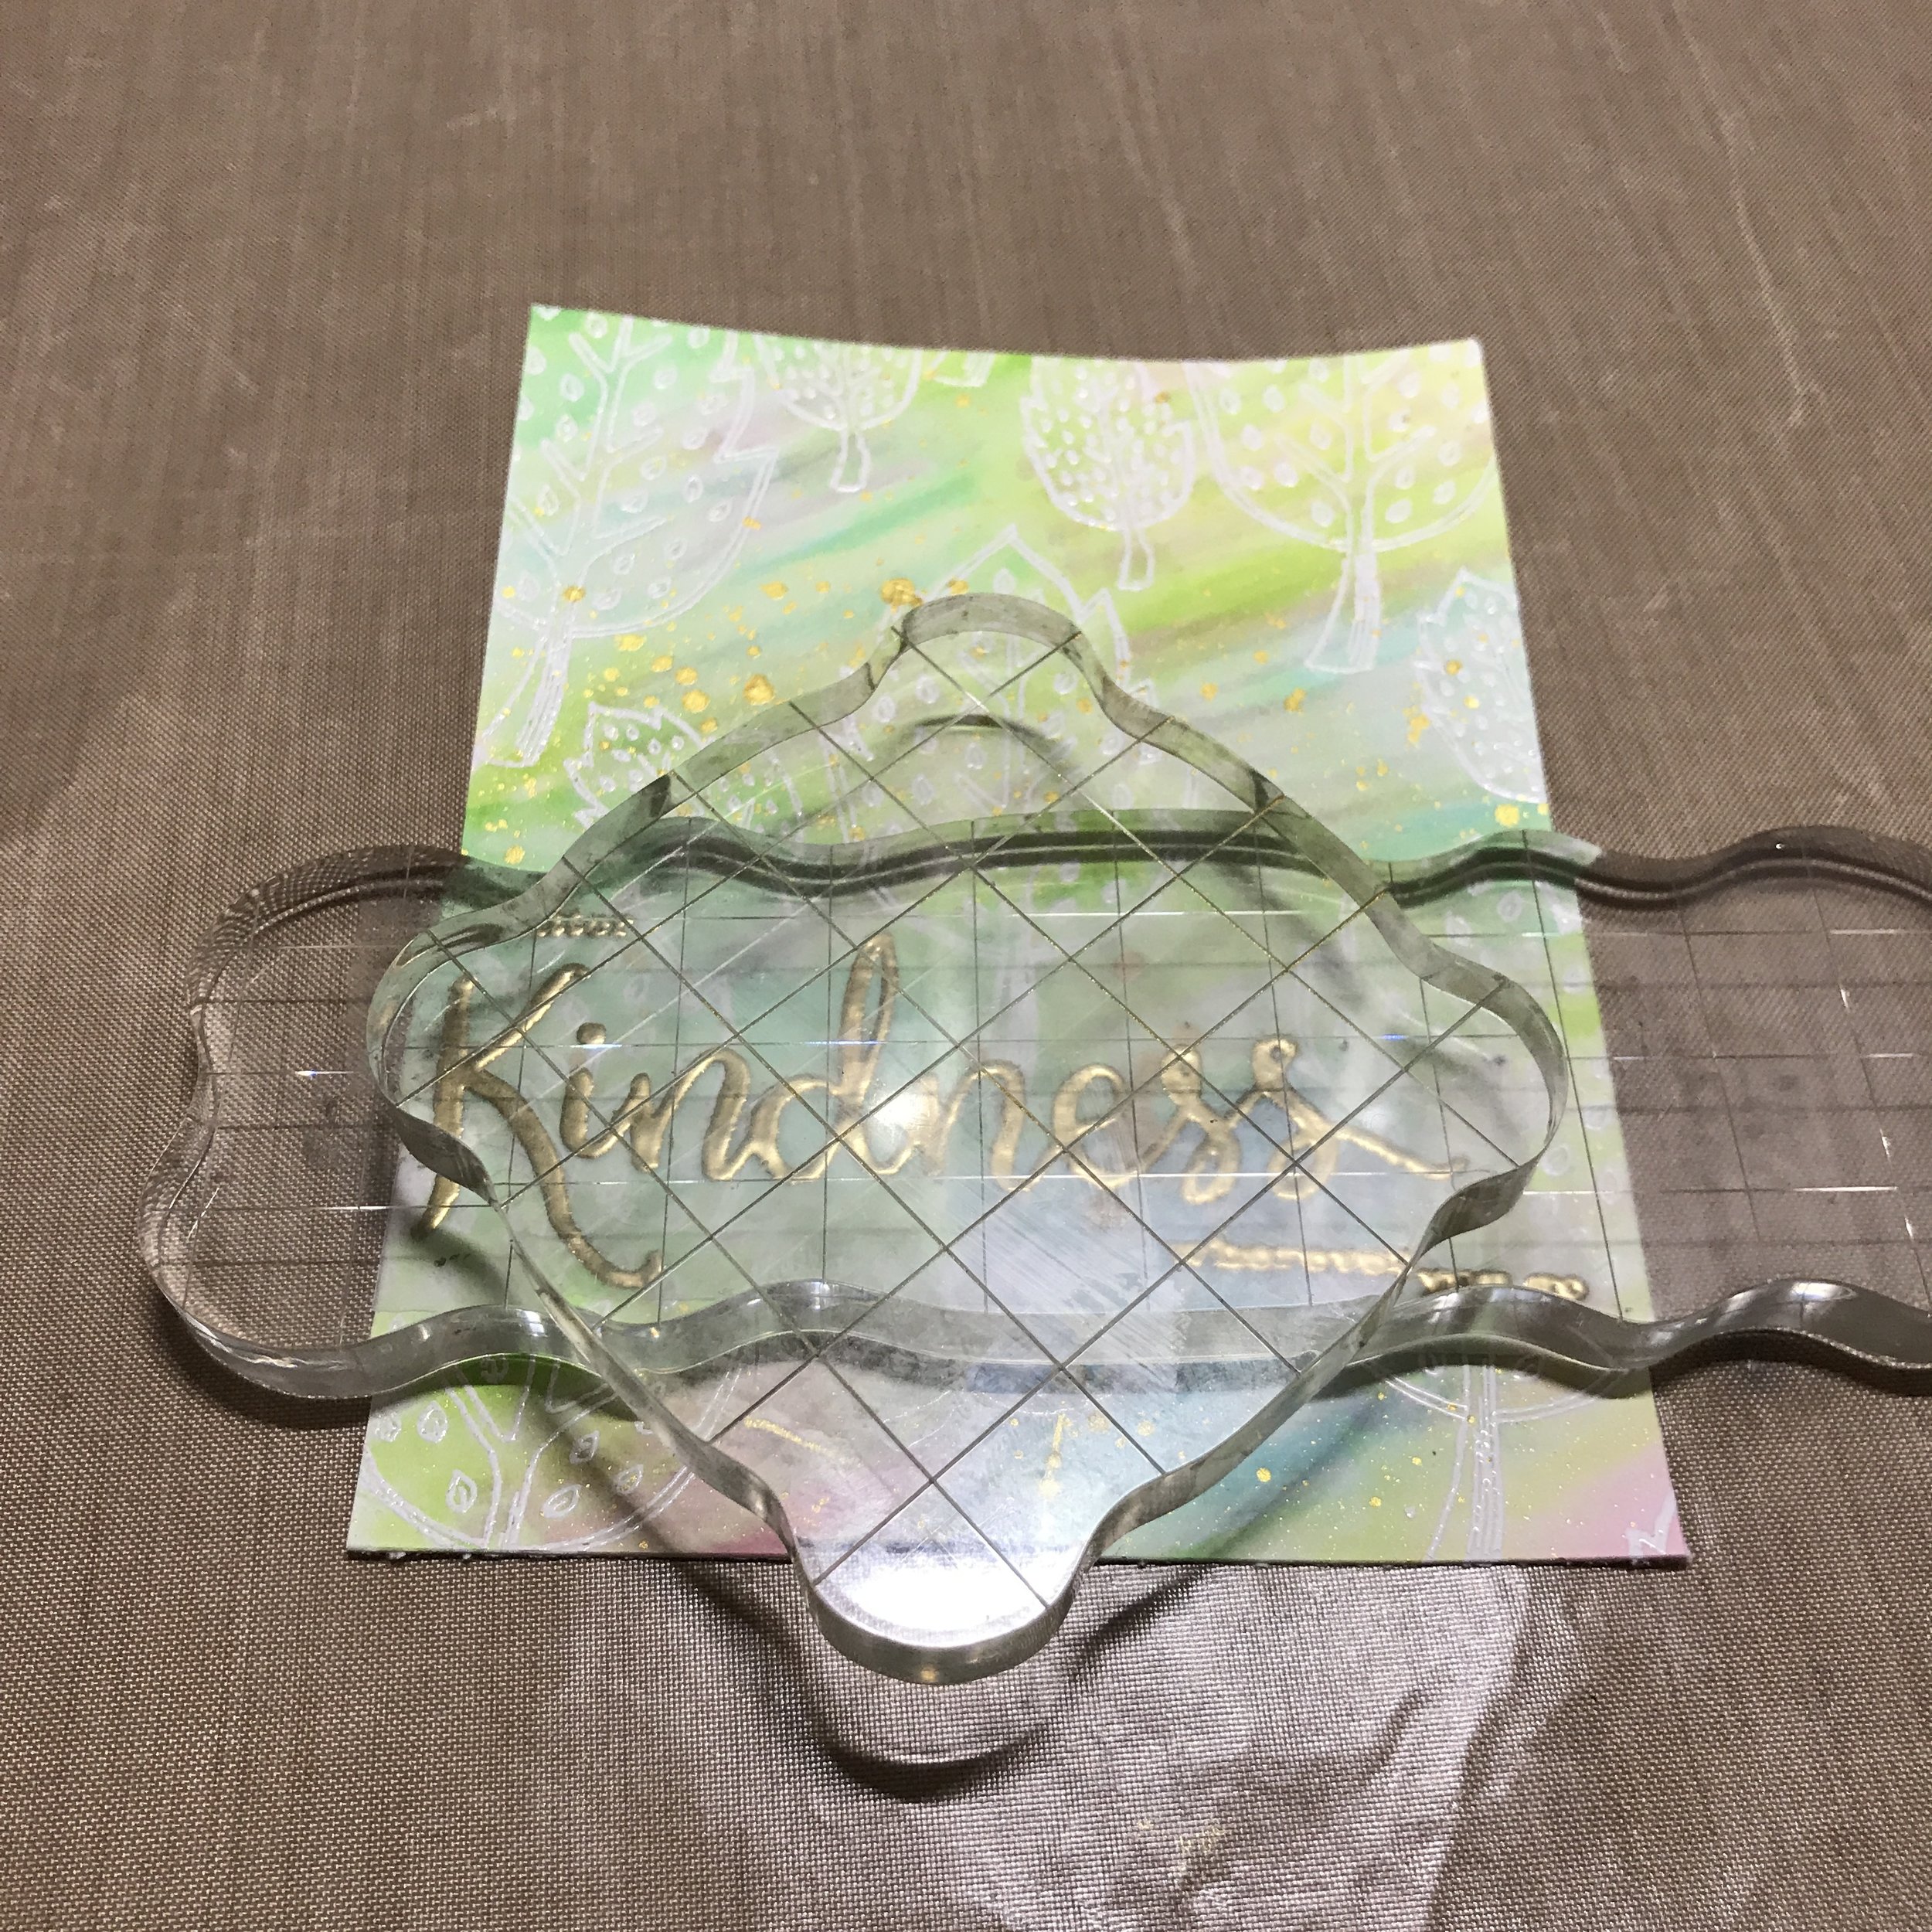
Then I stamped the sentiment in gold embossing powder on vellum. 


IMG_0091.JPG

I heat set it and cut it into a banner shape. I used a Tombow glue pen to trace behind the embossing so the glue would be invisible from the front.


IMG_0094.JPG

I weight the vellum down with some acrylic blocks to let the glue dry.

IMG_0095.JPG

Finally, I taped the card front to a top folding notecard. 


FullSizeRender.jpg

That's it, you're done! I hope this post was helpful and that you have a chance to try some of these techniques. Happy crafting! 

-Gaby

Lawnfawnatics Challenge - Interactive Cards

Lawn Fawn, Crafts, Stamps, CardsGabriela Sims3 Comments

Hi there! I absolutely love Lawn Fawn products and I thought I would play along with this challenge.   The theme for this one is  interactive cards. I used the "Bicycle for You" and "Bun in the Oven" stamp sets for this as well as the "Simple Road Border" die. This was so fun to make and when you pull the tab, the bicycle moves. I used "Slide on Over" to create the slider portion.

IMG_6917.JPG

Here is a quick video to show him riding along!

I used the tiny faces from "Bun in the Oven" for the balloons and the "Congrats!" from that set for the pull tab. I did not make a video for this card, but I might recreate it in the future. Thanks for stopping by and happy crafting! 

 -Gaby

Shell-Ebrate with Mermaids

Diy, Coloring, Paper crafting, Crafts, Quick Quotes, How to, Tutorial, Color, CardsGabriela SimsComment

Hi everyone, Gabriela here today with a card I made using the Anchors Aweigh Collection and a stamp I really love. I decided to make a mermaid themed card using the shell pattern from the Anchors Aweigh papers. I started with my stamp and then colored it in using my Copics.


Then I traced, colored and cut out my shell.


Then I used some of my chalking inks and a blender pen to color the top inside of the card.


I decided that I wanted to make the card a pop-up, so I attached some paper to both sides of the "shell" and attached the mermaid.


I added some glitter with my Wink of Stella pen in Clear.


Then I added some iridescent bubbles and did a little more blending on the inside.


Here is the final product.


I had a blast making this card and getting into this month's challenge! I hope you all do too!

 Quick Quotes Products Used:
Anchors Aweigh - 106, 100, & 109
Powder Puff Chalking Inks 2016

My First Finished Quilt!

Sewing, Diy, Crafts, Paper crafting, How toGabriela Sims3 Comments

I am beyond excited!!! I finished my quilt, in less than a week. I was originally gave myself 6 weeks to finish two baby quilts, but to my delight, this one came together so quickly that I was able to surprise the recipient this morning. I have to thank an amazing person who helped me through this, she looked at my progress everyday and gave me tips to make things easier. Without her help, I would still be trying to figure out what to do with all of these squares.  This pattern is called The Hundred Hugs Quilt, and you can find it here.

Here is how the process went down. 


Charm squares. 

Charm squares. 

Beginning rows. 

Beginning rows. 

Center is done. 

Center is done. 

Border added. 

Border added. 

More squares. 

More squares. 

Finished top with the backing color. 

Finished top with the backing color. 

Batting and backing attached and quilted together! 

Batting and backing attached and quilted together! 

Binding half done. 

Binding half done. 

Completed quilt. 

Completed quilt. 

Then as a way to say thanks for the quilting help, I made this card.


image.jpg

I also made a card to go along with the quilt!  

Embossed mustaches with a tag. 

Embossed mustaches with a tag. 

Then wrapped it up. 


image.jpg

My husband delivered it today and I'm happy to report that the mom-to-be loved it! I hope this inspires you to share some handmade kindness of your own, happy crafting!