Gab with Gaby

An engineer's creative corner studio.

stamping

Product Close Up - Mr. Snugglekins - "I am a Meowfox."

Cards, Color, Crafts, Gab with Gaby Stamps, Shop Updates, Stamps, The Gab with Gaby Shop, Product Release Close Up, Product Release TutorialGabriela SimsComment

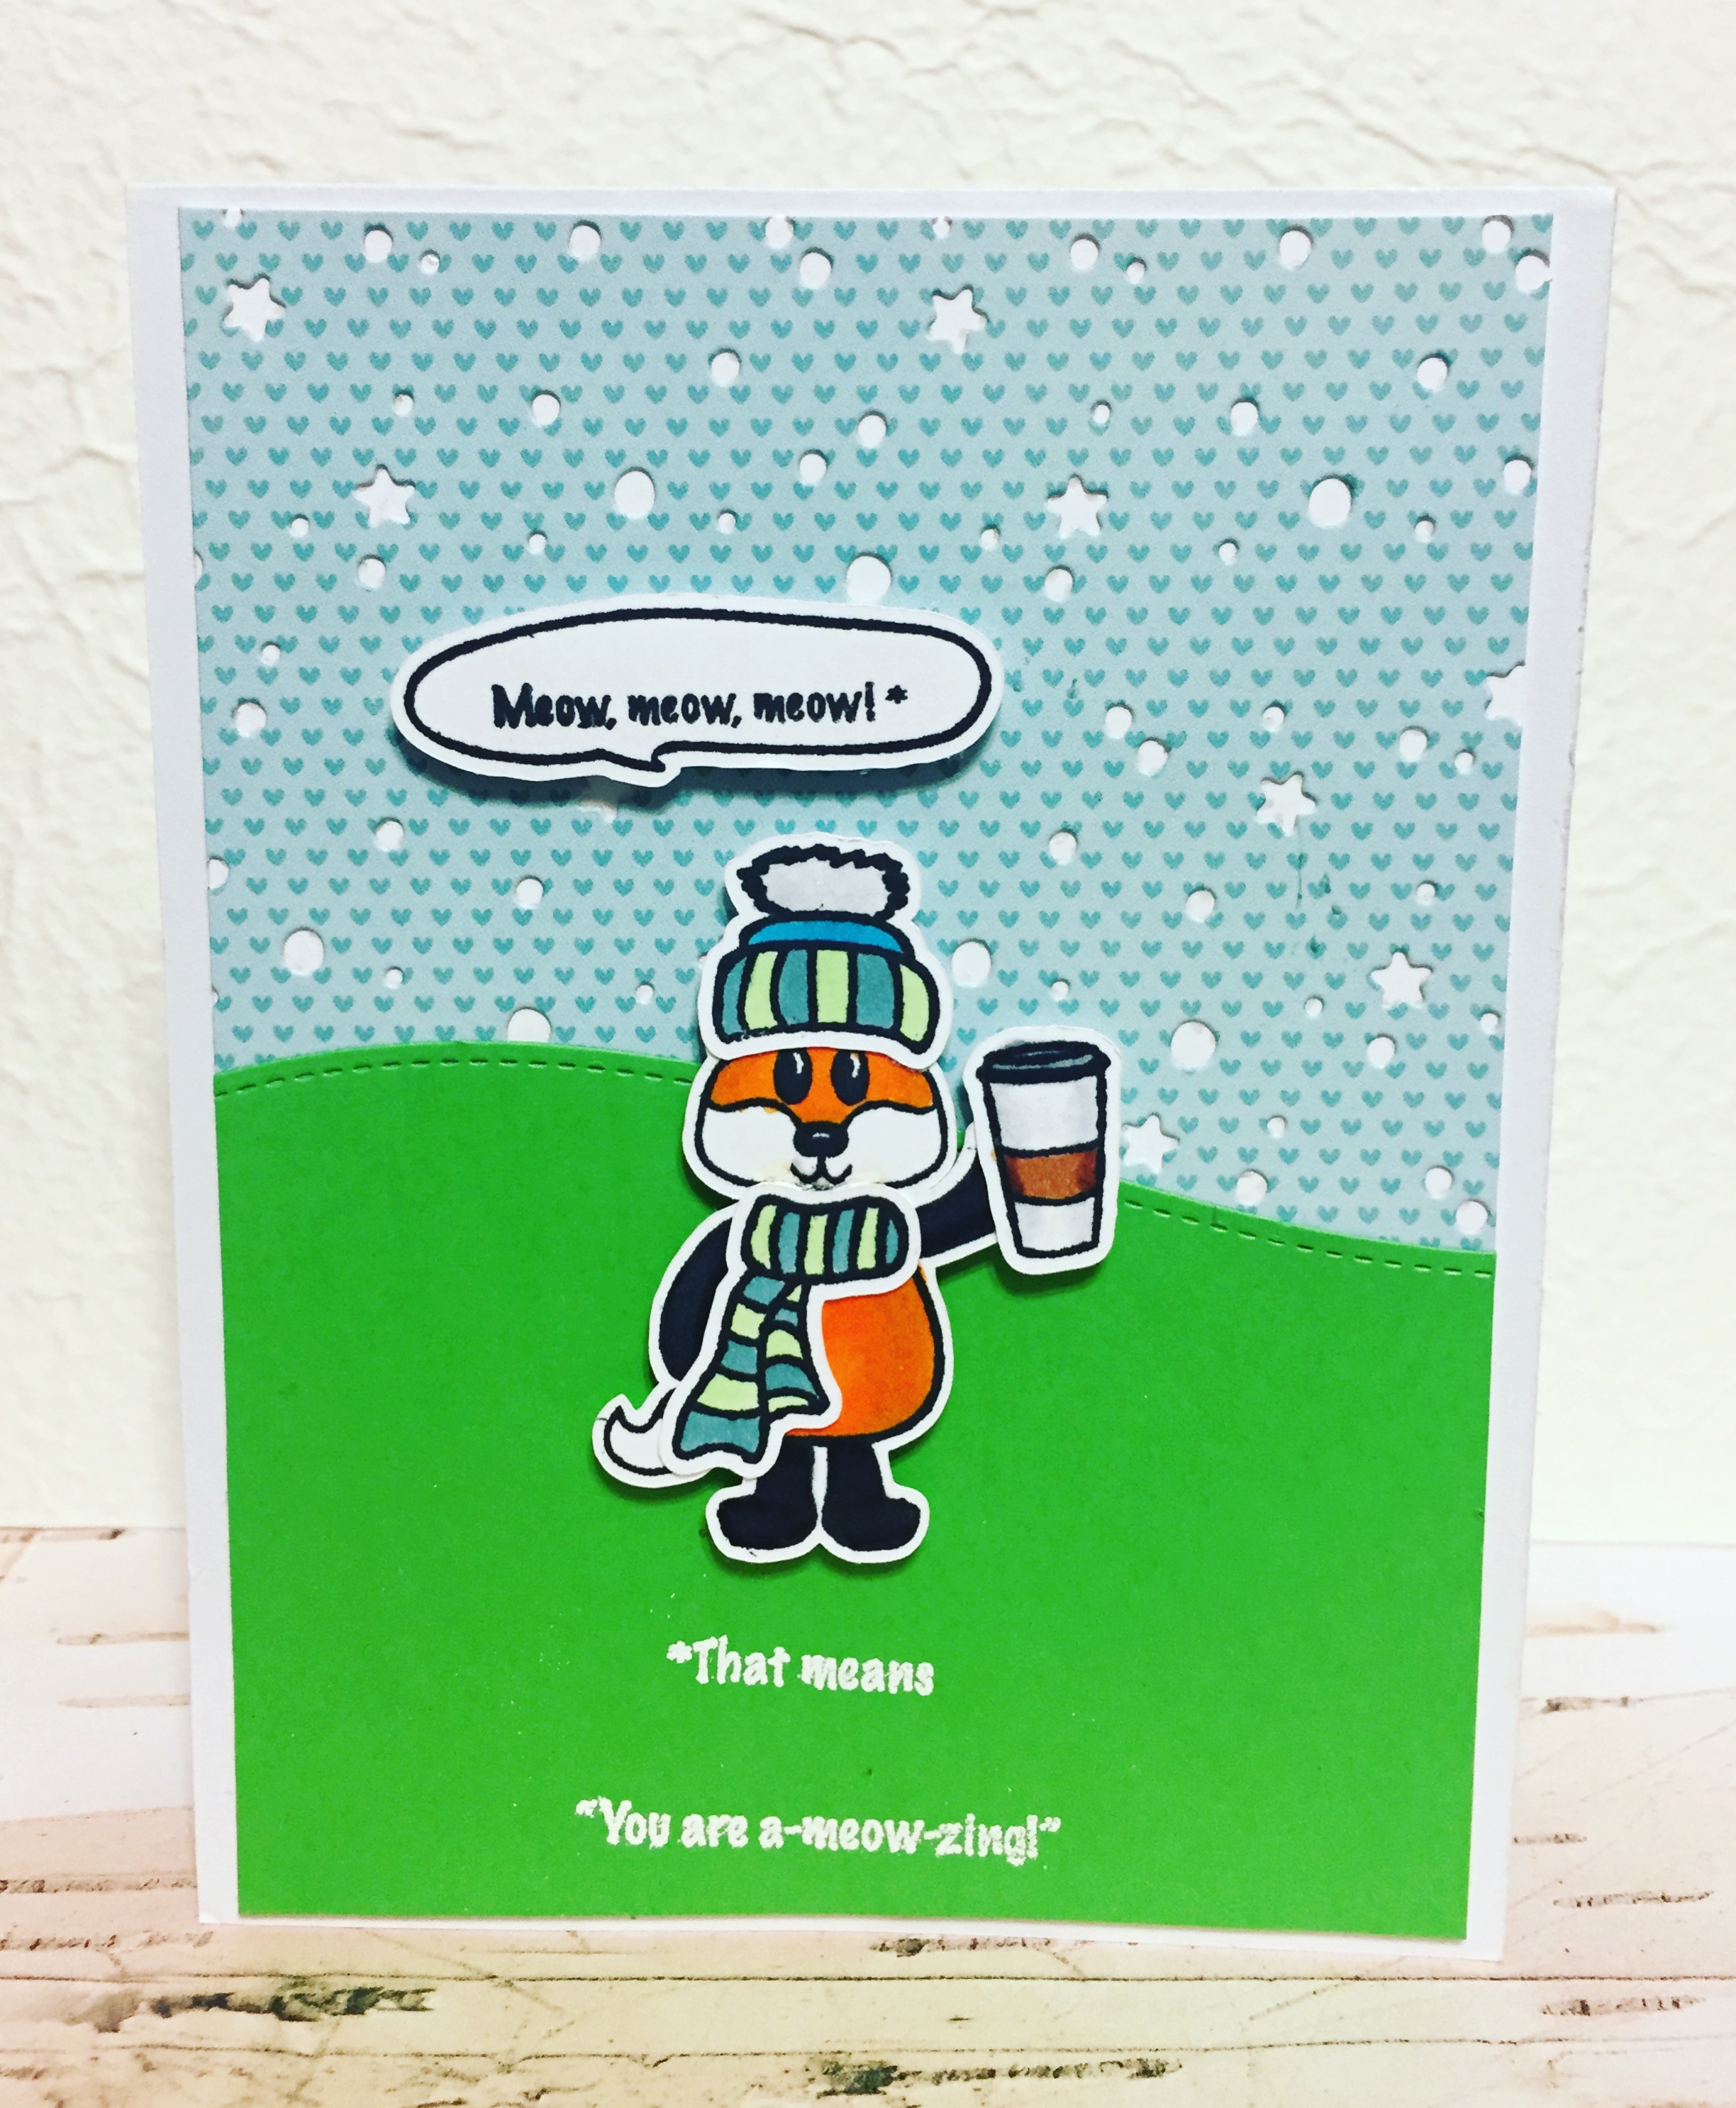
Hi everyone, Gaby here with a close up of one of the new stamp sets from the debut launch, Mr. Snugglekins - "I am a Meowfox".  This little guy loves coffee, so he has a coffee cup in his stamp set, but he's a baby meowfox, so he cannot actually drink coffee, so odds are that cup is empty or filled with cocoa.  He also has a heart, hat, scarf, and some word bubbles with translations, since the only word he can say is "Meow".  Here he is in all of his Meowfoxy glory.

He thinks you are a-meow-zing!

He thinks you are a-meow-zing!

Check out the video below to see the entire stamp set and how to make this card.

Thank you so much for stopping by, I am so excited to be able to share this video series.  The next video in the series will feature a box card made with the Meet the Jelly Friends - My Jam! stamp set.  All of the stamp sets are available for pre-order in the shop. Until next time, happy crafting.

Gaby
Chibitronics and Lawn Fawn

Cards, Diy, How to, Lawn Fawn, Paper crafting, Stamping, Stamps, Tutorial, ChibitronicsGabriela SimsComment

Hello everyone, Gaby here today with a Valentine's Day Card that will wow the recipient.  In my case, my husband already saw this, so he won't be surprised.  I am using some products from Chibitronics and Lawn Fawn to make a light up card with heart.  I downloaded a template from the Chibitronics website for the circuit and I'm using their White Lights, Copper Tape, and Effects Pack.  The two Lawn Fawn sets I am using are Octopi My Heart and Mermaid for You.  Check out the video below!

I hope you enjoyed the video and that it was easy to follow, my advice if you have not built a circuit before is to be patient and start with a single light circuit and then move on to parallel circuits with extra lights, and finally, try adding effects like this.  I have made some other cards with Chibitronics lights, but this is the first tutorial for them I have put together. As always, happy crafting and I will see you next time, thanks for stopping by! 

-Gaby

Christmas Place Cards with Quick Quotes using Action Wobbles

Christmas, Crafts, Diy, How to, Paper crafting, Quick Quotes, Stamping, TutorialGabriela SimsComment

Hi everyone, Gaby here today with a small project you can do if you are having guests over for the holidays. I made some place cards like this for Thanksgiving and I thought it would be fun to recreate this with a Christmas theme. You can do these in one evening if you prep all of your paper and die cuts beforehand.


Check out the video below for what you'll need to make these.


I hope you enjoyed this video and your are inspired to make your own place cards, until next time, happy crafting.

Quick Quotes Products Used:
Powder Puff Chalking Inks 2016
Winter Bliss - WI102 & WI103 New Collection

I am trying to finish up a video for my next product review, it is the Brother Scan n Cut 2. Hopefully I can get it posted soon! Thanks for stopping by!

Pop-Up with Quick Quotes and Lawn Fawn

Cards, Crafts, Diy, How to, Paper crafting, Stamps, TutorialGabriela SimsComment

Hi everyone, Gabriela here today with a way to showcase your paper patterns and have some fun with stamps or die cuts.  This card is a pop-up inside and has a decorative band holding it closed.


I am using the Winter Bliss collection and I started by cutting my paper into pieces. I used one 12" x 1" strip, one 5.5" x 4.25" rectangle, a 3" x 3" square and an 8" x 5.5" rectangle. I used a plain white card base.


I stamped my images using my amazing Stamp Perfect tool and used a pop-up die for the inside of the card.


Once I had everything cut out, I adhered my die cuts and stamped the sentiment.
The outside of the card was put together by using a stamp runner on the 5.5" x 4.25" piece and adhering that to the card base. Then the 3" square was stuck on top of that.
Finally, the 12" x 1" strip is what will hold the card closed, it's just a decorative touch.  Place the strip on the front of the card.
Turn the card over.
Fold each edge of the strip towards the center of the card.
Then adhere the ends together to make a band. The finished card will have a very nice look and a fun pop-up inside.


This card is motivational, but any occasion will work; Winter Bliss is my favorite collection right now, but you can use any of the beautiful Quick Quotes collections to make a project like this.  I hope you enjoyed this project and thanks for stopping by.

Quick Quotes Products Used:

Winter Bliss - New

Lawn Fawn Products Used:

Rooting for you - Stamps and Dies. Stitched Pop-Up


Happy Crafting!! A review of the Stamp Perfect tool is on its way (I love it!!!).

Shaker Card with Quick Quotes and Stamps

How to, Cards, Crafts, Tutorial, Stamps, Diy, Quick QuotesGabriela SimsComment

Hi everyone, Gabriela here today with a Shaker Card using several different paper collections! This card will require your favorite paper, some acetate, stamps, and ink. Check out the video below to make this card.


Thanks for watching and happy crafting.

Quick Quotes Products Used:
Chiffon - 100, 103
Earth, Wind, Fire - 102
Whistlin' Dixie - 109
Powder Puff Chalking Inks - Mahogany and Pixie Pink