Gab with Gaby

An engineer's creative corner studio.

Pattern

Sewing Clear Pouches (Easy)

How to, Project Ideas, Tutorial, Sewing, Diy, ReviewsGabriela SimsComment

Hi everyone! I have been doing some sewing lately to keep in line with my resolution for crafting this year and I came across this amazing pattern for making clear pouches. I was on Pinterest and found this great pattern with some great pictures and easy to follow instructions.  I was able to cut a bunch of these out and then sew them very quickly. I used ribbon for some of them, but eventually opted to just use the fabric and switch up the sewing order to assemble them faster. 

IMG_1186.JPG
IMG_1188.JPG
Zelda fabric! 

Zelda fabric! 

IMG_1201.JPG
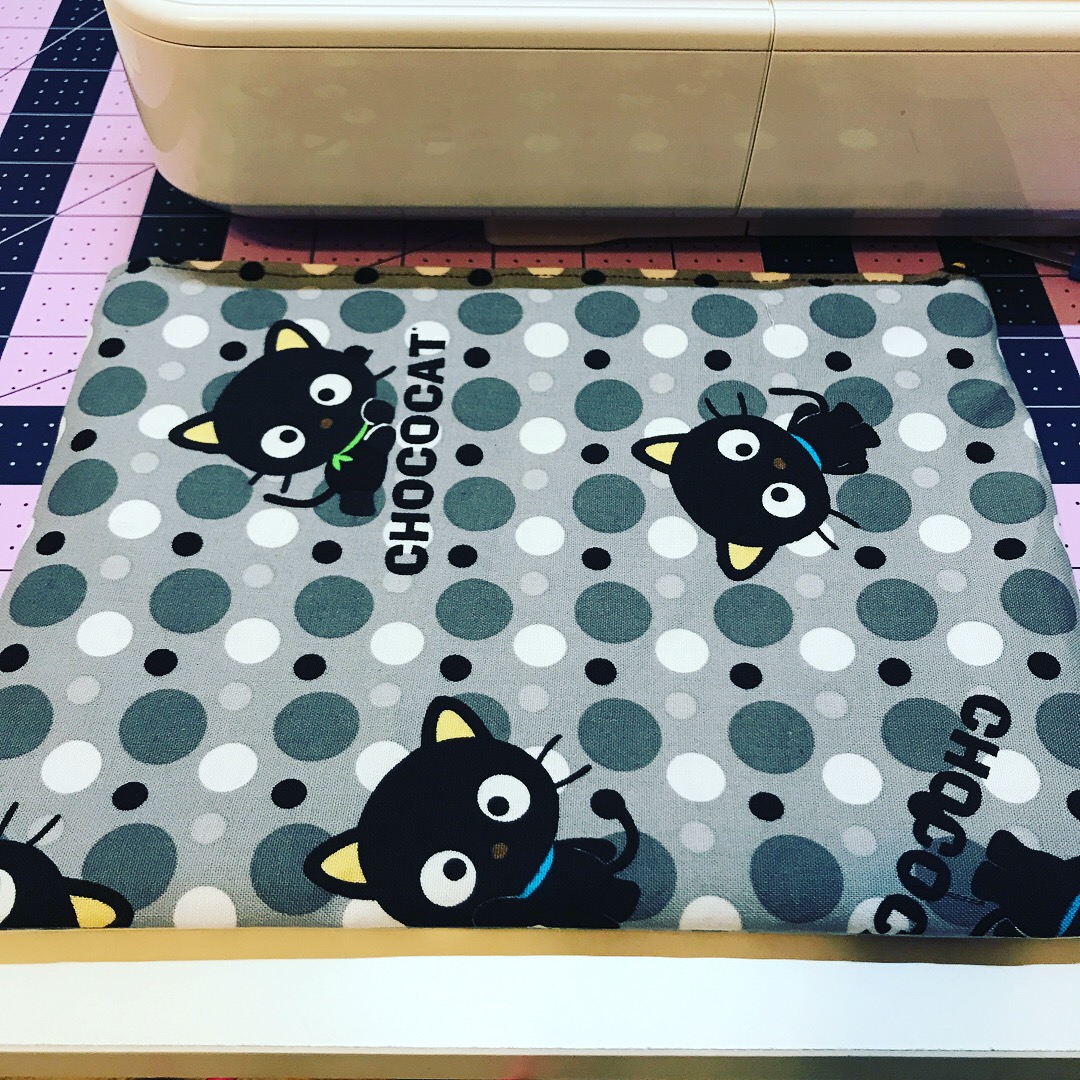
Chococat everything! 

Chococat everything! 

Hiw cute are these birds?

Hiw cute are these birds?

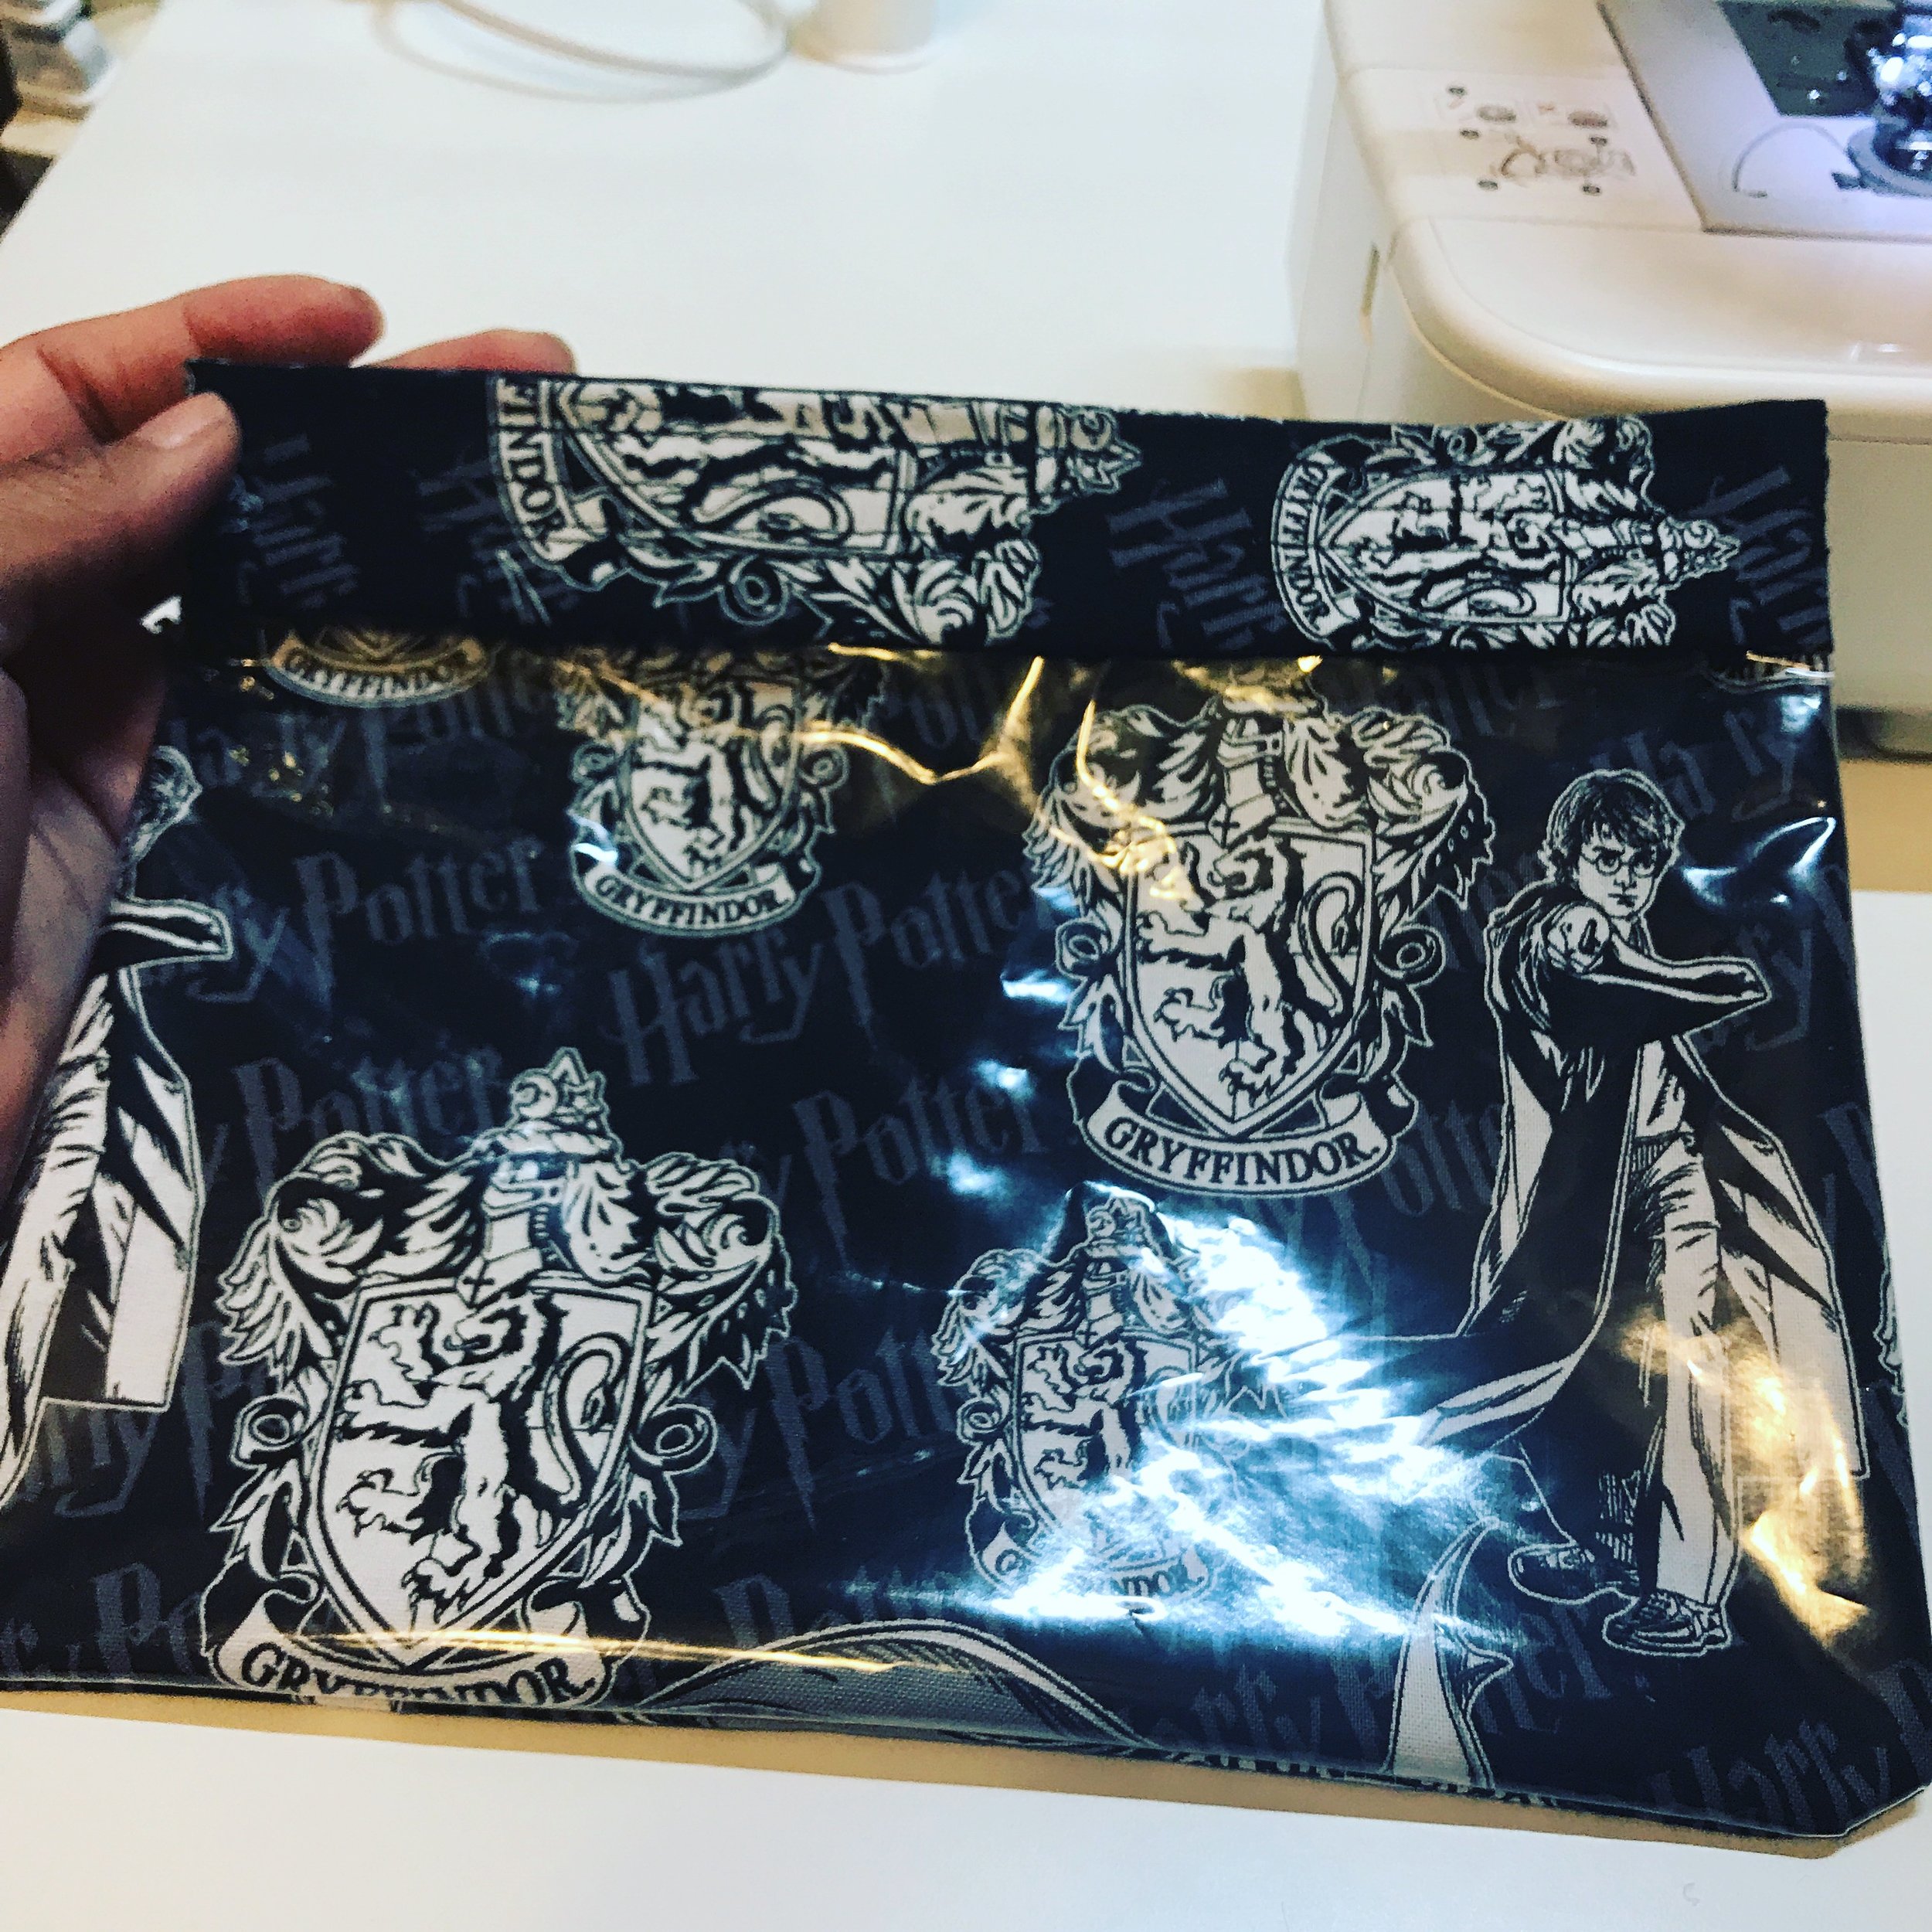
Harry Potter fabric. 

Harry Potter fabric. 

Zelda fabric again.  

Zelda fabric again.  

If you have some cute fabric that you have been wanting to use, this pattern is great because the size is perfect for a travel makeup bag, pencil case, or toiletry bag.  As you can see with the photos above, I got carried away and made several. If you are going to do any embroidery like I did, cut your fabric first and then just center the design in your hoop.

Hey Mickey! 

Hey Mickey! 

IMG_1196.JPG
These will hold brush markers and colored pencils! 

These will hold brush markers and colored pencils! 

These are easy to mass produce and a little less intimidating if you want to make bags, but you are not super confident in your zipper installation capabilities (no shame, I'm just saying). Thanks for stopping by, until next time, happy crafting.

-Gaby

My First Finished Quilt!

Sewing, Diy, Crafts, Paper crafting, How toGabriela Sims3 Comments

I am beyond excited!!! I finished my quilt, in less than a week. I was originally gave myself 6 weeks to finish two baby quilts, but to my delight, this one came together so quickly that I was able to surprise the recipient this morning. I have to thank an amazing person who helped me through this, she looked at my progress everyday and gave me tips to make things easier. Without her help, I would still be trying to figure out what to do with all of these squares.  This pattern is called The Hundred Hugs Quilt, and you can find it here.

Here is how the process went down. 


Charm squares. 

Charm squares. 

Beginning rows. 

Beginning rows. 

Center is done. 

Center is done. 

Border added. 

Border added. 

More squares. 

More squares. 

Finished top with the backing color. 

Finished top with the backing color. 

Batting and backing attached and quilted together! 

Batting and backing attached and quilted together! 

Binding half done. 

Binding half done. 

Completed quilt. 

Completed quilt. 

Then as a way to say thanks for the quilting help, I made this card.


image.jpg

I also made a card to go along with the quilt!  

Embossed mustaches with a tag. 

Embossed mustaches with a tag. 

Then wrapped it up. 


image.jpg

My husband delivered it today and I'm happy to report that the mom-to-be loved it! I hope this inspires you to share some handmade kindness of your own, happy crafting!  

Gab about your Stash #1

Tools, Color, Cards, Supplies, Diy, Graphic, Crafts, Watercolor, Paper crafting, StampsGabriela SimsComment

So I LOVE crafting supplies as evidenced in the craft storage post, but I'm trying to get better about using what I buy, so starting in the next few weeks, I am going to make a habit of using supplies I already have and scraps of projects from the week. I will make posts here and on my YouTube channel so that people can keep up. I will do a 10 minute Monday, a technique card, a product review, and then a Saturday Scrapternoon where I use up that week's scraps! In really excited about that and I hope it will keep me on task to create more and work through a massive stash of supplies and tools.  I have lots of tools I have never reviewed, but that I use often, so it'll be nice to share long term pros and cons.  In the meantime, here are this week's cards.


Iris folding? I can dig it! 

Iris folding? I can dig it! 

I started using supplies I have and remembered I have like 30 Gelatos and two kits!  

Gelatos and modeling paste. 

Gelatos and modeling paste. 

More with the amazing watercolors. 

This was for a challenge and the prompt was "Bright". 

This was for a challenge and the prompt was "Bright". 

Because I still love yarn! 

The Avery Elle "Made With Love" stamp set and some Copics...and a yarn chain. 

The Avery Elle "Made With Love" stamp set and some Copics...and a yarn chain. 

My first 10 minute card...that took 12 minutes! Lol, I'll be posting this video soon! 

I used nothing but supplies I already had. 

I used nothing but supplies I already had. 

Distress ink, Minc foil, and some time. 

Distress ink, Minc foil, and some time. 

That's all for today, check back in the next week or so for the new lineup of paper crafting vids and posts! Happy crafting! 

Stranded Knitting

Crafts, Diy, KnittingGabriela SimsComment

So I learned to knit with both hands a while ago but I had not really tried Fair Isle knitting, so I decided that a simple 2 strand pattern would be my first foray into color work.  I have to say it was really interesting to try it and the knitting seemed more fun and more intricate.  I used the new Woolspun yarn from Lion Brand and it knits up quick and it feels nice as you're knitting.

The yarn palette and the hat.

The yarn palette and the hat.

I also used a really cool Bernat pom pom that I bought last year, a local Wal-Mart was having this crazy clearance sale and they were $1.97 each, needless to say I bought all the ones they had! :) I really liked this pattern, it was really well written and easy to follow, a perfect beginner pattern for color work.  It's called the Ice Cream Hat and you can find it here on a neat blog called Alaska Knit Nat and it was originally inspired by this pattern.  I decided to try mine with warmer colors since the winter is coming and the Midwest always delivers sub-zero weather.

The end result.

The end result.

I can't wait to give this to someone as this is part of my holiday knitting, I decided to knit up a matching scarf using simple 2x2 ribbing and it will give me an excuse to use some of my favorite straight needles.

Scarf work in progress.

Scarf work in progress.

Until the next time when I'll be going over the September Paper Pumpkin, happy crafting!