Gab with Gaby

An engineer's creative corner studio.

Lettering

Cricut Bright Pad and Tombow Markers

Hand Lettering, Tutorial, Graphic design, Cricut, Drawing, ColorGabriela SimsComment

Hi there, it's Gaby here with a quick project that will let you work on your hand lettering without eraser marks!

Meow!

Meow!

I started with some drawing paper and a few Tombow pens.

IMG_0141.JPG

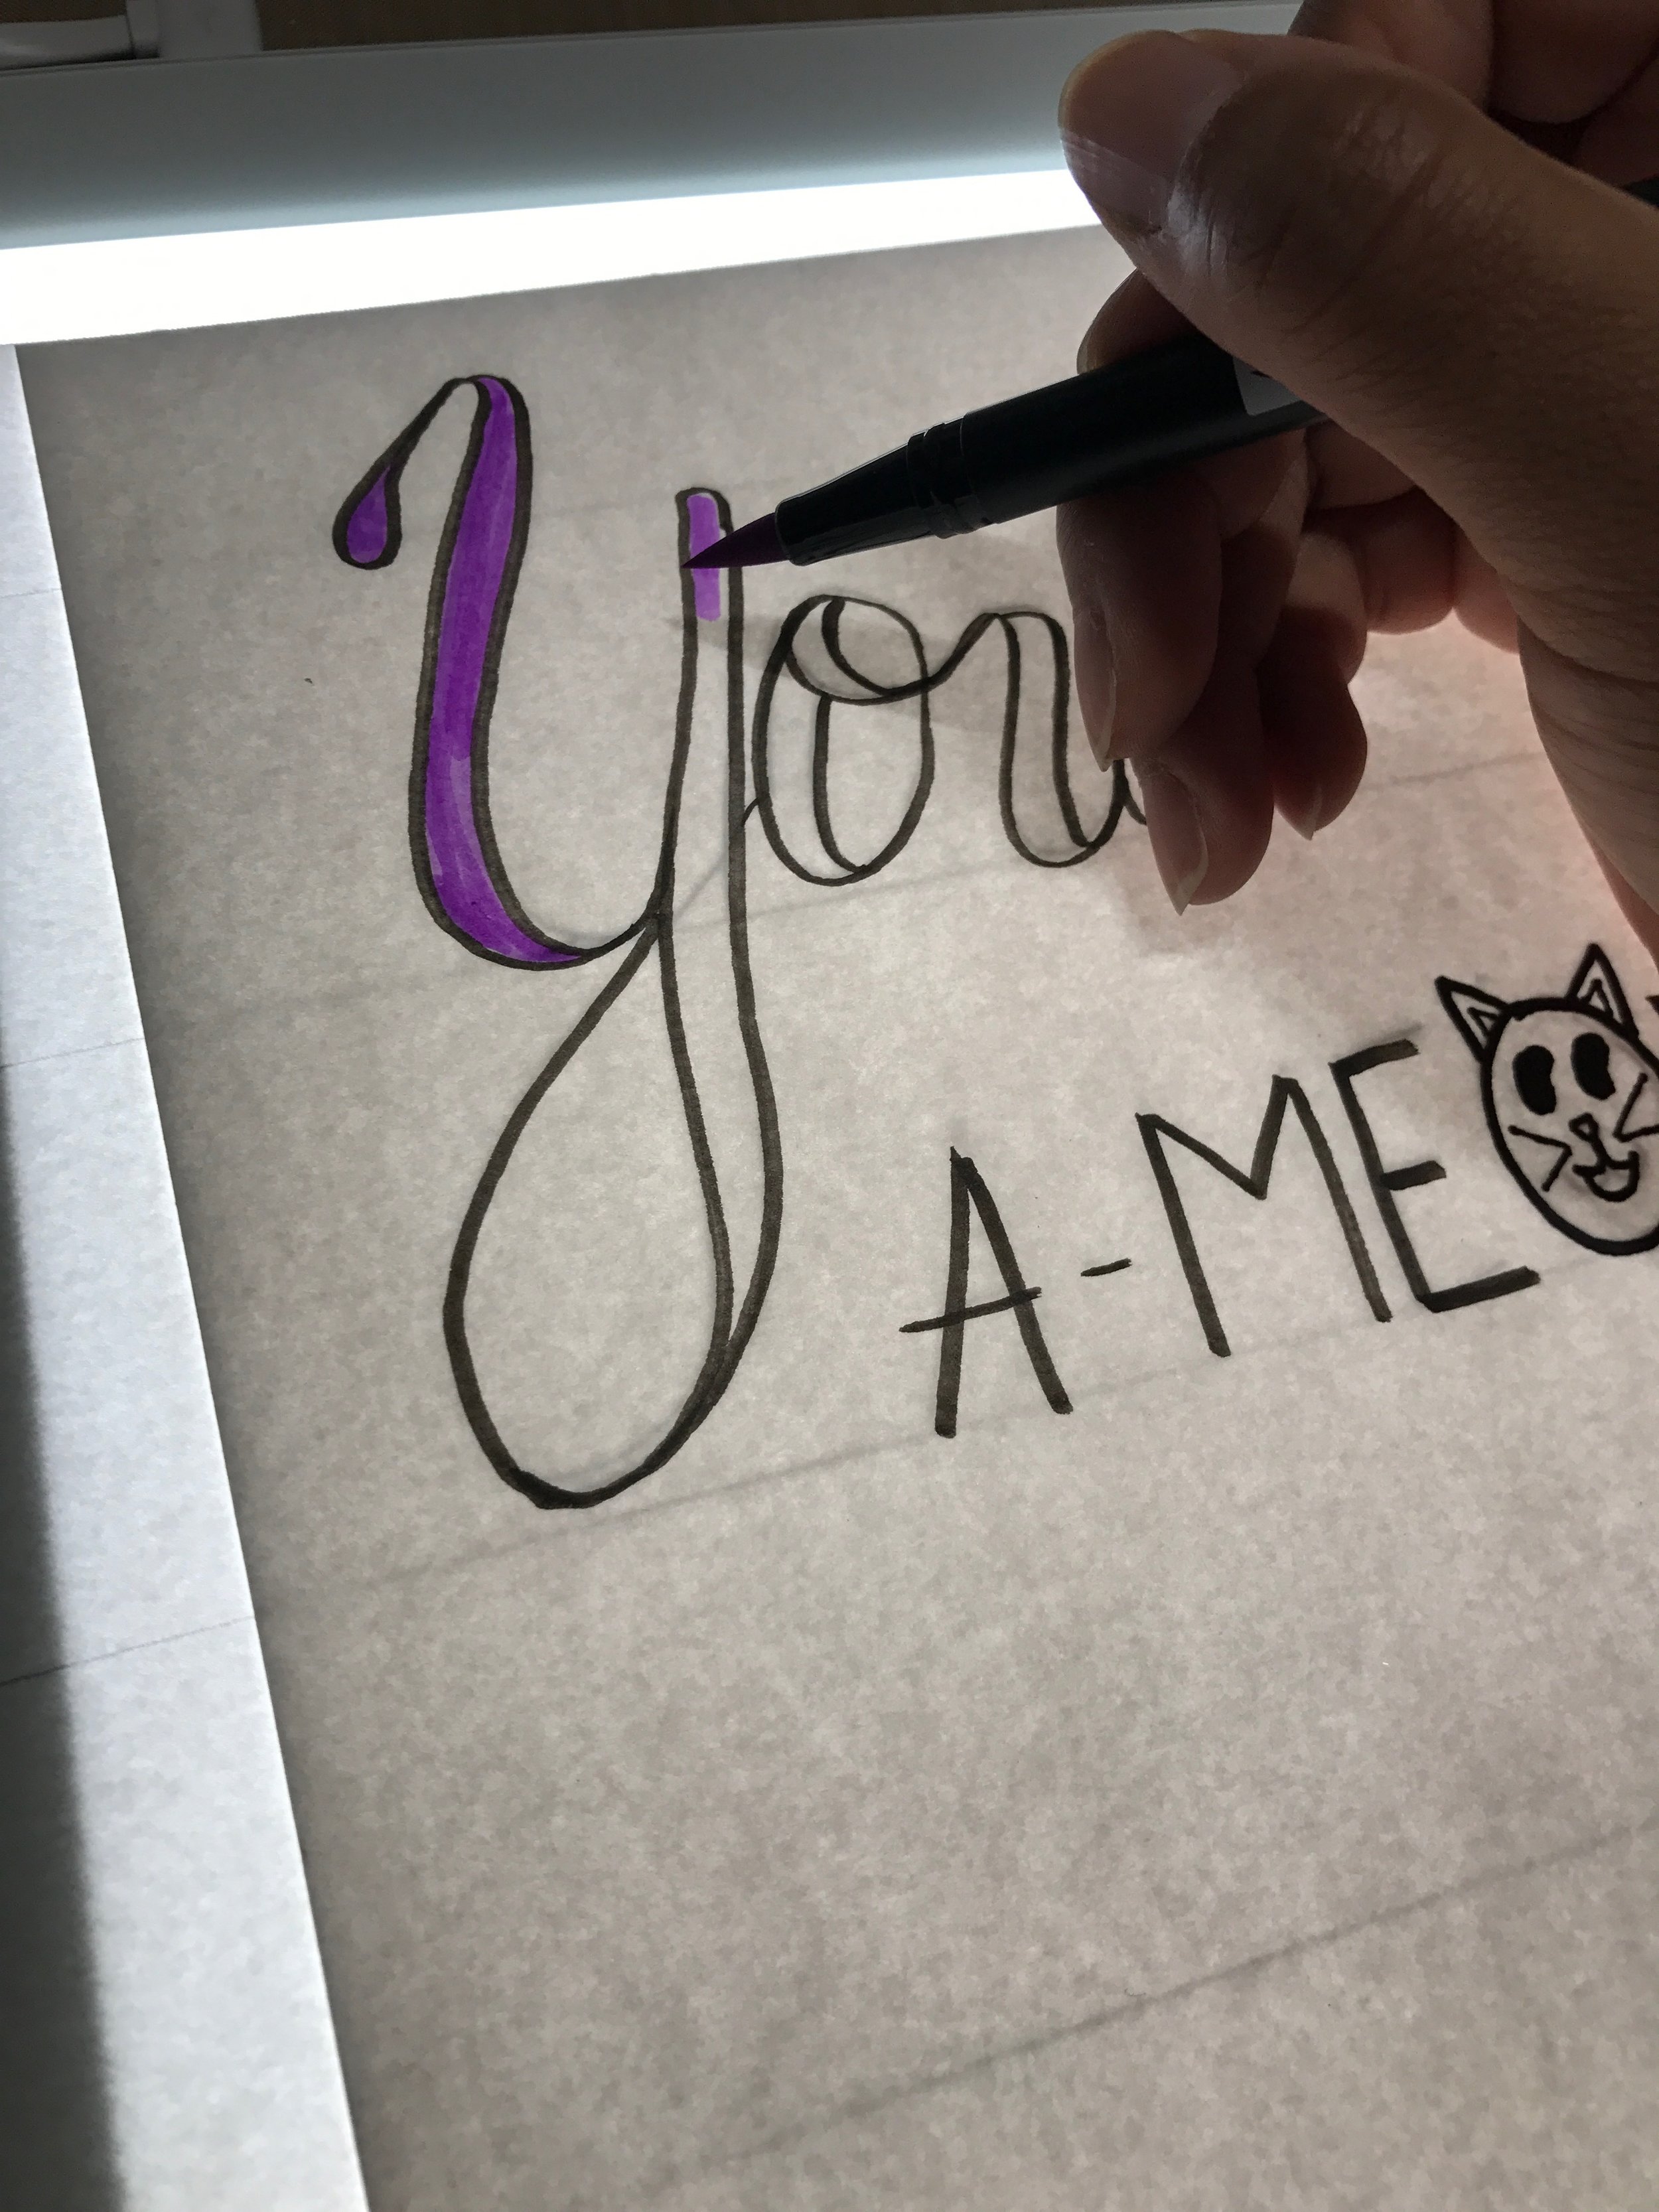
I drew my image on paper and then put it over my Bright Pad with another sheet of drawing paper on top.

IMG_0144.JPG

Then I traced the drawing and added some color!

IMG_0145.JPG
IMG_0299.JPG
IMG_4184.JPG

I added some details and a few more colors and it was all done!

IMG_0154.JPG

I did my tracing with a Tombow Fudenosuke and then added details with my Monotwin. This was a fun, easy project and this would be a good way to practice your hand lettering as well.  Until next time, happy crafting!

-Gaby

Preparing for a Craft Show

Crafts, Diy, Gab with Gaby Stamps, Hand Lettering, Craft ShowsGabriela SimsComment

Hi everyone! So I finally did it...I booked a craft show.  I have never done one before, but I have visited many, so I at least sort of know what I'm getting into.  I have been reading articles and it's amazing how many little things I overlooked when I was thinking of what I would need to bring. Like change, a receipt book, and bags for customers! Now I am aware of those things and I have started building my booth/display and I'm sure I will learn a lot more in that process.  I will be documenting the process in posts here and I have put up the info here. I will be updating that page as I do more shows/events. I decided to go with grids for my items because it would allow everything to be displayed.

Cards on display!  

Cards on display! 


I also made some blankets for this show, so I tested out hanging those as well. 


I'll probably need to get some new hangers, haha. 

I'll probably need to get some new hangers, haha. 

Of course I'll be selling Gab with Gaby stamps too and a certain pin. 


Had to zoom in here! 

Had to zoom in here! 

I am still working on a small card display for boxed sets of cards, but I think I have a solution, I'll post that once I check it out. In the meantime, I am organizing and recording inventory to make sure that I have enough stock, but not too much! I am creating3 prints for this show based on my hand lettering/drawing and I have to work out that display too. 

Design number one. 

Design number one. 

I also need to make signs and decorations, so it looks like I still have a ton of work to do! I cannot wait until this show, I feel like I will learn a lot and have a lot of fun. Until next time, happy crafting!

iPad Pro is Everything and I've Been Missing Out

Reviews, Graphic, Drawing, iPad Pro, Lettering, How to, Hand Lettering, Graphic design, Diy, ToolsGabriela SimsComment

Maaaaannnn, where do I begin!? I finally sat down to use an iPad Pro to try handlettering because I keep seeing everyone using ProCreate, so I wanted to try it. When I tell you that I literally improved my lettering in minutes, I am not exaggerating. I even rewatched a time lapse video of my first attempt and you could see the progress after 35 minutes! That's a really neat feature by the way; you can export a video of your art work. I am just starting out, so I am super excited about practicing and learning more. Before I was using my Wacom pad and Adobe Illustrator; I won't get rid of that, but I can tell an immediate difference in ease of use and results.

Some lyrics from "This Town" 

Some lyrics from "This Town" 

Below you can watch the video of me starting to use the software and finally getting the lettering right. 


I cannot stress enough how excited I am! I even did another picture for the #DNDchallenge.  You can get the full list of prompts over on www.bydawnnicole.com along with some other cool tips and techniques about hand lettering! Yesterday's prompt was "Hot Pink" and I may have gotten carried away.

So easy to do backgrounds!  

So easy to do backgrounds!  

I will be using this more than my Wacom I think, any letterers out there care to chime in? Leave a comment about what method you prefer; is it iPad, Wacom, or paper? Thanks for stopping by and happy crafting.

-Gaby

Lettering on a Wacom Pad using Adobe Illustrator

Tutorial, Diy, Tools, Drawing, Hand Lettering, Graphic design, How to, GraphicGabriela SimsComment

Hi there! I wanted to pop in and give you guys a quick tutorial of how to jazz up your hand lettering.  I have an Intuos Wacom Pad that I really love for digital drawing and I wanted to do some lettering on it as well.  I used Adobe Illustrator for this project; a simple graphic of my web address. You can play around with some of the settings, I settled on a Calligraphic Brush at .75 pt.

image.jpg

Then once I finalized and smoothed everything out, I sent the image to my toner printer and printed it on 2 sheets of cardstock, a purple sheet and a white sheet. 

image.jpg

Then to apply the foil I used my trusty Minc with fuschia and holographic foils.


Holographic on purple. 

Holographic on purple. 

Fuschia on white. 

Fuschia on white. 

These were so fun to make! I can see myself making lots of prints like this and experimenting with more brush types and techniques and doing more digital stamps.  See you soon, happy crafting!