Gab with Gaby

An engineer's creative corner studio.

Floral

The Daily Marker 30 Day - Day 5 & 6

Paper crafting, Supplies, Watercolor, Cards, Coloring, Crafts, Color, How toGabriela SimsComment

So I did these right on either side of the 5th turning into the 6th, so I just put them in one post. First up is a freehand watercolor. 


Petals done with Kuretake Watercolor

Petals done with Kuretake Watercolor

Next a distress ink background with Handlettering using Zig Clean Color Markers. 


Hand lettering and Neil Sedaka. 

Hand lettering and Neil Sedaka. 

I am also using the second drawing for the hearts prompt for #sisterswithheartinart this week. Going to try to keep up and I hope you do too, happy crafting!

Colored pencil on black card stock

Graphic, How to, Supplies, Tutorial, Color, Cards, Crafts, Coloring, Tools, Paper craftingGabriela SimsComment

I wanted to try doing some colored pencil work on black card stock and decided to do some masking as well.

i started by stamping white ink on black card stock.  


This is my main image, so it goes first, everything stamped after it will appear "behind" this. 

This is my main image, so it goes first, everything stamped after it will appear "behind" this. 

I finished my image and then masked all parts. 


Masking done. 

Masking done. 

Then I colored in the image. 


All colored in. 

All colored in. 

Then I fussy cut the image. 


image.jpg

Then I adhered it to foil card stock. 


image.jpg
image.jpg

Then that was trimmed and adhered to the base and the sentiment was stamped and embossed.


image.jpg

And the finished product after adding some accents with a white gel pen.


Done! 

Done! 

I used some flower stamps for this, but you can really use any image you want to color. I used Prismacolor pencils and a blender. Happy crafting!

Gab about new stamps.

Cards, Diy, Paper crafting, Coloring, Color, Crafts, Tutorial, How toGabriela SimsComment

I was hoping to get some new stamps for Christmas...and I did! I got a bunch of new stamps from Hero Arts and Avery Elle. I had to make something right away, and here it is. 

Japanese dolls from Hero Arts and a distress ink background. 

Japanese dolls from Hero Arts and a distress ink background. 

I did the above by stamping the dolls, using a Molotow masking pen, I covered them and then inked the background and stamped the white flowers.  I then peeled off the masking and colored the dolls with Copics.   

Using Avery Elle stamps and a bunny stamp I already had, I made this. 


Way to go! 

Way to go! 

Finally, I used my fuse tool to make holders for gift cards. 


Gift card idea!

Gift card idea!

I did some of the confetti on the inside using my confetti punch. Hopefully I'll have time to make even more stuff and use all of my new tools! Happy crafting!  

Cardmaking - Birthday Flowers

Card Making, Paper crafting, Diy, Crafts, StampingGabriela SimsComment

This is a fairly simple birthday card I made, using a few different techniques. Materials you will need:

Scoring board and bone folder

Card stock in 2 coordinating colors

White card stock  

Stamping ink in color of your choosing

Large background stamp

Happy Birthday stamp

Edge punch

Adhesive ribbon

Markers

Glue runner  


image.jpg

Start by cutting and scoring your card stock to the desired card size, I chose 5 x 7 to fit in A7 sized envelopes.  Then edge punch what will be the front of the card, I used a lace edge punch.  I stamped my background image on a 4 x 6 piece of white card stock and then colored in the image with markers. I used a coordinating piece of adhesive ribbon along the left side, but washi tape will work as well.  Then I cut a coordinating rectangle of card stock 1.5 x 3 and layered my "Happy Birthday", stamped on white card stock to it. I then used dimensional dots to give it some depth when attached to the front of the card. I also used patterned scissors to cut around the "Happy Birhday" stamp to give it a nicer edge. Try this out for any occasion and set of stamps you love, happy crafting!

Craftermath - An Engineer's Guide to Crafting

Wedding, Thrift, Paper crafting, Florigami, Craftermath, Diy, CraftsGabriela SimsComment

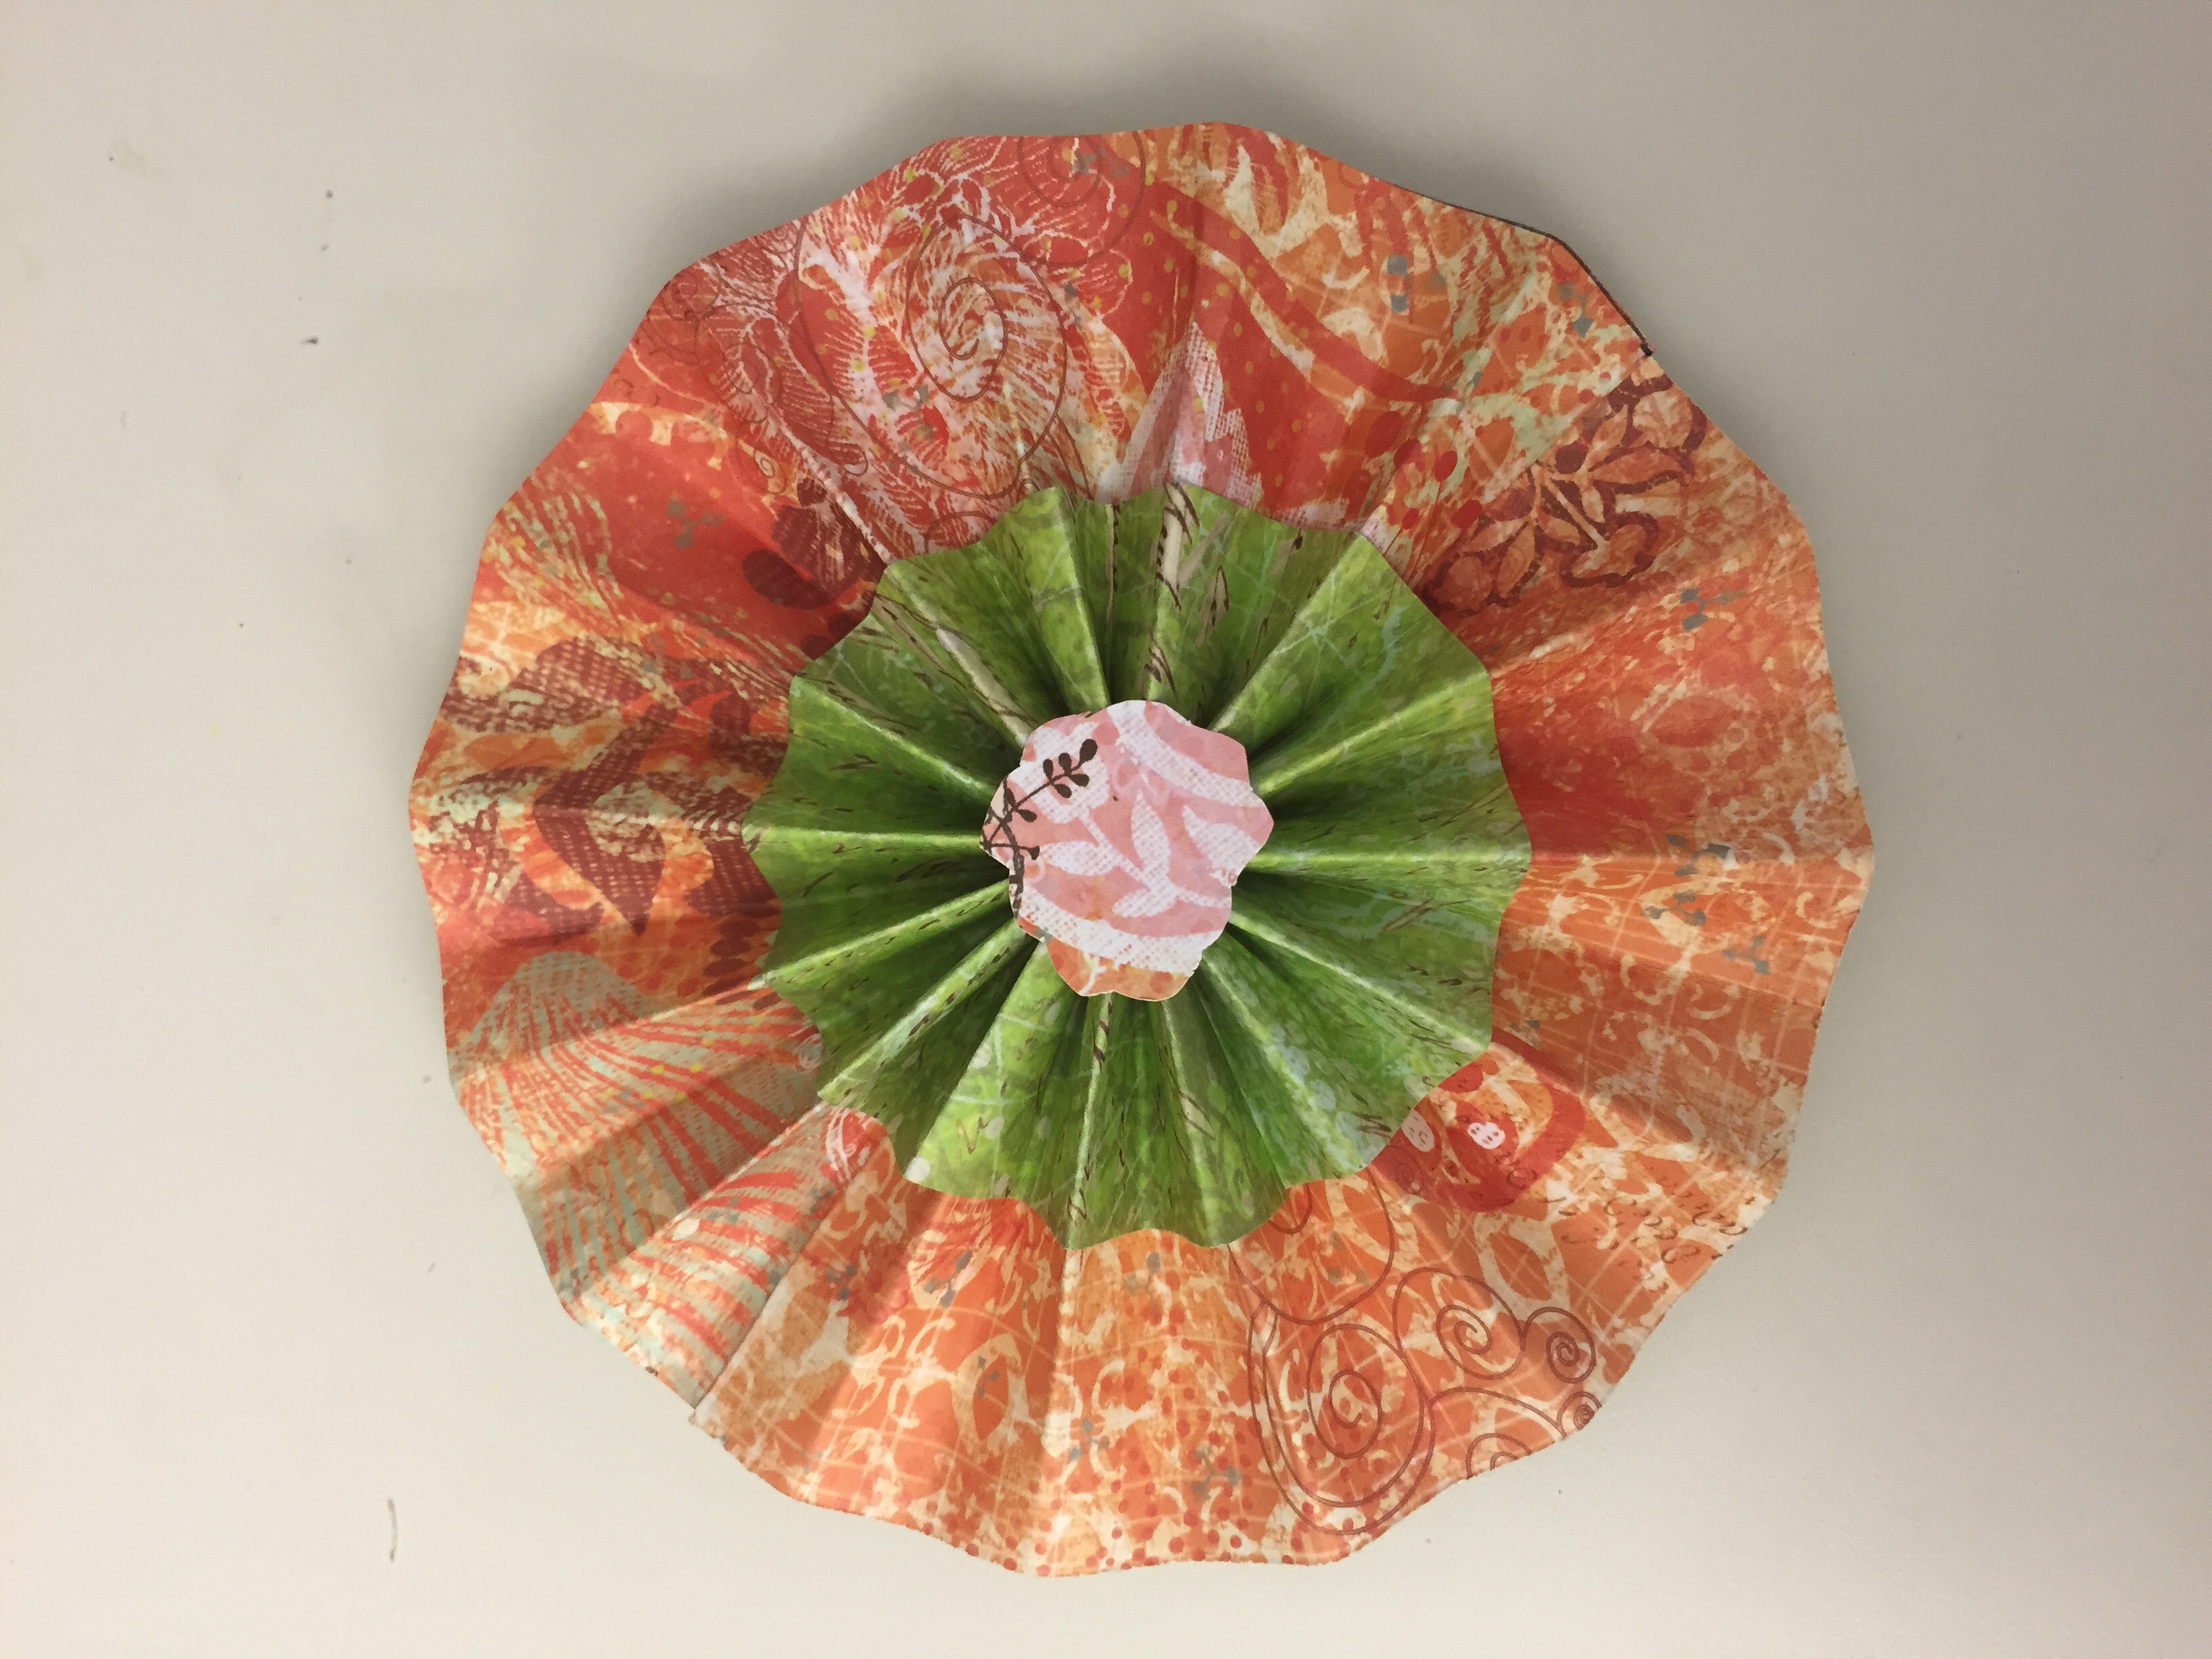
So I wanted to make these little rosettes I kept seeing and it occurred to me that I already had all of the materials, but I did not see any clear instructions for the sizes of paper needed.  Then I realized that they are just strips of paper in circles, so I used the circumference formula: 

c=2*pi*r

Where c= the length of your paper, r=the height of your paper, and pi can be rounded to 3.14 and the size of the finished circle across will be 2 times the value of r.  Sounds a little complex, but I'll give an example.

Say I want a rosette that is 7" across. Then my strips of paper need to be 3.5" width wise and at least 22" lengthwise, but you should do at least 24" lengthwise since the paper is folded.  To go the other way, say I have paper that is 18" lengthwise, the biggest rosette I can get from that is going to be about 5.75" across, so to be safe, I should cut the width of my strip to about 2.5"-2.75" just to be safe so I'm not stretching the paper.  This formula will work for any size rosette and you can adjust your accordion folds based on appearance, but remember, the further apart your folds are, the more you "shorten" your initial length, so always try to have extra length so you don't tear your paper, happy crafting! 
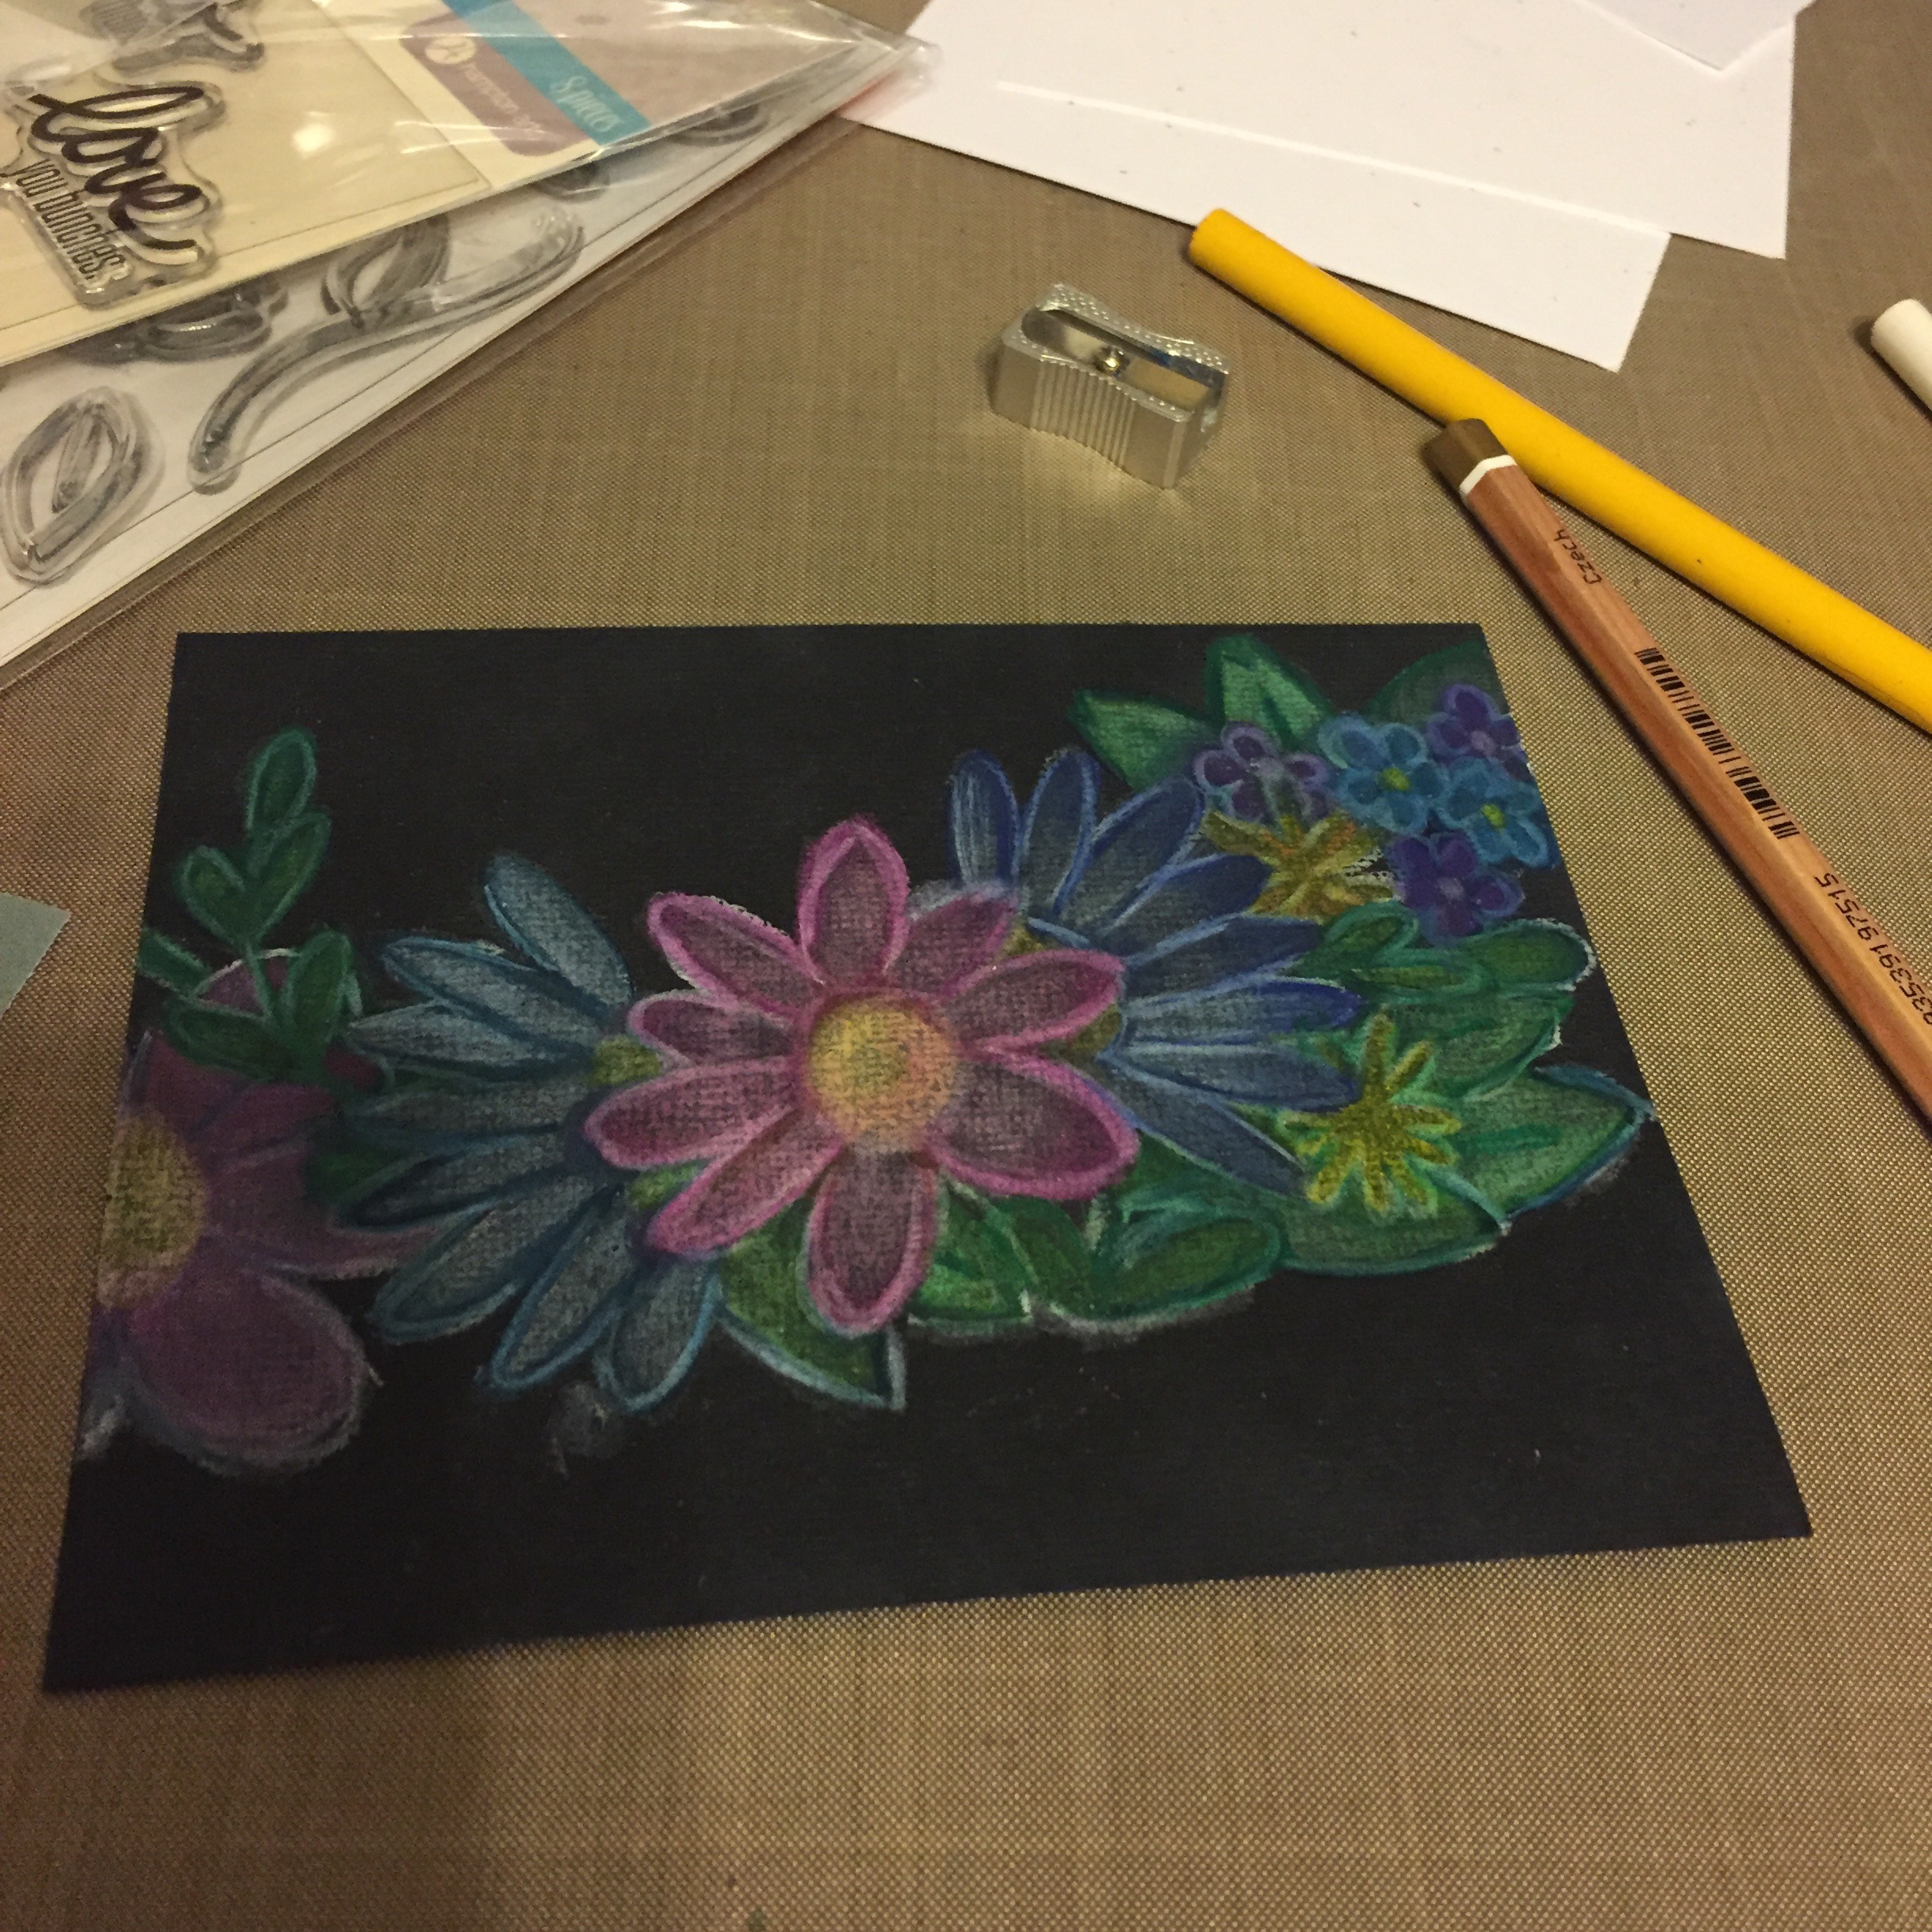
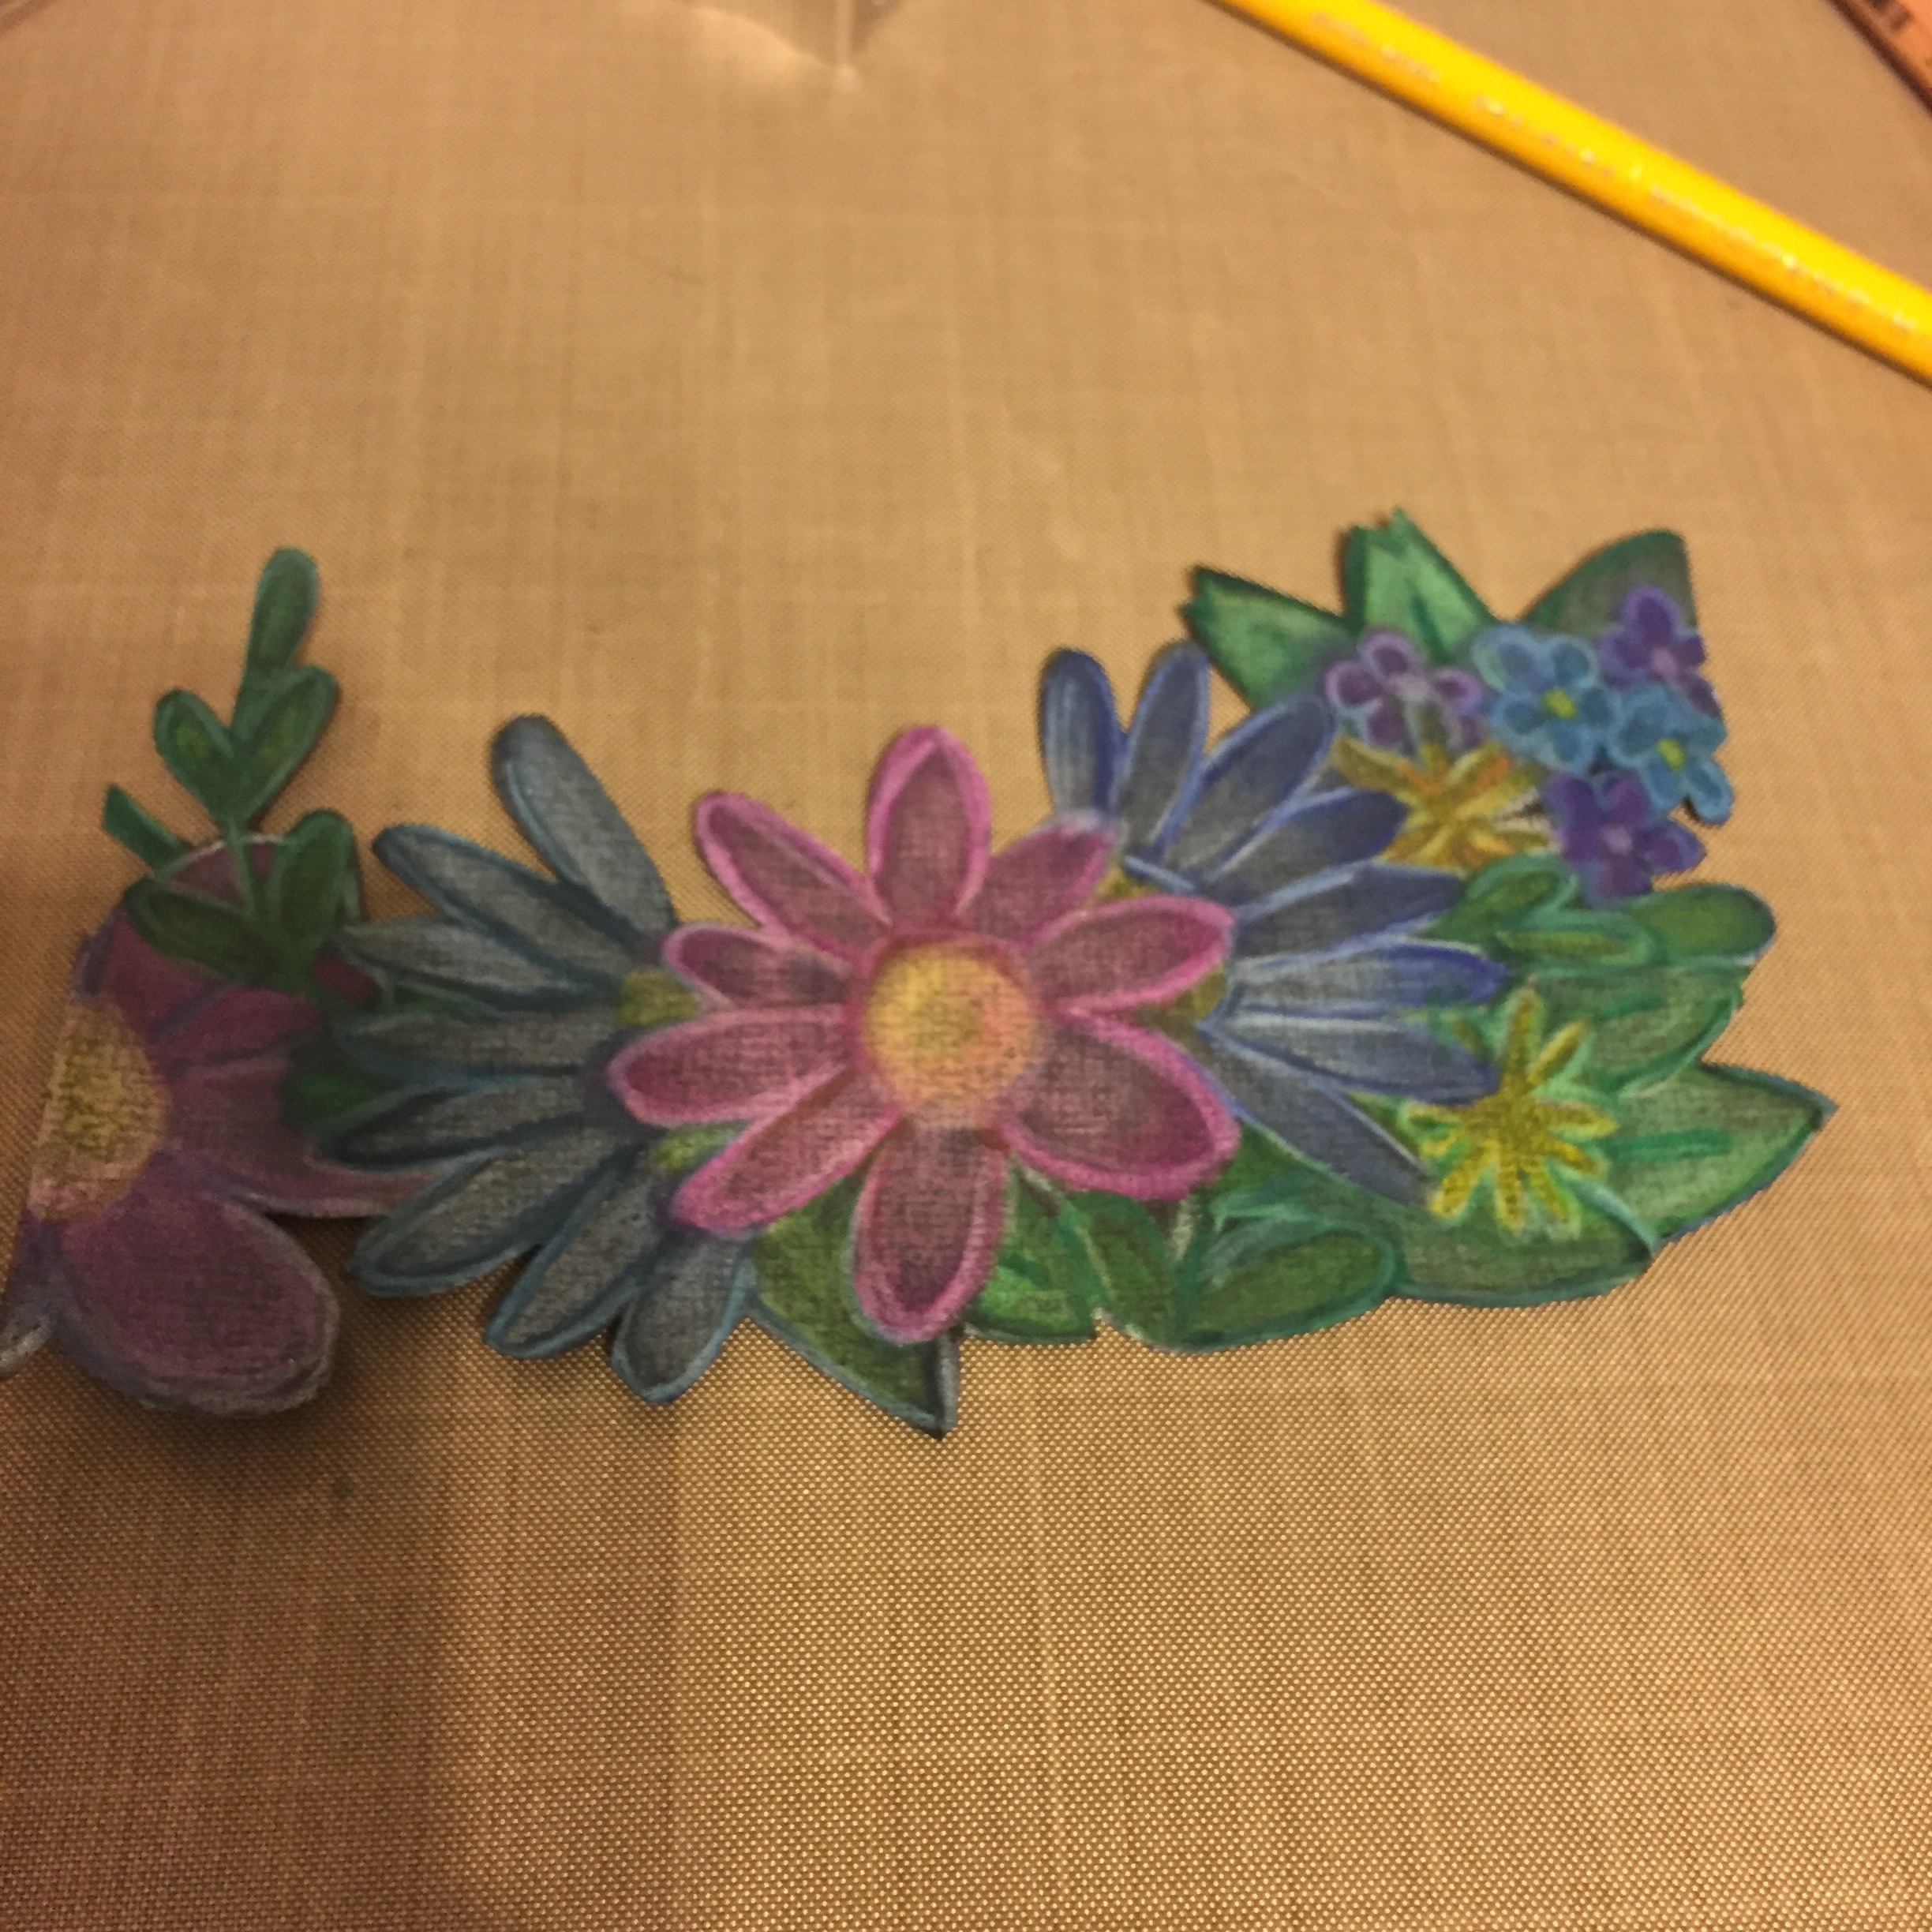
Materials needed: 

Paper of your choice, I used K & Company Double Sided paper

Glue, I used Elmer's Craft Bond

Scoring Board, I used Martha Stewart

Button

Embroidery Floss and Needle

Scalloped Die Cuts, I used my Cuttlebug, but you can also use a punch

Materials used for rosettes minus my Martha Stewart scoring board! I used one but it's not in this pic.

Materials used for rosettes minus my Martha Stewart scoring board! I used one but it's not in this pic.

The above rosette is 3" across. I cut my paper 1.5" wide and 12" long. So I needed at least 9.4" length, but I wanted it to look "full" so I used the entire 12" length with 1/4" folds.


A stacked rosette. 

A stacked rosette. 

This was done using 20" of length and 3.5" of height, I did all of the folding and glueing and then cut 1" off the top to make 2 rosettes, 1 at 2.5" height (5" across when flattened) and 1 at 1" height (2" across when flattened) and then glued them together.