Review of the Brother Scan n' Cut 2 and an example of stamped images cut from card stock.
Cards
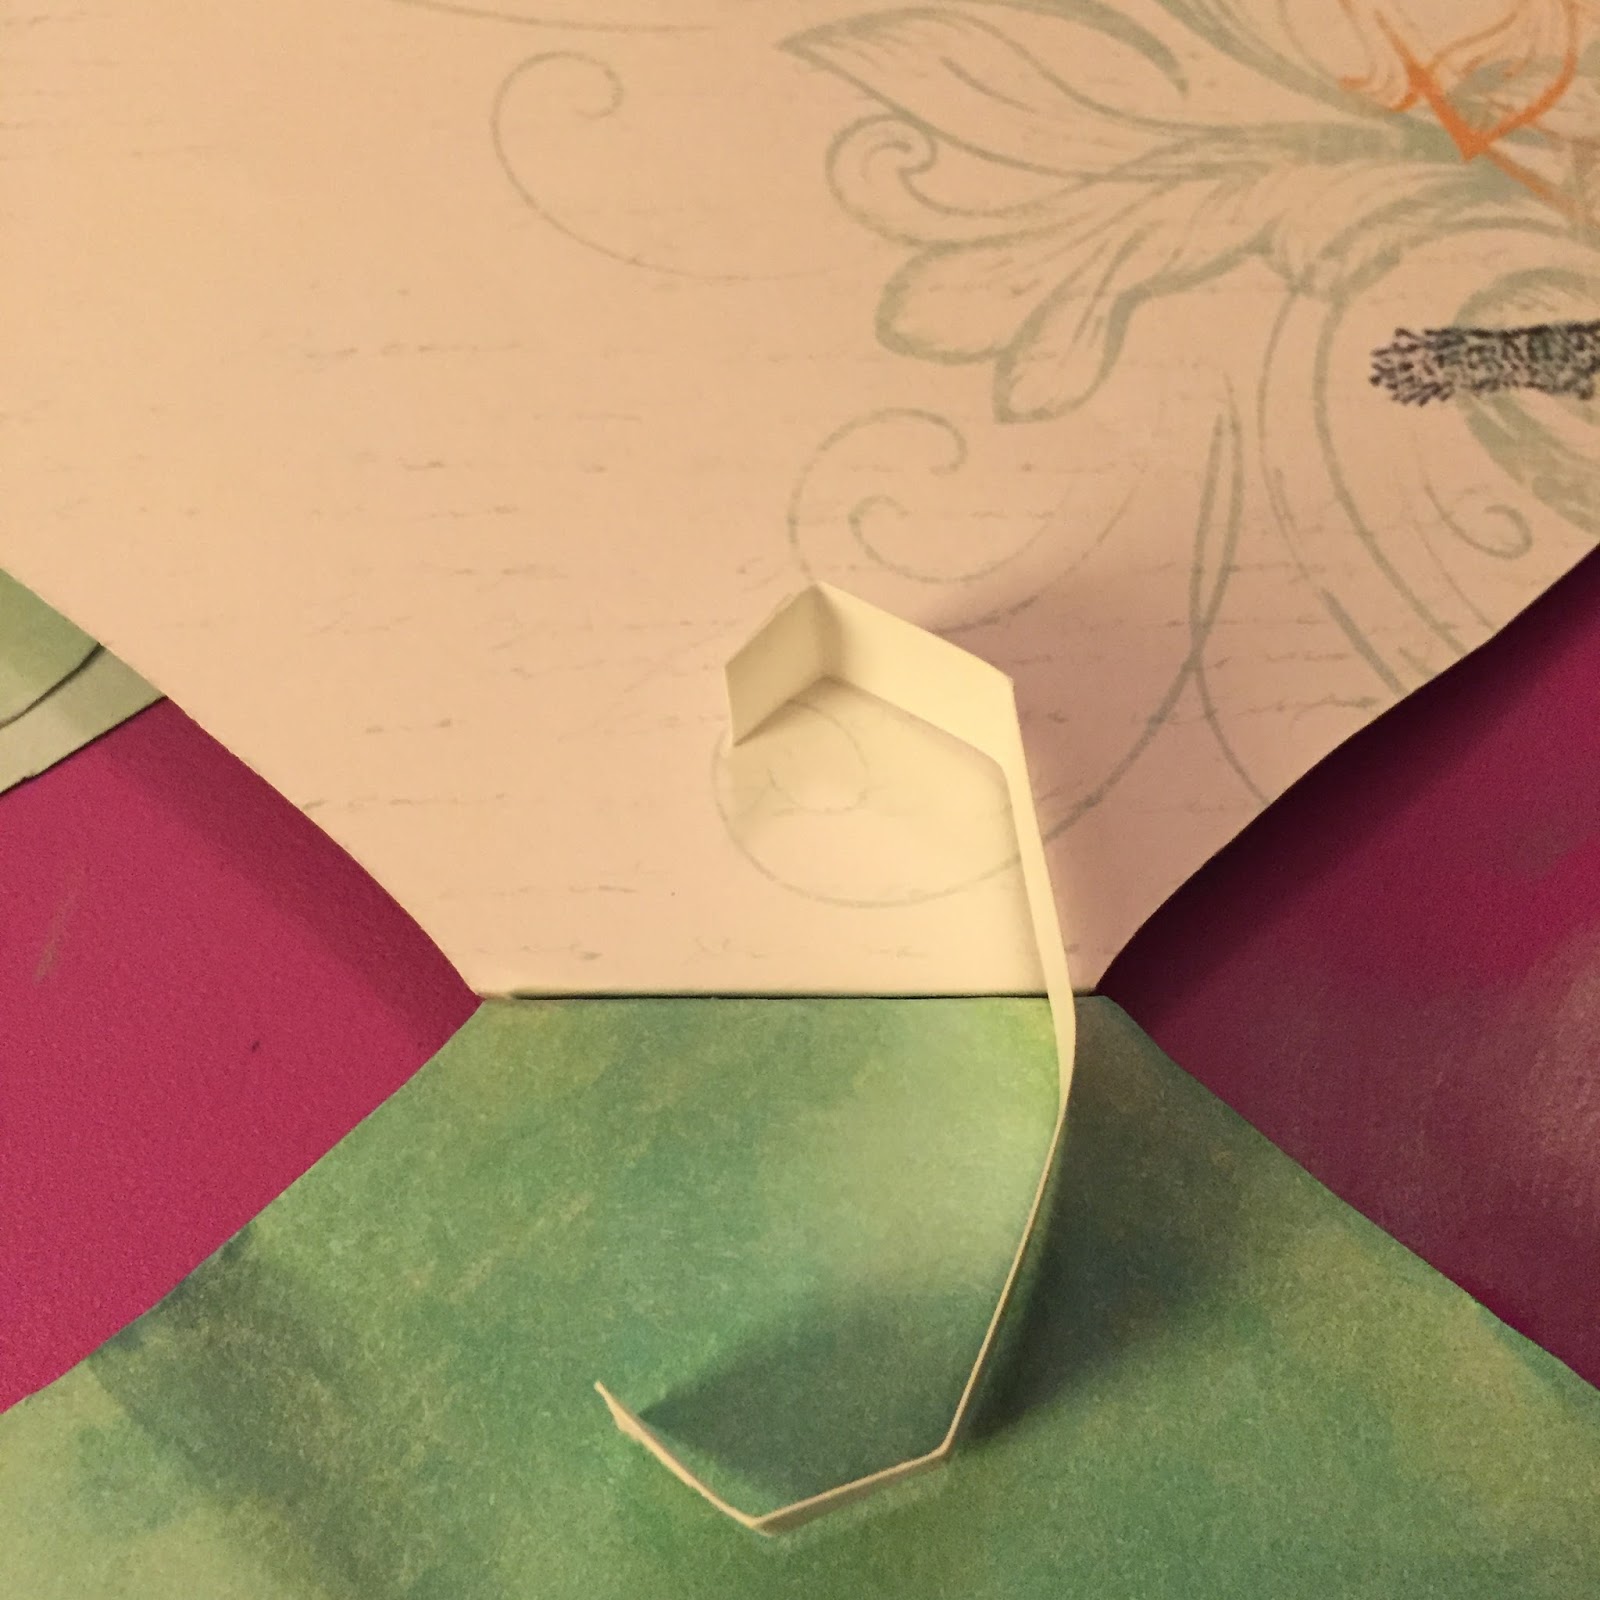
Pop-Up with Quick Quotes and Lawn Fawn
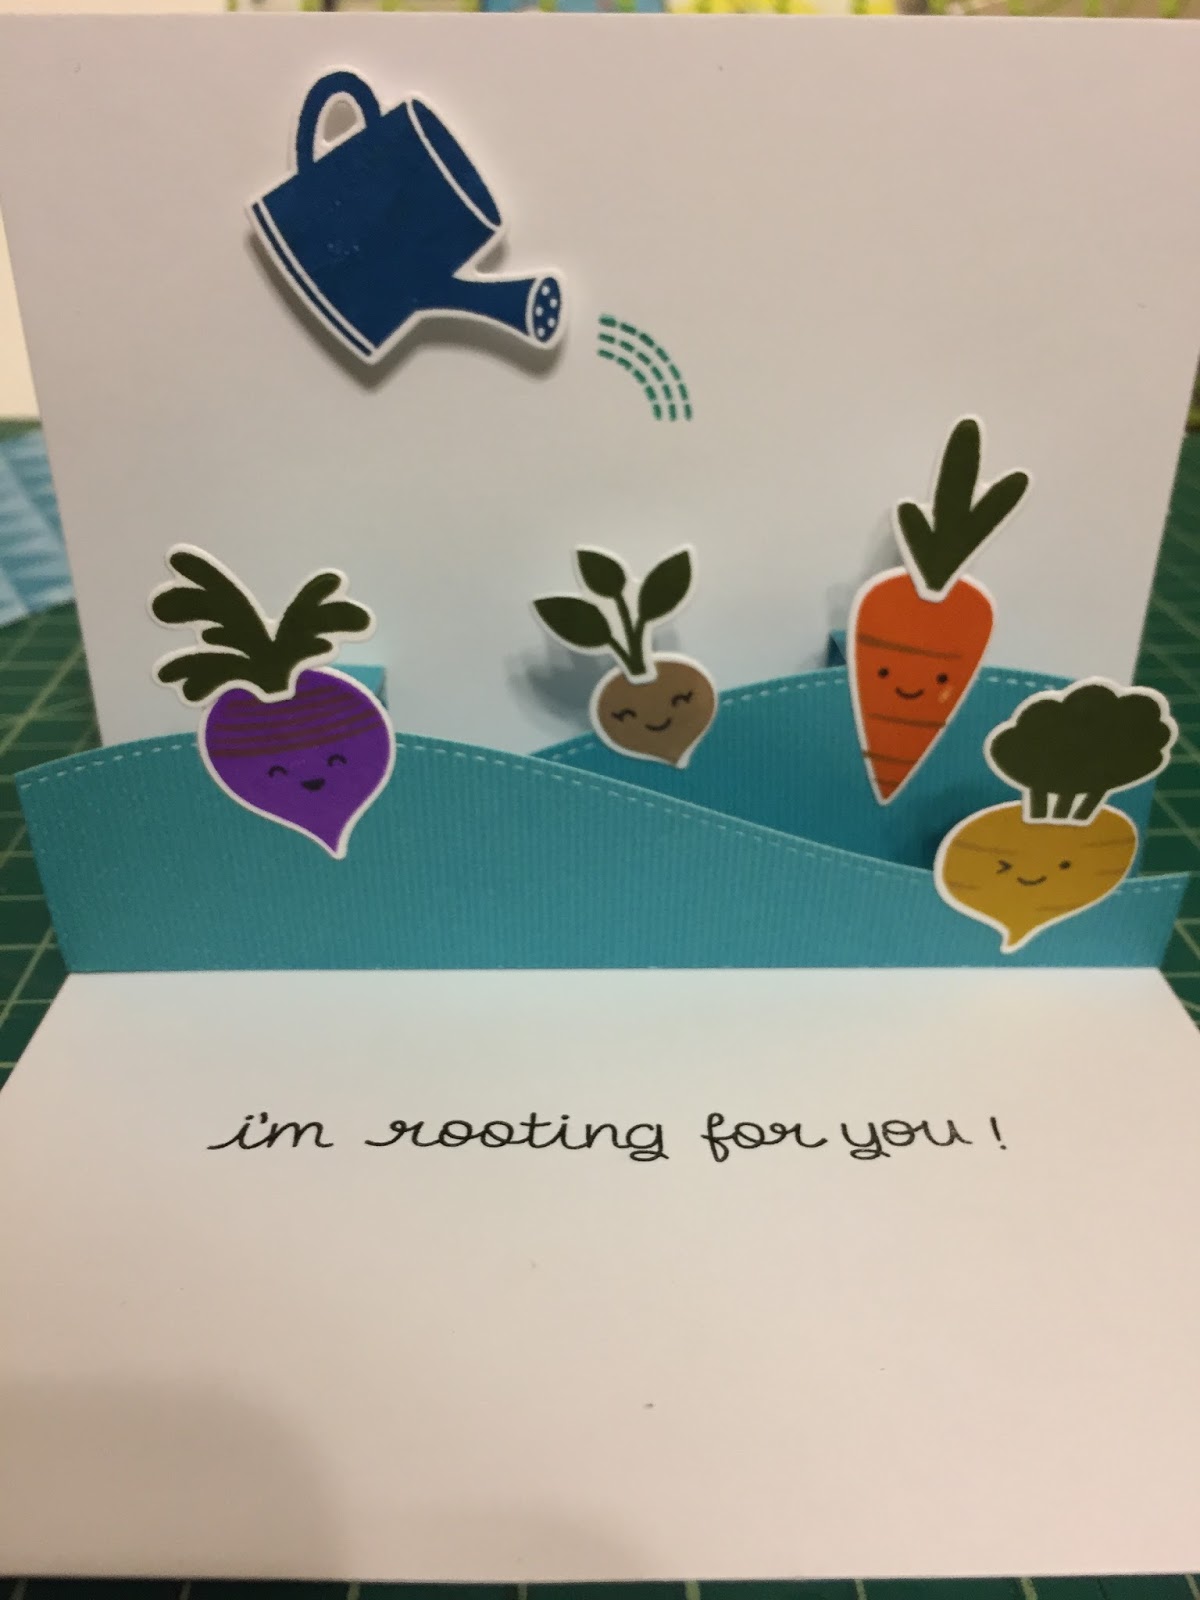
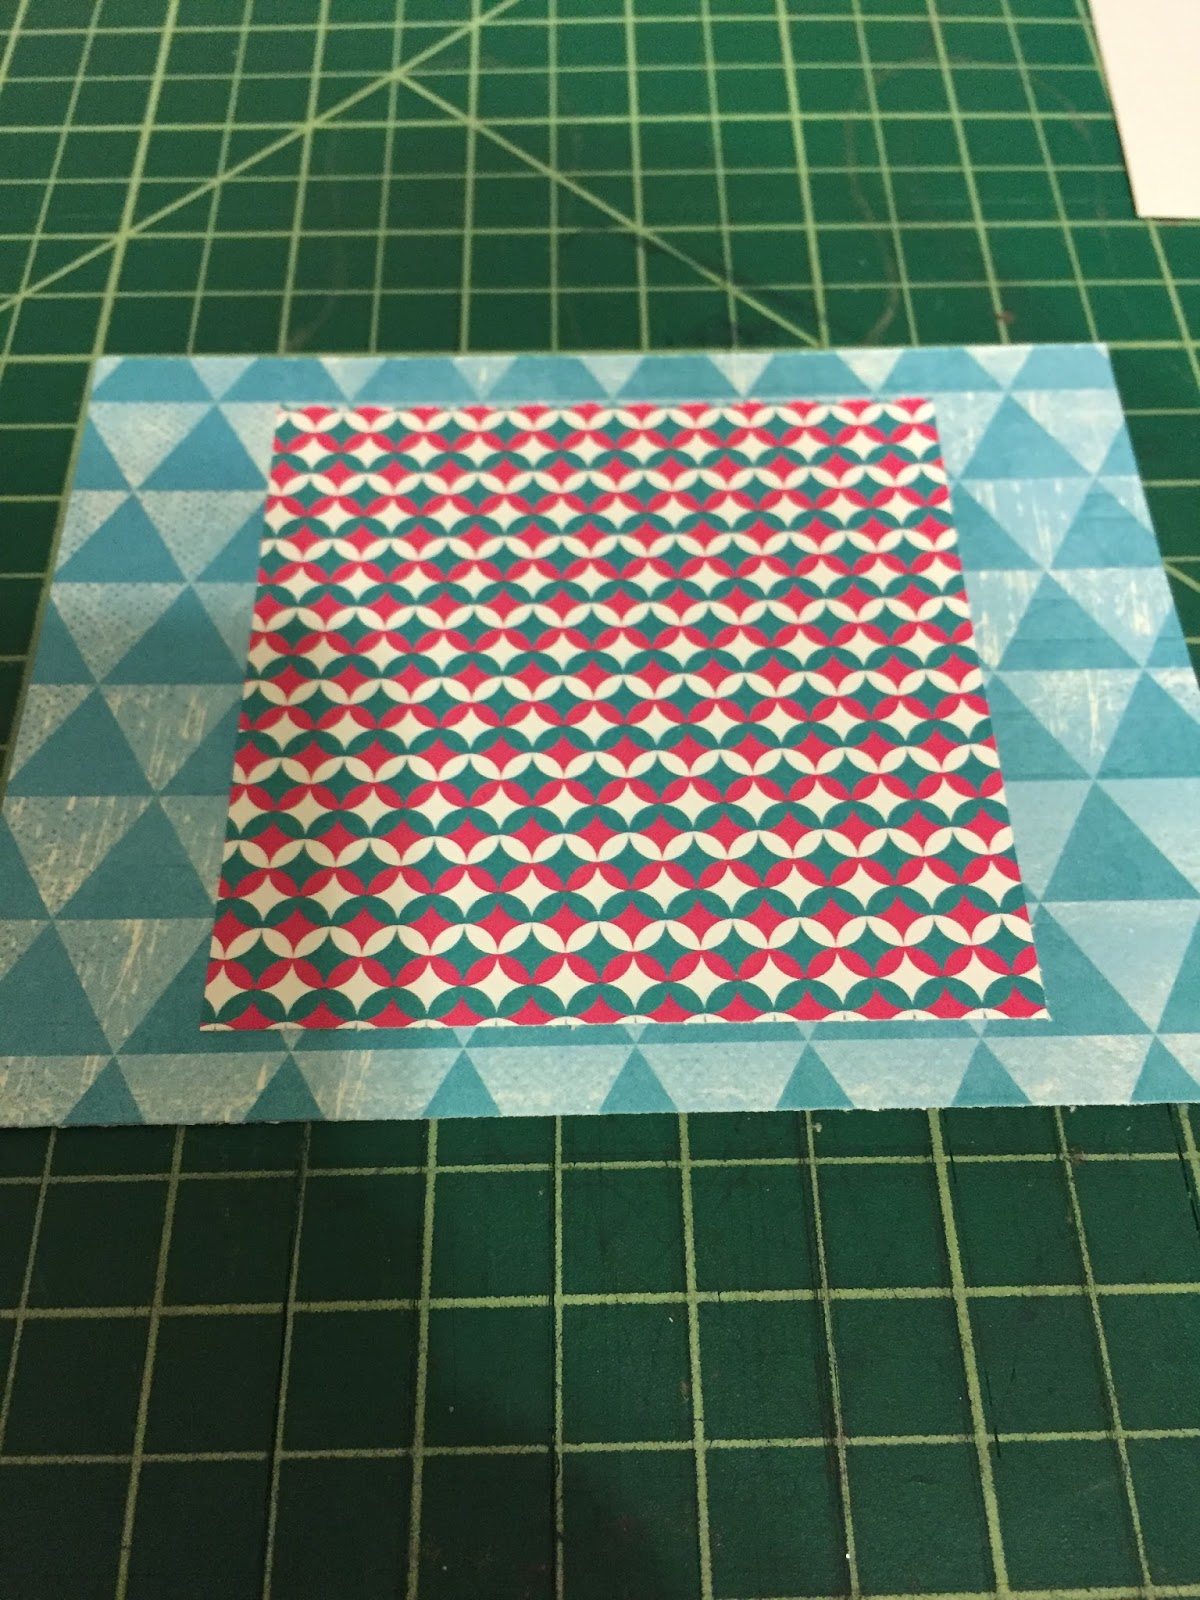
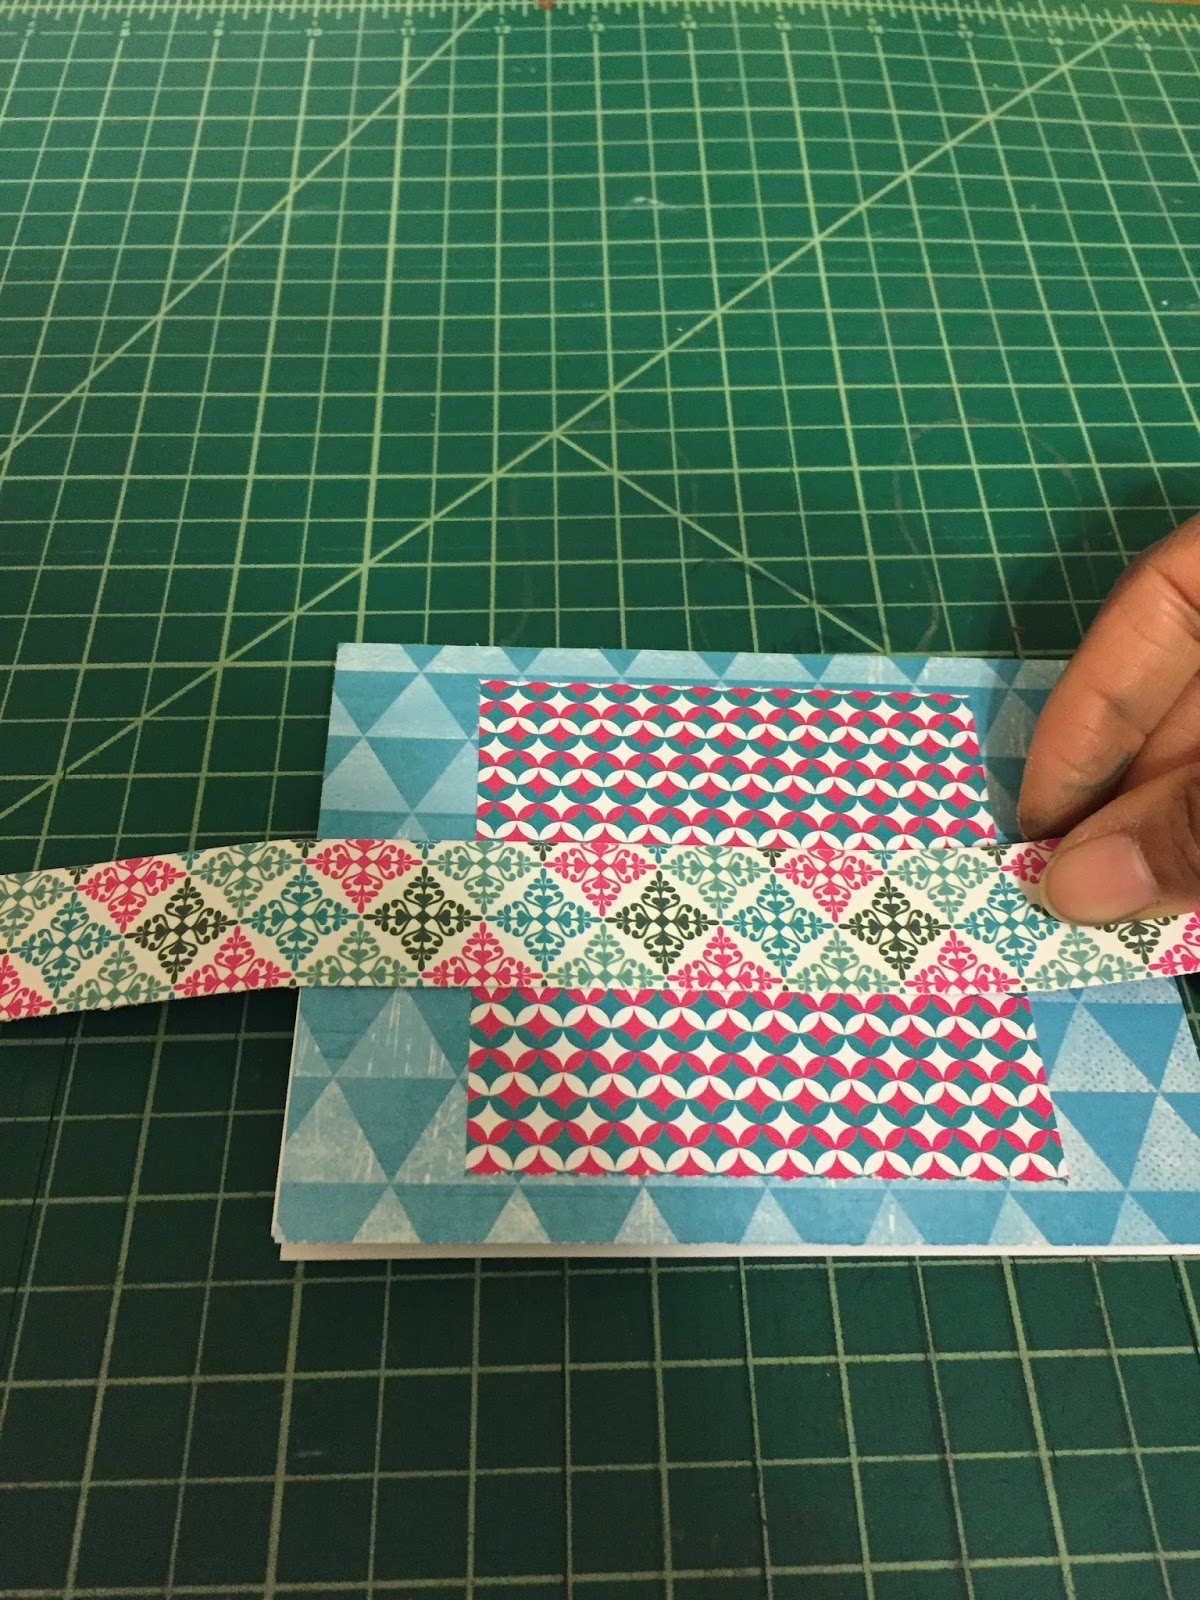
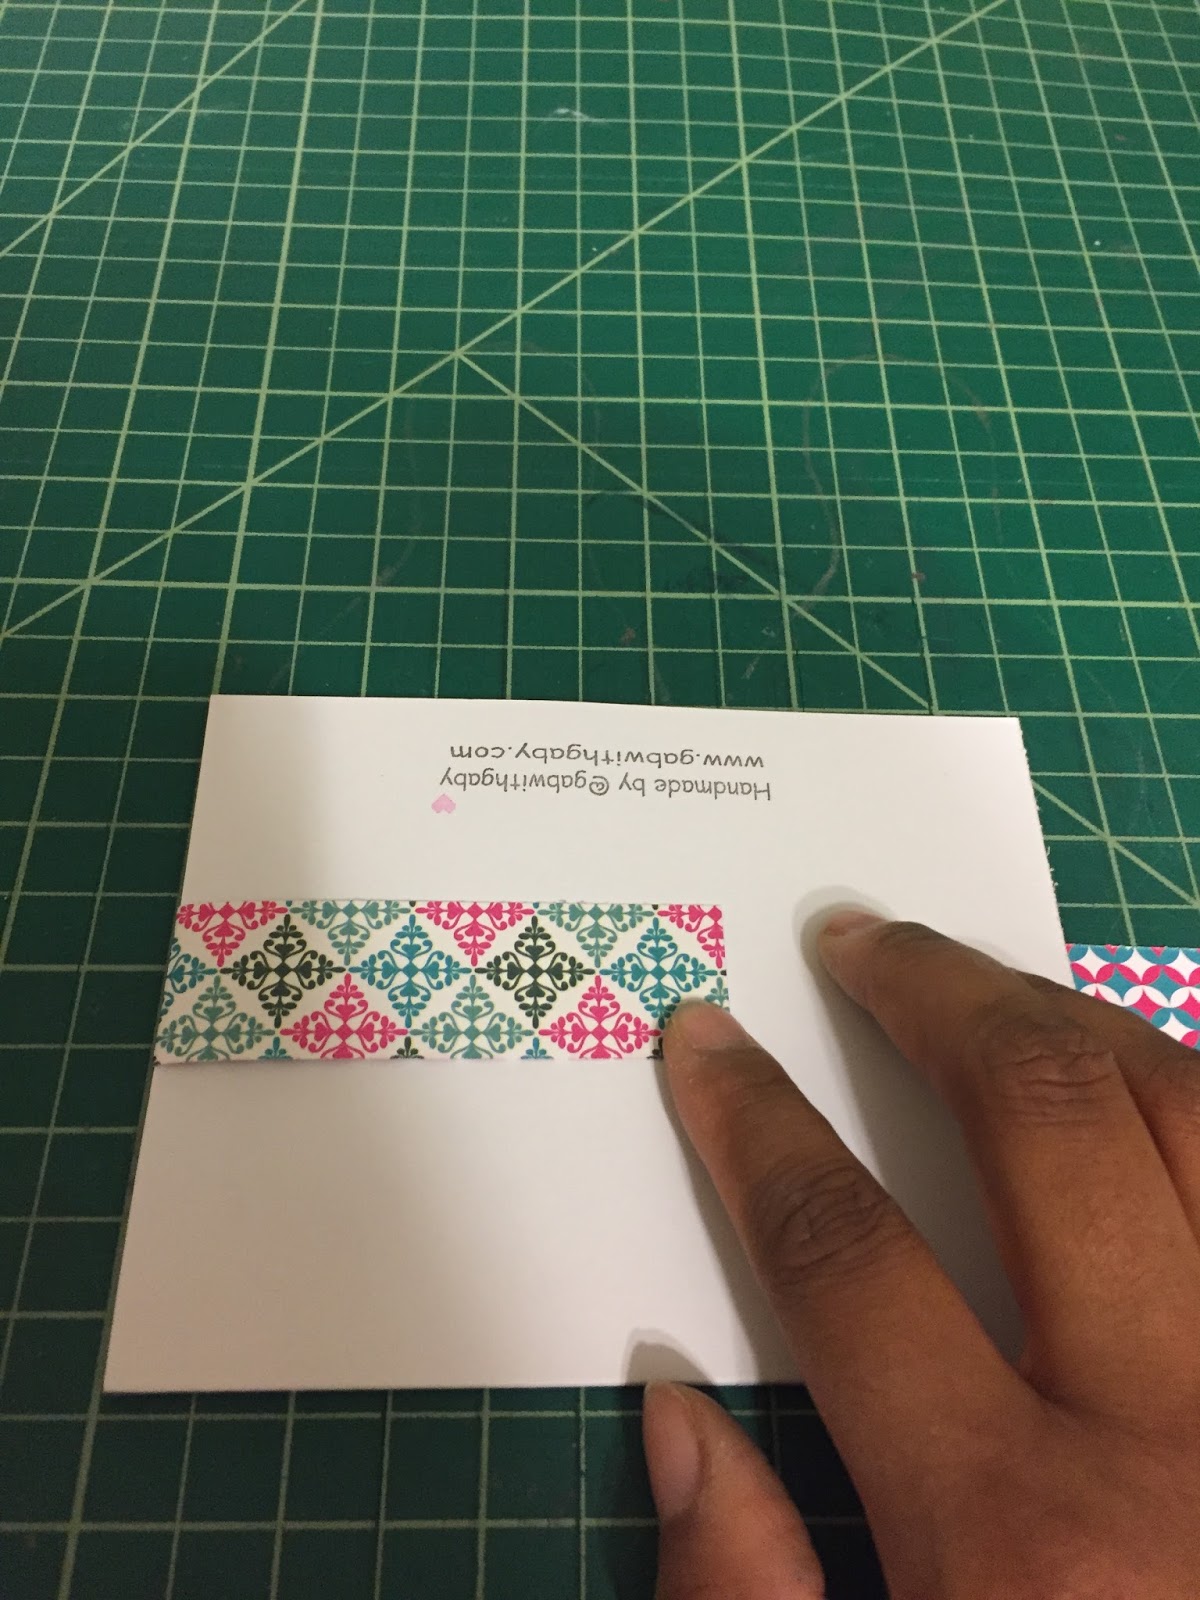
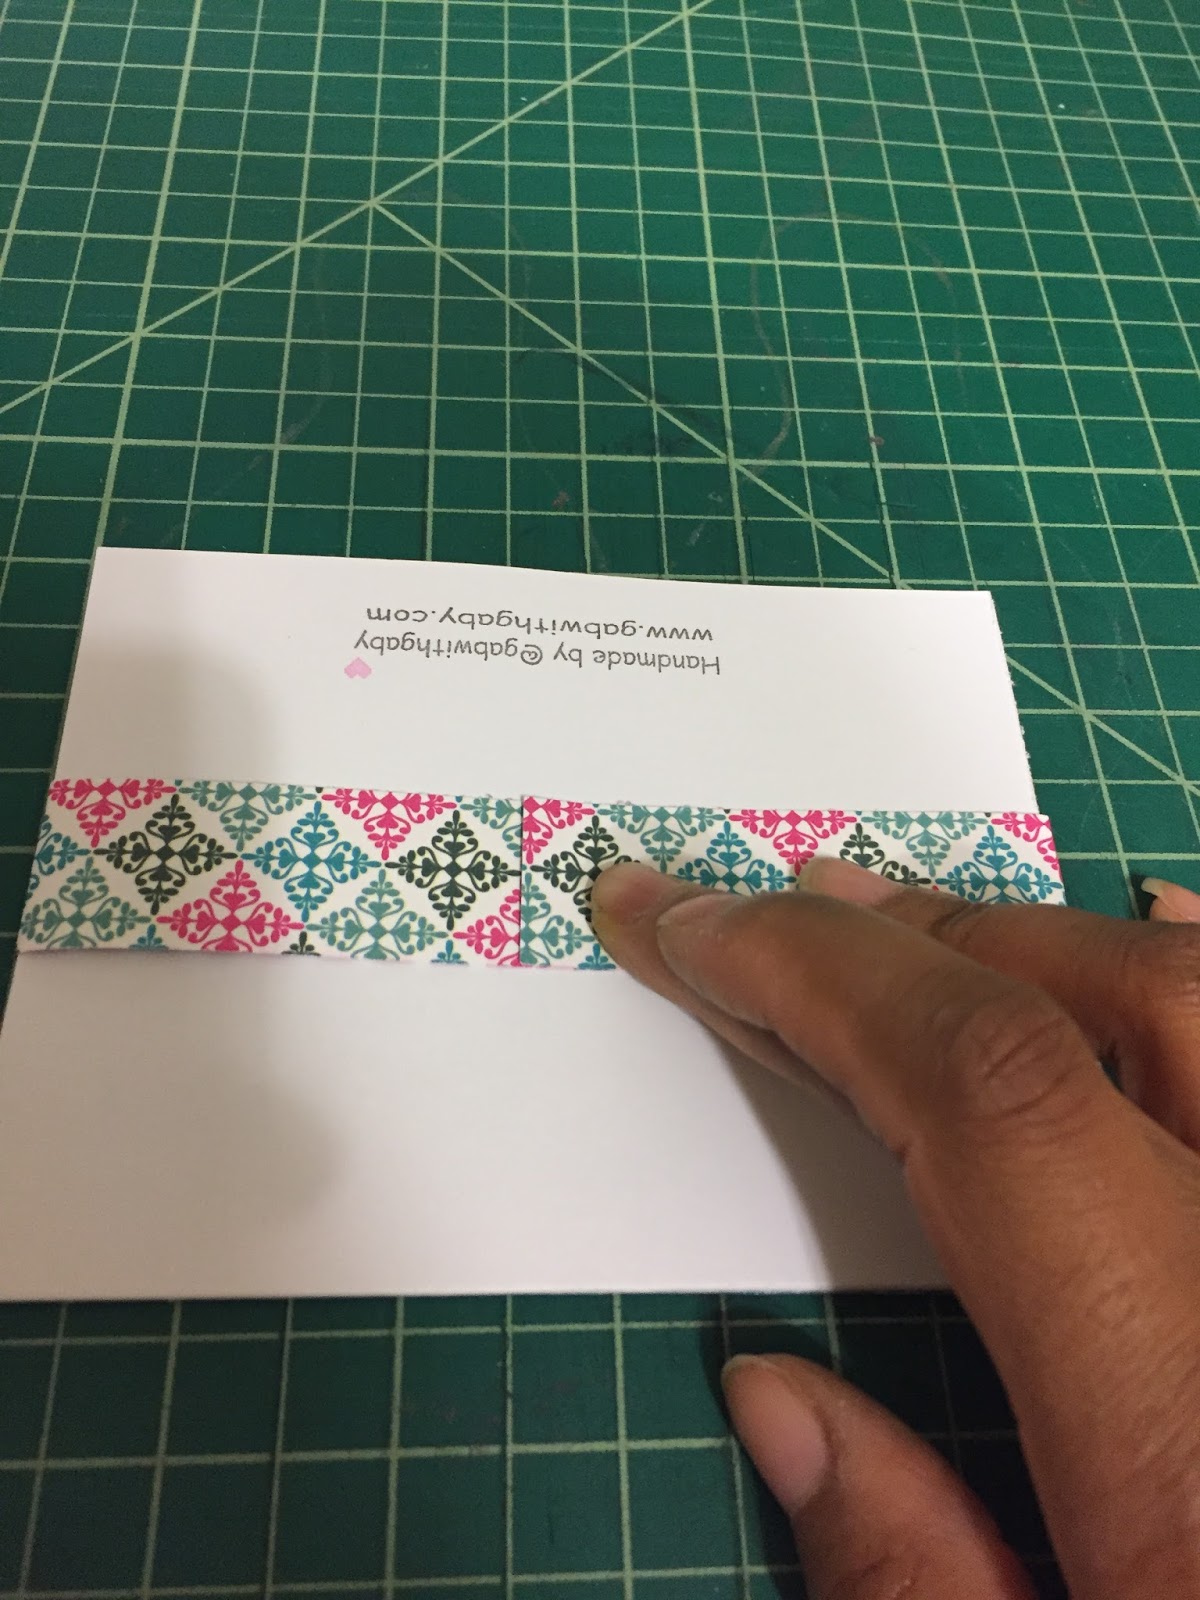
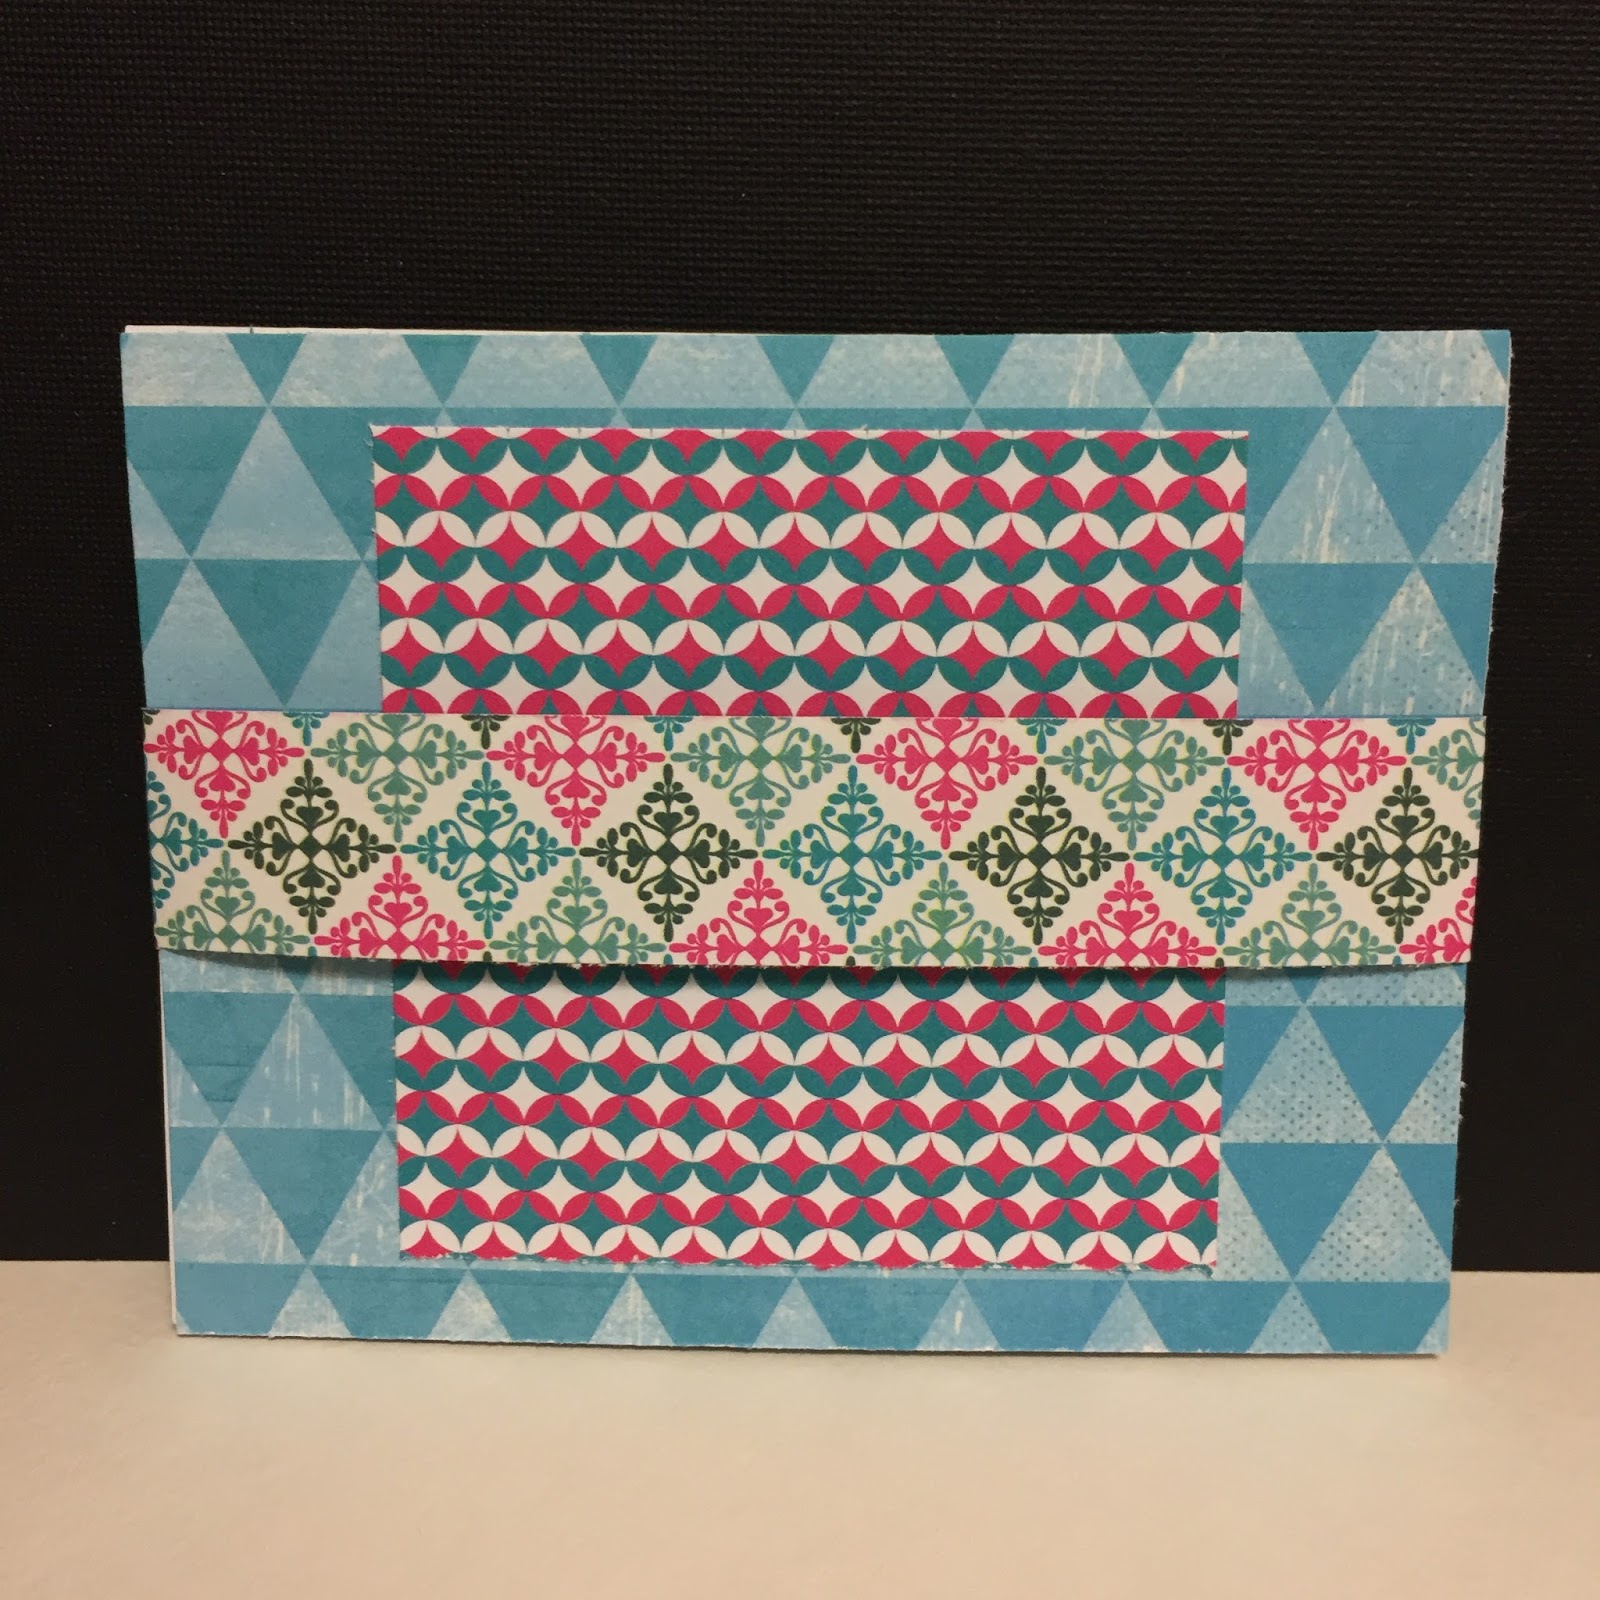
Cards, Crafts, Diy, How to, Paper crafting, Stamps, TutorialCommentHi everyone, Gabriela here today with a way to showcase your paper patterns and have some fun with stamps or die cuts. This card is a pop-up inside and has a decorative band holding it closed.
 | ||||||||||||||||
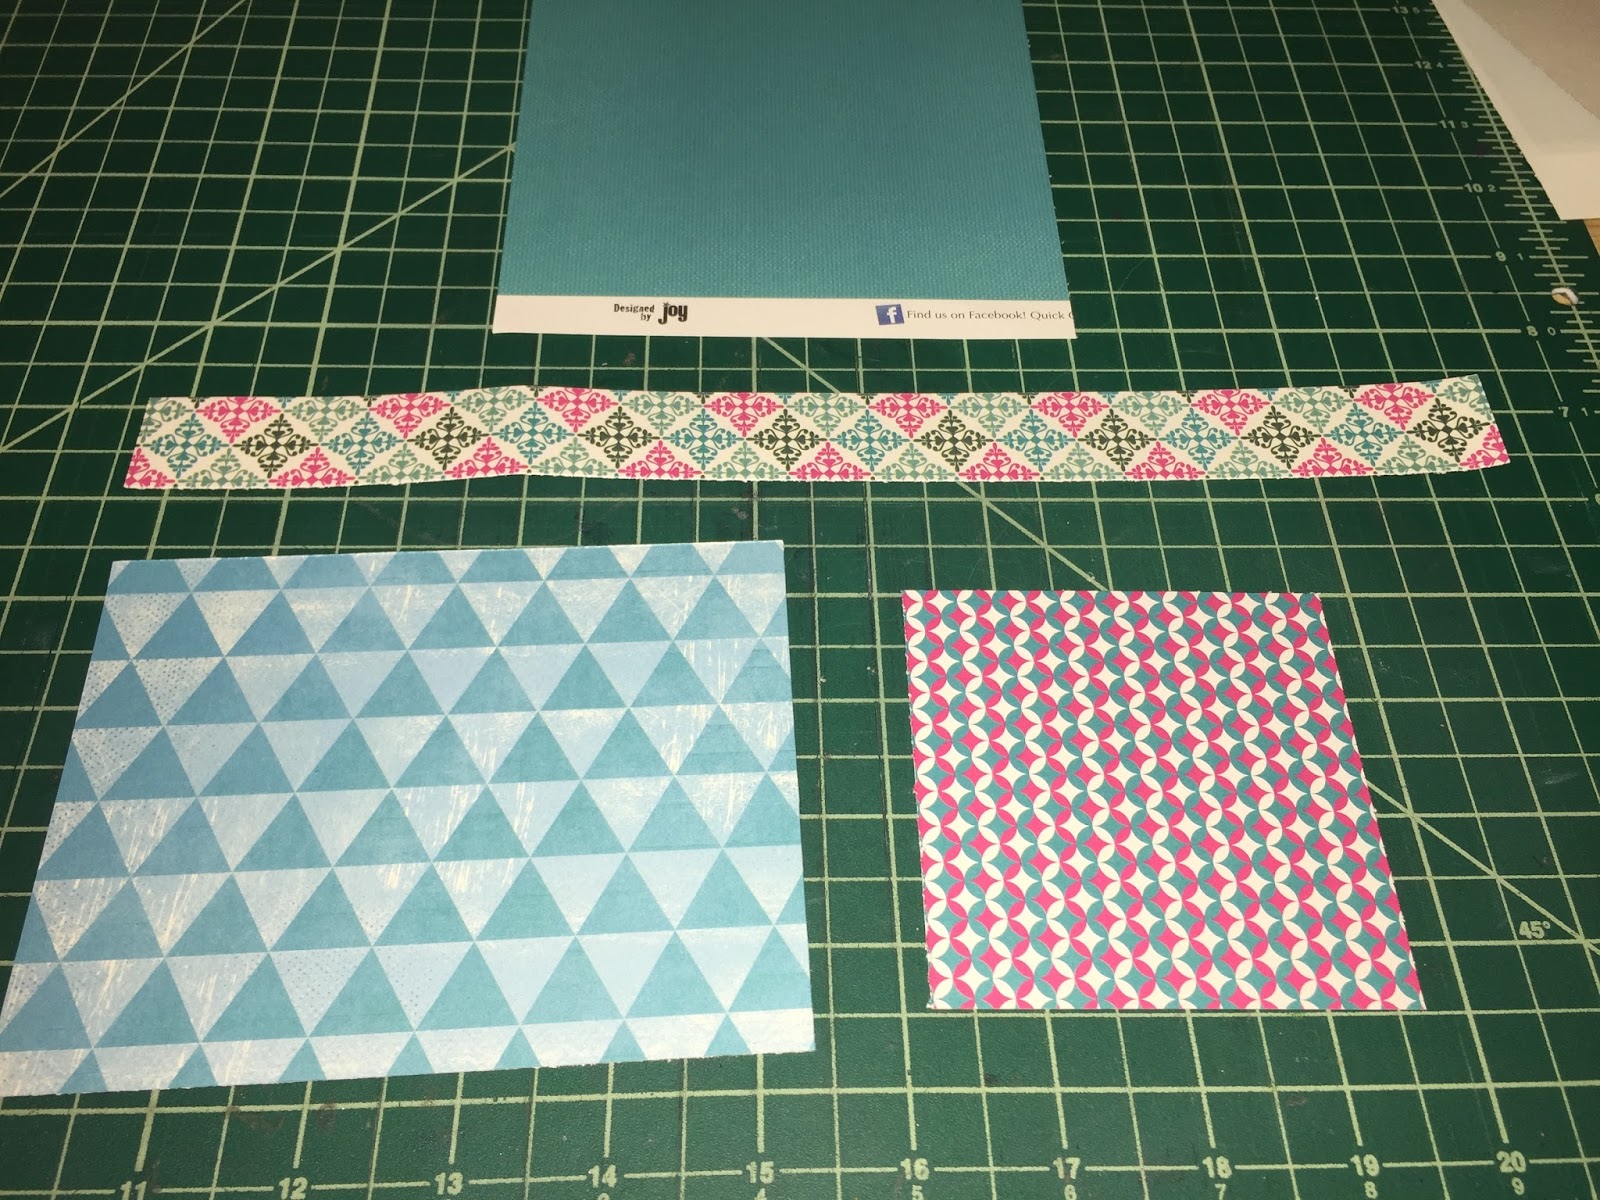
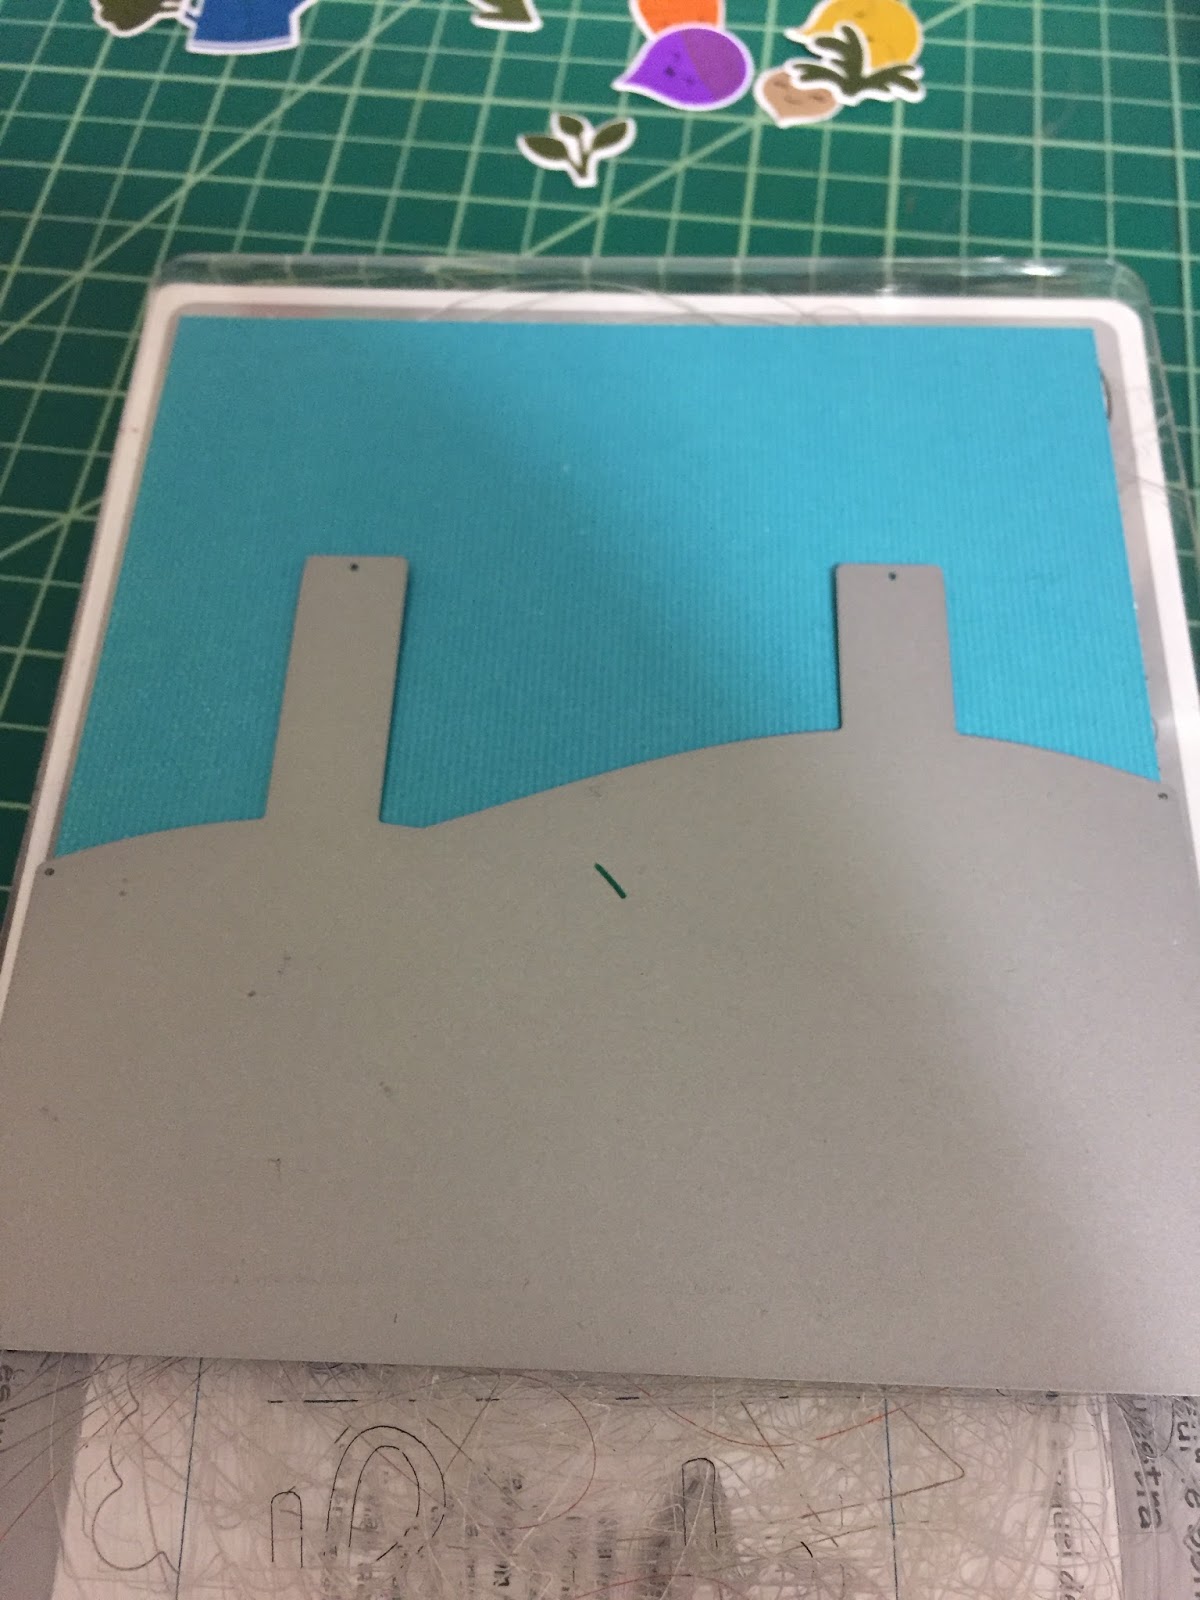
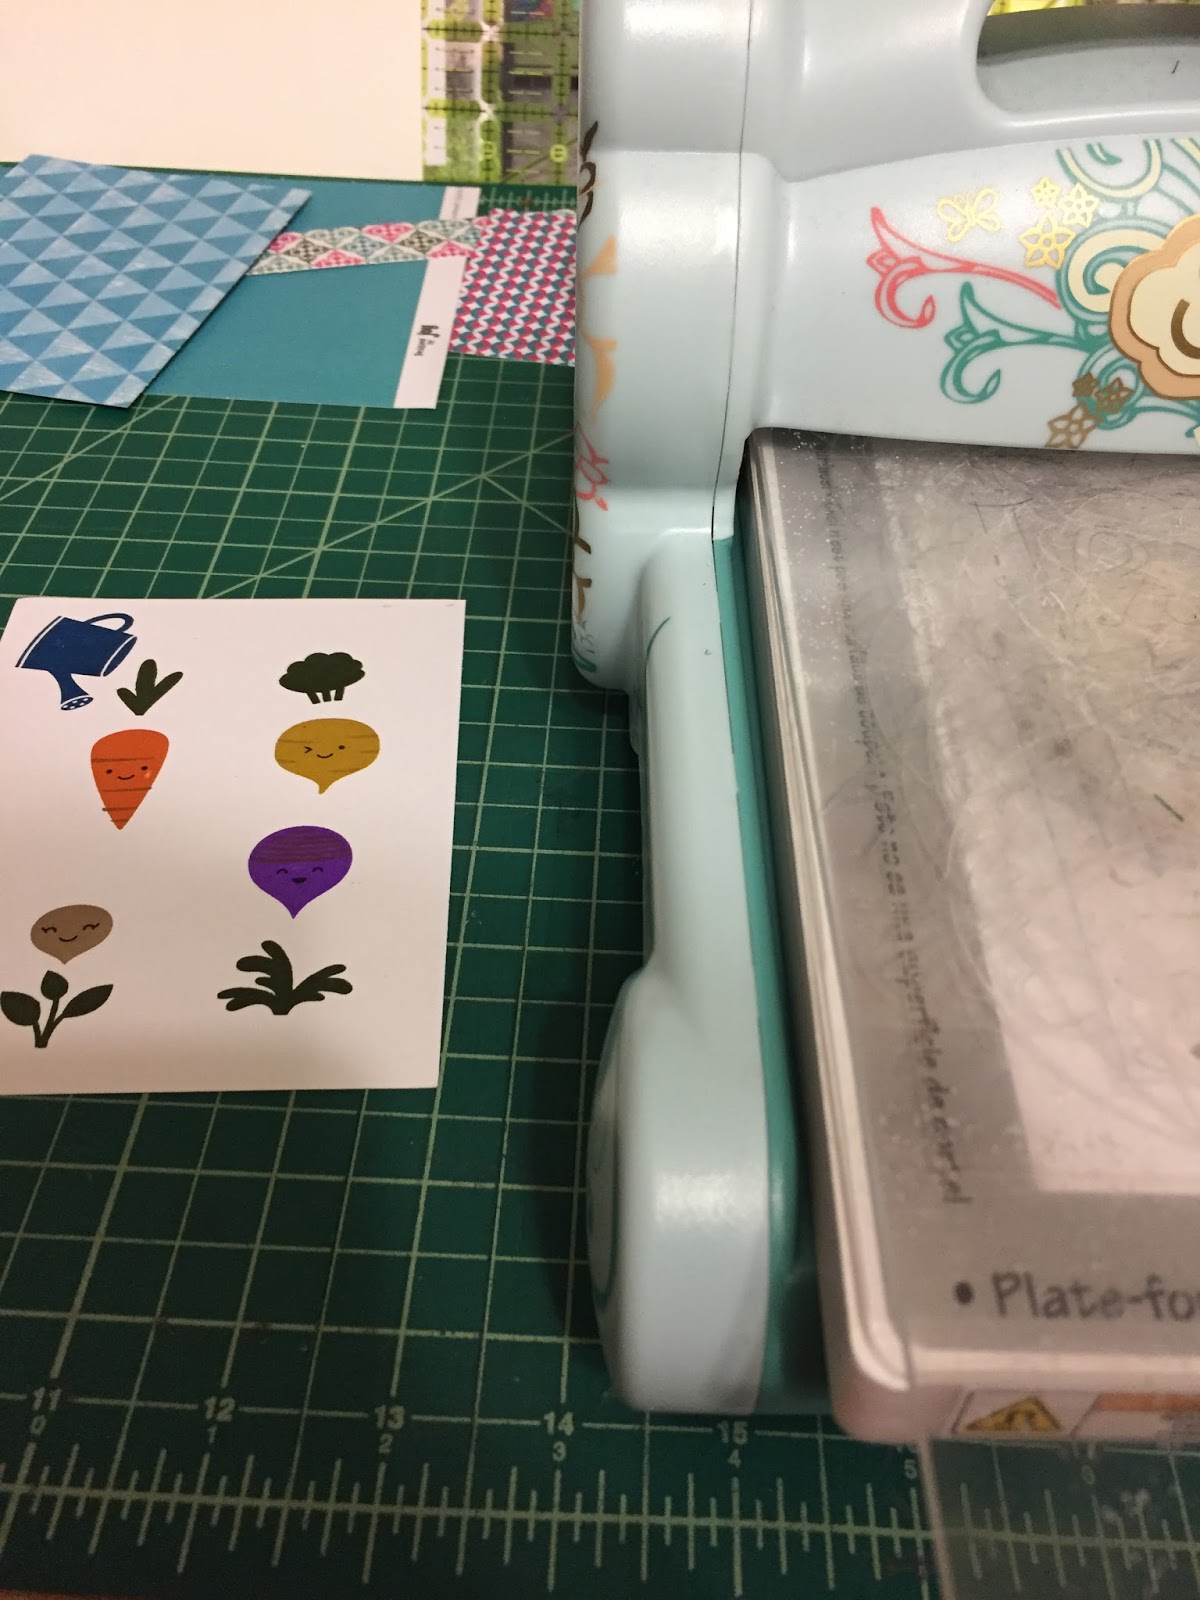
I stamped my images using my amazing Stamp Perfect tool and used a pop-up die for the inside of the card.

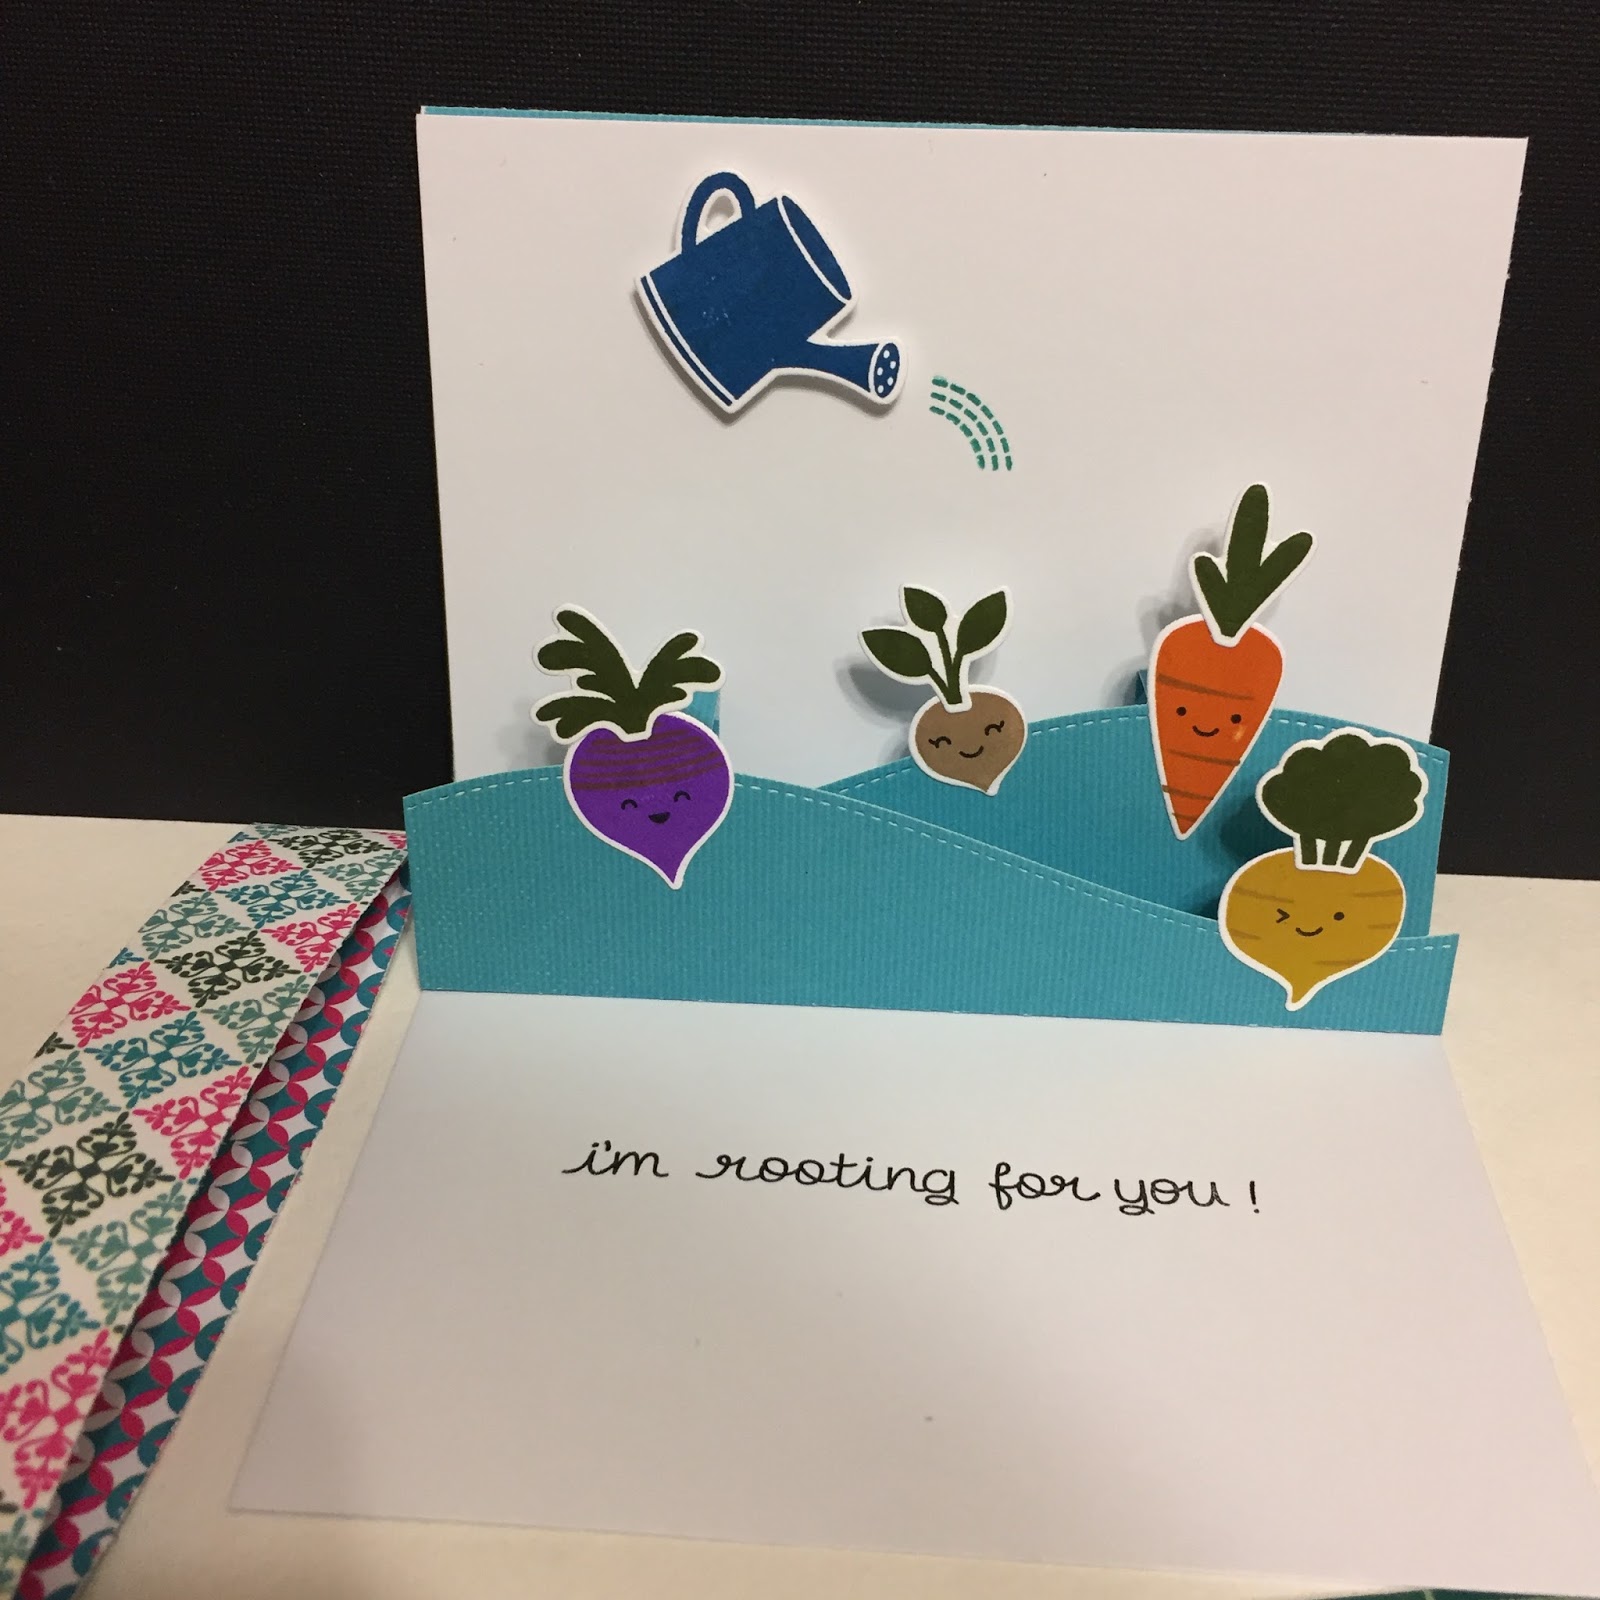
This card is motivational, but any occasion will work; Winter Bliss is my favorite collection right now, but you can use any of the beautiful Quick Quotes collections to make a project like this. I hope you enjoyed this project and thanks for stopping by.
Quick Quotes Products Used:
Winter Bliss - New
Lawn Fawn Products Used:
Rooting for you - Stamps and Dies. Stitched Pop-Up
Happy Crafting!! A review of the Stamp Perfect tool is on its way (I love it!!!).
Xyron and Quick Quotes, Destash Those Scraps
Cards, Xyron, How to, Tutorial, Paper crafting, Crafts, Diy, ToolsCommentHi everyone, Gabriela here today with a video that will help you destash your scraps. I have so many nice scraps from several Quick Quotes Collections that I hate to waste them, so here is a fun way to combine your scraps with a paper trimmer and die cutting to get a brand new look of patterned background paper.
Quick Quotes Products Used:
Whistlin Dixie
Earth Wind Fire
Urban Oasis
49 Shades of Grey
Chiffon
I am so happy to share this, the Xyron Creative Station made this so easy to finish. Until next time, Happy Crafting and stay safe in these crafting streets.
-Gaby
Shaker Card with Quick Quotes and Stamps
How to, Cards, Crafts, Tutorial, Stamps, Diy, Quick QuotesCommentHi everyone, Gabriela here today with a Shaker Card using several different paper collections! This card will require your favorite paper, some acetate, stamps, and ink. Check out the video below to make this card.
Thanks for watching and happy crafting.
Quick Quotes Products Used:
Chiffon - 100, 103
Earth, Wind, Fire - 102
Whistlin' Dixie - 109
Powder Puff Chalking Inks - Mahogany and Pixie Pink
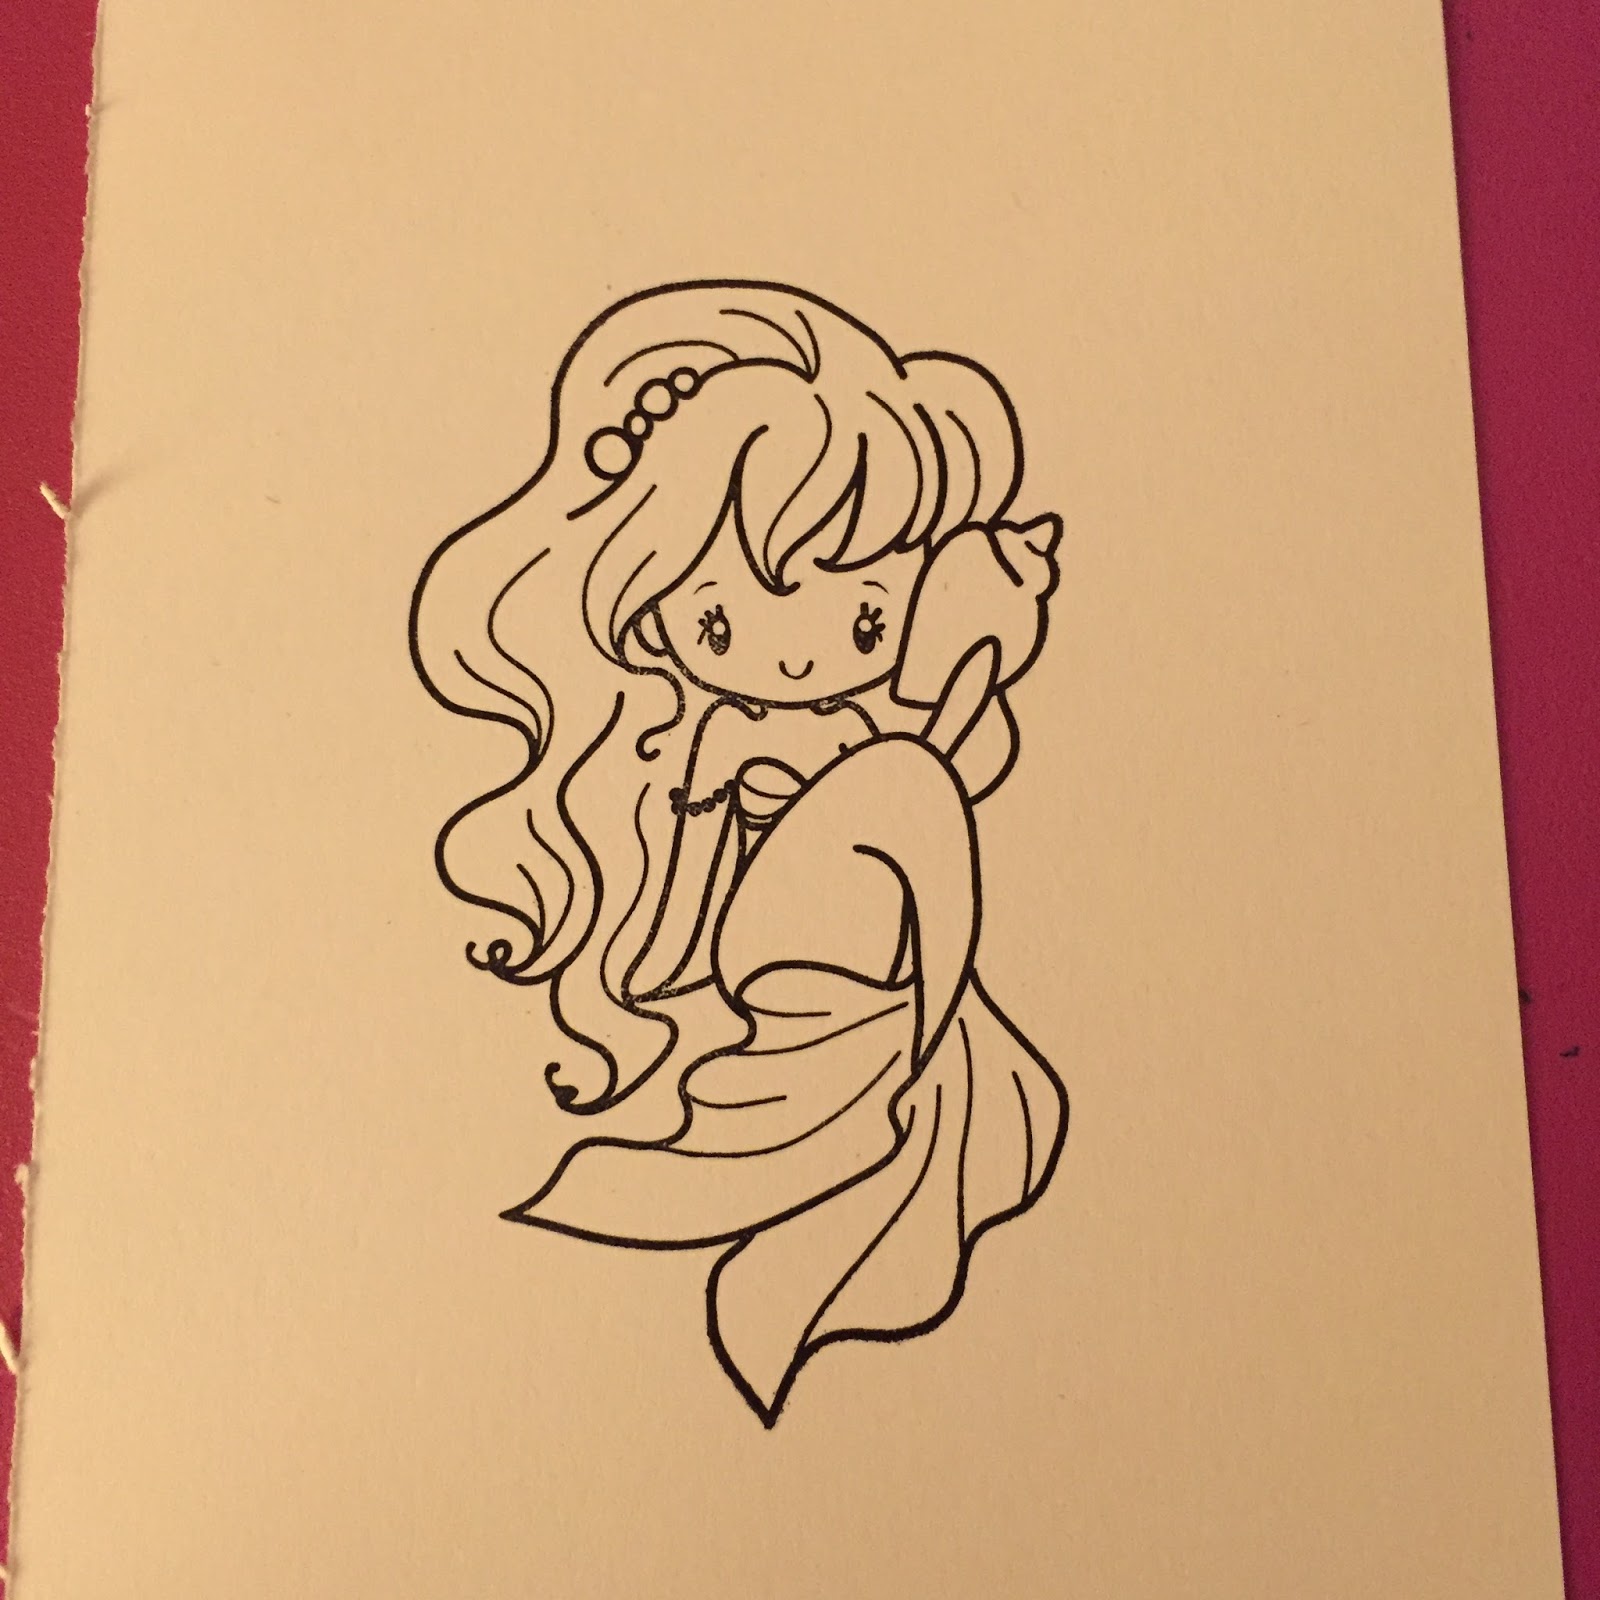
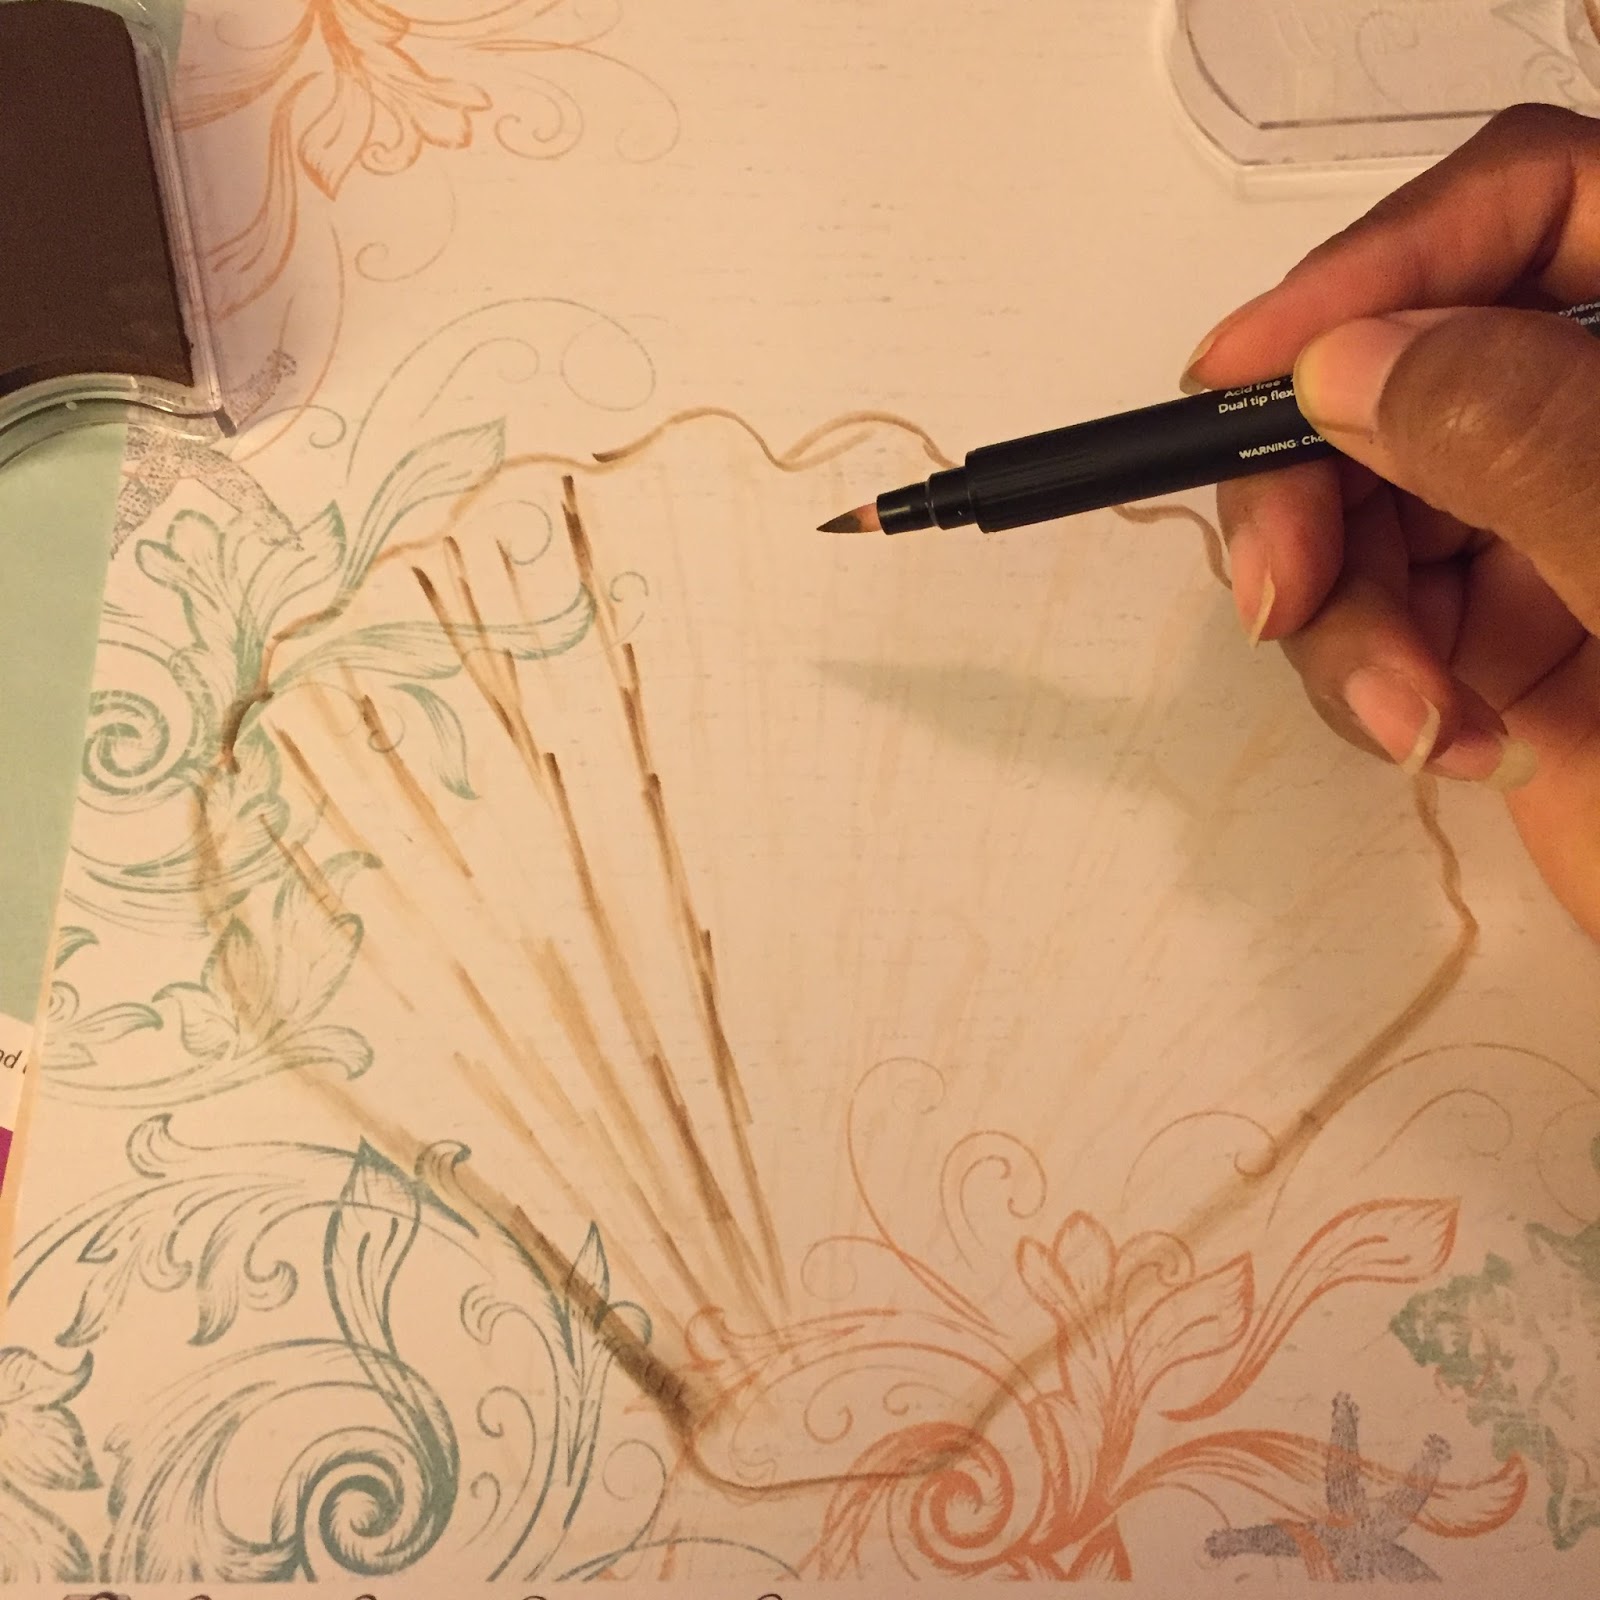
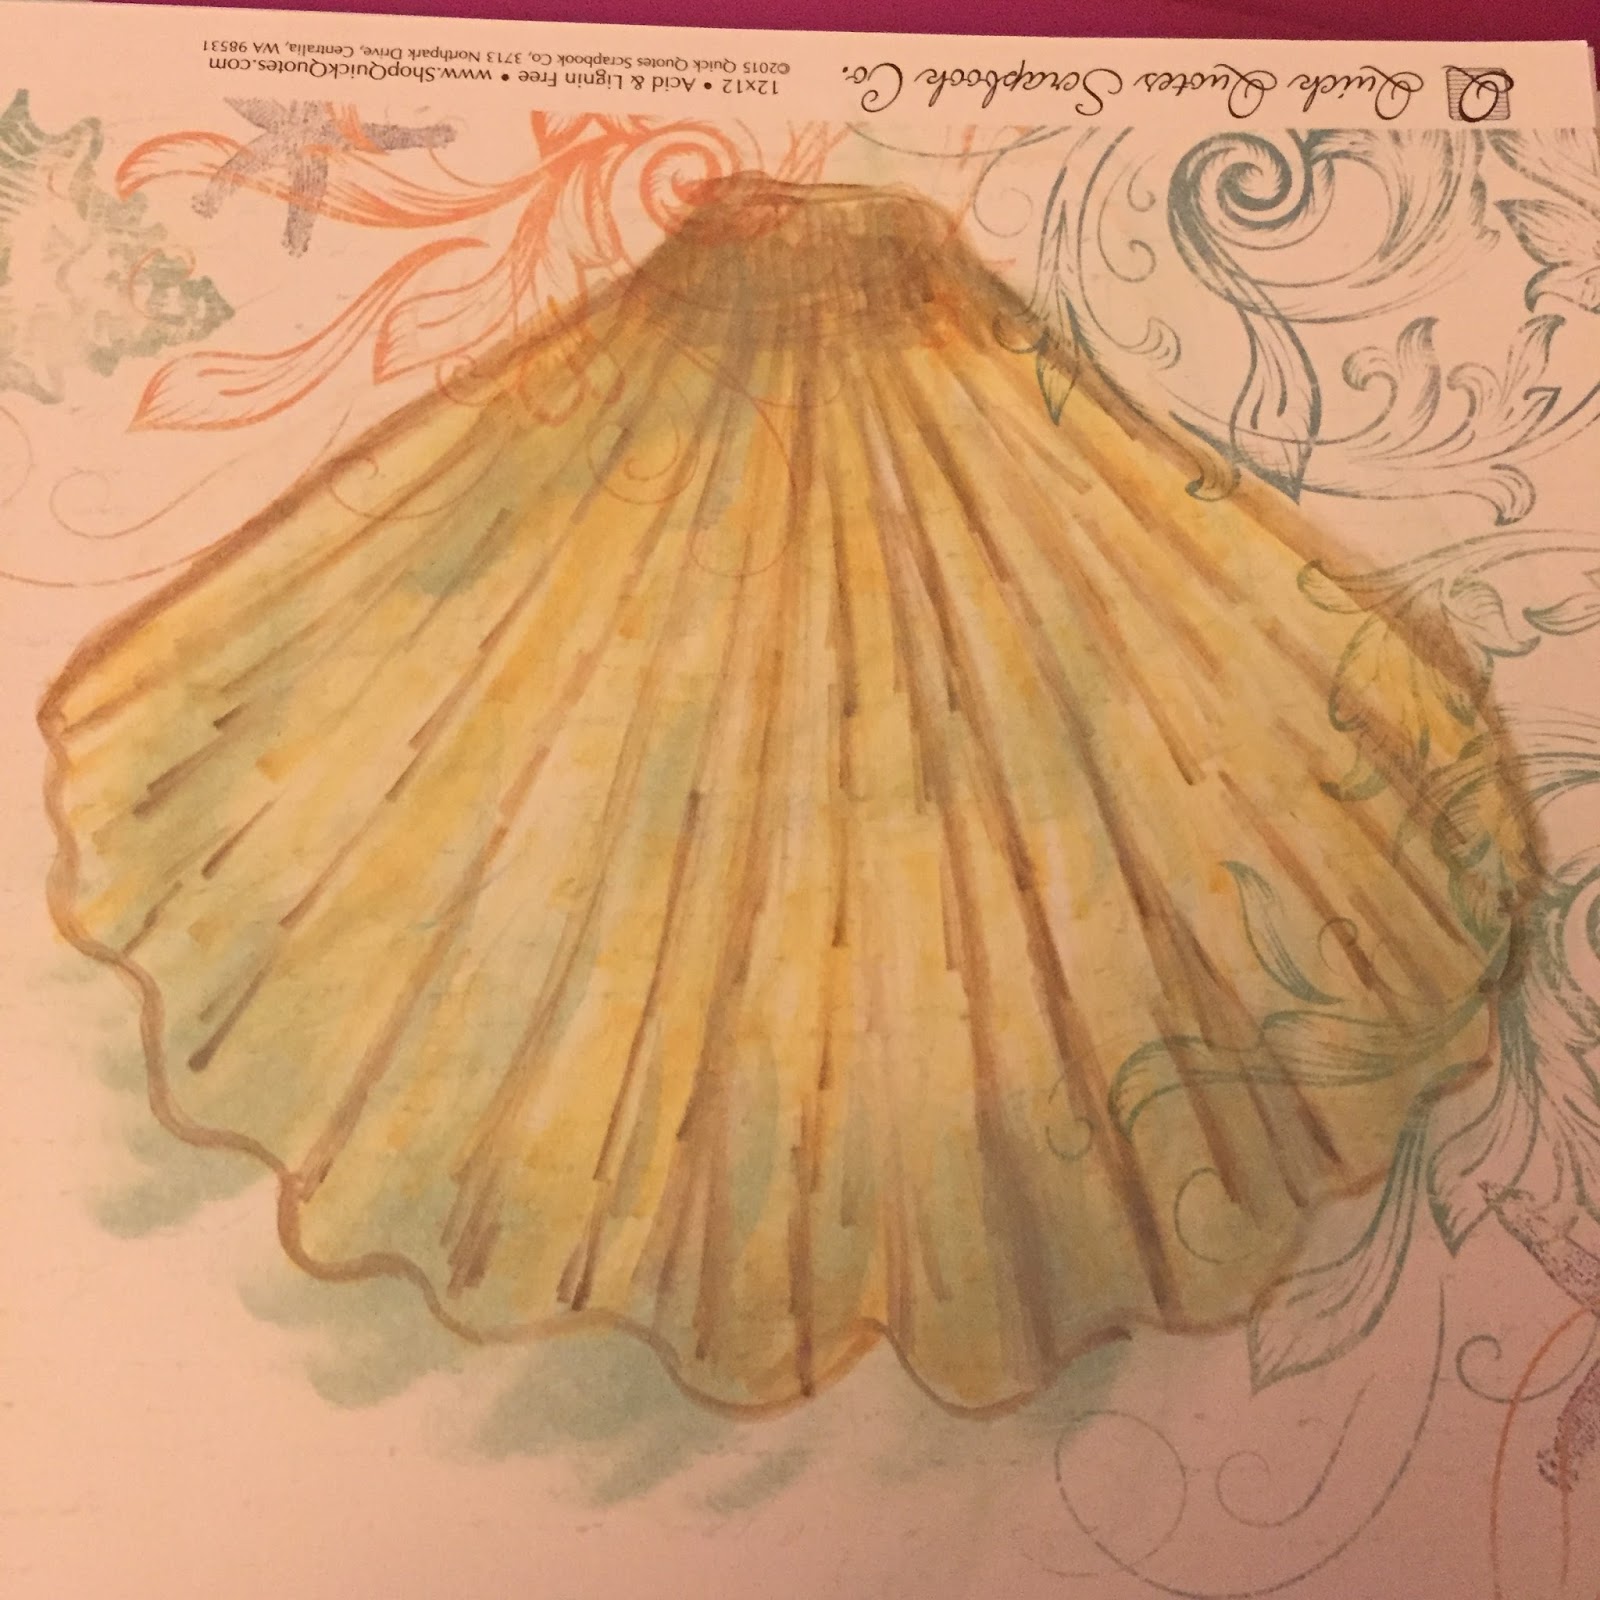
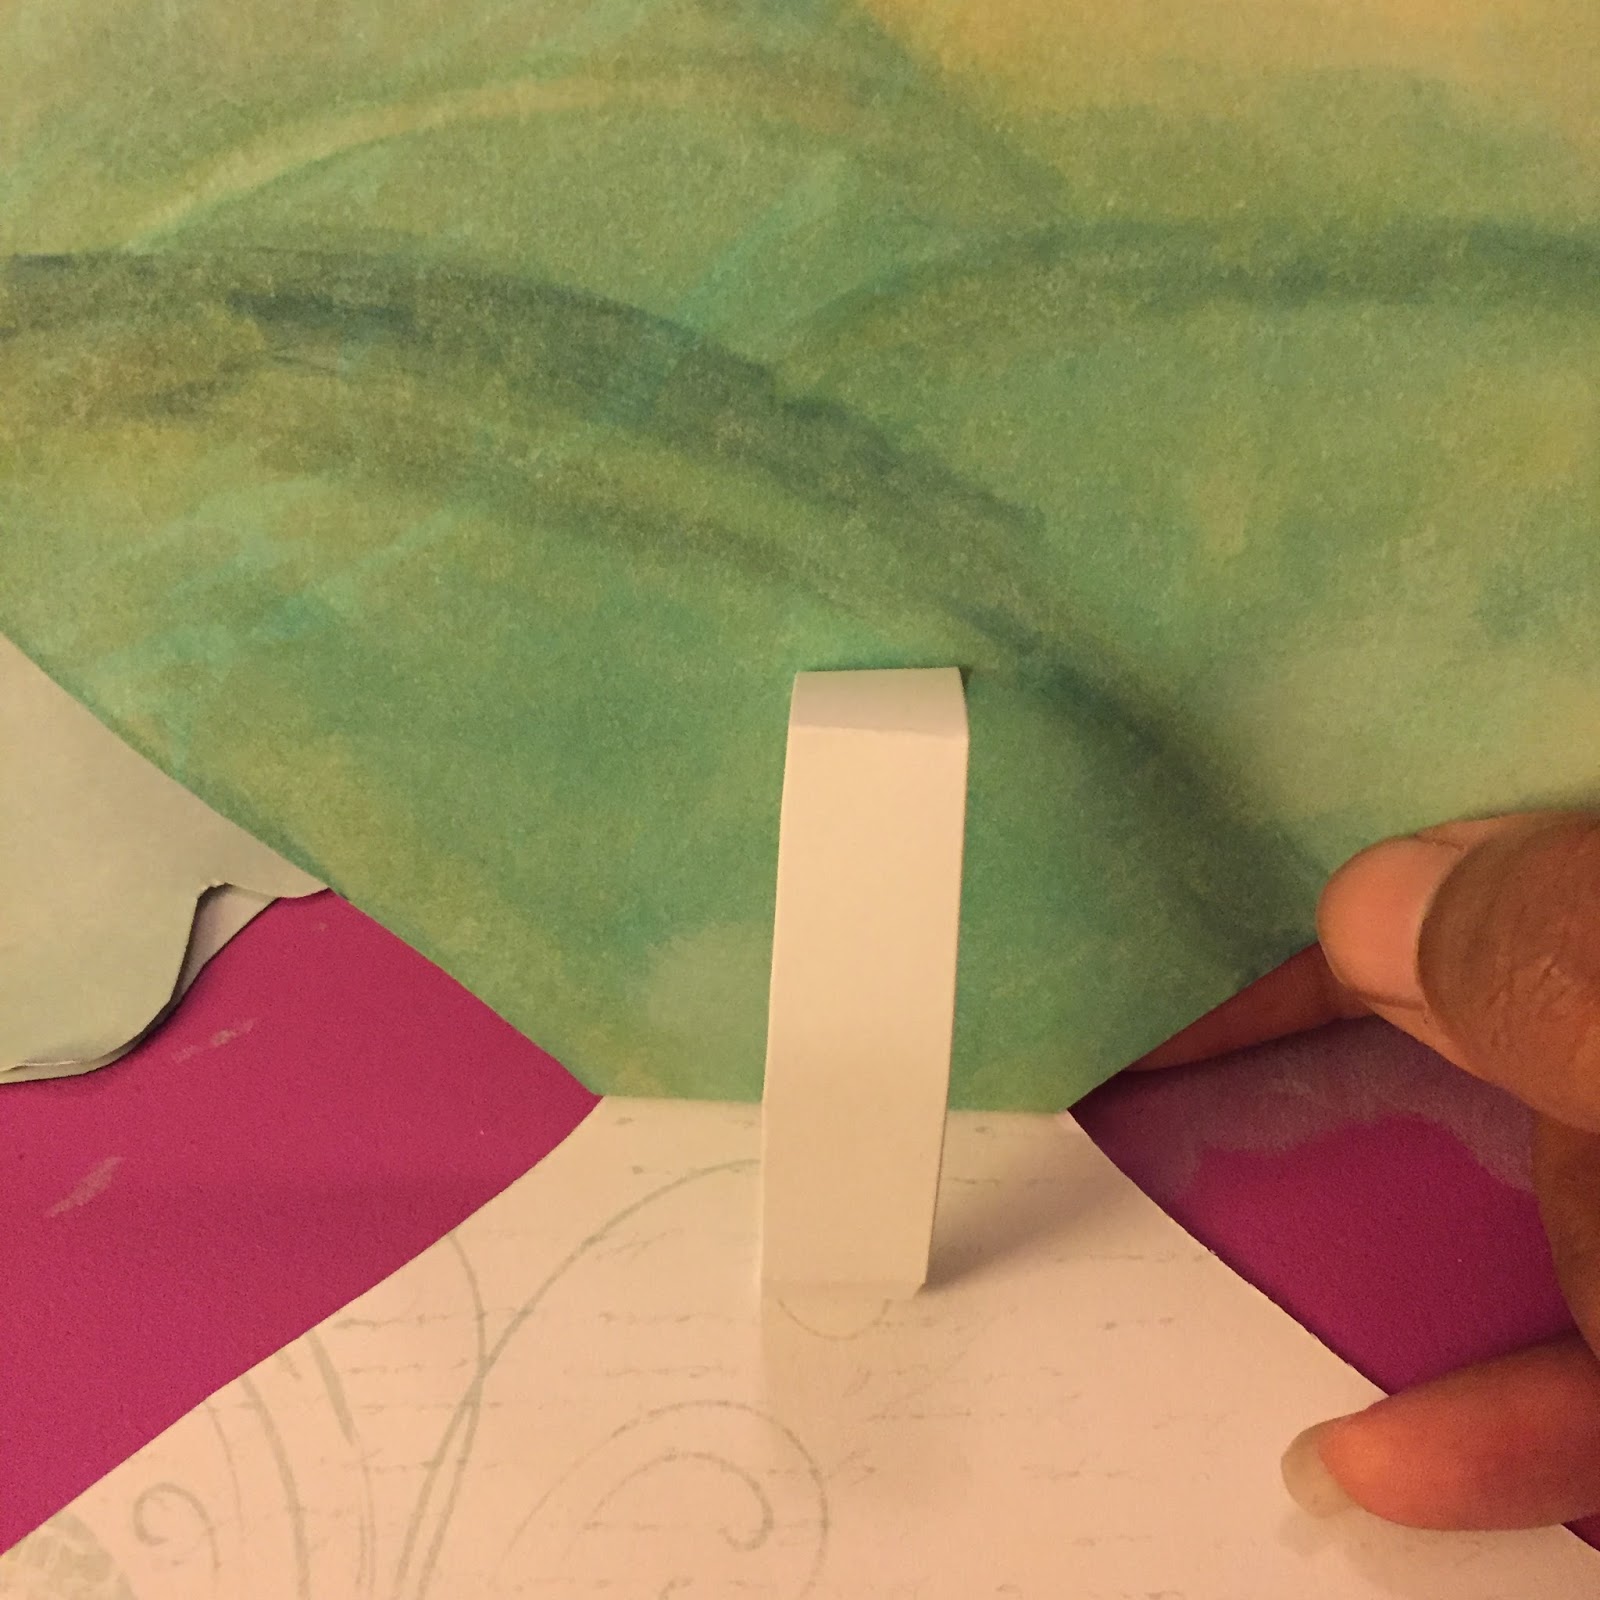
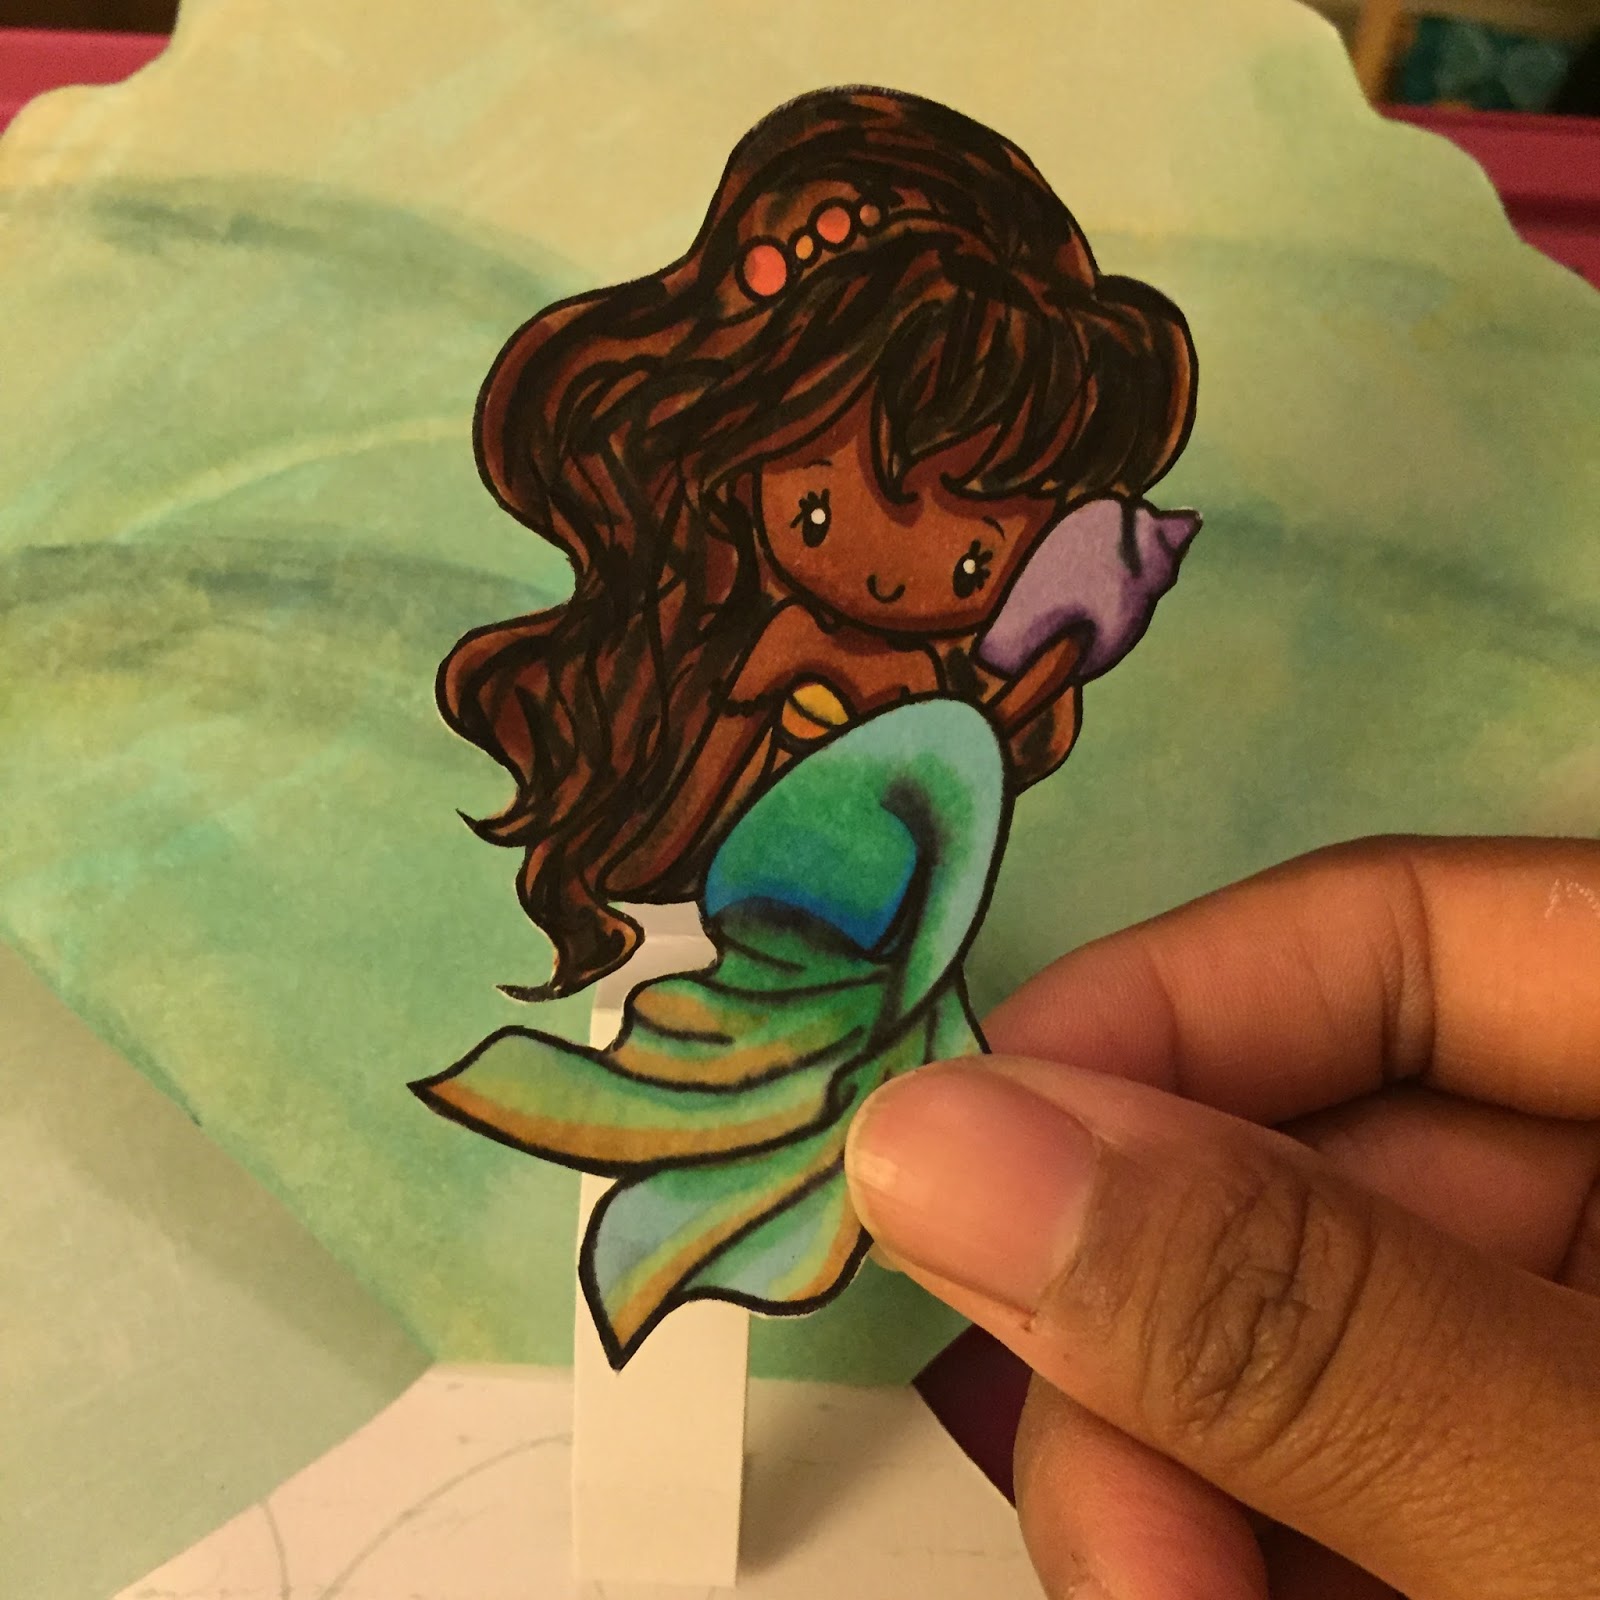
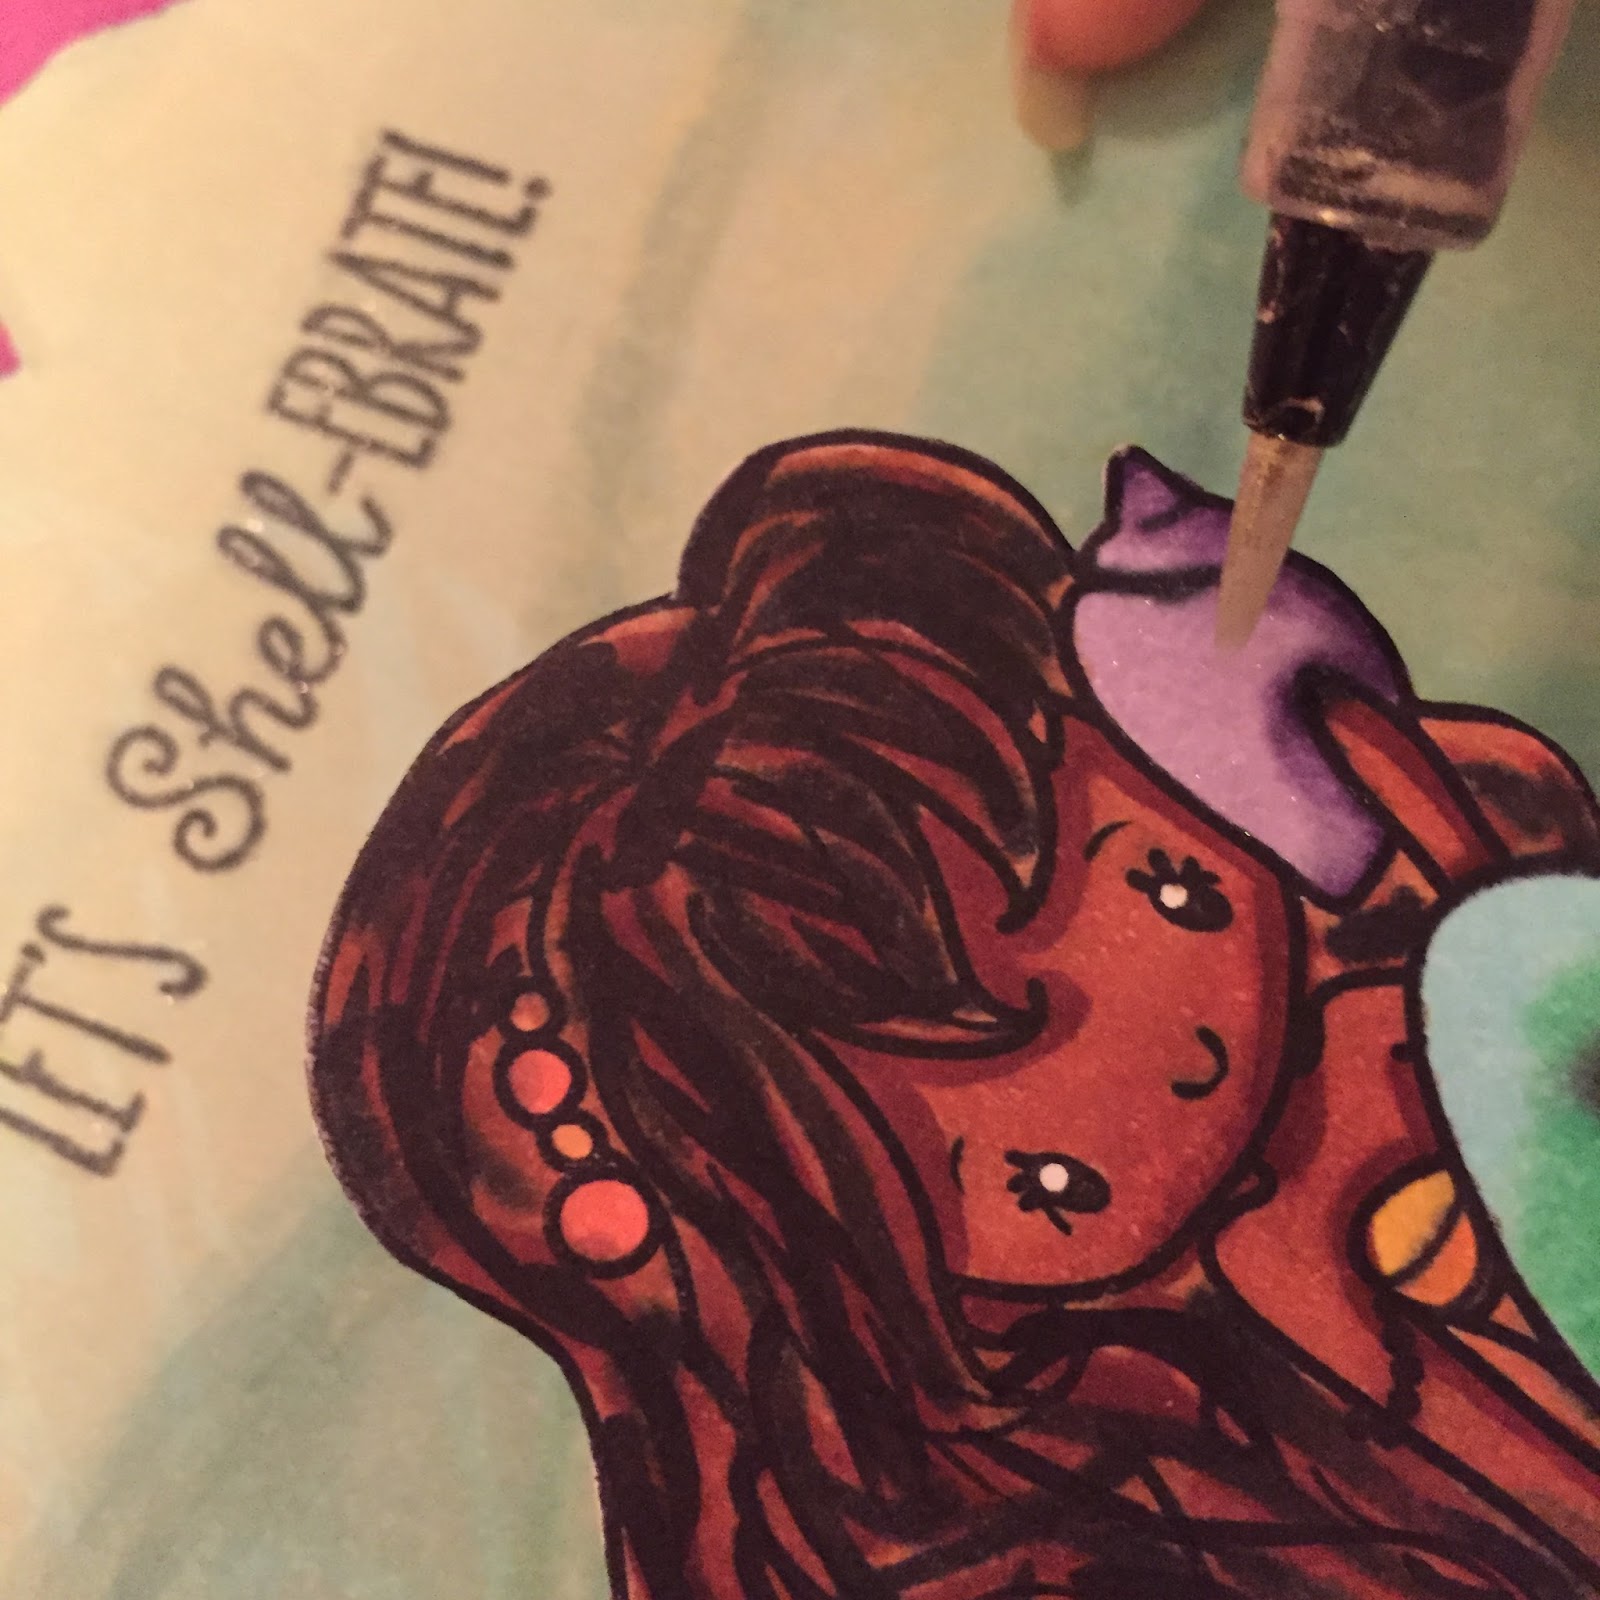
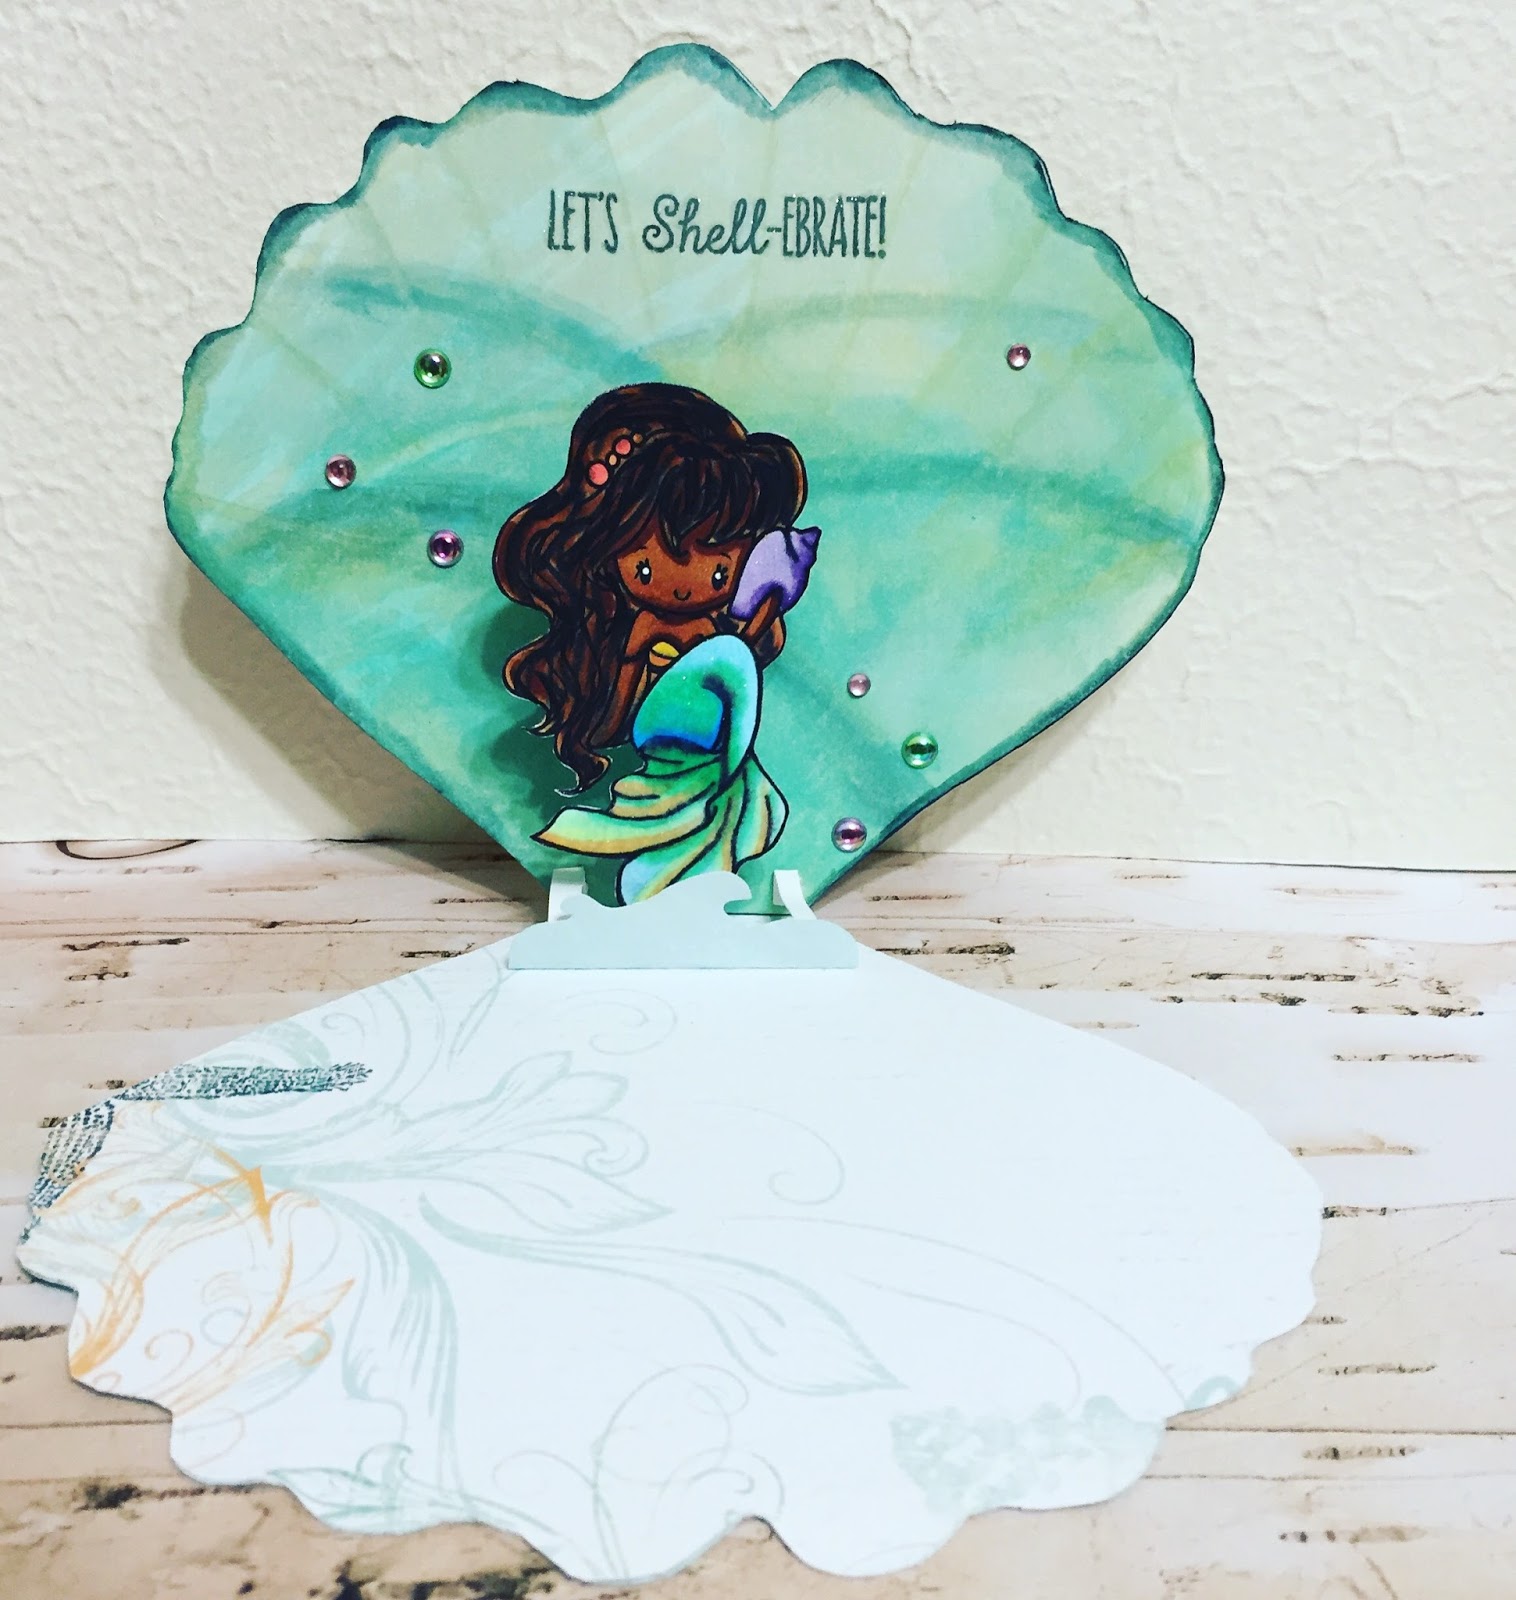
Shell-Ebrate with Mermaids
Diy, Coloring, Paper crafting, Crafts, Quick Quotes, How to, Tutorial, Color, CardsCommentHi everyone, Gabriela here today with a card I made using the Anchors Aweigh Collection and a stamp I really love.
I decided to make a mermaid themed card using the shell pattern from the Anchors Aweigh papers. I started with my stamp and then colored it in using my Copics.


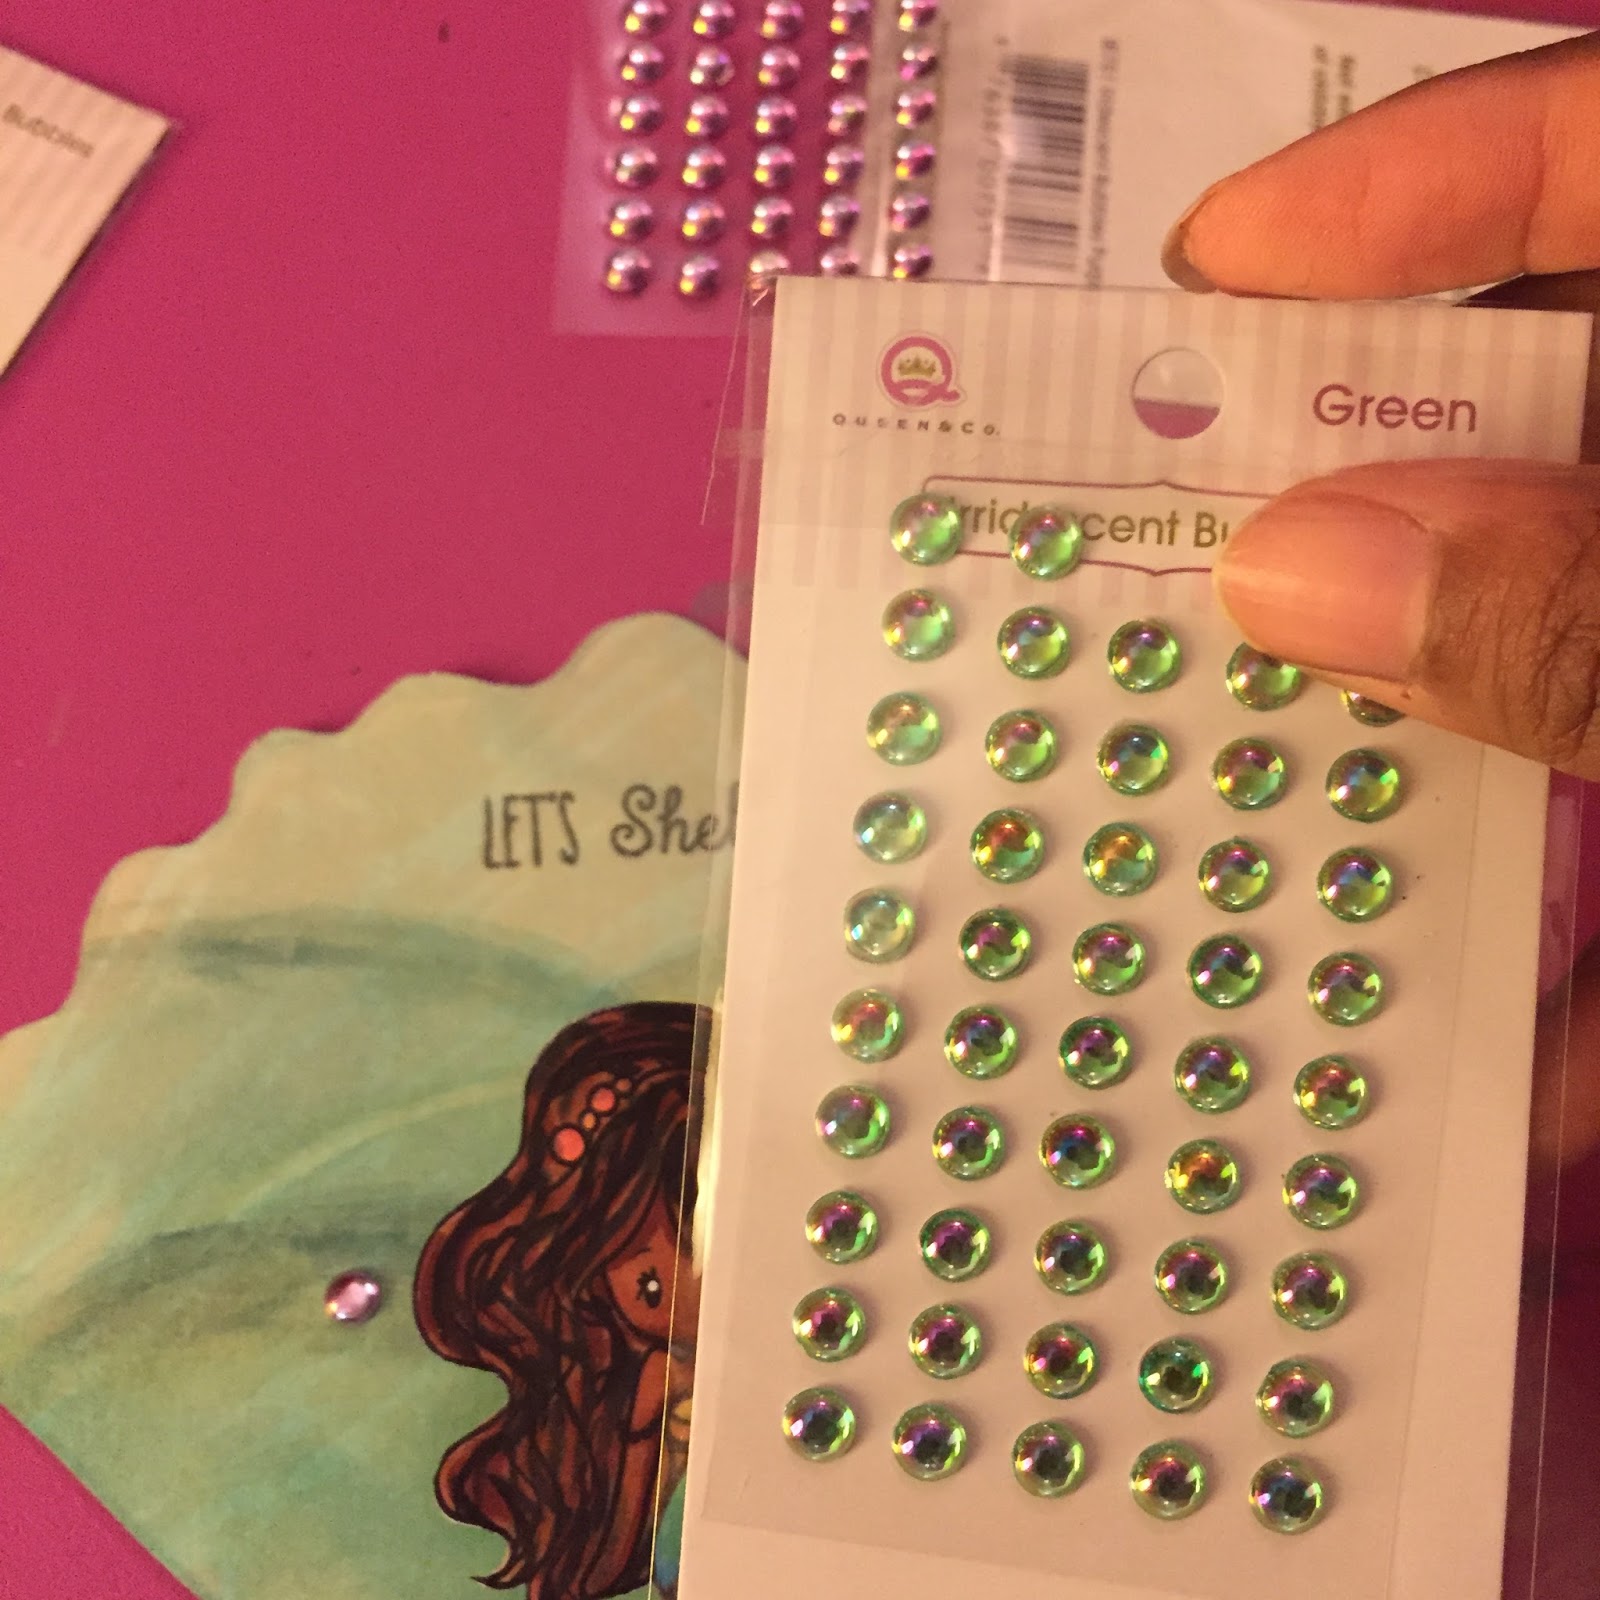

Quick Quotes Products Used:
Anchors Aweigh - 106, 100, & 109
Powder Puff Chalking Inks 2016