Hello everyone! Here is the review I have been wanting to share for a few weeks. I briefly considered getting a Scan n' Cut about a year ago, but decided to wait a little longer because my Cricut Explore was taking care of all of my cutting needs. Now this is still mostly true, but there are some very clear differences between the two machines, so while this review will tell you how amazing I think the Scan n' Cut is, I won't be replacing my Cricut Explore. So first we'll get into what is included.
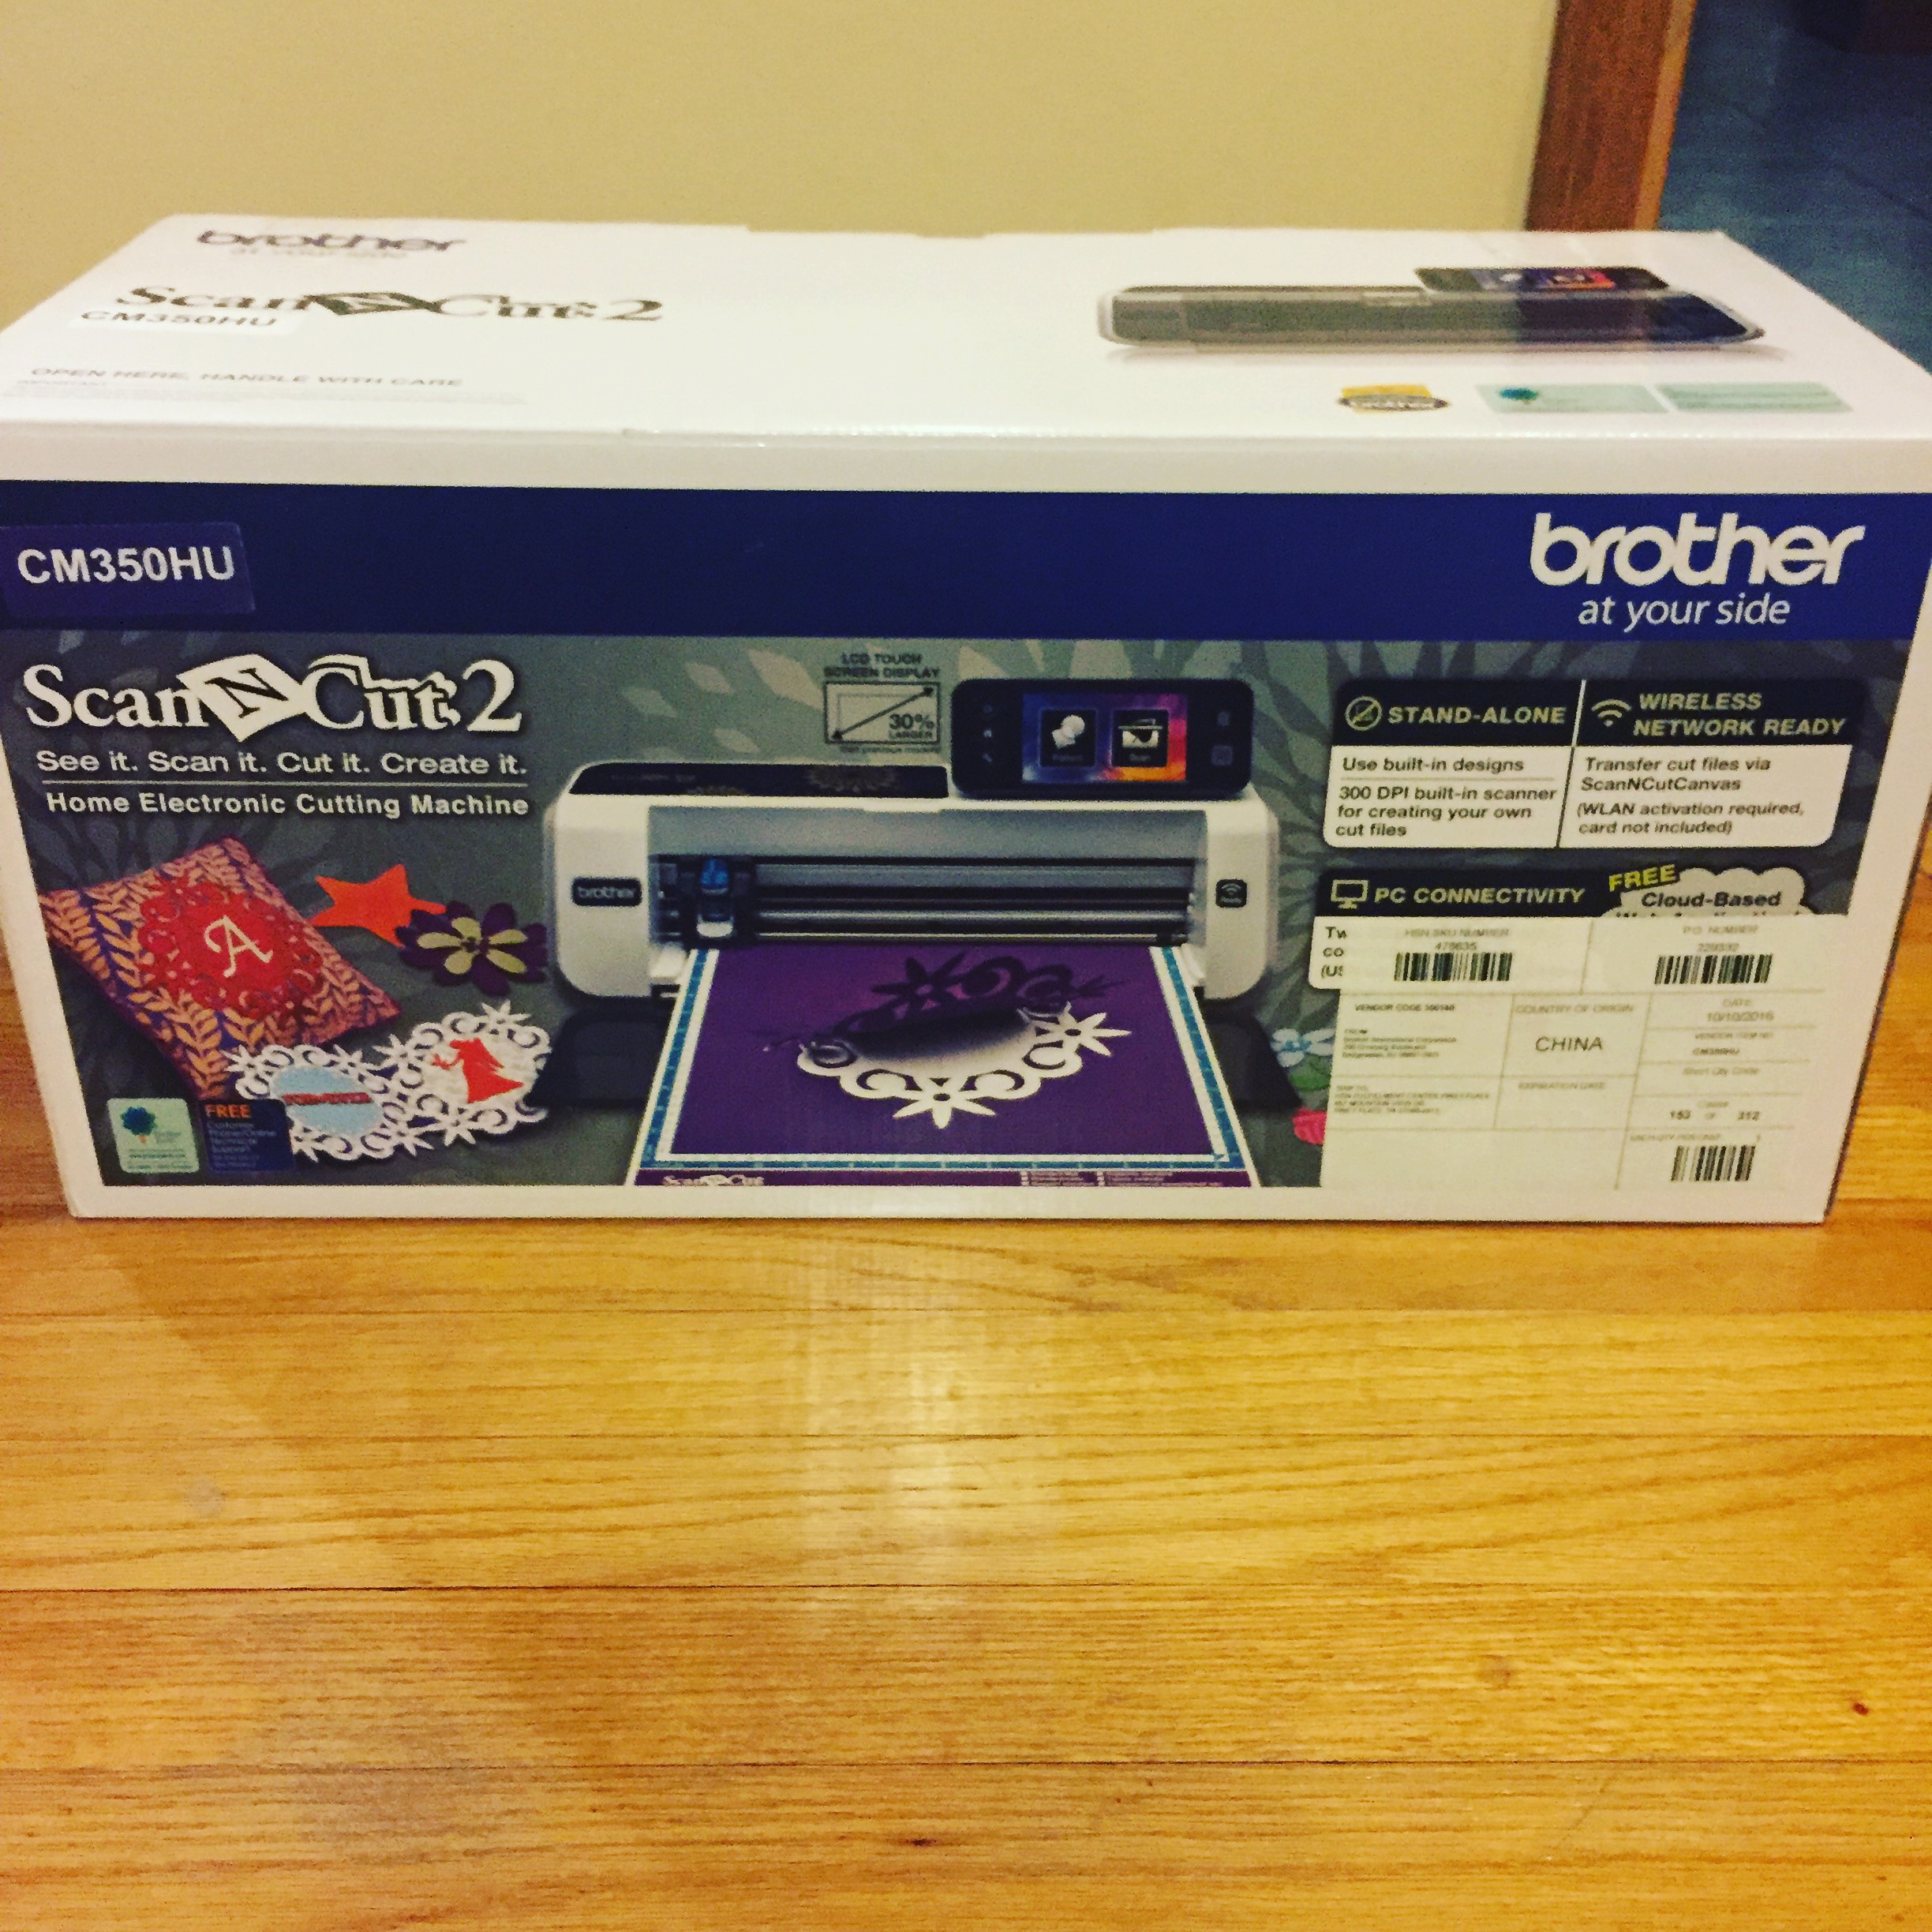
The box.

The Pen Holder, pens, blade, mat, and wireless activation card.
The version I bought had the wireless card included, and it was on sale, but I have not used that feature yet.
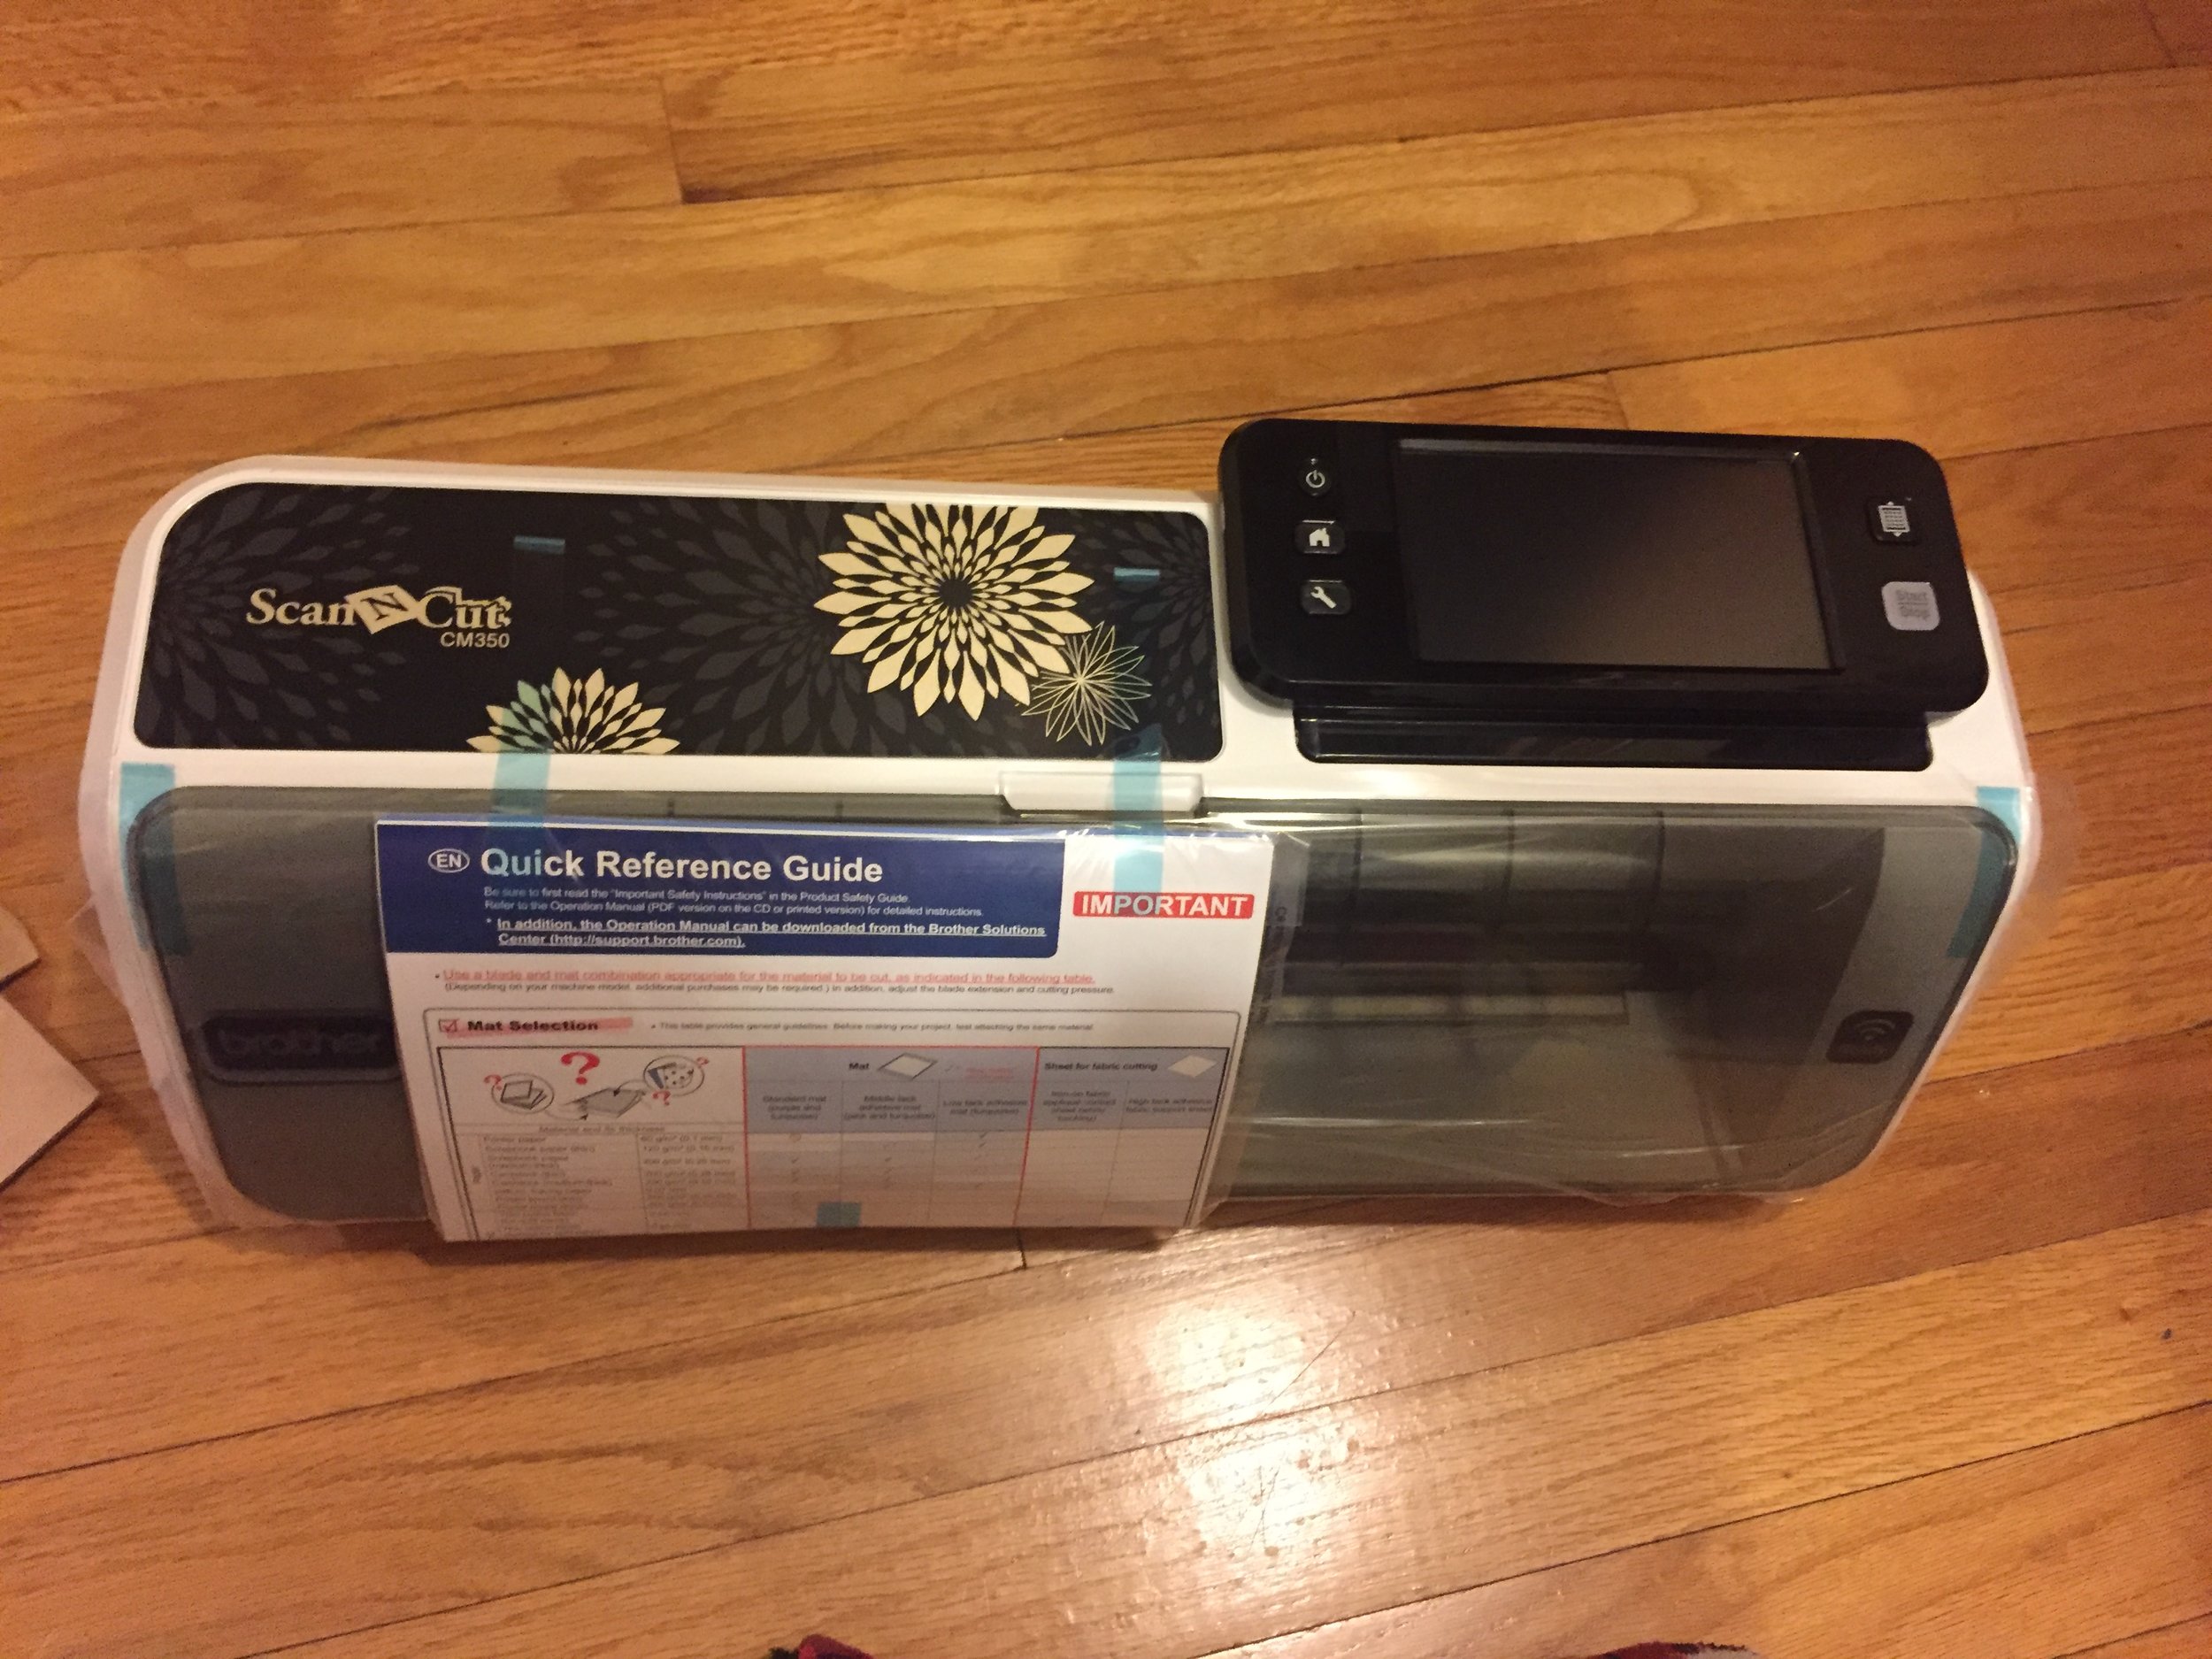
As you can see, I bought the CM350.
The actual machine is only slightly bigger that my Cricut Explore, so it can fit on my craft table easily. Now the main reason I was interested in this machine was that I wanted to be able to cut stamped images easily. I have many stamp sets that either do not have dies or I do not own the dies; additionally, some of the sets I have dies for require multiple cuts if I am making more that one of a card. I wanted to see if there was a more efficient way to cut stamped images, because to be honest, fussy cutting is not my jam. I can do it when I have to, but it is not relaxing to me, it takes a long time and I'd rather be doing something else, so I decided to try out the Brother Scan n' Cut and I was amazed. I'd watched a few videos on youtube and read some reviews, but I really needed to see it to believe it and it was everything I hoped for. You can check out the video below for the full review, I skipped the unboxing because I was more concerned with cutting capability.
I will say that the cutting is slightly louder that my Cricut, but nothing that would disturb anyone, just a little louder. Also, because you set the blade depth and pressure, you should only cut one type of paper at a time, which I figured out in the video. I was very impressed with how this works and will be using it frequently in the future; I would like to see how it cuts out script stamps. This does not mean I will no longer buy dies, because sometimes I still like to die cut images, but it will speed up cutting when I am making multiple cards or using stamps that do not have coordinating dies. Another thing to note is that if you are a quilter, this machine will also cut appliqué pieces from fabric, I have not tried that feature yet, but when I do, I will share that with you.
Next month I will be making an announcement that has been in the works for a while and I am beyond excited about it! Until next time, happy crafting and thanks for stopping by.