Gab with Gaby

An engineer's creative corner studio.

Stamps

Pop-Up with Quick Quotes and Lawn Fawn

Cards, Crafts, Diy, How to, Paper crafting, Stamps, TutorialGabriela SimsComment

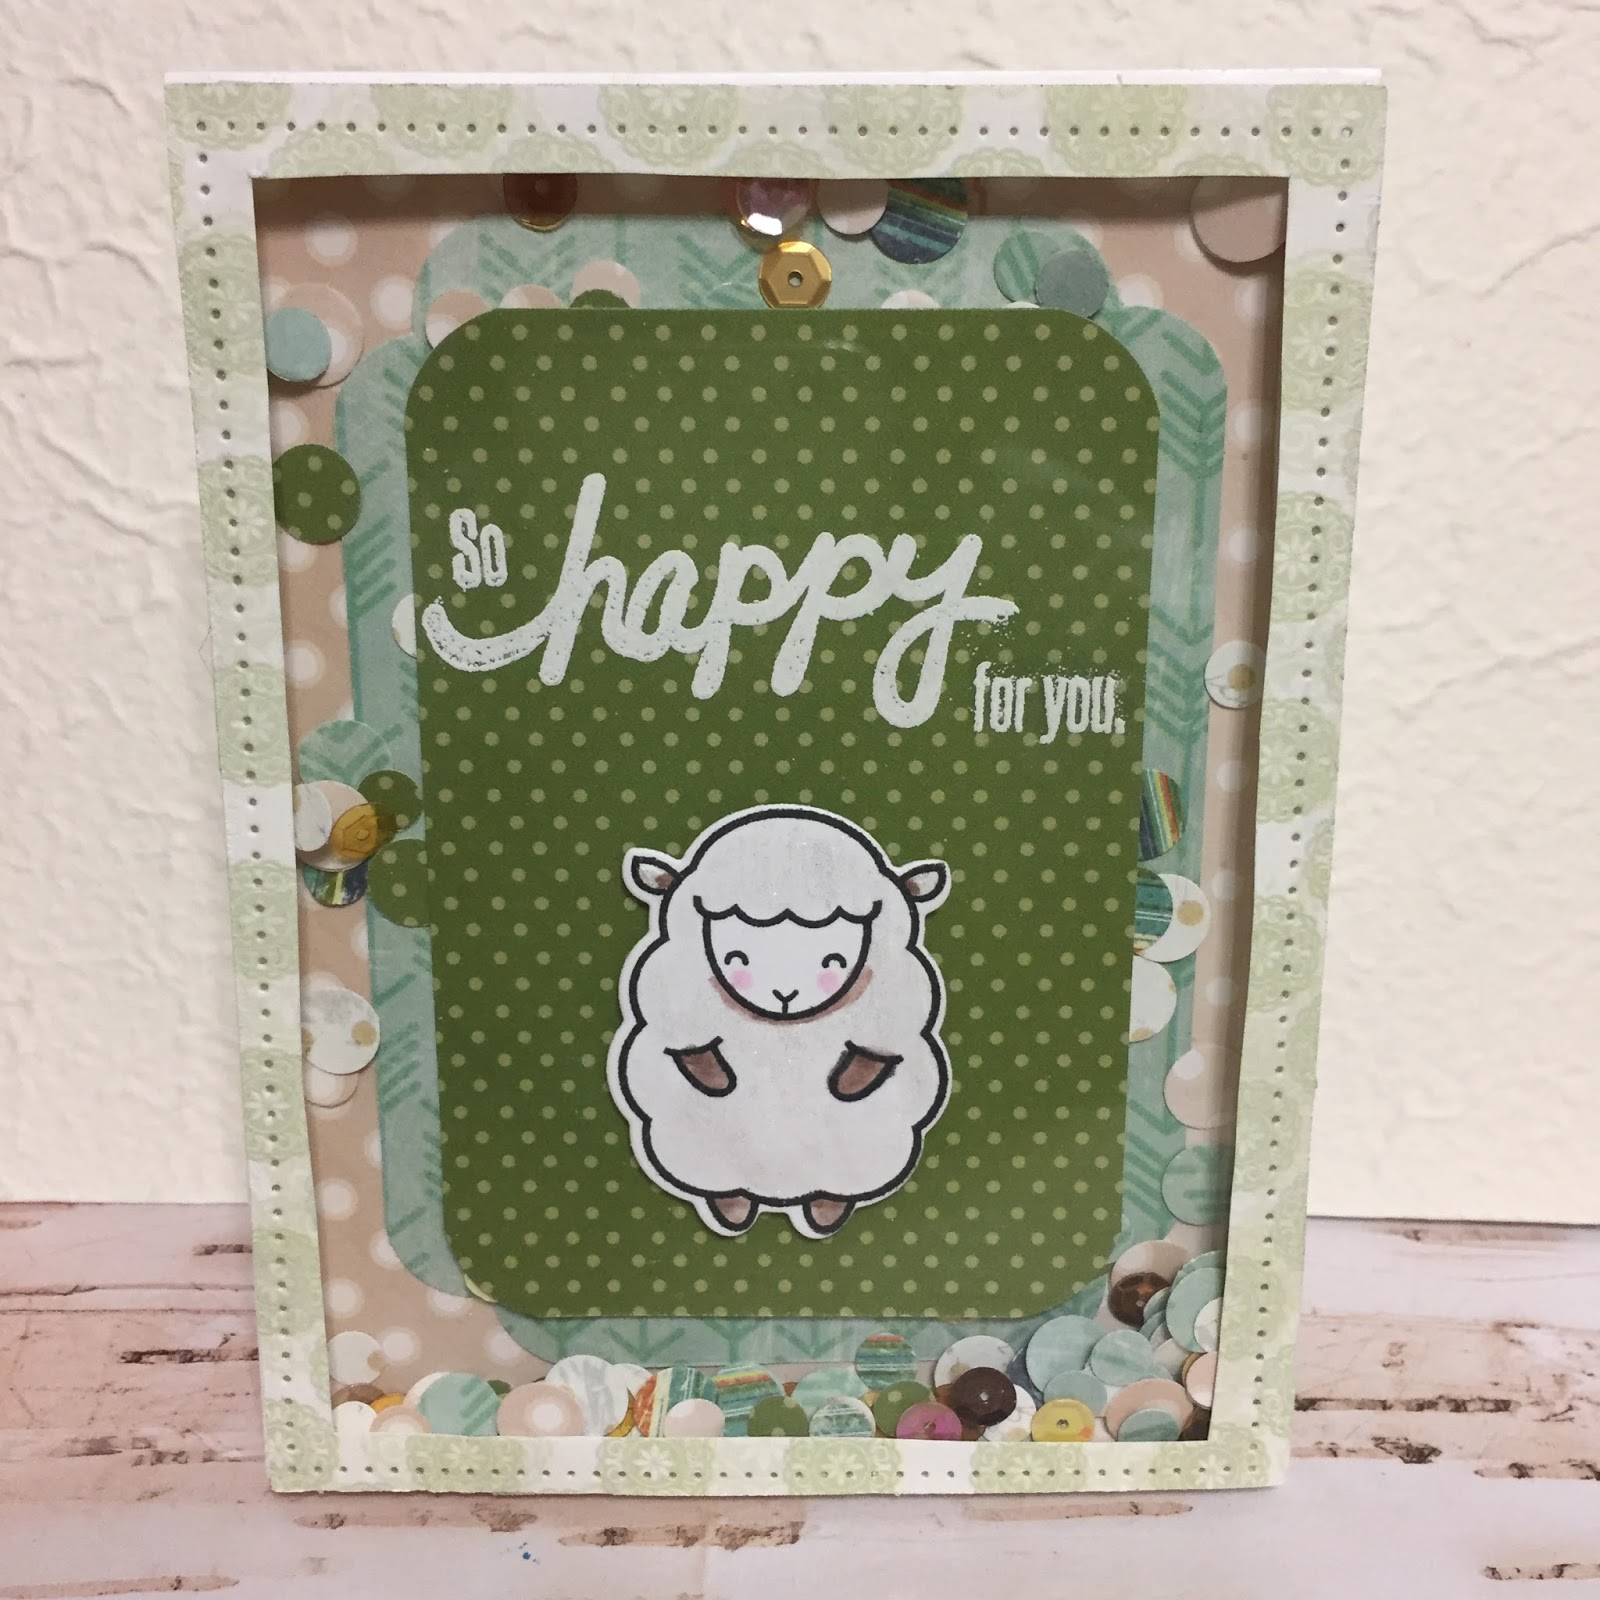
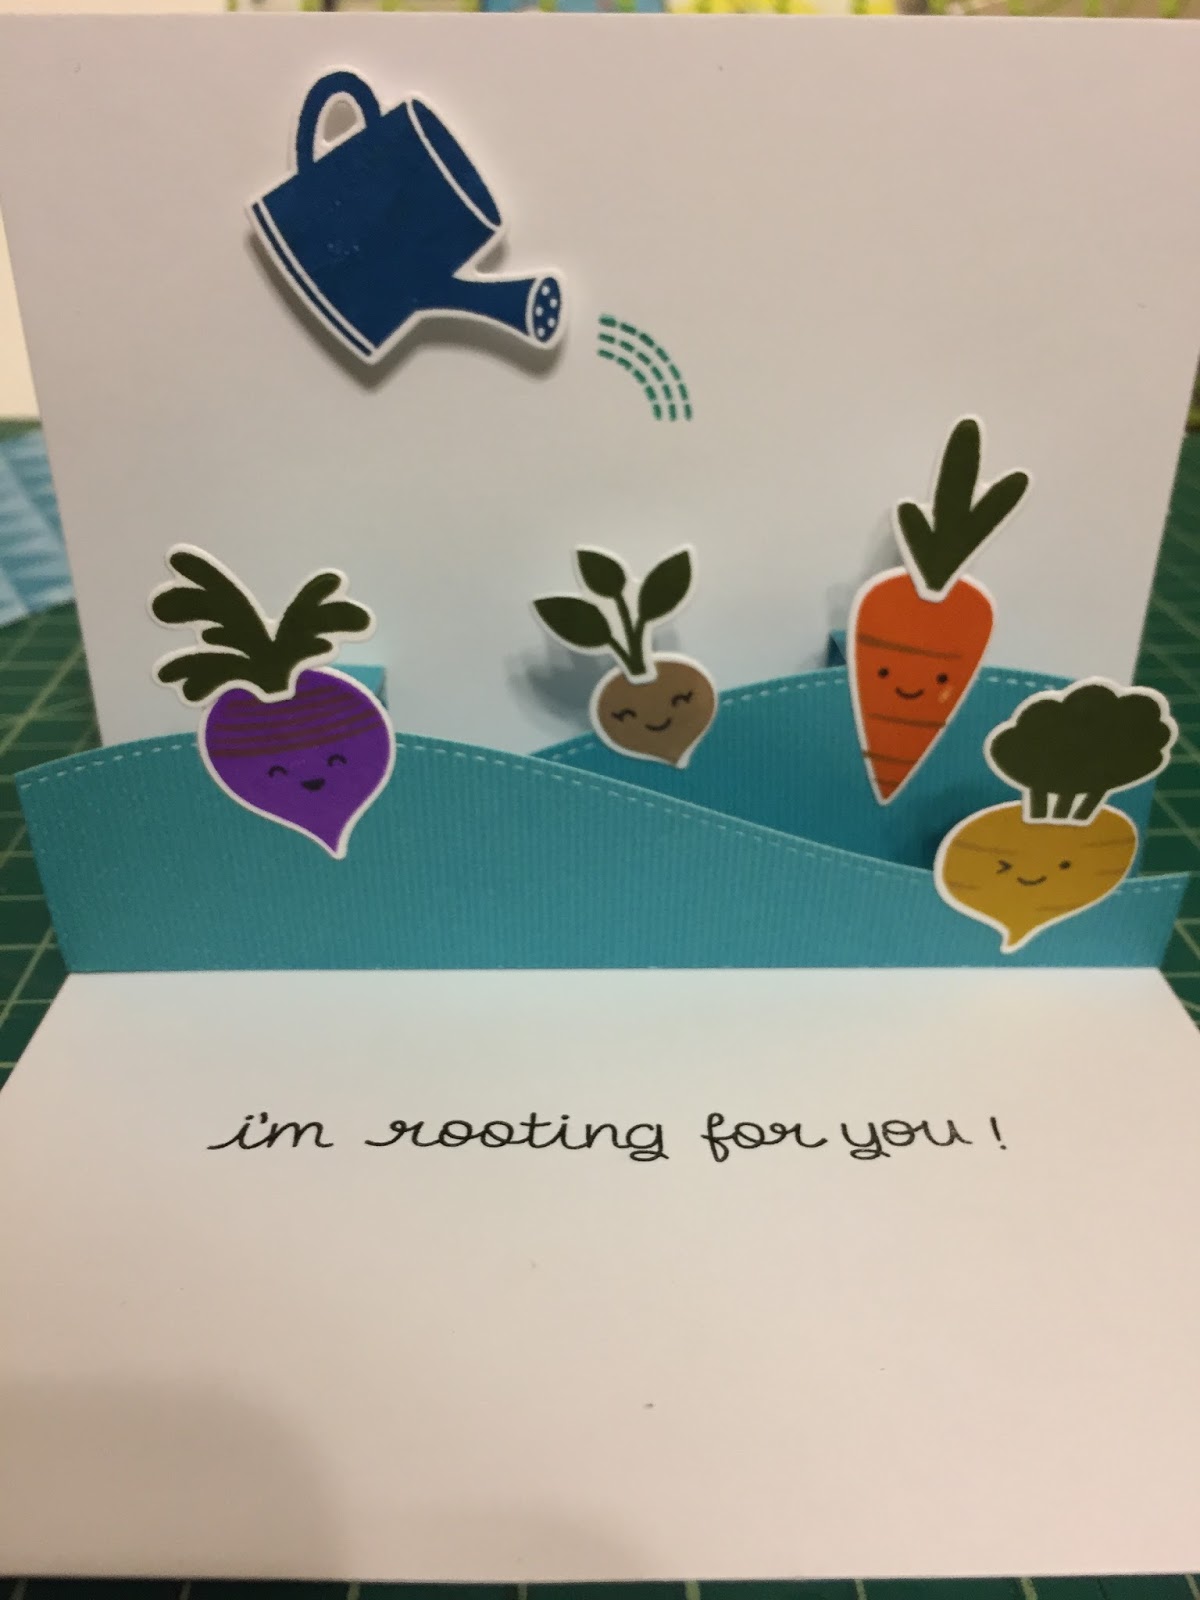
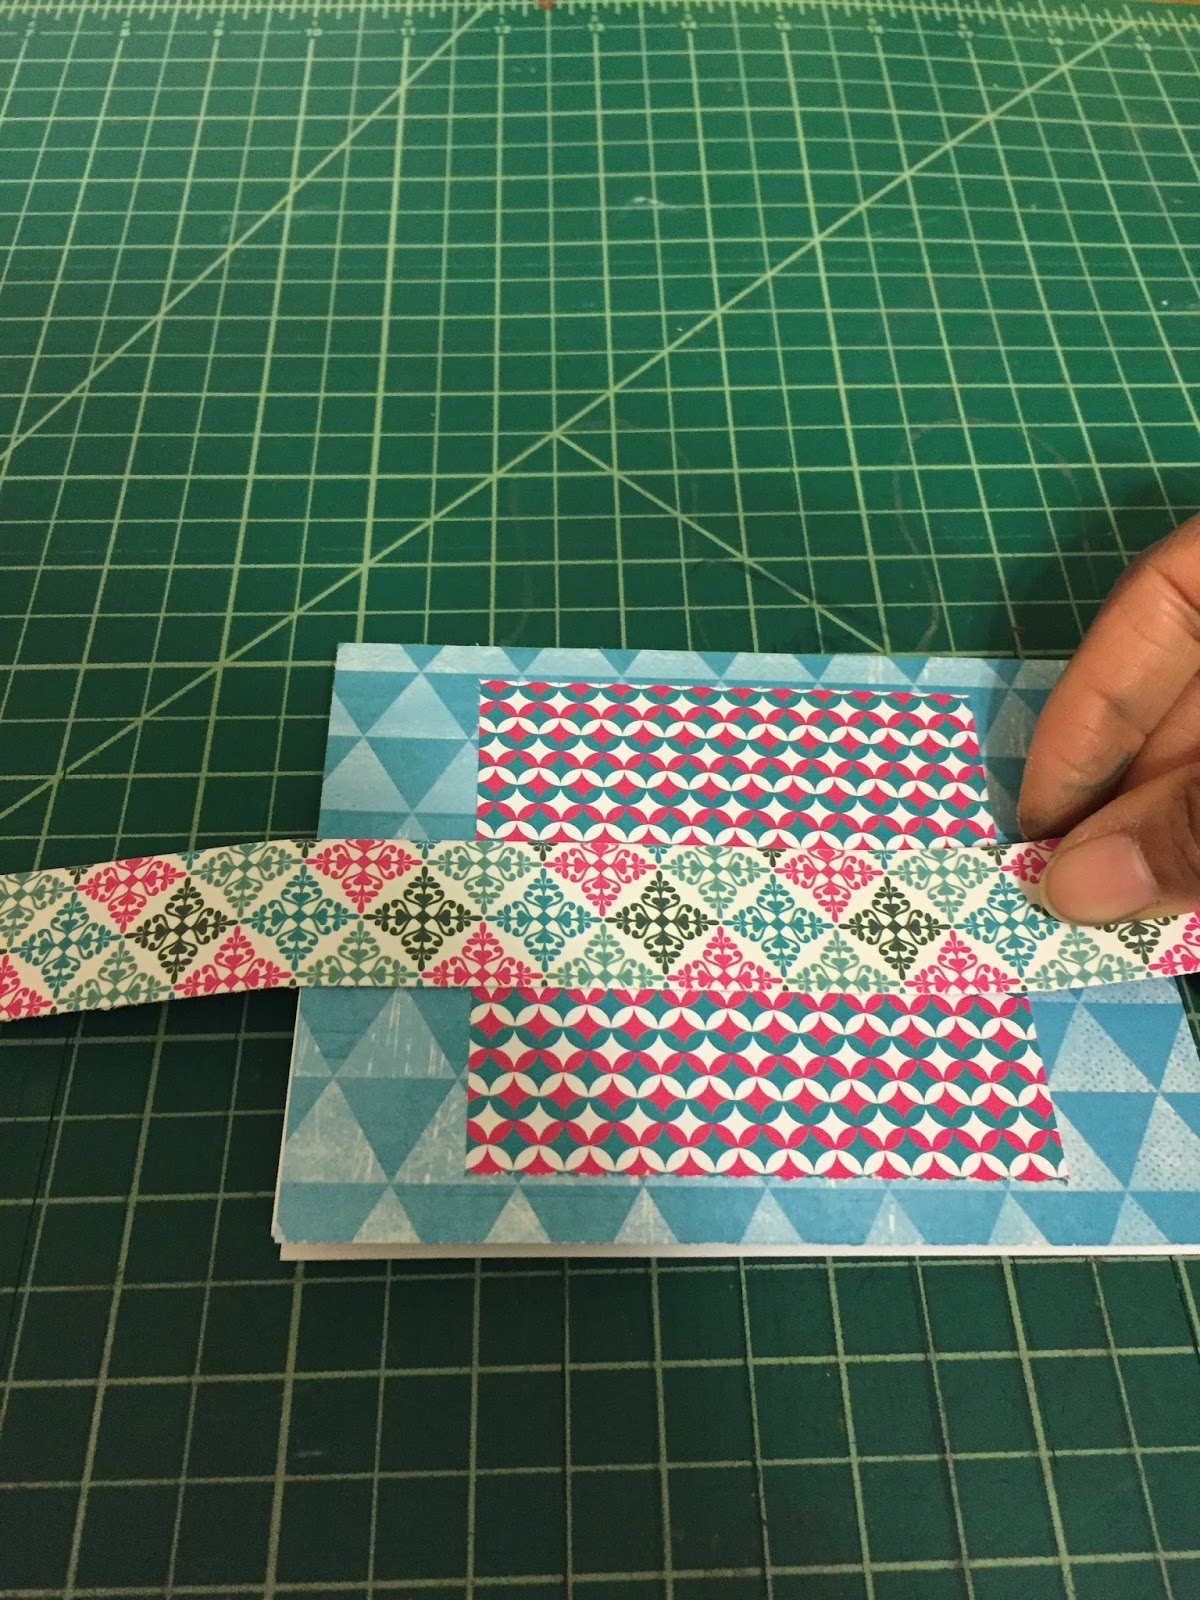
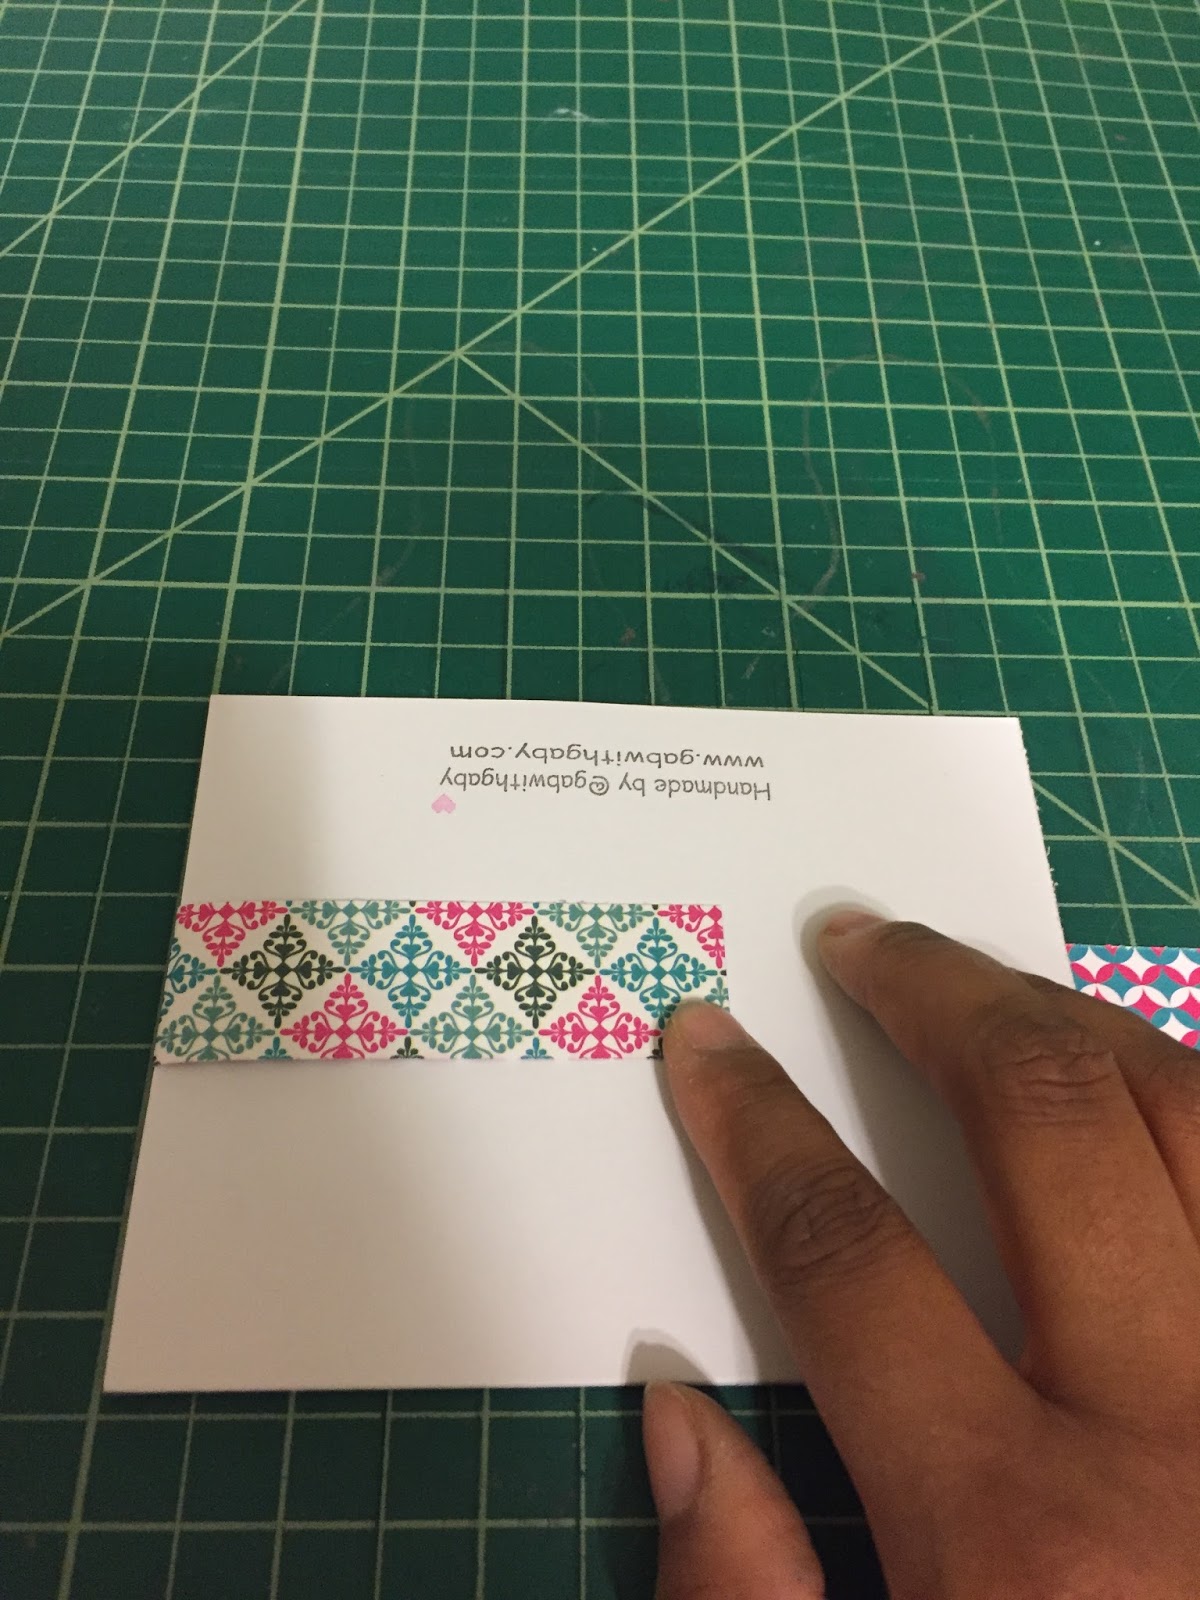
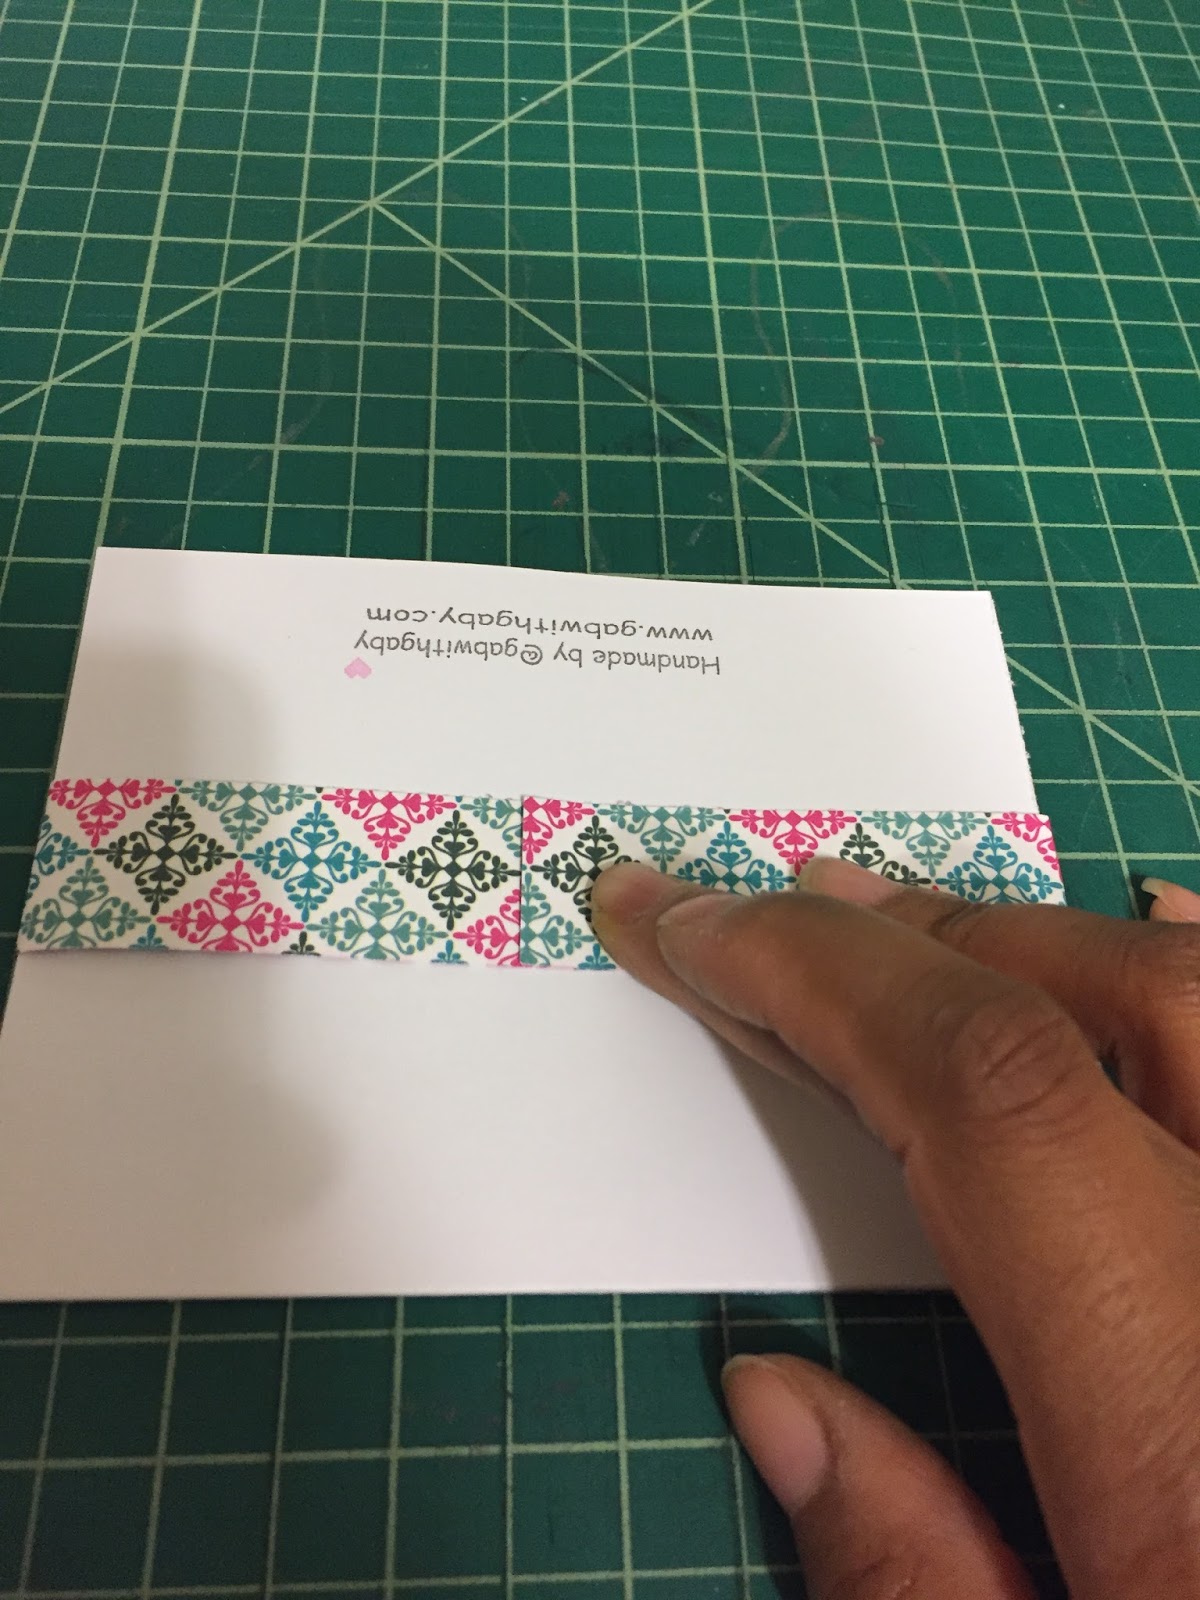
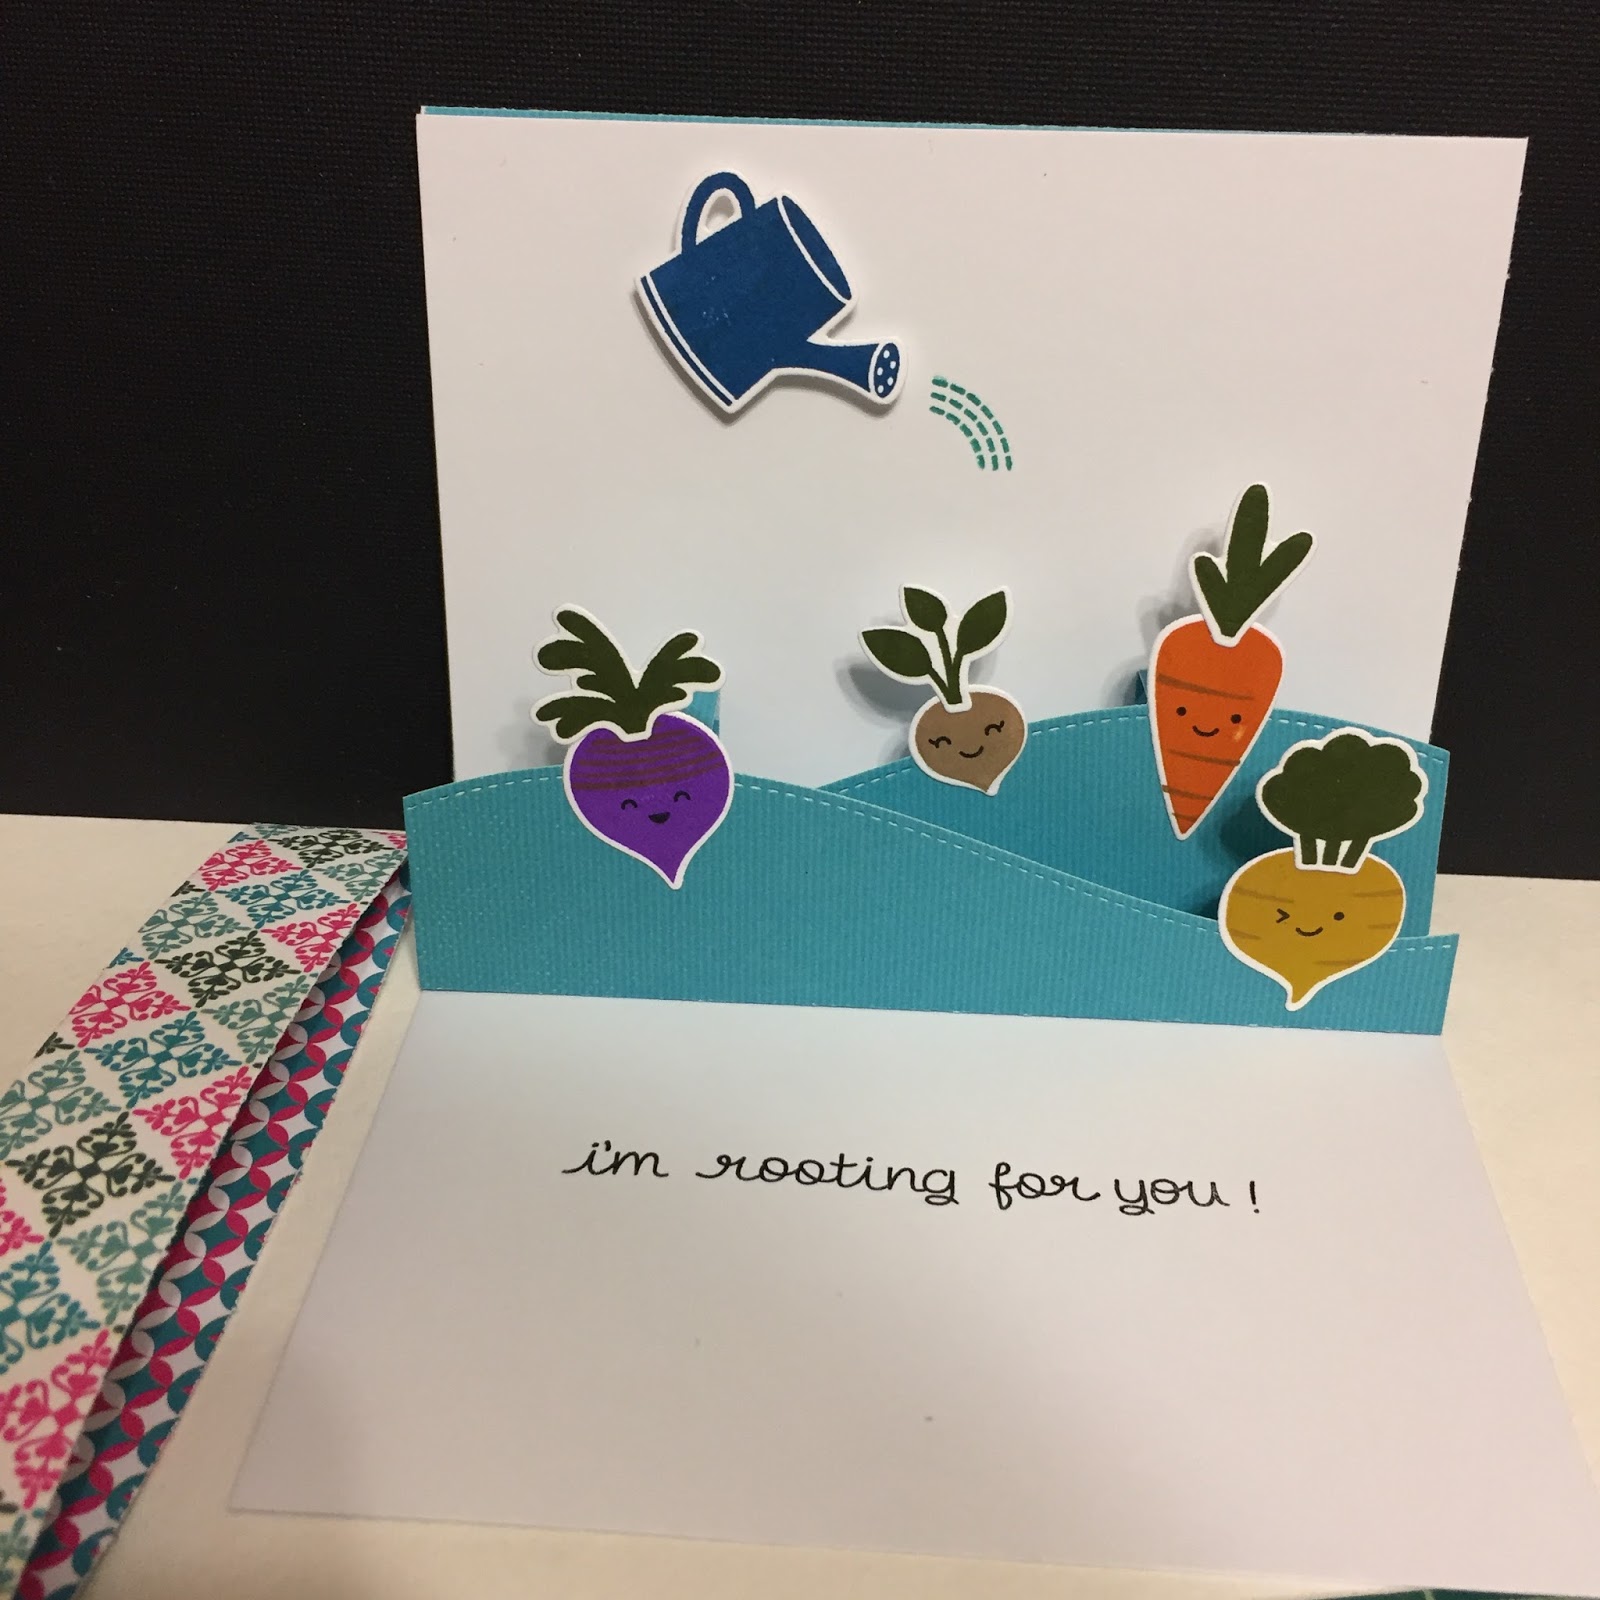
Hi everyone, Gabriela here today with a way to showcase your paper patterns and have some fun with stamps or die cuts.  This card is a pop-up inside and has a decorative band holding it closed.


I am using the Winter Bliss collection and I started by cutting my paper into pieces. I used one 12" x 1" strip, one 5.5" x 4.25" rectangle, a 3" x 3" square and an 8" x 5.5" rectangle. I used a plain white card base.


I stamped my images using my amazing Stamp Perfect tool and used a pop-up die for the inside of the card.


Once I had everything cut out, I adhered my die cuts and stamped the sentiment.
The outside of the card was put together by using a stamp runner on the 5.5" x 4.25" piece and adhering that to the card base. Then the 3" square was stuck on top of that.
Finally, the 12" x 1" strip is what will hold the card closed, it's just a decorative touch.  Place the strip on the front of the card.
Turn the card over.
Fold each edge of the strip towards the center of the card.
Then adhere the ends together to make a band. The finished card will have a very nice look and a fun pop-up inside.


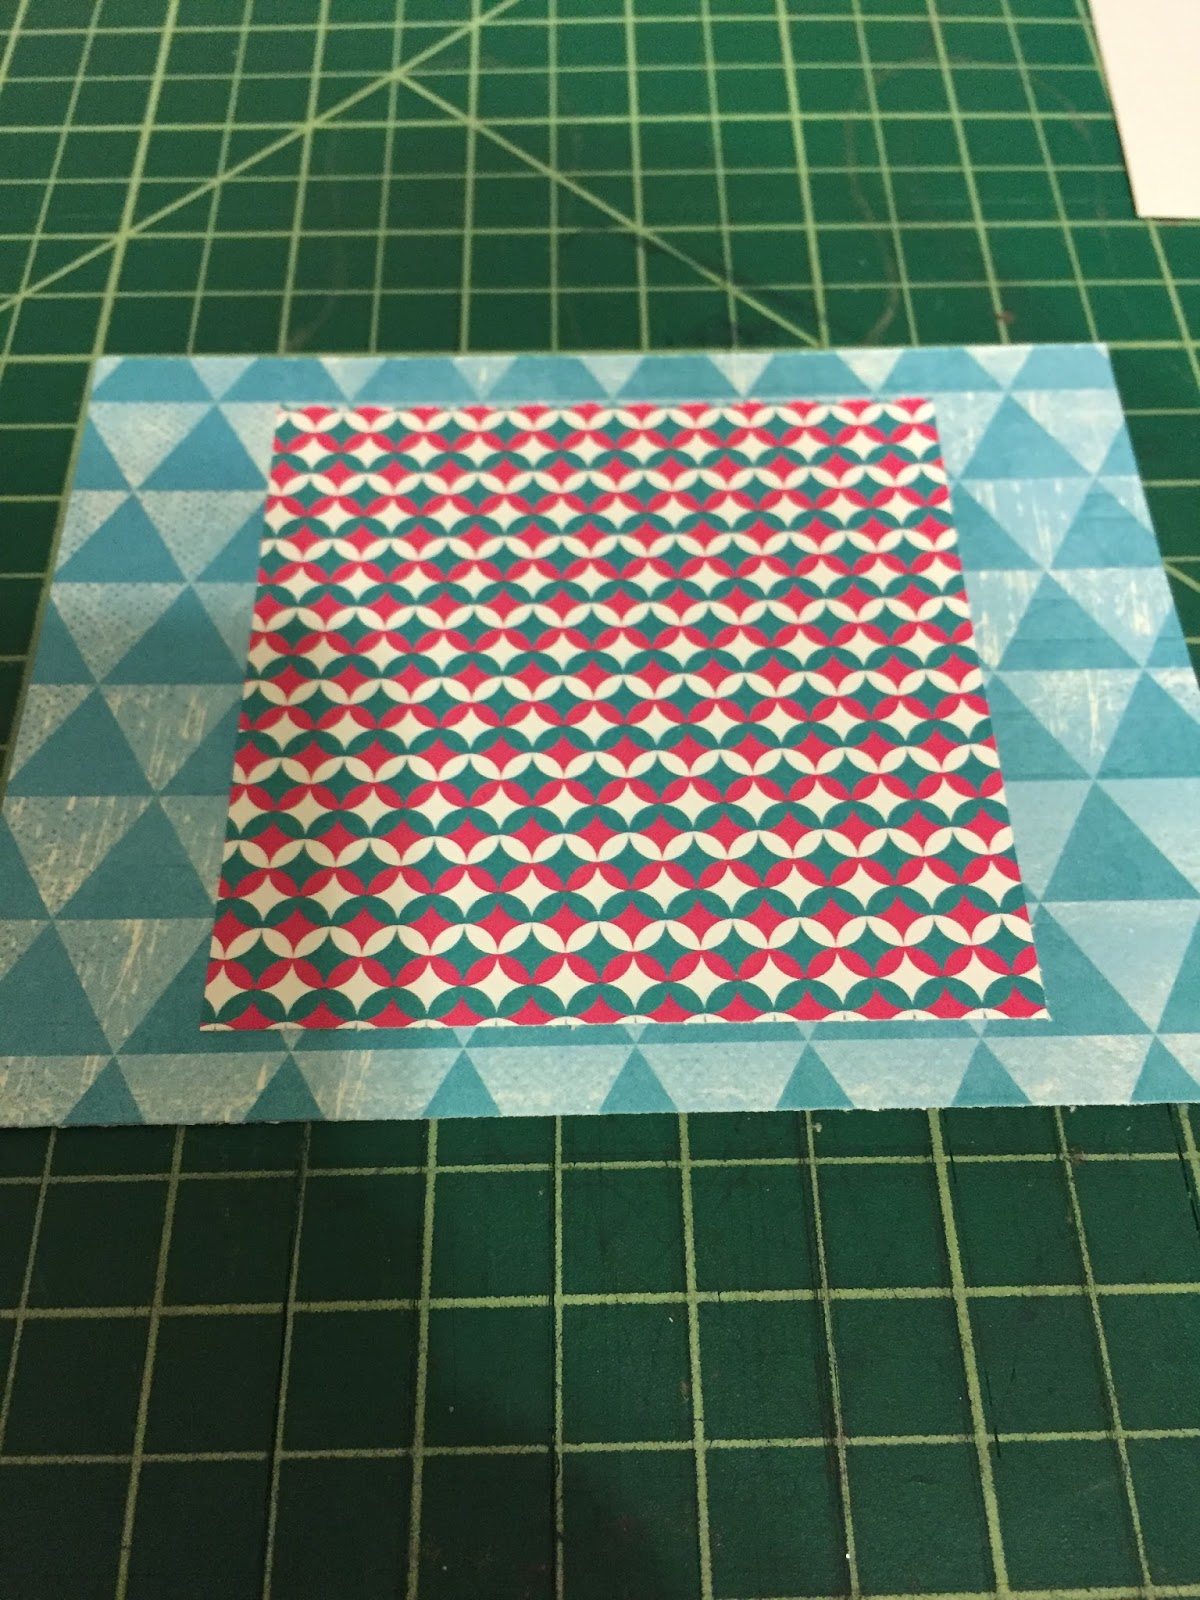
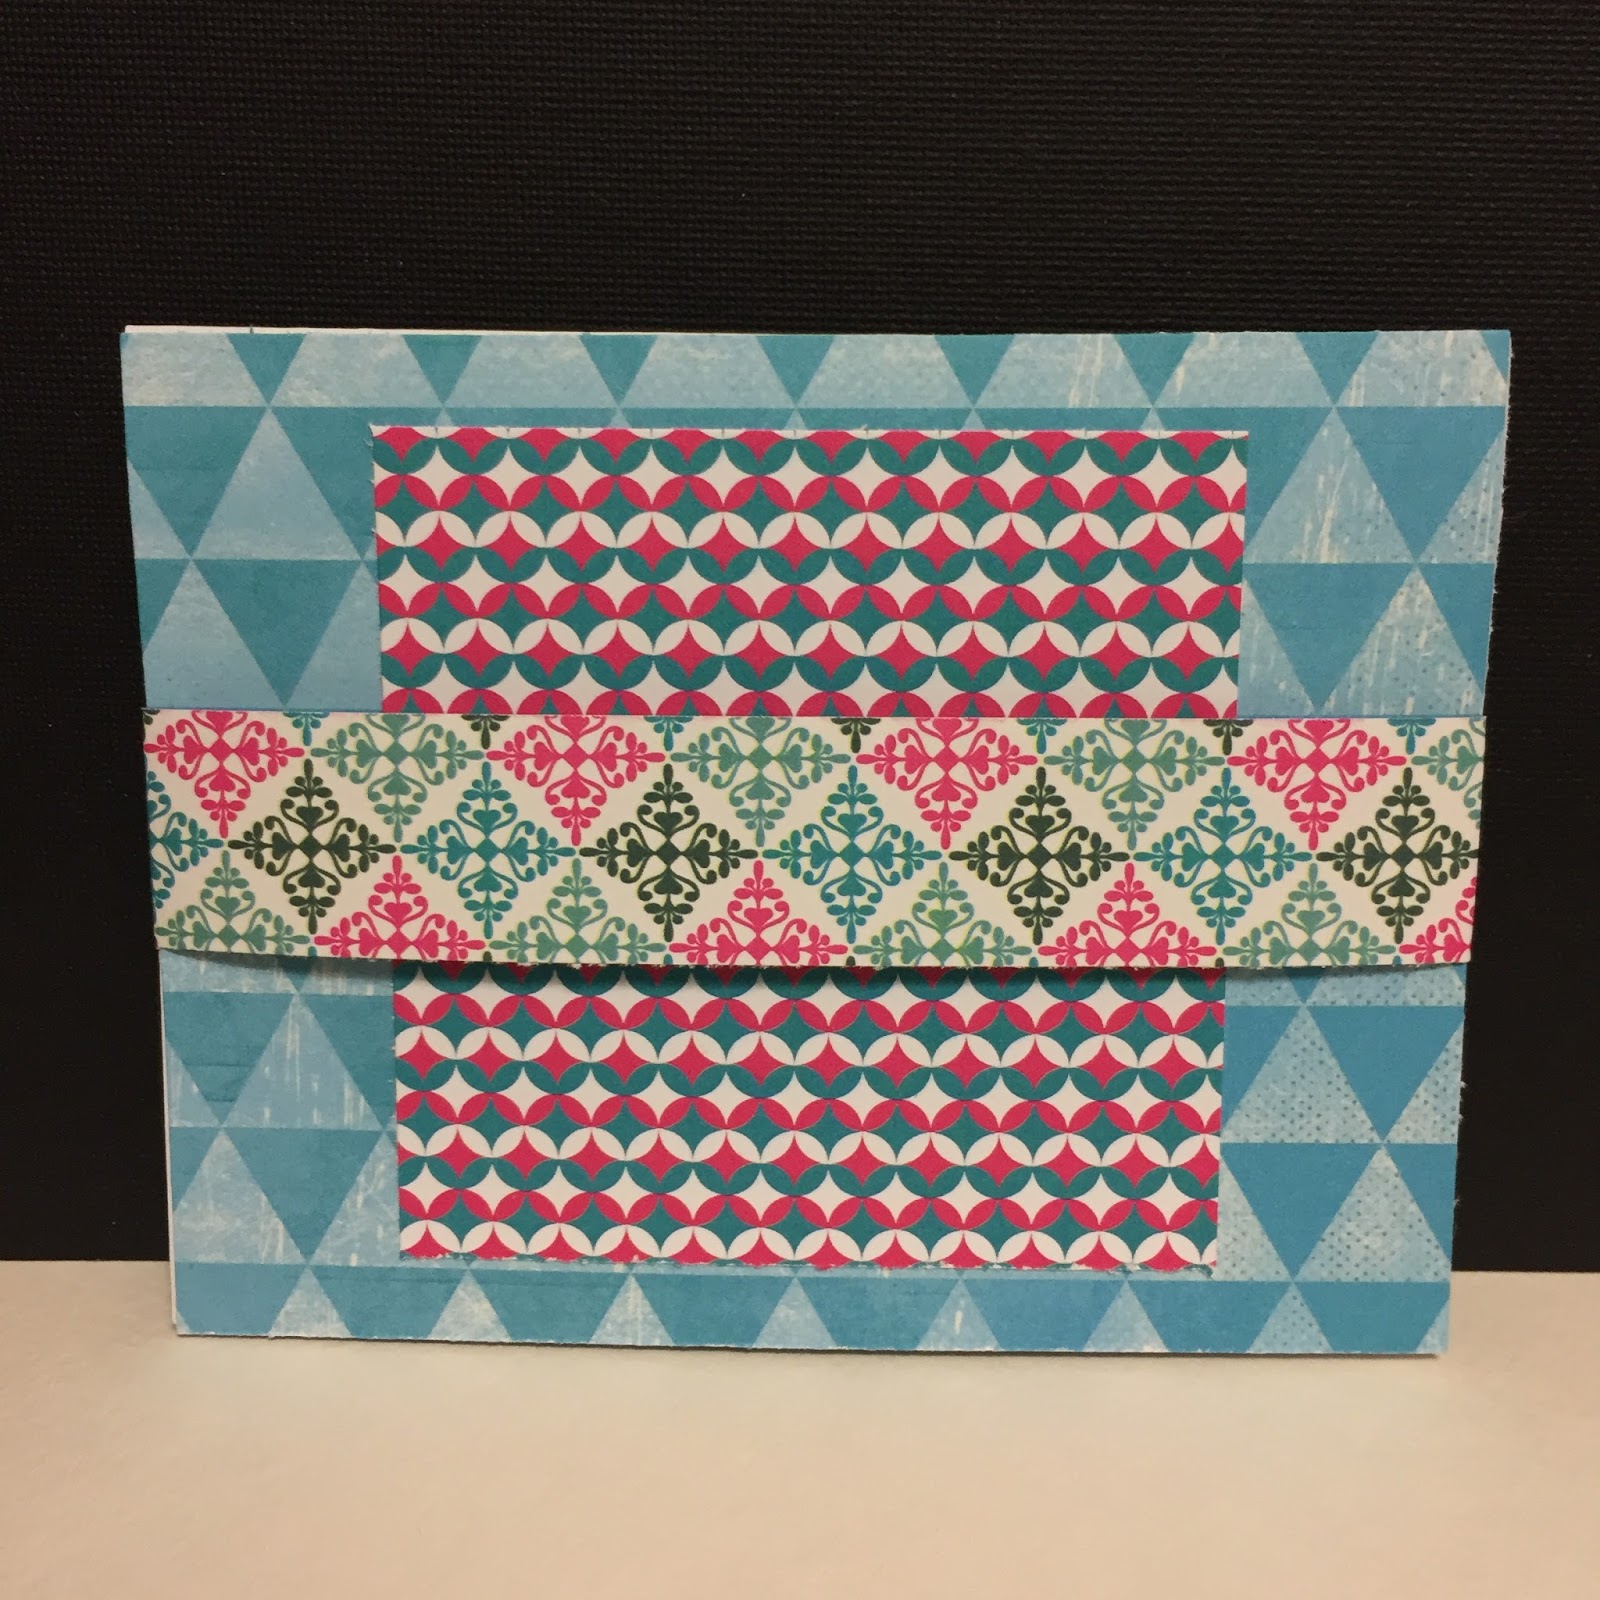
This card is motivational, but any occasion will work; Winter Bliss is my favorite collection right now, but you can use any of the beautiful Quick Quotes collections to make a project like this.  I hope you enjoyed this project and thanks for stopping by.

Quick Quotes Products Used:

Winter Bliss - New

Lawn Fawn Products Used:

Rooting for you - Stamps and Dies. Stitched Pop-Up


Happy Crafting!! A review of the Stamp Perfect tool is on its way (I love it!!!).

I Love You - Want2Scrap and Quick Quotes

How to, Paper crafting, Tutorial, Quick Quotes, Crafts, Coloring, Scrapbooking, Layout, StampsGabriela SimsComment

Hi everyone, Gabriela here today and I finally made a page I've been thinking about for a while. I thought it would be fun to make a page with a shaker window, so I tried it out. I used a chipboard cutout from Want2Scrap along with some of their bling and of course paper and ink from Quick Quotes. I scrapped a picture of my husband and I on vacation in New Orleans a few years ago, it's one of my favorite pictures of us and it seemed like a good fit for this page.

Me and my hubby on vacay! 

Me and my hubby on vacay! 

​Check out the video below!


Quick Quotes Products Used:

Urban Oasis - 101
Honeycomb - 105
Powder Puff Chalking Inks - Barn Board, Pixie Pink

Want2Scrap:
I Love You Chipboard
Self Adhesive Bling

Thanks for stopping over and happy crafting!  Please ask any questions below. 

Shaker Card with Quick Quotes and Stamps

How to, Cards, Crafts, Tutorial, Stamps, Diy, Quick QuotesGabriela SimsComment

Hi everyone, Gabriela here today with a Shaker Card using several different paper collections! This card will require your favorite paper, some acetate, stamps, and ink. Check out the video below to make this card.


Thanks for watching and happy crafting.

Quick Quotes Products Used:
Chiffon - 100, 103
Earth, Wind, Fire - 102
Whistlin' Dixie - 109
Powder Puff Chalking Inks - Mahogany and Pixie Pink

Stamp & Scrapbook Expo 2016

Craft Haul, Paper crafting, Scrapbooking, Color, Crafts, Scrapbook Expo, Storage, Quick Quotes, Reviews, Supplies, Shopping, Stamps, CardsGabriela SimsComment

So this was my first year going to Scrapbook Expo and I got my entire life from it! There were so many booths and activities! I had no idea what I was missing but now that I have seen the crafty promised land, I am already excited about next year. There is a Mega Make & Take on Thursday night and then an all day crop on Saturday and Sunday. The shopping floor is also open on Friday & Saturday and classes are offered on those two days as well. 

The break area and the crop.

The break area and the crop.

The side with the vendors/exhibitors had lots of product but also lots of space to move around and be comfortable. 

The shopping floor. 

The shopping floor. 

I went with one of my coworkers and it was also her first time, so we wanted to try everything so we did a Make & Take with Fun Stamper's Journey and Richard Garay was there! We made this super cute Christmas tag and even got a free stamp. 

This is cool and it only took about 15 minutes. 

This is cool and it only took about 15 minutes. 

Cool stamp and it was free. 

Cool stamp and it was free. 

I also spotted Quick Quotes at the expo. 

image.jpg

I had a fantastic time and bought a bunch of amazing products that you can see in the photo below!

Scrapbook Expo Haul

Scrapbook Expo Haul

Expect to see some videos soon of these amazing products in action. Happy crafting!!!

The Silhouette Mint is Giving Me Life! (Review)

Reviews, Stamps, Cards, Tools, Diy, Paper crafting, Crafts, Silhouette, Tutorial, Supplies, Scrapbooking, Color, How toGabriela SimsComment

I recently purchased s Silhouette Mint because I love stamping and I also make a lot of handmade cards. I have been wanting a custom stamp for a long time, but I hadn't gotten around to sending my design out to have it done. So before I ordered this, I read a ton of reviews because it's on the expensive end and it has a really specialized function, so I wanted to be certain. Also this would be my first Silhouette machine, I have a Cricut Explore that I love, so I was not sure what to expect. I can honestly say I'm very impressed! The machine is very compact and lightweight, it comes with 2 stamps/stamp kits, 4 ink colors, 1 month of Silhouette Studio, and a software CD.  I have a Mac and downloaded the software from the website.


image.jpg

The included stamps are 30mm x 30mm and 15mm x 60mm. I used the rectangle to make a stamp for my website. The directions are very easy to follow and I was creating my stamp in about 10 minutes. The design software is easy to navigate and reminds me of Cricut Design Space, so I was comfortable after a few minutes.  I printed my stamp and then removed it from the clear wrapping.


image.jpg

Each set comes with a wood block to mount your stamp to and labels you can stamp to identify your image.


image.jpg

I inked up my stamp and only had a little trouble because my letters are so small, I'm going to ink it again later to see if that helps even out the image. 


image.jpg

I'm very happy that I bought this and I would recommend getting a few more stamps when you have a chance as this only comes with two. Also there are additional ink colors available, I ordered magenta when I ordered my machine. Each stamp will imprint about 50 times before you have to re-ink it, so far I've stamped about 20 images and it still looks good.  If your craft budget allows, definitely get one, happy crafting.