Here's my work for day 2!
Original drawing by me!
A Hero Arts background stamp with an Avery Elle stamp set and some Copic Ciao markers.
Happy crafting!
An engineer's creative corner studio.
Here's my work for day 2!

Original drawing by me!
A Hero Arts background stamp with an Avery Elle stamp set and some Copic Ciao markers.
Happy crafting!
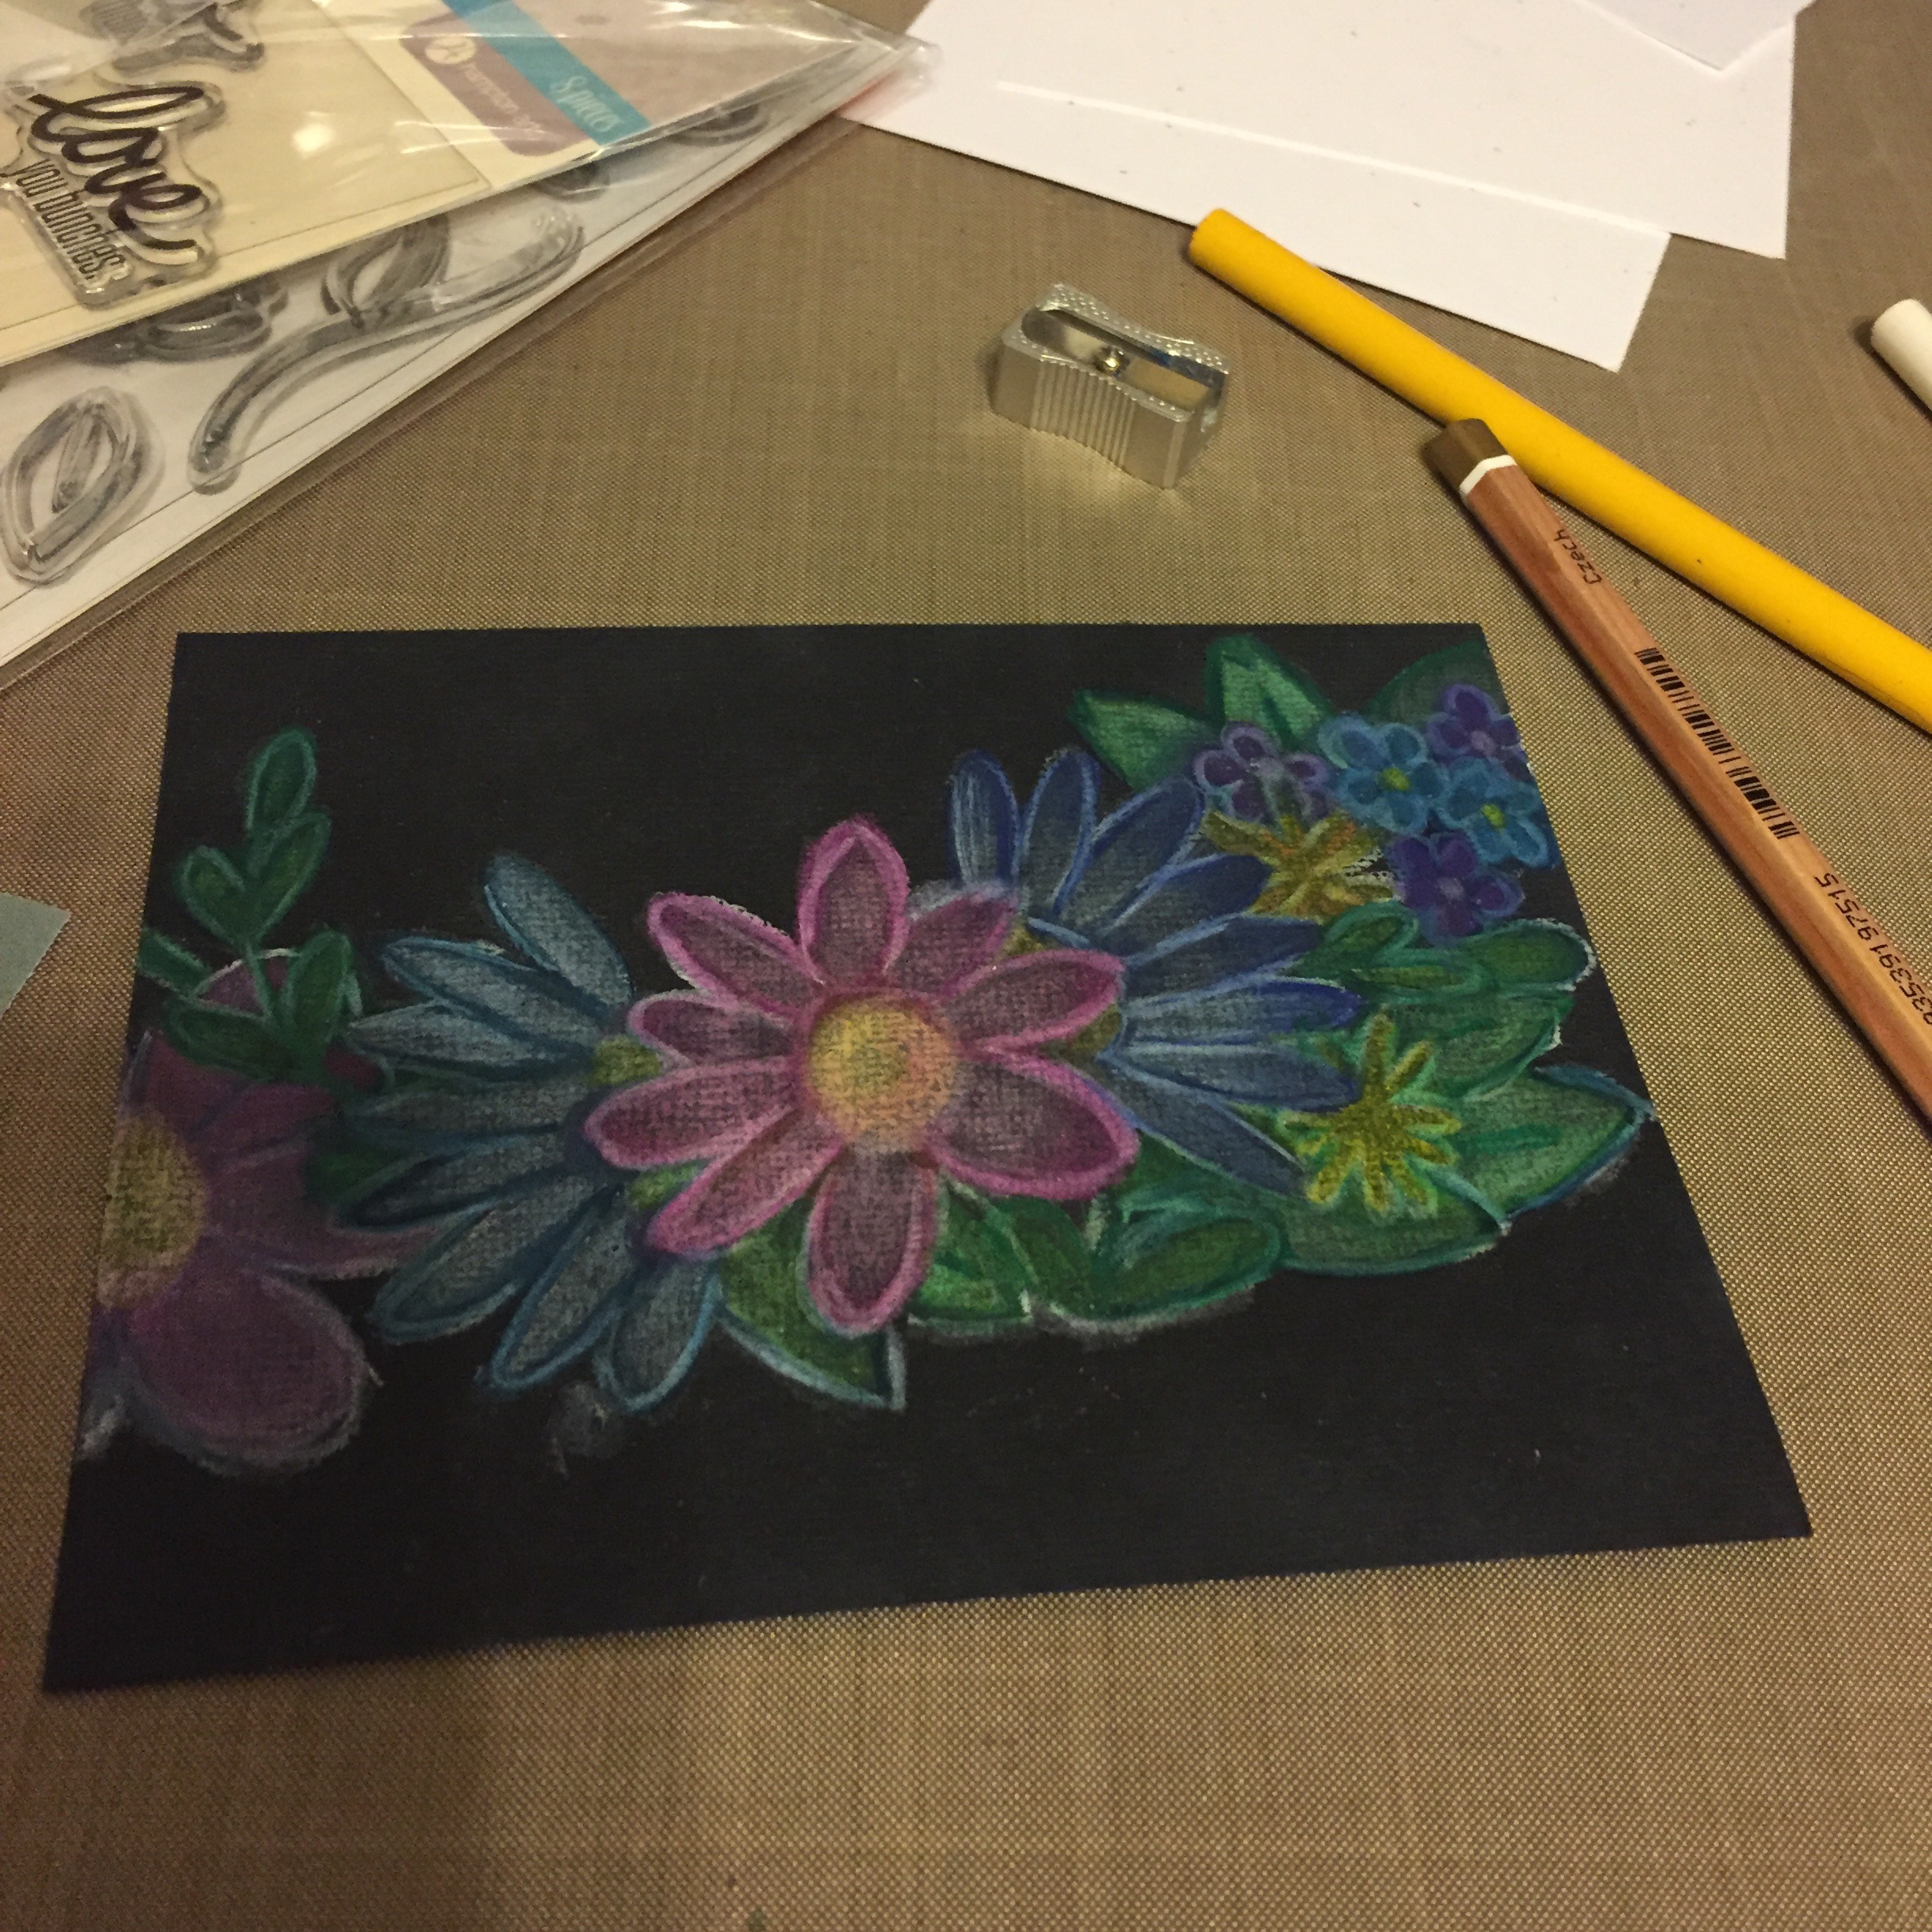
So I have been participating in the #sisterswithheartinart challenge on IG, and every week there's a new prompt, this week was "Peacock", so I took it all the way. I started by drawing on black card stock.
I used Prismacolor pencils.

Then I colored the body in and cut out the outline.

Just the body, but I left the bottom connected.
Then I got my bag of feathers.
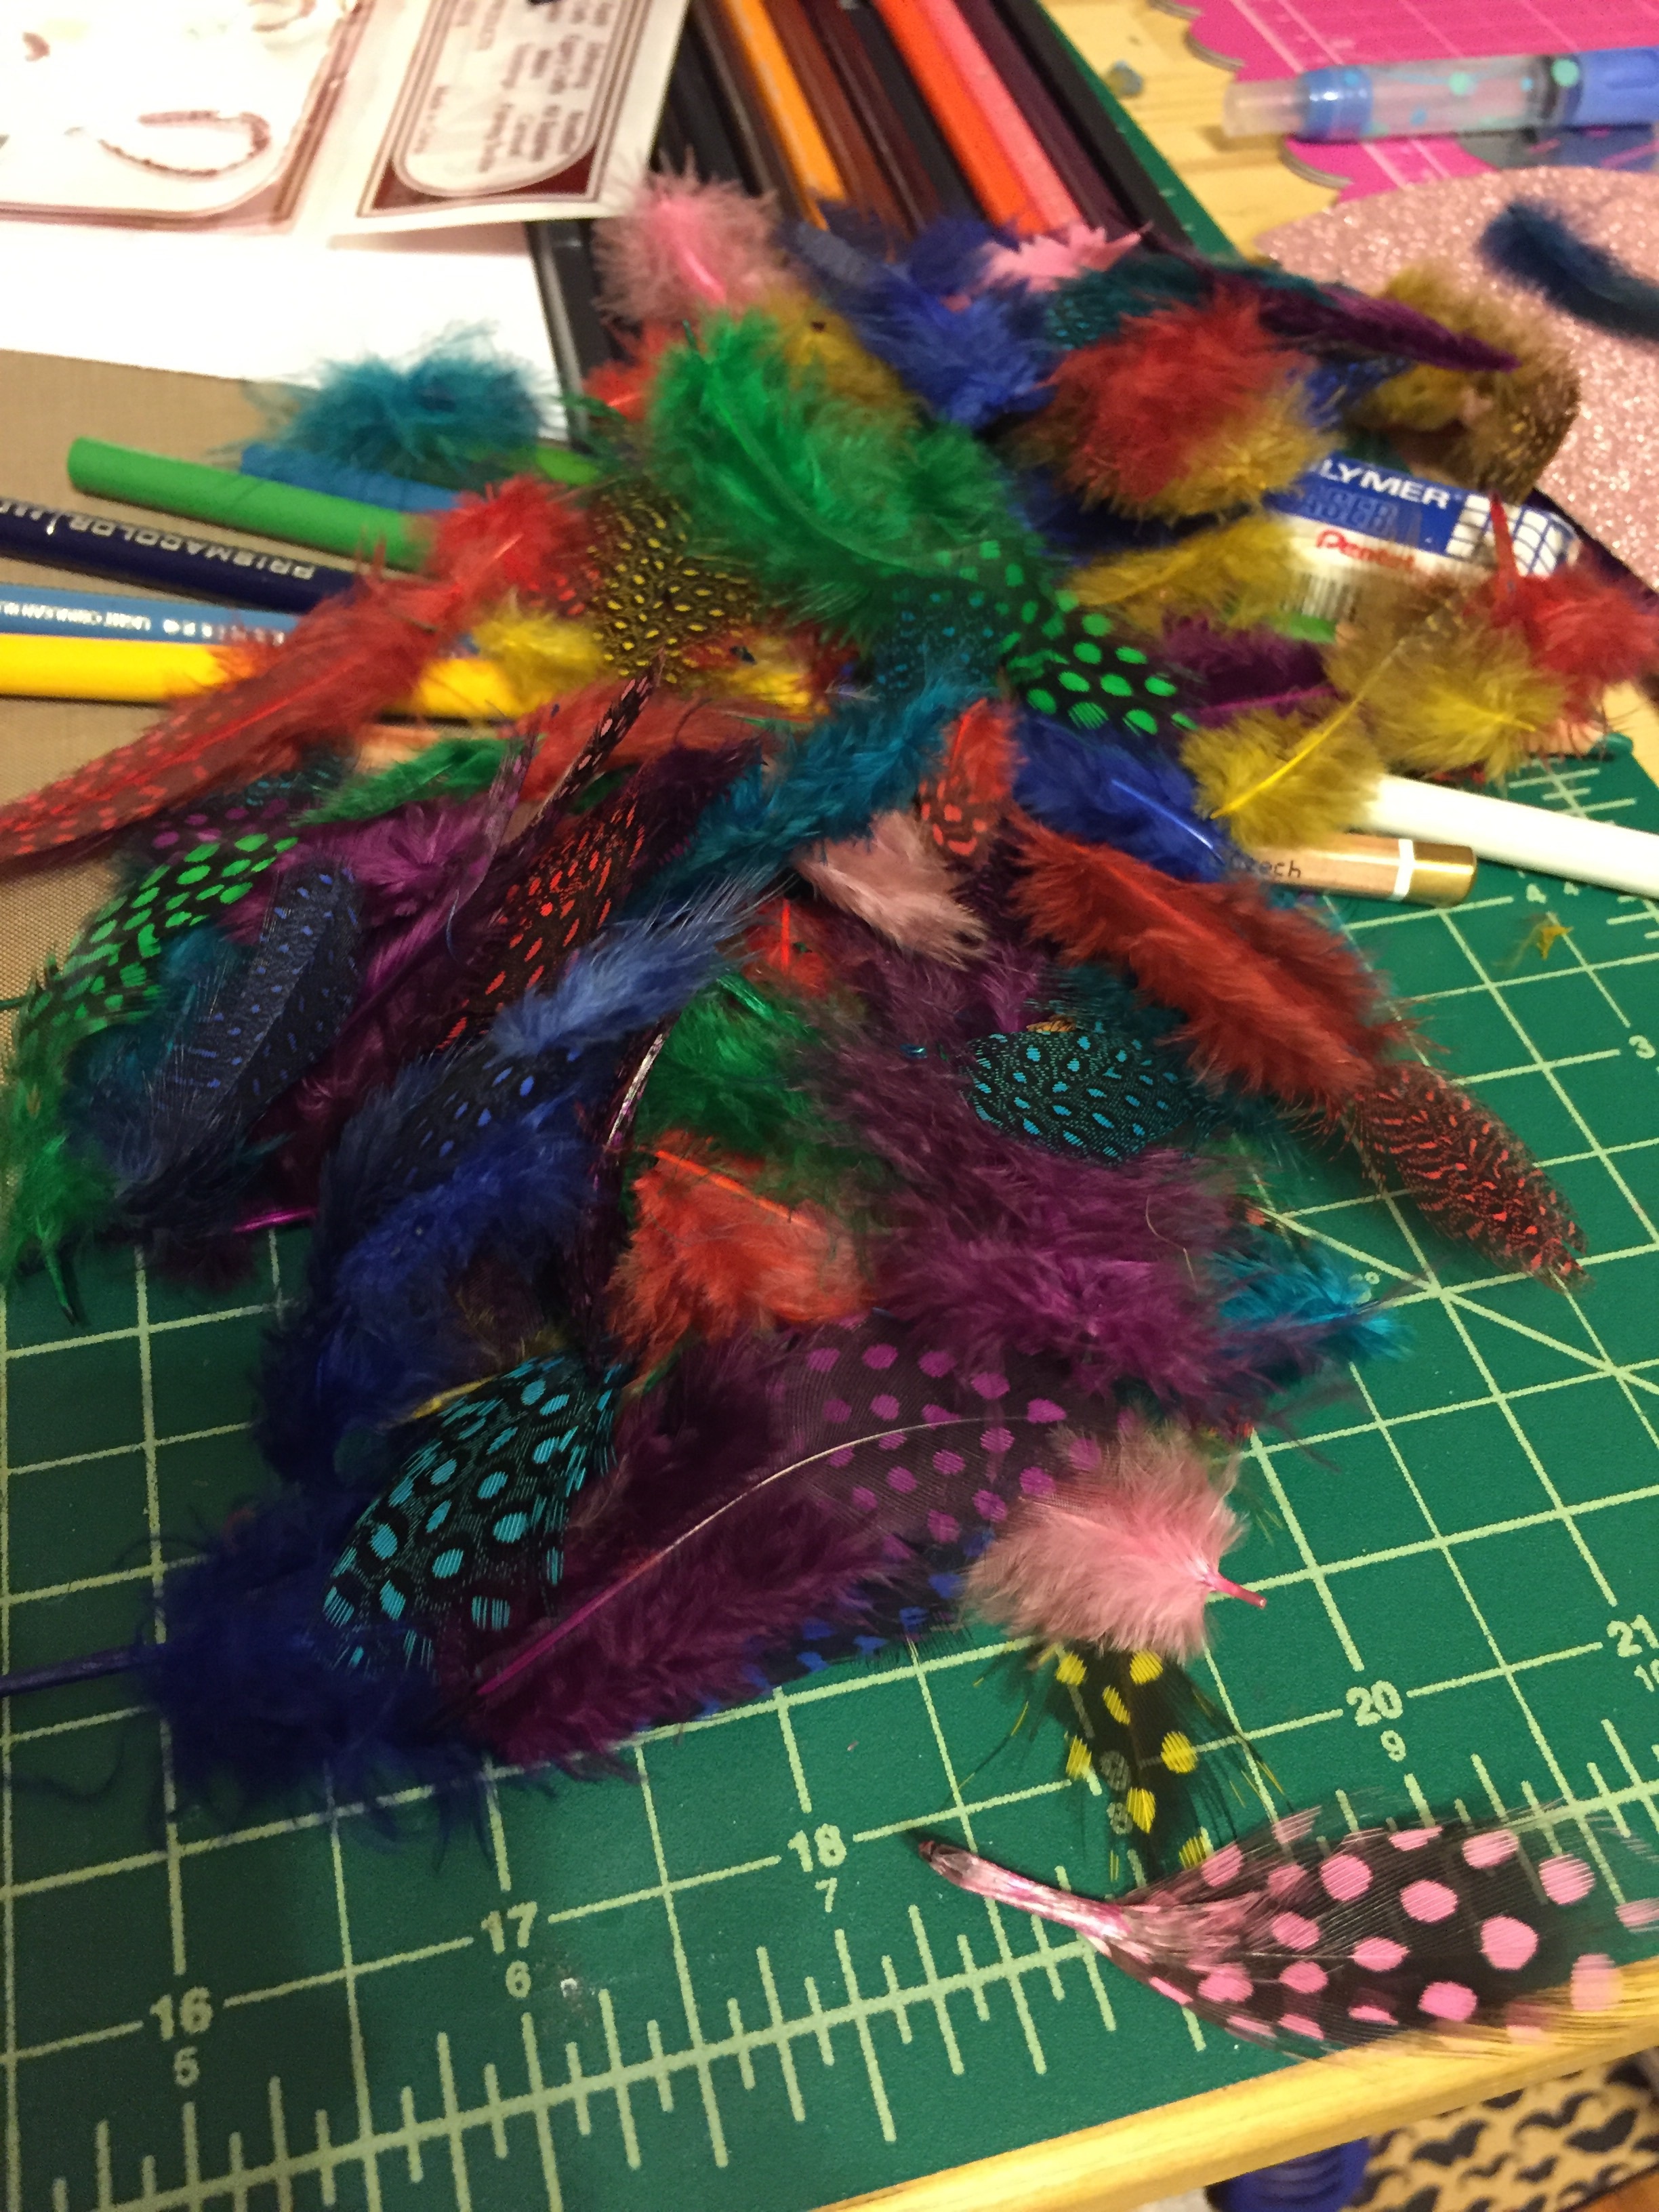
Might be messy...
Then arranged them behind the body.

First feather.
Then I attached it all to a distress inked background. I also hand lettered the quote and mounted it on glitter paper.

So many feathers!
This did take a while, but It was really fun, next post will be my first post for Quick Quotes! Happy crafting!
I was thinking of something fun to do for my friend, she's a teacher, and I thought personalized notecards would be a good idea. I made 10 cards using a small Recollections stamp set I've had forever, a scallop punch, some distress inks, and some Copic markers.

Halfway through the process.
It took me about an hour to make them and then I let the Stickles dry, so let's say an hour and a half. I made two of each design.
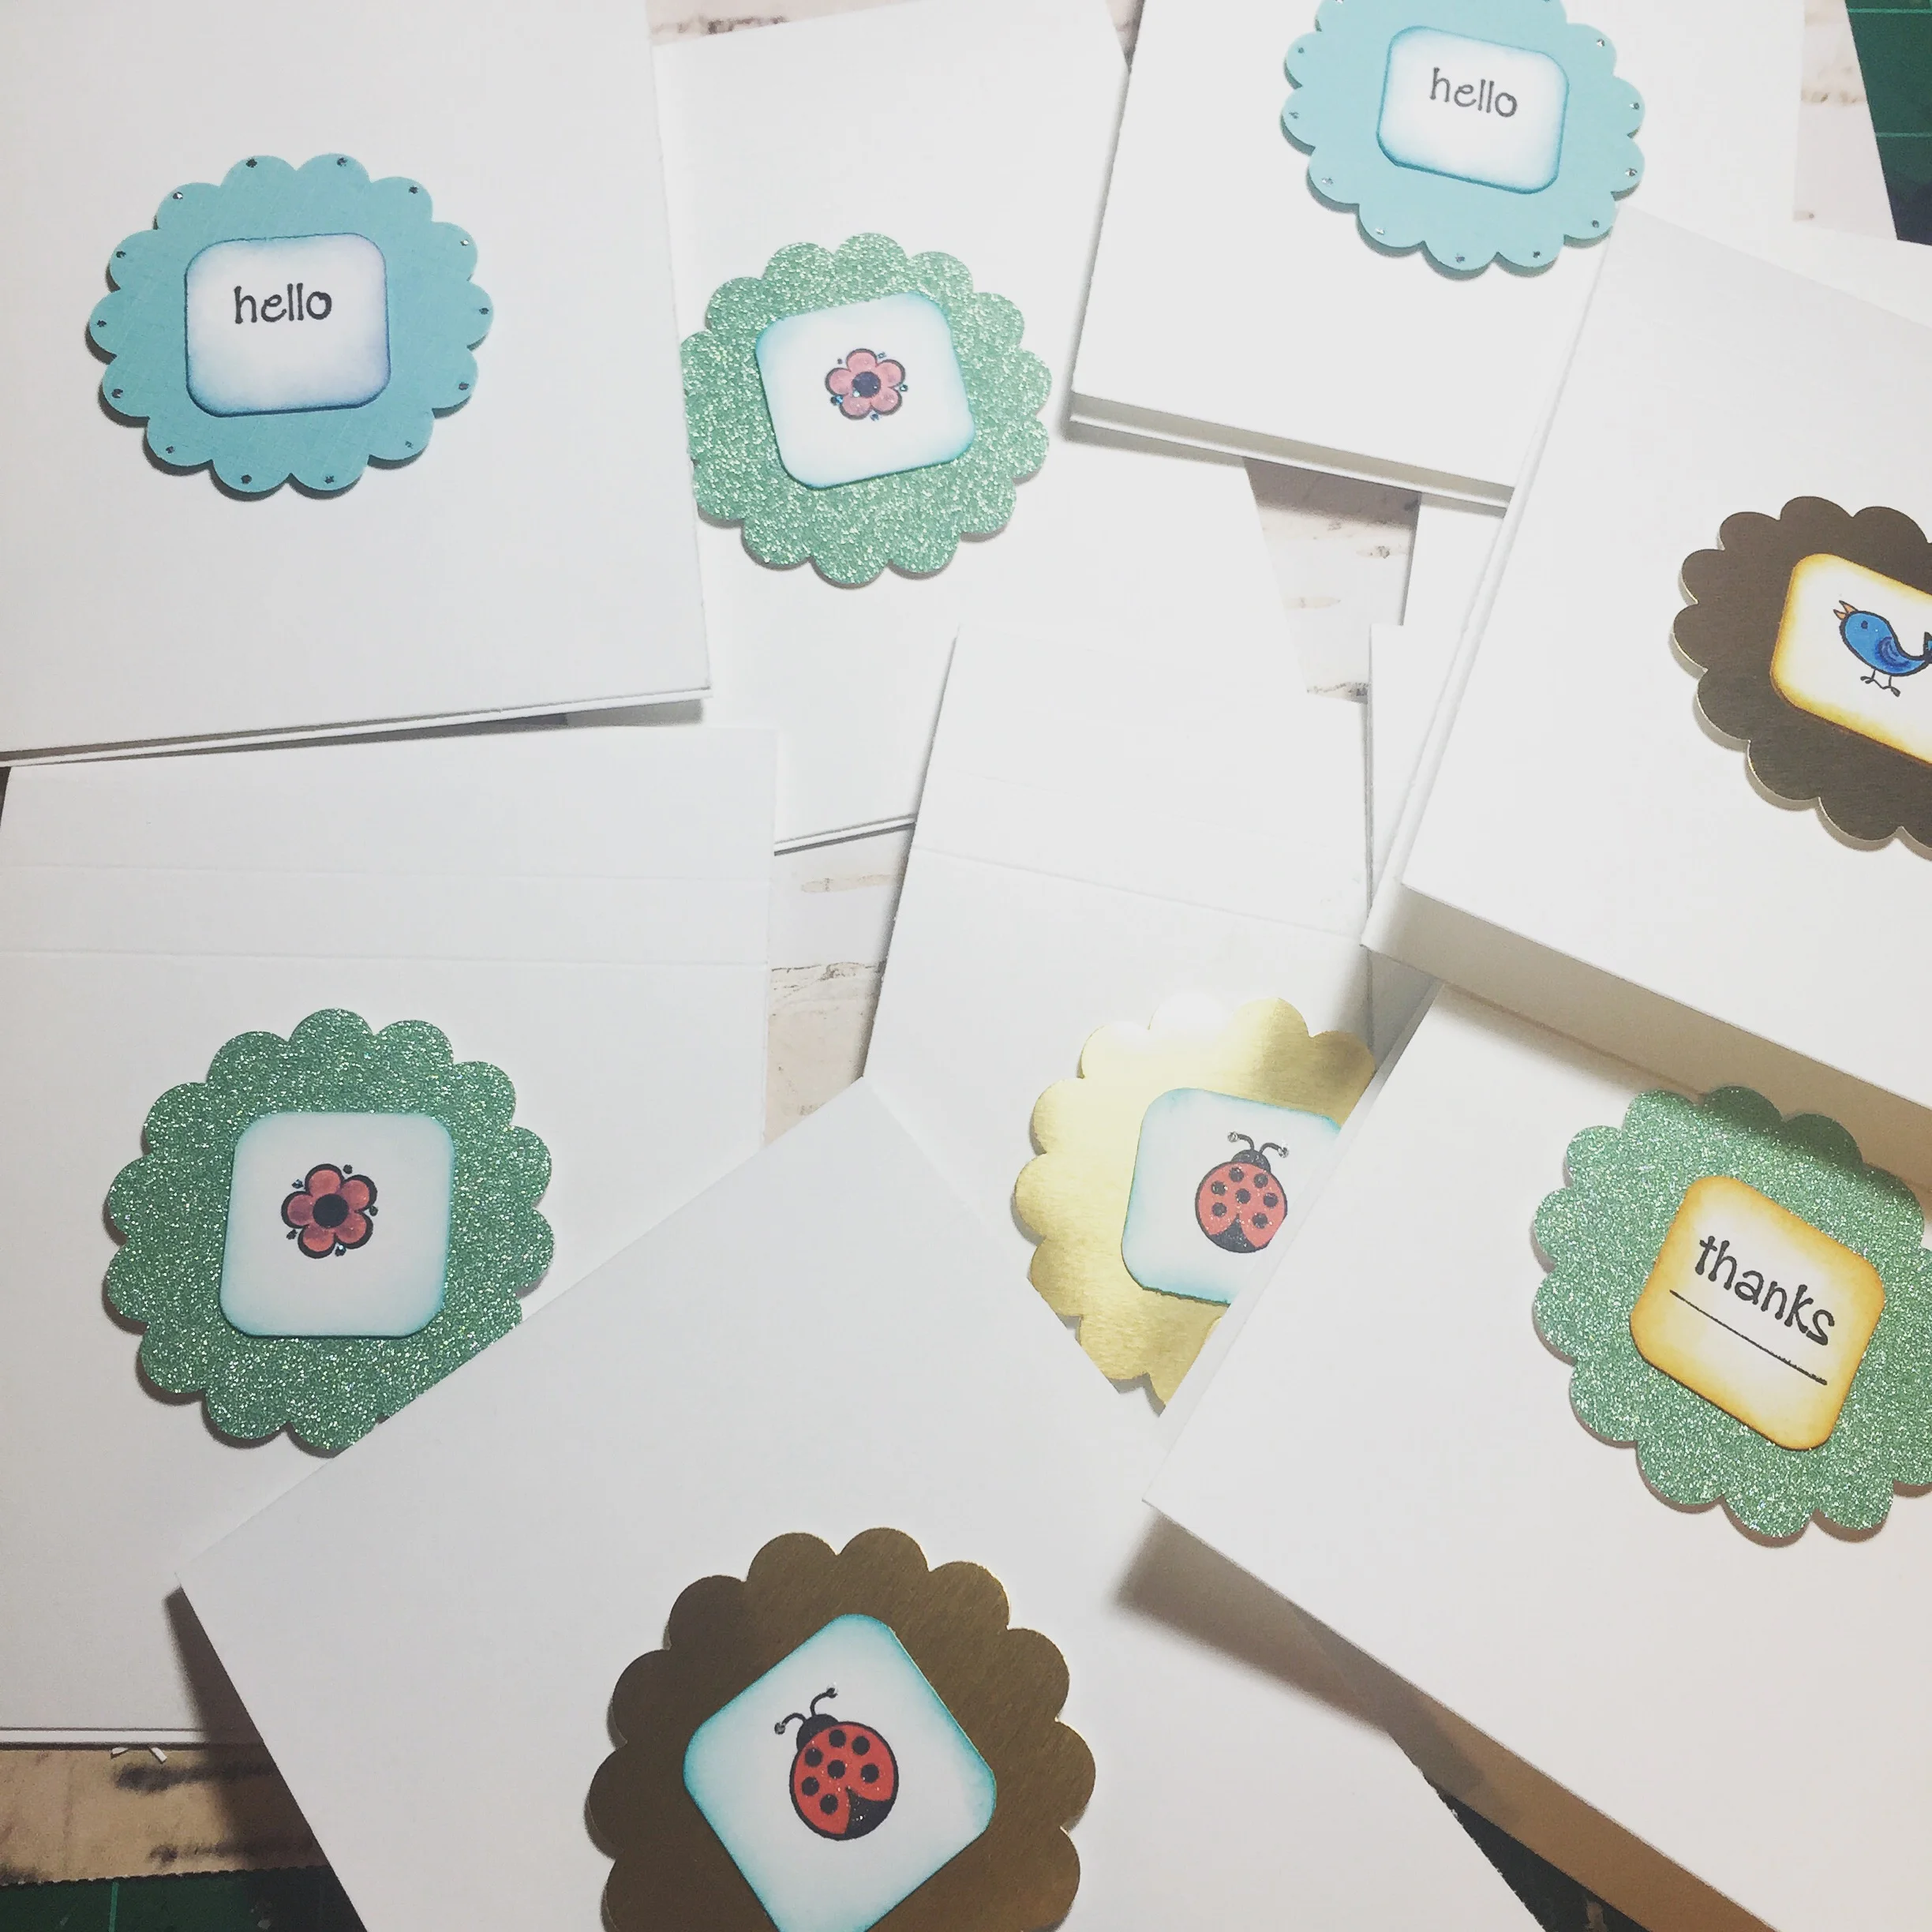
Before being personalized.
Then I made a word document to add the name and cut it out, then rounded and inked the edges.
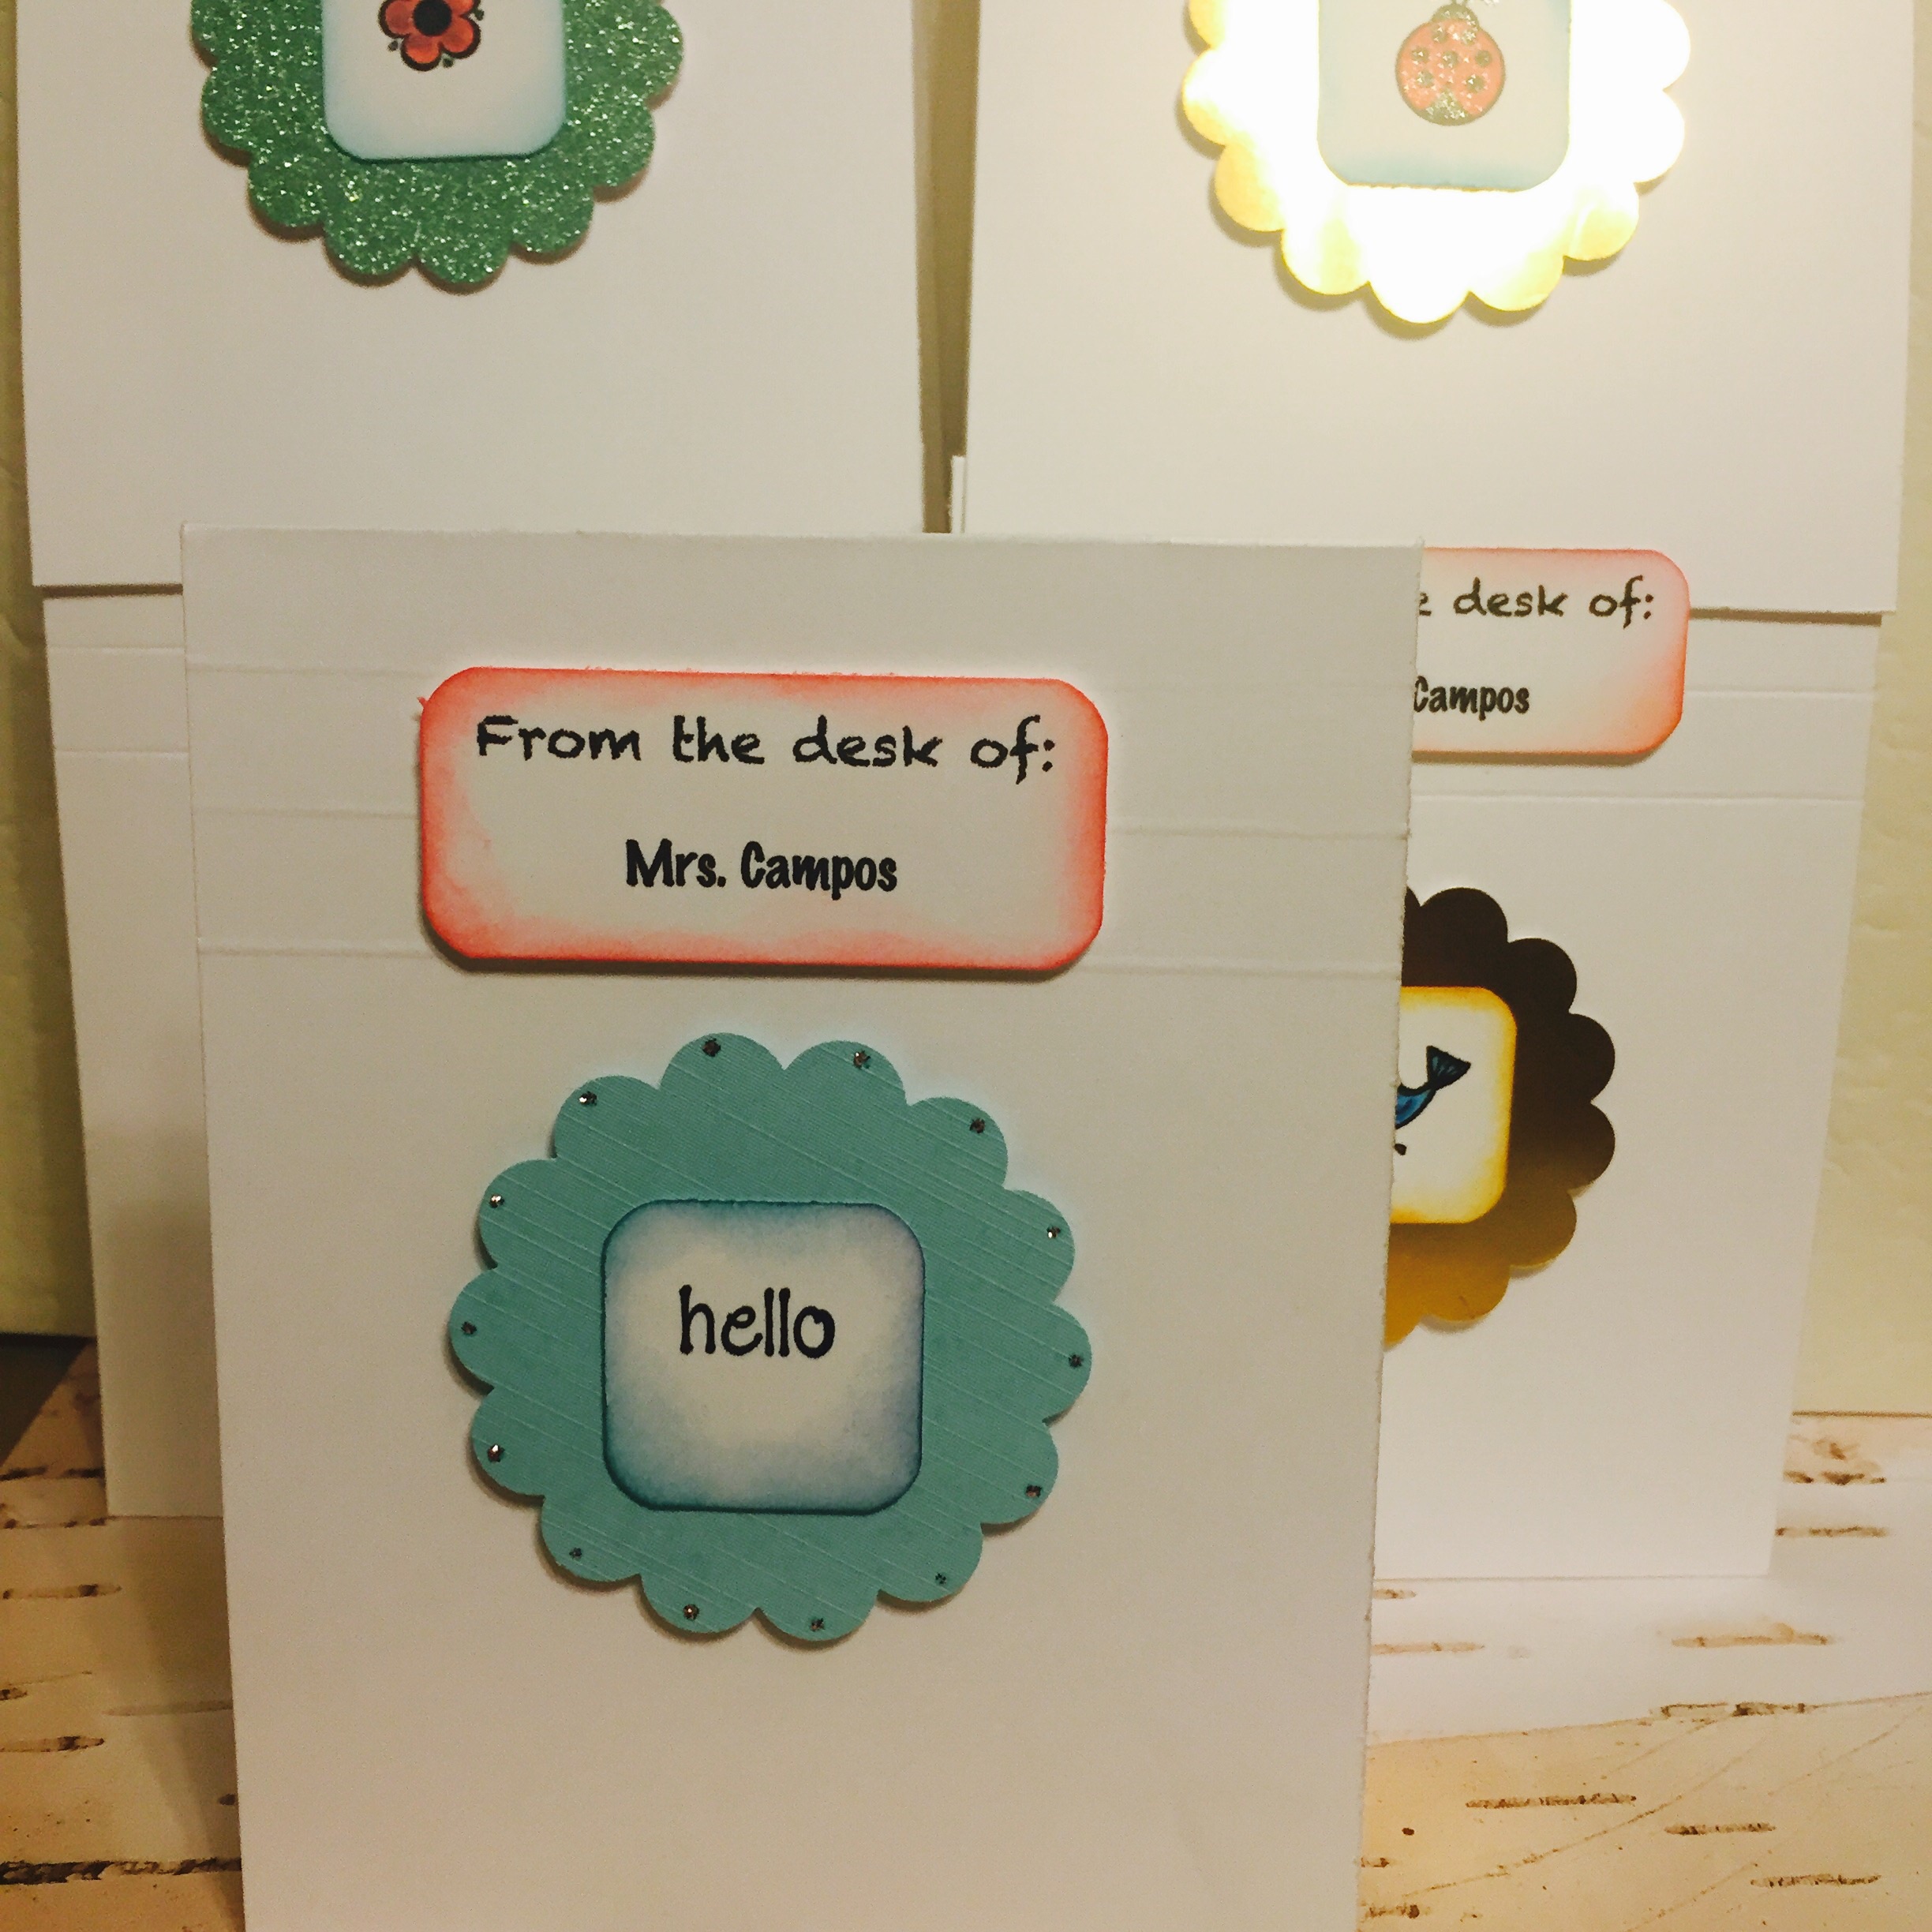
I also added a little Wink of Stella to some of them.
Now I'll put them in an acetate box and mail them to her for some awesome happy mail. Try these out, they're super easy to make and they will give you a chance to use any small stamps you have around, happy crafting!
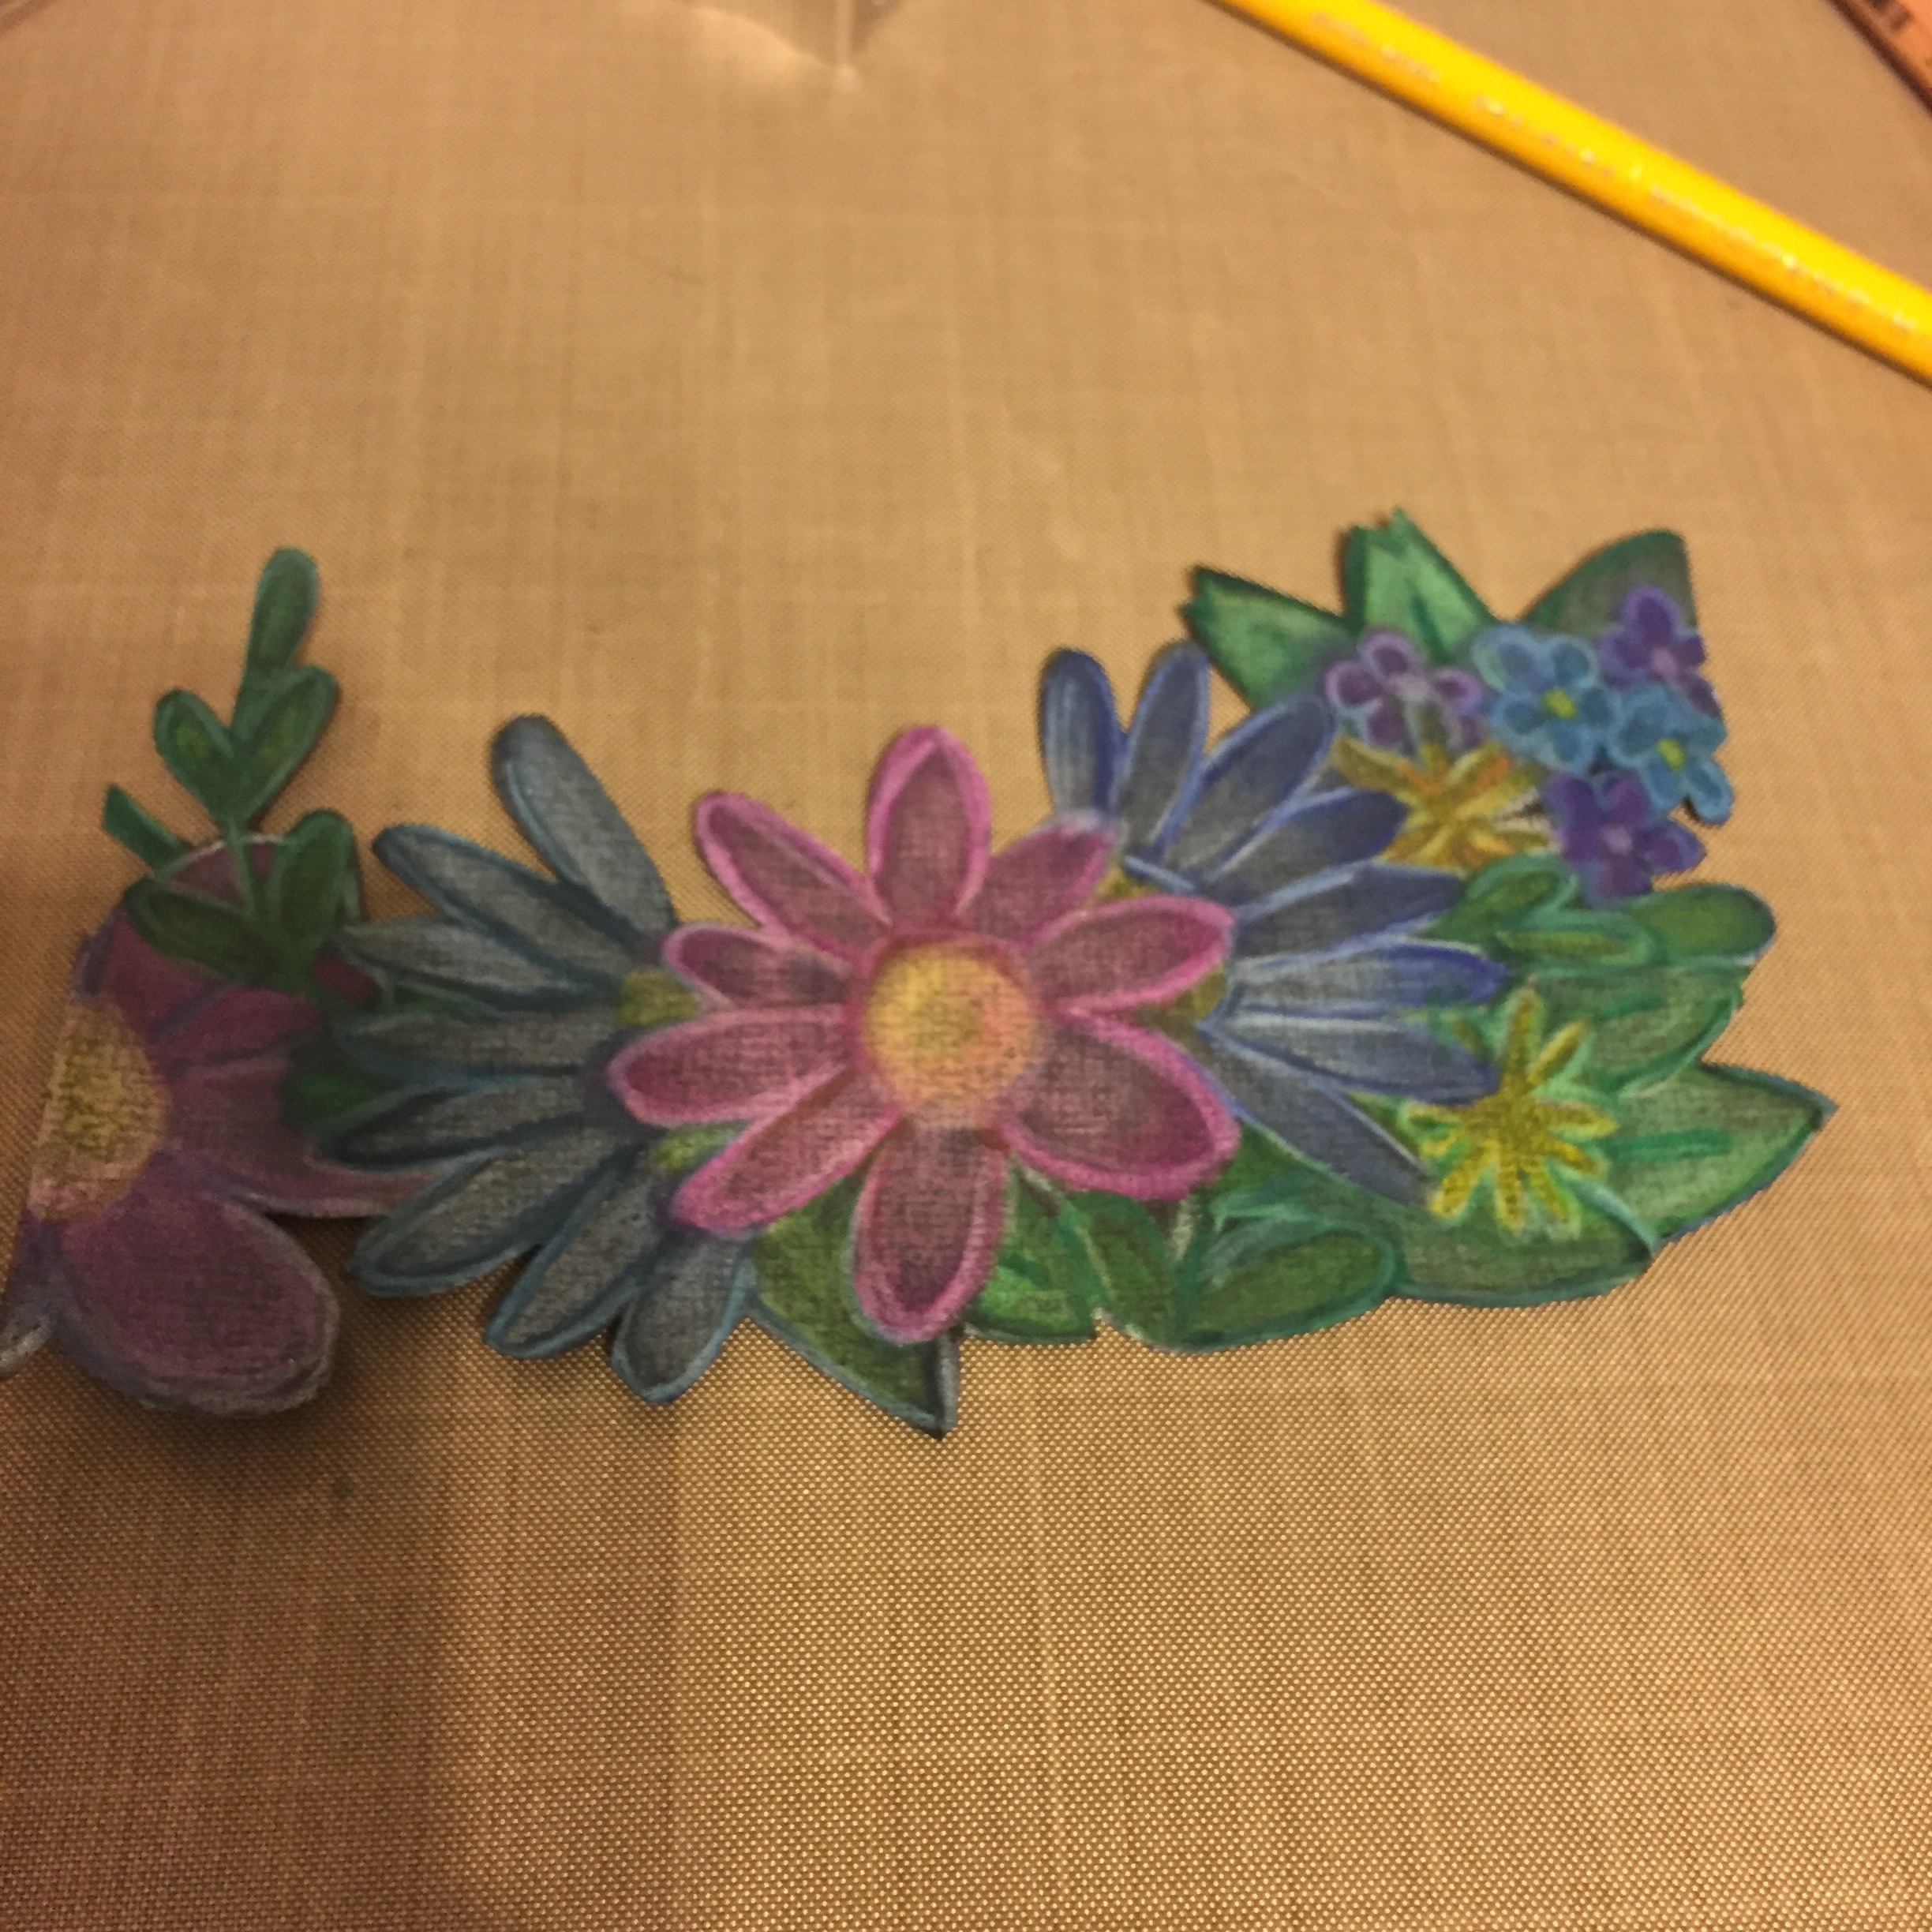
I wanted to try doing some colored pencil work on black card stock and decided to do some masking as well.
i started by stamping white ink on black card stock.

This is my main image, so it goes first, everything stamped after it will appear "behind" this.
I finished my image and then masked all parts.

Masking done.
Then I colored in the image.
All colored in.
Then I fussy cut the image.
Then I adhered it to foil card stock.


Then that was trimmed and adhered to the base and the sentiment was stamped and embossed.

And the finished product after adding some accents with a white gel pen.
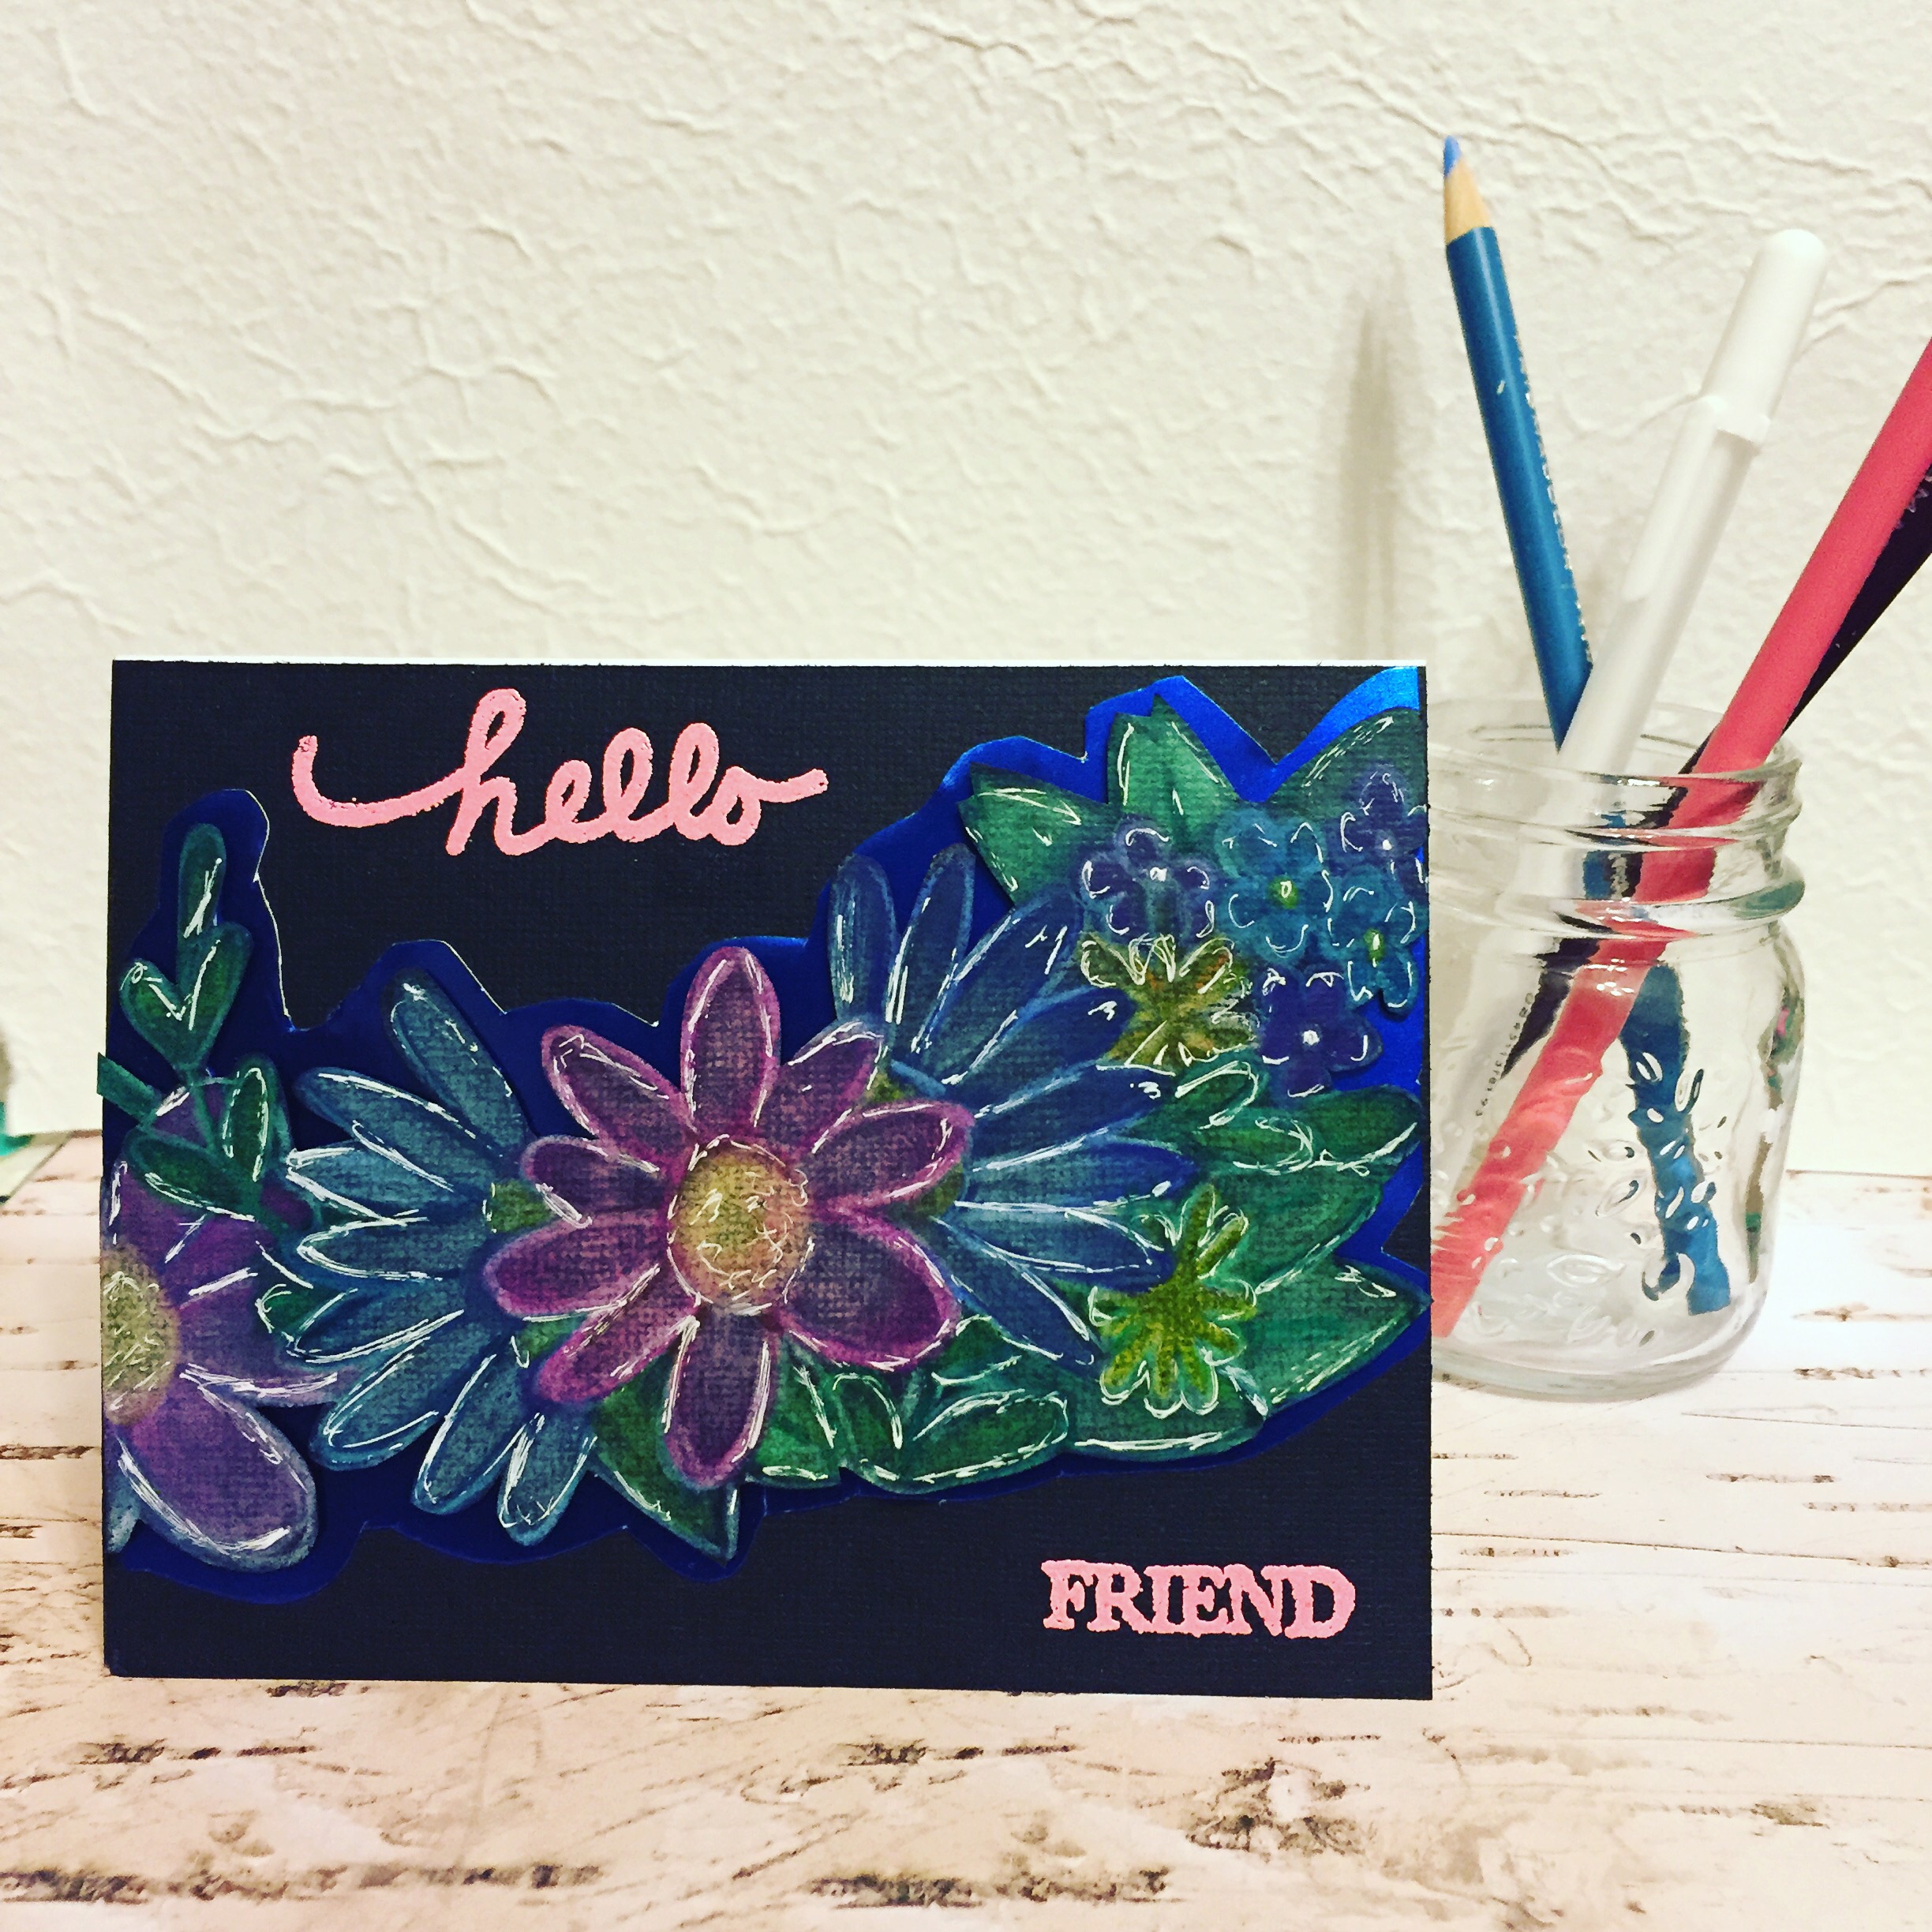
Done!
I used some flower stamps for this, but you can really use any image you want to color. I used Prismacolor pencils and a blender. Happy crafting!
Hi everyone! This post just to capture the last of my cards and artwork for the week. I made this card for a challenge, the prompt was "Cup".

#muglife
This was done by drawing the cup on watercolor paper, using Tombow brush pens to color and then embossing the #muglife.
i also found the time to do some more hand lettering.

Market and pen on white Bristol
I used a mixture of Pitt artist pens, Sharpie Fine, Le Pen, and Copic markers for this one. Took about 2-2.5 hours from start to finish, hopefully I'll get faster. I'll be starting next week with a 10 minute card, until then Happy Crafting!