Gab with Gaby

An engineer's creative corner studio.

Supplies

Colored pencil on black card stock

Graphic, How to, Supplies, Tutorial, Color, Cards, Crafts, Coloring, Tools, Paper craftingGabriela SimsComment

I wanted to try doing some colored pencil work on black card stock and decided to do some masking as well.

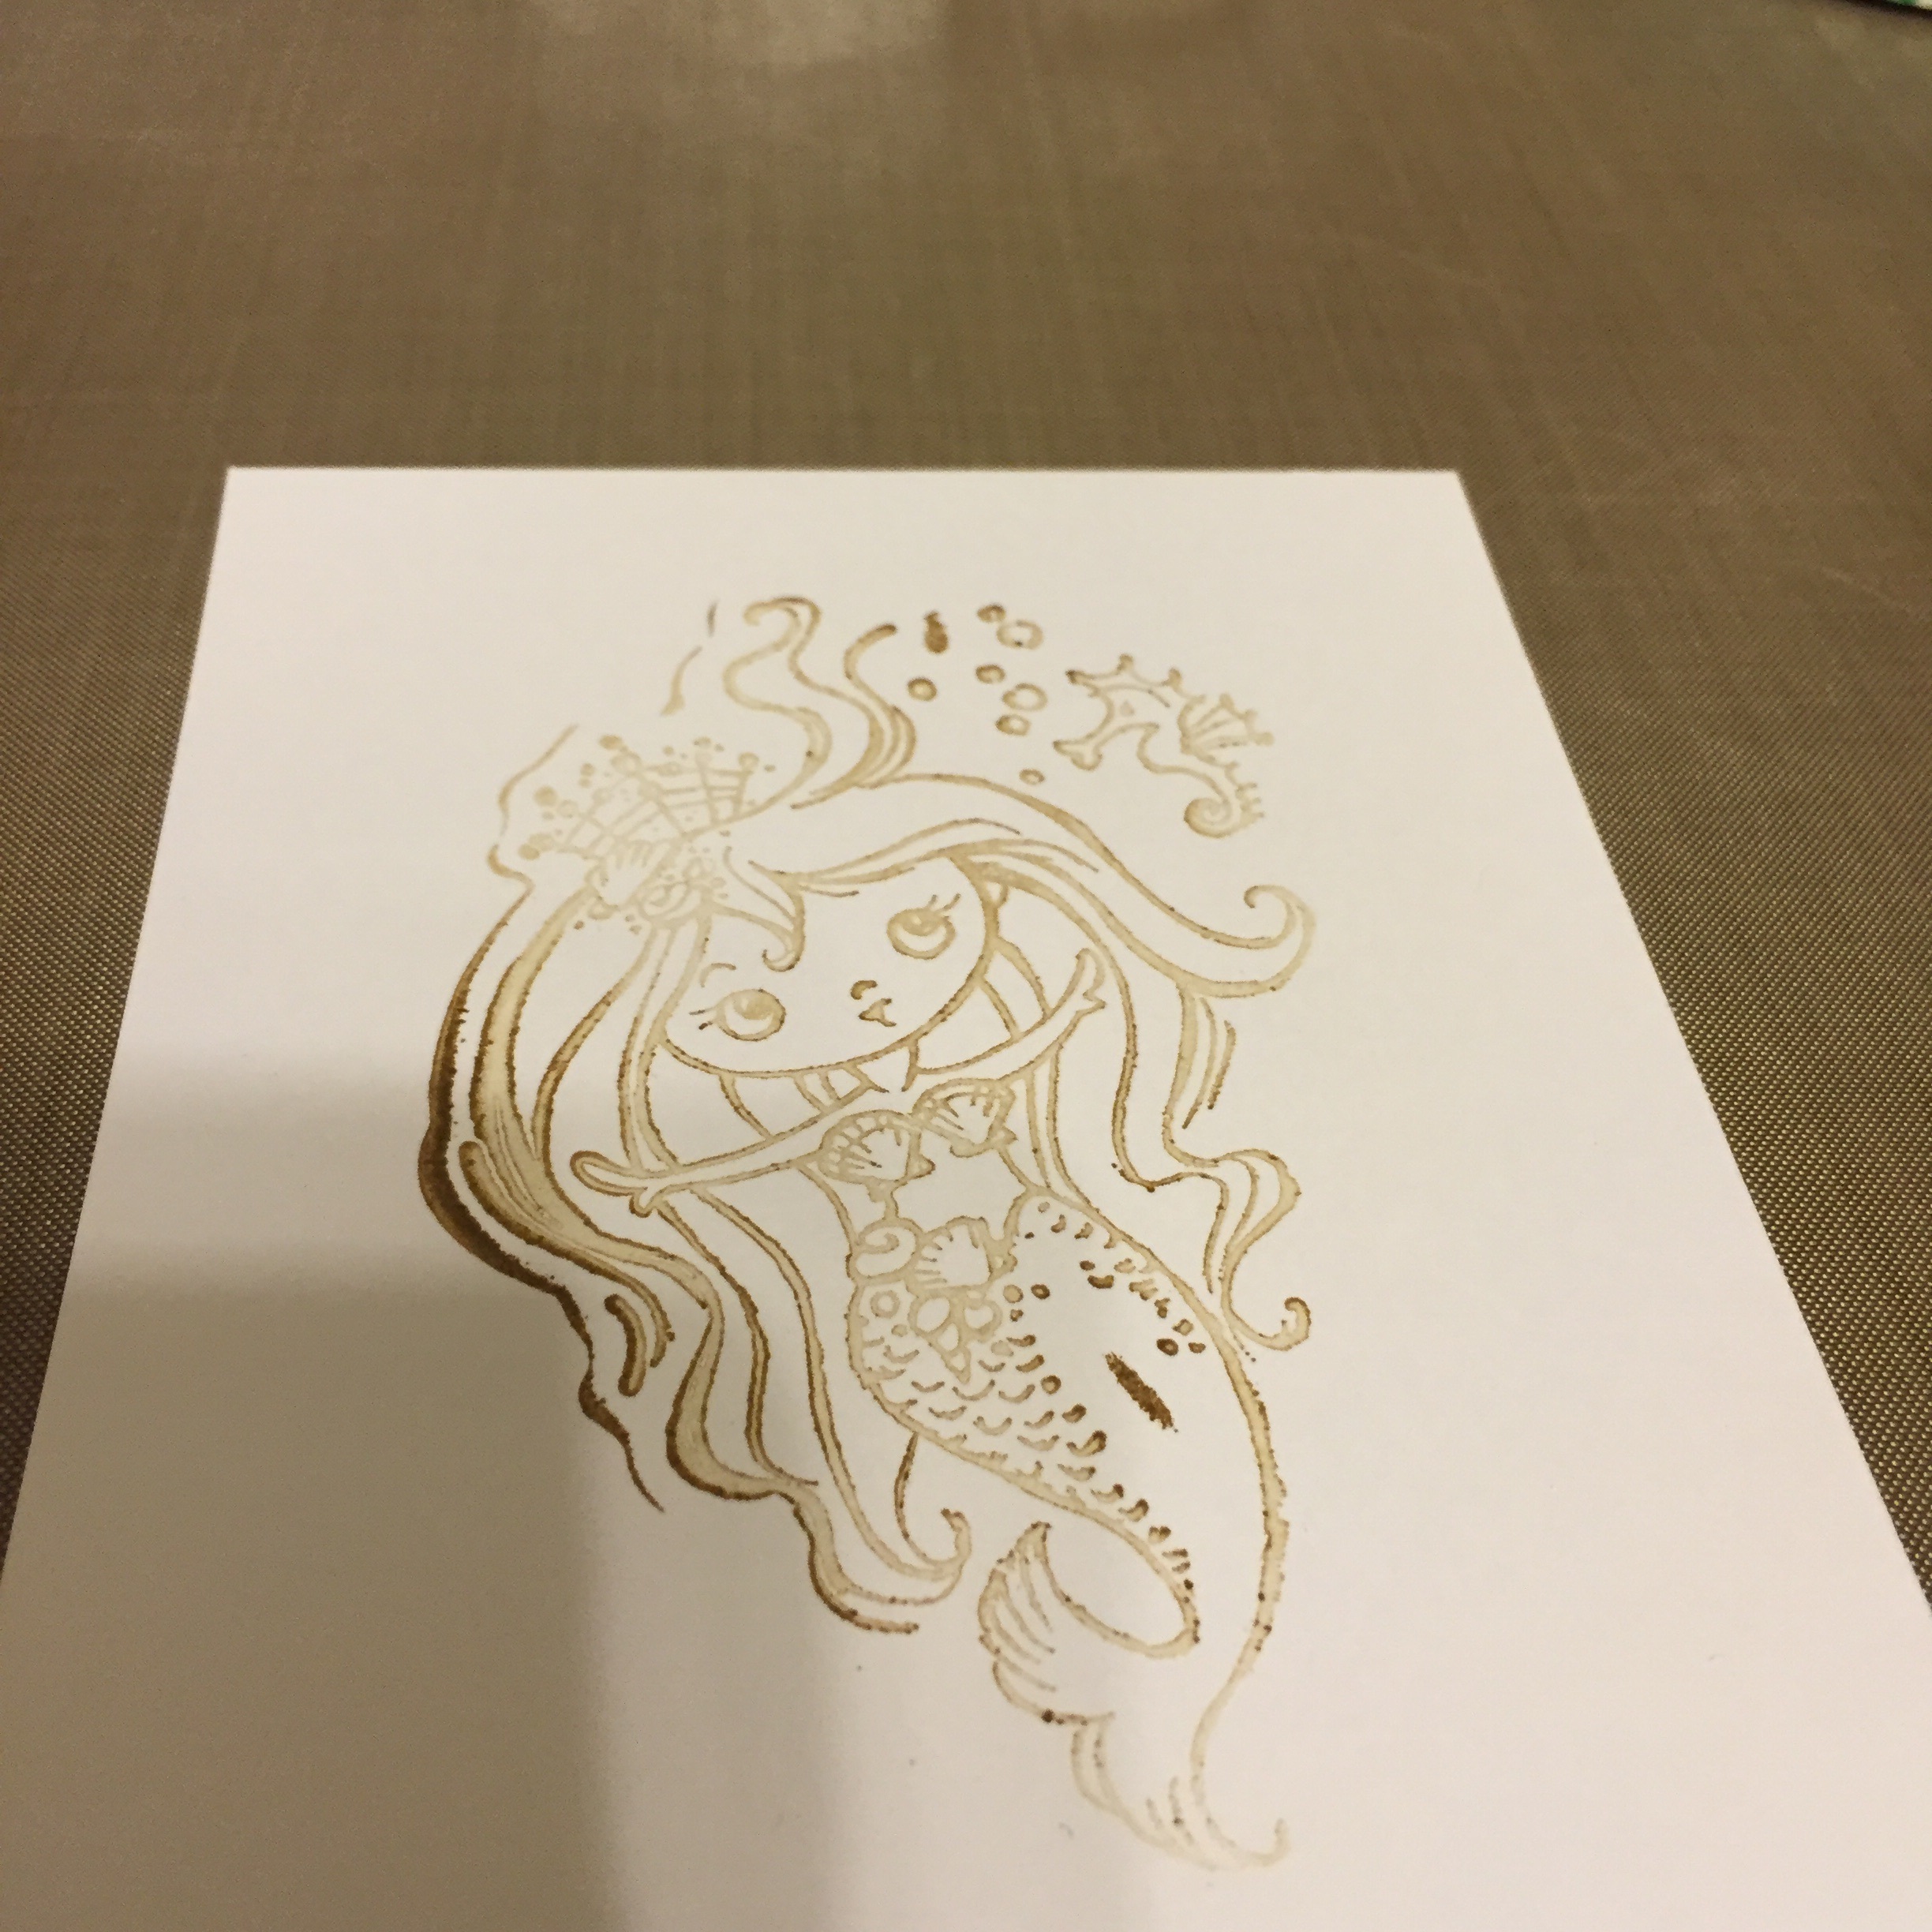
i started by stamping white ink on black card stock.  


This is my main image, so it goes first, everything stamped after it will appear "behind" this. 

This is my main image, so it goes first, everything stamped after it will appear "behind" this. 

I finished my image and then masked all parts. 


Masking done. 

Masking done. 

Then I colored in the image. 
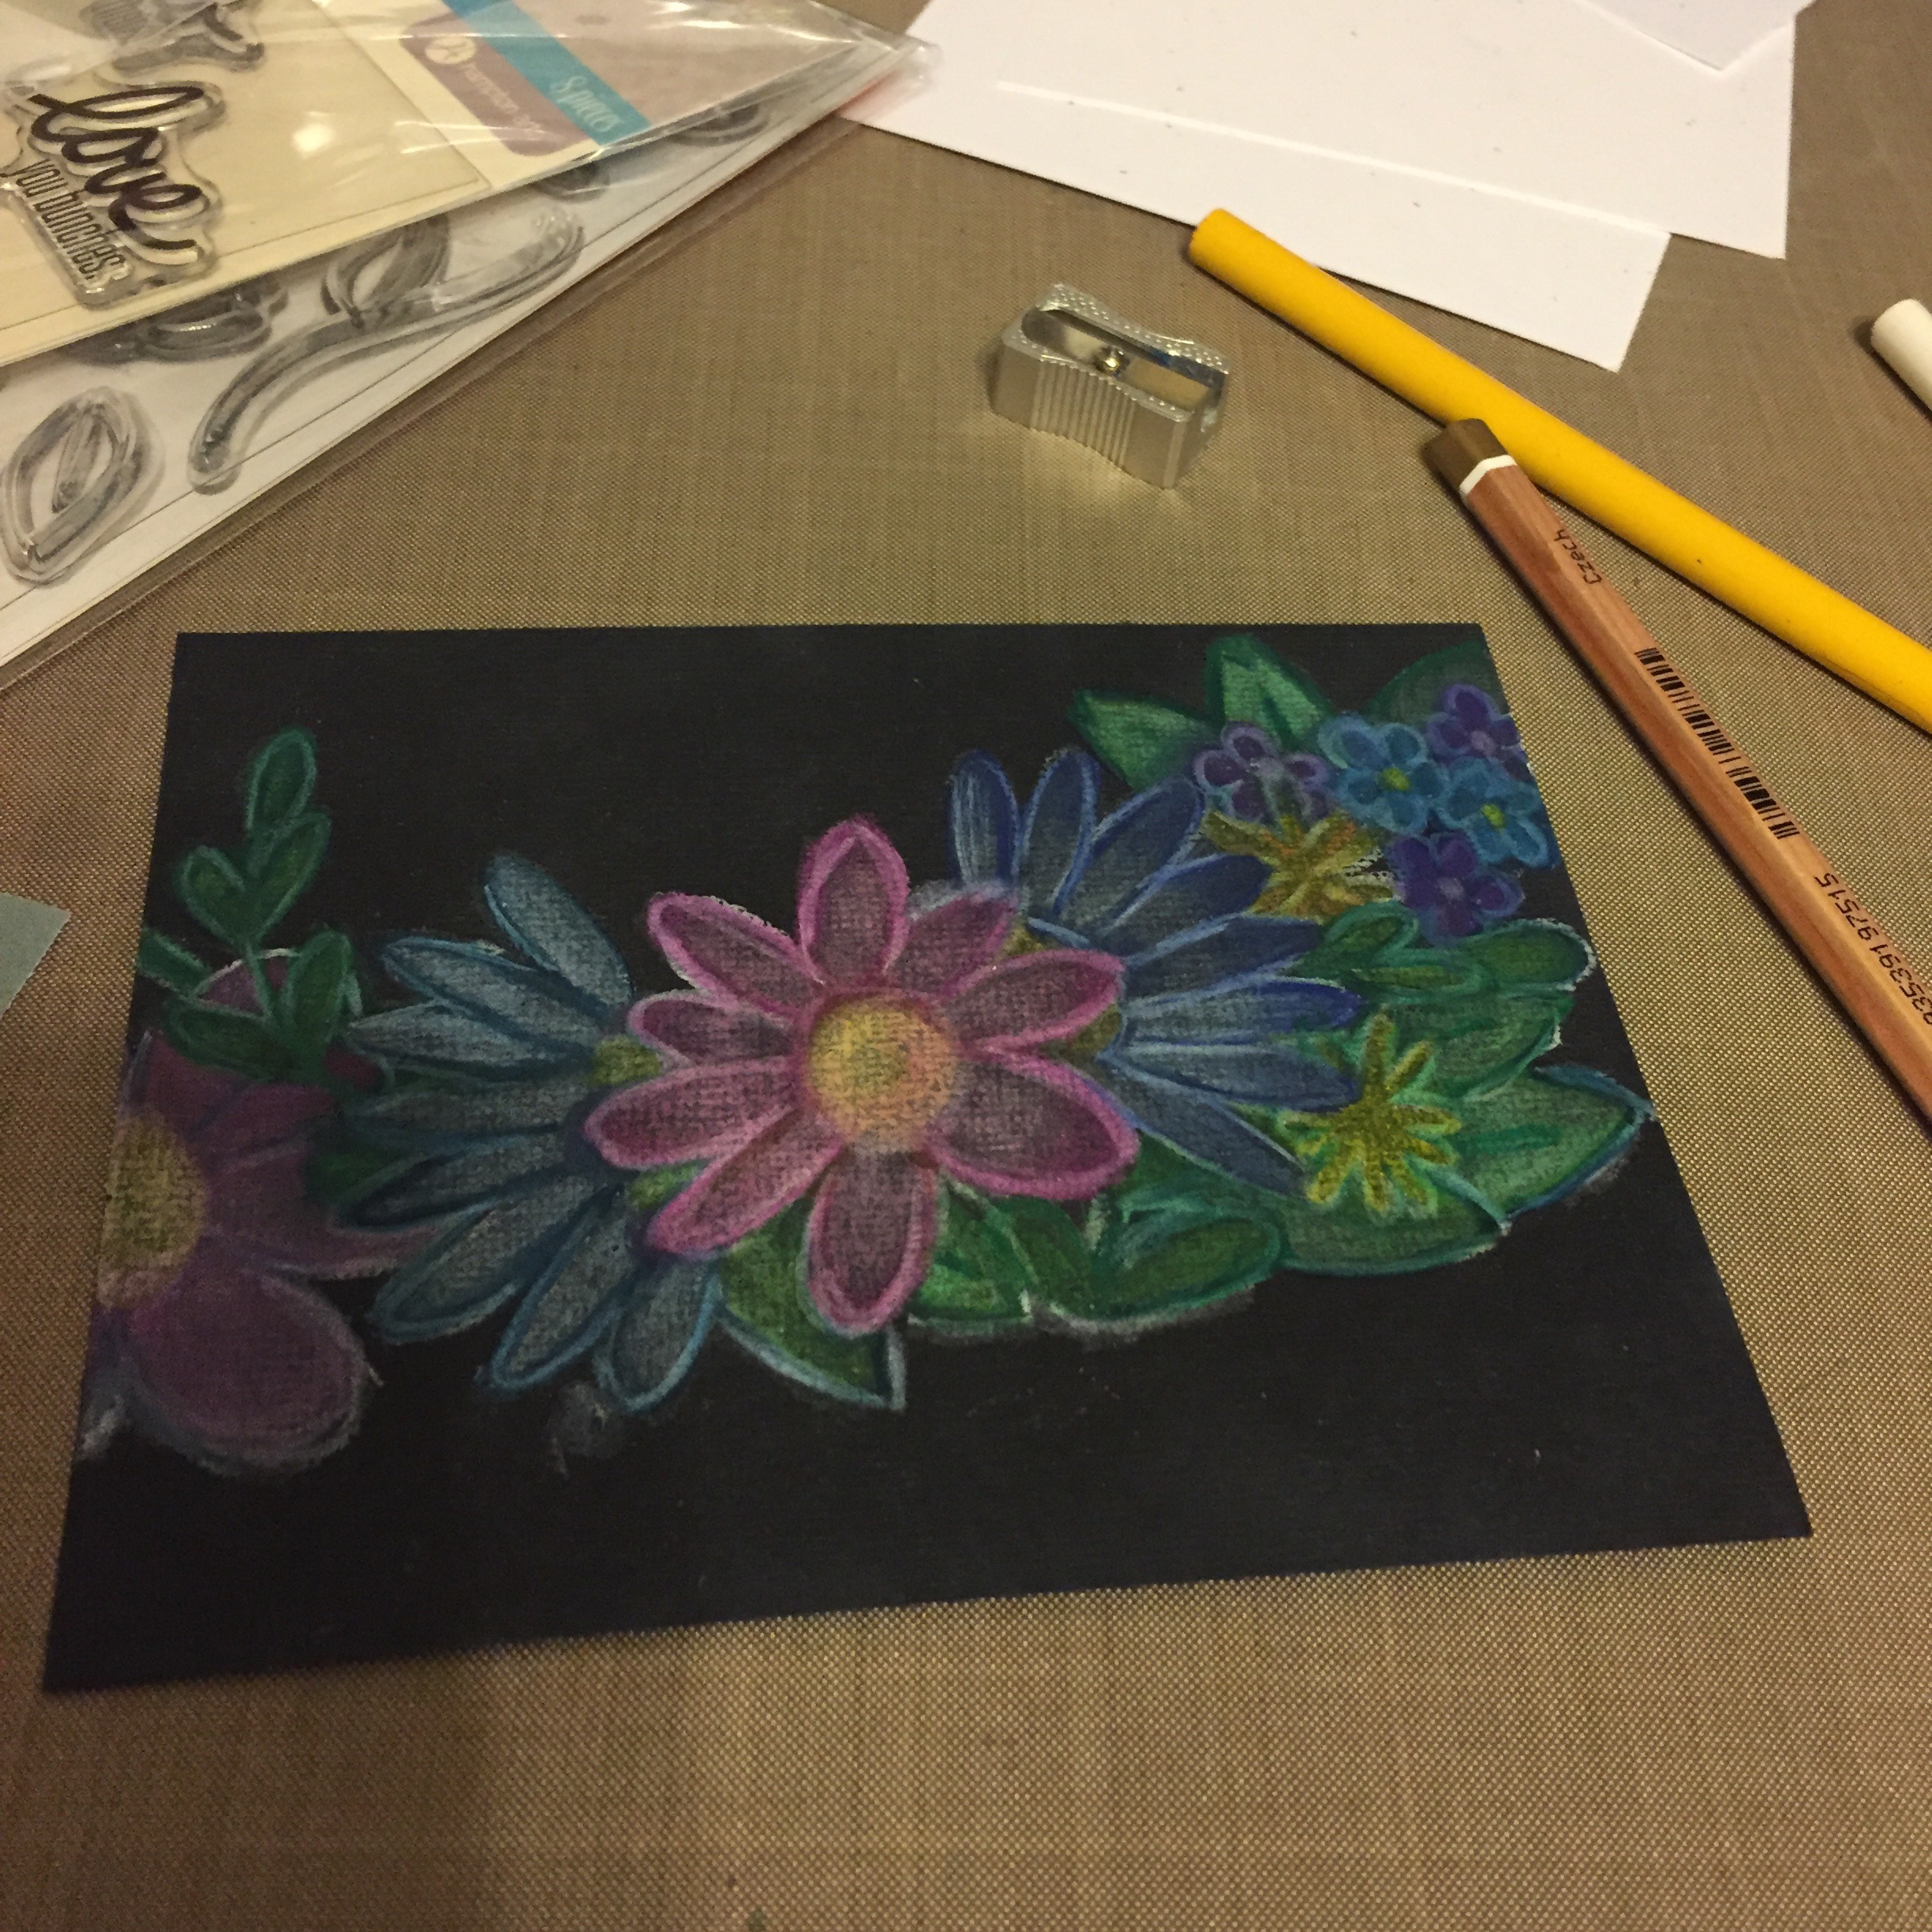
 

All colored in. 

All colored in. 

Then I fussy cut the image. 


image.jpg

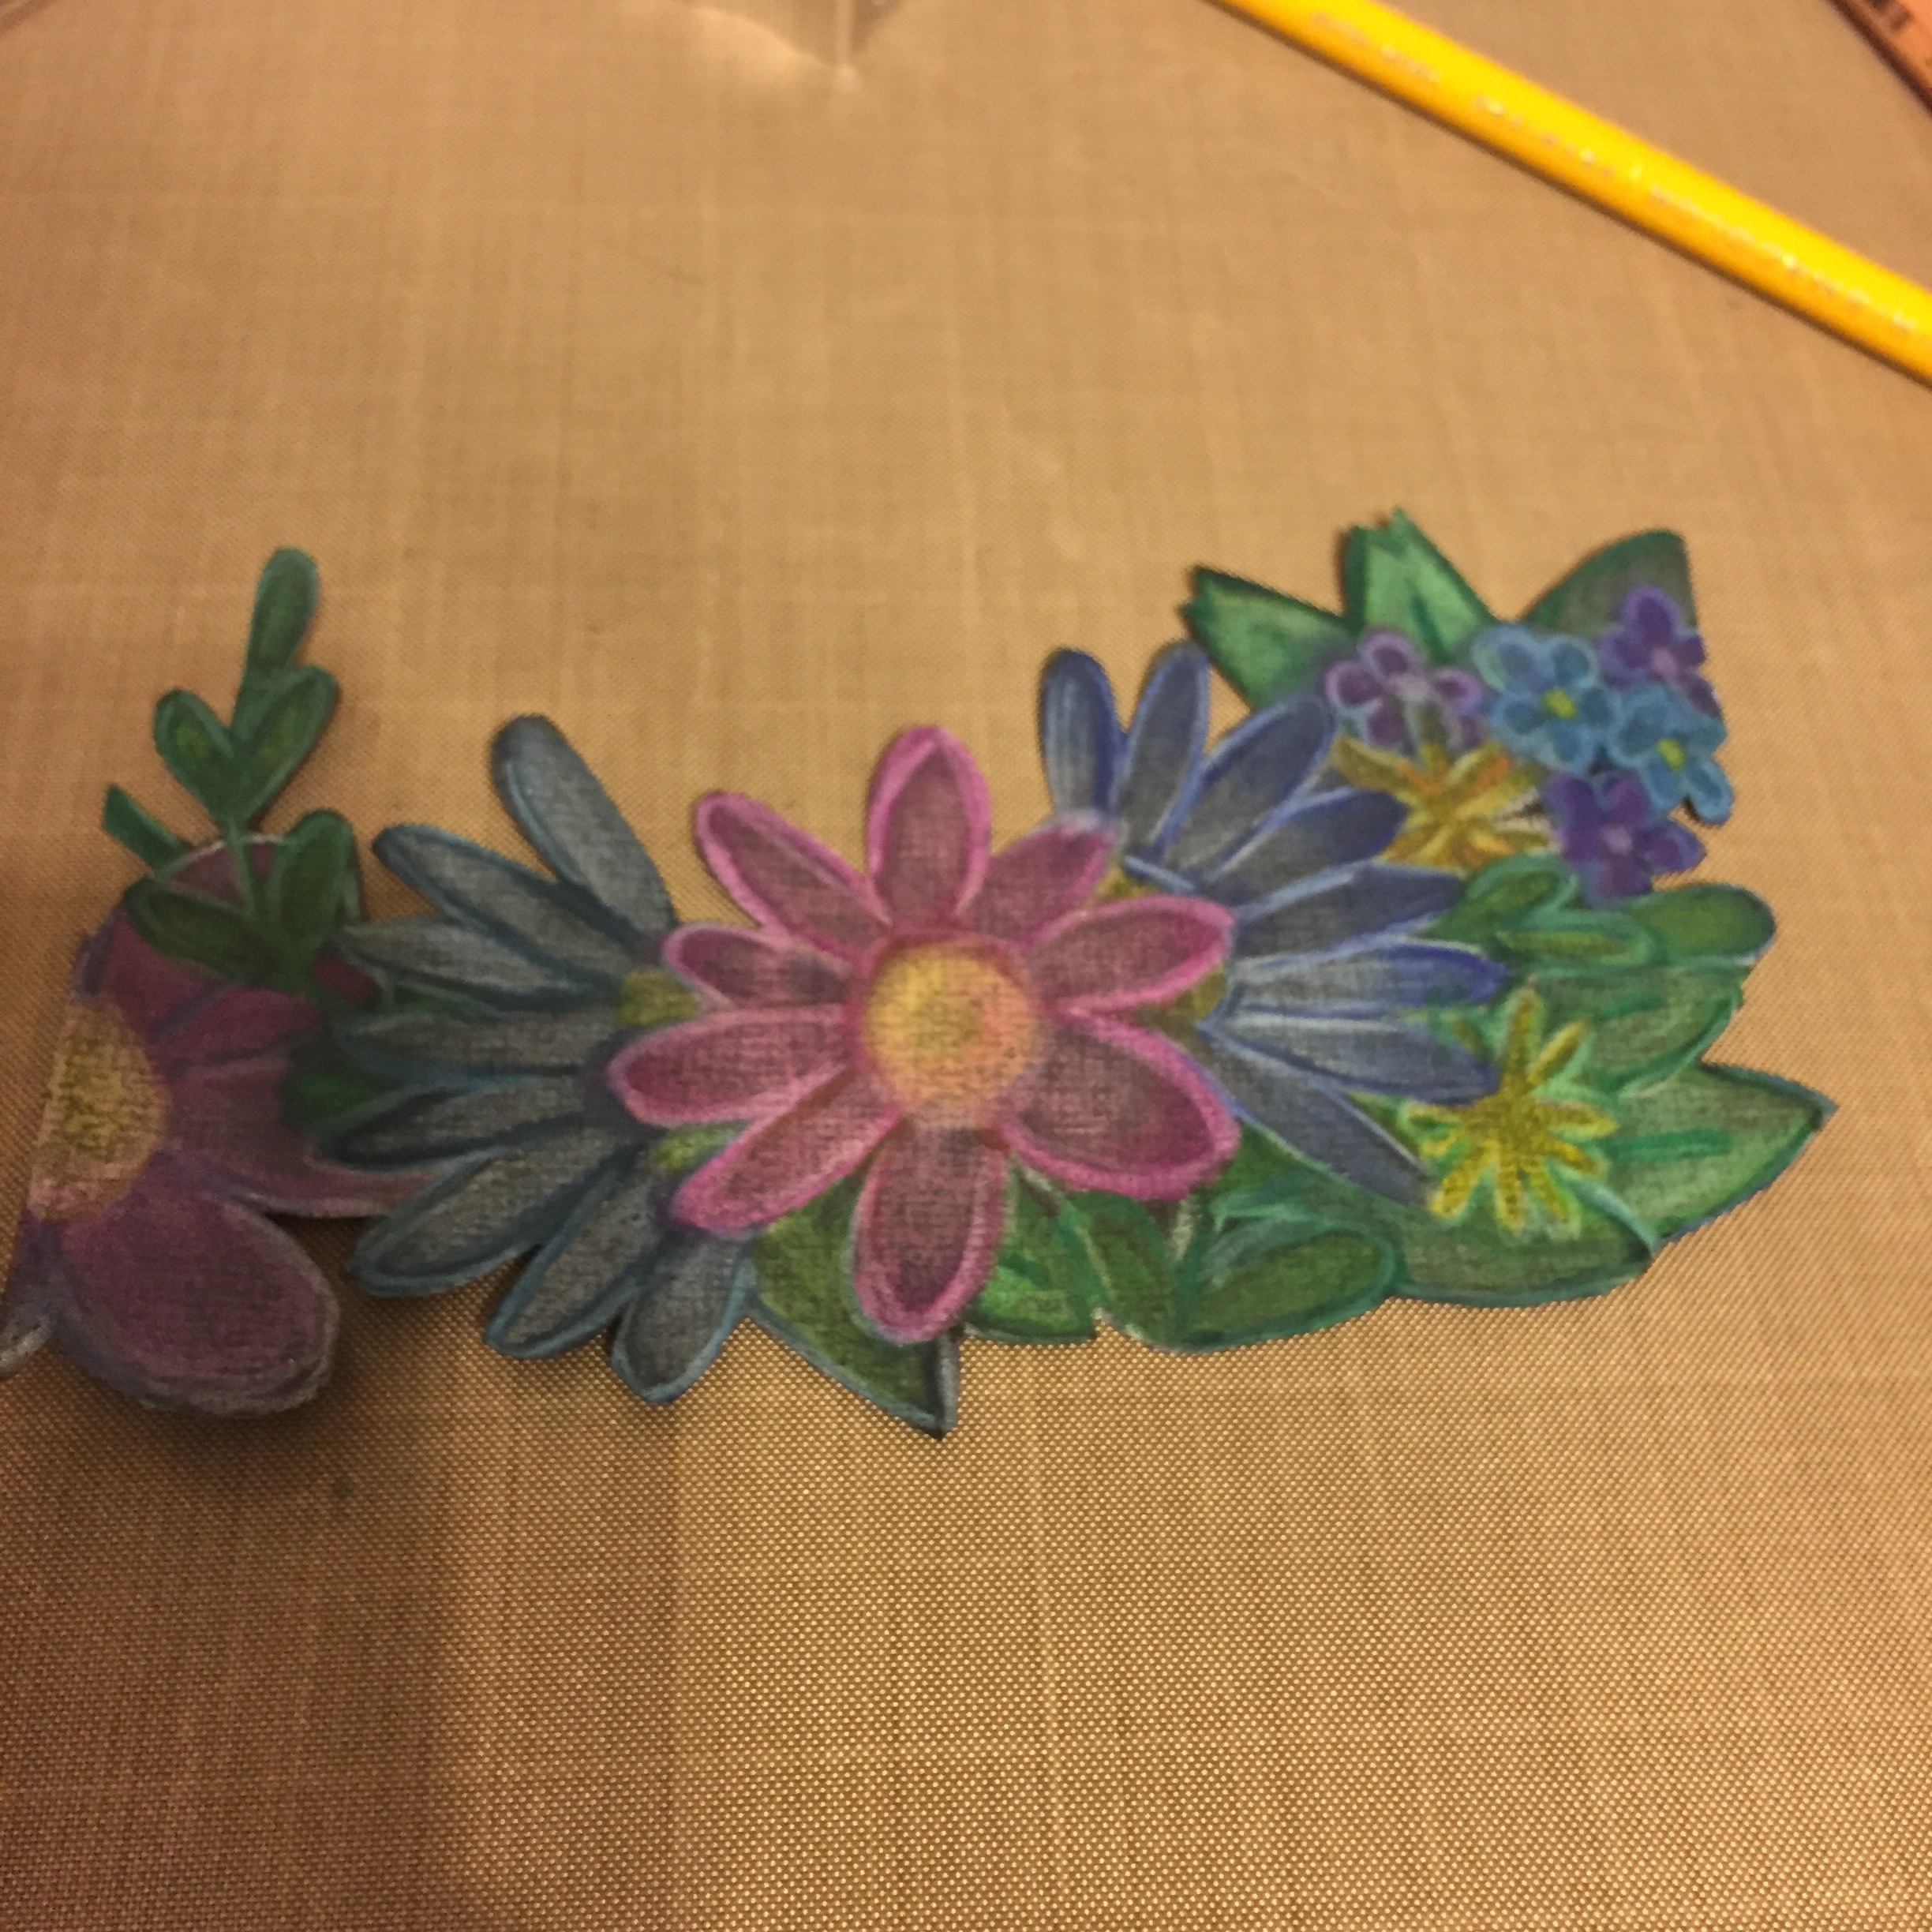
Then I adhered it to foil card stock. 


image.jpg
image.jpg

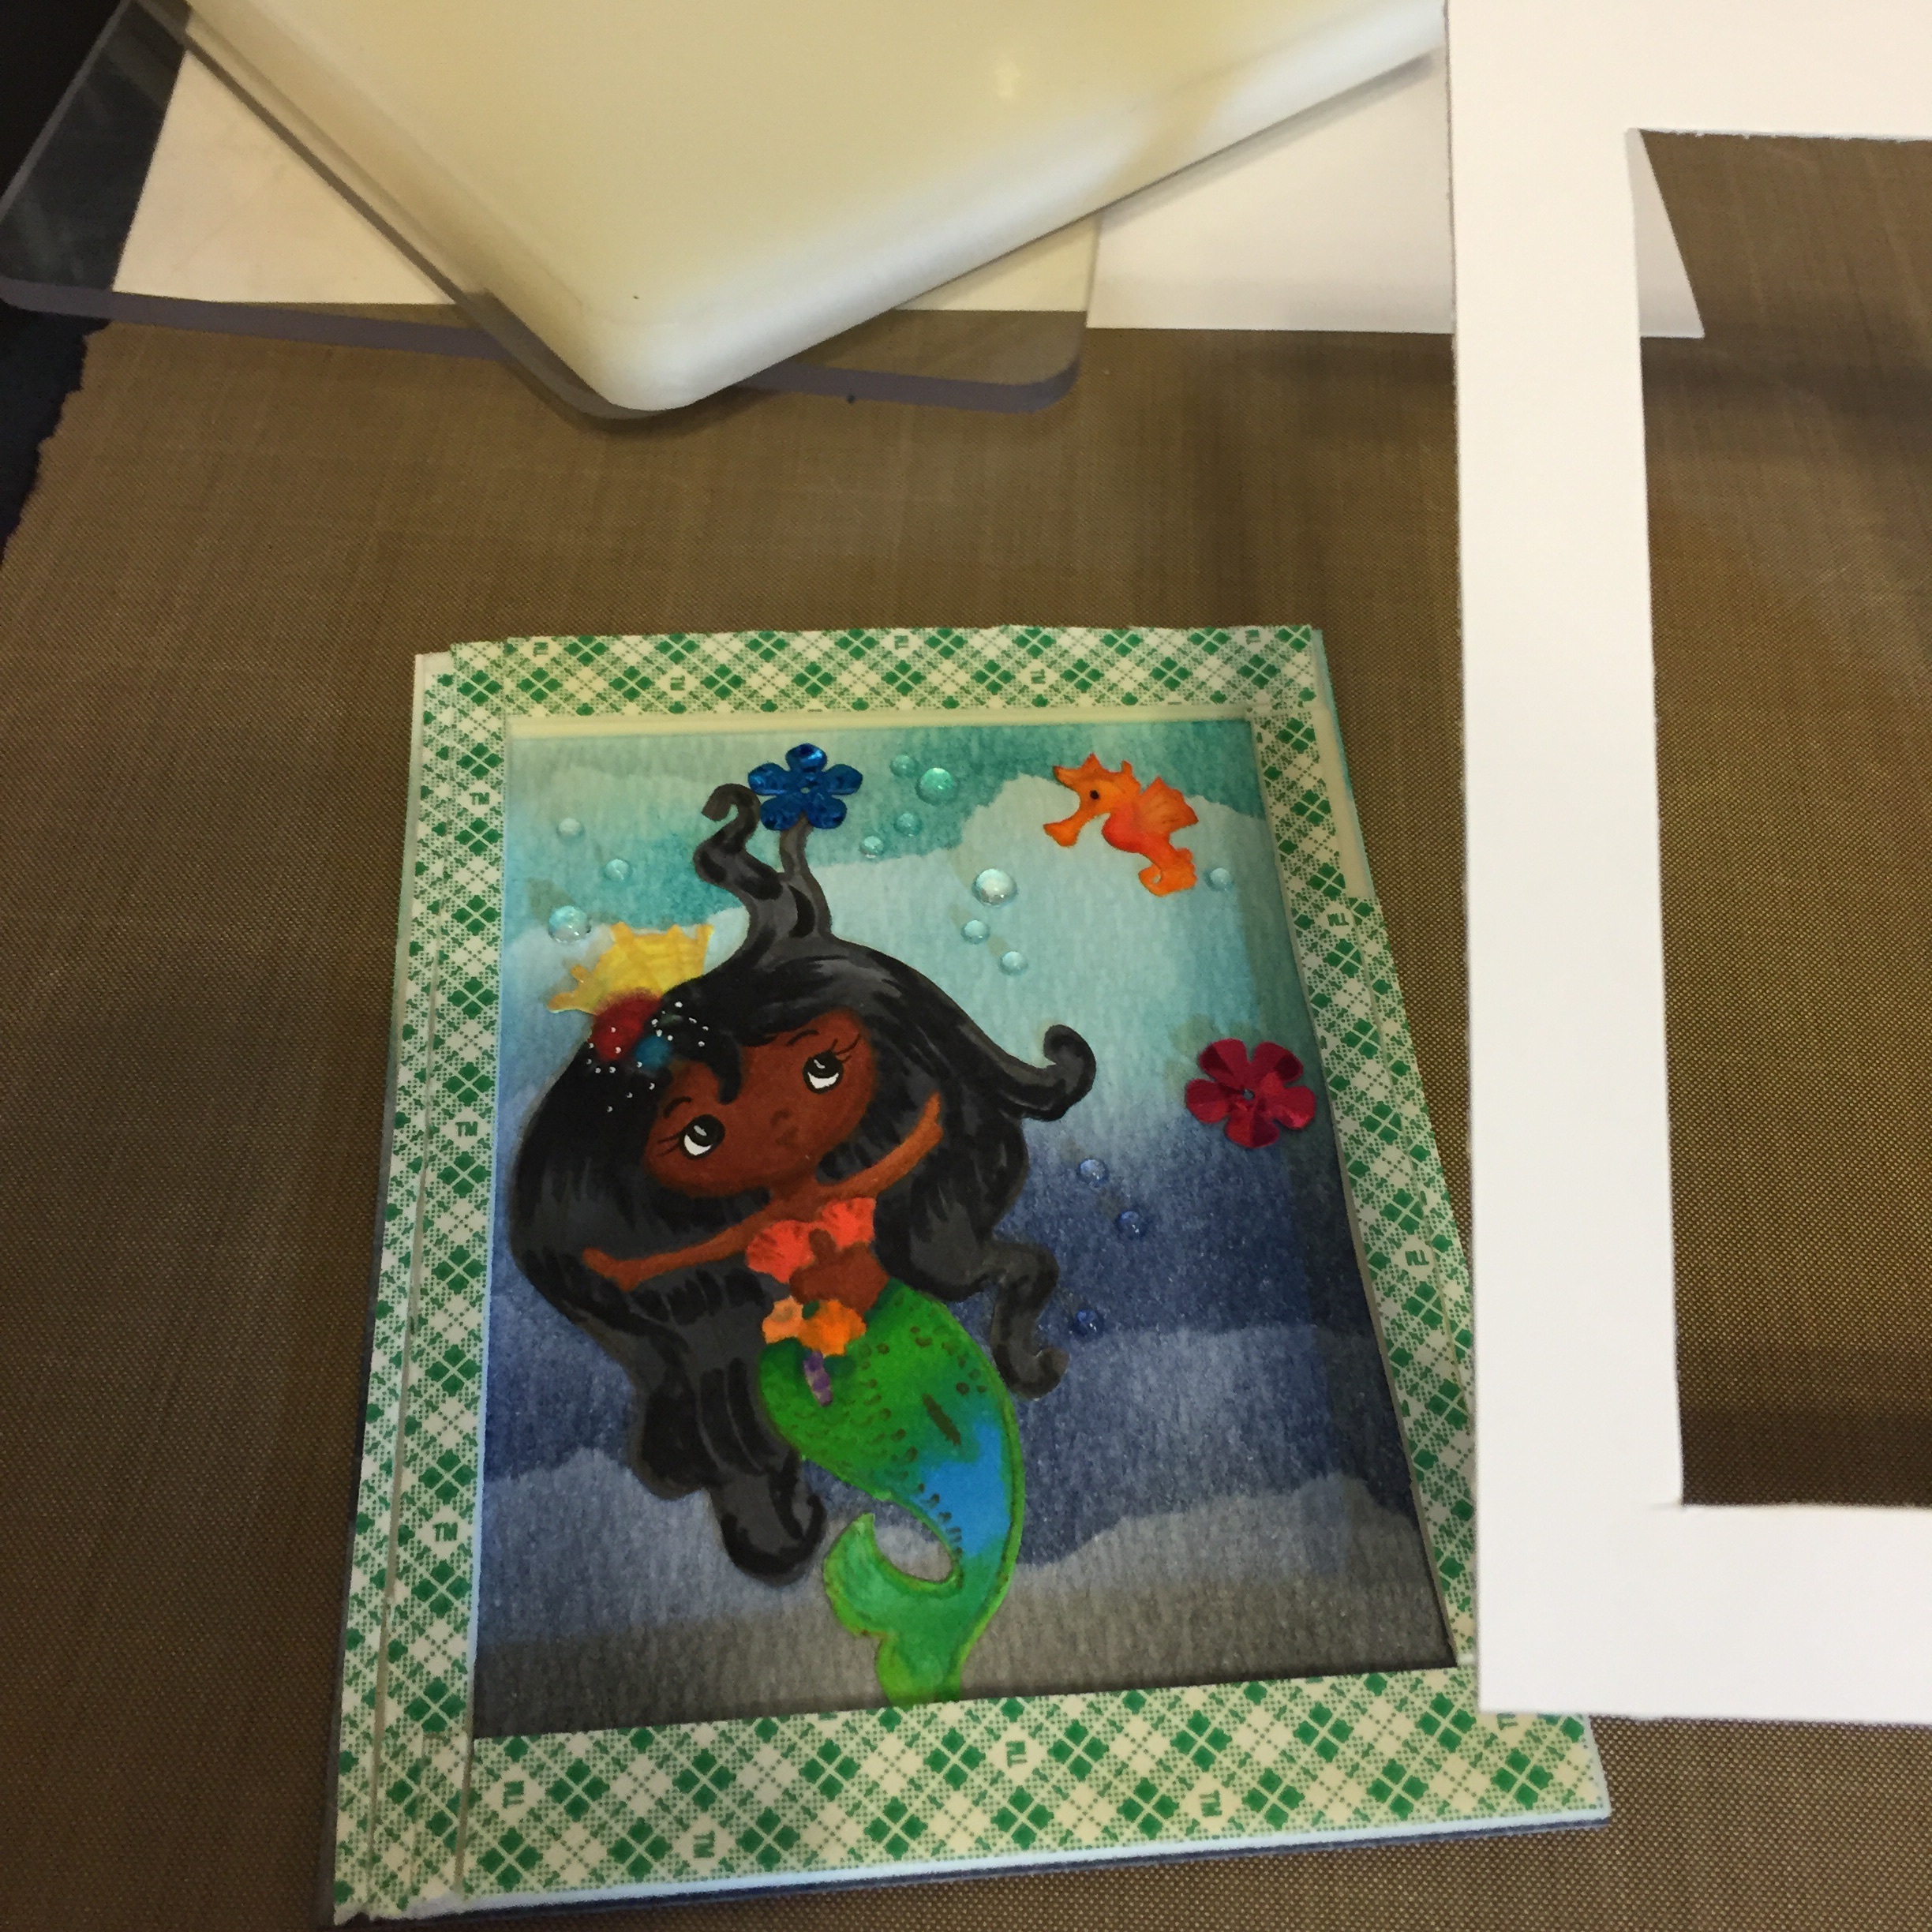
Then that was trimmed and adhered to the base and the sentiment was stamped and embossed.


image.jpg

And the finished product after adding some accents with a white gel pen.
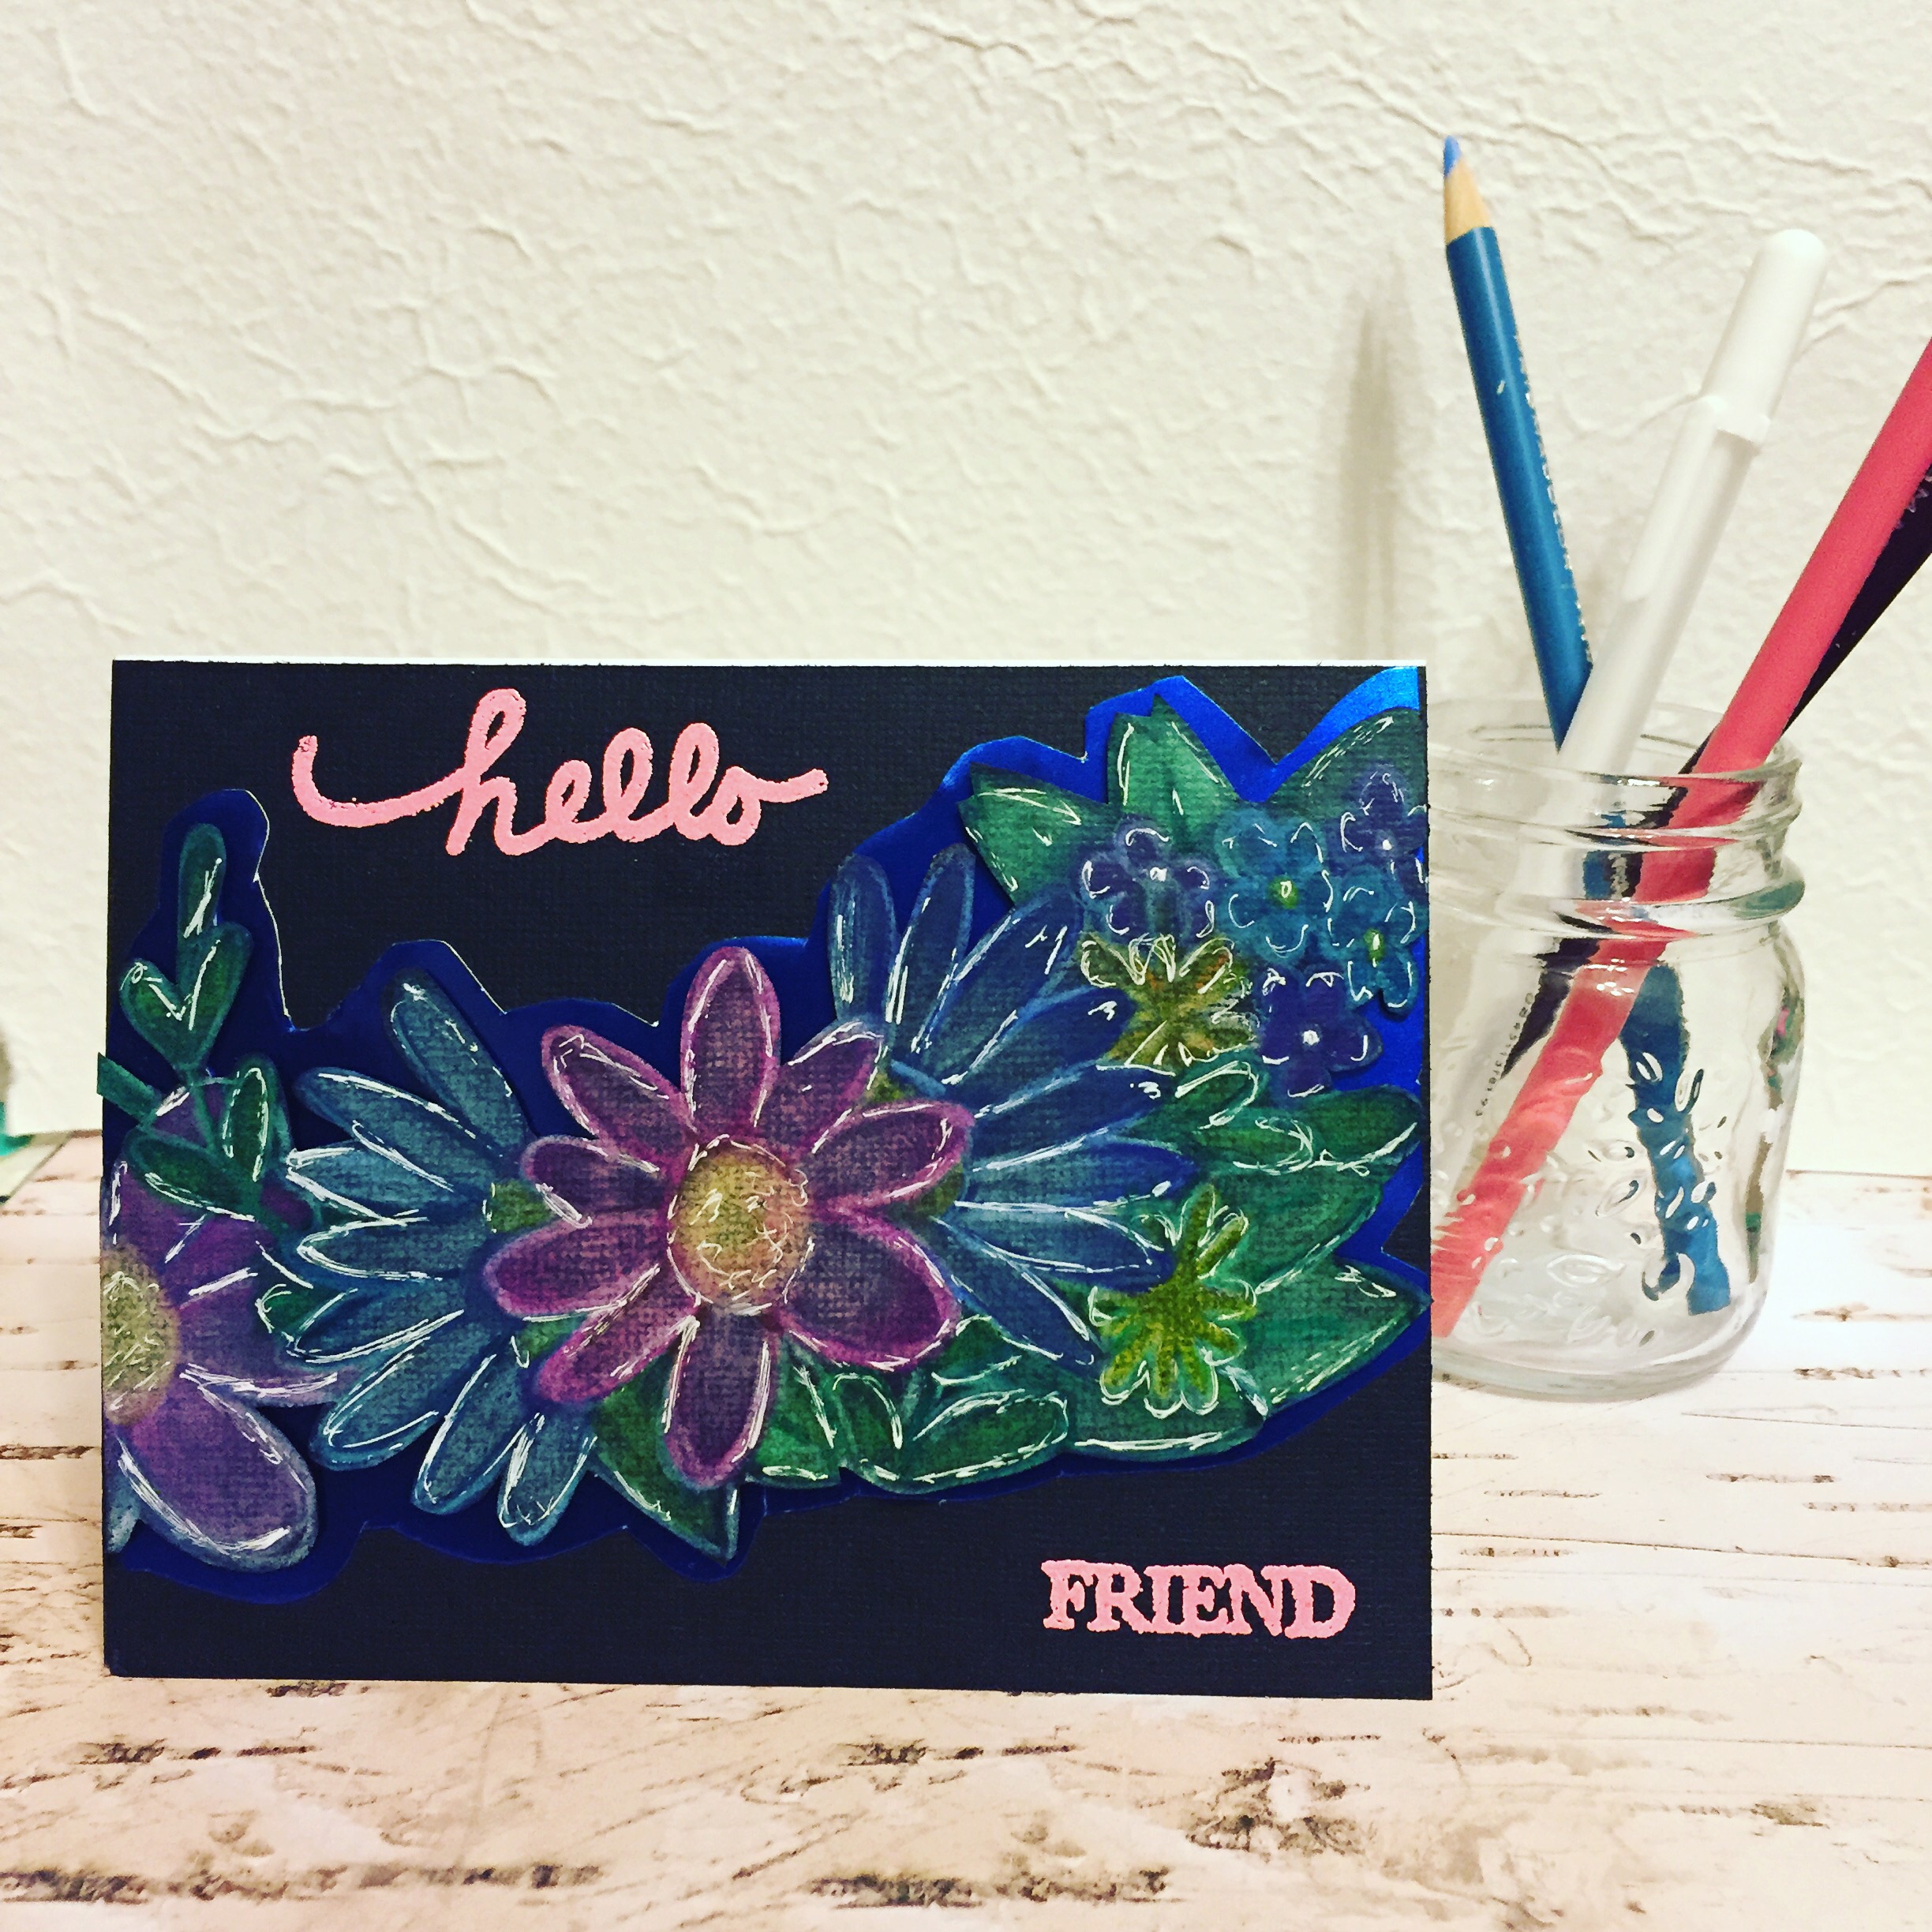
 

Done! 

Done! 

I used some flower stamps for this, but you can really use any image you want to color. I used Prismacolor pencils and a blender. Happy crafting!

Quick Quotes DT 2016

Paper crafting, Tools, Scrapbooking, Color, Coloring, Quick Quotes, Crafts, Supplies, CardsGabriela SimsComment

Hello everyone, I can now share some great news! I am part of the 2016 Design Team for Quick Quotes! I am so excited to join this talented team and I am looking forward to creating projects and being inspired by what others create! Check out the Quick Qoutes Blog here and the Quick Quotes shop here. Some really beautiful items, I can't wait to get started, happy crafting!

P.S. 

You can meet the rest of the team members on this post.


Gab about your Stash #1

Tools, Color, Cards, Supplies, Diy, Graphic, Crafts, Watercolor, Paper crafting, StampsGabriela SimsComment

So I LOVE crafting supplies as evidenced in the craft storage post, but I'm trying to get better about using what I buy, so starting in the next few weeks, I am going to make a habit of using supplies I already have and scraps of projects from the week. I will make posts here and on my YouTube channel so that people can keep up. I will do a 10 minute Monday, a technique card, a product review, and then a Saturday Scrapternoon where I use up that week's scraps! In really excited about that and I hope it will keep me on task to create more and work through a massive stash of supplies and tools.  I have lots of tools I have never reviewed, but that I use often, so it'll be nice to share long term pros and cons.  In the meantime, here are this week's cards.


Iris folding? I can dig it! 

Iris folding? I can dig it! 

I started using supplies I have and remembered I have like 30 Gelatos and two kits!  

Gelatos and modeling paste. 

Gelatos and modeling paste. 

More with the amazing watercolors. 

This was for a challenge and the prompt was "Bright". 

This was for a challenge and the prompt was "Bright". 

Because I still love yarn! 

The Avery Elle "Made With Love" stamp set and some Copics...and a yarn chain. 

The Avery Elle "Made With Love" stamp set and some Copics...and a yarn chain. 

My first 10 minute card...that took 12 minutes! Lol, I'll be posting this video soon! 

I used nothing but supplies I already had. 

I used nothing but supplies I already had. 

Distress ink, Minc foil, and some time. 

Distress ink, Minc foil, and some time. 

That's all for today, check back in the next week or so for the new lineup of paper crafting vids and posts! Happy crafting! 

Gab about Craft Storage

Tools, Diy, Stamps, Cards, Supplies, Crafts, Color, Craft Haul, Thrift, How to, Tutorial, StorageGabriela SimsComment

So my husband agreed that it would be a good idea to convert the closet in the craft room into extra craft storage. Yesssssss! Here is how it went down.


A mess! 

A mess! 

First I removed the doors. 


Easier to see. 

Easier to see. 

Then clearing out the stuff! 


So much stuff! 

So much stuff! 

Then adding the shelves. 

Looking good! 

Looking good! 

Now the fun part, adding supplies. 


Finished! 

Finished! 

I am beyond happy with the results!! I can see and access all of my supplies now and I'll probably add a little wall storage soon, but the bulk of the work is done! The final thing I need to do is to mount a curtain rod and put a drape across the door so I can "close" it when it's not in use. This could work in any smaller closet, it took me about 2 hours to do, I bought that shelf at the home improvement store for $24.99. Let me know if you have any questions, happy crafting!!! 

Under the Sea Shaker Card

Crafts, How to, Graphic, Paper crafting, Color, Supplies, Tools, Tutorial, Diy, Drawing, Cards, Stamps, ColoringGabriela Sims2 Comments

This card was done using the "No lines" coloring technique. No video today, but here is a step out. 


Stamp your image in a soft, neutral color. 

Stamp your image in a soft, neutral color. 

This is one of my favorite stamps, a mermaid from Stampendous. 


Color your image, I used Copic Ciaos

Color your image, I used Copic Ciaos

I used a few Spectrum Noirs too.  

Cut out your image. 

Cut out your image. 

I used Distress ink in varying colors to make the "water", I used a torn paper masking technique. 

I used Distress ink in varying colors to make the "water", I used a torn paper masking technique. 

Rain stone application. 

Rain stone application. 

Shaker sequin selection! Those flowers are from a set I got at Target! 

Shaker sequin selection! Those flowers are from a set I got at Target! 

I made a foam tape barrier. 

I made a foam tape barrier. 

Adhered the front, and it's done! 

Adhered the front, and it's done! 

Under the sea! 

Under the sea! 


That's all, hope you're inspired to make something fun! Happy crafting!