Gab with Gaby

An engineer's creative corner studio.

Crafts

Card making is...

Drawing, Crafts, Cards, Christmas, Paper crafting, Tutorial, Stamps, Color, Wedding, Diy, ColoringGabriela SimsComment

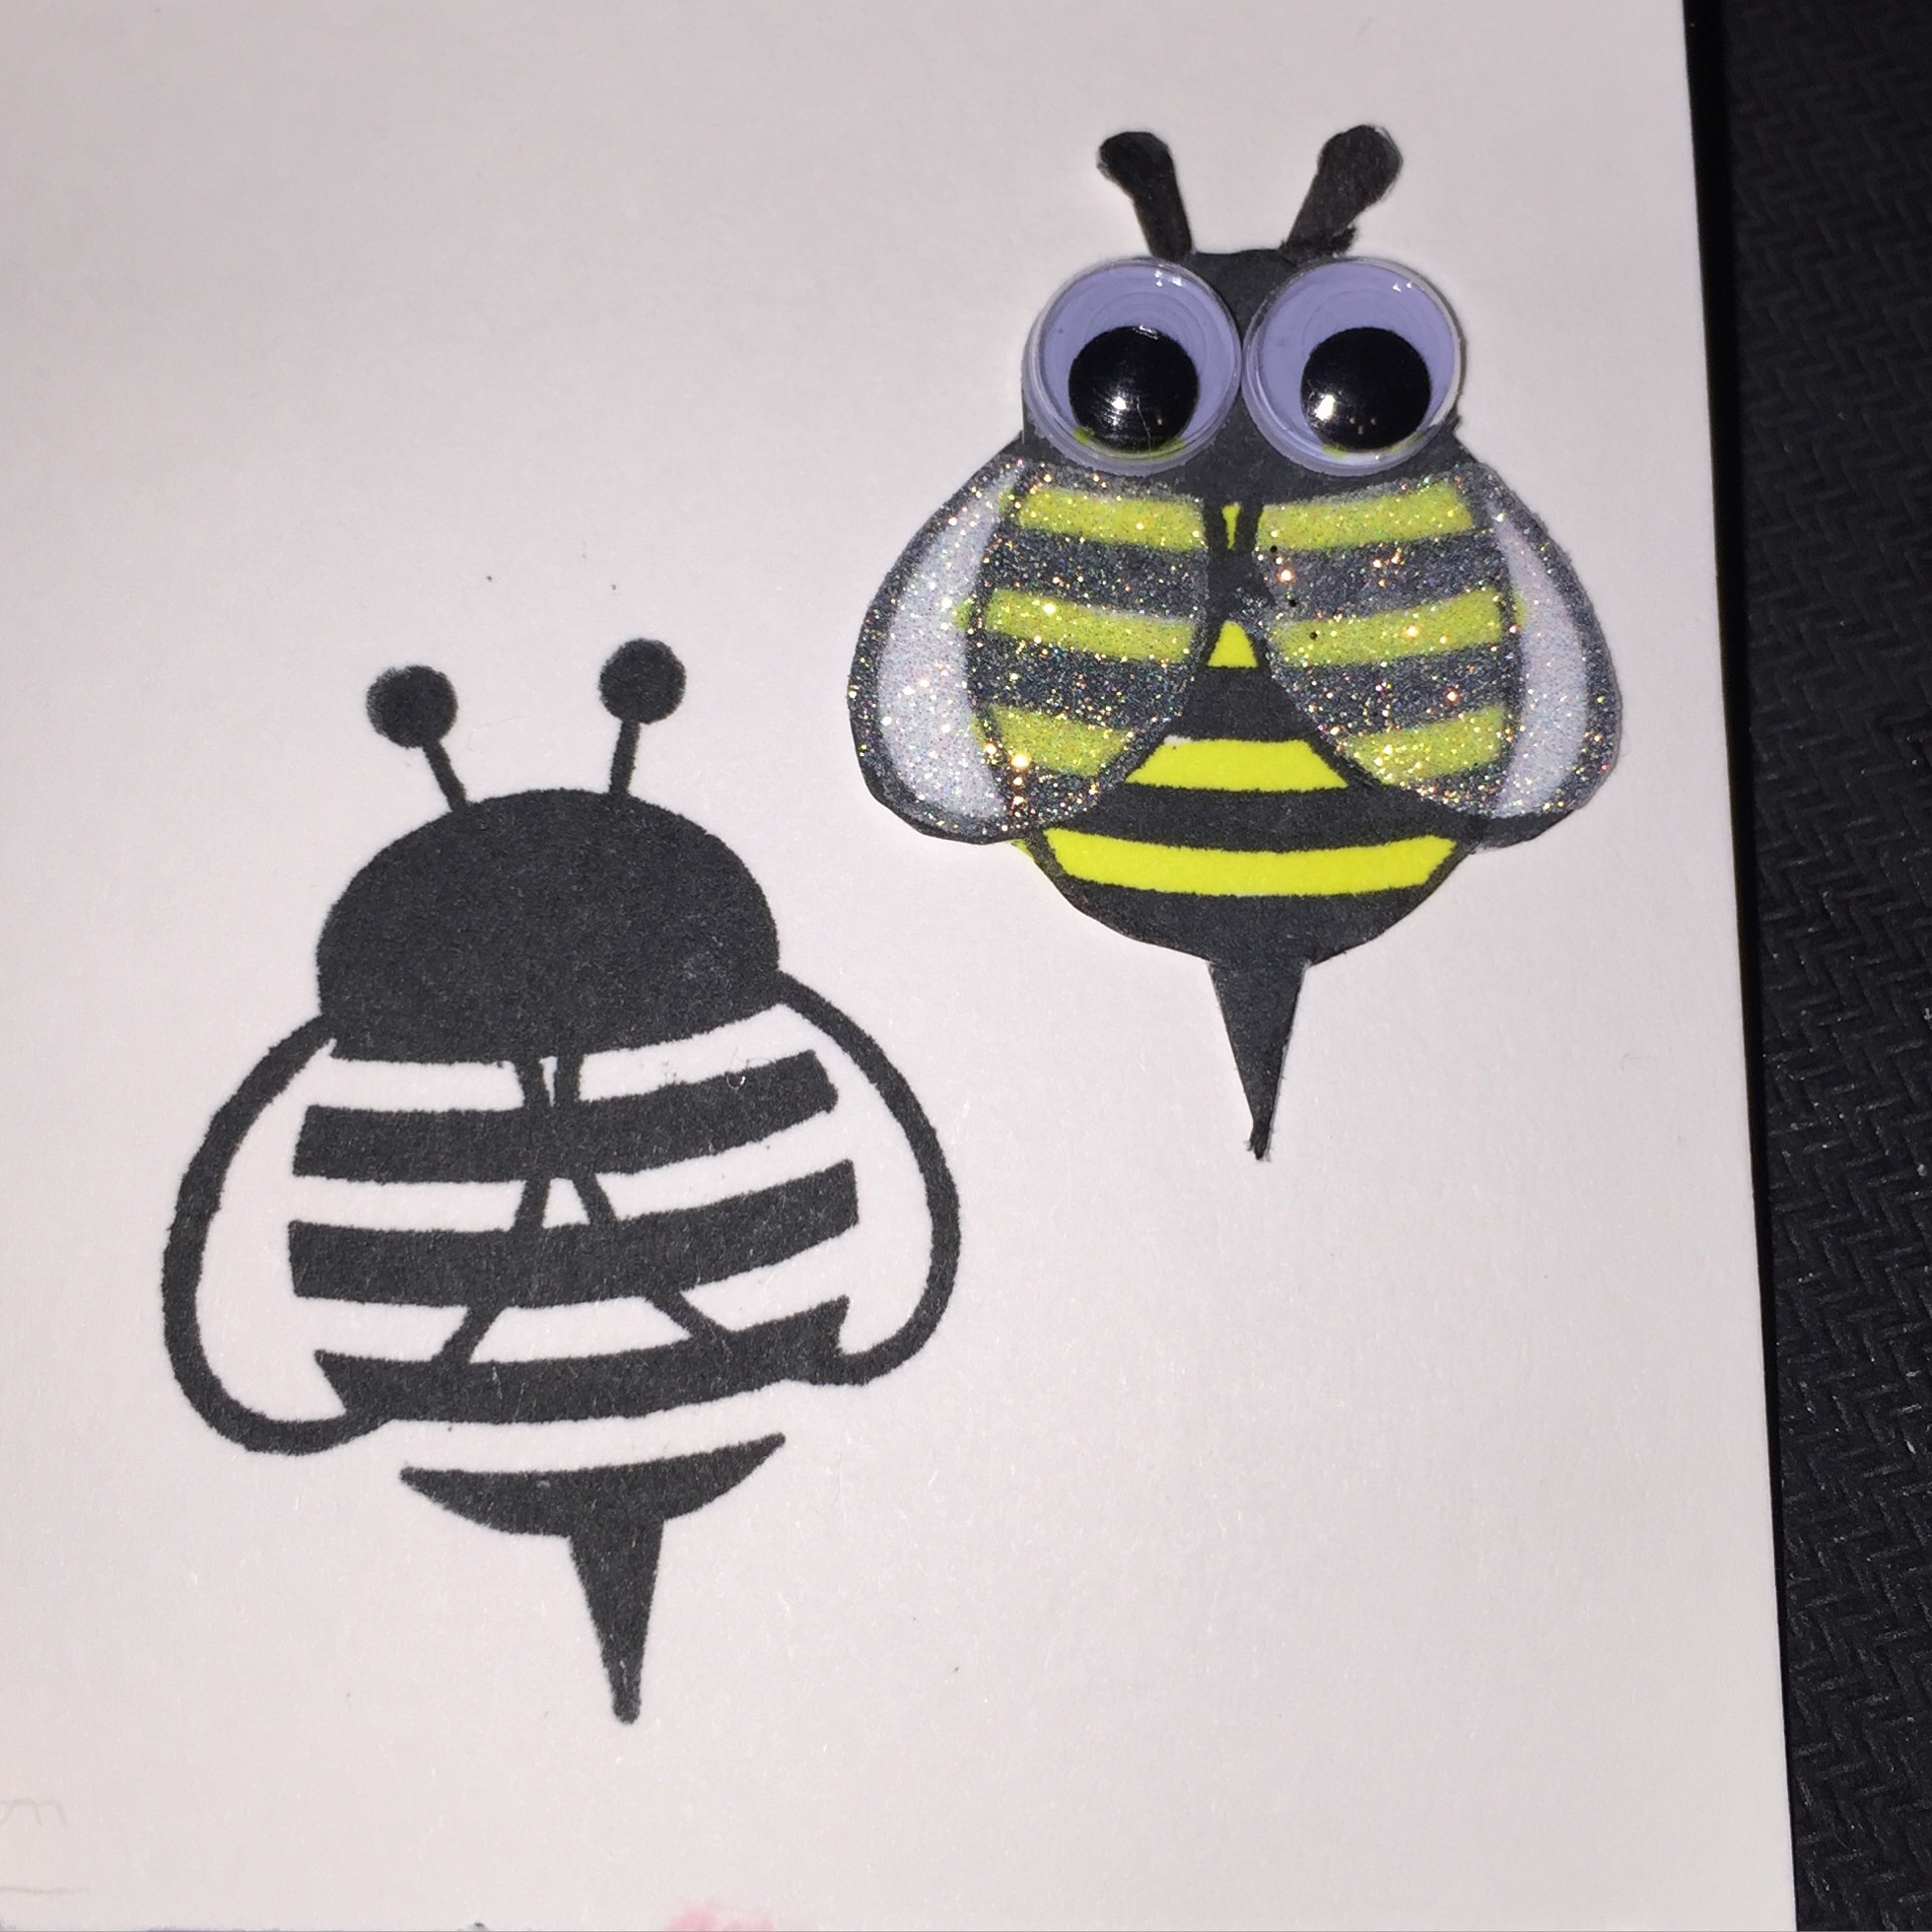
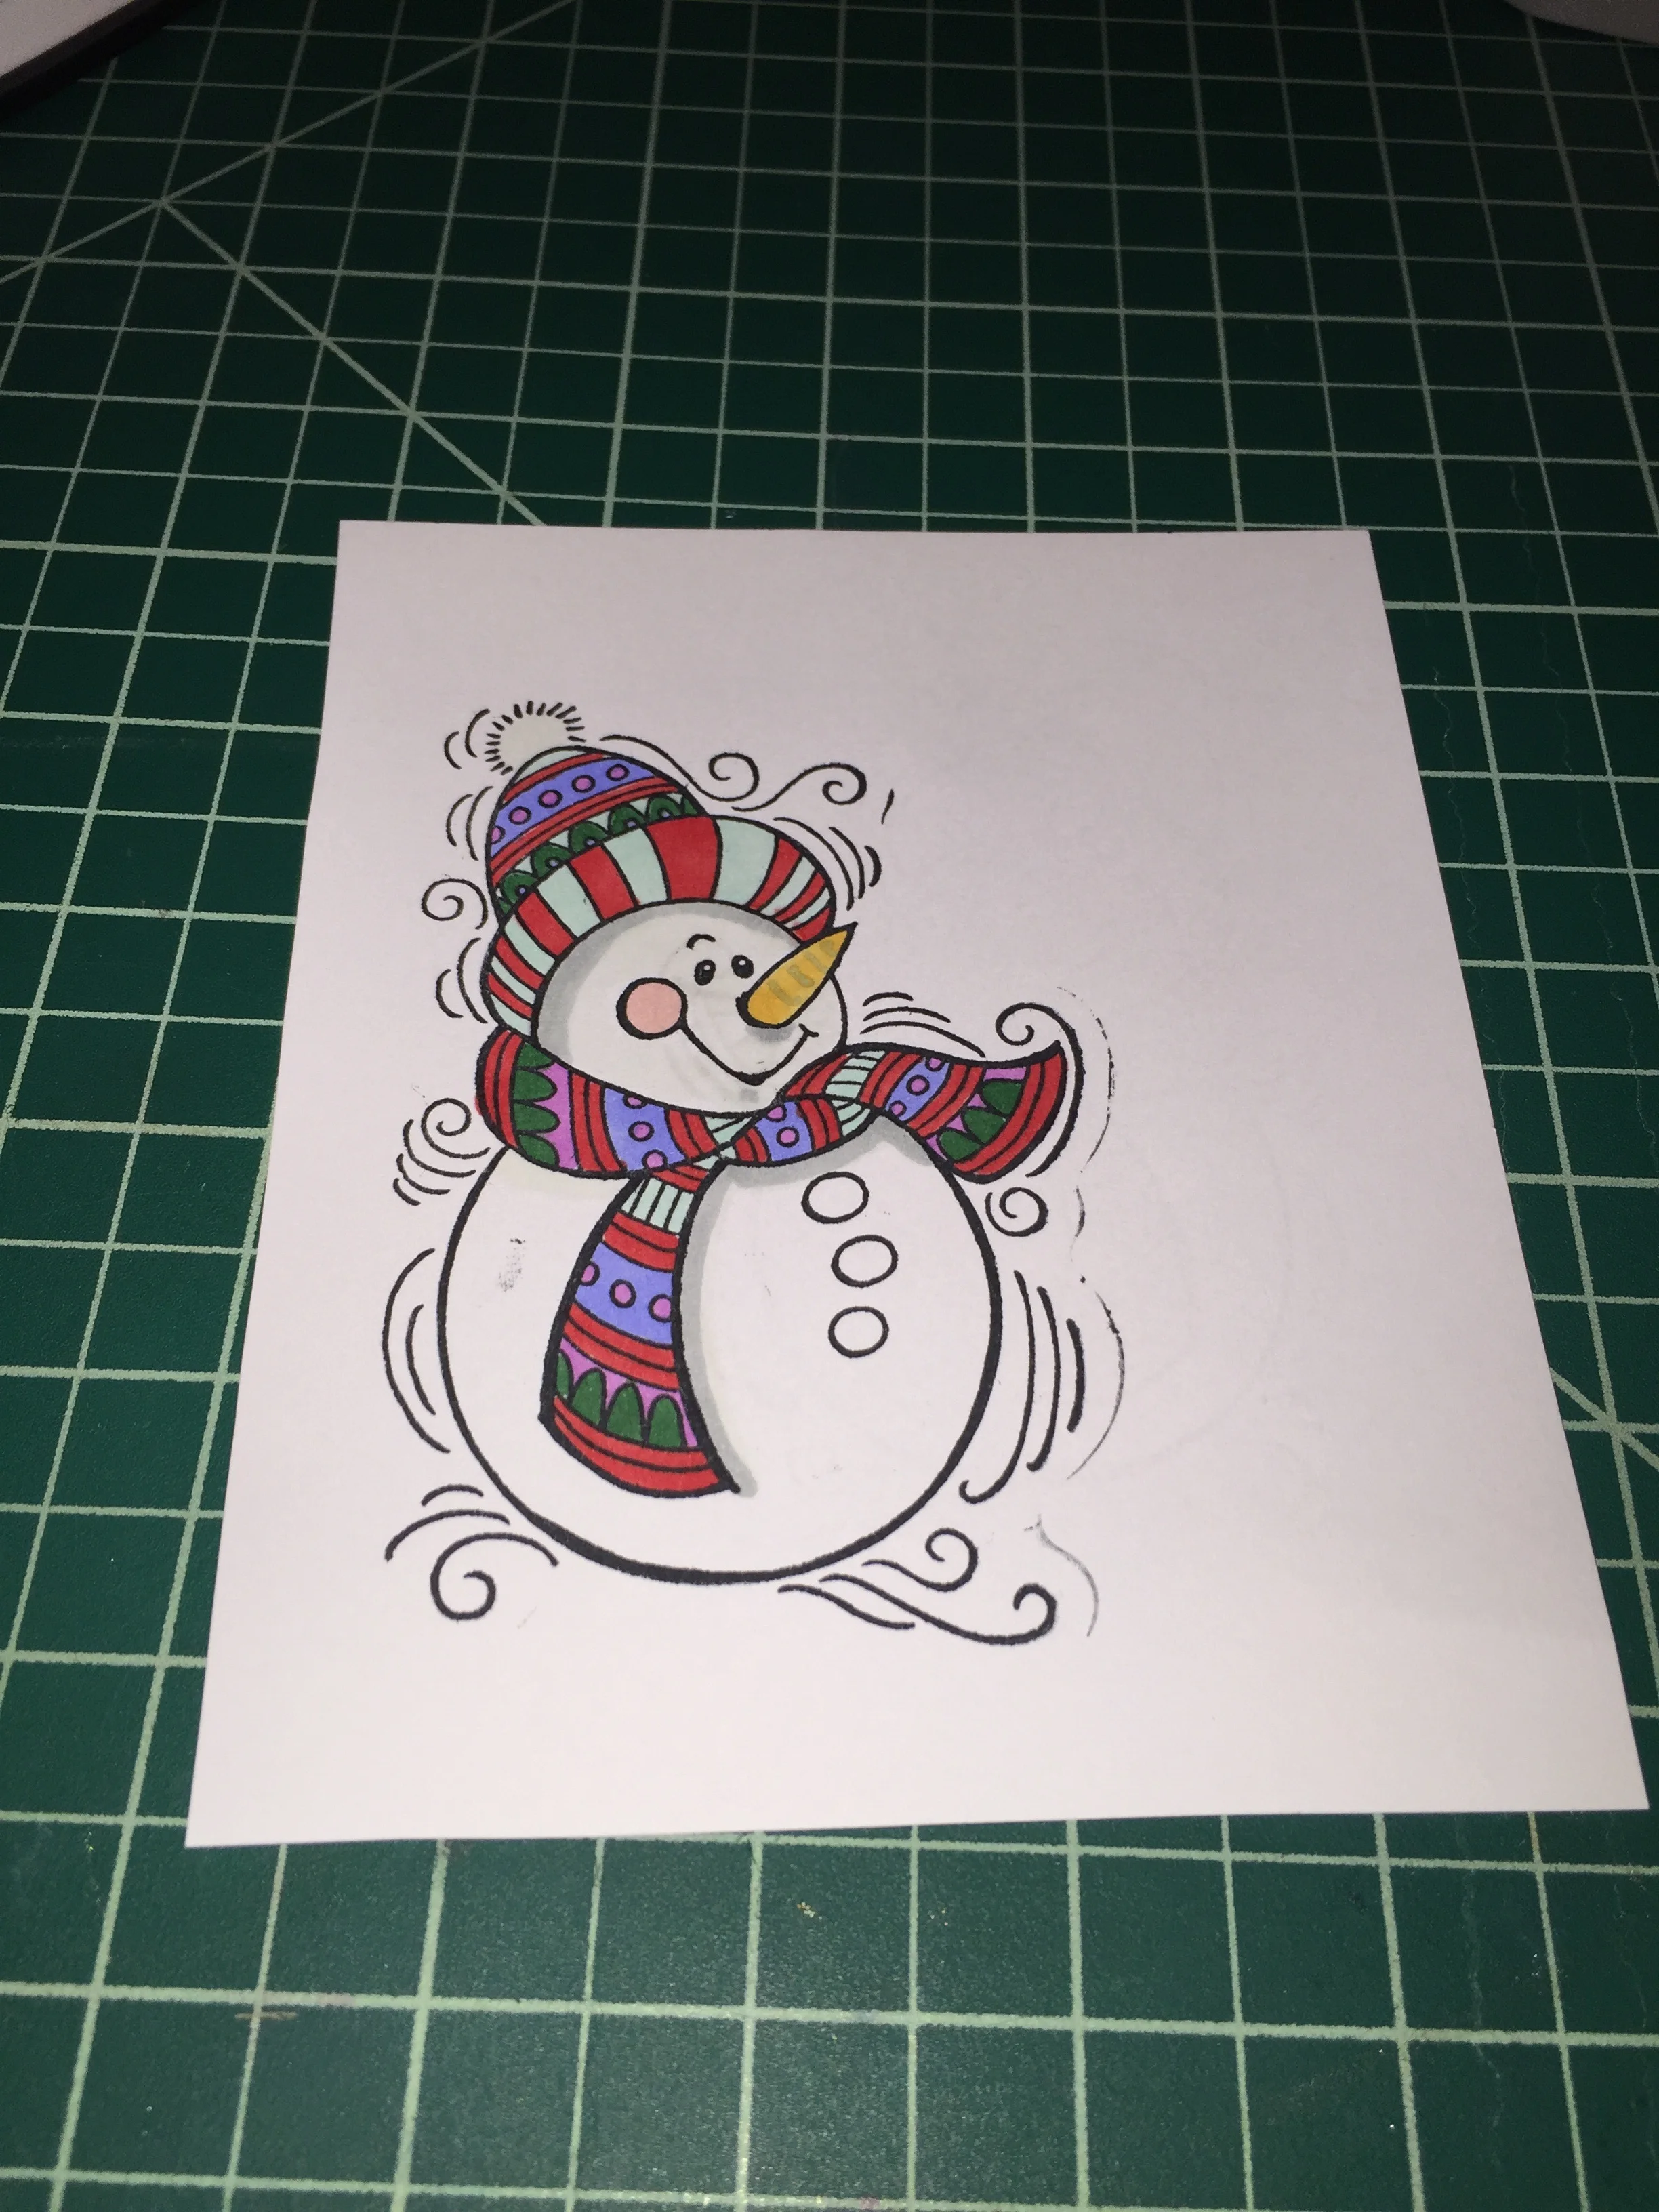
My favorite thing to do right now! I have been making cards like crazy and using markers and stamps. These are the cards I've made in the past week. 


Tons of thanks! 

Tons of thanks! 

This was done with Copic markers, distress ink, and then matted. 

Robot birthday! 

Robot birthday! 

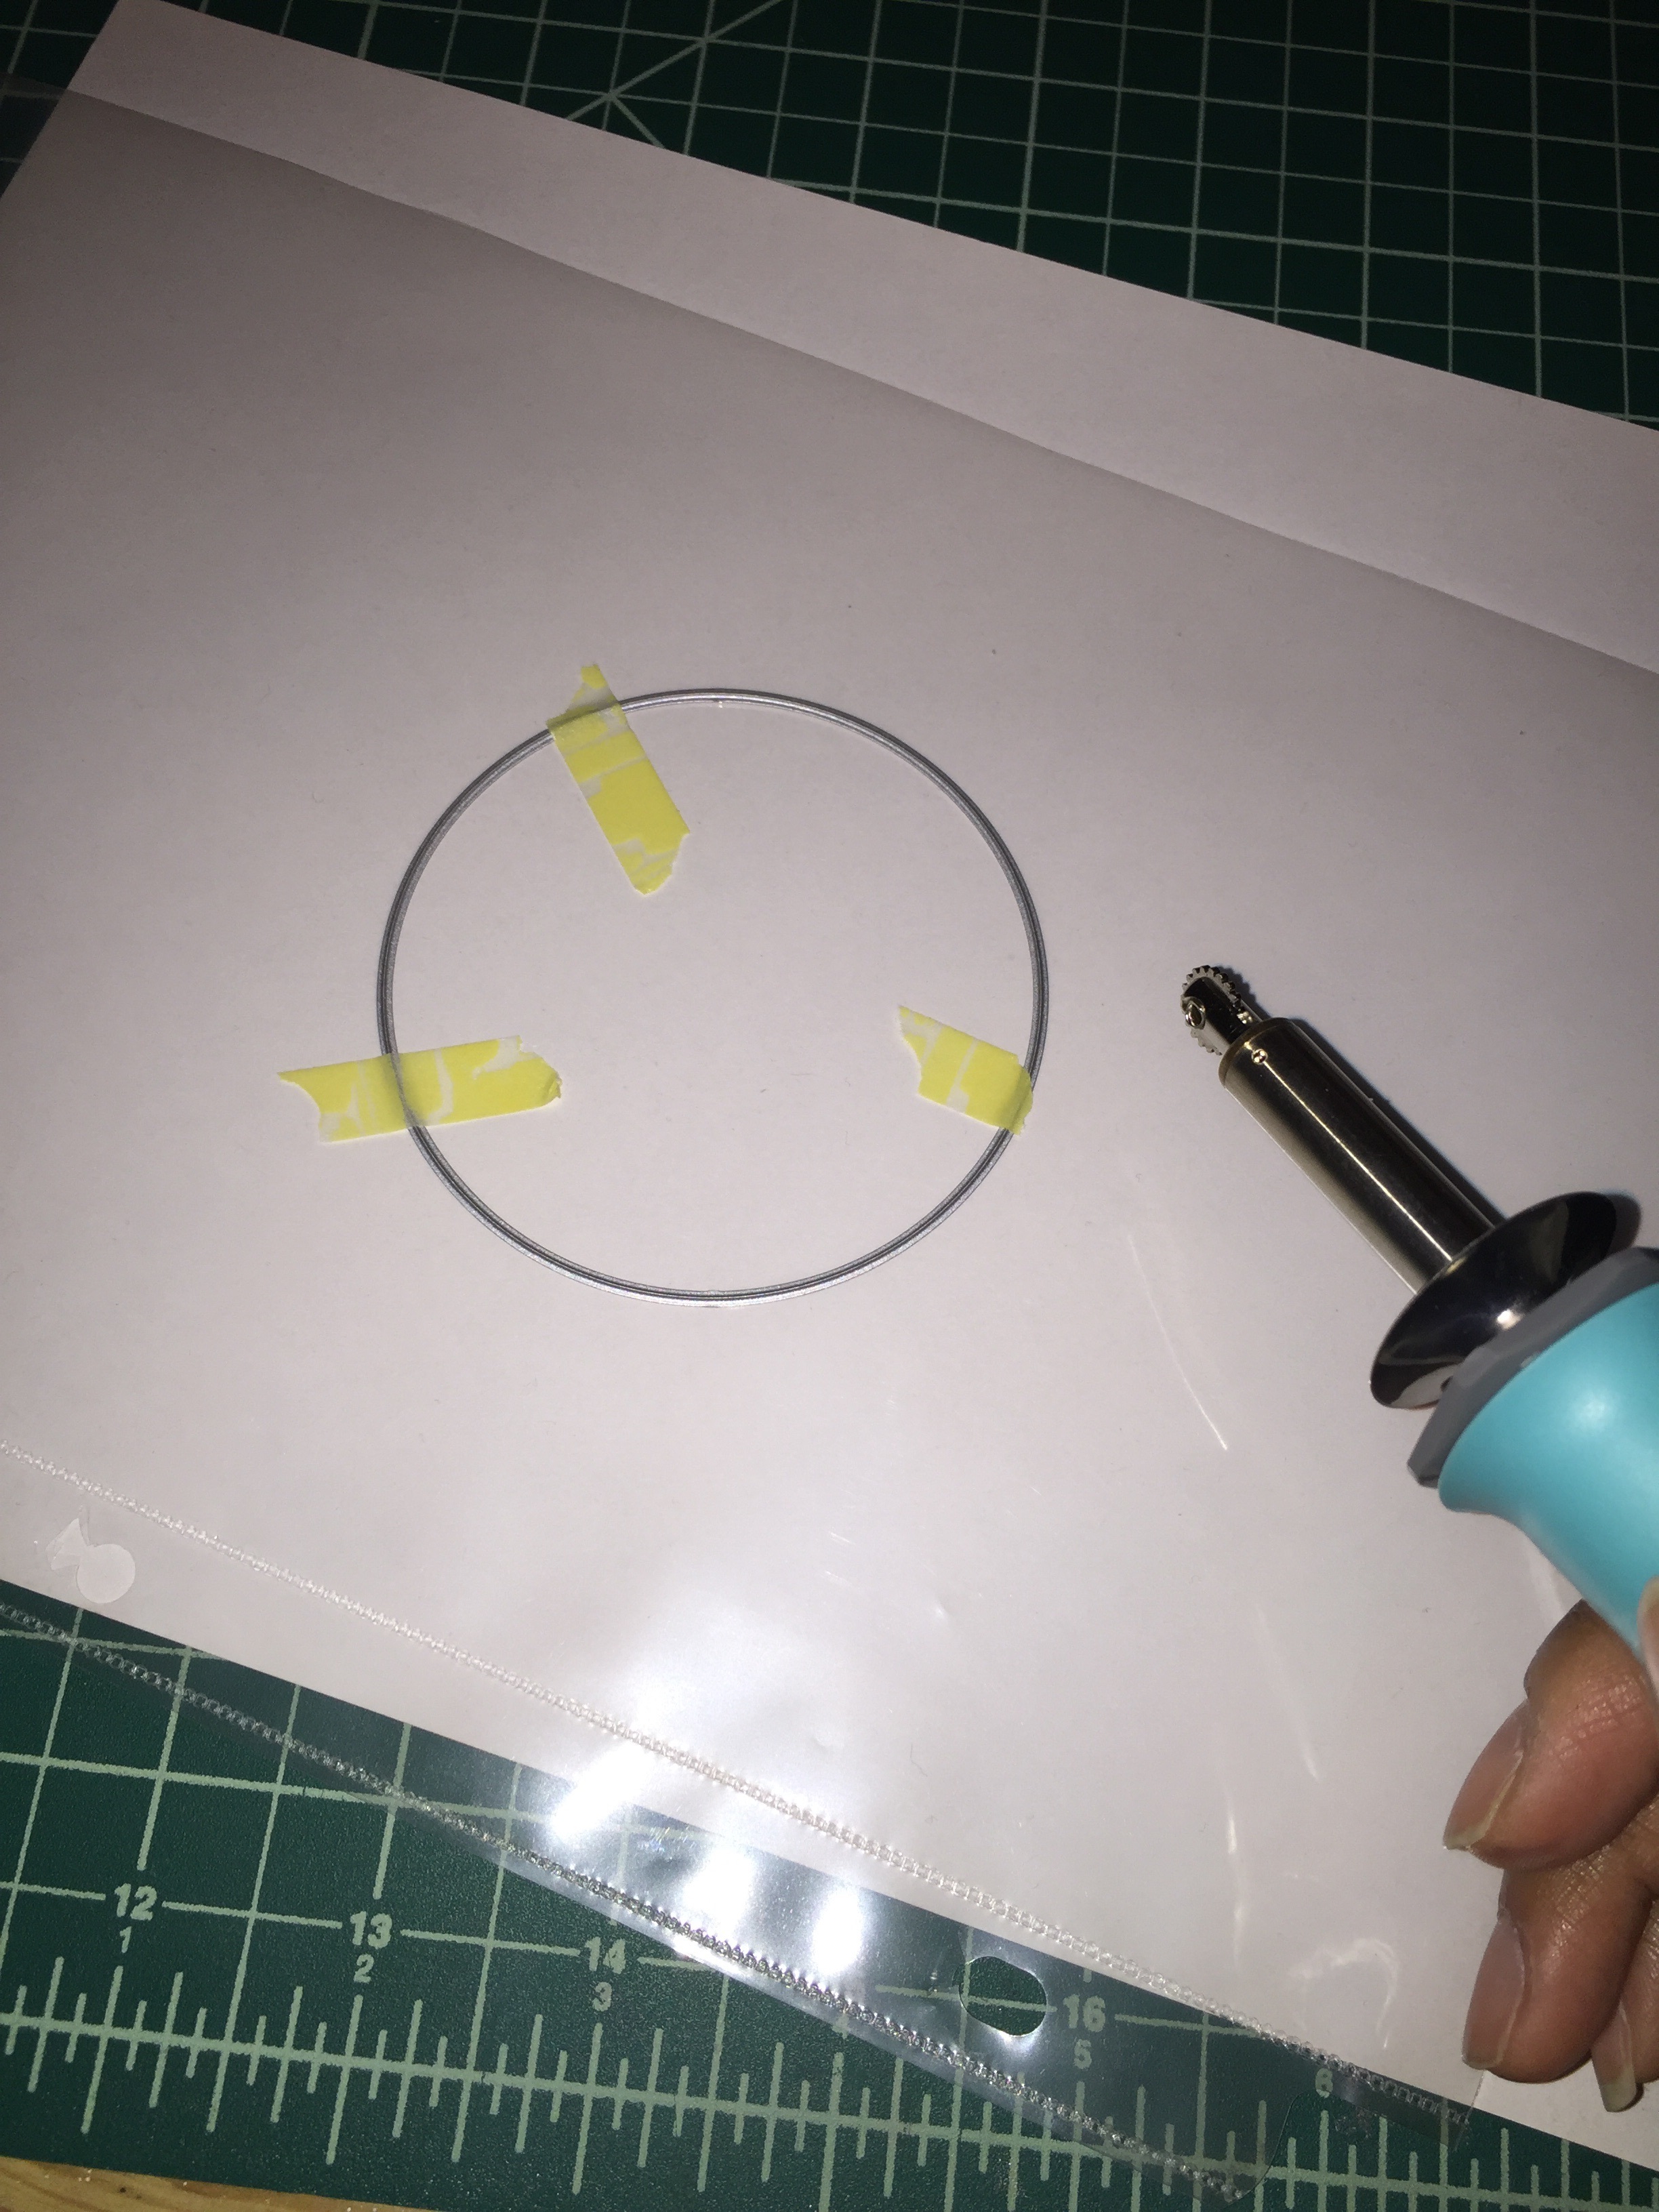
This used a stencil I created with my Cricut,  Copic markers, distress ink,  some miniature gears, and then it was layered. 

A bonus birthday card. 

A bonus birthday card. 

This used Copic markers, a die, an embossing folder, and a white gel pen. 

A wedding shaker card. 

A wedding shaker card. 

This used distress ink, Copic markers, the fuse tool, and a Wink of Stella Pen.

I'll be posting a few videos for how to make these cards soon. Until then, Happy Crafting! 

Coloring with Markers

Coloring, How to, Stamps, Diy, Graphic, Crafts, Paper crafting, Cards, Color, Graphic design, DrawingGabriela SimsComment

Hi everyone, I have started coloring more and I have to say I'm really enjoying it. The video below is for a masked stamping shaker card that I colored. 


I was so happy with this that I asked for new stamps for Christmas! I am also going to be doing some examples like this with my own drawings soon, until then, here are a few other stamps I finished. 

Original stamp

Original stamp

Masking

Masking

More masking

More masking

The finished jar!

The finished jar!

Some super cute elephants. 

Some super cute elephants. 

Some hearts on strings. 

Some hearts on strings. 

The original is on the left and the right is after I added eyes, color, and glitter. 

The original is on the left and the right is after I added eyes, color, and glitter. 

I think I'm going to really enjoy doing these, happy crafting! 

Holiday Craft Drop

Diy, Christmas, Cards, Knitting, Crafts, Paper craftingGabriela Sims1 Comment

I am starting this in the hopes that other people will do it too and we can all spread some joy. I handmake things all the time, from yarn to paper, I'm always creating. I decided this year I would make 1 dozen hand made cards and bag them up with other handmade items and "drop" them as gifts.  My hope is that people will find them and be prompted to do the same thing. I did my first one today, so I'll keep everyone posted on how it goes, here's the first drop.

A knit hat and greeting card! 

A knit hat and greeting card! 

Happy Crafting! 

Christmas Cards Galore

Cards, Crafts, Stamps, Graphic design, Christmas, Paper crafting, GraphicGabriela SimsComment

I recently became a designer for Darby Smart and my first launch was a boxed set of Christmas cards with my original designs on them.  There are 3 designs right now, and soon I will have a total of 6.


Happy Holidays

Happy Holidays

Black & White

Black & White

My resident fox. 

My resident fox. 

They are in boxes of 8 and they come with envelopes, you just add postage!  


All boxed up! 

All boxed up! 

I am so happy to be able to debut my own artwork on greeting cards. I have a few more designs in my head that could come in handy.  Hope you're inspired, happy crafting! 

Snowman Shaker Card with the We R Memory Keepers' Fuse Tool

Cards, Christmas, Crafts, Florigami, Drawing, DiyGabriela SimsComment

Hi everyone!!! I wanted to post a quick tutorial for this snowman shaker card I finished.  


The finished card! 

The finished card! 

I started by using some white card stock and a snowman stamp. 


2 stamped snowmen in case I make a mistake. 

2 stamped snowmen in case I make a mistake. 

Then I colored one in with my Spectrum Noir markers. 


All dressed up. 

All dressed up. 

Then I fussy cut the head off, because I knew that was all I would be using. 


image.jpg

Then I cut a 4.25" x 11" strip of heavyweight card stock for my base.  


Top folding card. 

Top folding card. 

Then I cut a 3.74" x 5" piece of red card stock. 


Red insert. 

Red insert. 

I decided to spray a sheet of paper I had with spray glitter to give it some shine. The paint takes 10-15 minutes to dry, so I was working on other things while it dried. Here is the result.

image.jpg

Next I started on my shaker pocket. I used a circle die one size bigger than the die I chose for my card and taped it to a plastic sheet. 

Secured die and the Fuse.

Secured die and the Fuse.

Then I cut around about 3/4 of my circle, leaving an opening at the top. 

Then I filled it with sequins and glitter, and then sealed the pocket shut. 

Finished pocket. 

Finished pocket. 

To cut the window I used a die slightly smaller than the shaker pocket. I taped the glitter paper and the card base together and taped the die to the front.

image.jpg


Now came the assembly of the card. I started by adding a sweater to the snow man and attaching him to the back of the glitter paper so that his scarf was hanging out. 


His sweater from the back. 

His sweater from the back. 

I just cut out a piece of card stock and stuck his head on it.

 Then attached the pocket to the back of the glitter paper as well.

Almost done. 

Almost done. 

Then added the red insert and it was done and ready for greatness!  


Happy Holiday! 

Happy Holiday! 

Using the same technique I made this gift tag. 

:) 

:) 


That's all for this post, and let me know if you have questions, Happy Crafting!!