Gab with Gaby

An engineer's creative corner studio.

We r memory keepers

Scrapping with Coldplay

Scrapbooking, Paper crafting, Color, How to, Quick Quotes, Layout, We R Memory KeepersGabriela SimsComment

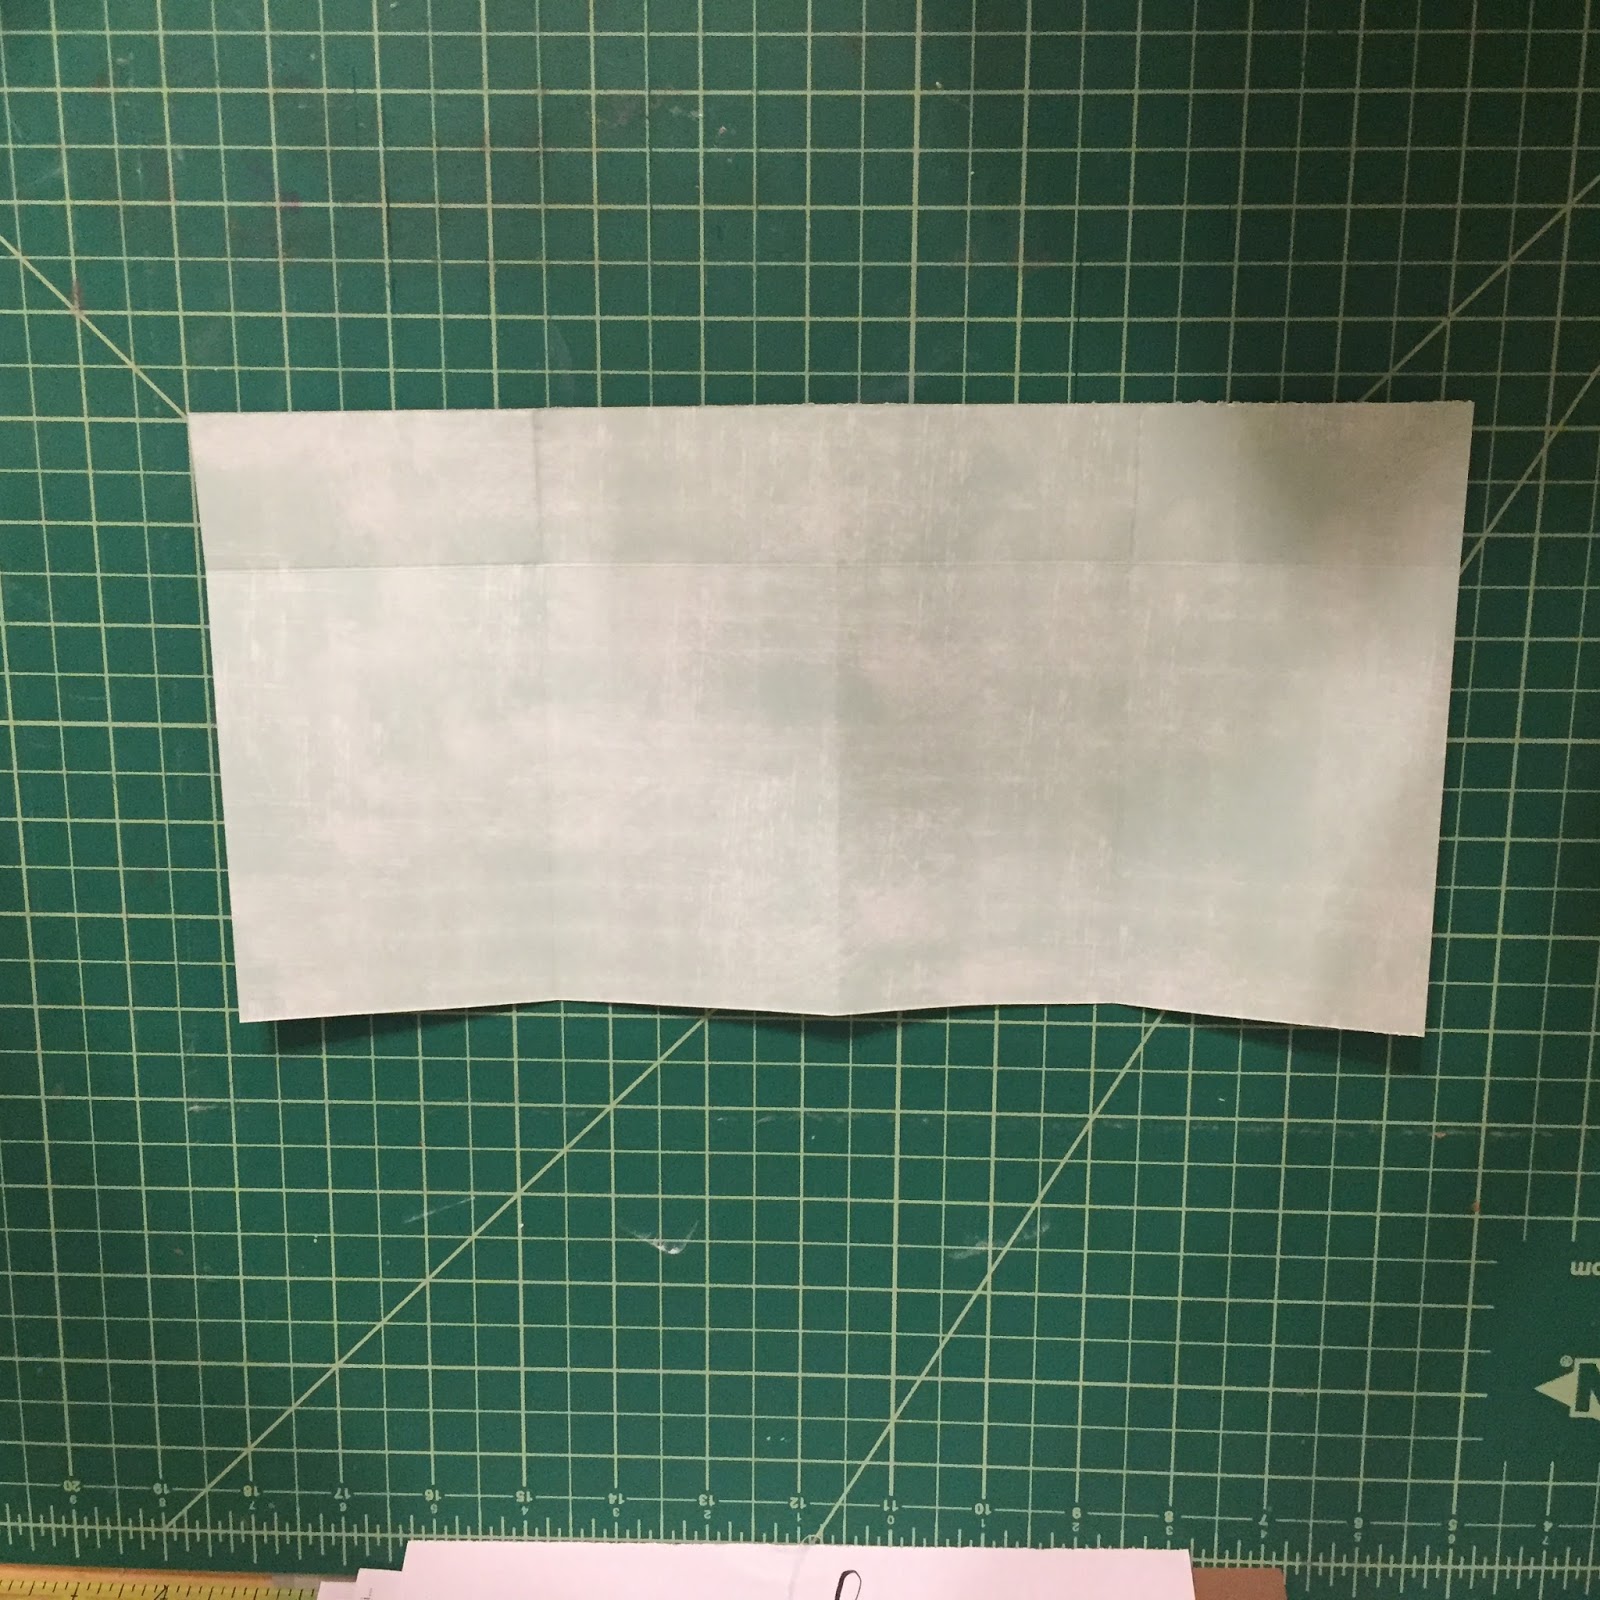
Hi everyone, Gabriela here today with a page I loved doing. I went to see Coldplay in Chicago last month and I knew I wanted to scrap the concert and use some bold colors. I started by making a mini pocket album.  I cut my paper at 12" x 6" and scored at 1.5" across and 3" vertically.

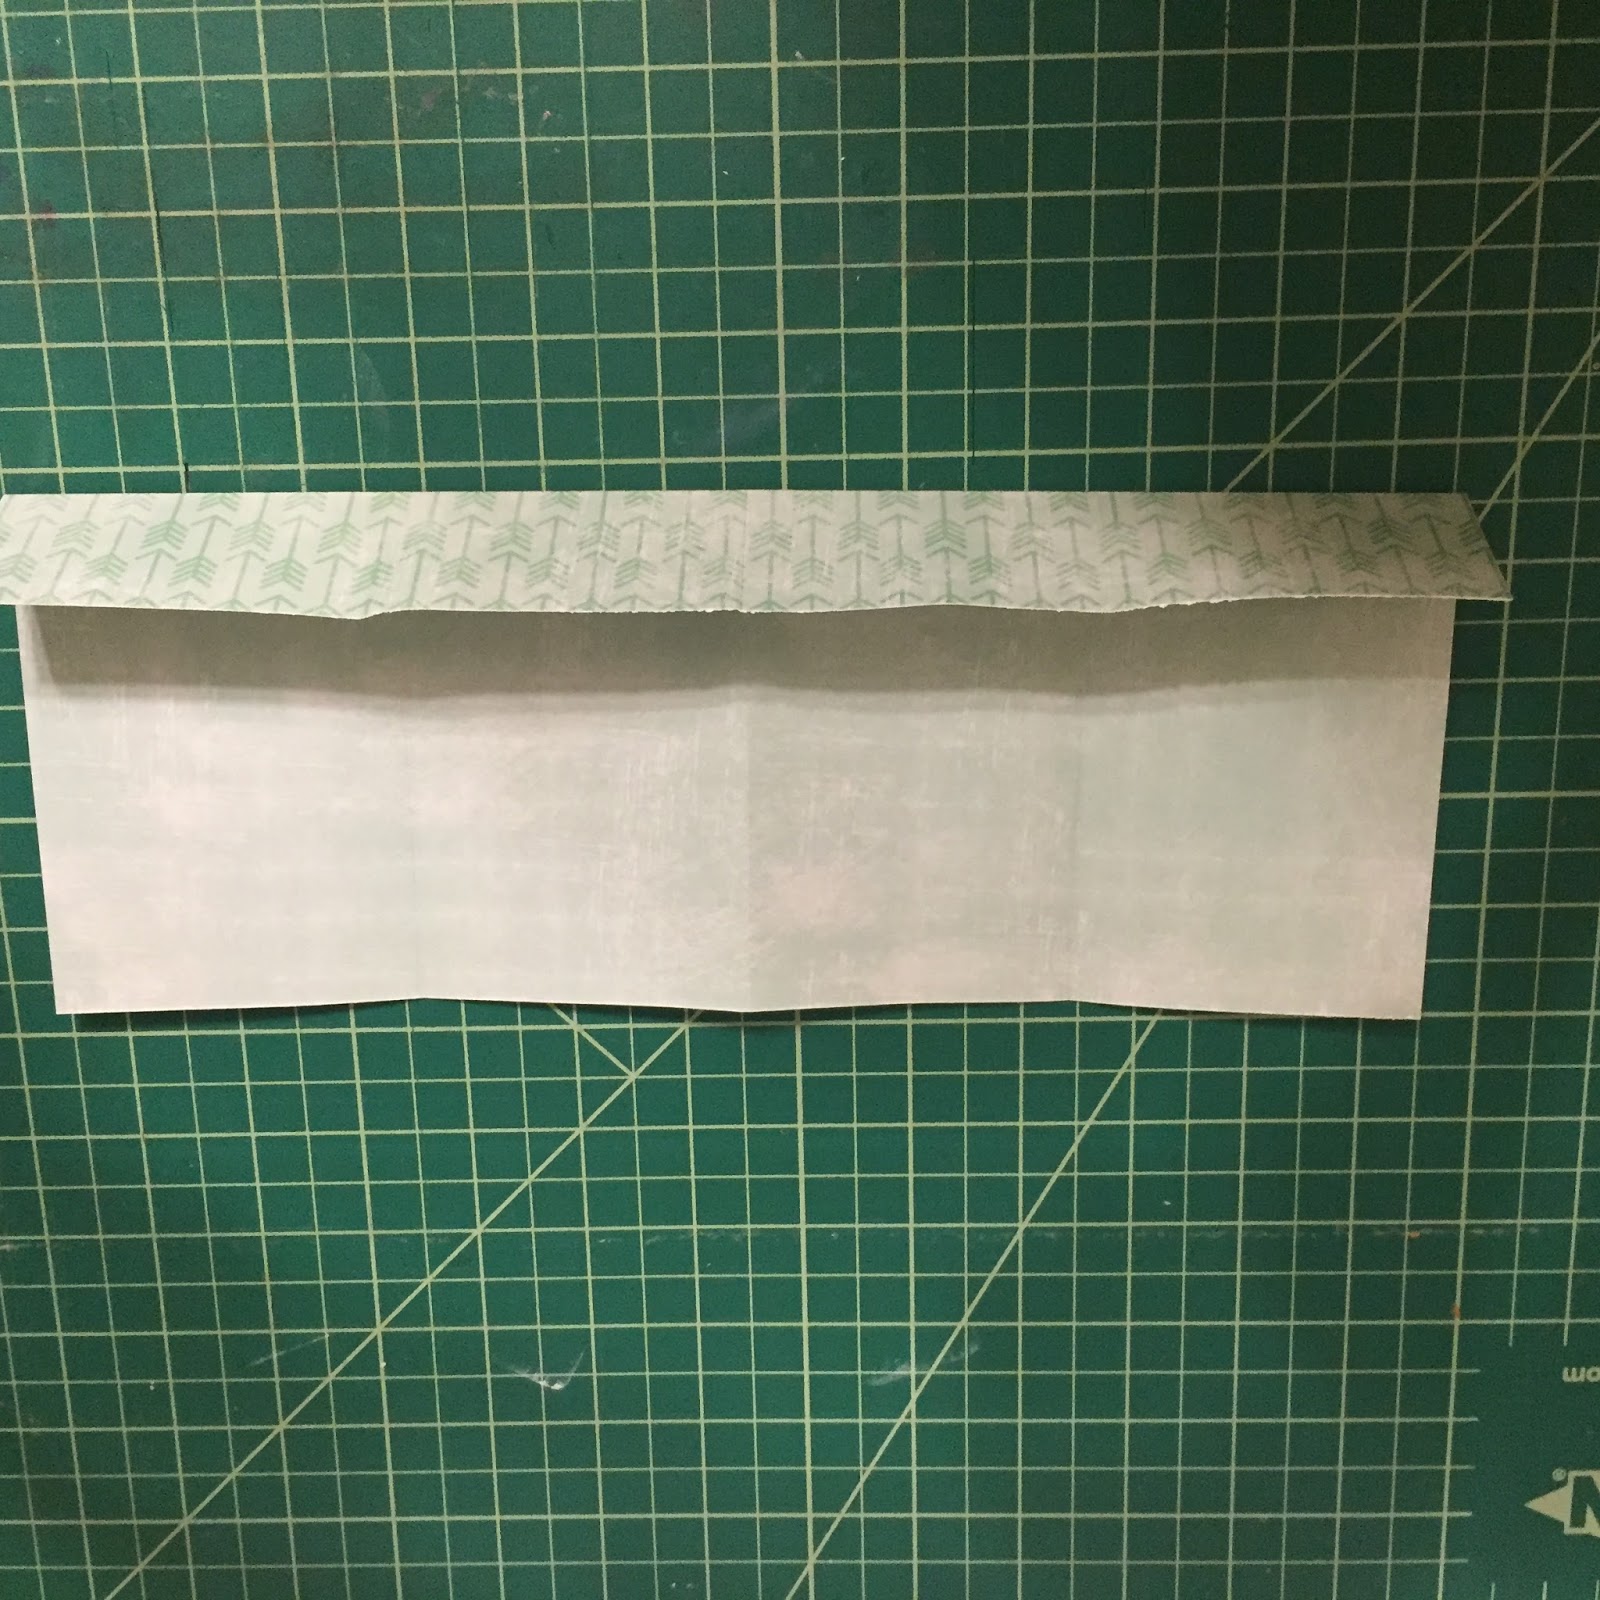
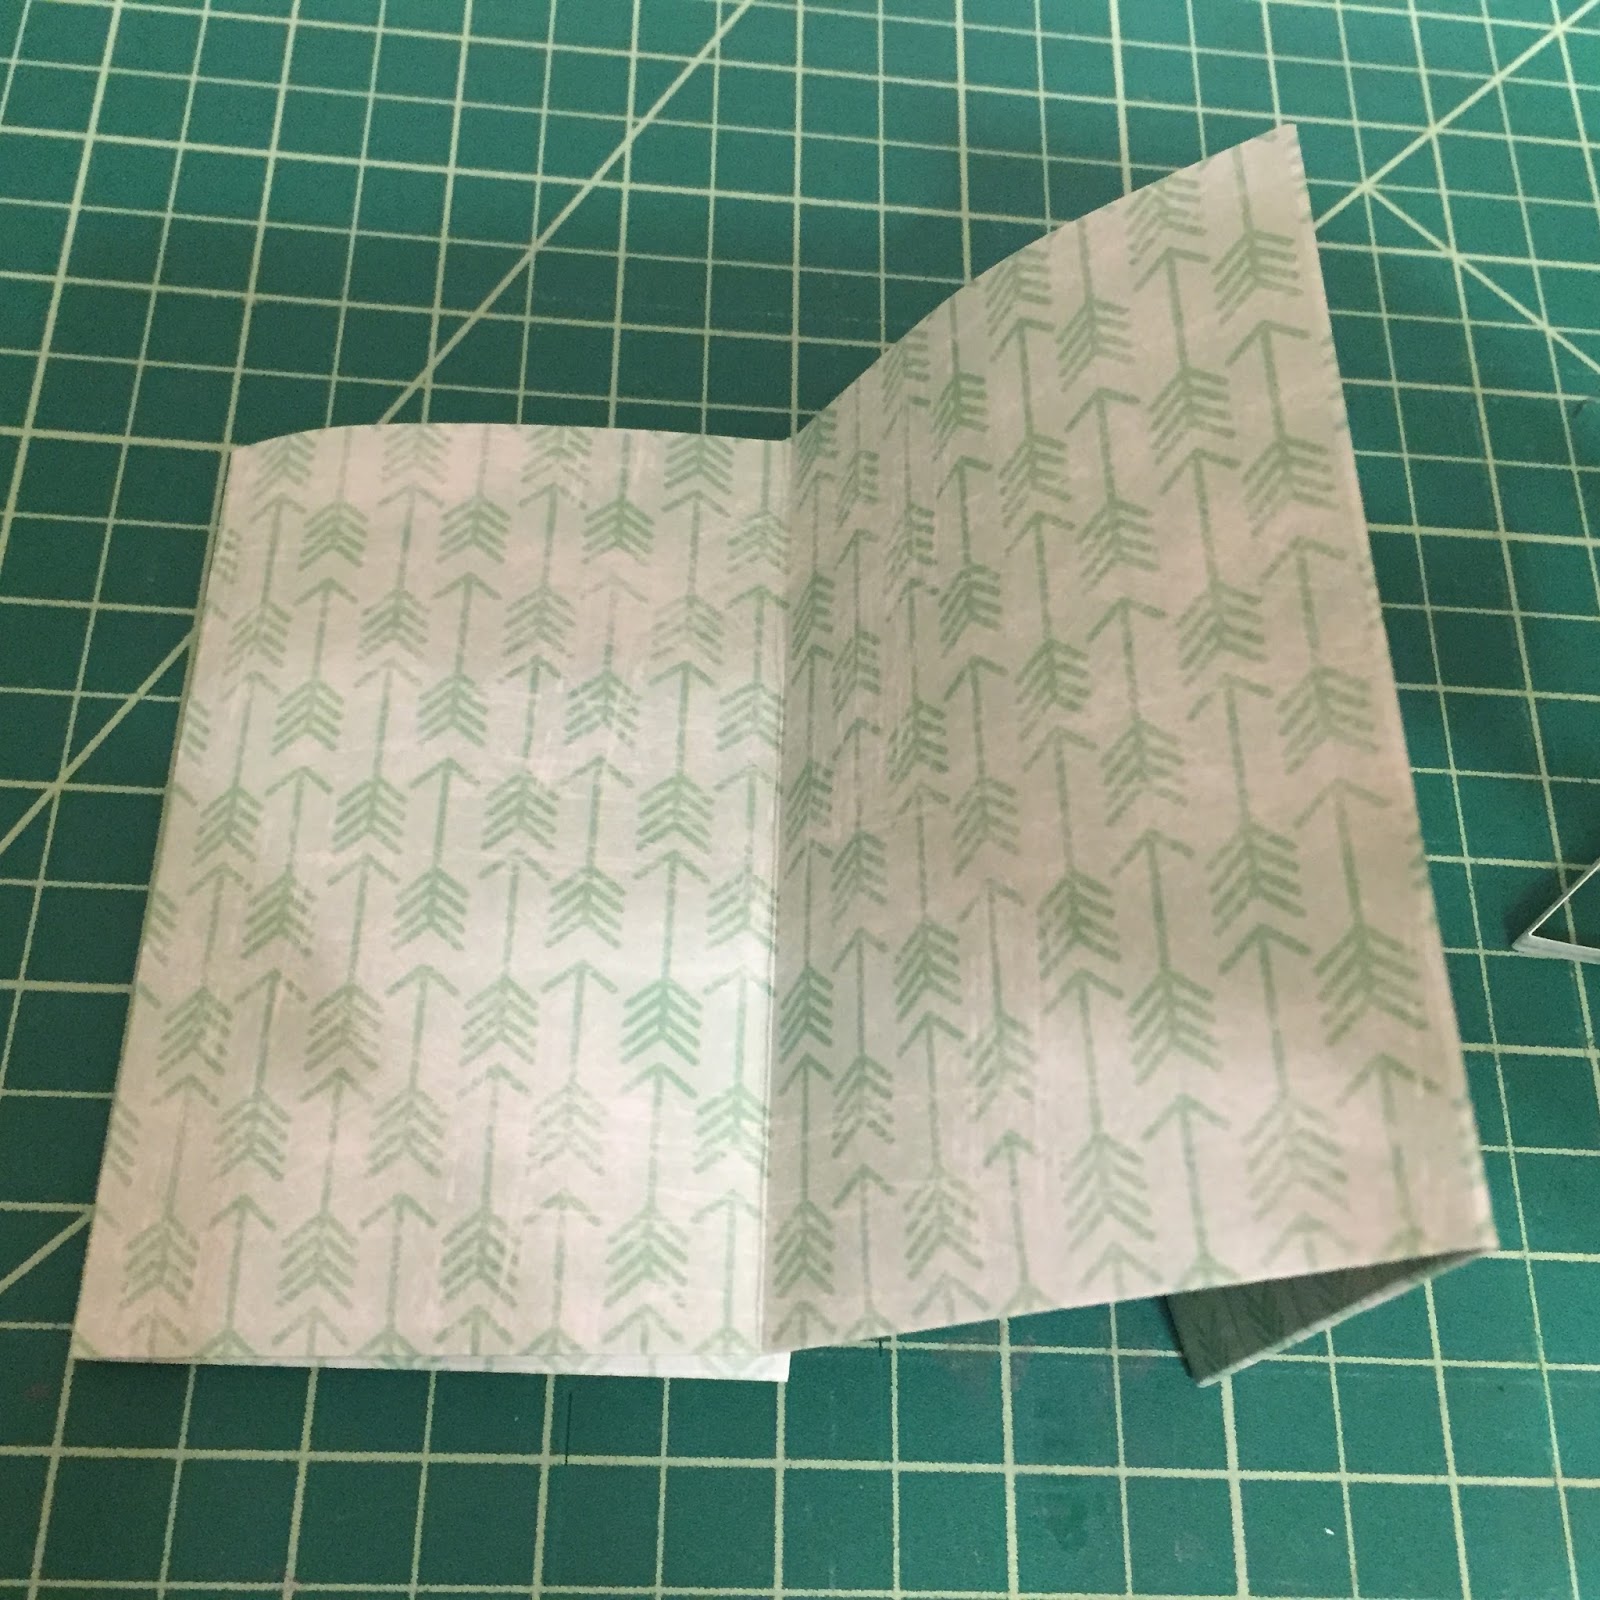
These panels will be taped together.
Then I added a background and my letters.
  
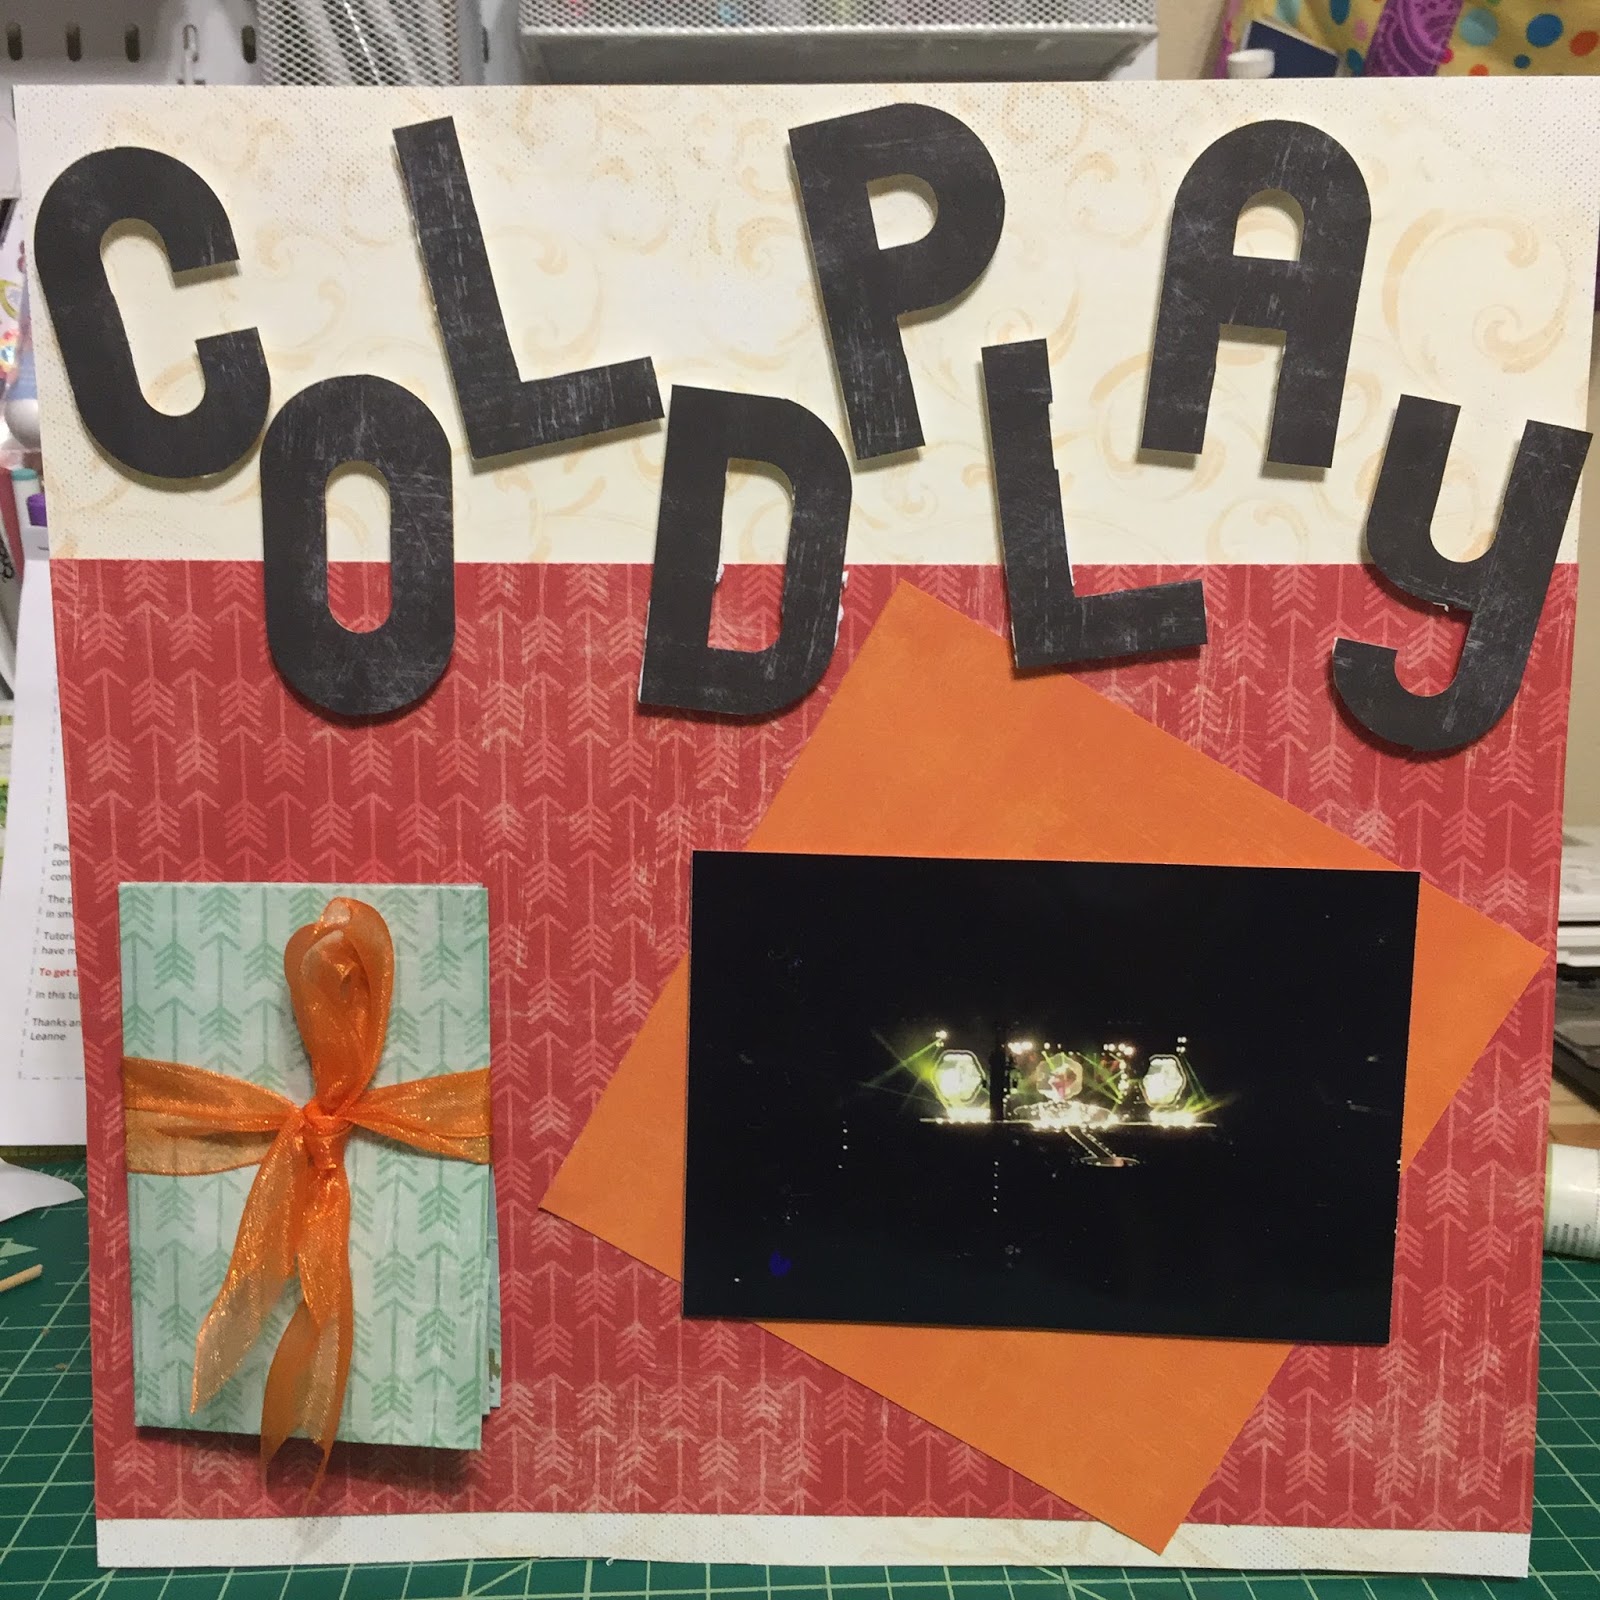
I chose a picture from when the band was performing "Yellow" and adhered the mini pocket album to the page.  Inside that I placed the ticket stubs and a journaling card.


This concert was absolutely amazing and to be honest, I will probably scrap it again :), happy crafting.

Quick Quotes products used:

Whistlin' Dixie - 109, 104, 108
Urban Oasis - 103
49 Shades of Gray - 104

Alphabet Punch Board Review

We R Memory Keepers, Crafts, Graphic, Tools, Diy, How to, Color, Reviews, Supplies, Paper crafting, CardsGabriela SimsComment

Hi everyone, here today with a review on the We R Memory Keepers Alphabet Punch Board. I saw that this was out, but I hadn't seen it in stores yet, so I ordered from HSN (they have a really great price right now) and then filmed a video of how it works.  I am a big fan of We R Memory Keepers products, I have a Fuse, the 1-2-3 Punch Board, the Flower Punch Board and I used Pinwheels in my wedding! This one is the first one I bought without watching a demo first, so my reaction and use is "fresh". I have to say I really like it, it's perfect for banners or wall decor and figuring it out only takes s few minutes, watch the video below for the full review and see the punch board in action.


Like I said in the video, the only thing I would like to see added is the ability to have smaller letters, maybe half size. Other than that I was extremely pleased with the cut quality and the speed.  You can complete a banner in a few minutes and precutting the paper to 3" x 5" rectangles will help speed things up too! If you're only doing a few letters or numbers, you can use the board to cut your paper down to size.  I hope this video was helpful, happy crafting. 

The Daily Marker 30 Day

Diy, Crafts, Supplies, Tutorial, Color, Paper crafting, How to, Coloring, Stamps, Cards, Graphic, Watercolor, DrawingGabriela SimsComment

I have been continuing through the challenge and here are this week's updates.  


My first spinner card

My first spinner card

This was created by using some patterned paper, my nesting circle dies, a hello die, and a Stampin' Up stamp. I colored the image using Copics and then drew a "back" of the image with a Copic Multiliner. 


A window card

A window card

I made this card with a coordinating Stamp and Die set from Stampin' Up.  I used a piece of acetate for "glass" in the window, I colored the images in Copics and did the background with Distress Ink.

Tomorrow I will be featuring the Chiffon Collection from QuickQoutes, I'll be showing how to make a Box Card. Happy Crafting! 

Tulle Shaker Mermaid Cards

Supplies, Stamps, How to, Tools, Crafts, Diy, Color, Cards, Graphic, Coloring, Paper craftingGabriela SimsComment

So I have been working on the Daily Marker 30 Day challenge and I have spent about 5 days on these, but I am so happy with the result. 


All boxed up. 

All boxed up. 

I started by stamping all of my mermaids and coloring them, and then fussy cut them all.


A school of mermaids. 

A school of mermaids. 

Then I did some distress ink backgrounds to resemble water and then sewed tulle around the edge to make shaker pockets.

I sewed circles on to make pockets. 

I sewed circles on to make pockets. 

Then I used my We R Memory Keepers DIY Confetti Punch to make "Bubbles" out of glitter paper and trimmed down the tulle.


Almost done. 

Almost done. 

Finally I sewed up the tops and attached them to A2 sized note cards. 


Done. 

Done. 

I boxed them up with envelopes to complete the set and shipped them to a friend. 


image.jpg

I hope you try some new ways to make shaker cards and you have the chance to send someone happy mail! Happy crafting! 

Gab about your Stash #1

Tools, Color, Cards, Supplies, Diy, Graphic, Crafts, Watercolor, Paper crafting, StampsGabriela SimsComment

So I LOVE crafting supplies as evidenced in the craft storage post, but I'm trying to get better about using what I buy, so starting in the next few weeks, I am going to make a habit of using supplies I already have and scraps of projects from the week. I will make posts here and on my YouTube channel so that people can keep up. I will do a 10 minute Monday, a technique card, a product review, and then a Saturday Scrapternoon where I use up that week's scraps! In really excited about that and I hope it will keep me on task to create more and work through a massive stash of supplies and tools.  I have lots of tools I have never reviewed, but that I use often, so it'll be nice to share long term pros and cons.  In the meantime, here are this week's cards.


Iris folding? I can dig it! 

Iris folding? I can dig it! 

I started using supplies I have and remembered I have like 30 Gelatos and two kits!  

Gelatos and modeling paste. 

Gelatos and modeling paste. 

More with the amazing watercolors. 

This was for a challenge and the prompt was "Bright". 

This was for a challenge and the prompt was "Bright". 

Because I still love yarn! 

The Avery Elle "Made With Love" stamp set and some Copics...and a yarn chain. 

The Avery Elle "Made With Love" stamp set and some Copics...and a yarn chain. 

My first 10 minute card...that took 12 minutes! Lol, I'll be posting this video soon! 

I used nothing but supplies I already had. 

I used nothing but supplies I already had. 

Distress ink, Minc foil, and some time. 

Distress ink, Minc foil, and some time. 

That's all for today, check back in the next week or so for the new lineup of paper crafting vids and posts! Happy crafting!