Gab with Gaby

An engineer's creative corner studio.

Lawn fawn

Gab about Lawnfawnatics - Wonderful Winter

Color, Christmas, Coloring, Cards, Paper crafting, Lawn FawnGabriela Sims2 Comments

Hi everyone! Anyone who reads my blog knows I’m a longtime Lawn Fawn fan. I finally decided to try one of the challenges. This time it’s Wonderful Winter, so I used the Winter Skies set, my Copic Ciaos, and some tips from Sandy Allnock in this amazing video.  I might try this again with a pastel winter sky or maybe a fall sky/background.  Take a look at Sandy’s channel for a ton of coloring tips for Copics, Watercolor, and Colored Pencils. 

IMG_1016.JPG


I have linked* to the stamps and dies below below and until next time, be safe in these crafting streets.

Lawn Fawn Stamp Sets

Lawn Fawn Die Sets

Copic Markers

Happy Crafting,

Gaby

*Affiliate links


CAS (Clean and Simple) Card with no stamps.

Cards, Color, Diy, How to, Lawn Fawn, Paper crafting, Simon Says Stamp, Tools, Xyron, Die Cutting, Bo Bunny, CASGabriela SimsComment

Hi everyone, Gaby here with a CAS card using some dies I like, layering, and markers.  I wanted to challenge myself to make some nice cards without using stamps.  I started by die cutting the hearts out of two pieces of cardstock, one pink and one white.  Then I ran a coordinating piece of cardstock, one in white and one in kraft and ran them through my Xyron to use for layers.  Then I placed the leftover piece from the die cut onto the sticky side of each layer and replaced the die cuts into the opposite color paper, like an inlay.  Once that was done, I cut the paper at an angle and then adhered it to a pink piece of 4.25" x 5.5" with foam tape.  I had some additional die cut words that I covered with Glossy Accents and let them dry.  Once I attached those, I added some Nuvo Glitter Drops and some faux stitching with a Copic Multiliner and a white gel pen.  Once that was all dry, I colored the inside of the hearts using a Spectrum Noir Glitter pen.

The heart die is from Simon Says Stamp and the words are die cuts from the Lawn Fawn heart envelope die.  I will be posting more cards like this in addition to my regular projects that use stamps, stencils, inks, embossing powder, and the kitchen sink! I just think it's nice sometimes to use some of your supplies that you might forget about because of all the new products. Until next time, happy crafting!


Gaby

Chibitronics and Lawn Fawn

Cards, Diy, How to, Lawn Fawn, Paper crafting, Stamping, Stamps, Tutorial, ChibitronicsGabriela SimsComment

Hello everyone, Gaby here today with a Valentine's Day Card that will wow the recipient.  In my case, my husband already saw this, so he won't be surprised.  I am using some products from Chibitronics and Lawn Fawn to make a light up card with heart.  I downloaded a template from the Chibitronics website for the circuit and I'm using their White Lights, Copper Tape, and Effects Pack.  The two Lawn Fawn sets I am using are Octopi My Heart and Mermaid for You.  Check out the video below!

I hope you enjoyed the video and that it was easy to follow, my advice if you have not built a circuit before is to be patient and start with a single light circuit and then move on to parallel circuits with extra lights, and finally, try adding effects like this.  I have made some other cards with Chibitronics lights, but this is the first tutorial for them I have put together. As always, happy crafting and I will see you next time, thanks for stopping by! 

-Gaby

Pop-Up with Quick Quotes and Lawn Fawn

Cards, Crafts, Diy, How to, Paper crafting, Stamps, TutorialGabriela SimsComment

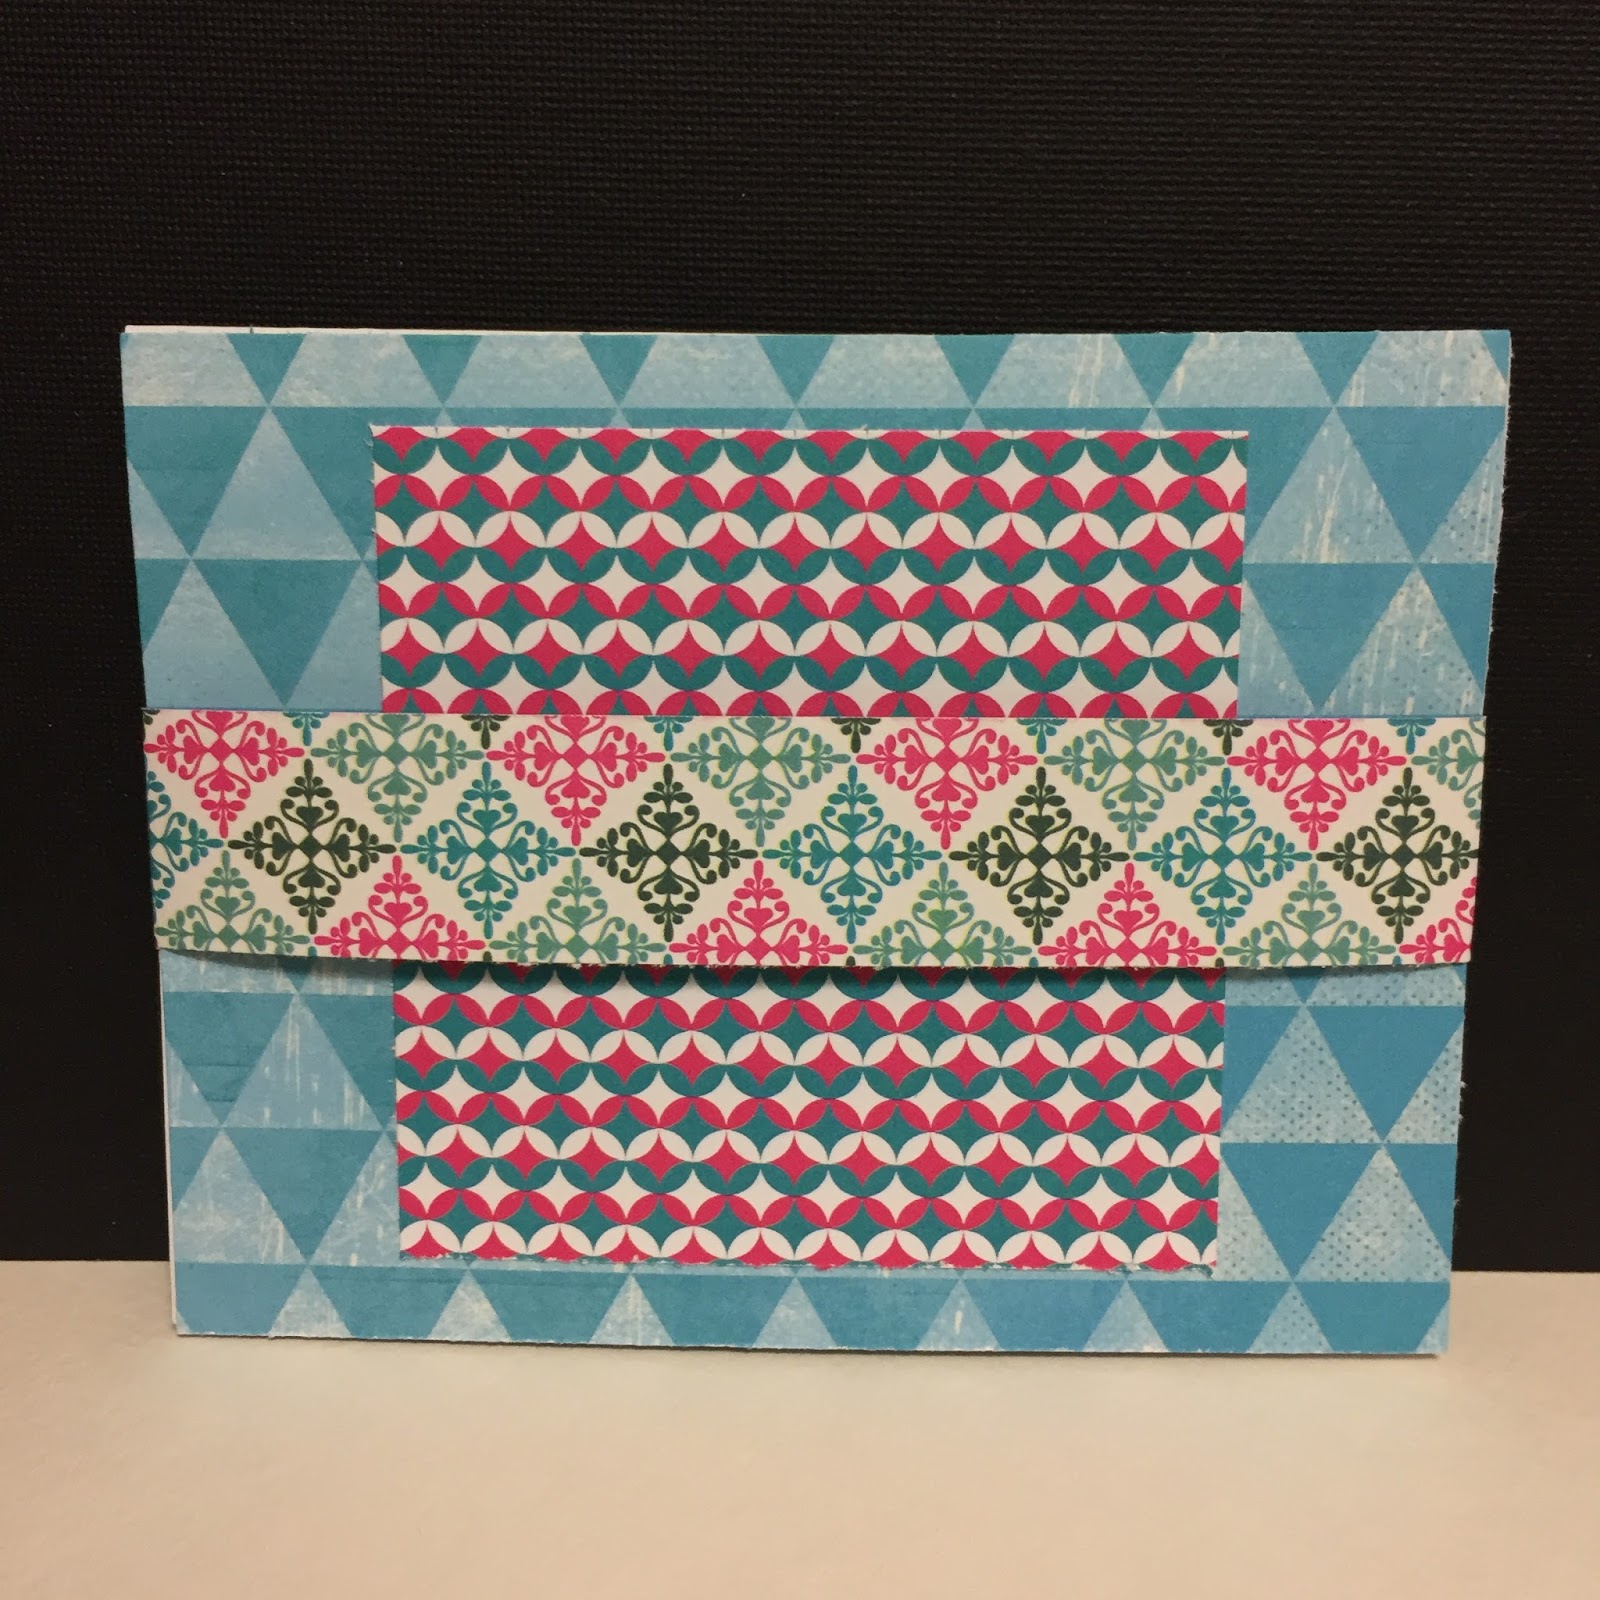
Hi everyone, Gabriela here today with a way to showcase your paper patterns and have some fun with stamps or die cuts.  This card is a pop-up inside and has a decorative band holding it closed.


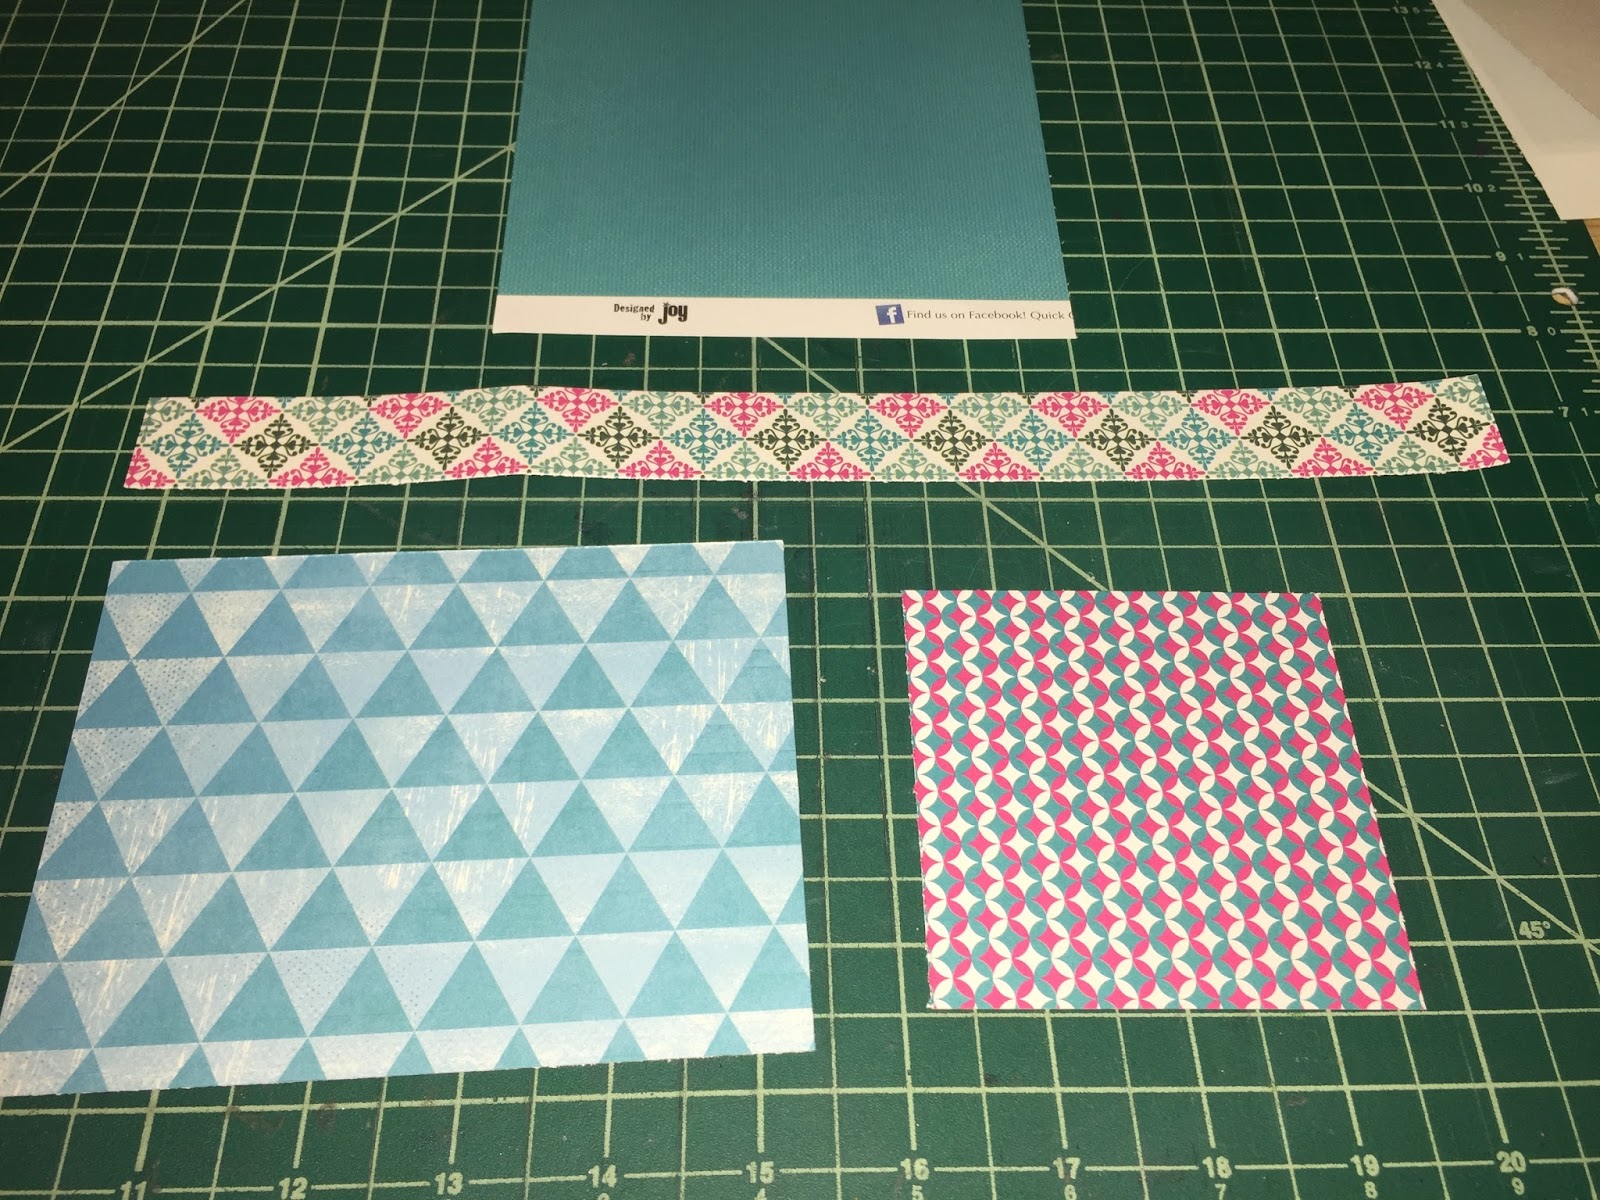
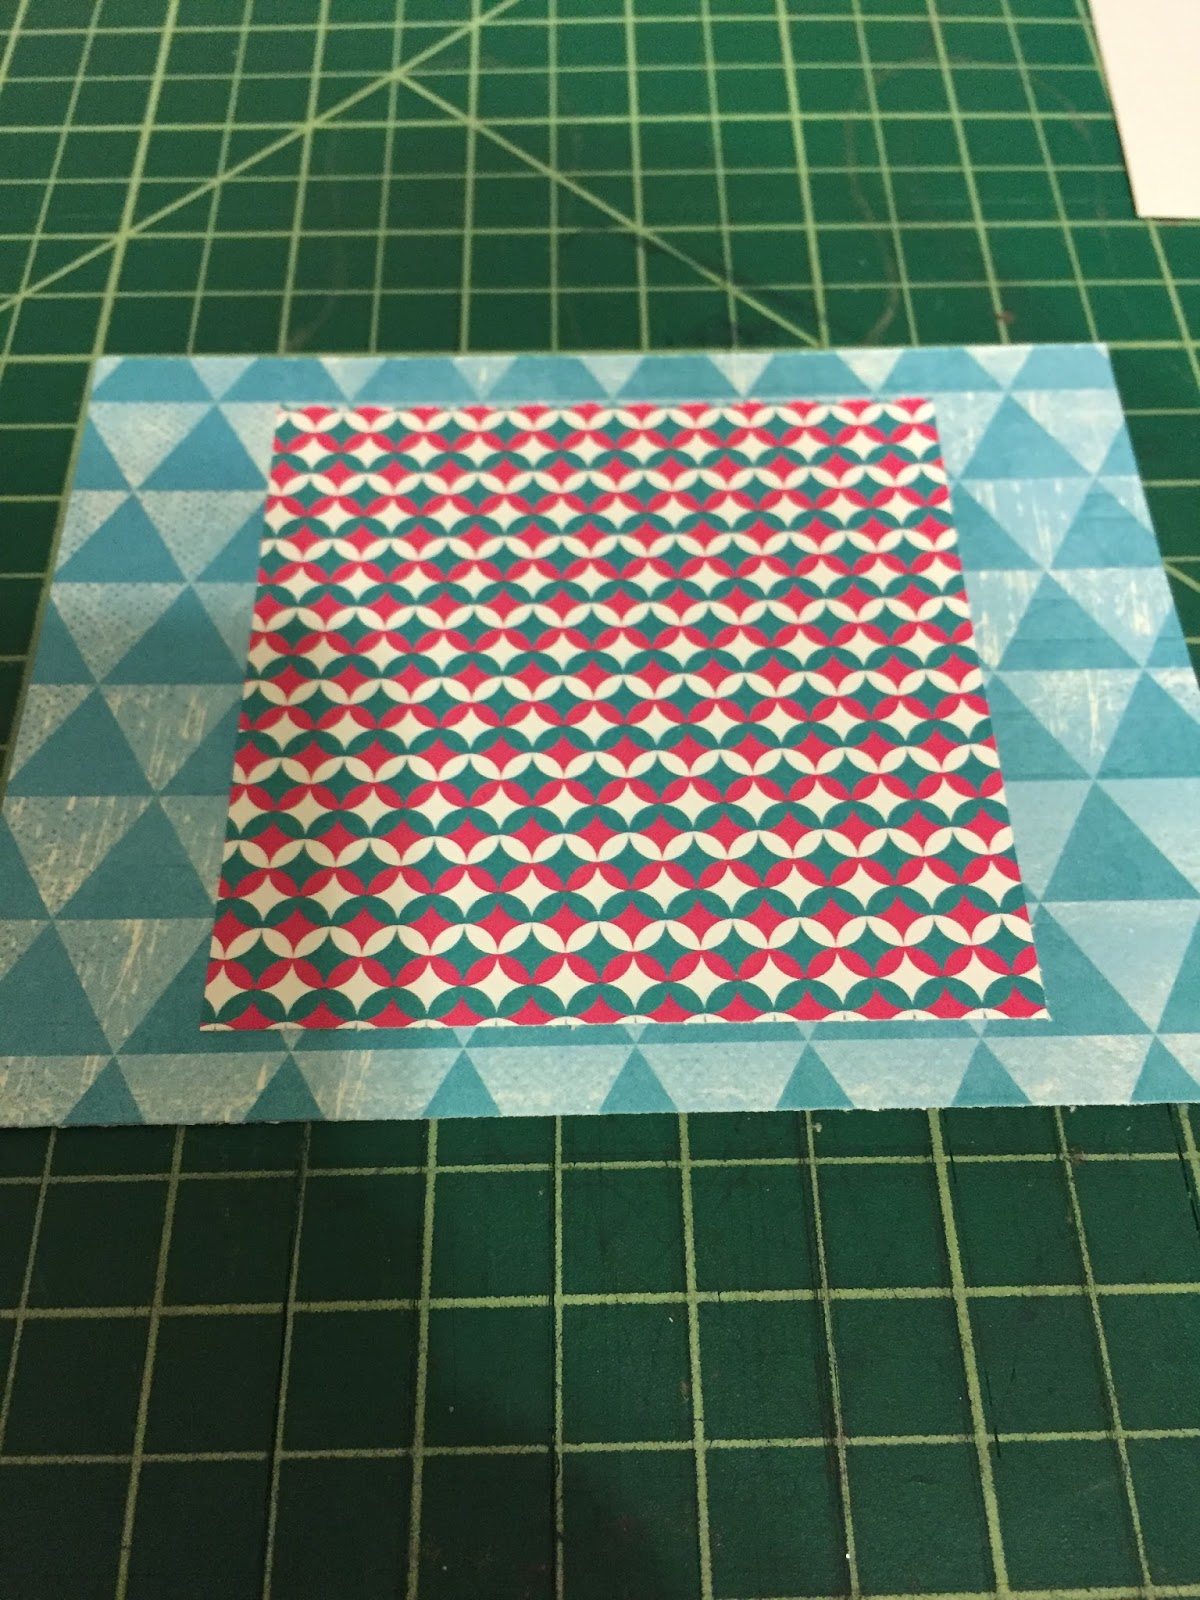
I am using the Winter Bliss collection and I started by cutting my paper into pieces. I used one 12" x 1" strip, one 5.5" x 4.25" rectangle, a 3" x 3" square and an 8" x 5.5" rectangle. I used a plain white card base.


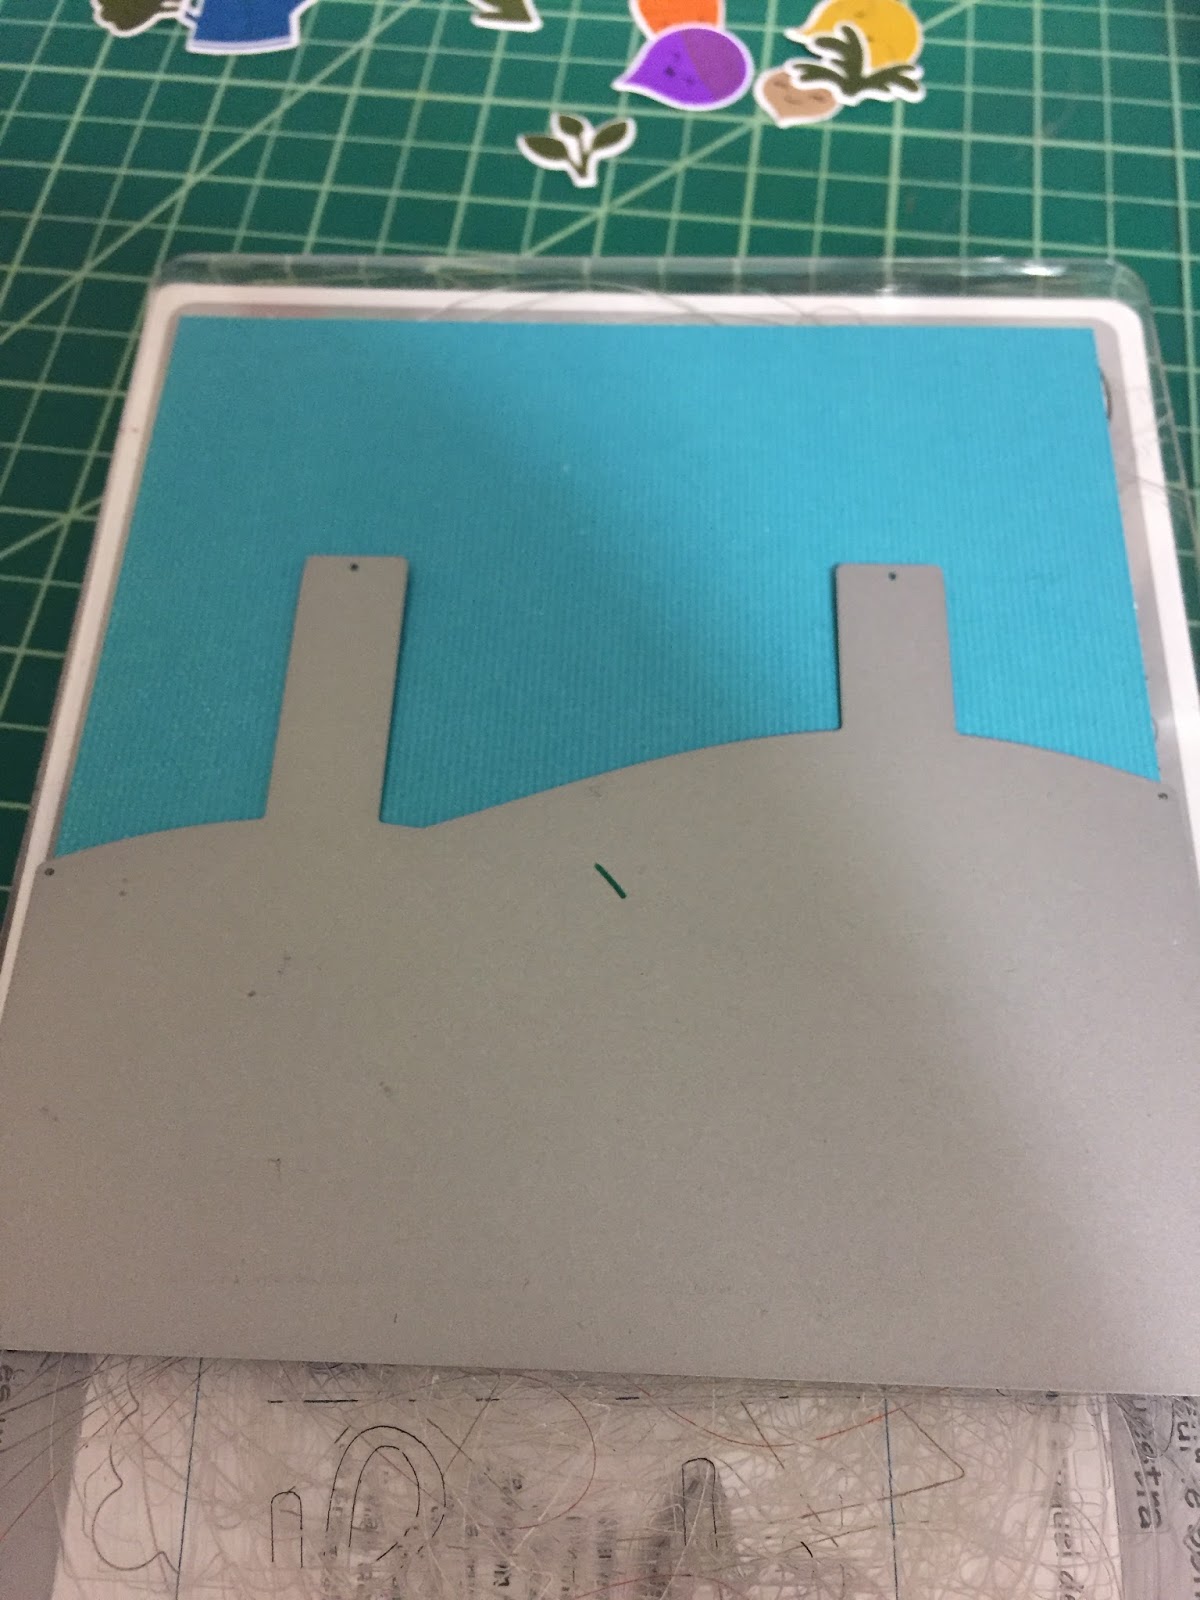
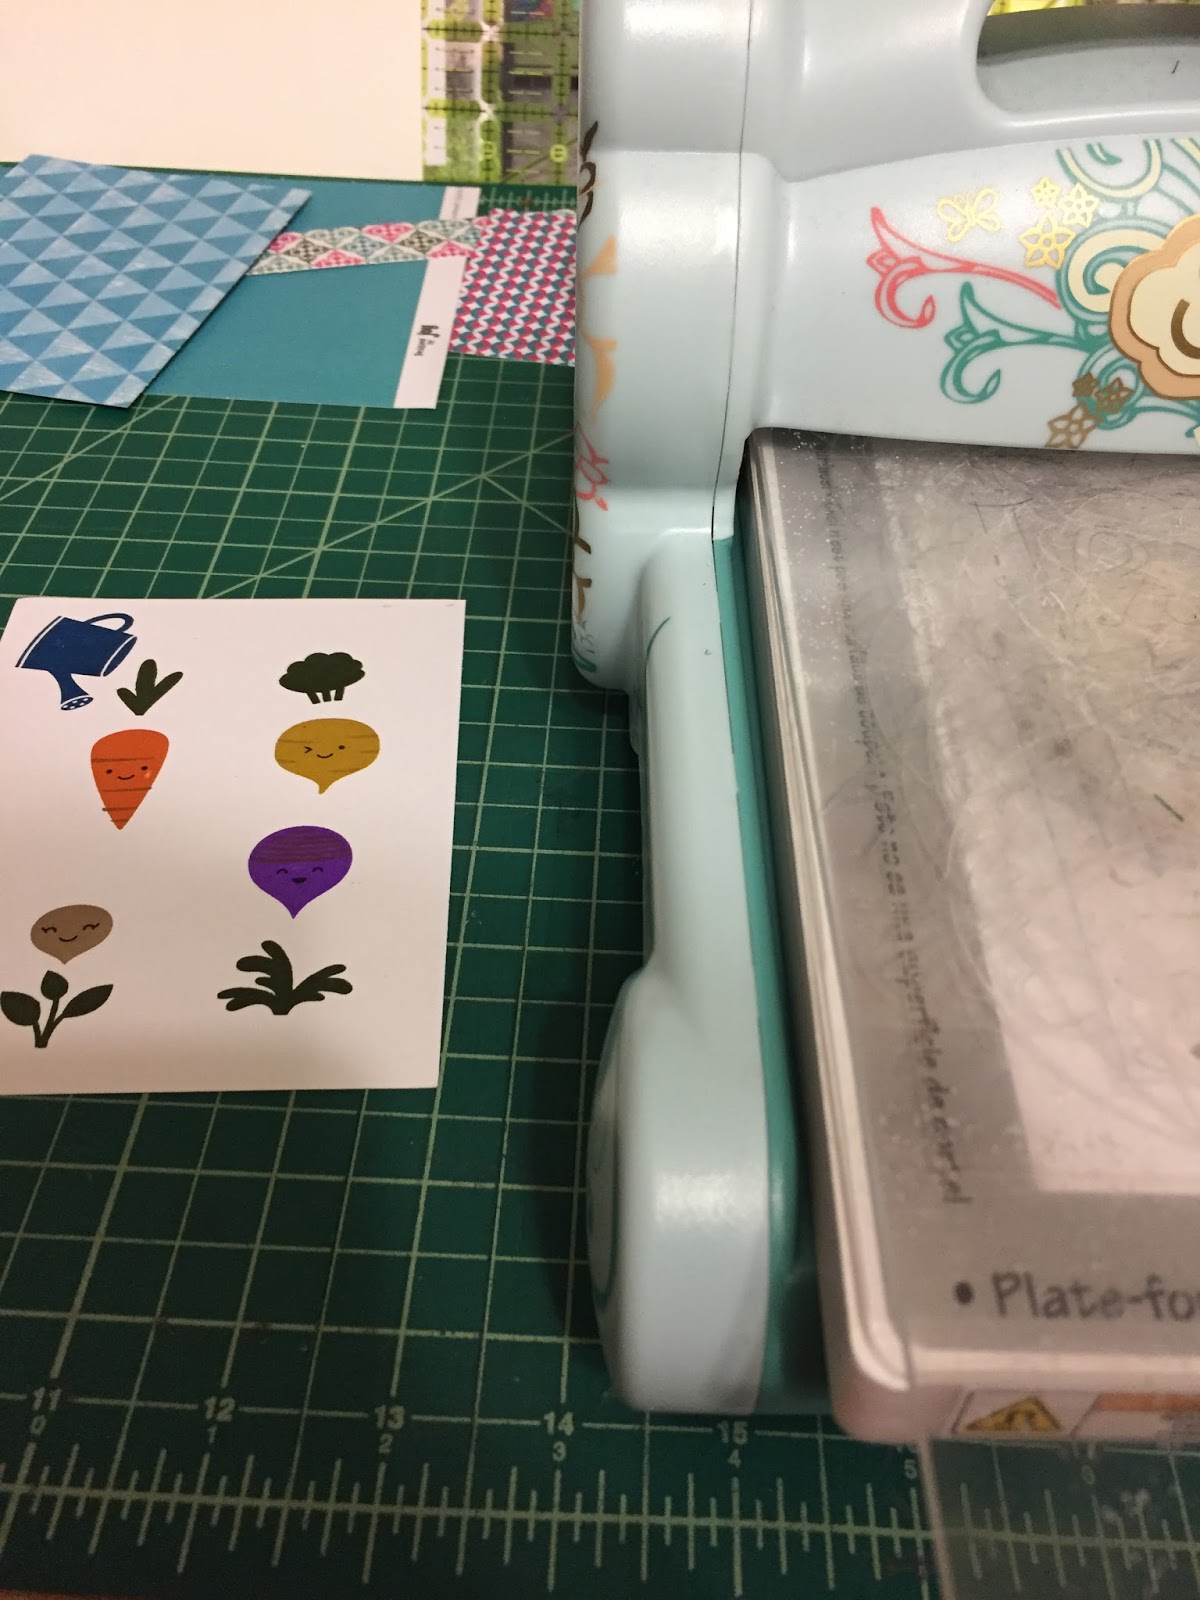
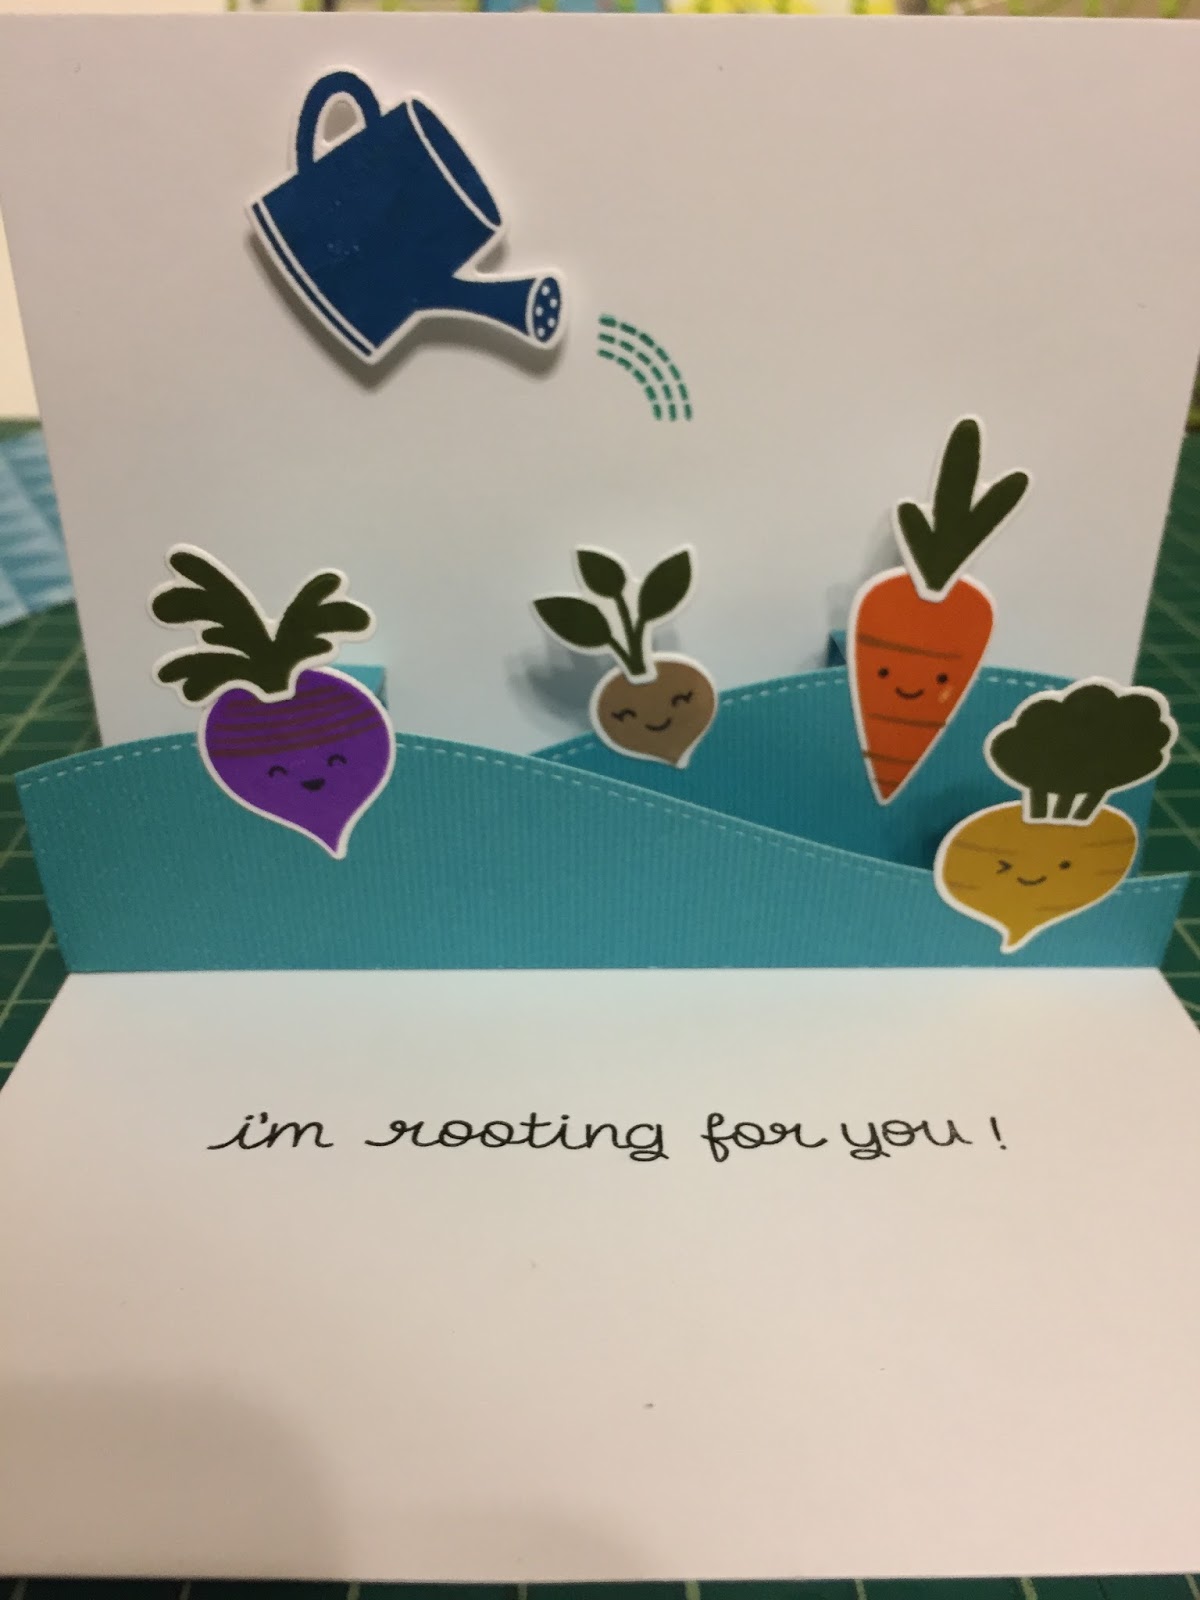
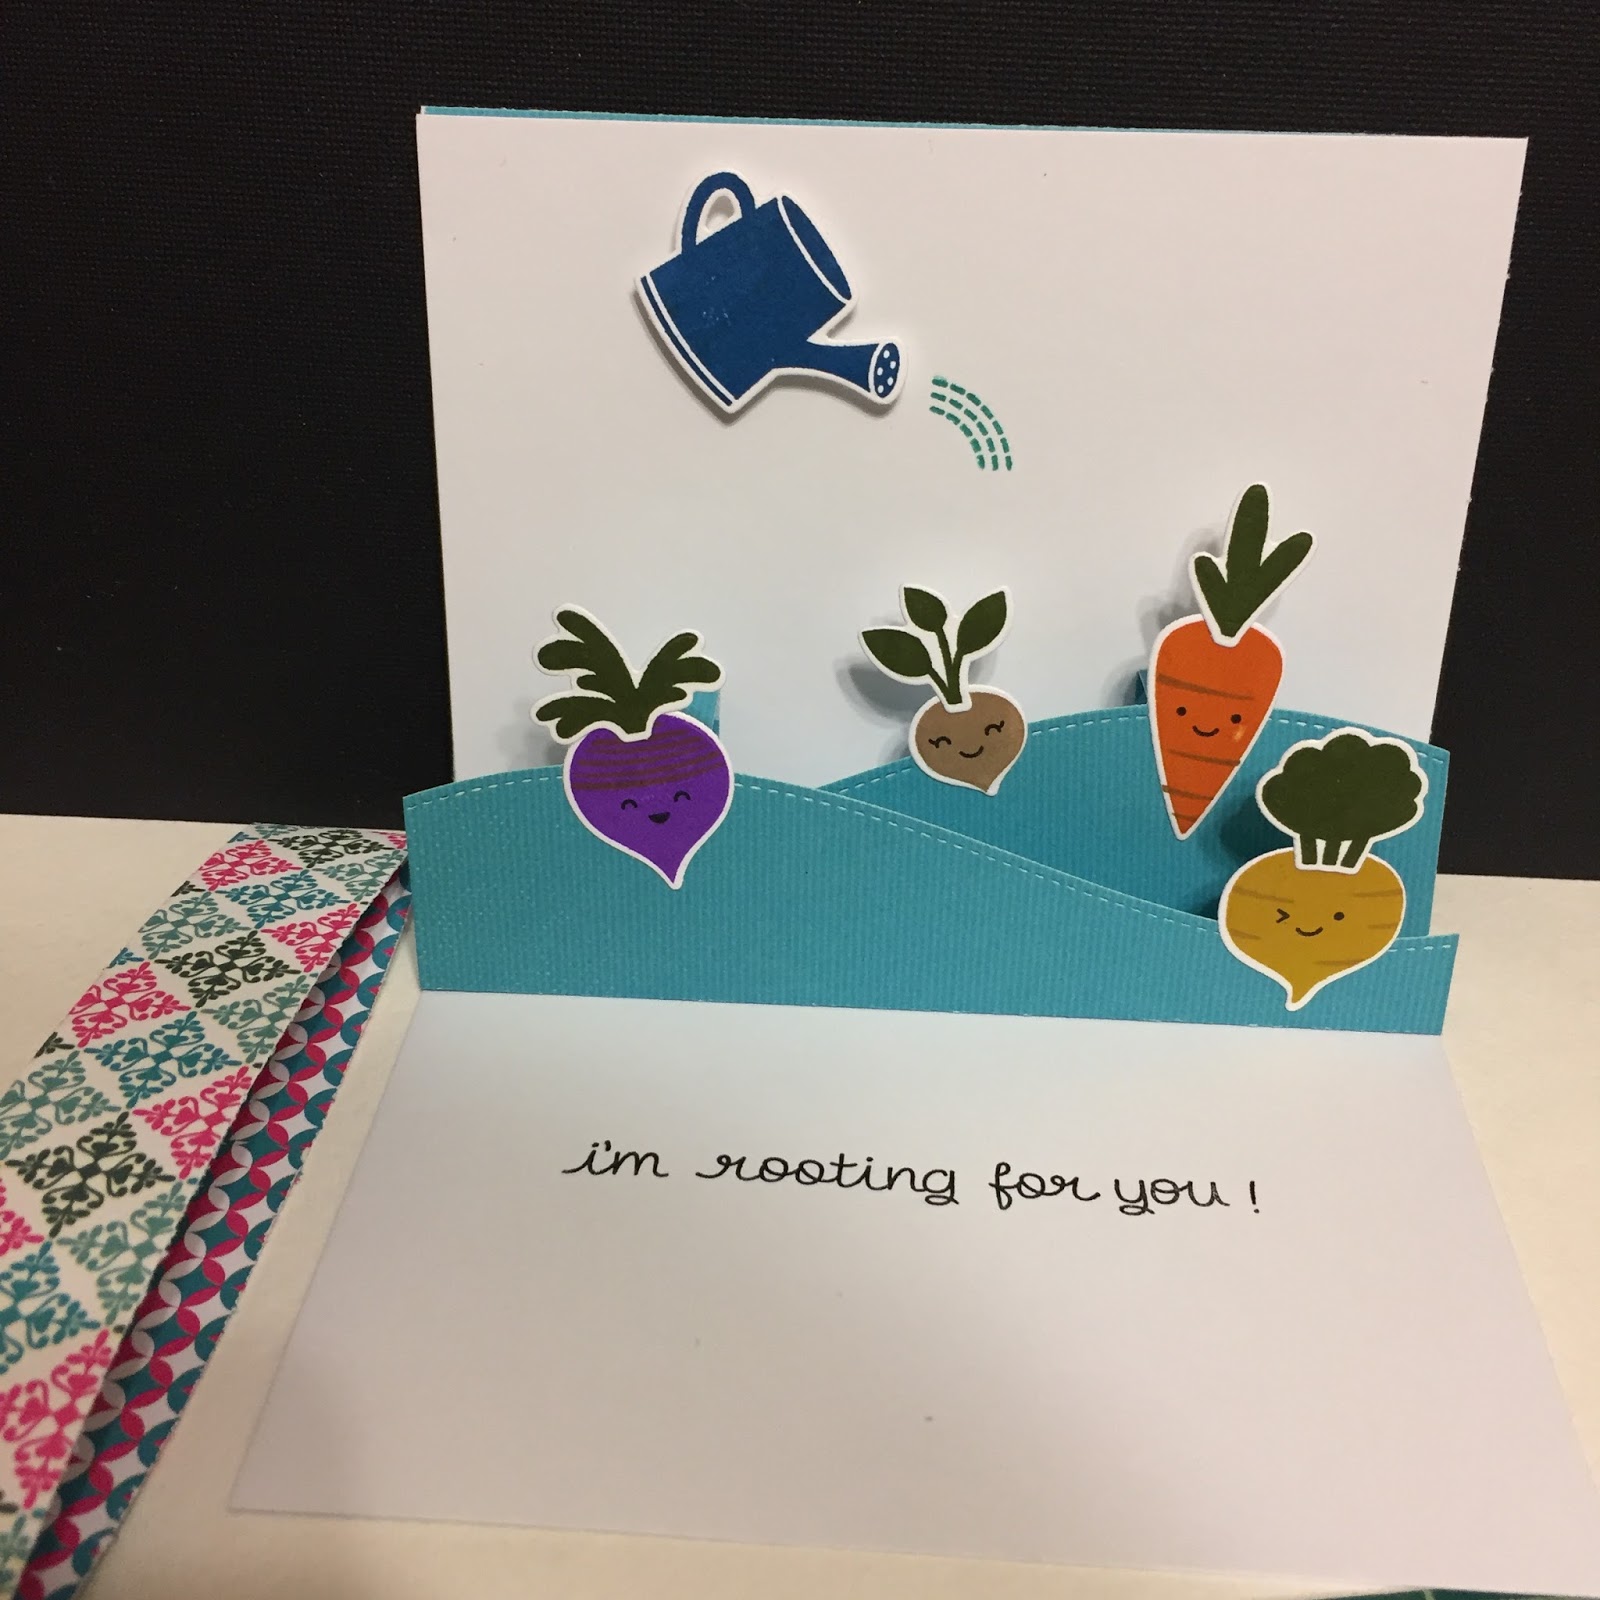
I stamped my images using my amazing Stamp Perfect tool and used a pop-up die for the inside of the card.


Once I had everything cut out, I adhered my die cuts and stamped the sentiment.
The outside of the card was put together by using a stamp runner on the 5.5" x 4.25" piece and adhering that to the card base. Then the 3" square was stuck on top of that.
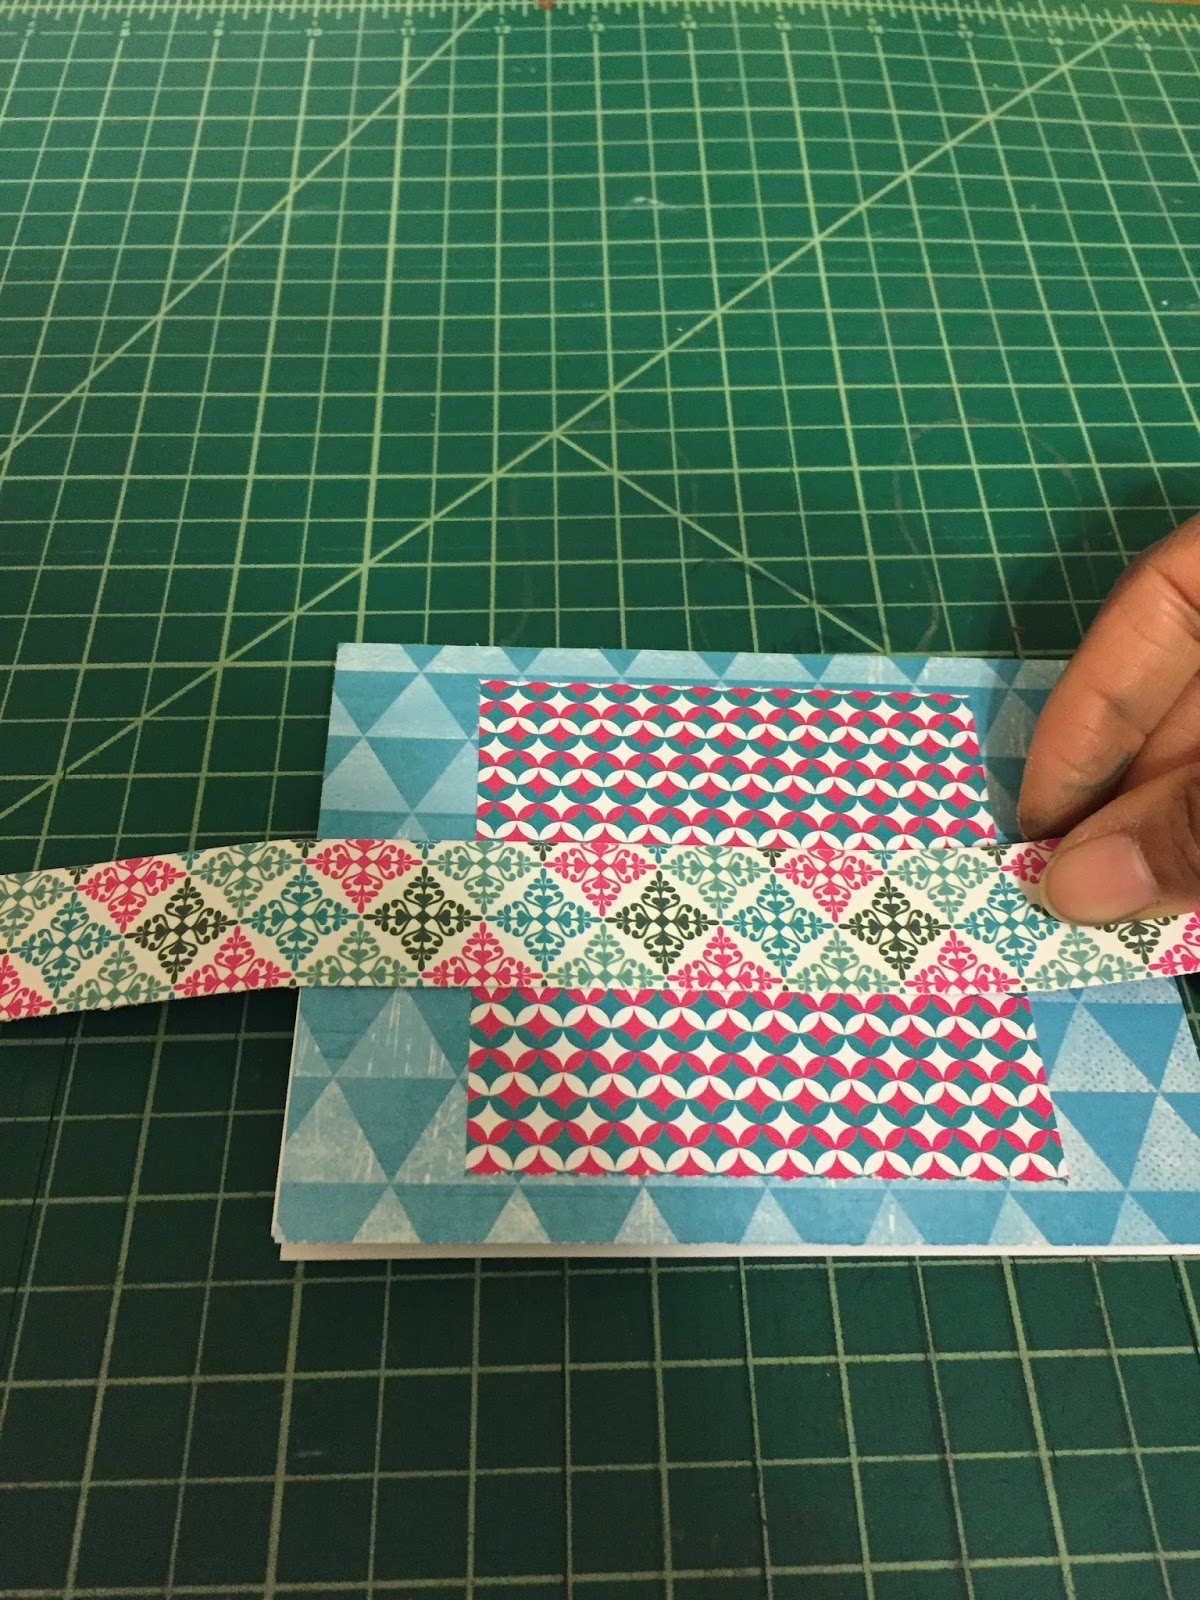
Finally, the 12" x 1" strip is what will hold the card closed, it's just a decorative touch.  Place the strip on the front of the card.
Turn the card over.
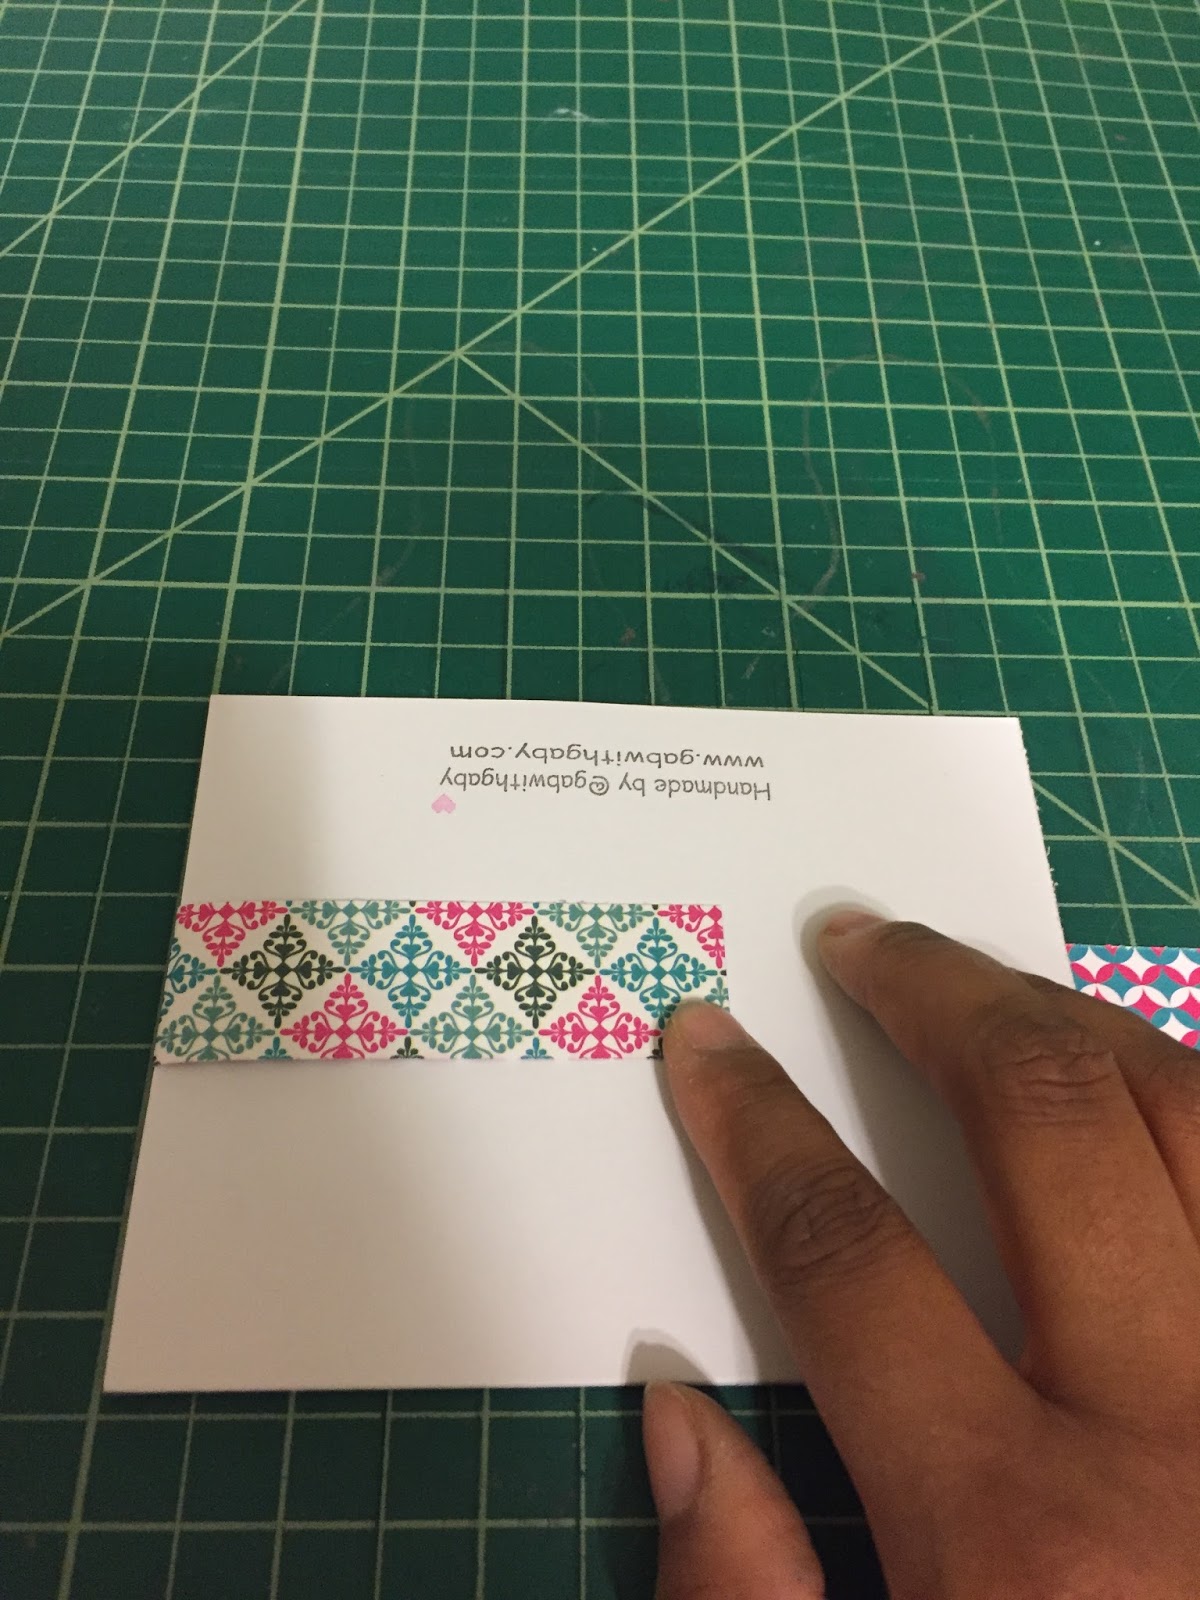
Fold each edge of the strip towards the center of the card.
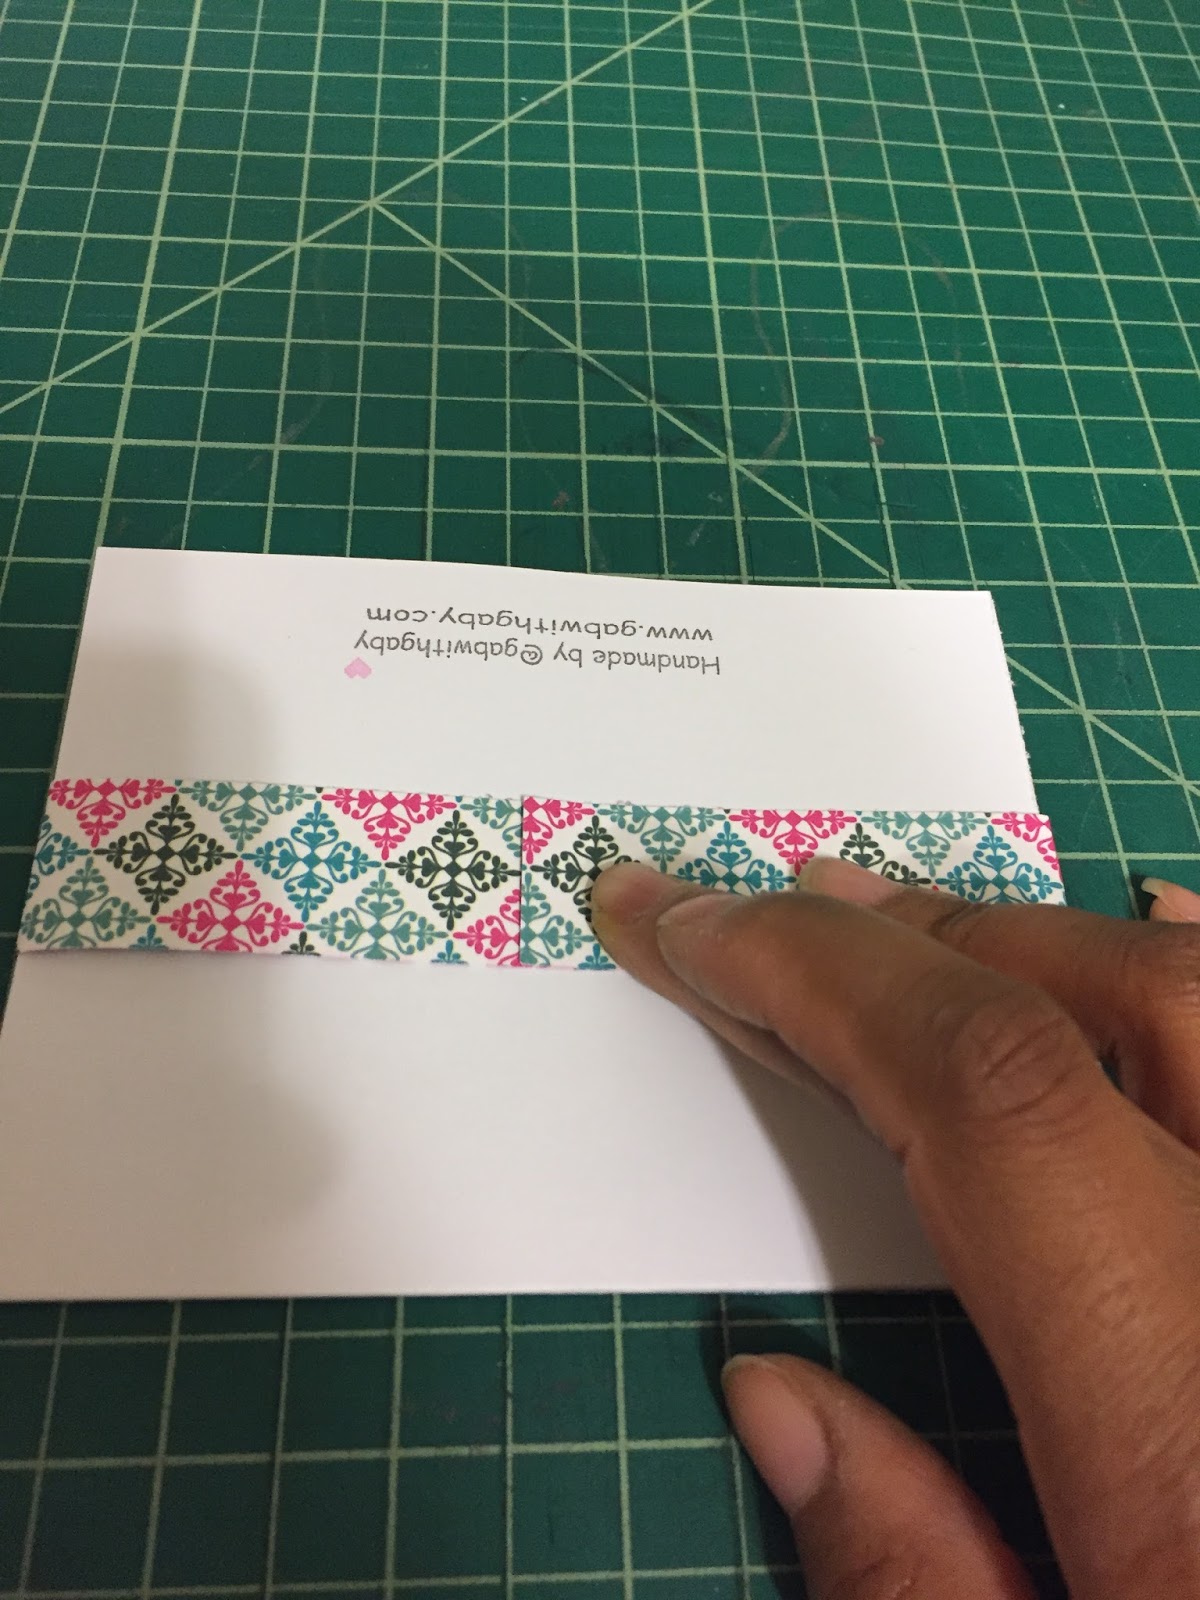
Then adhere the ends together to make a band. The finished card will have a very nice look and a fun pop-up inside.


This card is motivational, but any occasion will work; Winter Bliss is my favorite collection right now, but you can use any of the beautiful Quick Quotes collections to make a project like this.  I hope you enjoyed this project and thanks for stopping by.

Quick Quotes Products Used:

Winter Bliss - New

Lawn Fawn Products Used:

Rooting for you - Stamps and Dies. Stitched Pop-Up


Happy Crafting!! A review of the Stamp Perfect tool is on its way (I love it!!!).

Shaker Card with Quick Quotes and Stamps

How to, Cards, Crafts, Tutorial, Stamps, Diy, Quick QuotesGabriela SimsComment

Hi everyone, Gabriela here today with a Shaker Card using several different paper collections! This card will require your favorite paper, some acetate, stamps, and ink. Check out the video below to make this card.


Thanks for watching and happy crafting.

Quick Quotes Products Used:
Chiffon - 100, 103
Earth, Wind, Fire - 102
Whistlin' Dixie - 109
Powder Puff Chalking Inks - Mahogany and Pixie Pink