Follow along to make this cute everyday card!
Fuse
Gab about new stamps.
Cards, Diy, Paper crafting, Coloring, Color, Crafts, Tutorial, How toCommentI was hoping to get some new stamps for Christmas...and I did! I got a bunch of new stamps from Hero Arts and Avery Elle. I had to make something right away, and here it is.

Japanese dolls from Hero Arts and a distress ink background.
I did the above by stamping the dolls, using a Molotow masking pen, I covered them and then inked the background and stamped the white flowers. I then peeled off the masking and colored the dolls with Copics.
Using Avery Elle stamps and a bunny stamp I already had, I made this.

Way to go!
Finally, I used my fuse tool to make holders for gift cards.

Gift card idea!
I did some of the confetti on the inside using my confetti punch. Hopefully I'll have time to make even more stuff and use all of my new tools! Happy crafting!
Card making is...
Drawing, Crafts, Cards, Christmas, Paper crafting, Tutorial, Stamps, Color, Wedding, Diy, ColoringCommentMy favorite thing to do right now! I have been making cards like crazy and using markers and stamps. These are the cards I've made in the past week.

Tons of thanks!
This was done with Copic markers, distress ink, and then matted.

Robot birthday!
This used a stencil I created with my Cricut, Copic markers, distress ink, some miniature gears, and then it was layered.

A bonus birthday card.
This used Copic markers, a die, an embossing folder, and a white gel pen.

A wedding shaker card.
This used distress ink, Copic markers, the fuse tool, and a Wink of Stella Pen.
I'll be posting a few videos for how to make these cards soon. Until then, Happy Crafting!
Snowman Shaker Card with the We R Memory Keepers' Fuse Tool
Cards, Christmas, Crafts, Florigami, Drawing, DiyCommentHi everyone!!! I wanted to post a quick tutorial for this snowman shaker card I finished.

The finished card!
I started by using some white card stock and a snowman stamp.

2 stamped snowmen in case I make a mistake.
Then I colored one in with my Spectrum Noir markers.
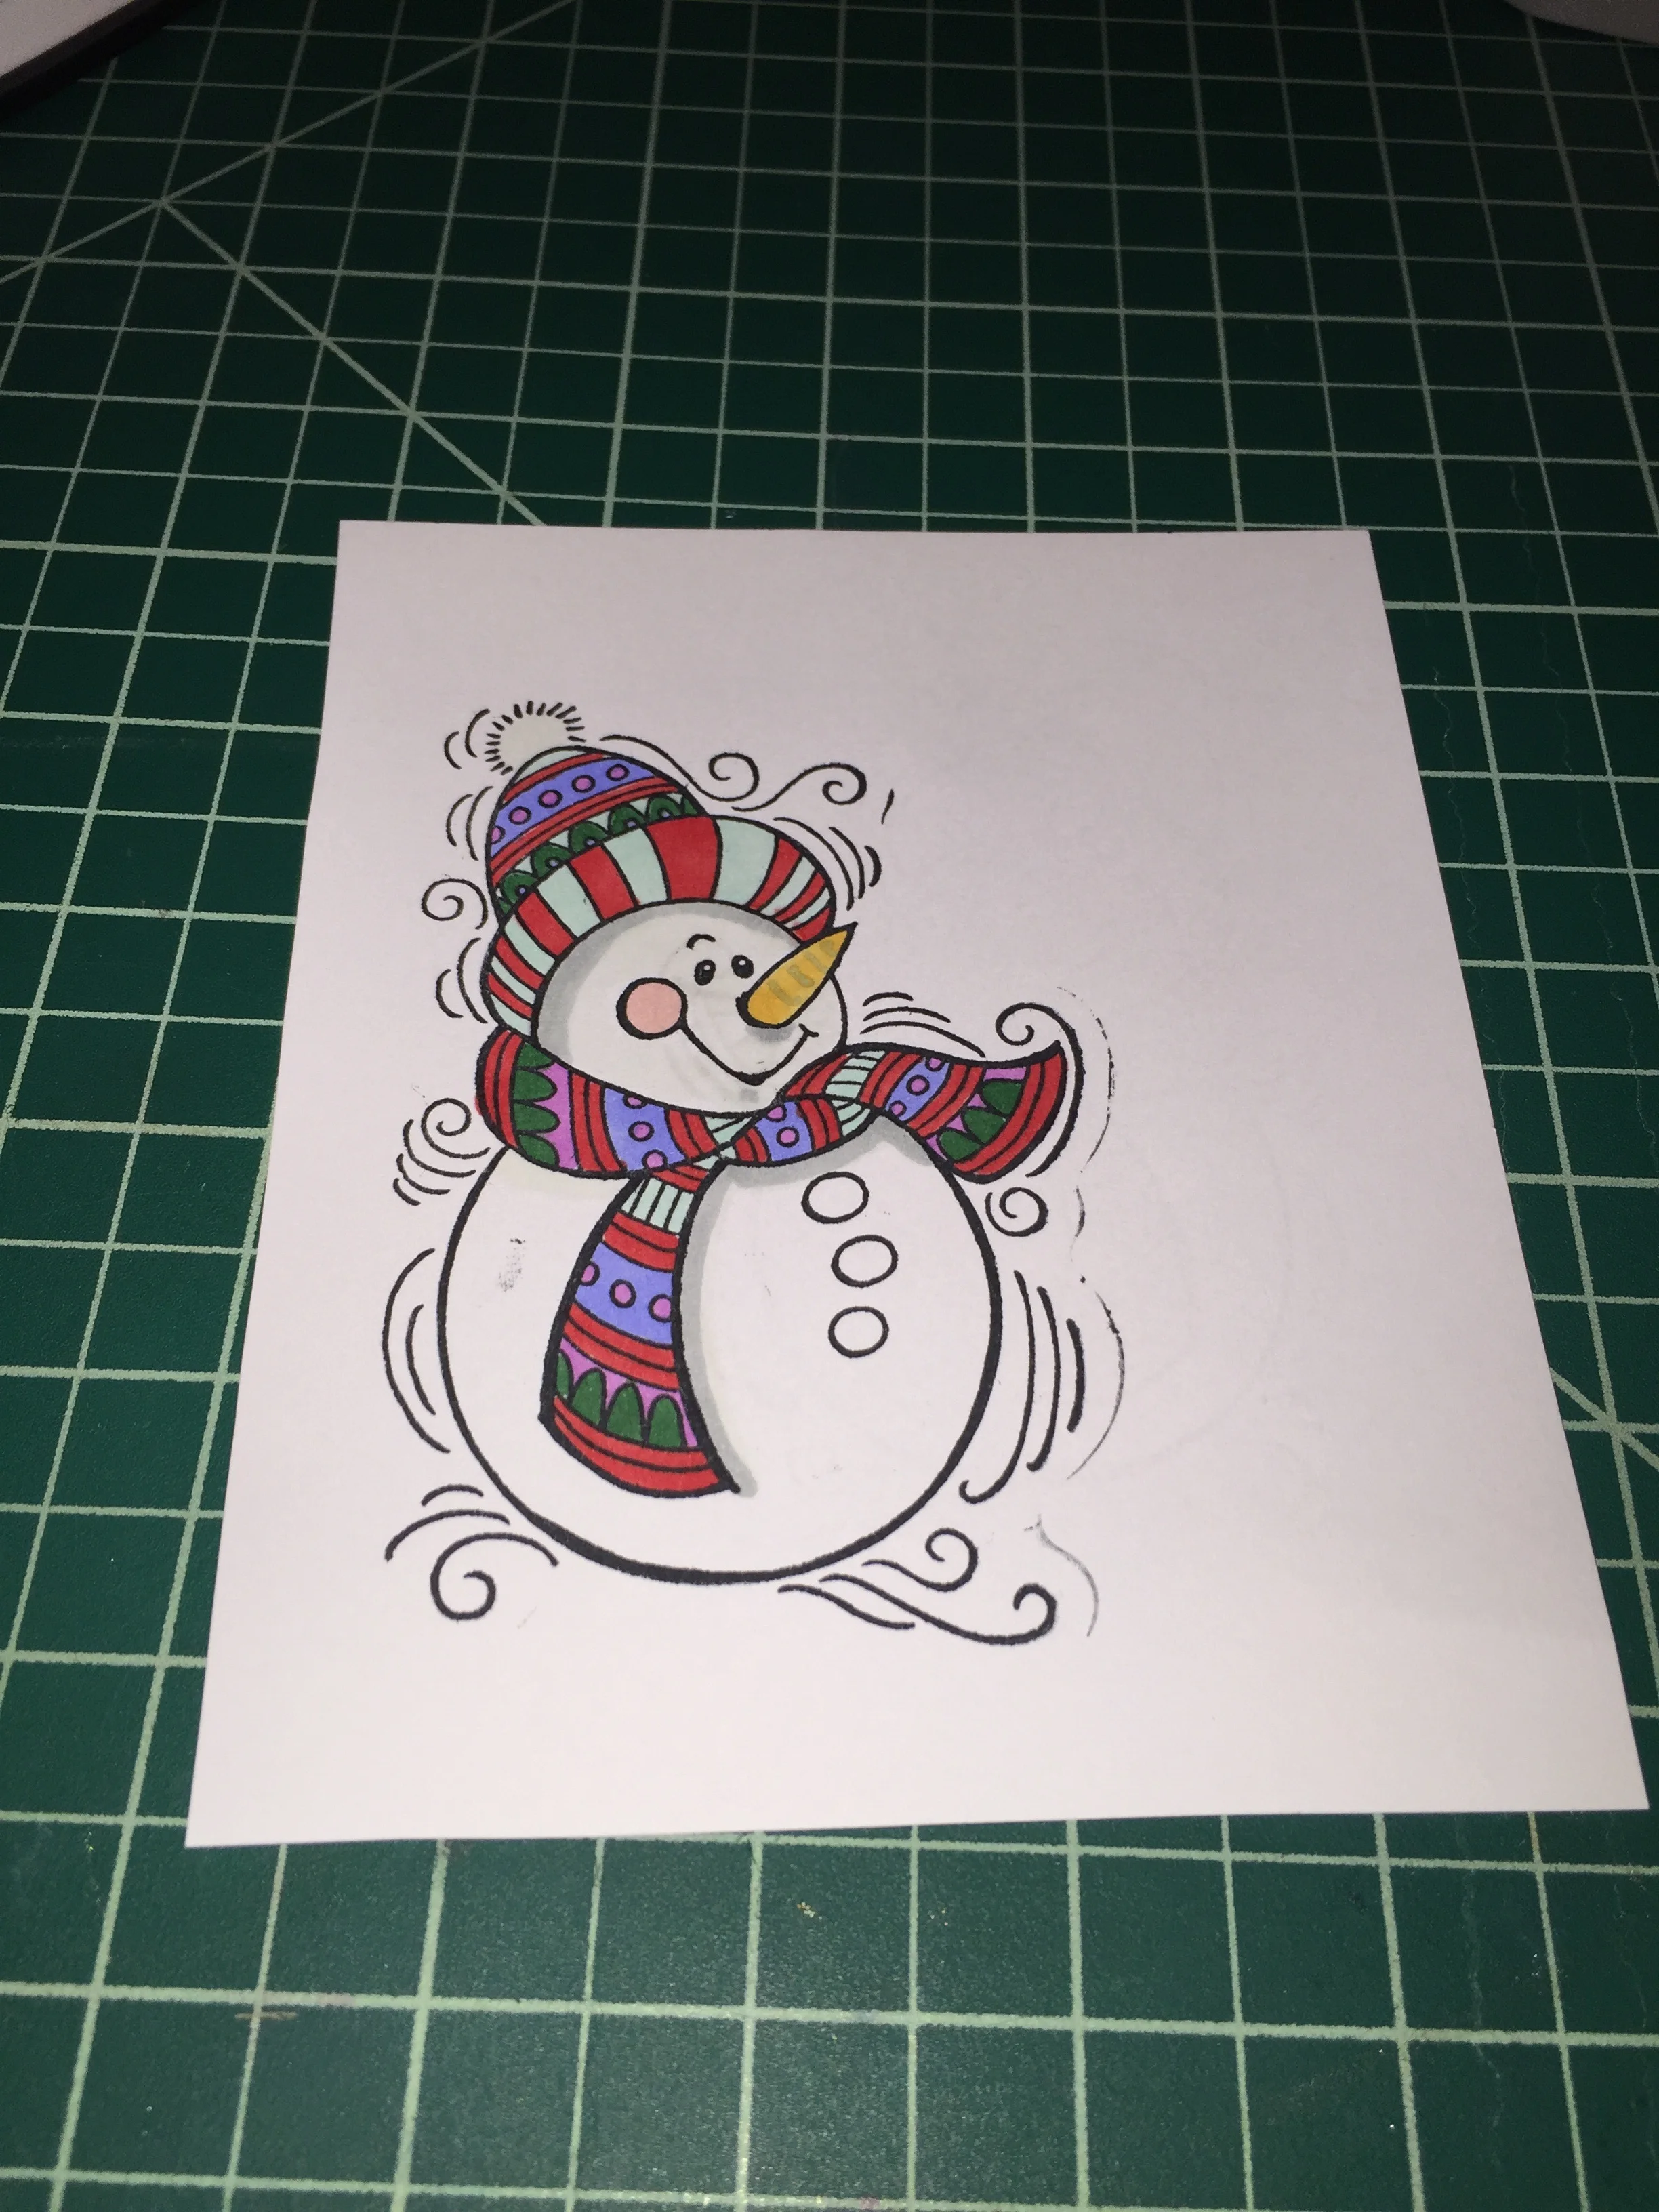
All dressed up.
Then I fussy cut the head off, because I knew that was all I would be using.

Then I cut a 4.25" x 11" strip of heavyweight card stock for my base.
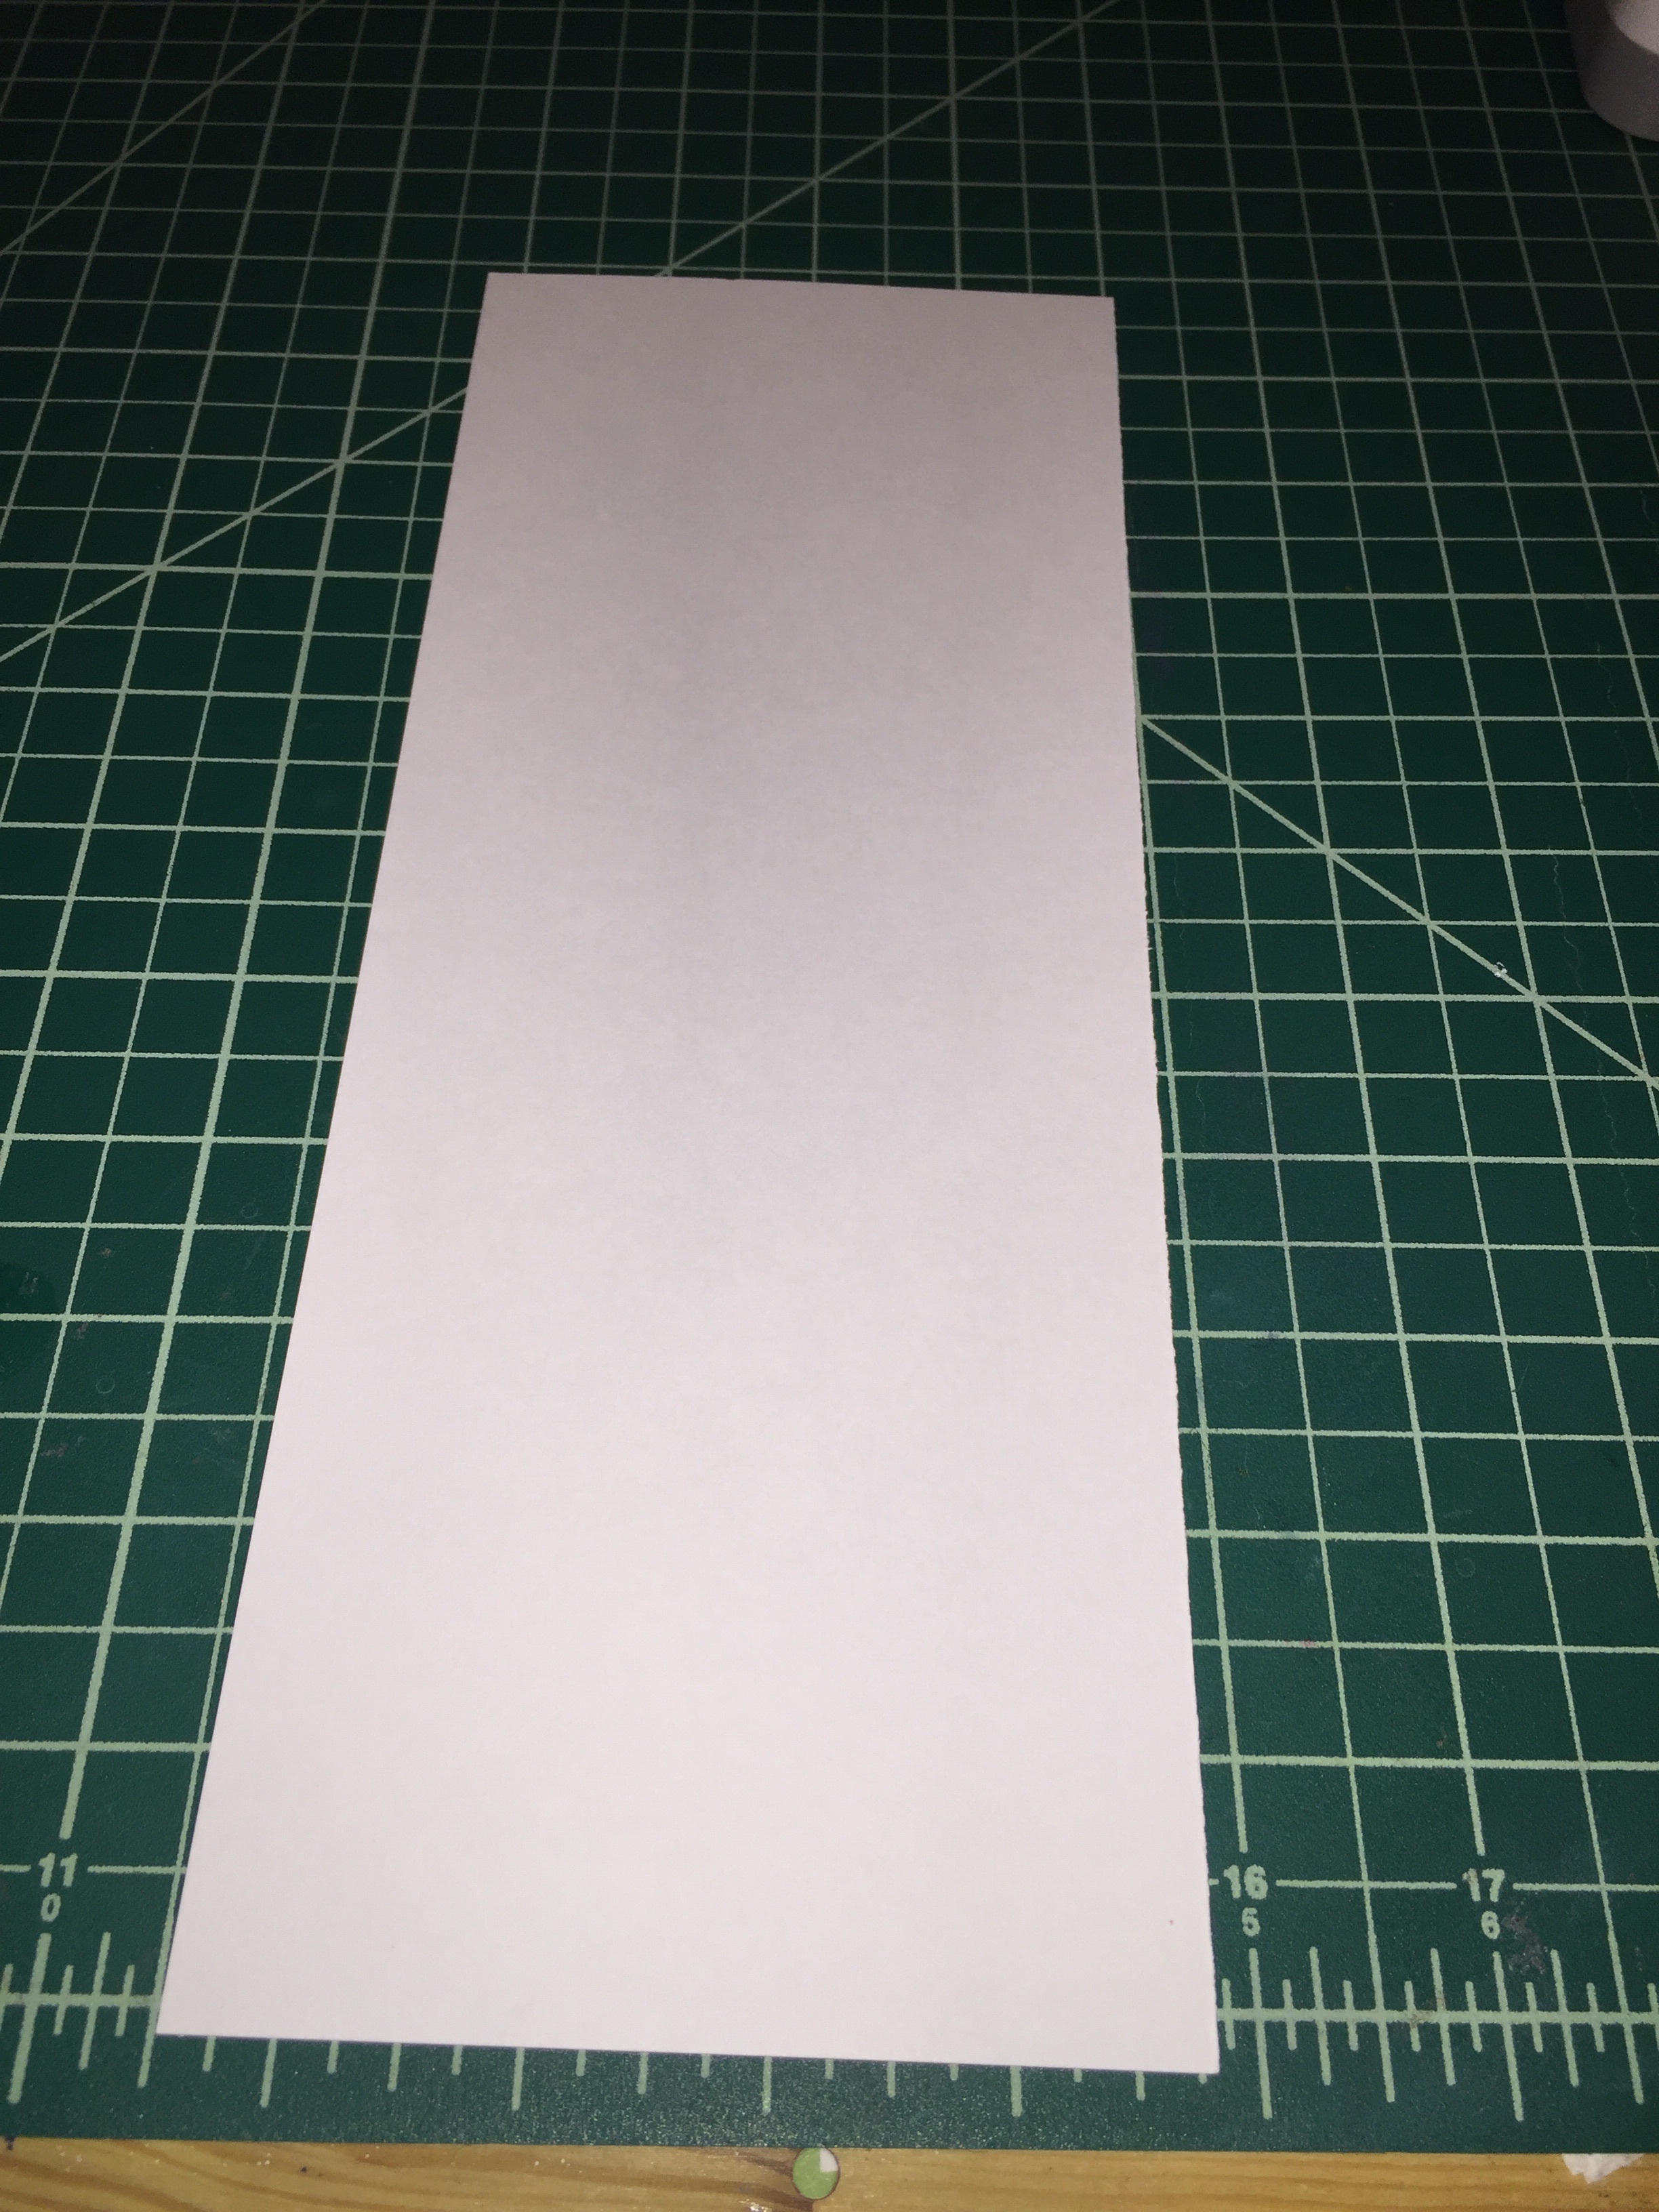
Top folding card.
Then I cut a 3.74" x 5" piece of red card stock.

Red insert.
I decided to spray a sheet of paper I had with spray glitter to give it some shine. The paint takes 10-15 minutes to dry, so I was working on other things while it dried. Here is the result.

Next I started on my shaker pocket. I used a circle die one size bigger than the die I chose for my card and taped it to a plastic sheet.
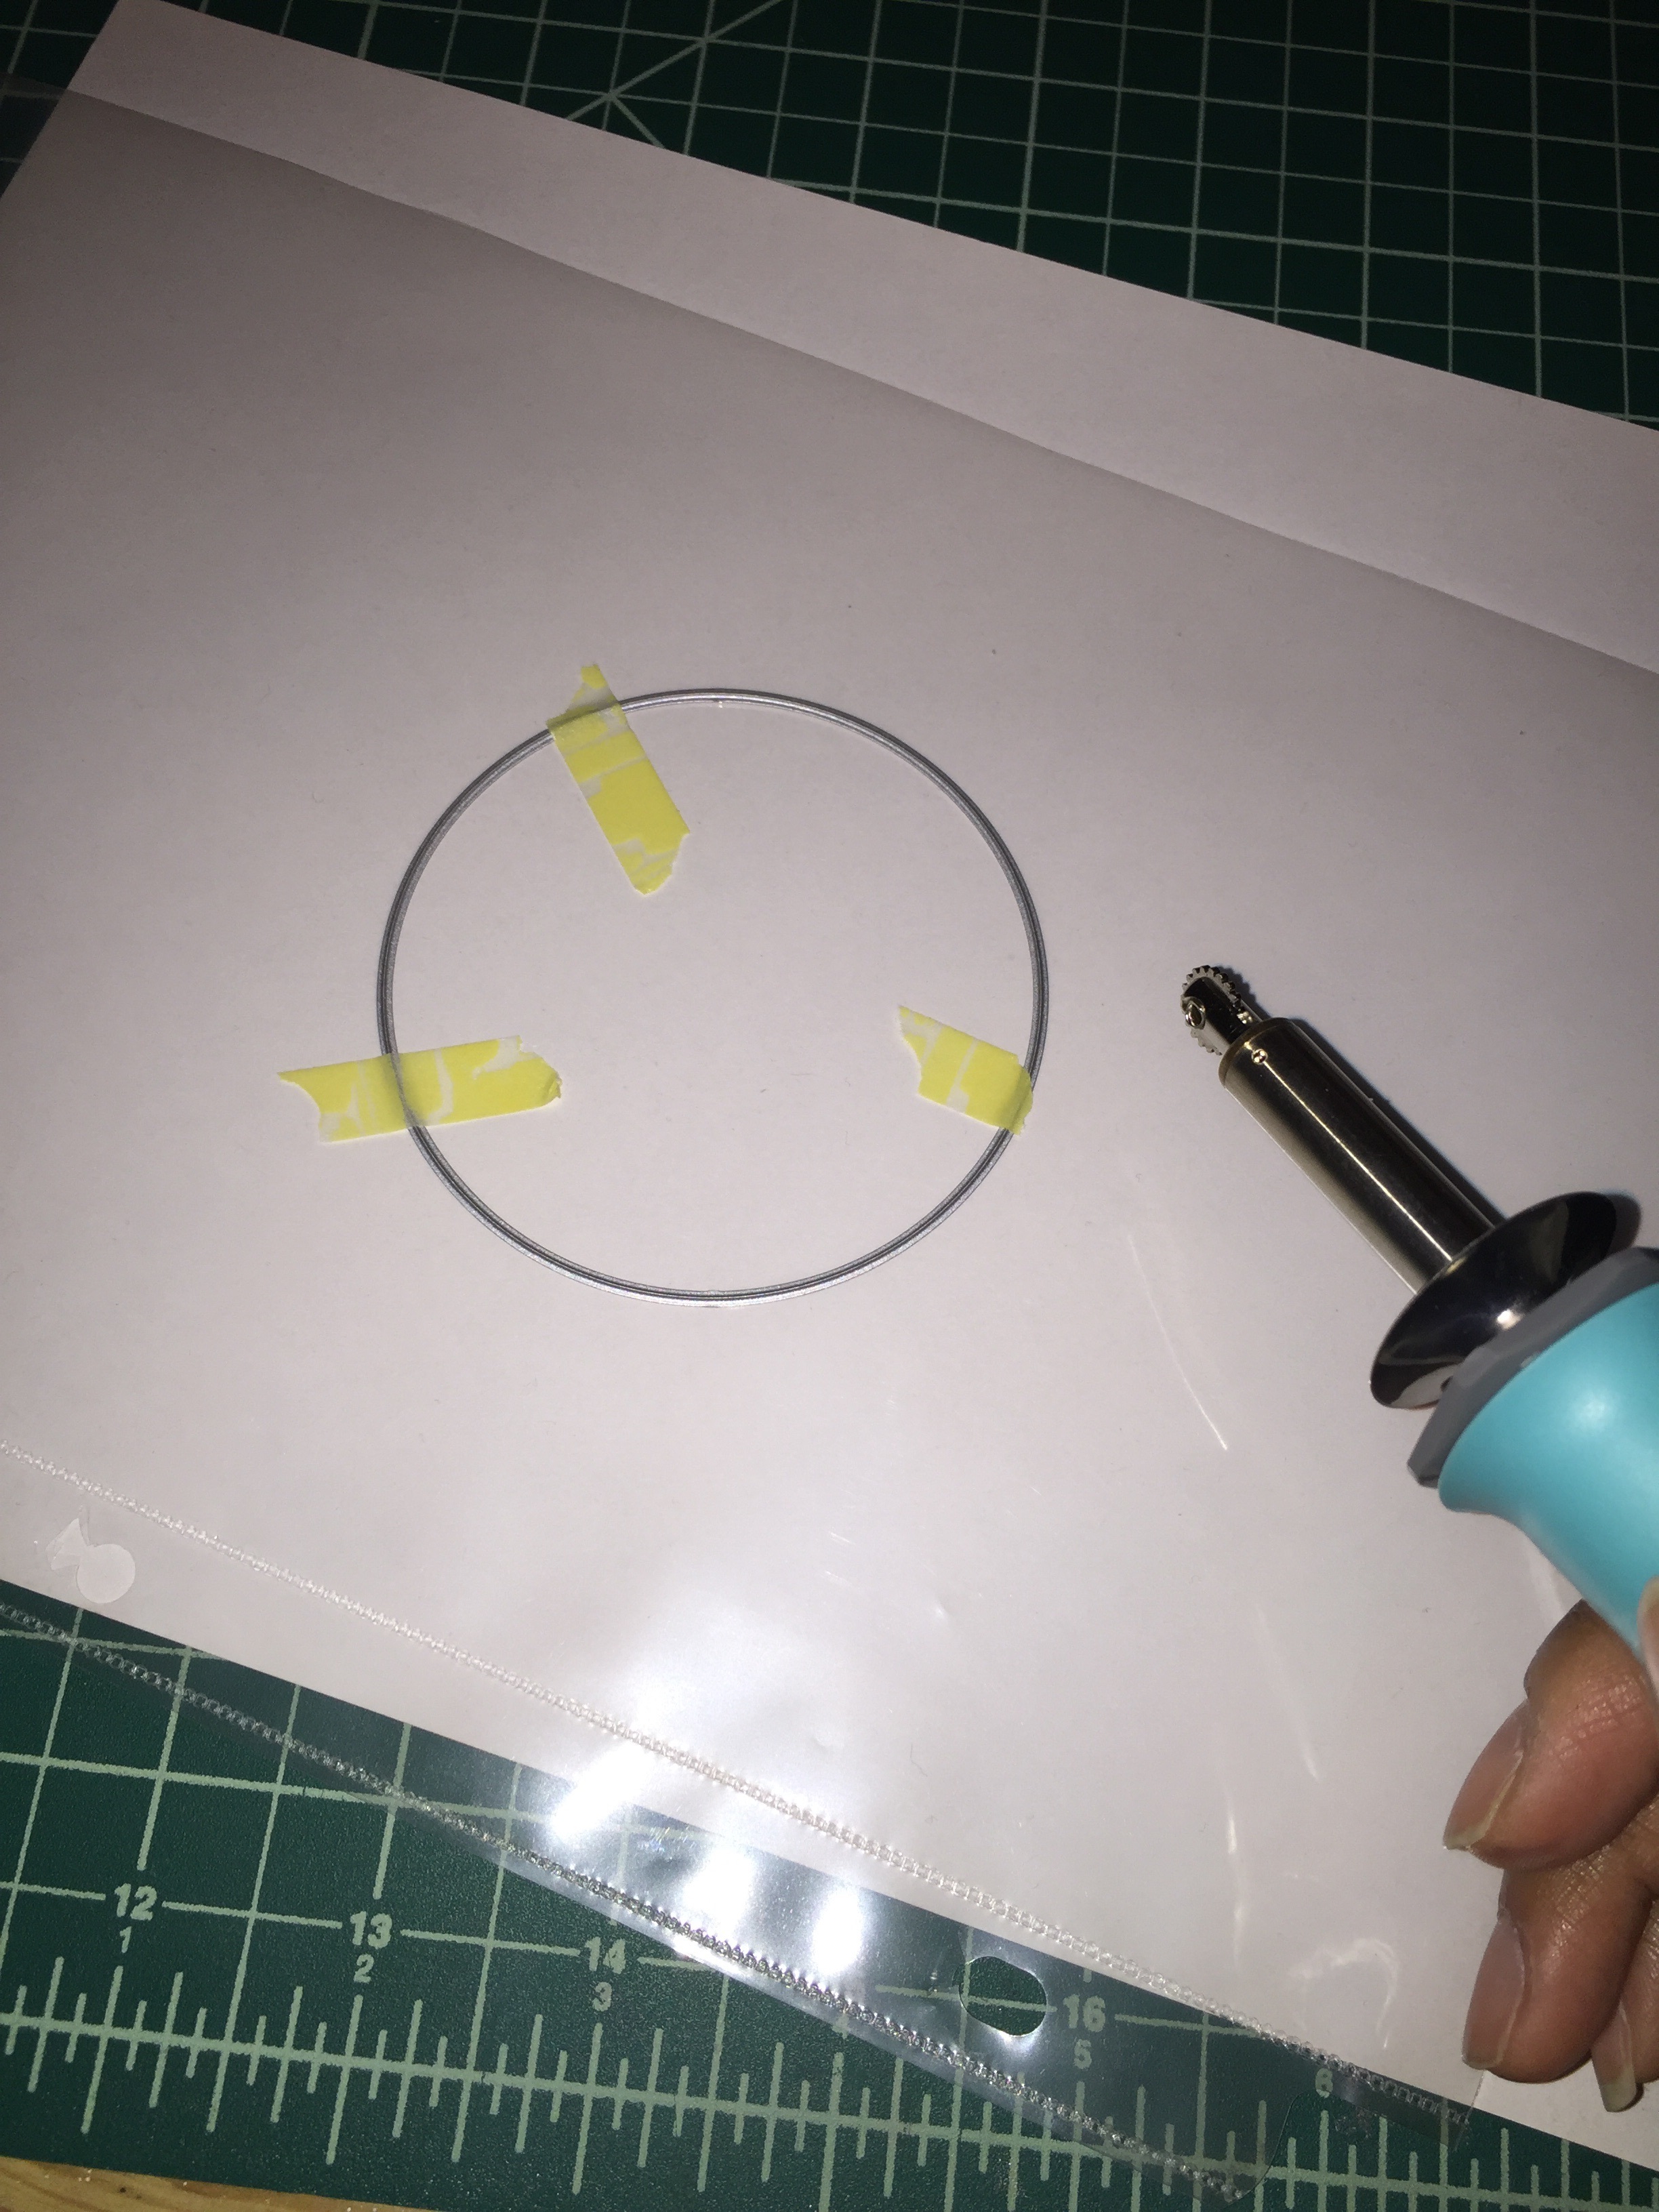
Secured die and the Fuse.
Then I cut around about 3/4 of my circle, leaving an opening at the top.
Then I filled it with sequins and glitter, and then sealed the pocket shut.

Finished pocket.
To cut the window I used a die slightly smaller than the shaker pocket. I taped the glitter paper and the card base together and taped the die to the front.

Now came the assembly of the card. I started by adding a sweater to the snow man and attaching him to the back of the glitter paper so that his scarf was hanging out.

His sweater from the back.
I just cut out a piece of card stock and stuck his head on it.
Then attached the pocket to the back of the glitter paper as well.

Almost done.
Then added the red insert and it was done and ready for greatness!

Happy Holiday!
Using the same technique I made this gift tag.

:)
That's all for this post, and let me know if you have questions, Happy Crafting!!