Hi everyone! I have been doing some sewing lately to keep in line with my resolution for crafting this year and I came across this amazing pattern for making clear pouches. I was on Pinterest and found this great pattern with some great pictures and easy to follow instructions. I was able to cut a bunch of these out and then sew them very quickly. I used ribbon for some of them, but eventually opted to just use the fabric and switch up the sewing order to assemble them faster.


Zelda fabric!

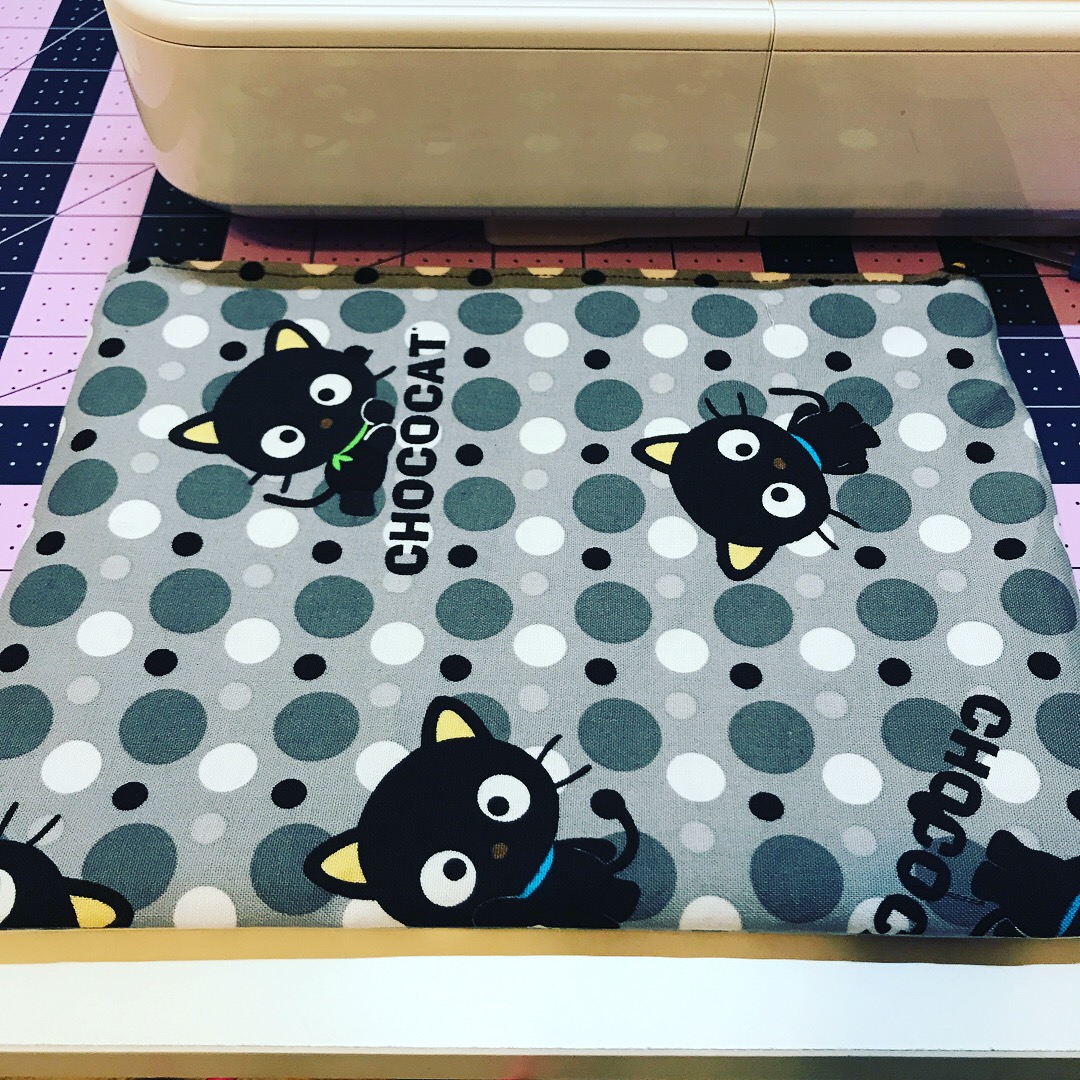
Chococat everything!

Hiw cute are these birds?
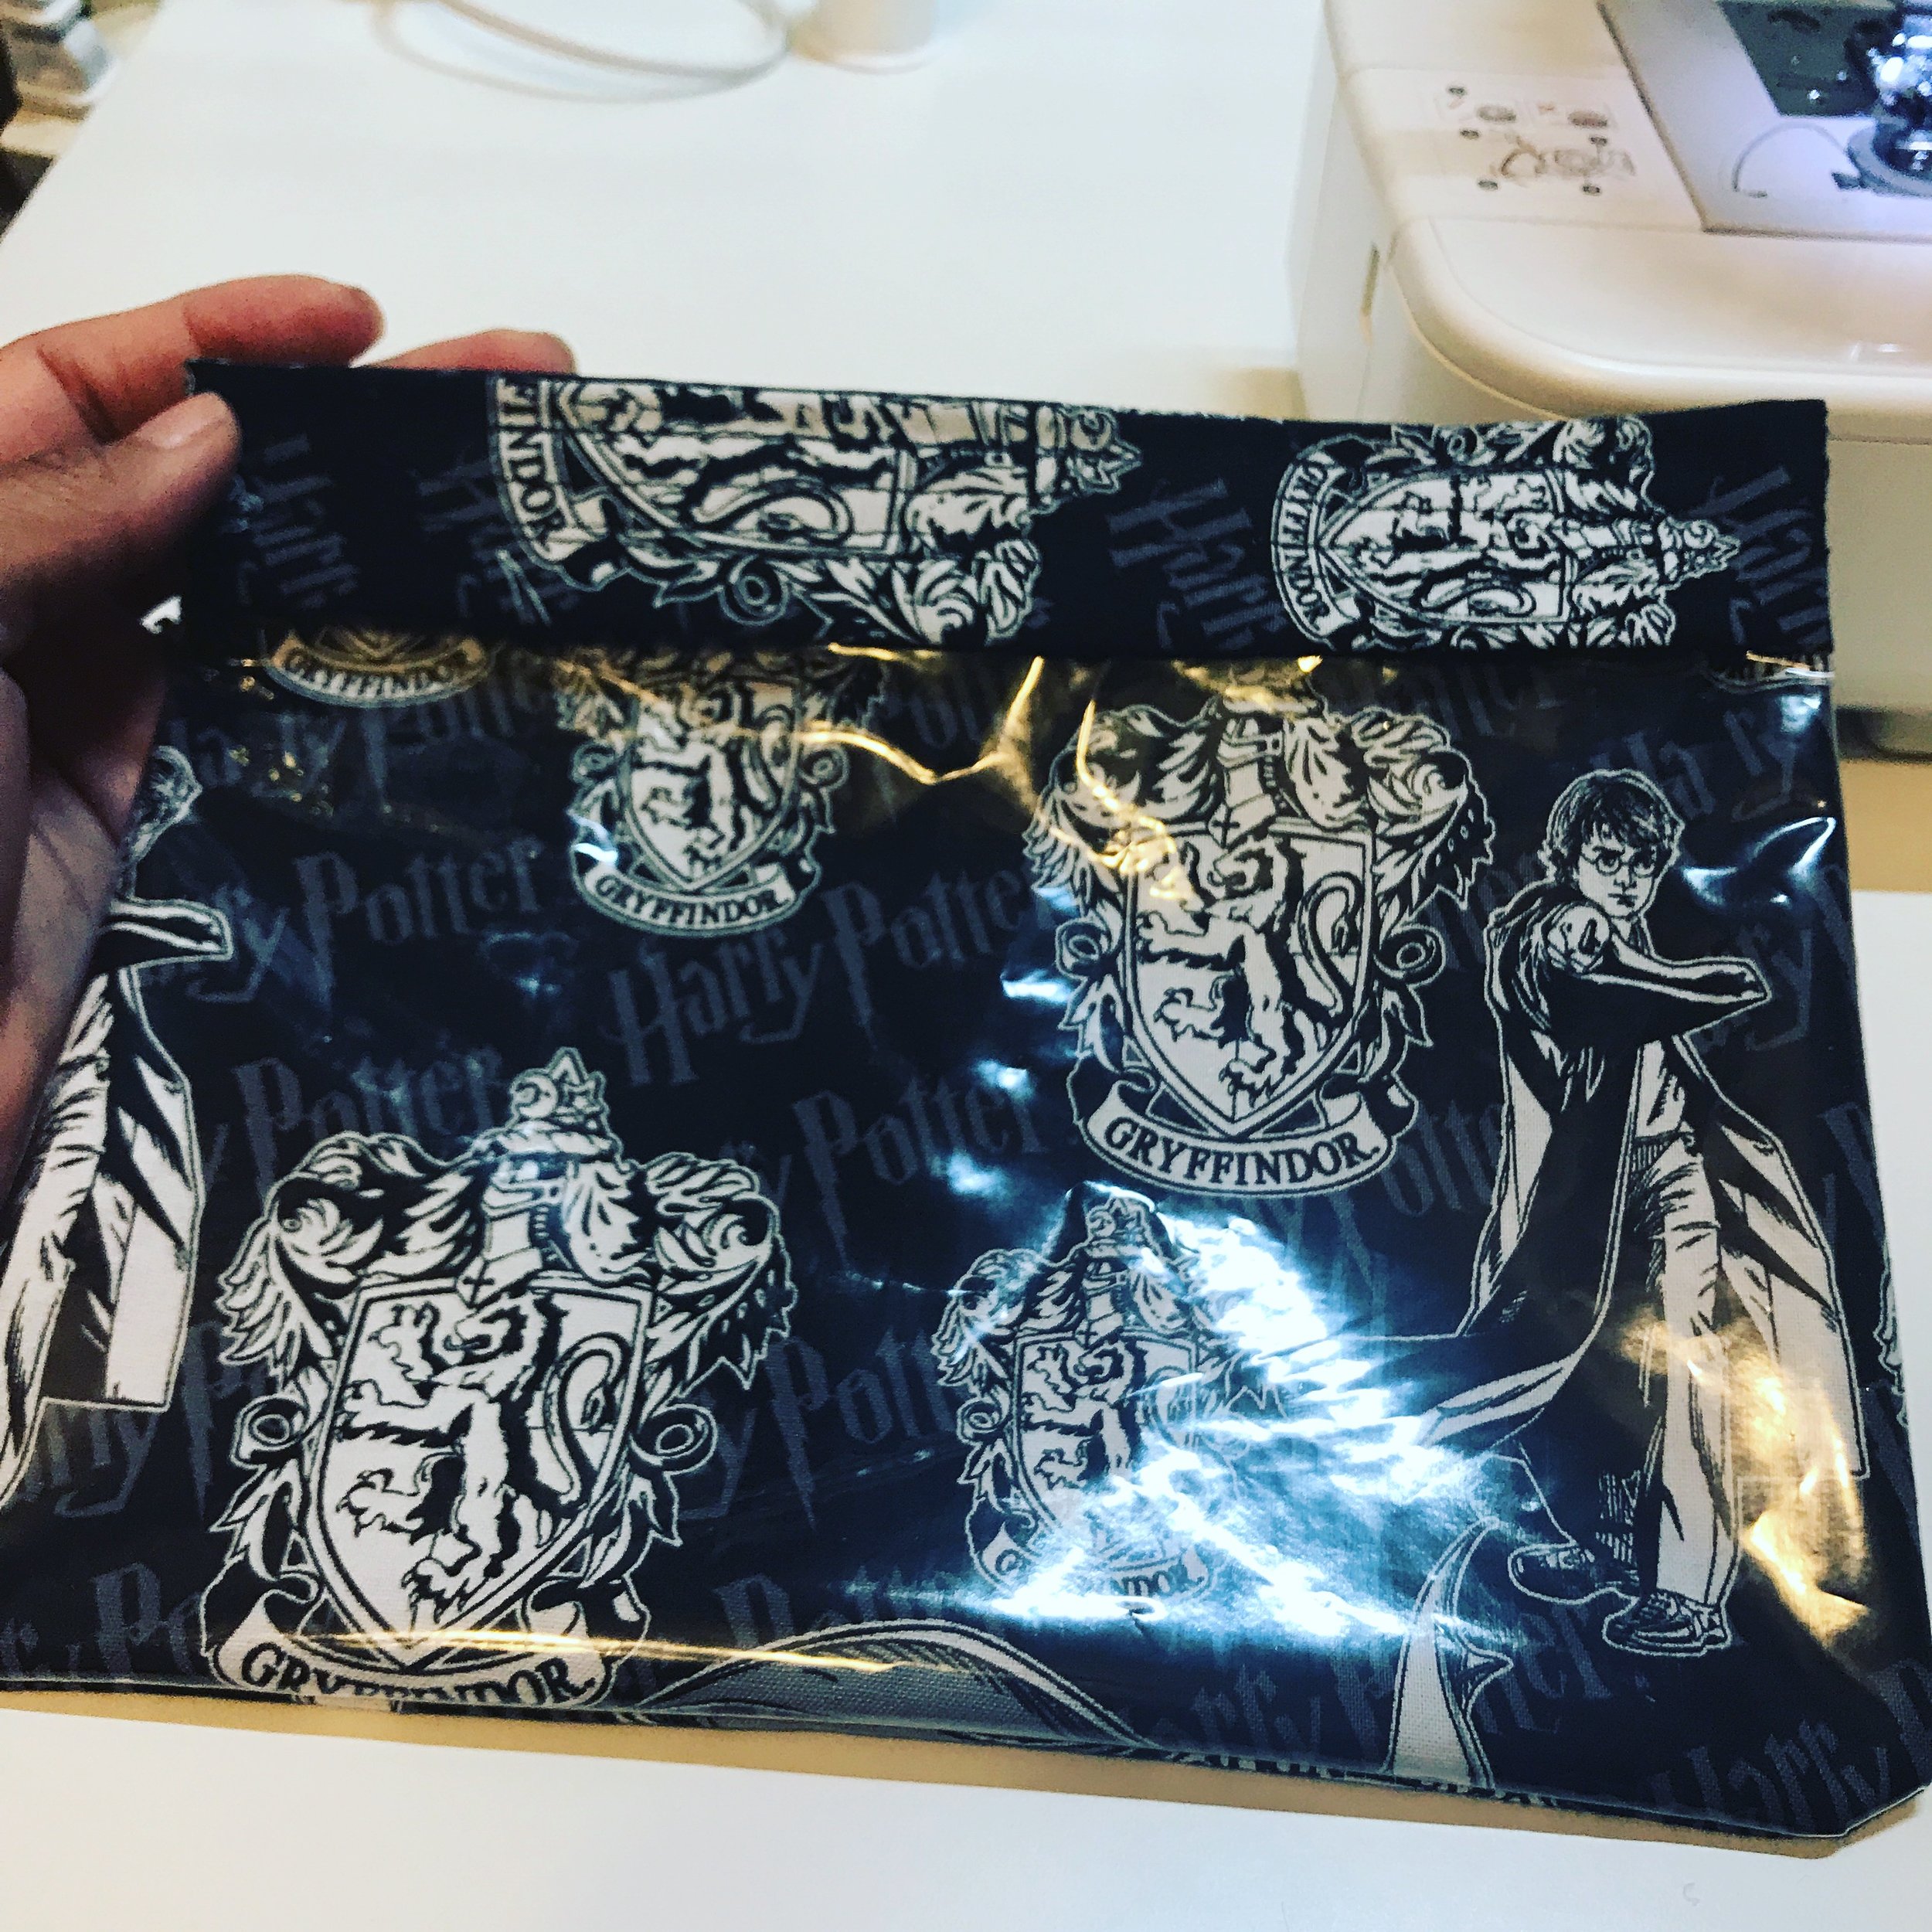
Harry Potter fabric.

Zelda fabric again.
If you have some cute fabric that you have been wanting to use, this pattern is great because the size is perfect for a travel makeup bag, pencil case, or toiletry bag. As you can see with the photos above, I got carried away and made several. If you are going to do any embroidery like I did, cut your fabric first and then just center the design in your hoop.

Hey Mickey!


These will hold brush markers and colored pencils!
These are easy to mass produce and a little less intimidating if you want to make bags, but you are not super confident in your zipper installation capabilities (no shame, I'm just saying). Thanks for stopping by, until next time, happy crafting.
-Gaby


