Gab with Gaby

An engineer's creative corner studio.

xyron

Give Thanks for the Little Things

Quick Quotes, How to, Paper crafting, Crafts, Diy, Want2Scrap, Xyron, Decor, TutorialGabriela SimsComment

Hi everyone, Gabriela here as part of the Want2Scrap blog hop! I did a project that you can use for you Thanksgiving table or have in your house all year long. This took me about an hour and a half to finish and it was very simple to make. I used a mirror for this, but you could use an old frame or a shadow box.


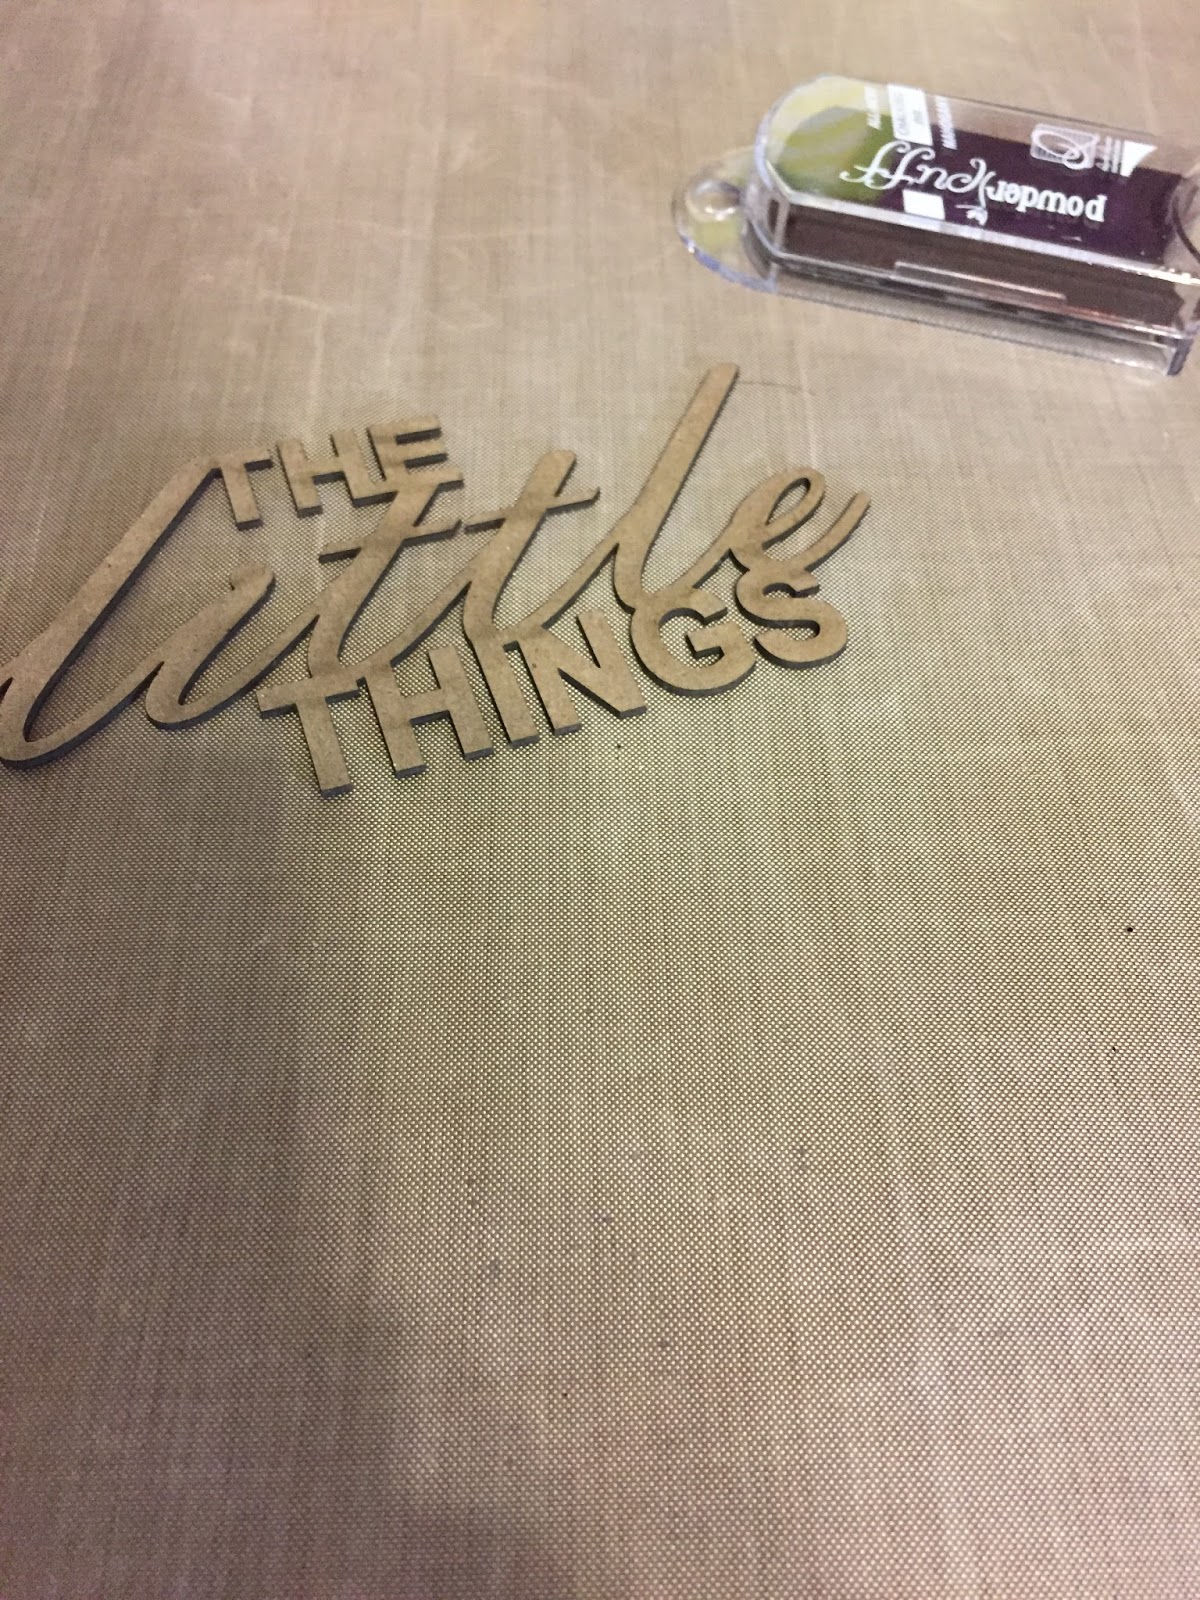
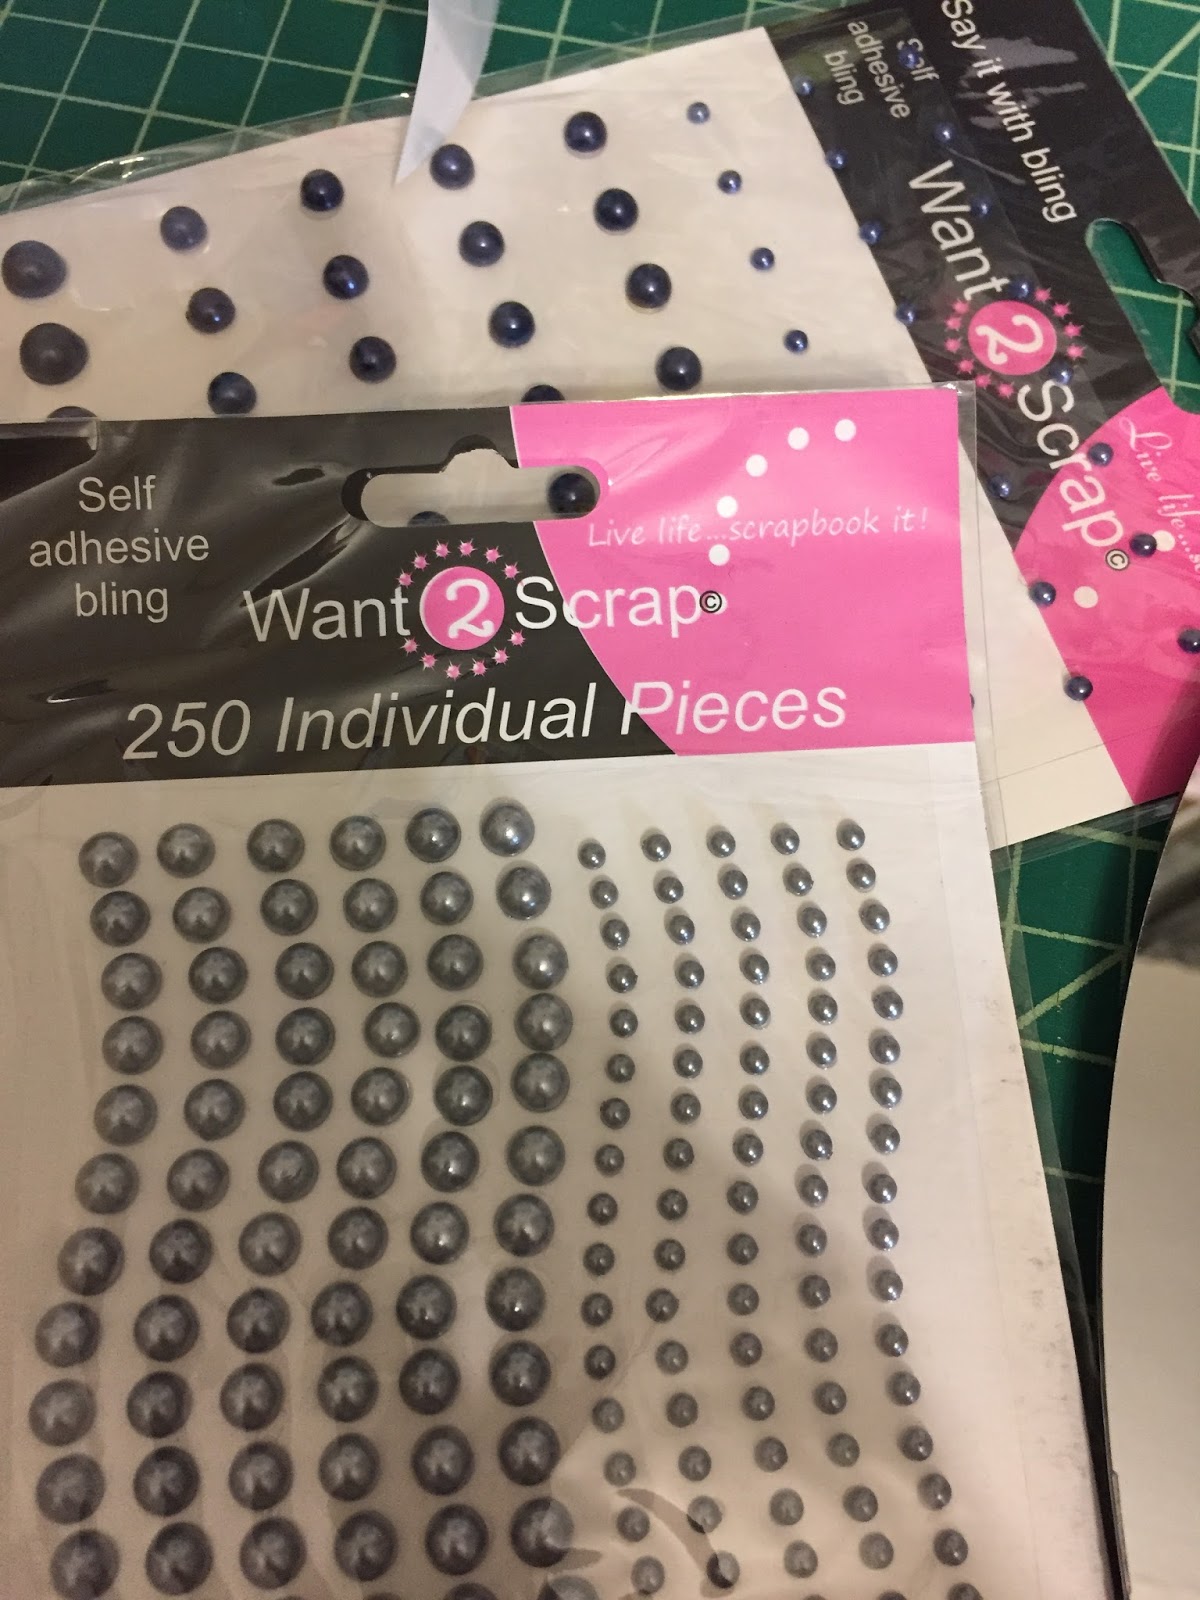
I started with the 12" round mirror, a chipboard die cut from Want2Scrap, Honeycomb 102, and Mahogany ink.


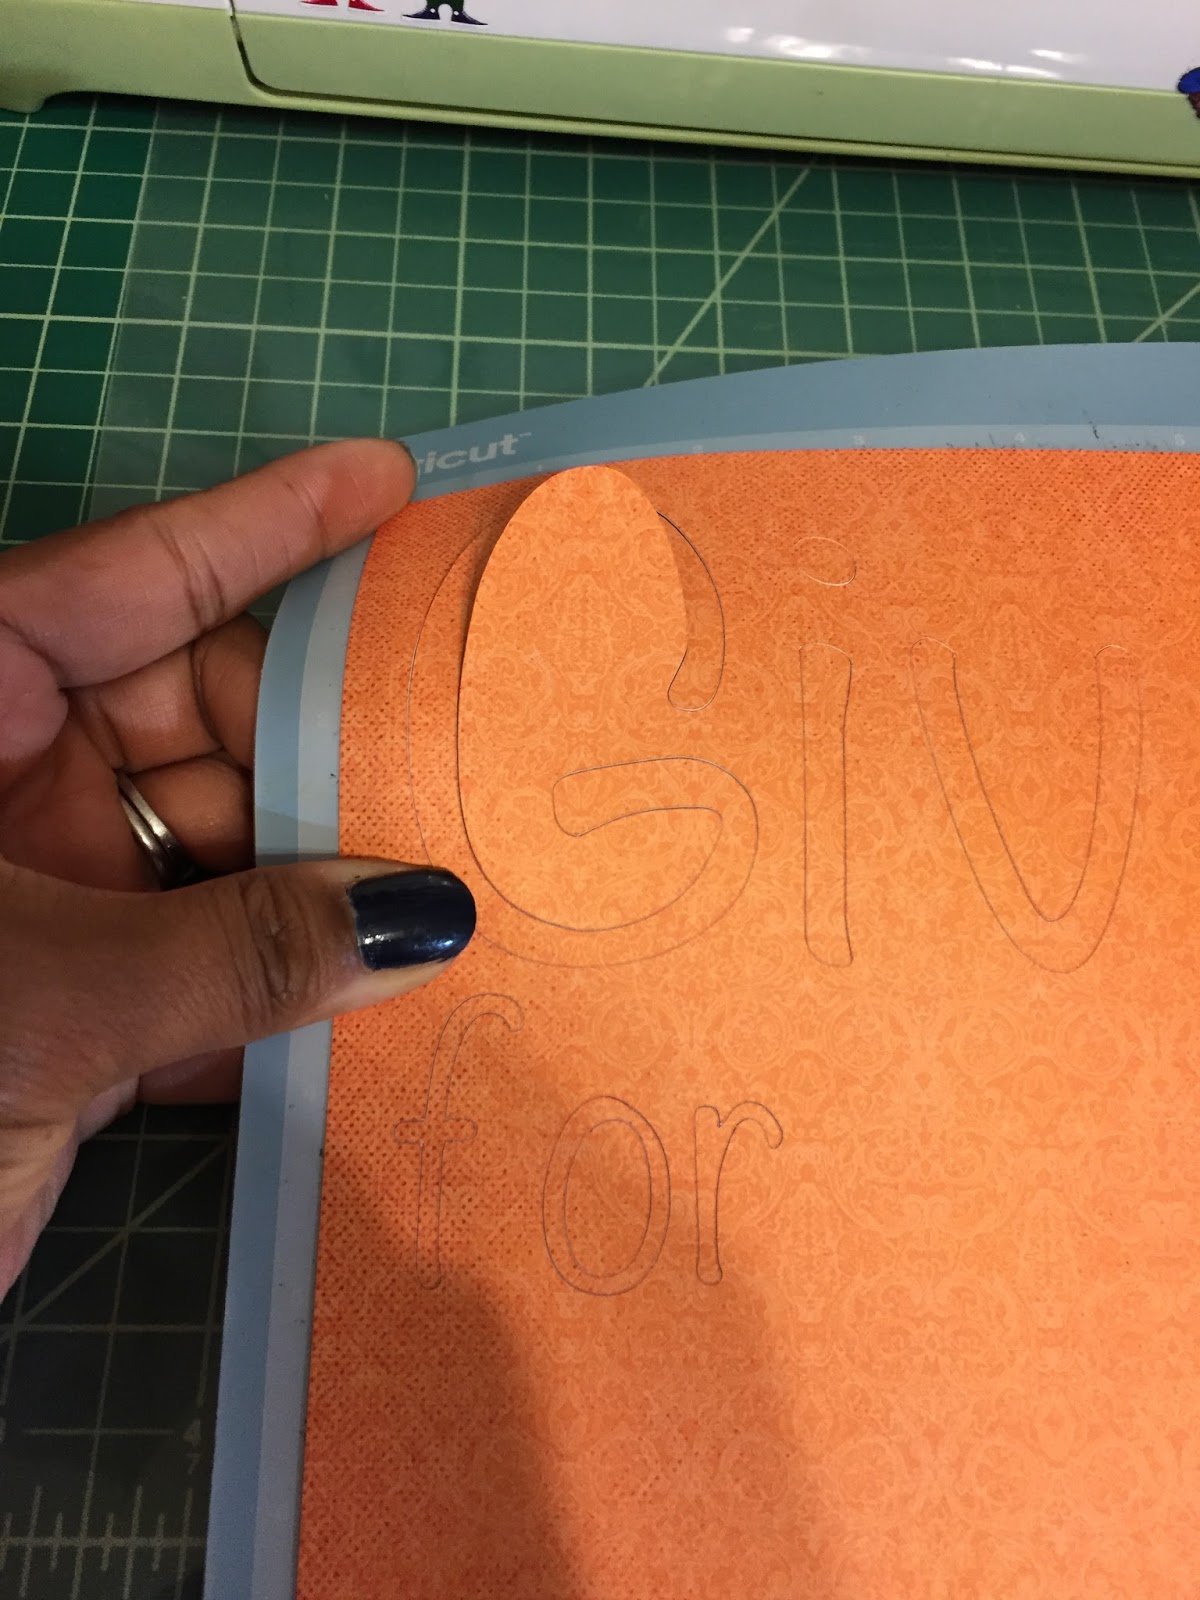
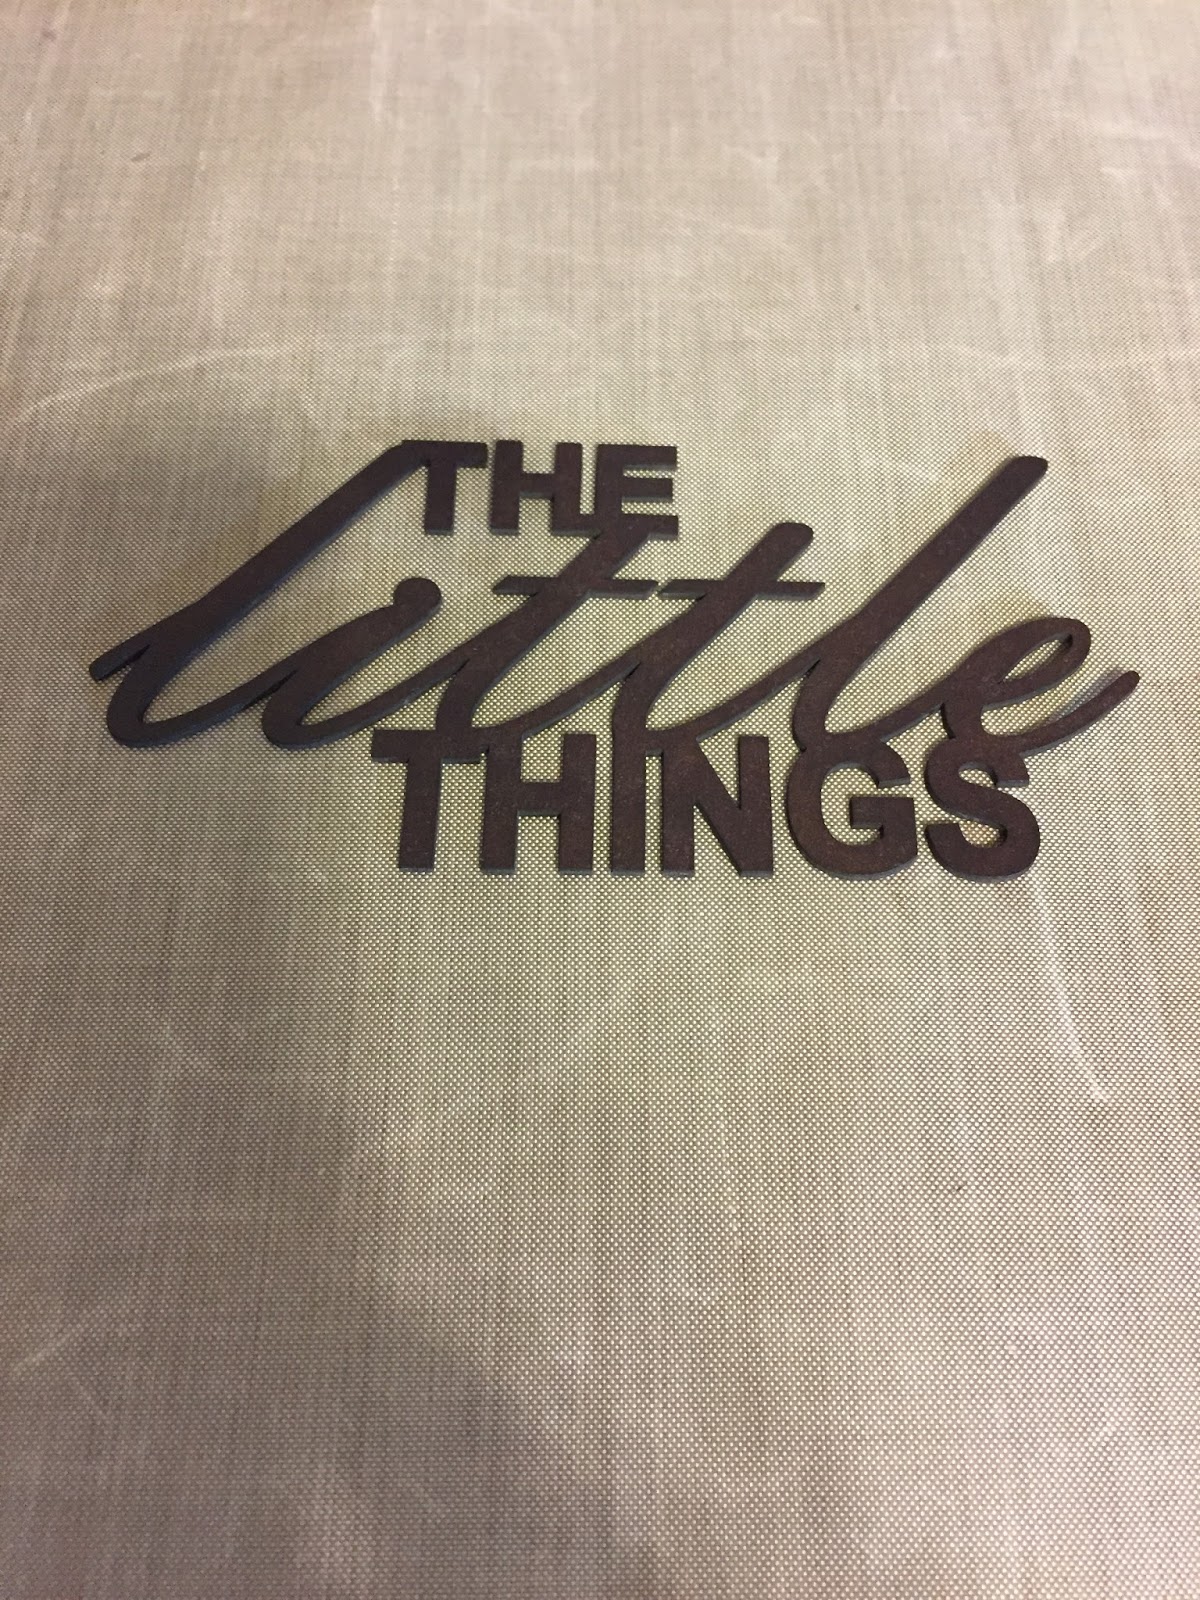
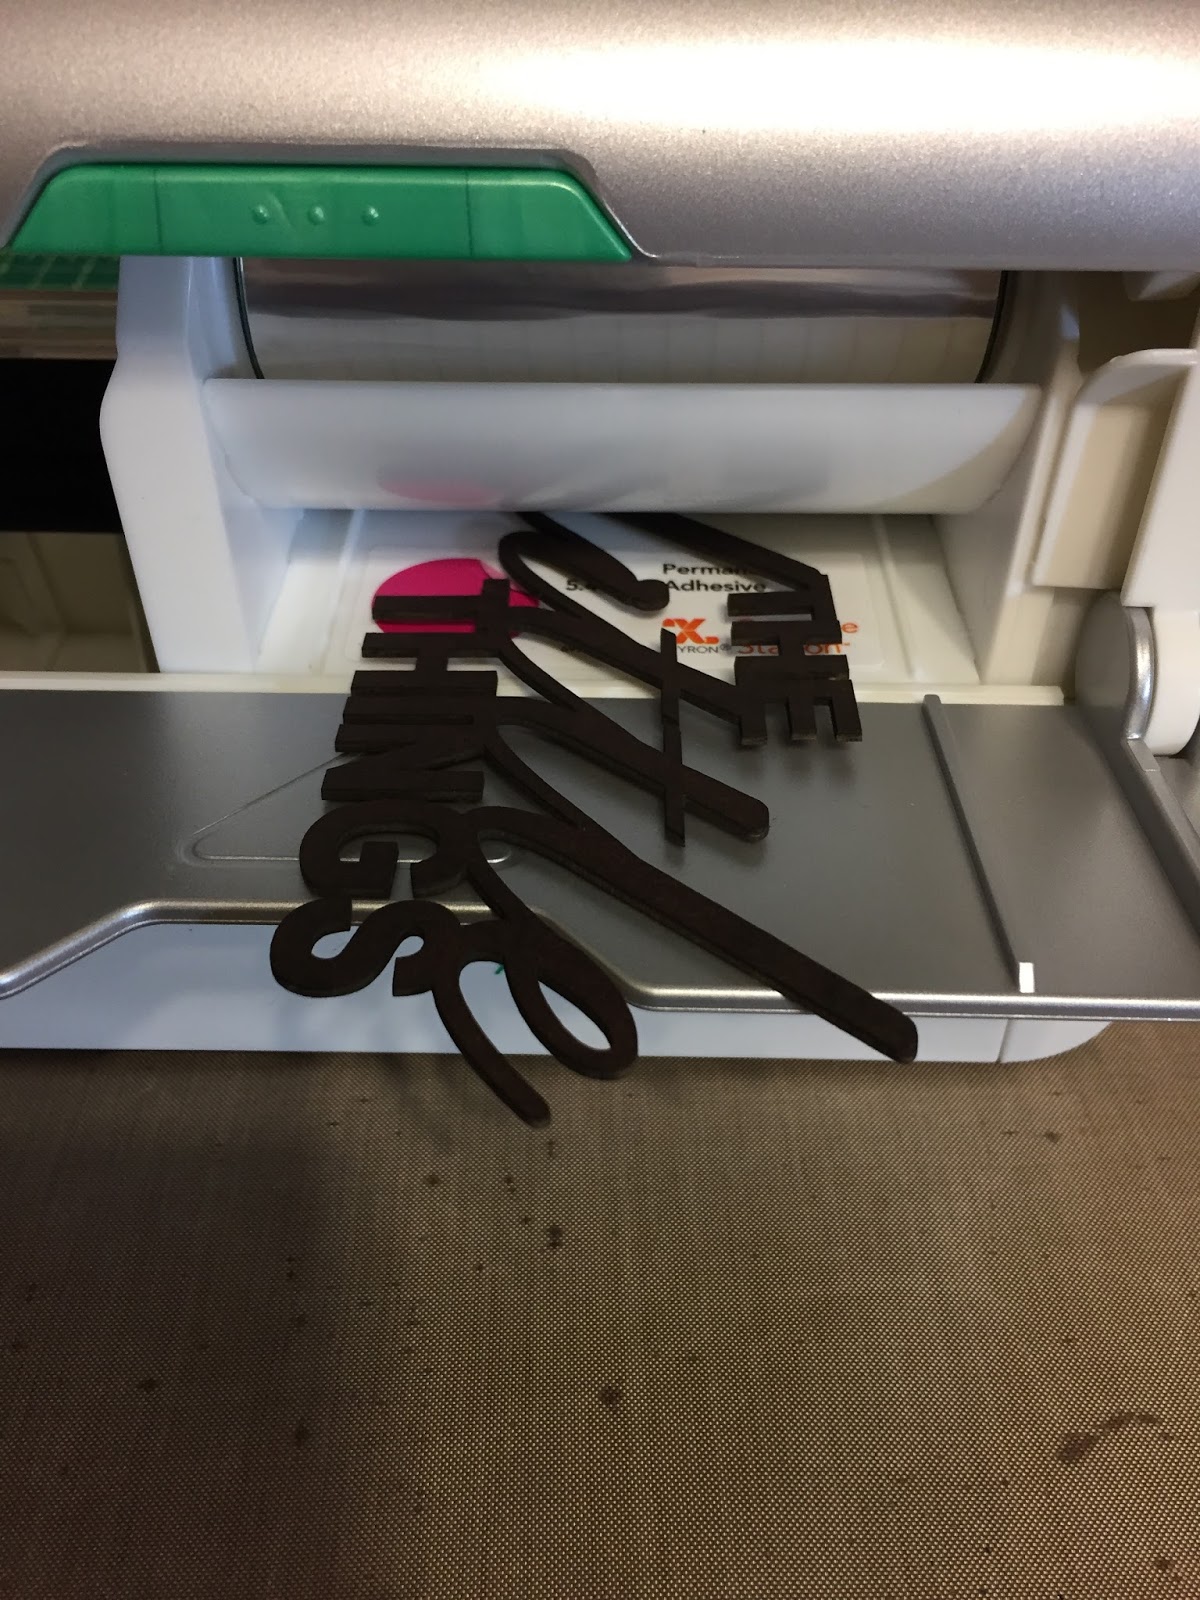
I inked "The little things" with Mahogany ink and then cut out "Give Thanks for" on my Cricut from the Honeycomb paper.


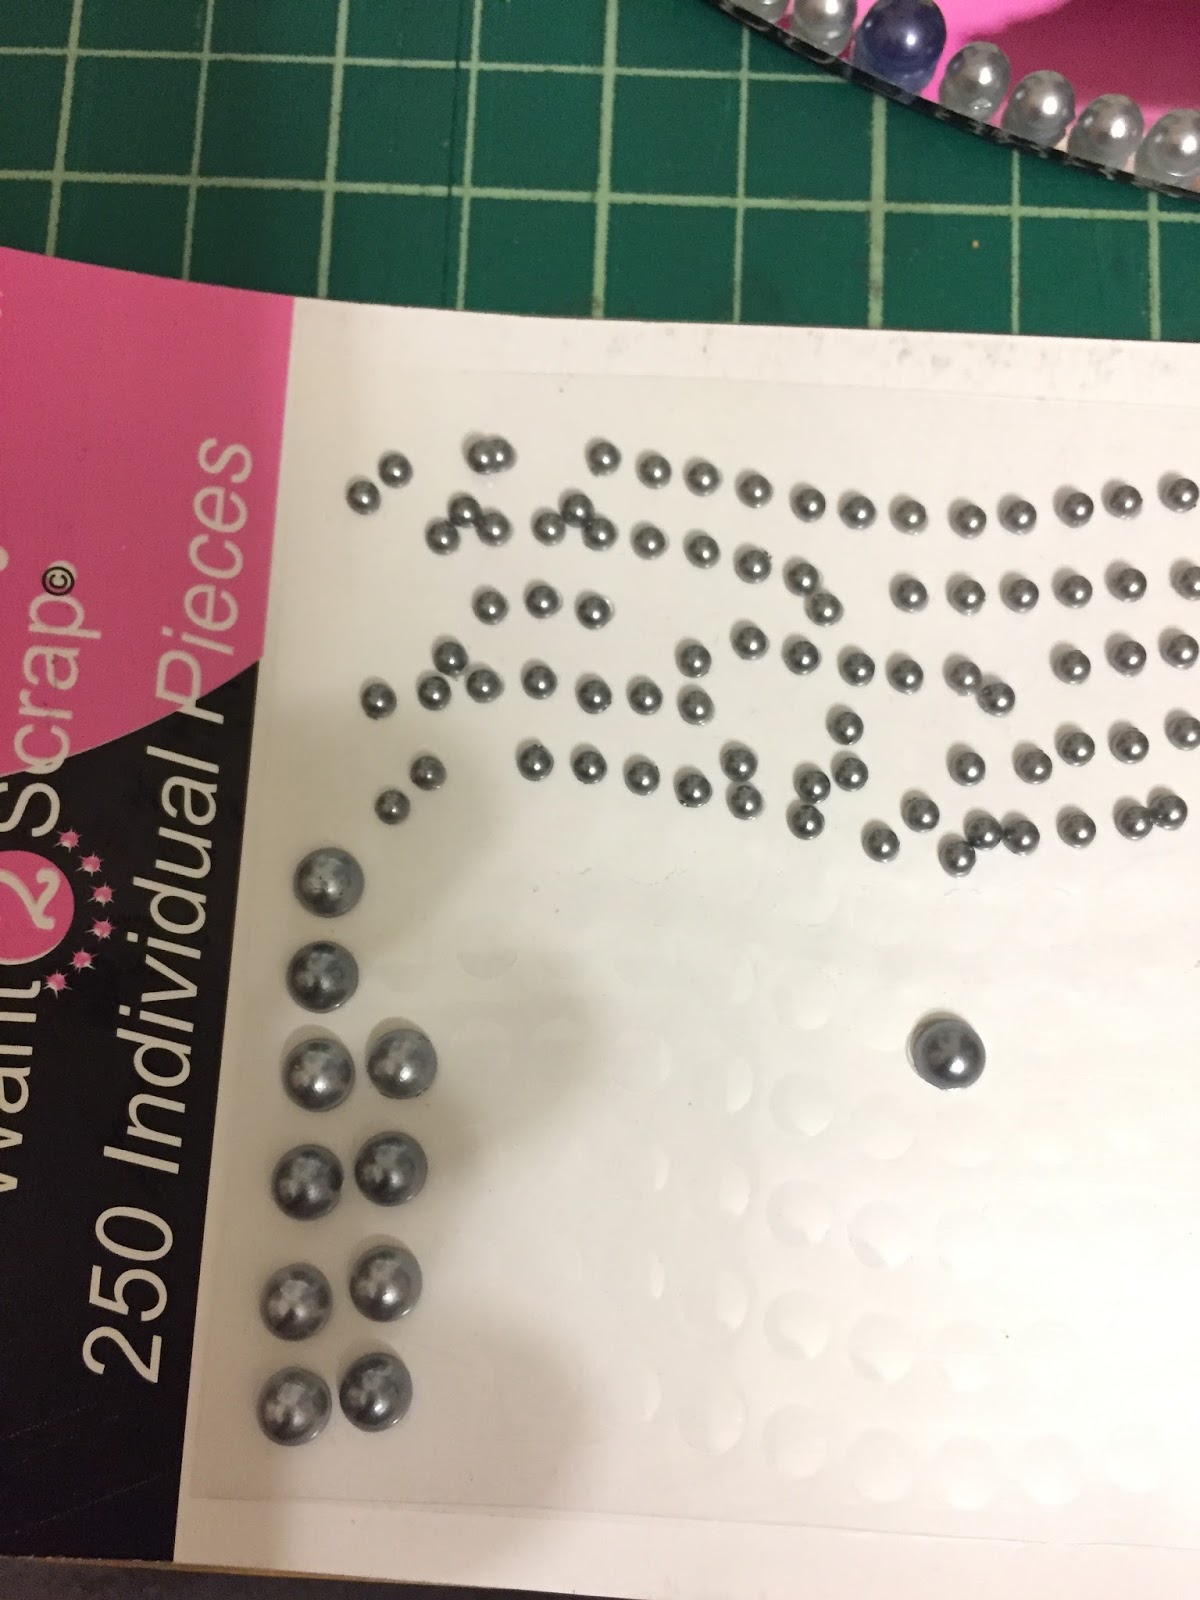
While I let the chipboard dry, I put Want2Scrap bling around the edge of the mirror for a decorative effect.  This part took the longest, but I put on some music and I was done in about 30 minutes.


To make attaching the letters easy, I used my Xyron to put adhesive on the back of the paper and the chipboard.


Finally, I attached the words using a ruler and my cutting mat to line everything up; here's the finished project.


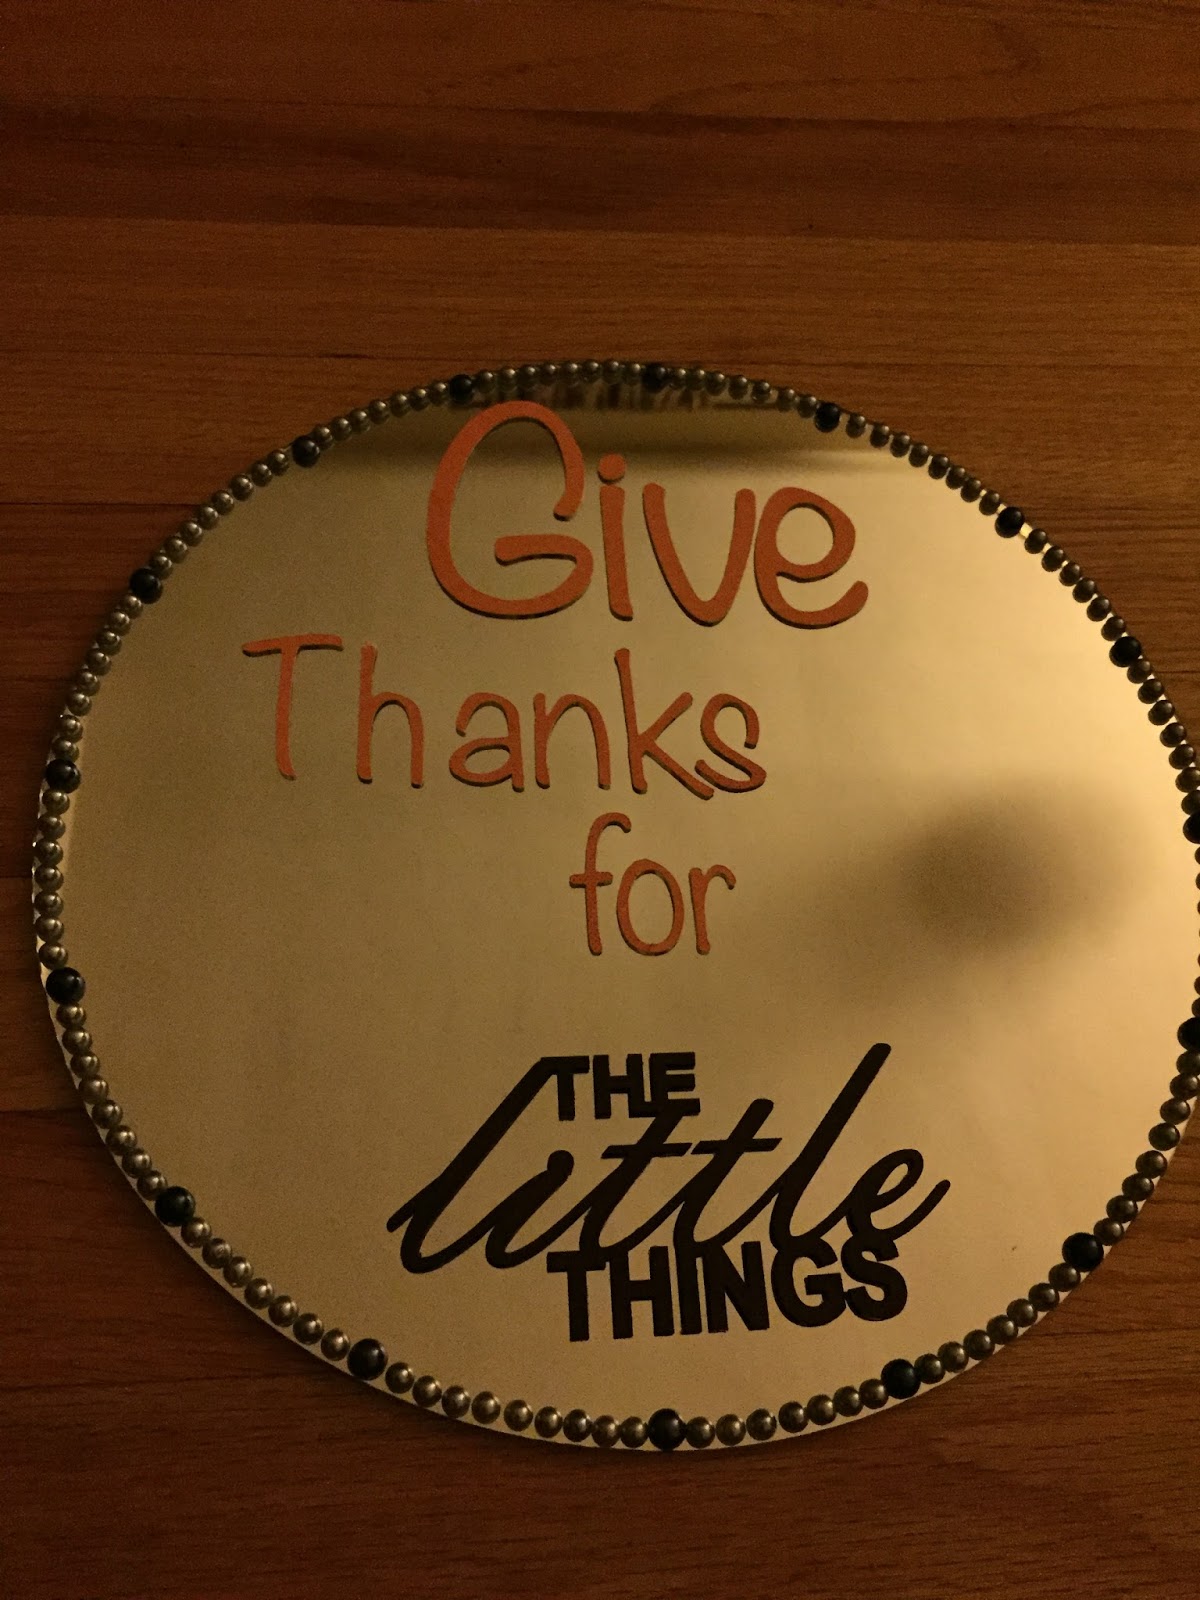
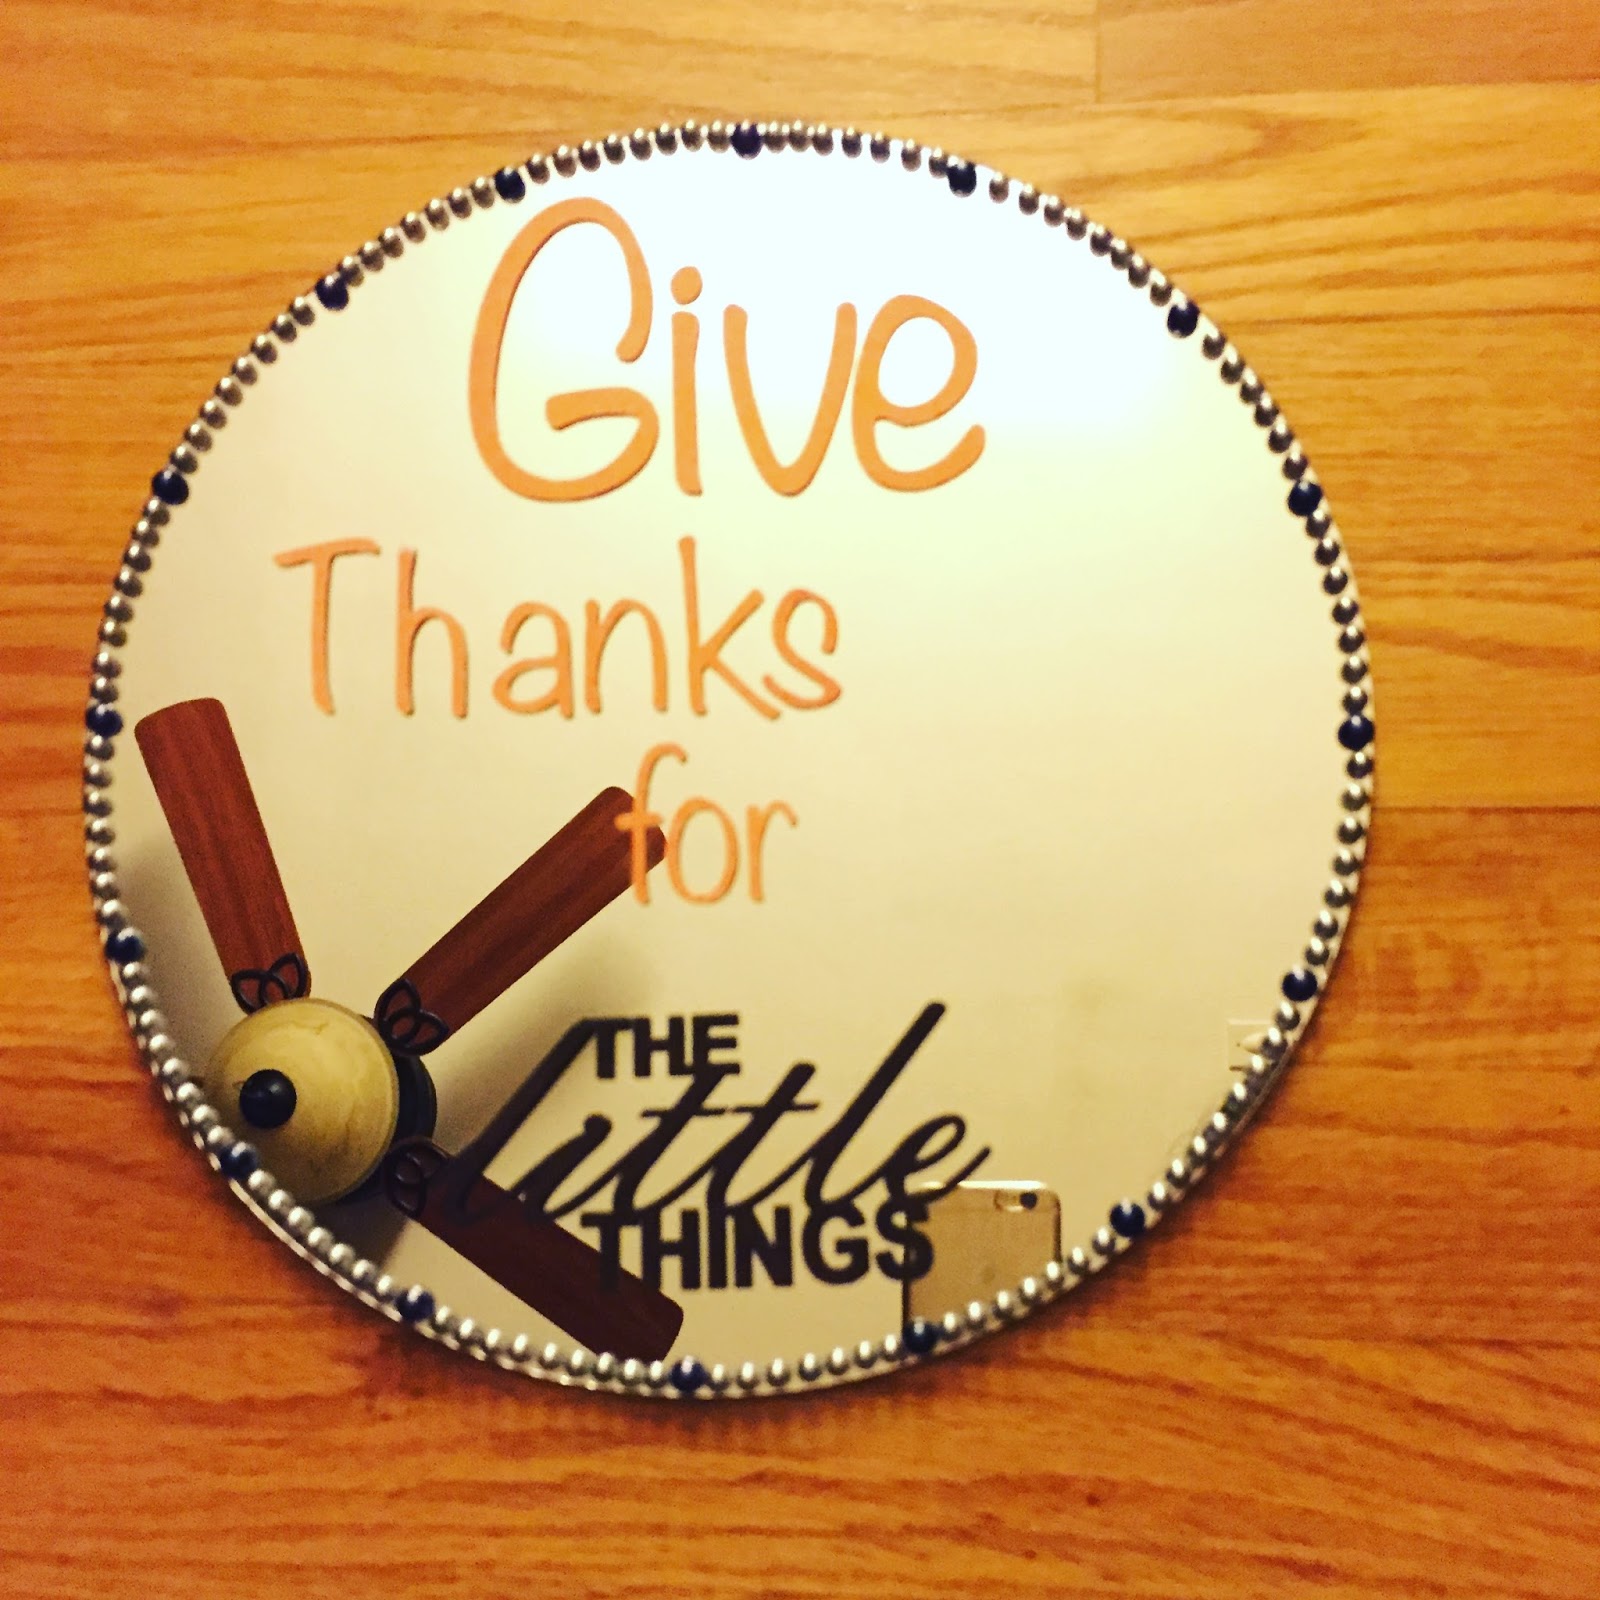
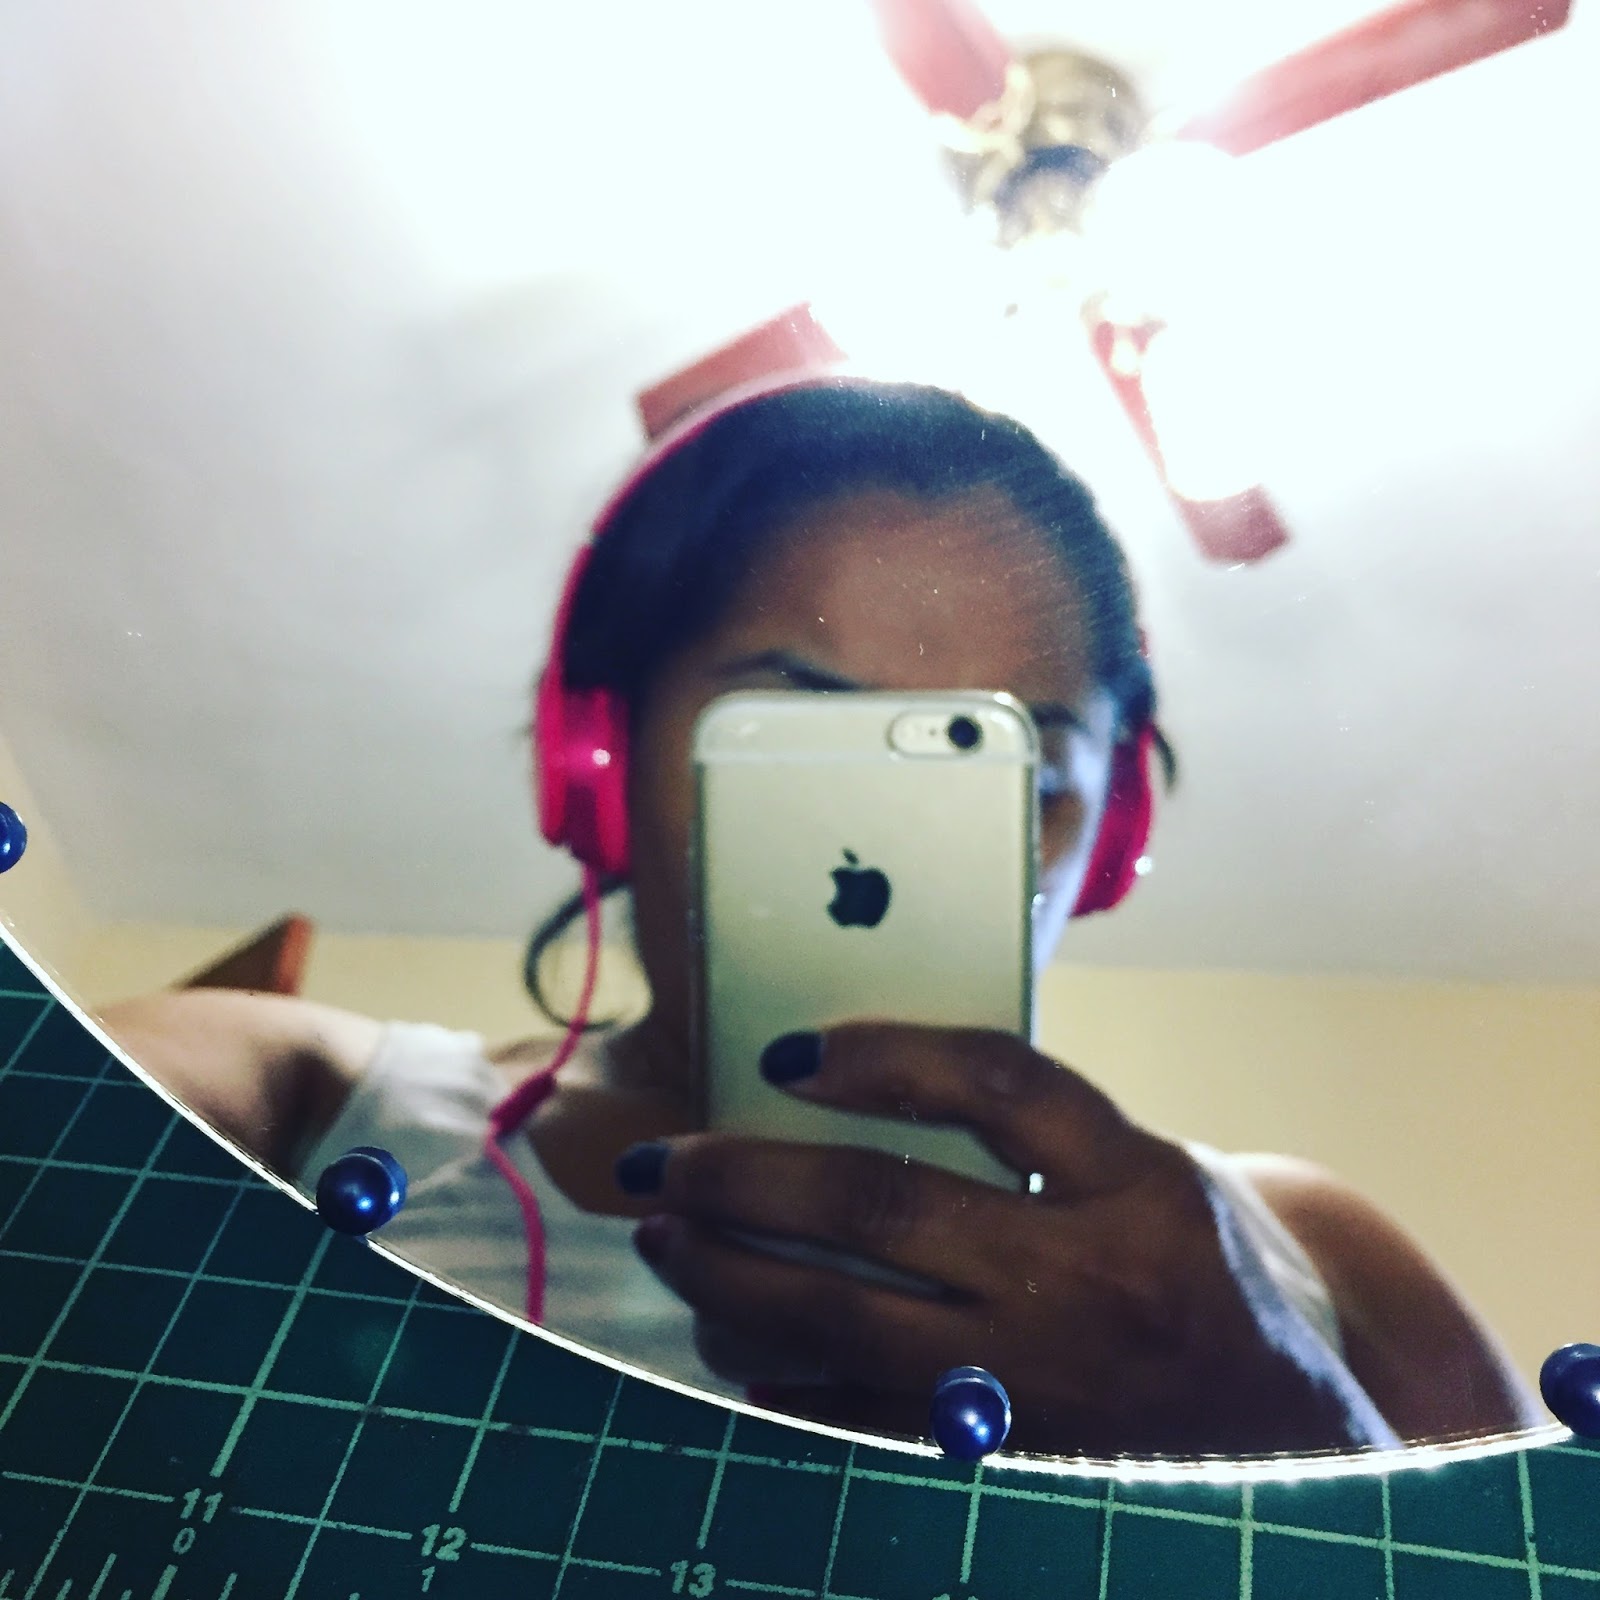
The first picture was taken with nothing in the reflection and the second was taken to show how the words look with a reflection of something.  I am planning on getting a plate stand for this so I can display it for Thanksgiving! If you use a frame or shadow box, you can hang it on the wall as decor for the whole year.  I hope you liked this project and you give it a try, thanks for stopping by.

Quick Quotes Products Used:

Honeycomb 102
Powder Puff Chalking Ink - Mahogany

Want2Scrap

Xyron

Xyron and Quick Quotes Blog Hop

Crafts, Diy, How to, Paper crafting, Quick Quotes, Watercolor, XyronGabriela SimsComment

Hi everyone, Gabriela here today with a fun project that you can customize for yourself or as a gift. I'm using the Anchors Aweigh Collection along with some of my favorite Xyron products to make a mobile that you can gift for a baby shower or use as an inspiration for yourself. I'm using some supplies I found in my craft room, so this is a simple project you can do in an afternoon/evening.

Check out the video below. I had a fun time making this project and I will be hanging my dream mobile in my craft room to keep me inspired. 

You can find the products from the video below, happy crafting!
-Gaby

Quick Quotes Products Used:
Anchors Aweigh - 102, 103, 104, 105, and 108
Powder Puff Chalking Inks - Mahogany, Aqua, and Desert Sun
Twine - Included in Club Q for October

Xyron Products Used:
Creative Station Lite
Sticker Maker

Xyron and Quick Quotes, Make a Banner Page

Crafts, Diy, How to, Paper crafting, Layout, Quick Quotes, Scrapbooking, Tools, Tutorial, XyronGabriela SimsComment

Hi everyone, Gabriela here today with a page using Club Q for this month with some help from my Xyron supplies. I made this page a banner page because of the adorable twine included in this month's Club Q. I also attended a quilt show this past weekend and decided to "hang" some of my favorites from the show on the banner. I started by choosing my 3 favorite pictures from the show and then built the page around that idea.


 Check out the video below to see how to put this page together.


I hope you enjoyed the video and you're inspired to make a banner page of your own. Thanks for stopping by, happy crafting.

 Quick Quotes Products Used:

Club Q

Powder Puff Chalking Inks - Mahogany

That amazing glitter gel pen is this amazing glitter gel pen from Sakura, it's a Gelly Roll and I love it!