This card was done using the "No lines" coloring technique. No video today, but here is a step out.
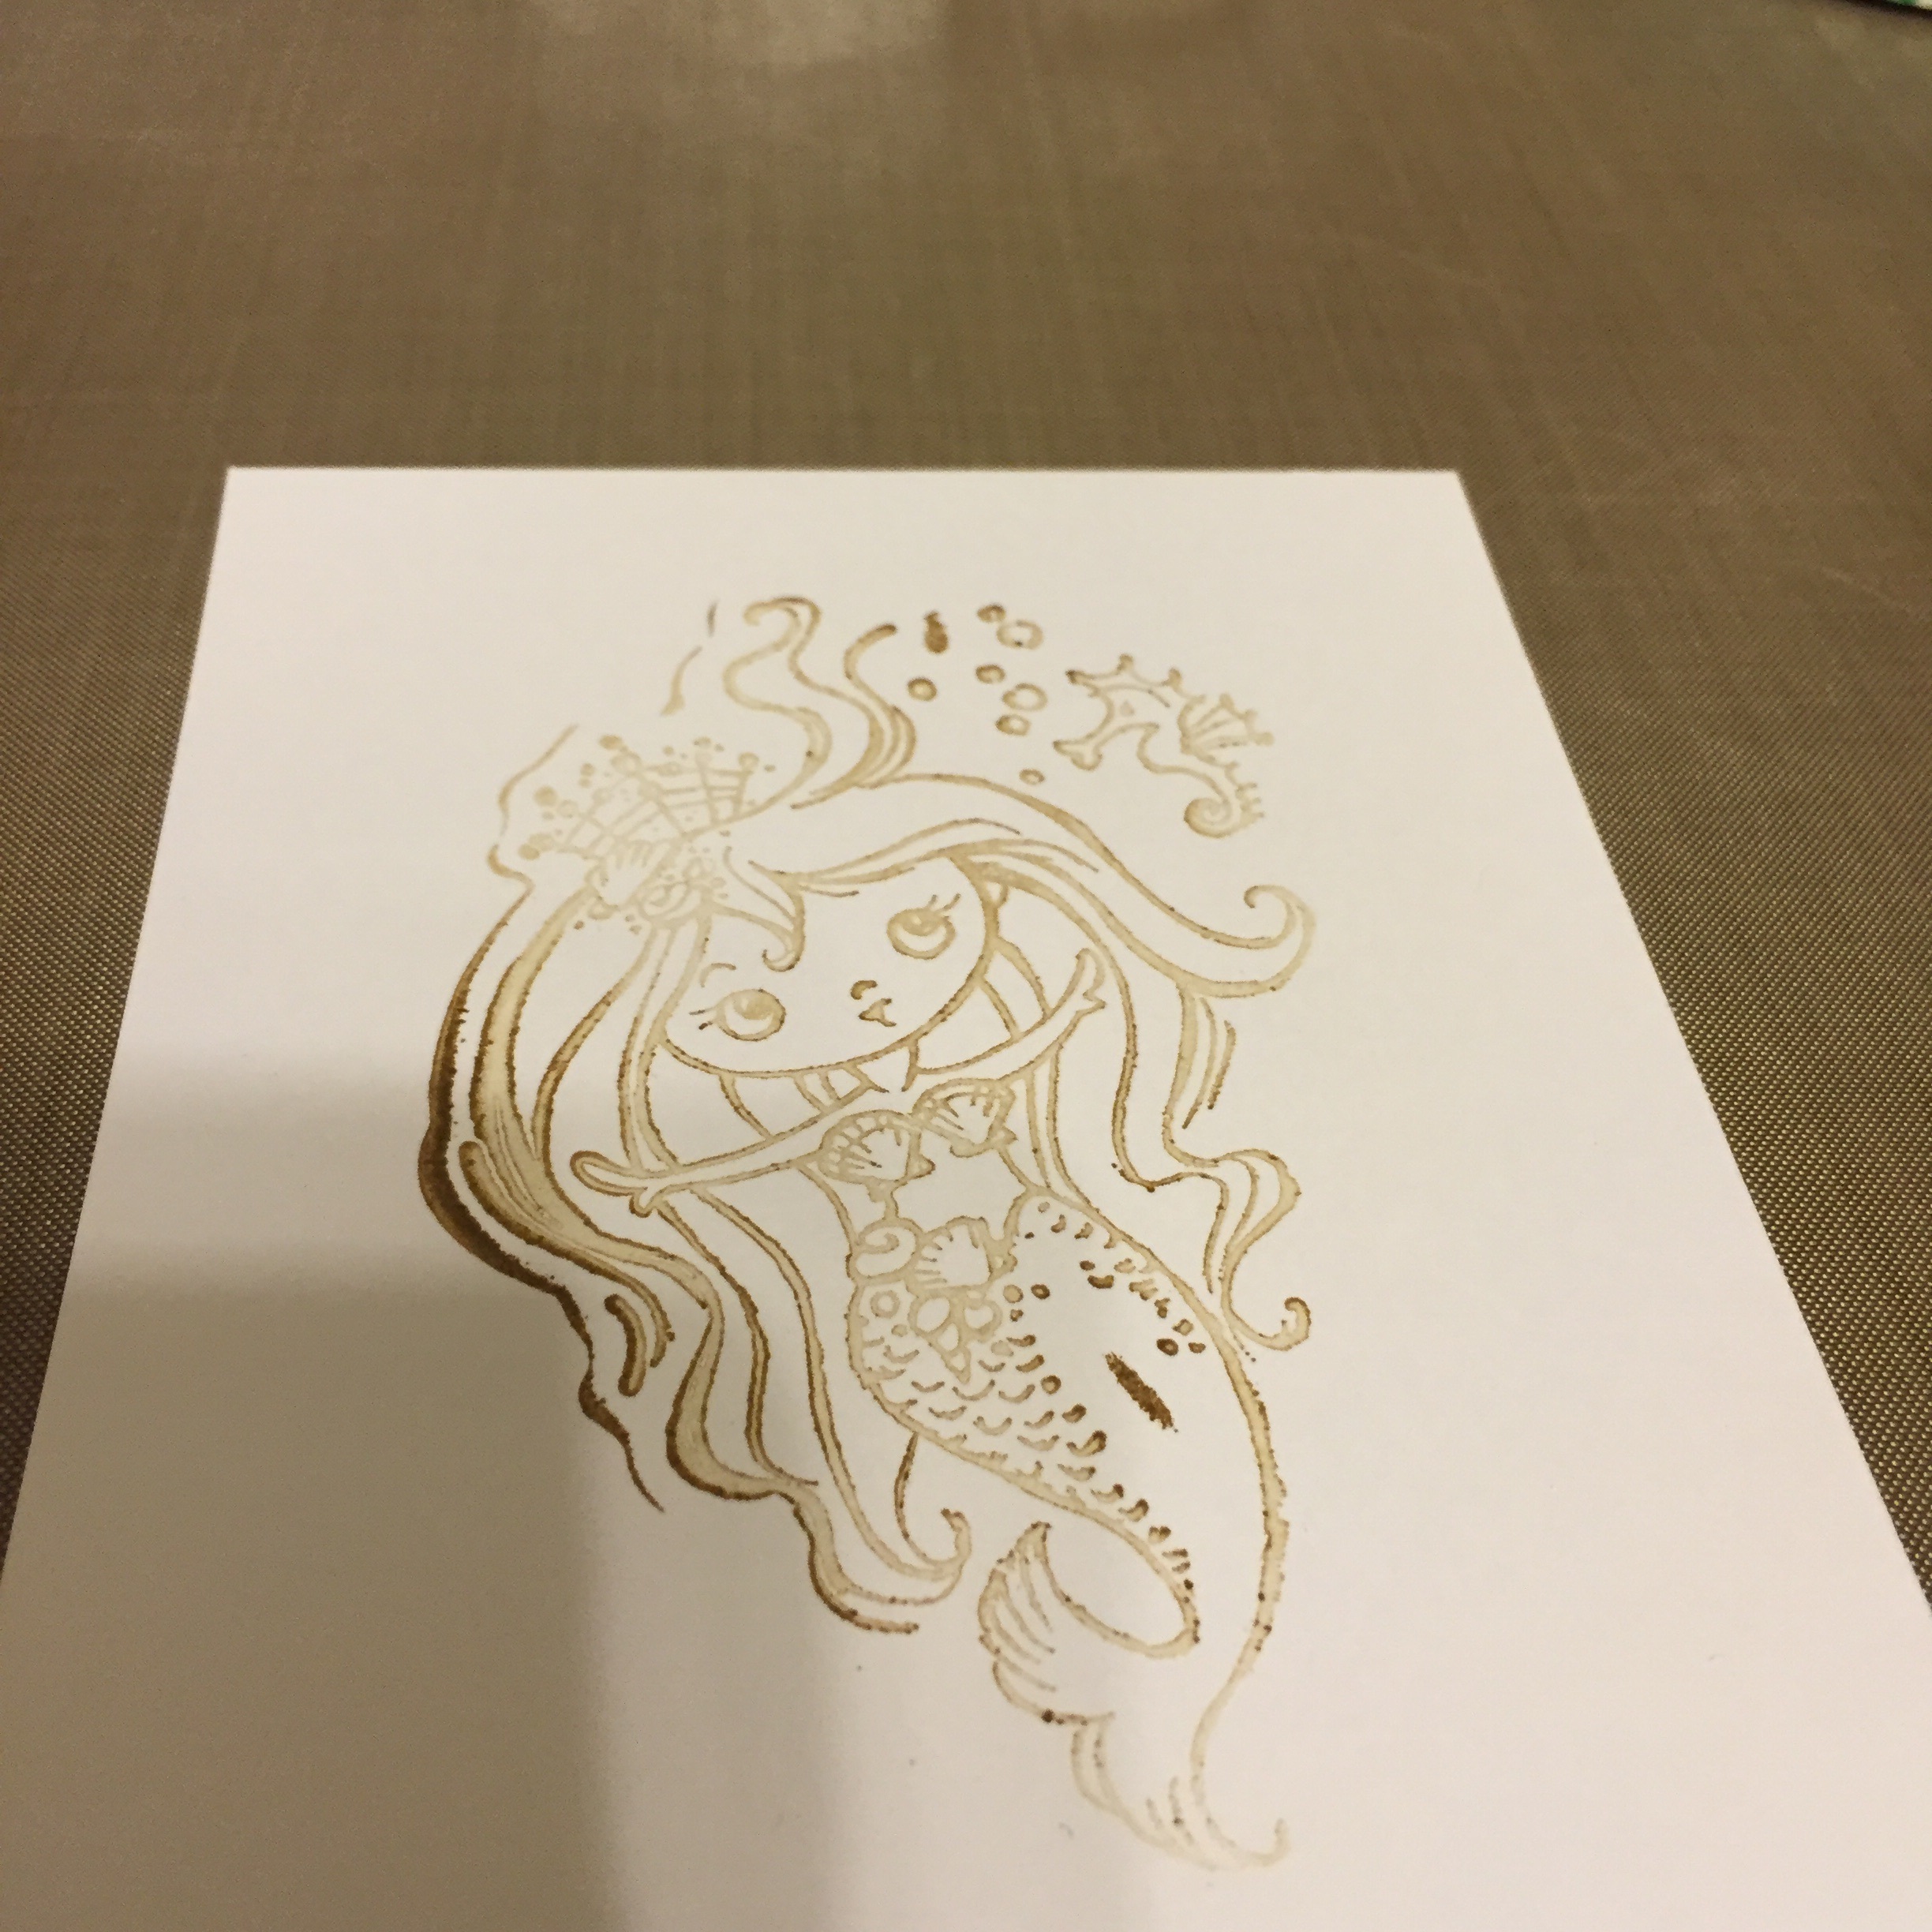
Stamp your image in a soft, neutral color.
This is one of my favorite stamps, a mermaid from Stampendous.

Color your image, I used Copic Ciaos
I used a few Spectrum Noirs too.

Cut out your image.

I used Distress ink in varying colors to make the "water", I used a torn paper masking technique.

Rain stone application.

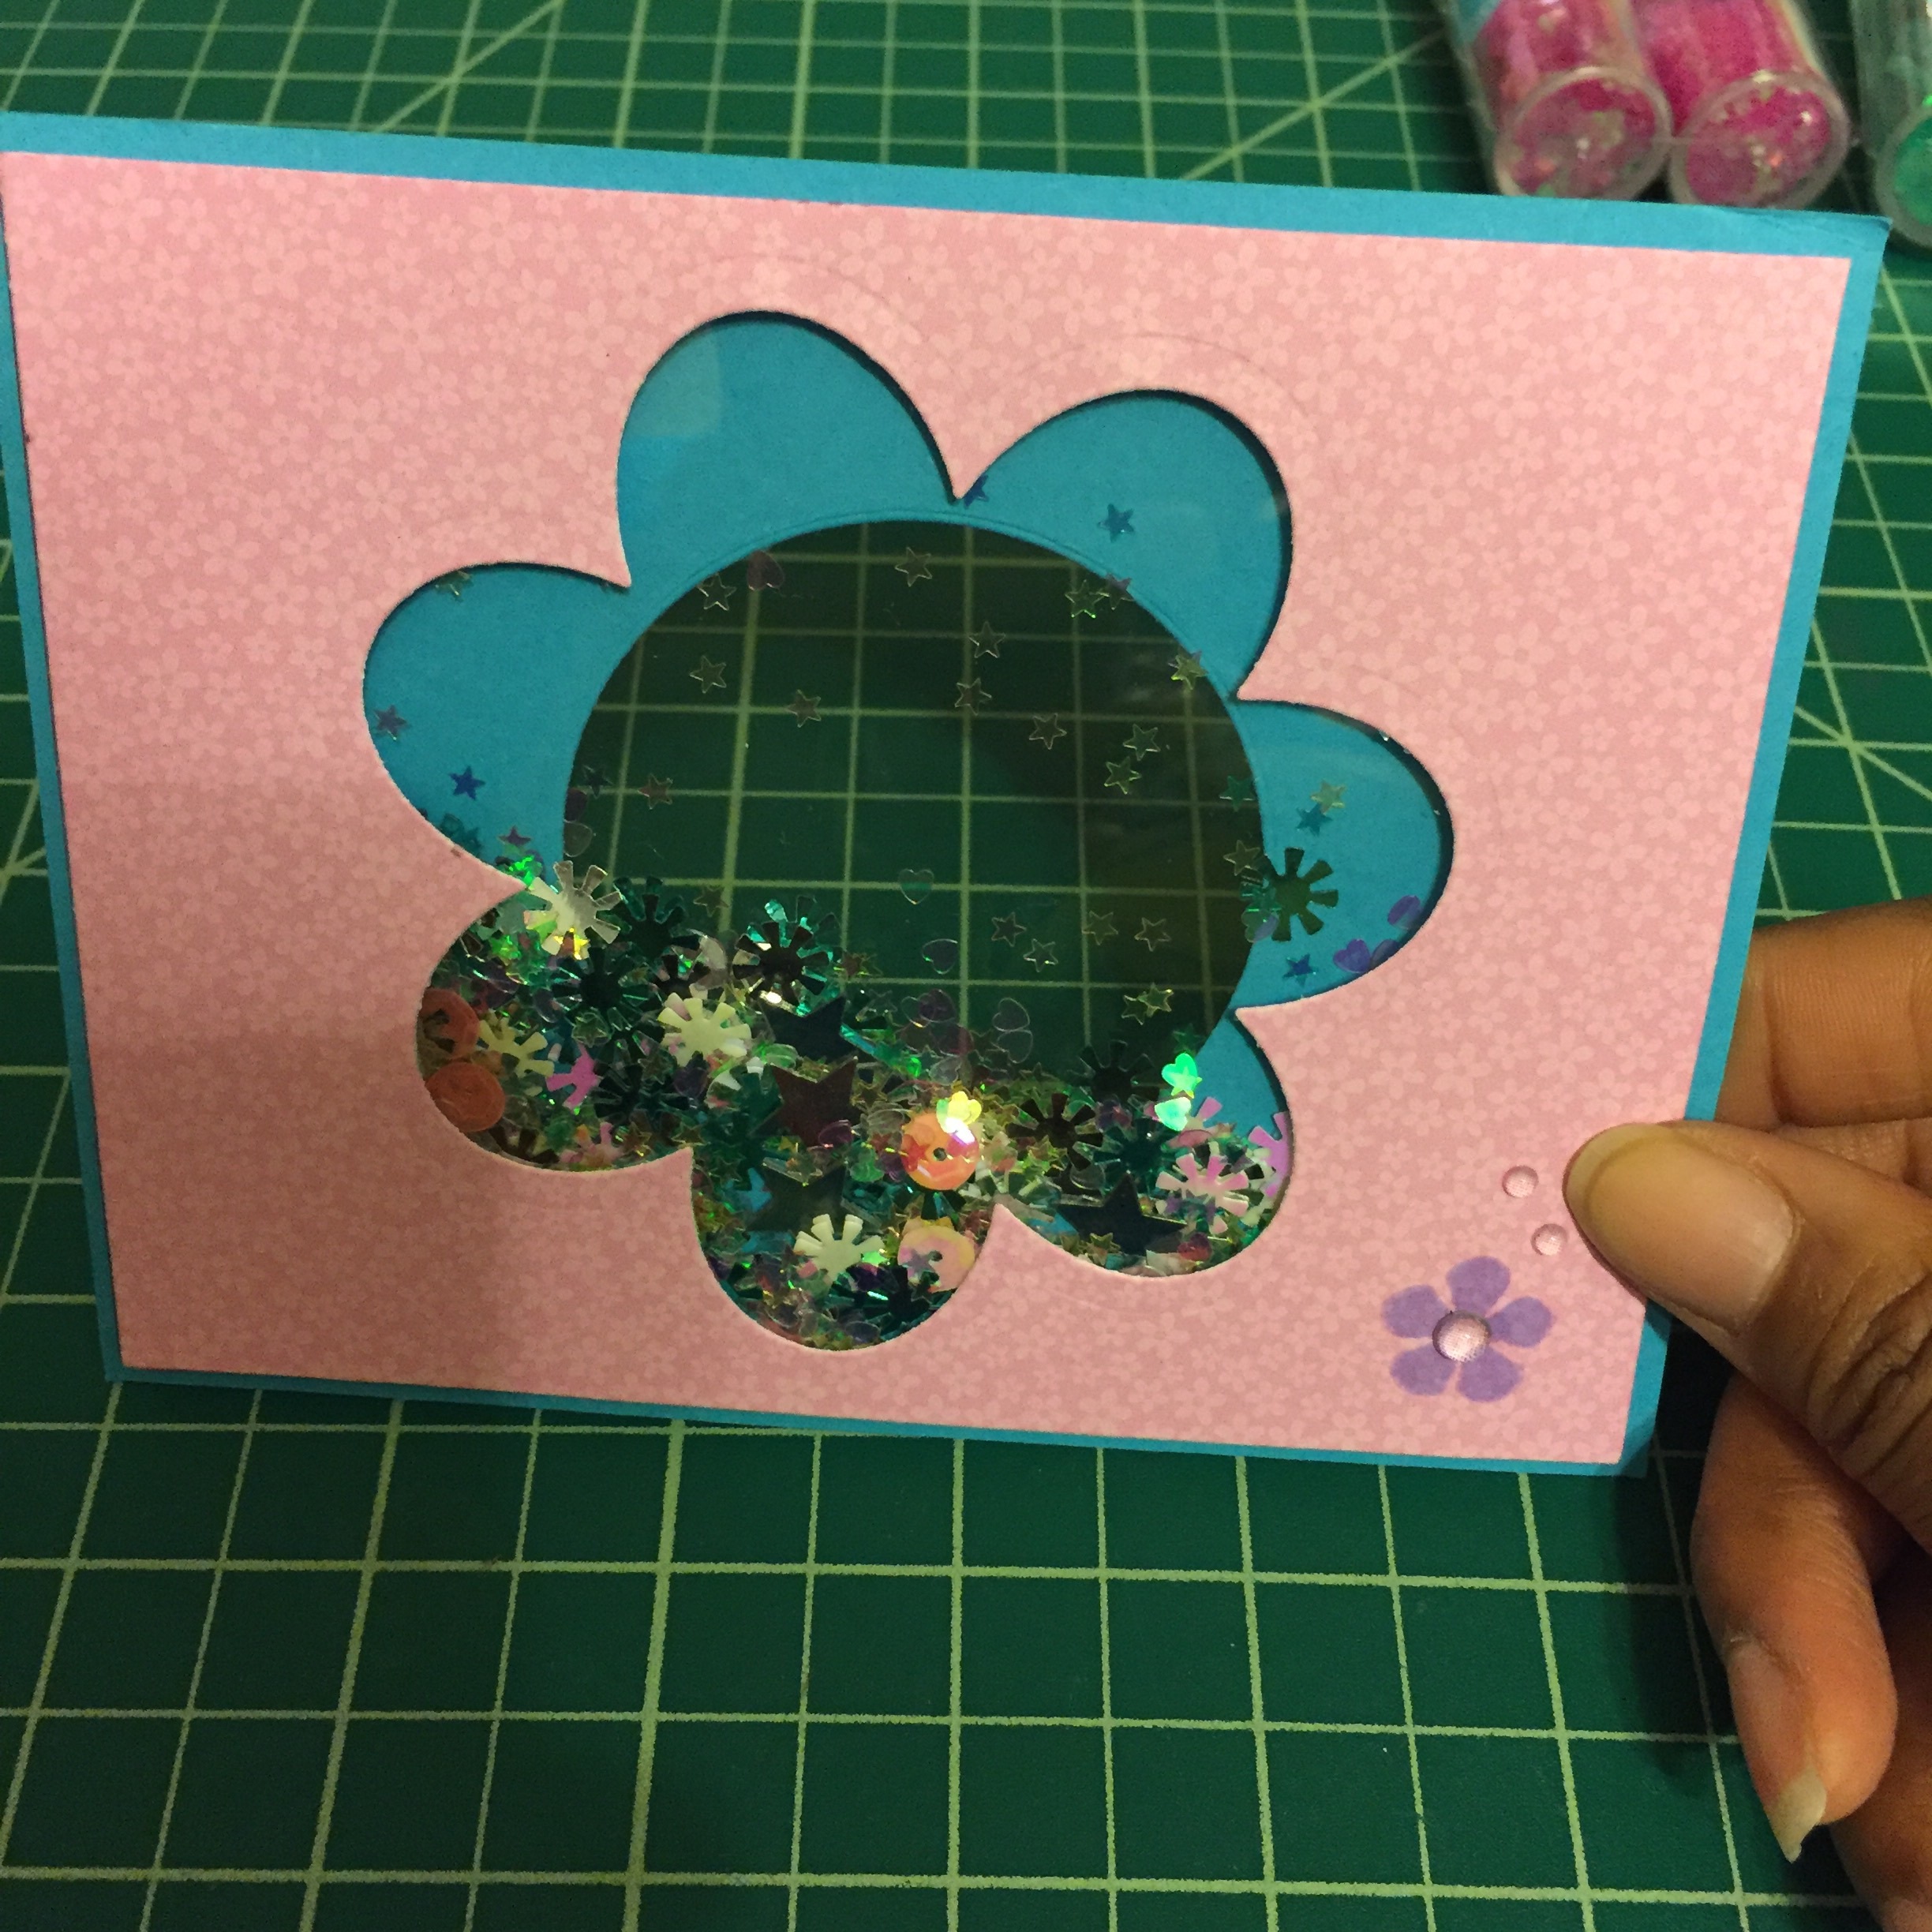
Shaker sequin selection! Those flowers are from a set I got at Target!
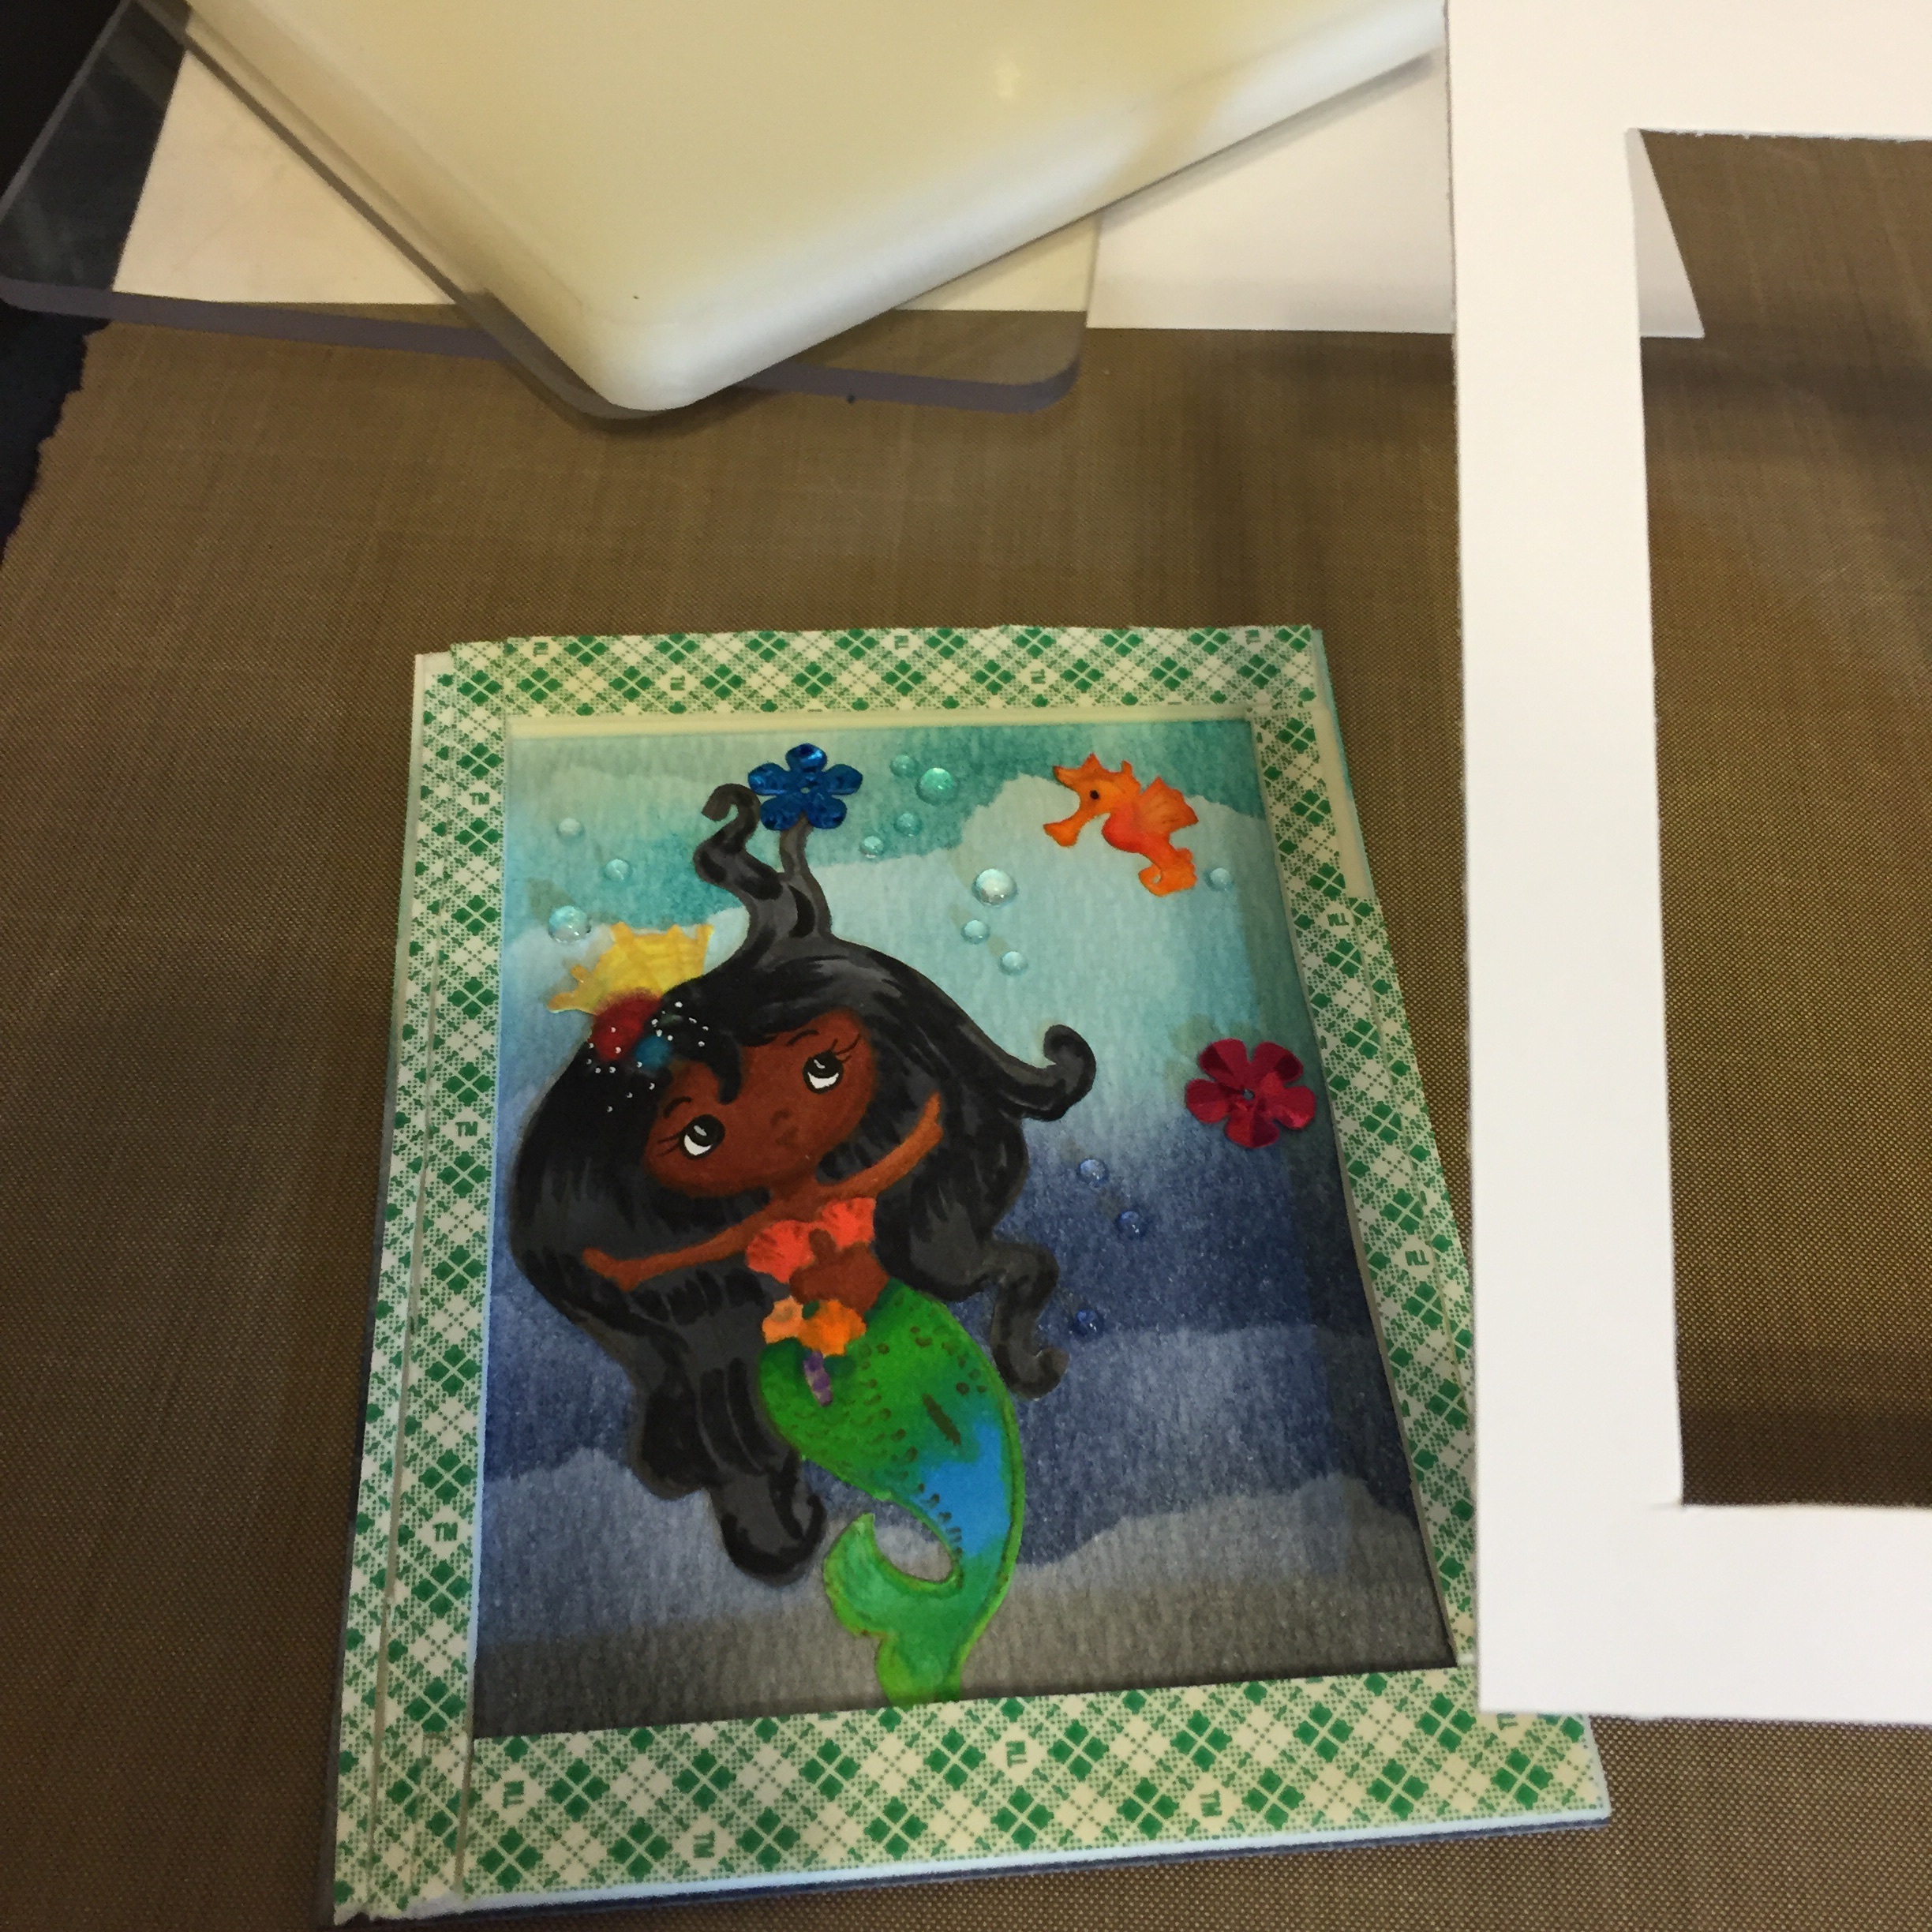
I made a foam tape barrier.

Adhered the front, and it's done!

Under the sea!
That's all, hope you're inspired to make something fun! Happy crafting!