Gab with Gaby

An engineer's creative corner studio.

Sew

Two Tutus and a Cape

Sewing, CraftsGabriela SimsComment

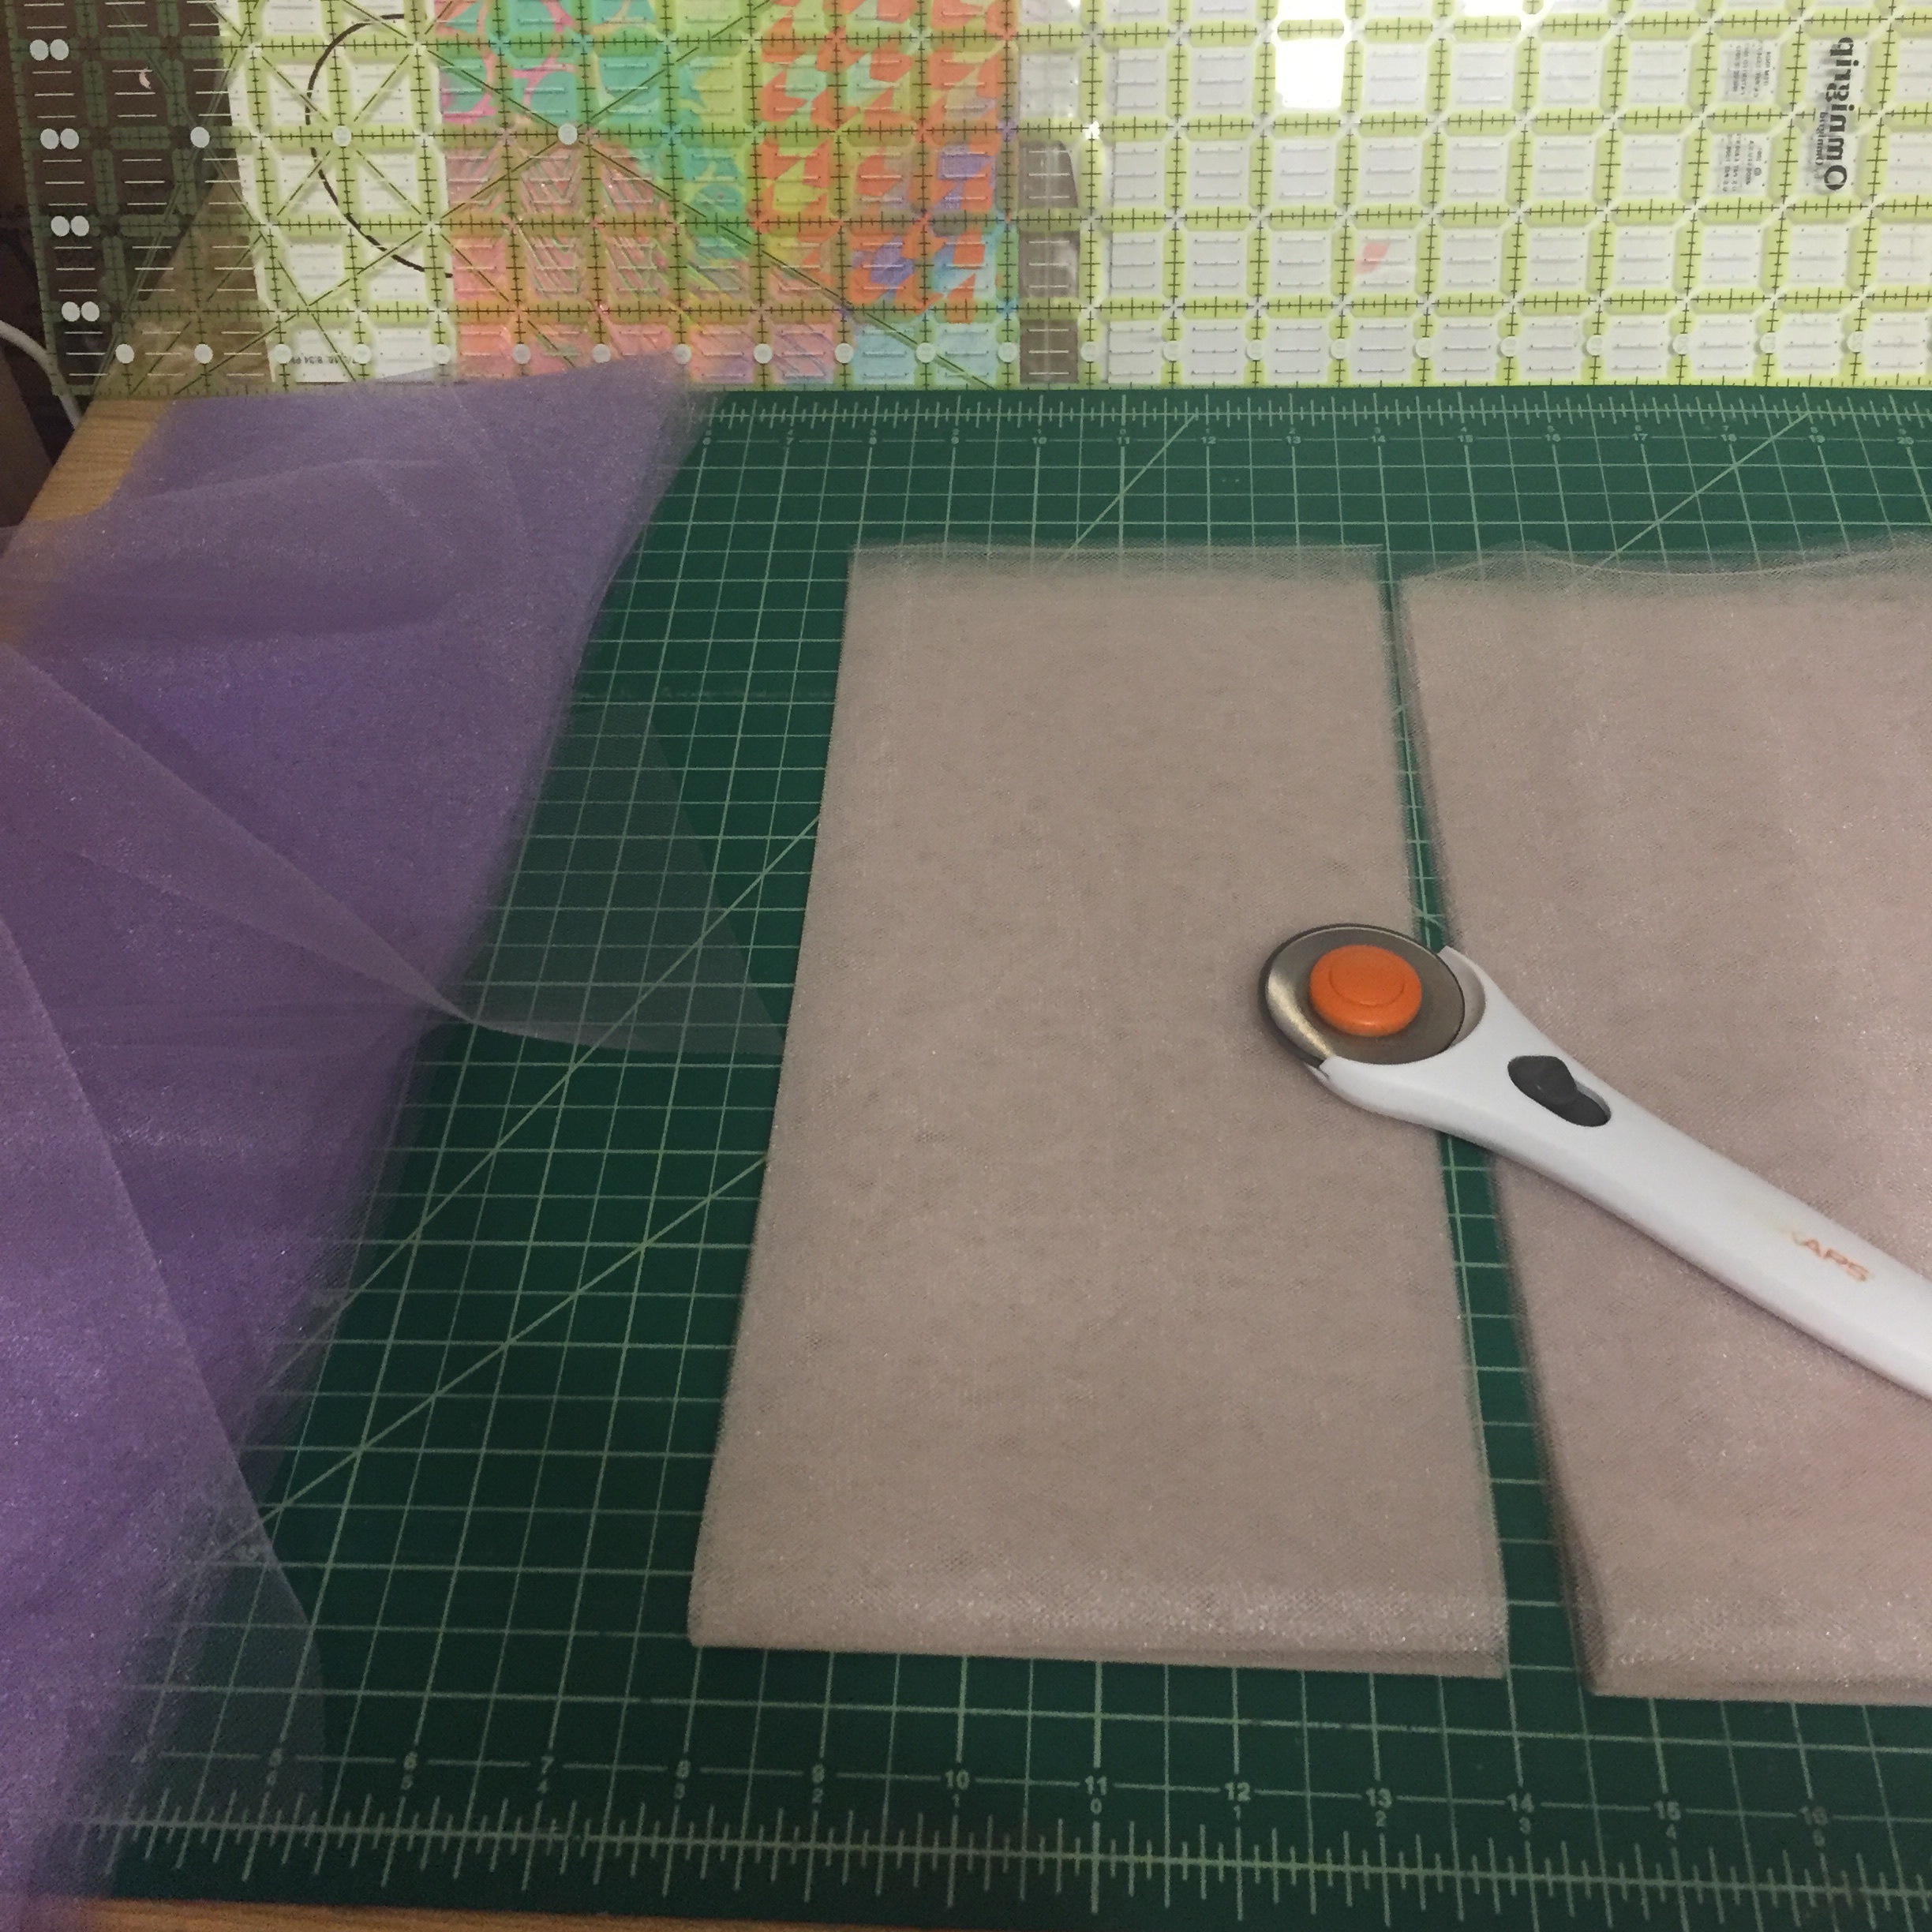
Hi everyone, back today with some projects I've completed for some of my friends with children. I was inspired by some super cute designs I saw and decided to tackle making tutus! Garments! I have gone from casually sewing to feeling confident enough to make actual clothes. So I started by cutting my tulle, I used bolt fabric instead of the rolls.  


A relaxing part of the process. 

A relaxing part of the process. 

Then I made my waistband and started applying the strips.

1st piece. 

1st piece. 

 Once that was done, I cut my ribbon using my wood burning tool's cutting attachment.

image.jpg

I added tulle until it was the correct size and then sewed the ribbon on, this was the most time consuming part.


image.jpg

After some trimming, here is the final product. 


image.jpg
image.jpg

I enjoyed making that one so much that I tried making another one with an elastic waistband...and Pom poms inside!  This was actually faster than the one above, it just required elastic and Pom poms in addition to the tulle.

I cut my tulle and sewed it. 


image.jpg

Then added Pom Poms. 


Almost finished. 

Almost finished. 

Then added elastic. 


image.jpg

And here is the finished product! 


image.jpg

If you are making a gift for boys, you can try making a cool cape!


Some appliqué using my embroidery machine. 

Some appliqué using my embroidery machine. 

Complete with 2 colors and Velcro. 


image.jpg

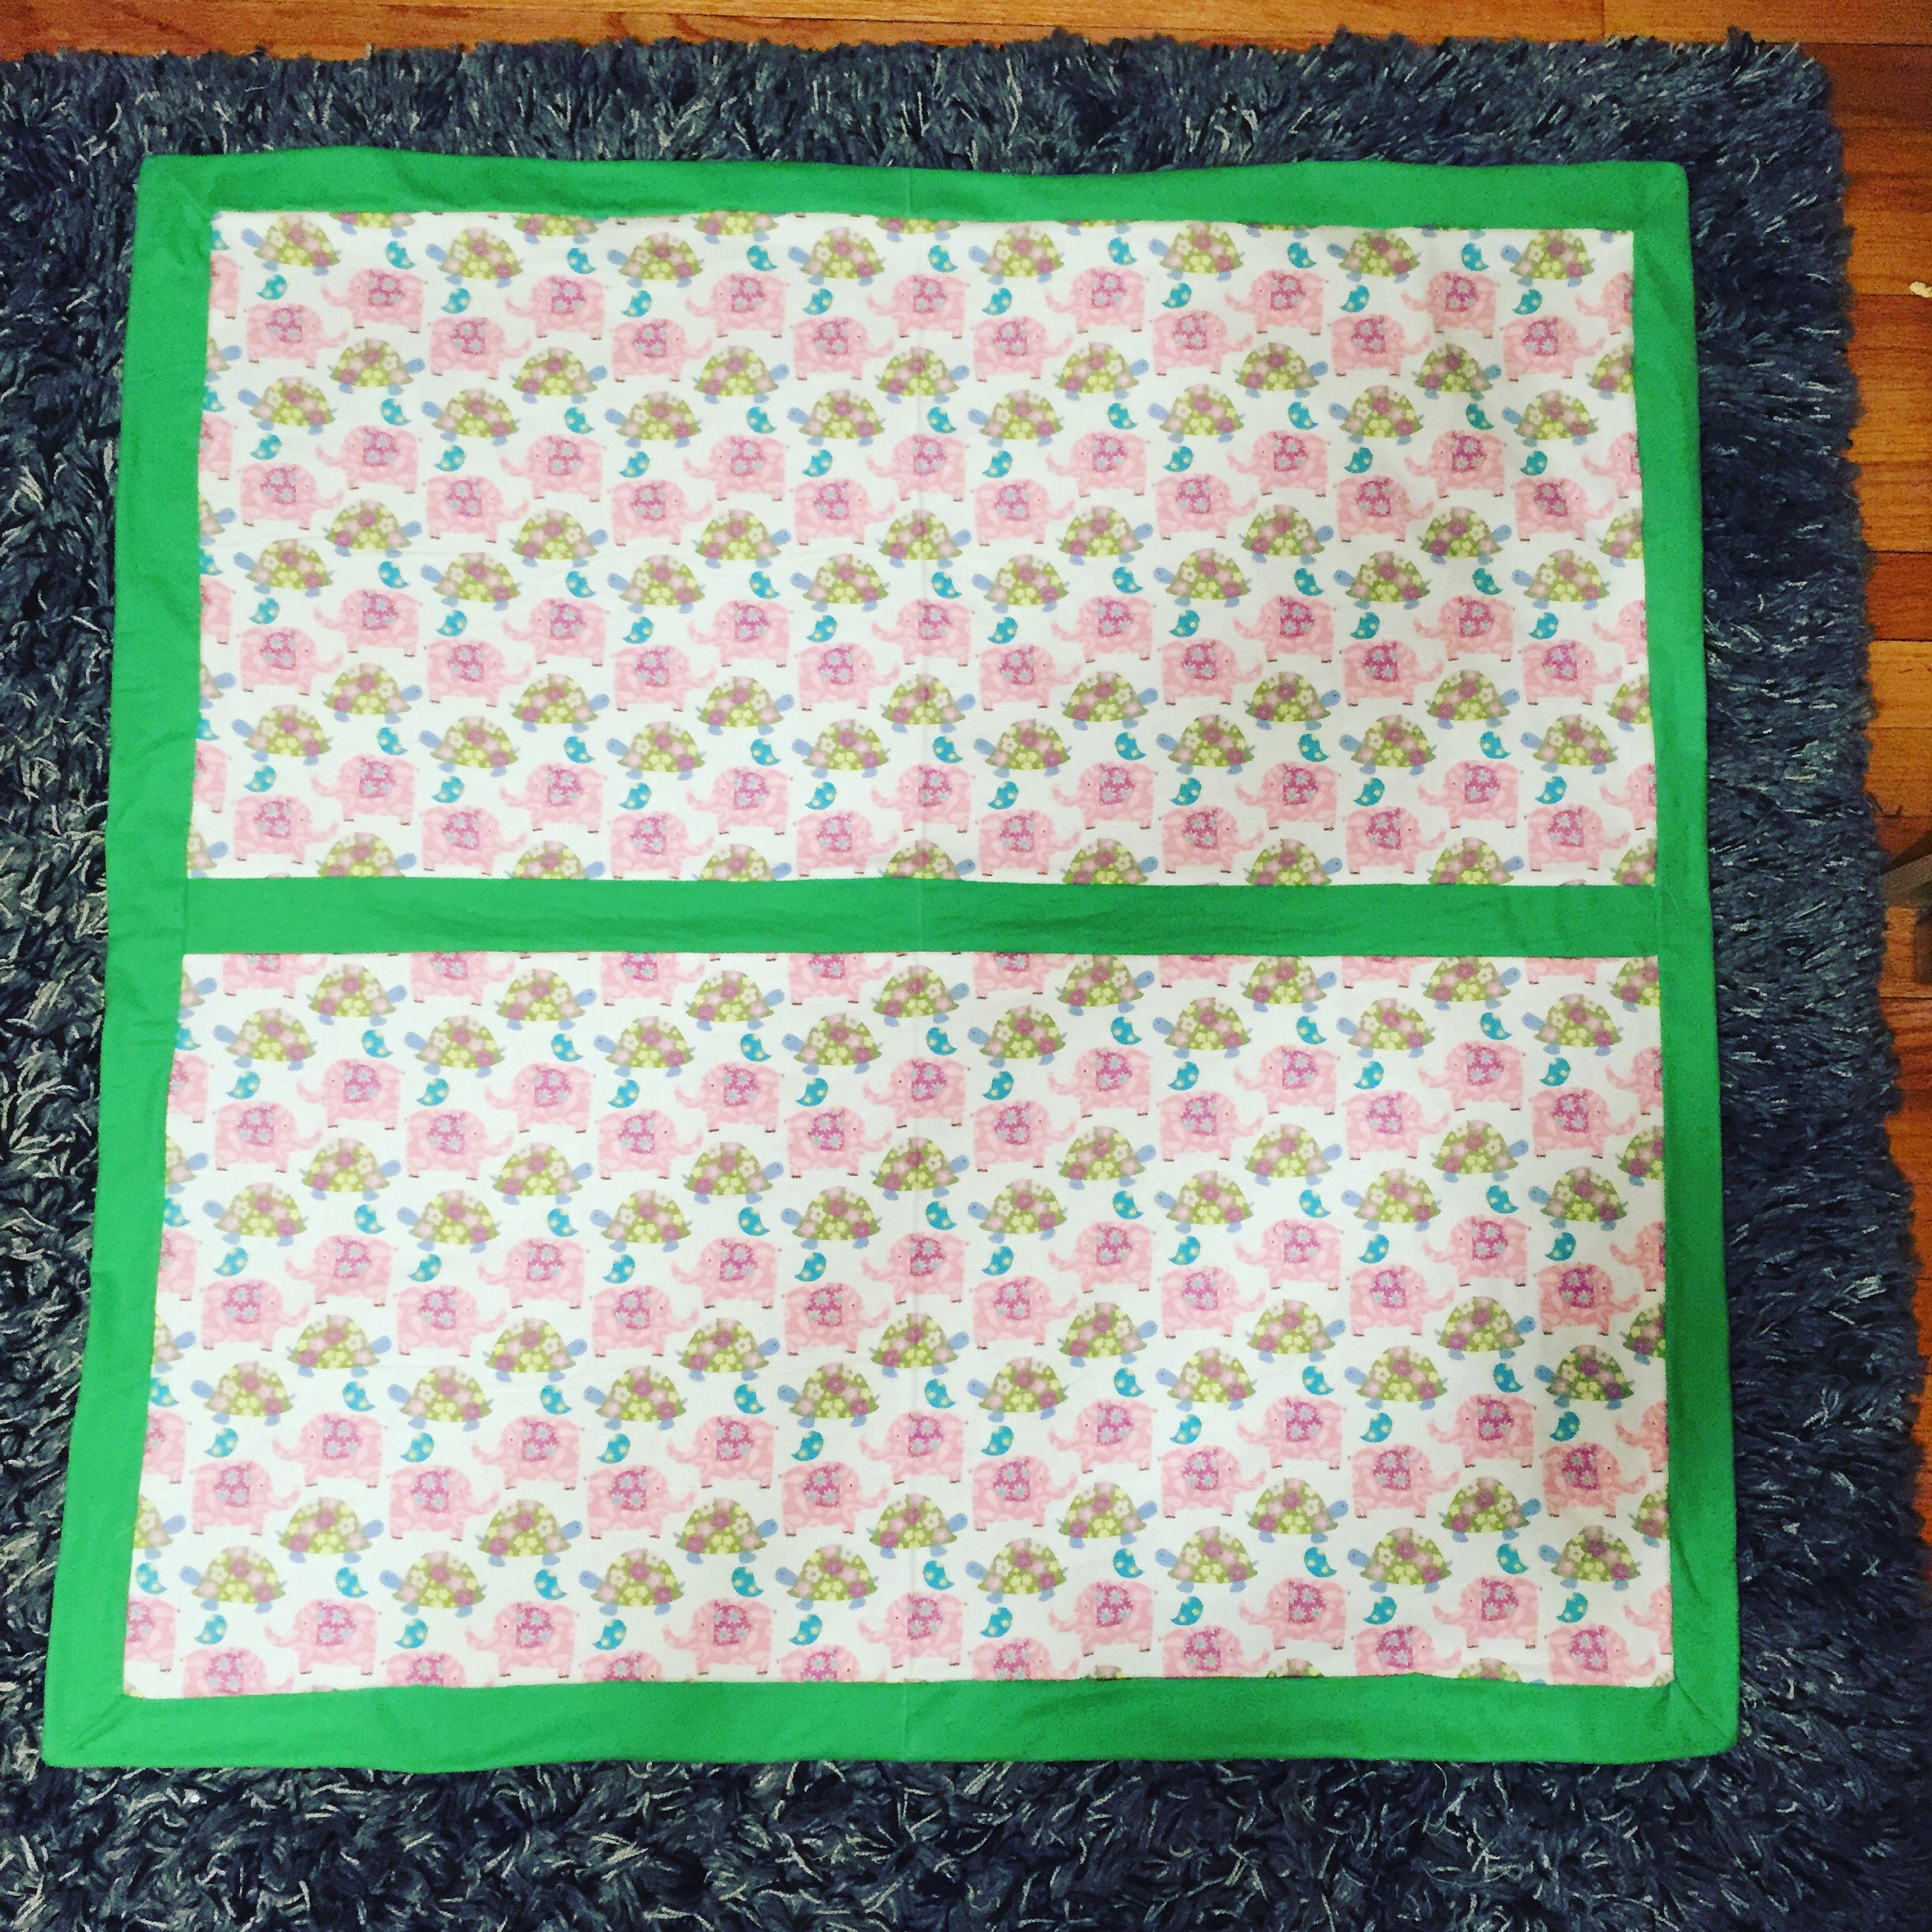
Next time I'll be back with another self binding blanket and a baby quilt! Happy crafting! 

When Sewing Takes Over

Graphic design, Scrapbooking, Blankets, Diy, Graphic, How to, Crafts, Drawing, Sewing, Color, QuiltingGabriela SimsComment

I have been busy making things like there is no tomorrow! I just realized I haven't posted anything in over a week, so today, here is a crafty, sewing showcase.

Let's start with the baby quilt that is a companion to the "Amelia" quilt I made. 


Just like the other one, but different colors.

Just like the other one, but different colors.

I also decided to try working on my own fabric by putting my drawings on mug rugs and I started with one of the Jelly Friends, Tamber Melon and my resident Meowfox Mr. Snugglekins.

Hi guys! 

Hi guys! 

Then I coordinated background fabric and attached them to the centers. 


image.jpg

Finally I applied backing and binding. 


All done!  

All done!  

Posing as a mini rug! 

Posing as a mini rug! 

I cannot stress enough how happy it makes me to create things and I am so happy to have a new way to create by being able sew things and quilt.  I wish I'd been doing it forever, but I'm happy I started at all. I encourage you to start doing whatever it is you would like to do, today!!! I have learned to knit, crochet, paper craft, and sew...in the last 5 years! I keep telling anyone who will listen that I am so happy I started seeing because there's this whole world of fabric and patterns that I have access to now! I am really enjoying sewing and I look forward to improving as I keep working! Tomorrow I will be posting a video about making inked backgrounds for your layouts, happy crafting!

Quilting with Beyoncé

Diy, Quilting, Paper crafting, Knitting, CraftsGabriela SimsComment

So I have known for a while I am not your average knitter, scrapbooker, or quilter.  Whenever I go to any local gatherings like this I am usually one of the youngest. This doesn't make me feel out of place, but it does make for interesting conversations.  I was making a few things recently (while listening to Beyoncé and then Rihanna) and I thought, does the typical quilter/knitter/scrapper know all the words to XO and Work? I find it hilarious because you can never judge a book by its cover. I remember one time about 2.5 years ago, I was looking at thread in a big box store and I was just checking all of the thread to see what was available. A lady came up to me (a customer, not an employee) and said "Oh, that's quilting thread, is that what you're looking for?" I slowly turned to her (because I had to be sure this was really happening) and said "I'm just looking, I'm getting new thread." She pressed on with "Well, that's for quilting, I mean you're not quilting are you?" This last part was delivered with a mix of derision and panic. I responded "No, I just wanted new thread...do you work here?" Realizing her error, she fumbled a little and said "Well the machine thread is over there...this is quilting thread..." and proceeded to roll her cart away. I laughed because a.) I could not believe you tried to deny me this thread, b.) You don't know me so you have no idea what I'm looking for, and c.) Why would it be so shocking that I might be quilting? It's not like if I buy this thread I'll use up all the quilting space in the world. My quilting doesn't hinder your ability to quilt, but the confusion in her face was so real. I giggle to myself everytime I buy thread now, since I can quilt and I've graduated to embroidery, I'm using all of the good thread. I also think sometimes when I'm knitting, quilting or scrapping that I am not the average crafter, because I do craft to music you might not expect and I may not look like everyone else in the guild, but I'm just as happy as anyone else to show my work! I hope everyone feels that free when you're creating and don't let anyone make you feel nervous about it. Happy crafting (cues Drake-Hotline Bling)!

New fabric and thread stash. 

New fabric and thread stash. 

Flannel Blankets in Record Time

Diy, Blankets, Crafts, SewingGabriela SimsComment

Hi there! I am on a craftastic voyage and I wanted to try making some swaddling blankets and I found this really cool tutorial that walks you through a self binding flannel blanket. I finished this one in a few nights and I took several breaks.

I started with my front and back. 


I spy elephants! 

I spy elephants! 

Next I lined up my layers.


Lining up my layers. 

Lining up my layers. 

Then I did my stitching on the wrong side. 


Leave open a 5-6" length. 

Leave open a 5-6" length. 

Finally ready to turn it inside out. 


Here's the blanket turned right side out. 

Here's the blanket turned right side out. 

Finally, after some top stitching, this flannel blanket is done!

Nothing left but a wash and press. 

Nothing left but a wash and press. 

Try this out if you need a quick baby shower gift or some more blankets around the house, or to donate. Happy crafting!

My First Jelly Roll Jam Quilt

Crafts, Supplies, Sewing, Color, How toGabriela SimsComment

I wanted to start another baby quilt and ended up finding this awesome pattern for jelly roll quilts! I love the idea of jelly rolls, coordinated bundles of fabric that are pre-cut into strips! It's wonderful. So I started with a really fun roll with some vibrant colors and patterns. 


I used the roll on the left. 

I used the roll on the left. 

Then I started the pattern by piecing my strips. 


Only 15 more to go. 

Only 15 more to go. 

Then I cut my blocks using an acrylic 6" x 12" ruler.


This part was really fun. 

This part was really fun. 

Next I arranged my blocks according to the pattern and started making them into bigger blocks.


image.jpg

I assembled my top. 

Only batting, backing, and binding now (The 3 B's) 

Only batting, backing, and binding now (The 3 B's) 

Now the backing had to be picked out after this was assembled so I could get an idea of how the colors looked together, I decided to go with blue flannel again, but this time with orange binding.


Binding half done. 

Binding half done. 

Here is the finished Jelly Roll Jam Quilt. 


I need to press this, but it's finished! 

I need to press this, but it's finished! 

I thoroughly enjoyed making this quilt and it came together over the course of 3 days. I even had time to start a new project. 


Flannel Animals :) 

Flannel Animals :) 

That's all for today, I hope you shop for a nice jelly roll and make one of these awesome quilts, happy crafting!