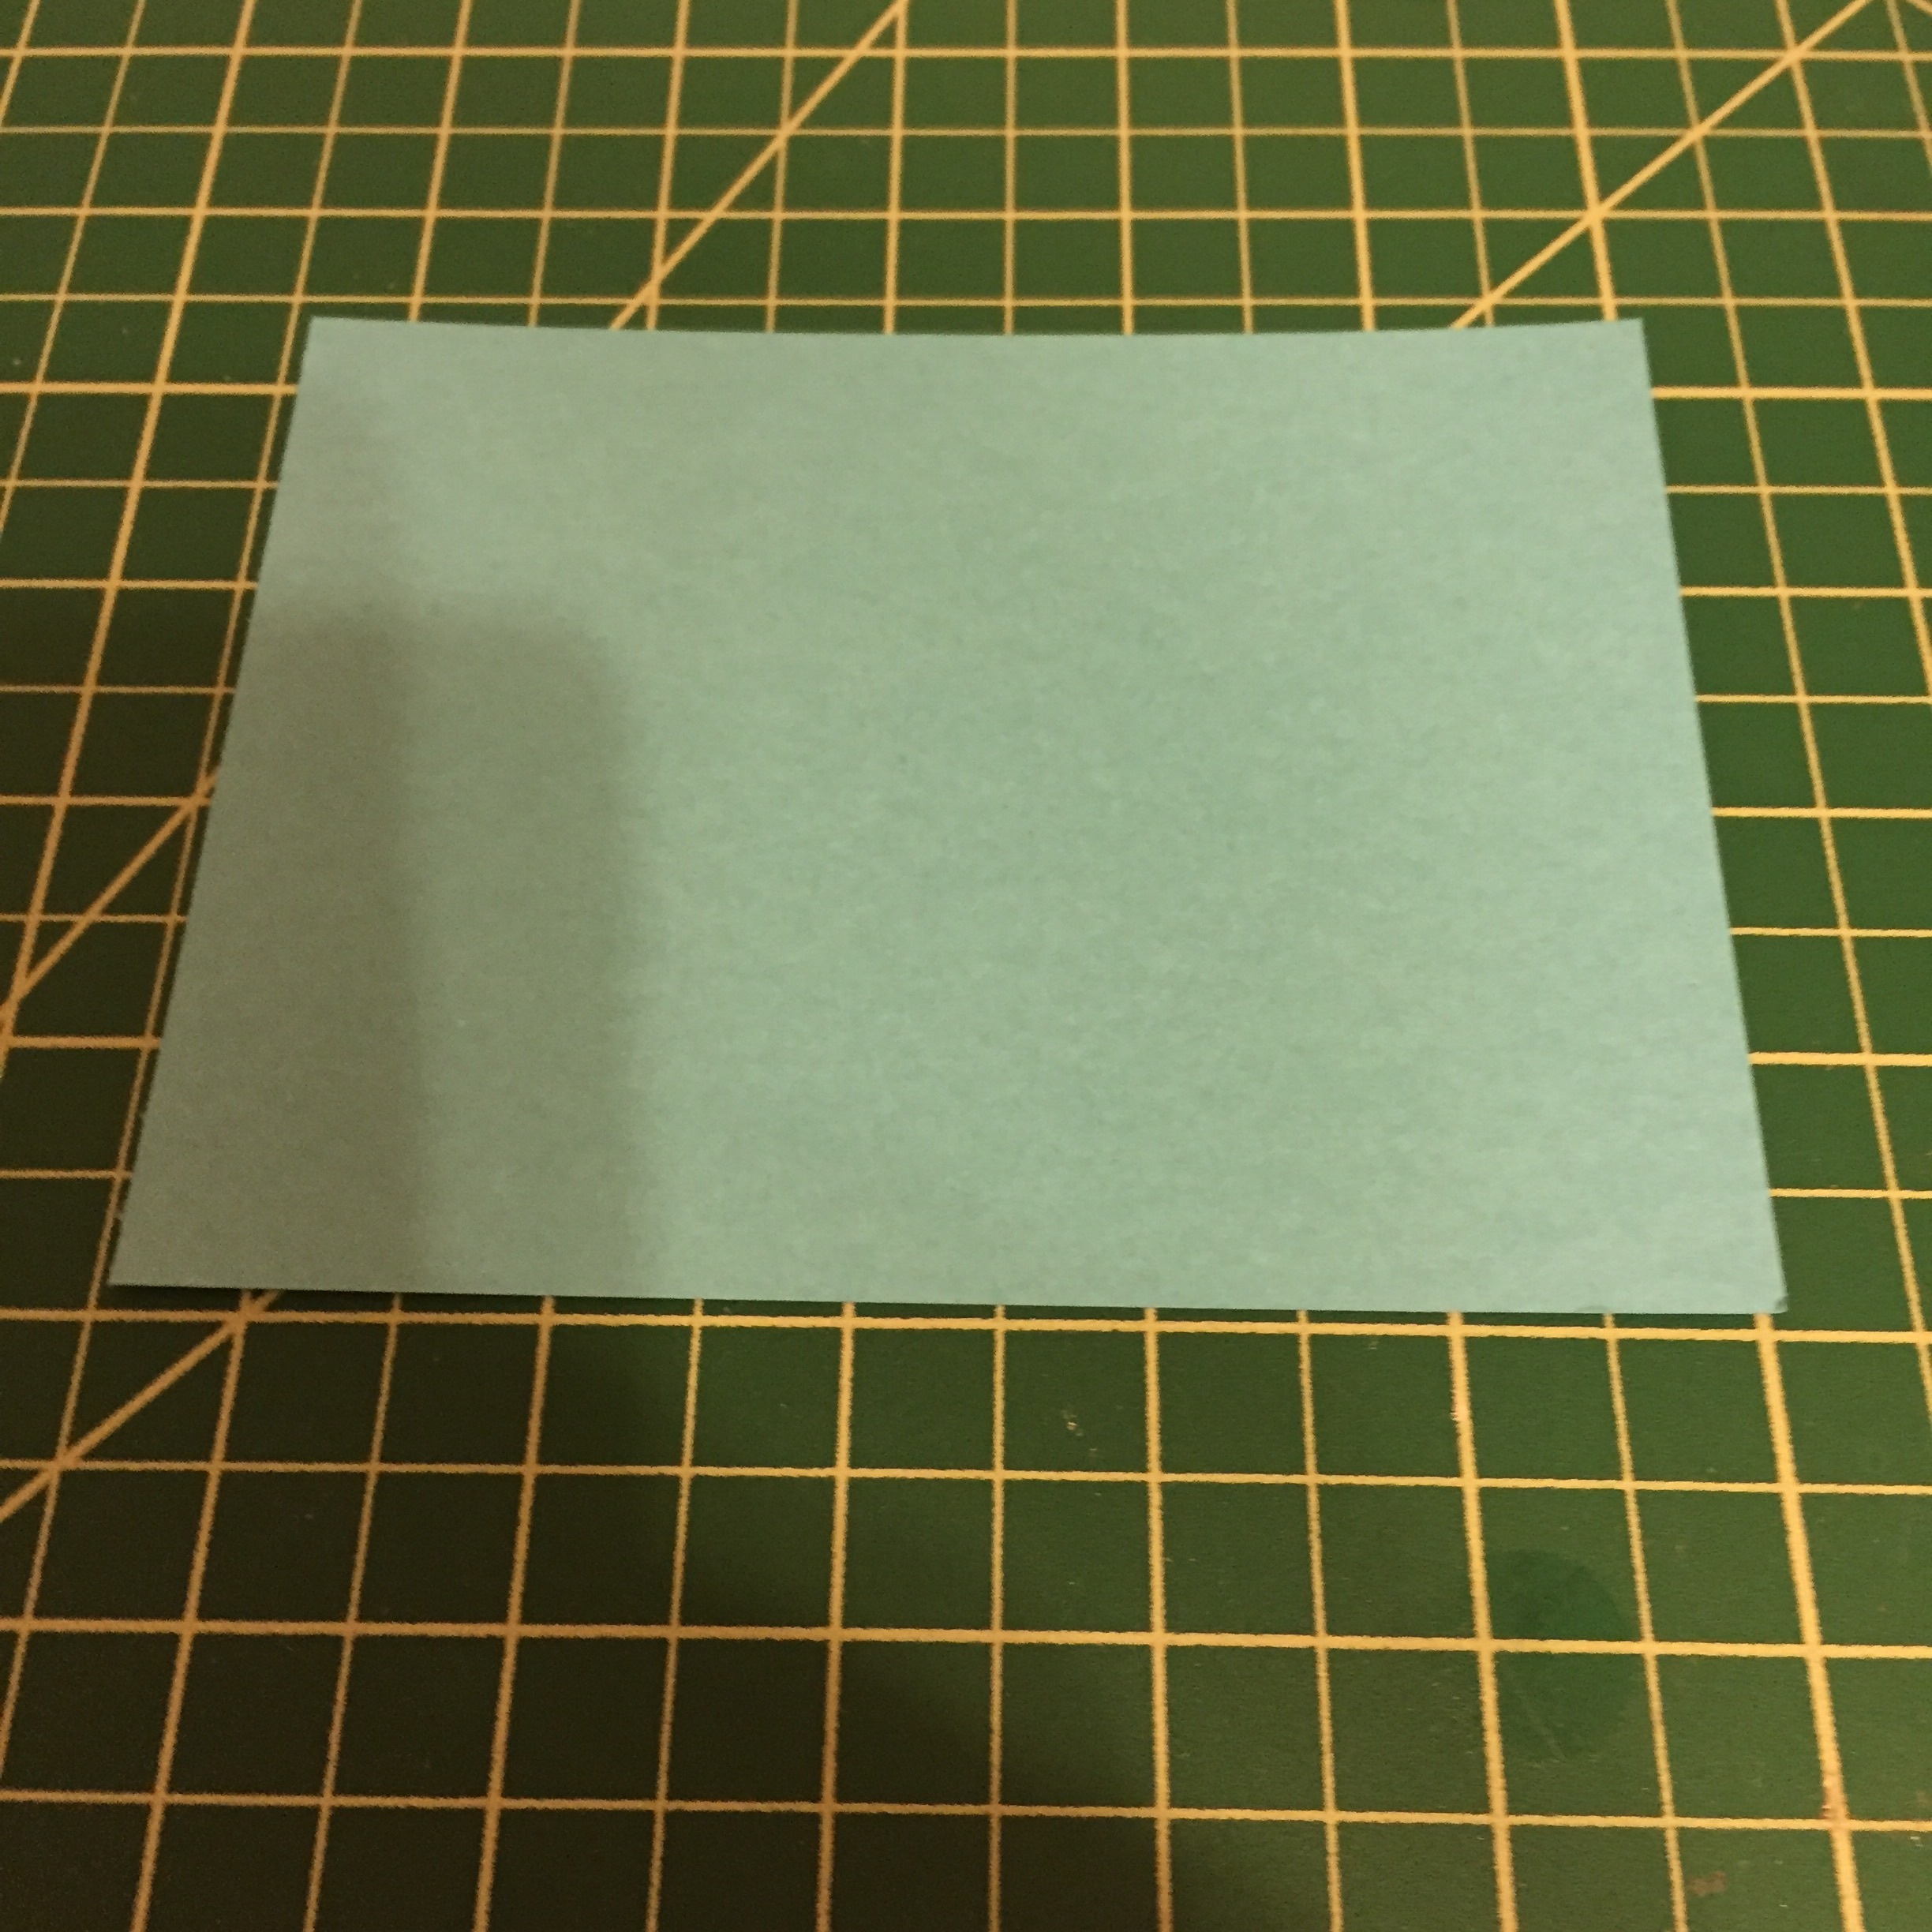
I recently found out someone I know was battling a serious illness and they beat it. I immediately wanted to make them an extra special card, here it is! Start by cutting a 4 x 5.25 inch piece of card stock

4 x 5.25
and another at 4.25 x 5.5 inches.
4.25 x 5.5
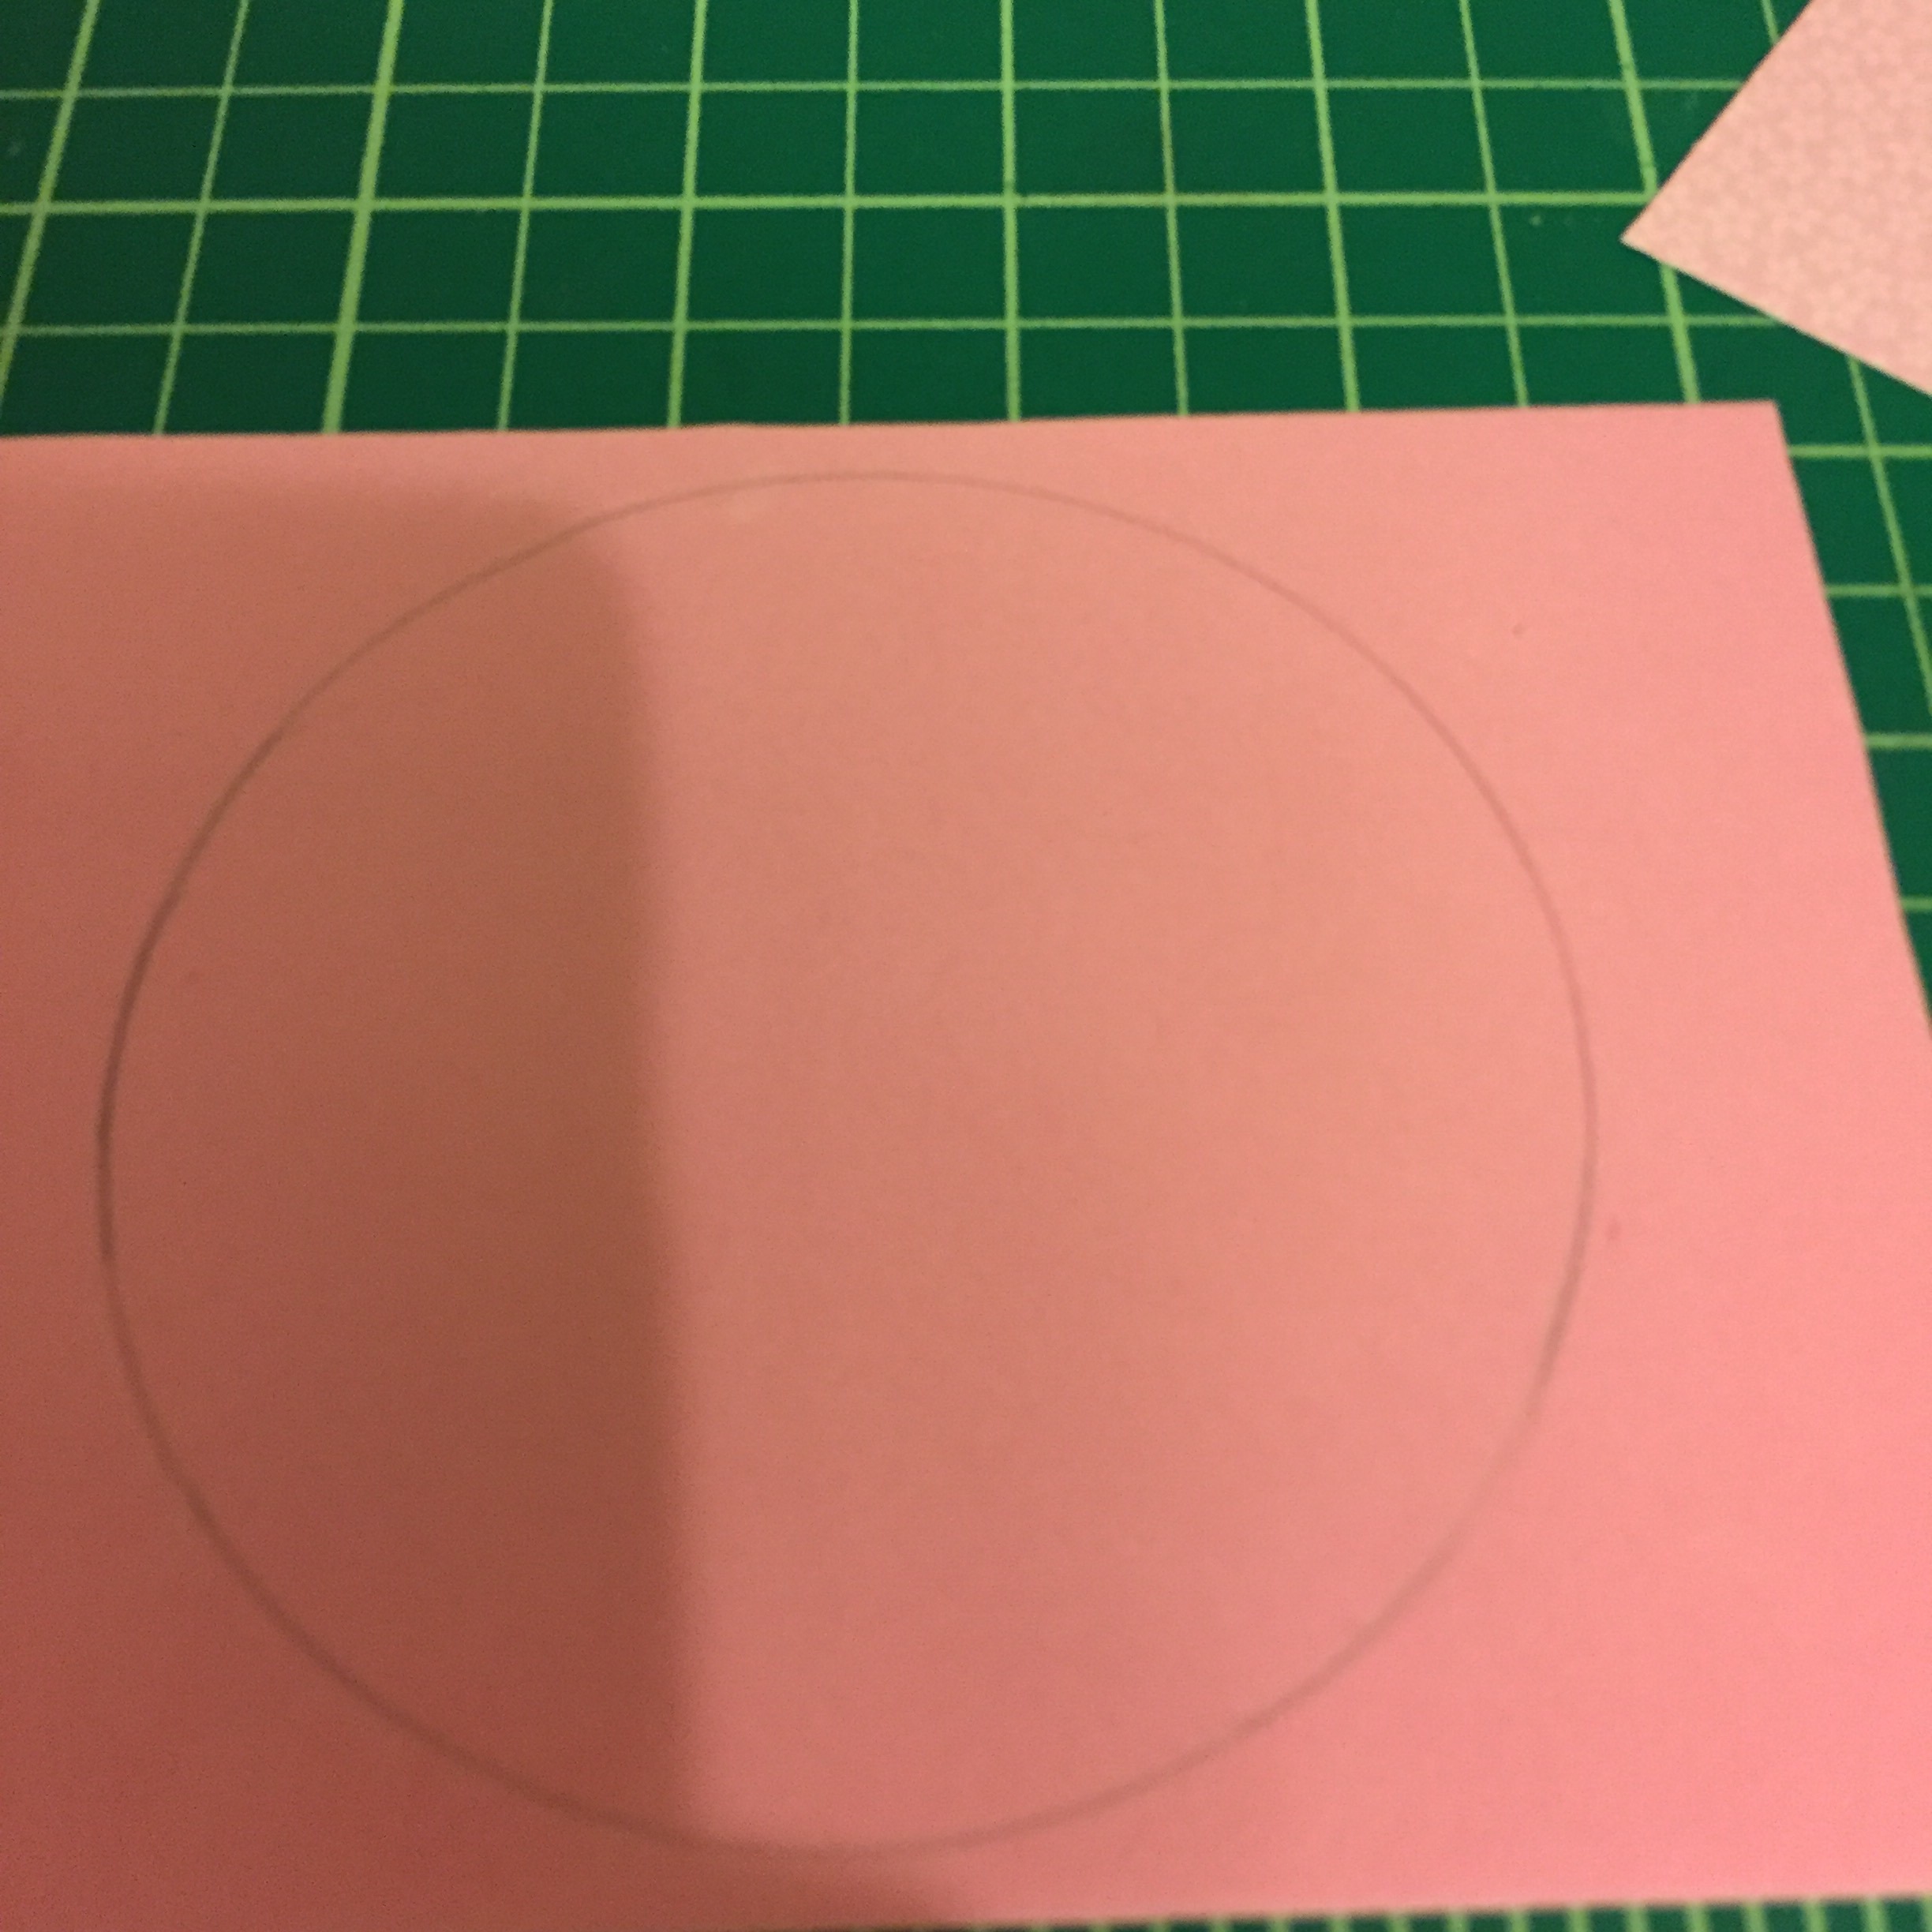
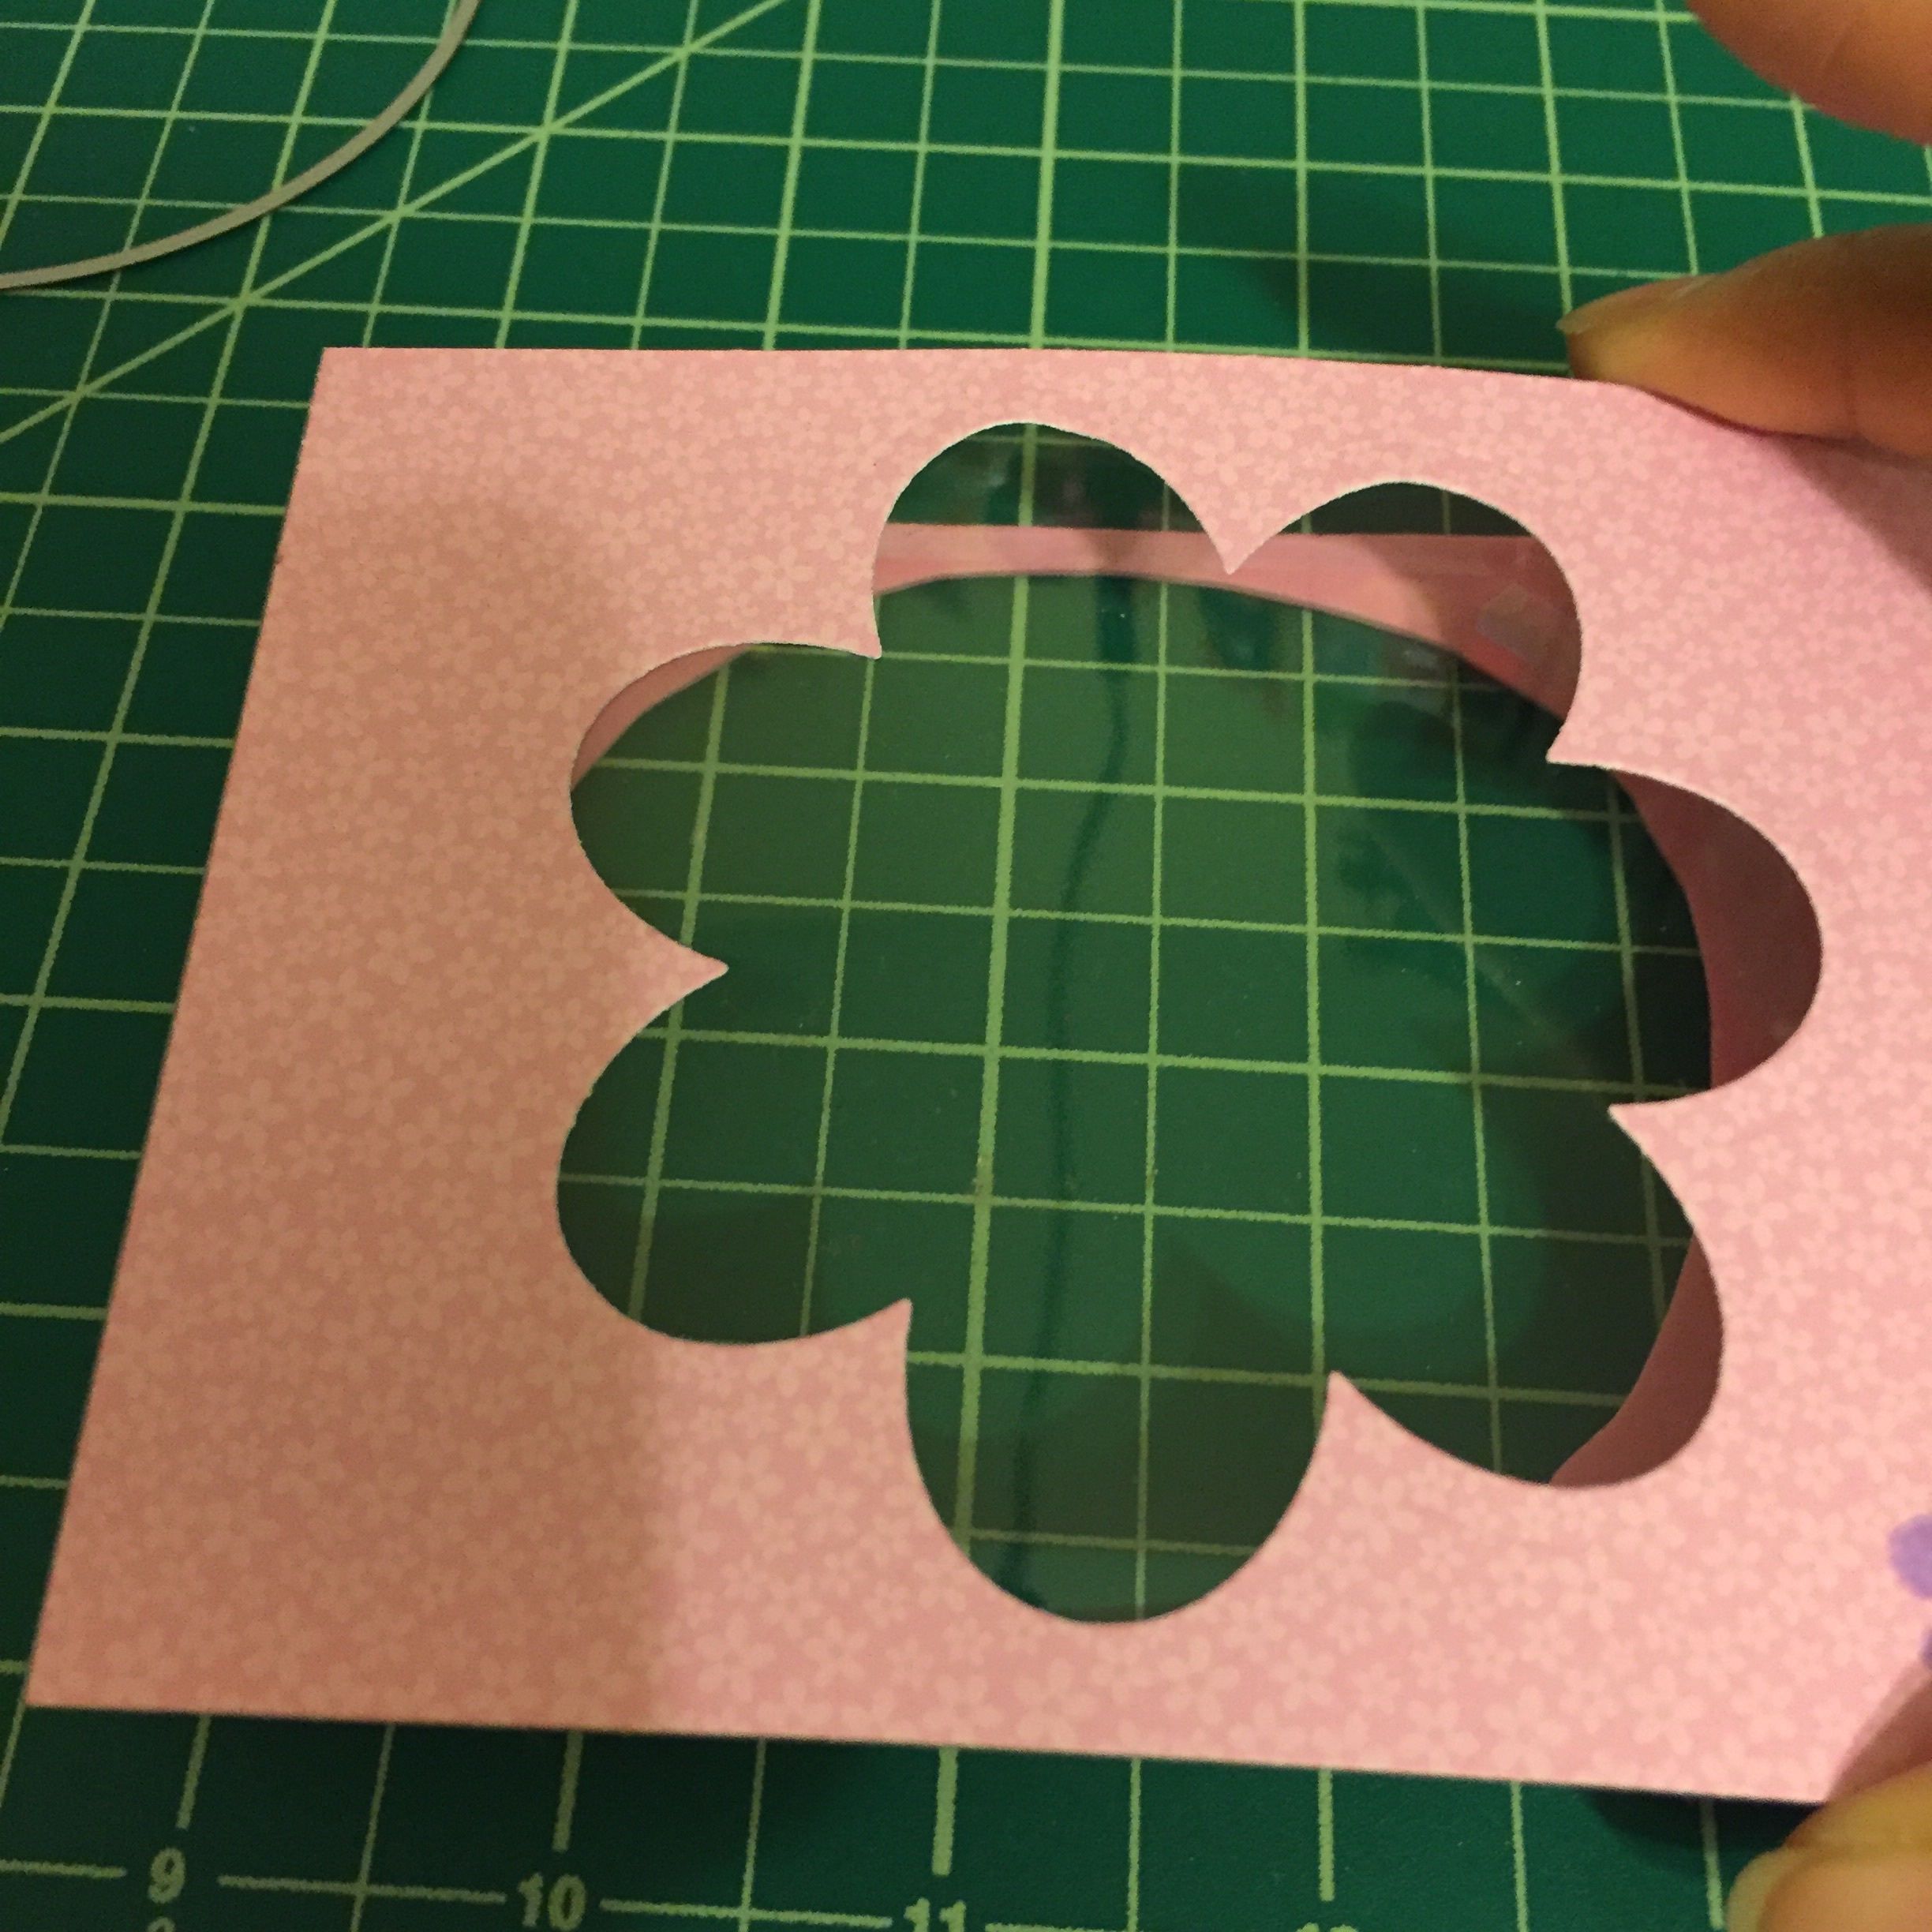
Then cut a shape from the smaller block and a circle smaller than the shape you chose out of the larger block.

Big shape small block, larger block smaller circle.
Then mark the front of your notecard base and cut out the same circle.

Mark the card.
Also mark the inside of the card to line up with the opening.
Cut a piece of acetate the same size as the 4 x 5.25 block and attach it.

Cut a piece of craft foam to 4 x 5.25 and cut a bigger circle out of it.

Foam piece.
Cut this circle.
Attach the foam to the smaller block.

I decided to stamp a small flower on the front and added some rain stones.

Flower stamp.

I attached them with my Pick-me-up and some Glossy Accents.
Attach another small piece of acetate behind the circle opening on the bigger block.

Next, pick out what you want to put inside of your shaker and attach the layers.

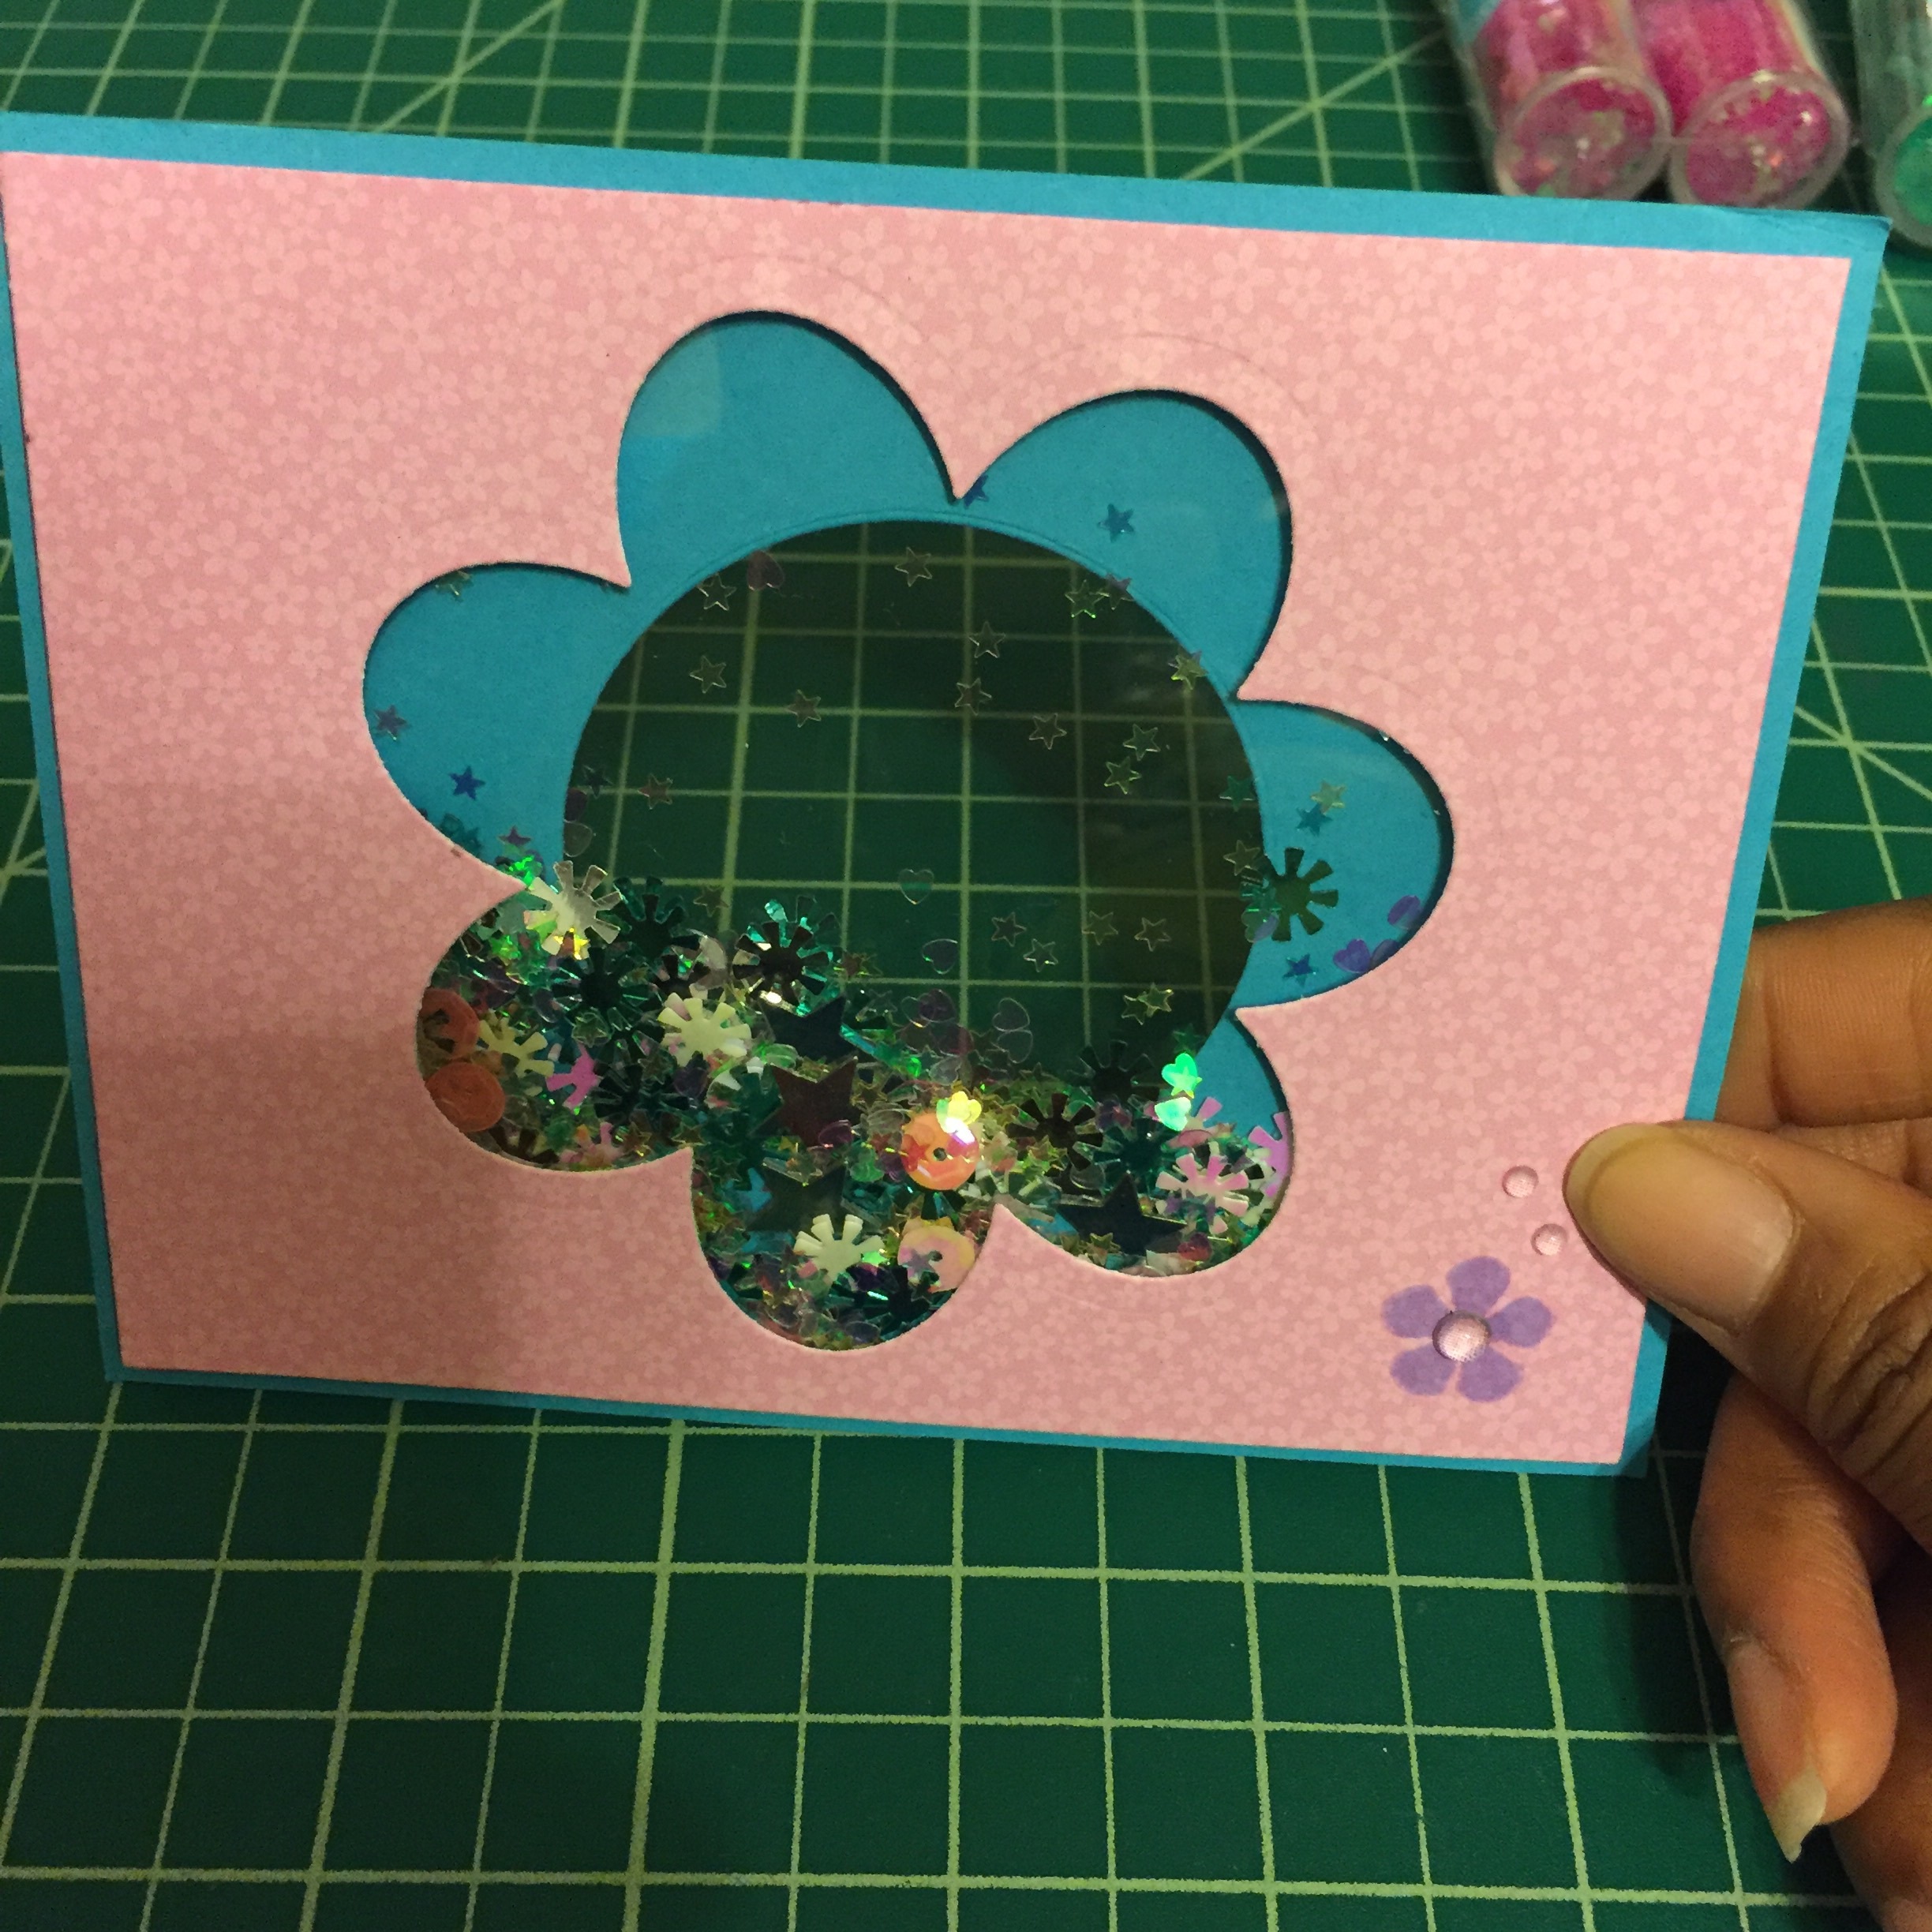
Finished card front.
Now attach the front to the card base and line up the circle cut outs.

Now you can stamp your sentiment where it will be visible through the front.

You'll see the "hope" through the front.

Finished card!
I hope this inspires you to make a card and brighten someone's day! Happy crafting! !!