Gab with Gaby

An engineer's creative corner studio.

Paper crafting

Decorate an Envelope

Stamping, Gab with Gaby Stamps, Paper crafting, The Gab with Gaby ShopGabriela SimsComment

Hi there, Gaby here with an idea you can use to pretty up any envelope!  I used Tombow markers for this and a Wink of Stella pen.


IMG_0158.JPG

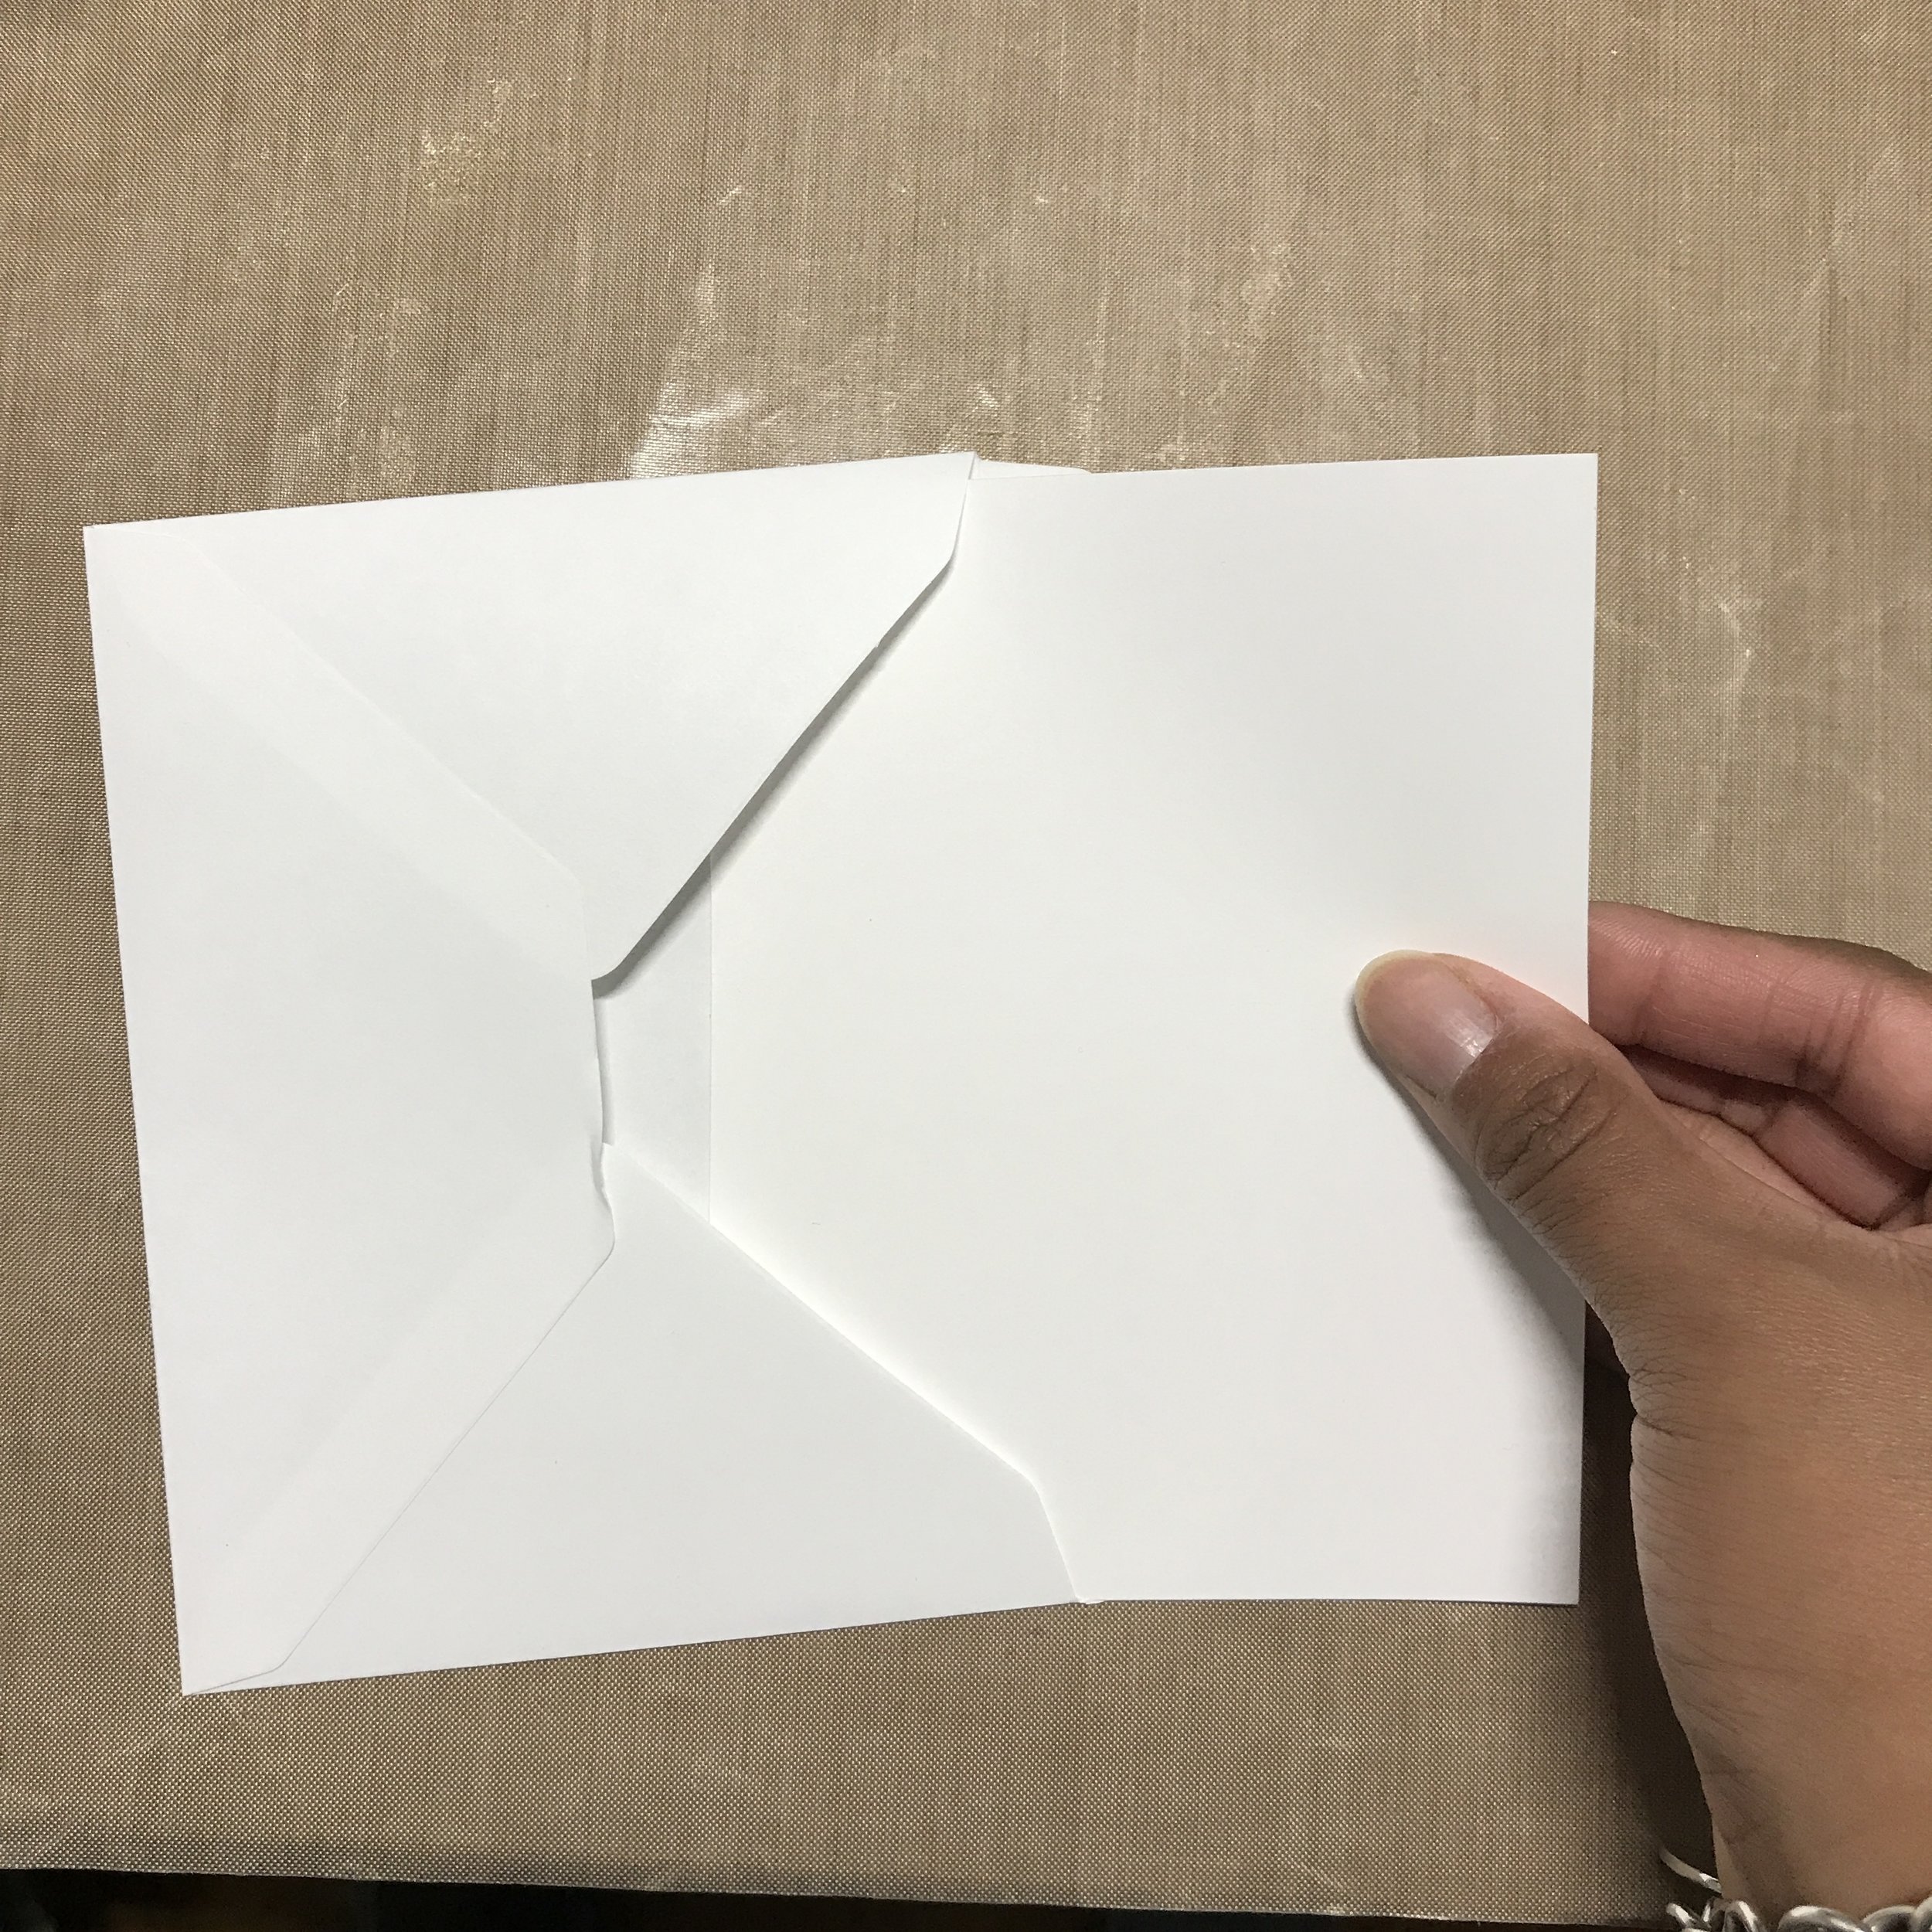
I put a piece of card-stock in the envelope to keep any ink from seeping through the paper.


IMG_0123.JPG

I started by using the Meet The Jelly Friends stamp set and did some masking to group three of them together. I used pigment ink here so my stamped image would not bleed.


Hey guys!

Hey guys!

IMG_0129.JPG

I did my coloring here by doing the back ground first and then coloring in each stamped image.

IMG_0134.JPG

I added my Wink of Stella and then used my Monotwin to fill in the part of my sentiment that did not fully stamp.

IMG_0138.JPG

Finally, I cleaned up my image and then covered it with MicroGlaze, that way when it goes through the mail it will be water resistant.

IMG_0139.JPG

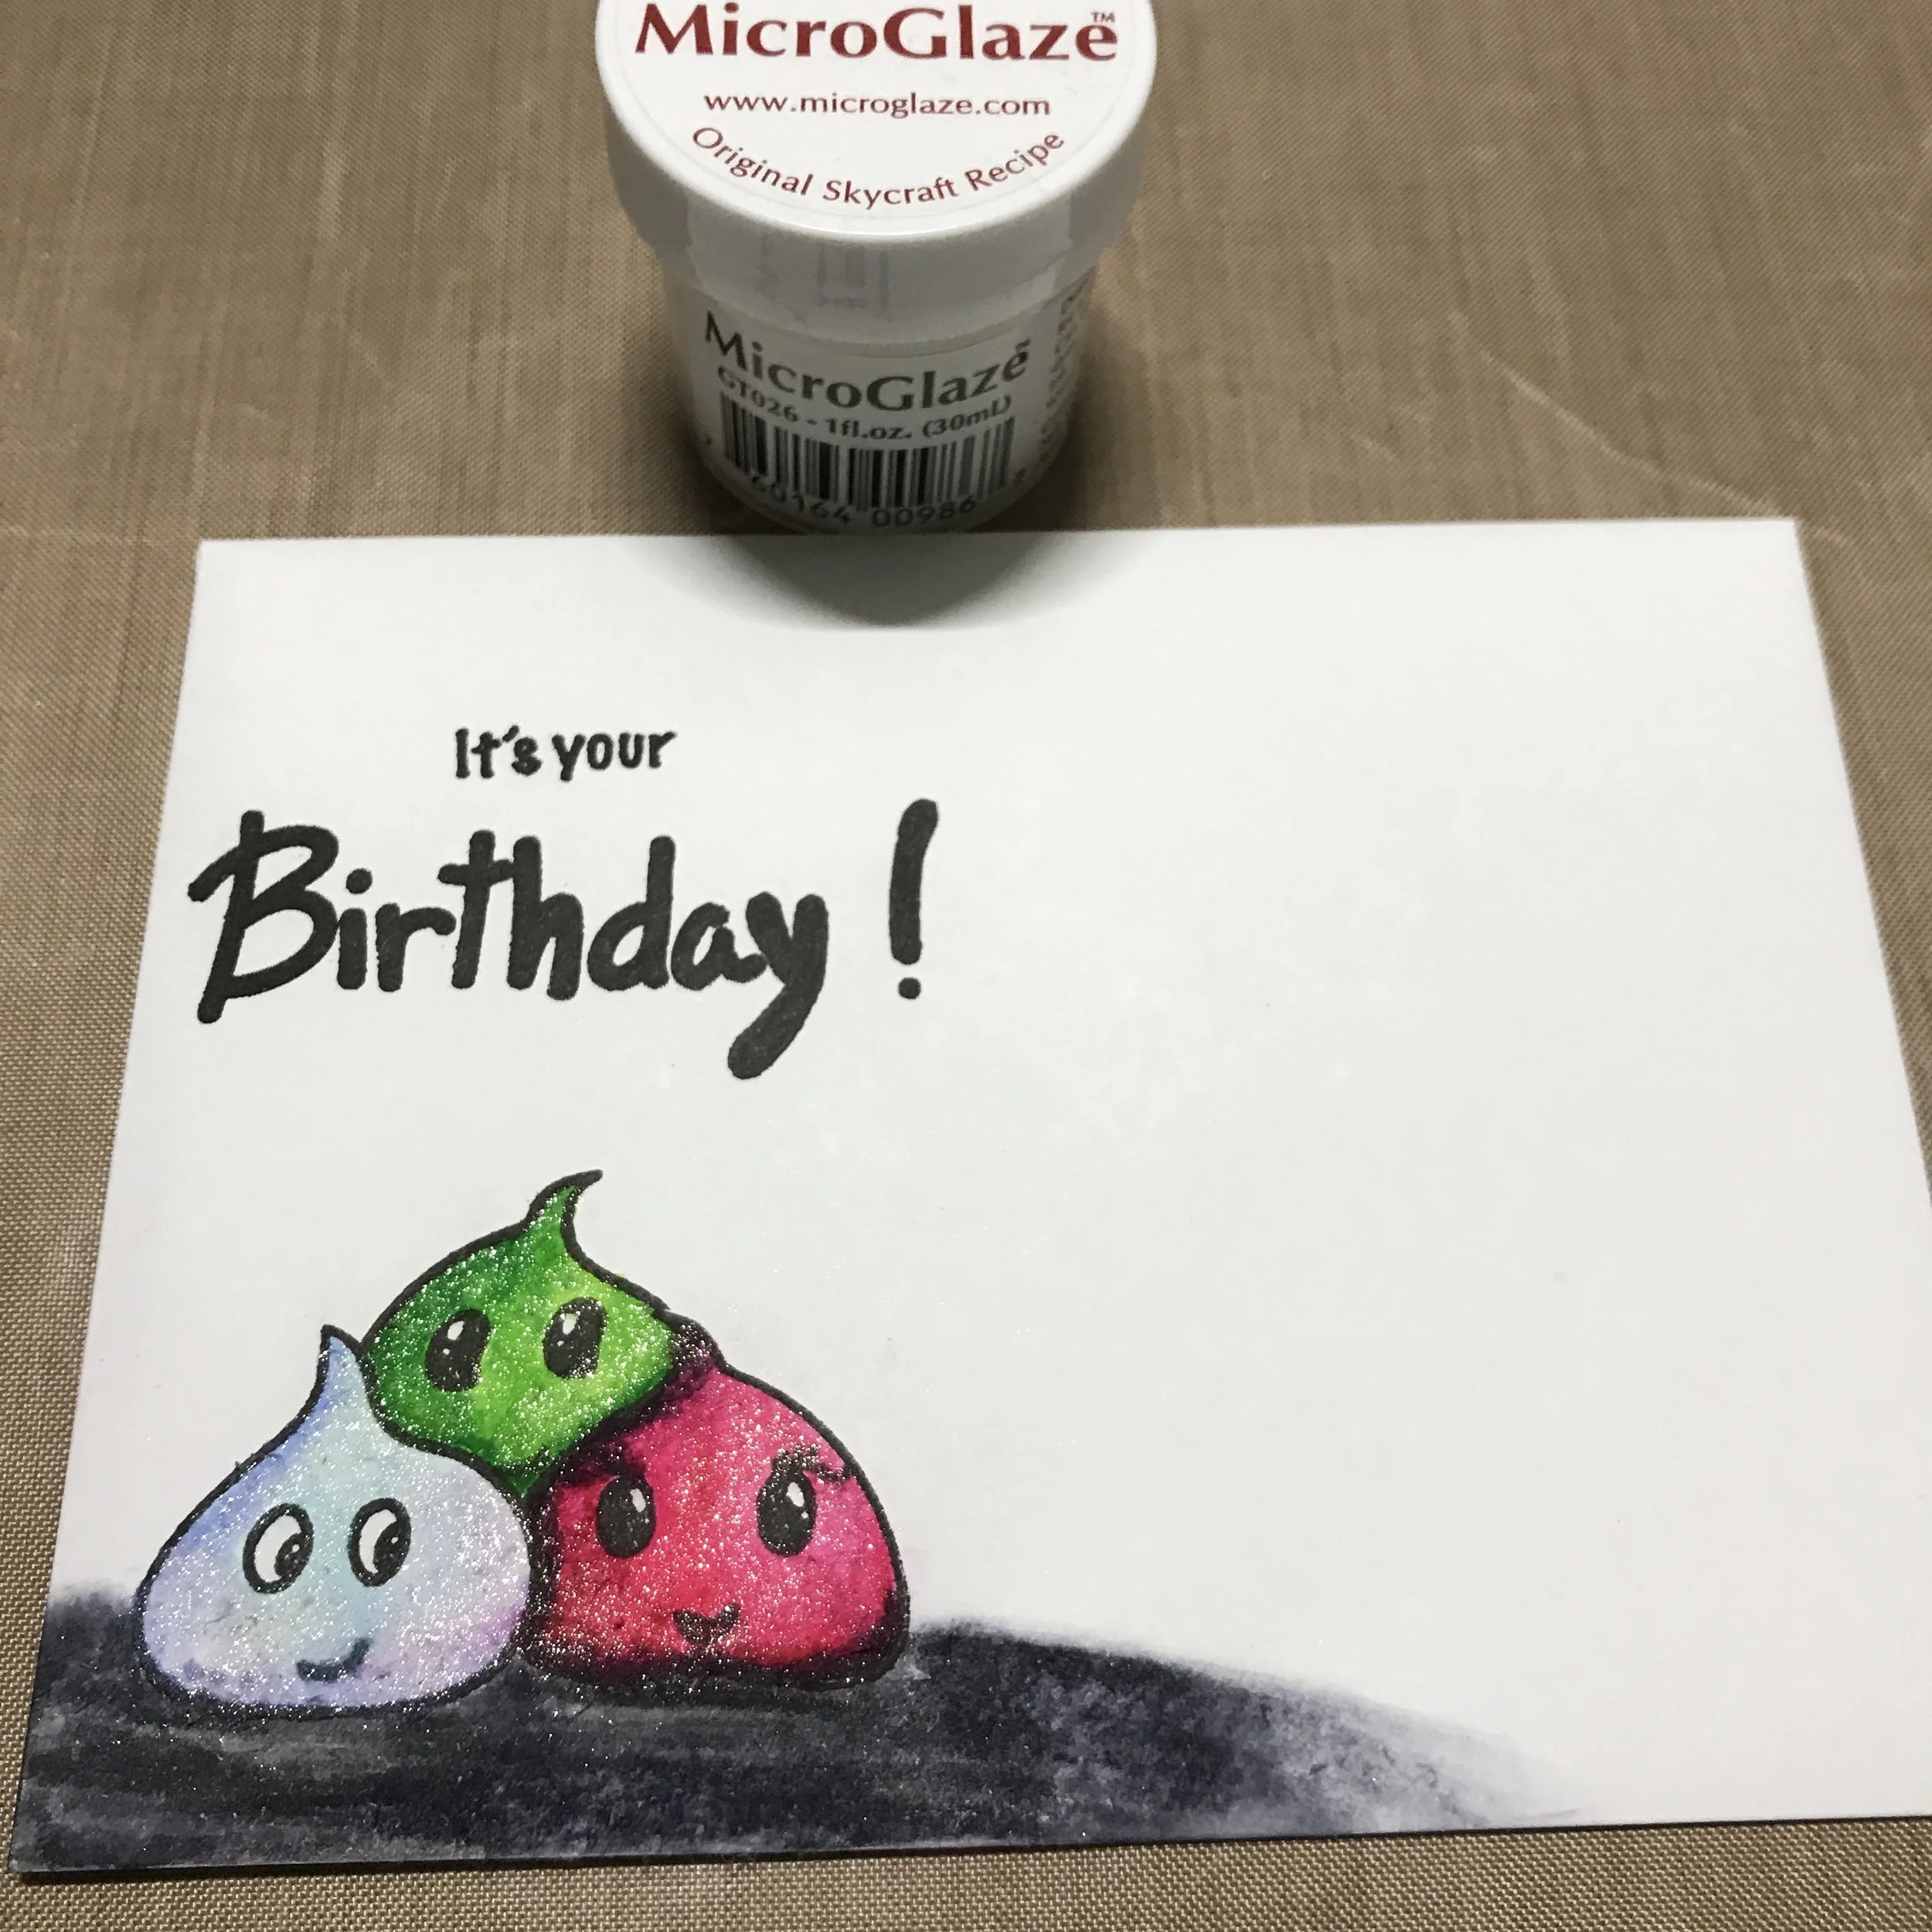
If you do use MicroGlaze, write the recipient's address and apply your postage first because the glaze is almost like a wax.  I had to glue on a stamp once because I forgot!


IMG_0158.JPG

I used the Mono Sand Eraser to clean up pills before I applied the MicroGlaze.  That's all for today, I hope you make some amazing mail art! Happy crafting.

-Gaby

Make a Mini Album with Quick Quotes, Want2Scrap, and Xyron

Xyron, Want2Scrap, Tutorial, Color, Crafts, How to, Quick Quotes, Diy, Paper craftingGabriela SimsComment

Hi everyone, Gabriela here today with a mini album from Want2Scrap featuring a beautiful new collection from Quick Quotes called Winter Bliss. First, these papers are gorgeous and fun. The colors are great for a winter theme, but I'm sure you will find reasons to use them all year long.


This mini album is shaped like a camera, so I had some fun turning the cover into a shaker window that looks like a real camera, check out the video below.


I also used my Xyron Creative Station to make the adhering the paper easier and neater, this was a fun album to make and I hope it gives you some ideas for a mini of your own.  Thanks for stopping by.


Quick Quotes Products Used:
Winter Bliss Collection
Powder Puff Chalking Inks - 2016 and Coconut White

Want2Scrap

Xyron

I Love You - Want2Scrap and Quick Quotes

How to, Paper crafting, Tutorial, Quick Quotes, Crafts, Coloring, Scrapbooking, Layout, StampsGabriela SimsComment

Hi everyone, Gabriela here today and I finally made a page I've been thinking about for a while. I thought it would be fun to make a page with a shaker window, so I tried it out. I used a chipboard cutout from Want2Scrap along with some of their bling and of course paper and ink from Quick Quotes. I scrapped a picture of my husband and I on vacation in New Orleans a few years ago, it's one of my favorite pictures of us and it seemed like a good fit for this page.

Me and my hubby on vacay! 

Me and my hubby on vacay! 

​Check out the video below!


Quick Quotes Products Used:

Urban Oasis - 101
Honeycomb - 105
Powder Puff Chalking Inks - Barn Board, Pixie Pink

Want2Scrap:
I Love You Chipboard
Self Adhesive Bling

Thanks for stopping over and happy crafting!  Please ask any questions below. 

Fall Frames Scrapbook Page

Gabriela SimsComment

Hi everyone, Gabriela here with a fun fall themed page. I used the Honeycomb collection and some Chalking inks to create this page. I started by cutting some shapes from the papers and then inking them.


I settled on a picture from a trip to the orchard and decided to journal right on the page, check out the video below.


Thanks so much for stopping by and I hope you try some paper frames!

Quick Quotes Products Used:
Honeycomb - 101, 102, 103, and 105 
Powder Puff Chalking Inks 2016

Happy crafting! I've got some cool supplies to show this month; including a partnership with Want2Scrap, Xyron, and Quick Quotes and another blog hop!

Misting and Inking with Quick Quotes

Crafts, Diy, How to, Layout, Paper crafting, Quick Quotes, Scrapbooking, TutorialGabriela SimsComment

Hi everyone, Gabriela here and today I'm doing a scrapbook layout using some paper weaving, misting, and inking.  I am scrapping a photo from Wizard World that includes a very brightly colored monster, so I wasn't afraid to mix patterns and colors here.  I did my misting first and then used a heat tool to help it dry, it will curl a little, but once you have this in a page protector for a few days it will flatten itself.  I'm using cut strips of paper and chalking ink that I thought went with the photo, you could use different collections and colors to get a completely different look, check out the video below.


I think you could change just a few elements on the page and use this layout for lots of occasions/themes.  I hope it inspired you to "lift" this page and gave you another idea for how to use your ink pads, thanks for stopping by.

Quick Quotes Products Used:

49 Shades of Grey - 101, 105
Whistlin Dixie - 100, 105
Powder Puff Chalking Inks - Lemon Sorbet, Pixie Pink

Until next time, happy crafting!