Gab with Gaby

An engineer's creative corner studio.

Baby

When Sewing Takes Over

Graphic design, Scrapbooking, Blankets, Diy, Graphic, How to, Crafts, Drawing, Sewing, Color, QuiltingGabriela SimsComment

I have been busy making things like there is no tomorrow! I just realized I haven't posted anything in over a week, so today, here is a crafty, sewing showcase.

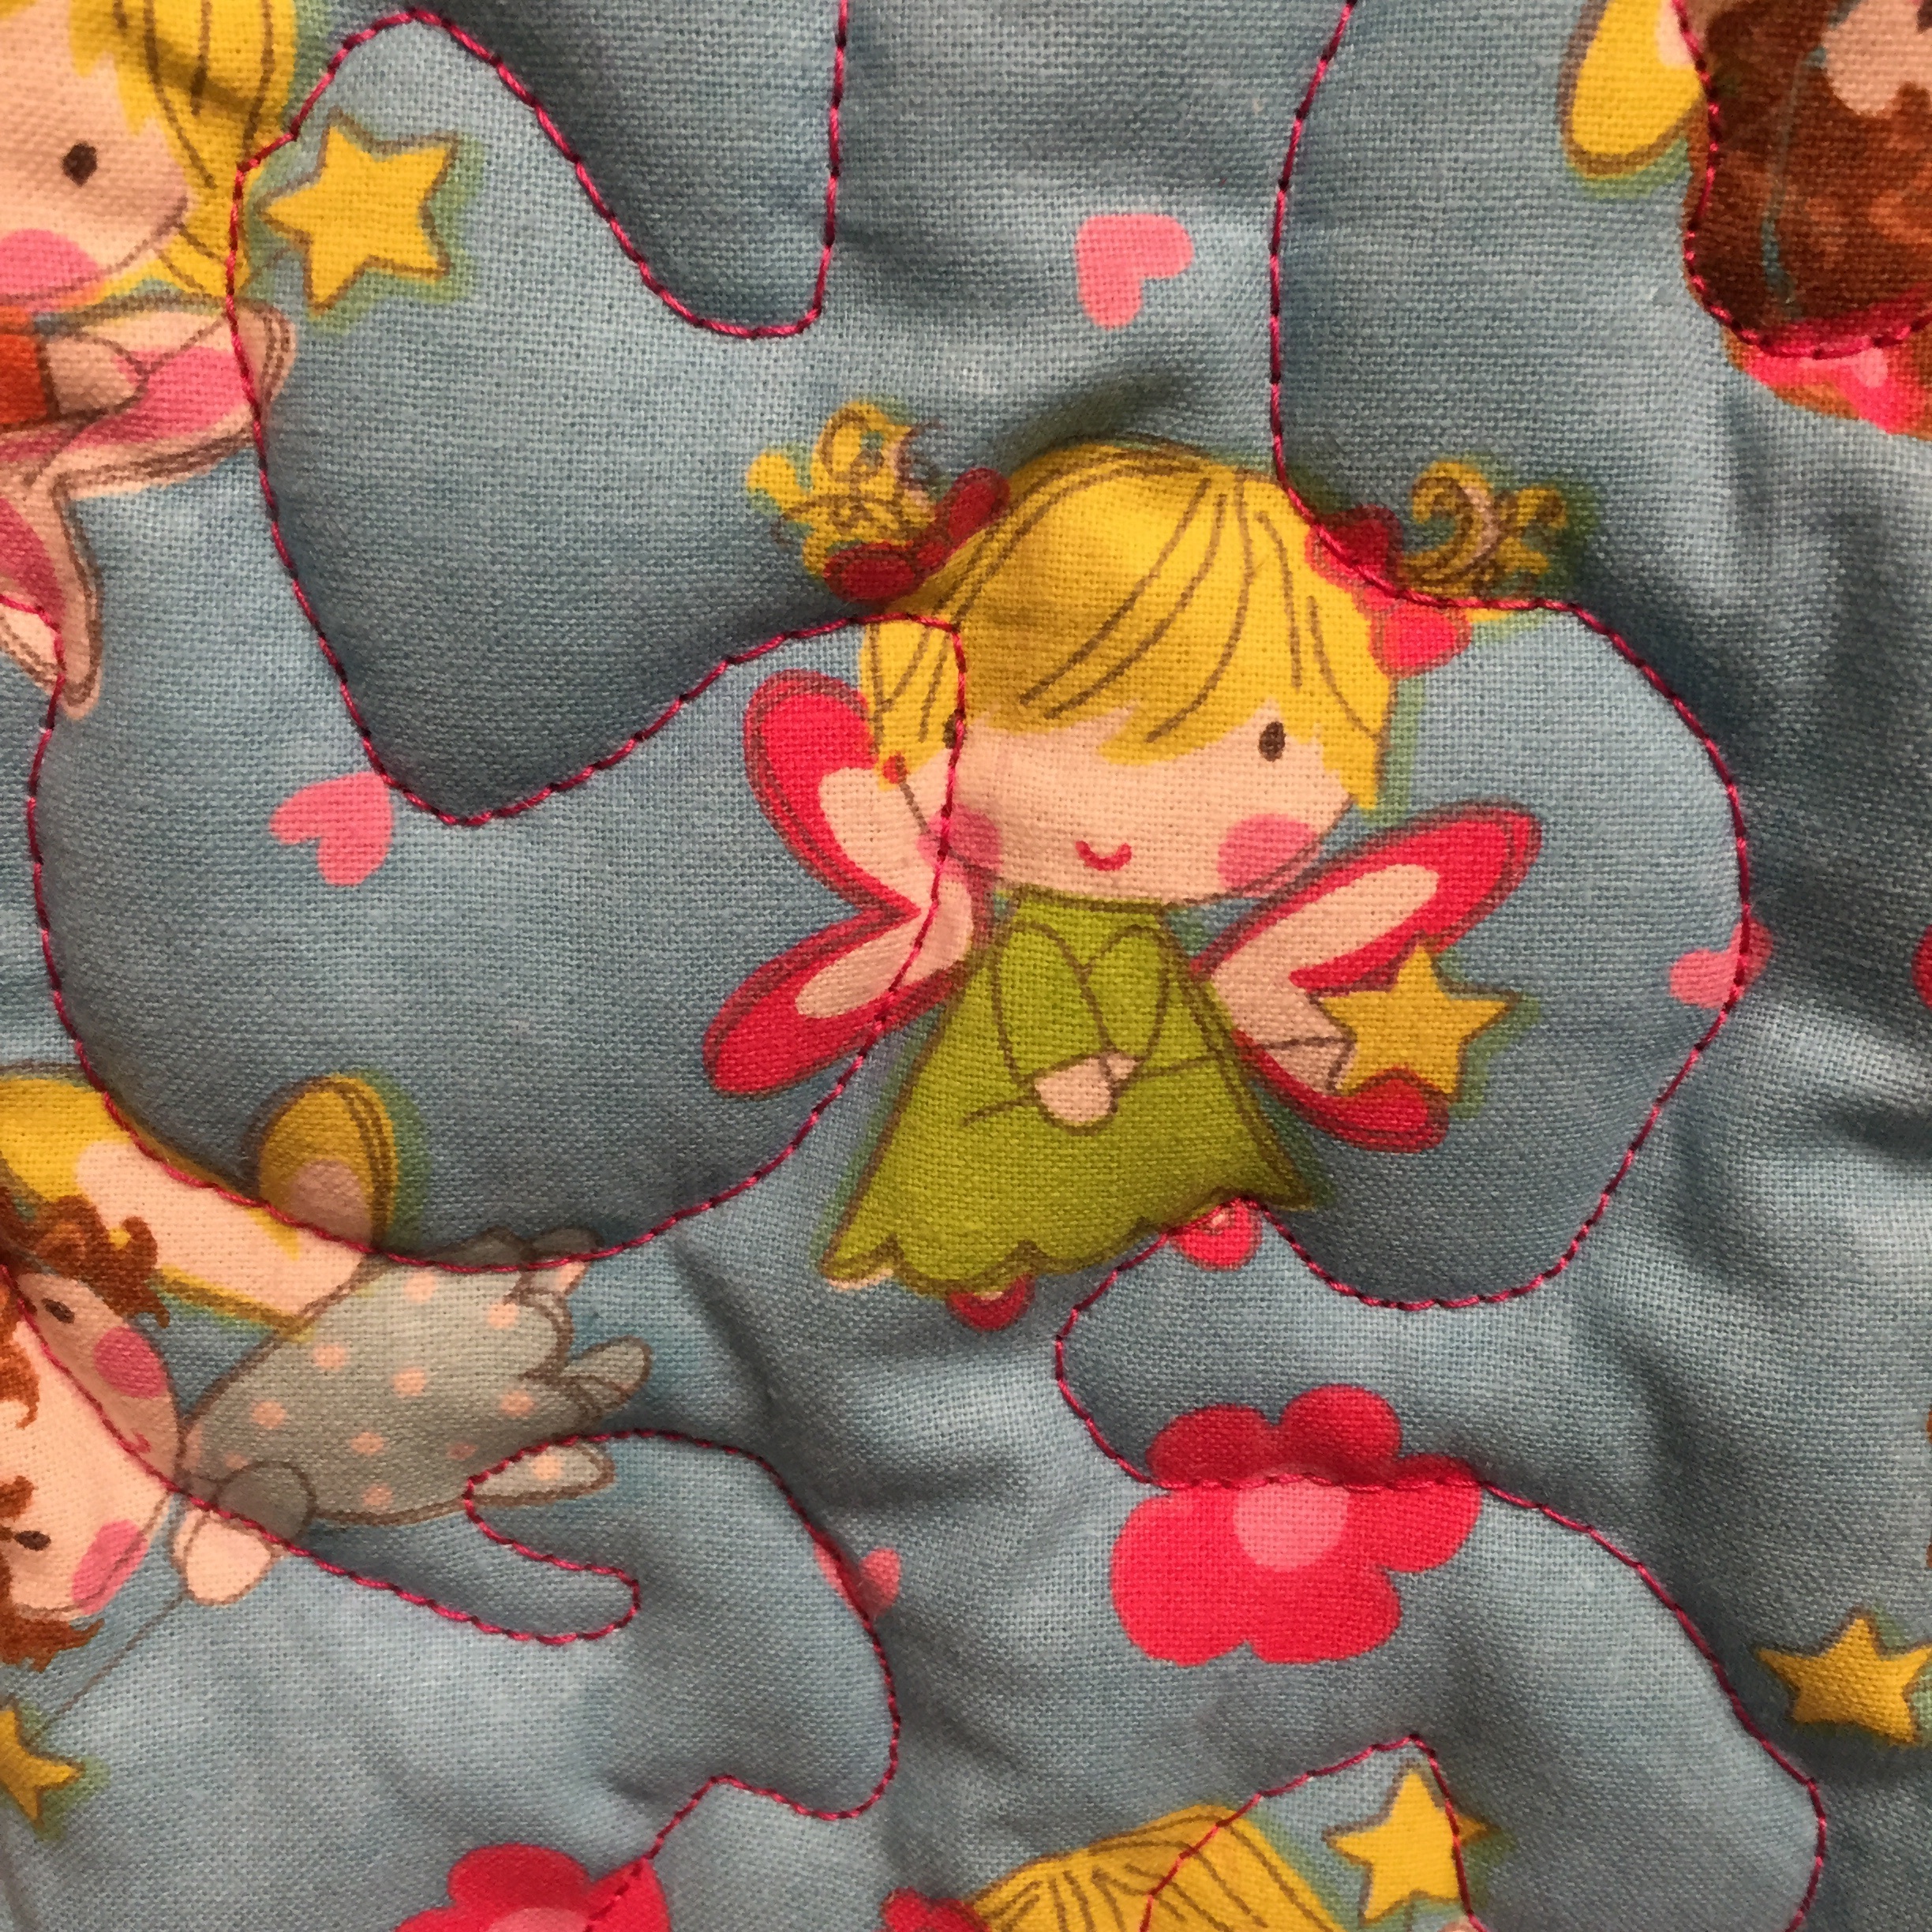
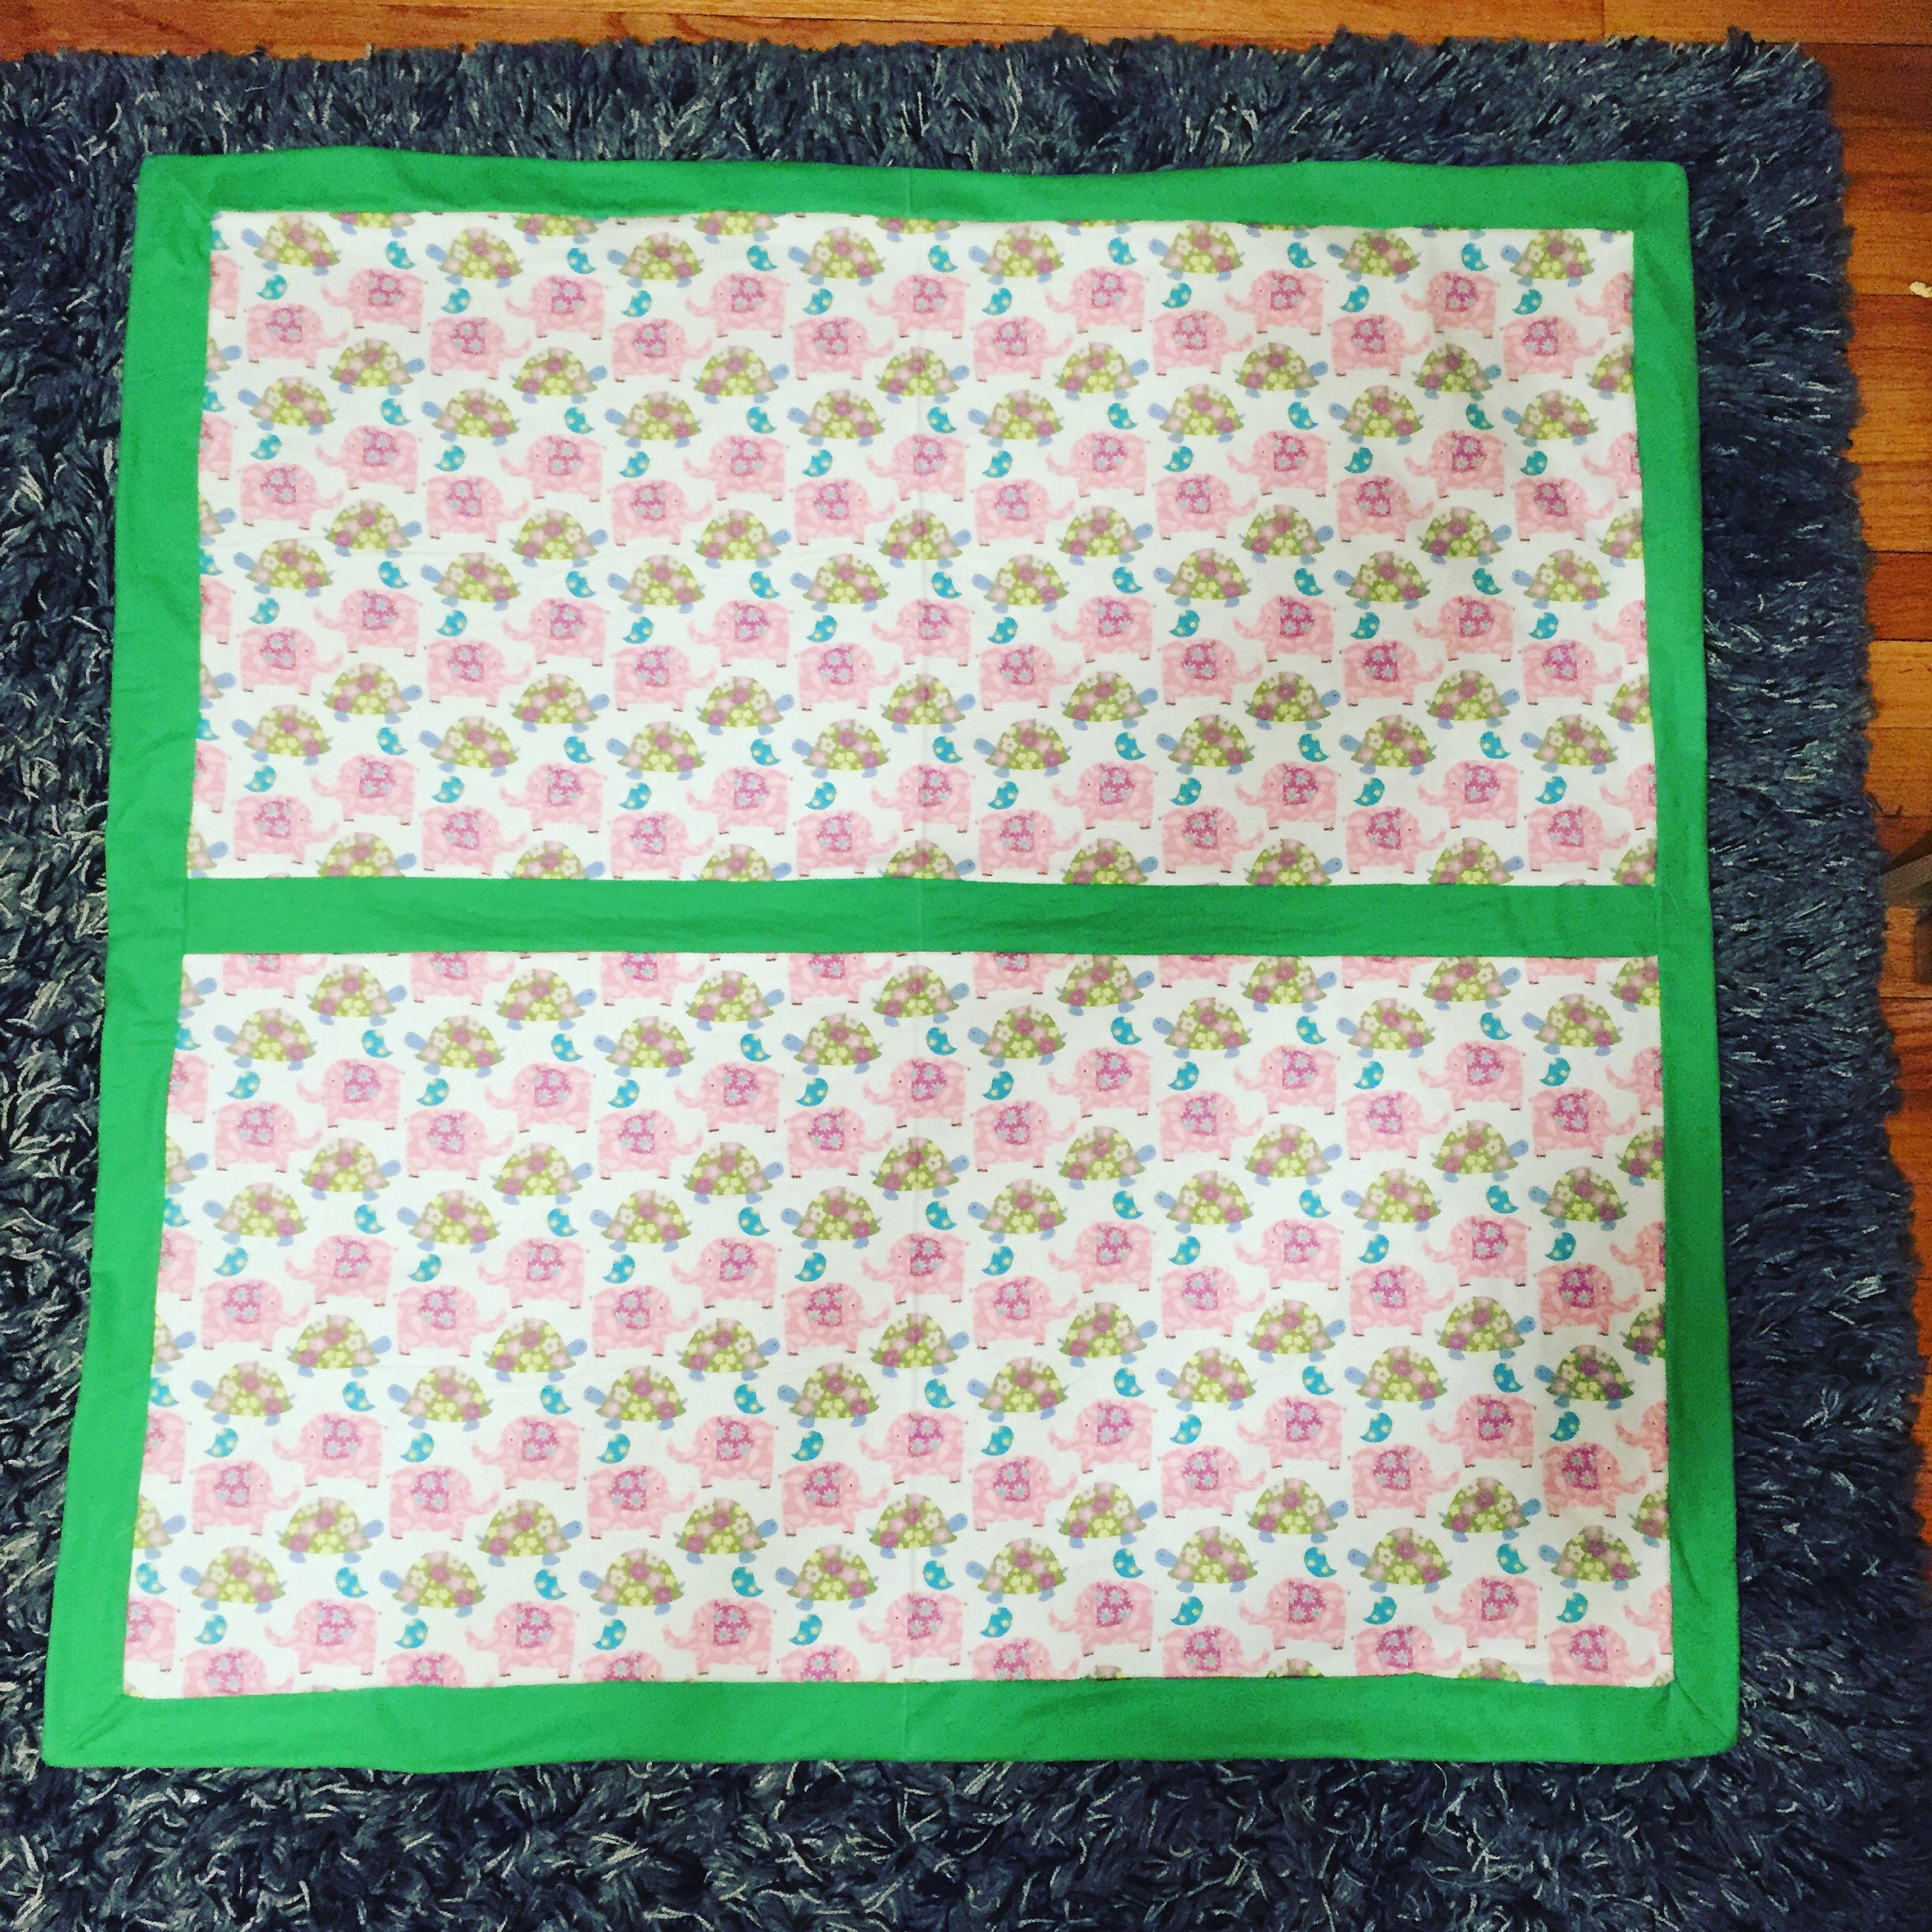
Let's start with the baby quilt that is a companion to the "Amelia" quilt I made. 


Just like the other one, but different colors.

Just like the other one, but different colors.

I also decided to try working on my own fabric by putting my drawings on mug rugs and I started with one of the Jelly Friends, Tamber Melon and my resident Meowfox Mr. Snugglekins.
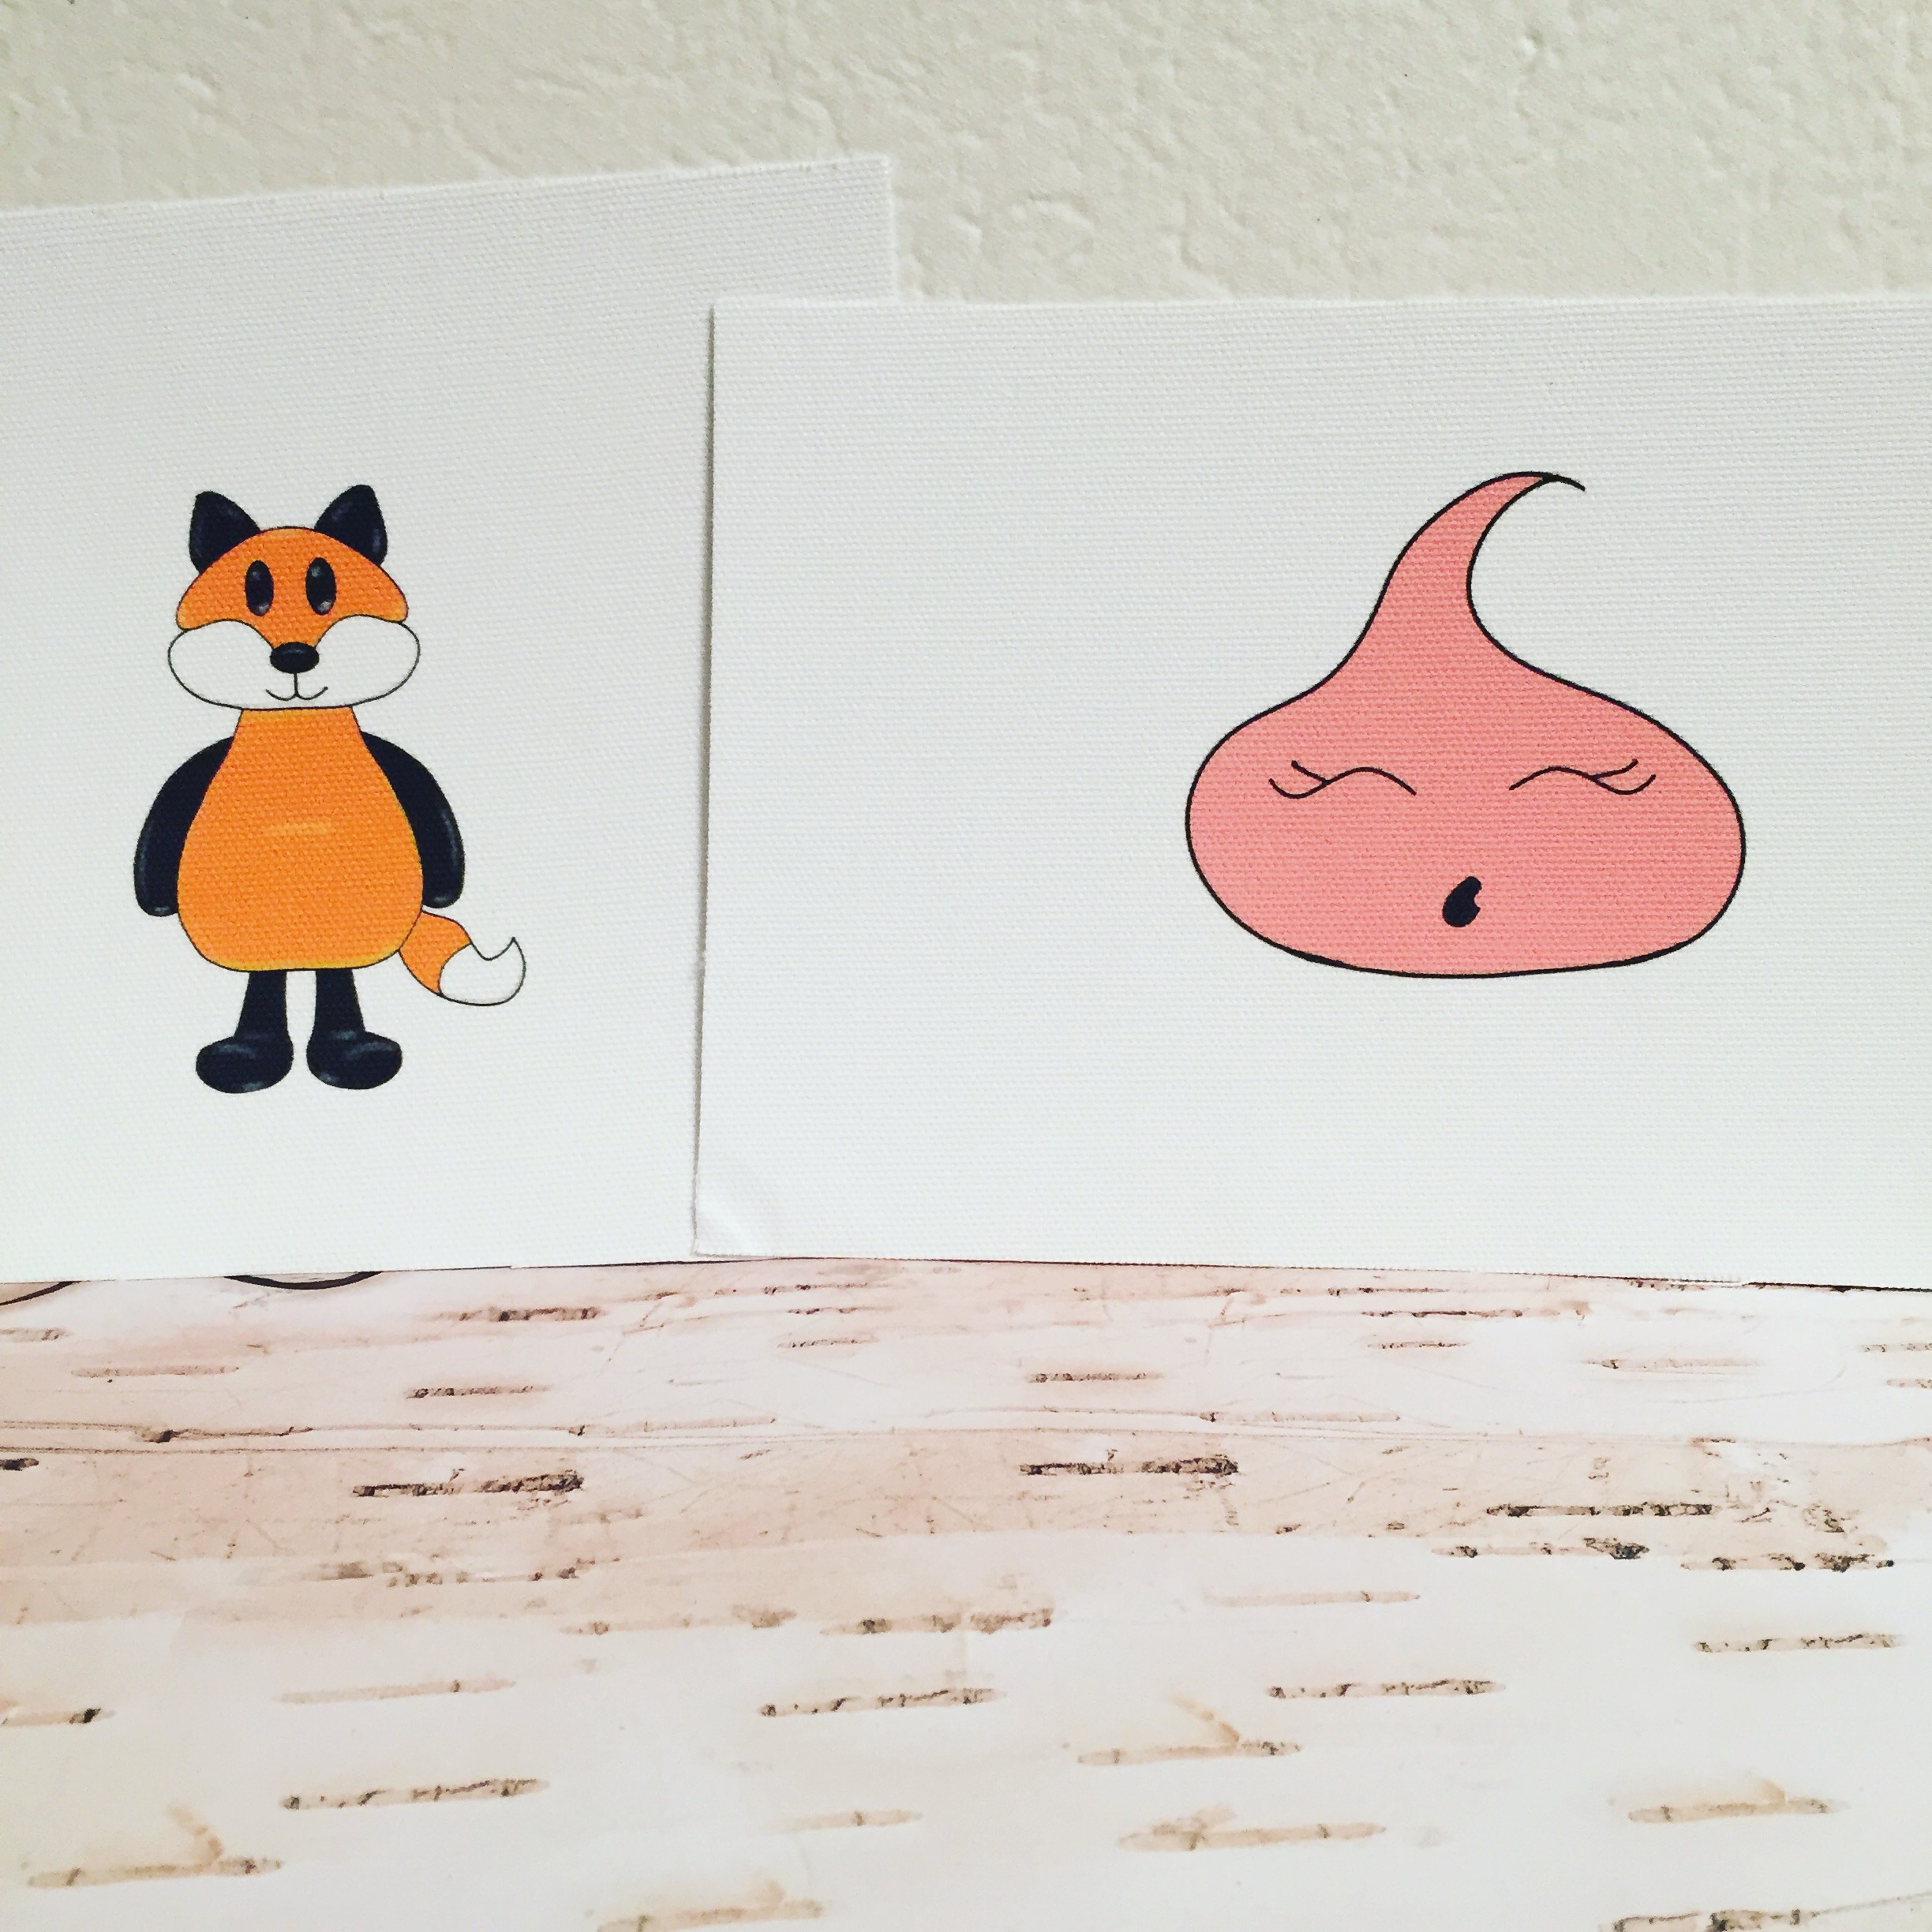
Hi guys! 

Hi guys! 

Then I coordinated background fabric and attached them to the centers. 


image.jpg

Finally I applied backing and binding. 


All done!  

All done!  

Posing as a mini rug! 

Posing as a mini rug! 

I cannot stress enough how happy it makes me to create things and I am so happy to have a new way to create by being able sew things and quilt.  I wish I'd been doing it forever, but I'm happy I started at all. I encourage you to start doing whatever it is you would like to do, today!!! I have learned to knit, crochet, paper craft, and sew...in the last 5 years! I keep telling anyone who will listen that I am so happy I started seeing because there's this whole world of fabric and patterns that I have access to now! I am really enjoying sewing and I look forward to improving as I keep working! Tomorrow I will be posting a video about making inked backgrounds for your layouts, happy crafting!

Easy Baby Quilt With Appliqué

How to, Diy, Sewing, Quilting, ColorGabriela SimsComment

Hey there! Gabriela here with another quilt project. This time I decided to do a modern quilt with a little appliqué. I am making two of these quilts so I cut all of my fabric at once. 


The white is my background and the fairies will be my center. 

The white is my background and the fairies will be my center. 

Next I laid out my blocks to get a feel for how much space I would have for the appliqué.  


A little rough. 

A little rough. 

Then I pressed and sewed the blocks together. 


All squared up!  36" x 36"

All squared up!  36" x 36"

I did the appliqué by drawing my letters on my Cricut Explore.


I did this in Design Space. 

I did this in Design Space. 

Then I fussy cut the letters and heart. 


A little curled up. 

A little curled up. 

I applied Heat n' Bond to the backs and pressed them. 


Crispy and fresh! 

Crispy and fresh! 

Next I fused them to the quilt top and stitched around the edges. 


image.jpg

Then I attached the back and the batting!


image.jpg

Now the quilting! 

Trying out free motion. 

Trying out free motion. 

Then the binding and it's done. 


image.jpg

I'll be making another quilt like this and then making a Queen size quilt after that. I hope the directions were clear, happy crafting! 

Flannel Blankets in Record Time

Diy, Blankets, Crafts, SewingGabriela SimsComment

Hi there! I am on a craftastic voyage and I wanted to try making some swaddling blankets and I found this really cool tutorial that walks you through a self binding flannel blanket. I finished this one in a few nights and I took several breaks.

I started with my front and back. 


I spy elephants! 

I spy elephants! 

Next I lined up my layers.


Lining up my layers. 

Lining up my layers. 

Then I did my stitching on the wrong side. 


Leave open a 5-6" length. 

Leave open a 5-6" length. 

Finally ready to turn it inside out. 


Here's the blanket turned right side out. 

Here's the blanket turned right side out. 

Finally, after some top stitching, this flannel blanket is done!

Nothing left but a wash and press. 

Nothing left but a wash and press. 

Try this out if you need a quick baby shower gift or some more blankets around the house, or to donate. Happy crafting!

My First Jelly Roll Jam Quilt

Crafts, Supplies, Sewing, Color, How toGabriela SimsComment

I wanted to start another baby quilt and ended up finding this awesome pattern for jelly roll quilts! I love the idea of jelly rolls, coordinated bundles of fabric that are pre-cut into strips! It's wonderful. So I started with a really fun roll with some vibrant colors and patterns. 


I used the roll on the left. 

I used the roll on the left. 

Then I started the pattern by piecing my strips. 


Only 15 more to go. 

Only 15 more to go. 

Then I cut my blocks using an acrylic 6" x 12" ruler.


This part was really fun. 

This part was really fun. 

Next I arranged my blocks according to the pattern and started making them into bigger blocks.


image.jpg

I assembled my top. 

Only batting, backing, and binding now (The 3 B's) 

Only batting, backing, and binding now (The 3 B's) 

Now the backing had to be picked out after this was assembled so I could get an idea of how the colors looked together, I decided to go with blue flannel again, but this time with orange binding.


Binding half done. 

Binding half done. 

Here is the finished Jelly Roll Jam Quilt. 


I need to press this, but it's finished! 

I need to press this, but it's finished! 

I thoroughly enjoyed making this quilt and it came together over the course of 3 days. I even had time to start a new project. 


Flannel Animals :) 

Flannel Animals :) 

That's all for today, I hope you shop for a nice jelly roll and make one of these awesome quilts, happy crafting! 

My First Finished Quilt!

Sewing, Diy, Crafts, Paper crafting, How toGabriela Sims3 Comments

I am beyond excited!!! I finished my quilt, in less than a week. I was originally gave myself 6 weeks to finish two baby quilts, but to my delight, this one came together so quickly that I was able to surprise the recipient this morning. I have to thank an amazing person who helped me through this, she looked at my progress everyday and gave me tips to make things easier. Without her help, I would still be trying to figure out what to do with all of these squares.  This pattern is called The Hundred Hugs Quilt, and you can find it here.

Here is how the process went down. 


Charm squares. 

Charm squares. 

Beginning rows. 

Beginning rows. 

Center is done. 

Center is done. 

Border added. 

Border added. 

More squares. 

More squares. 

Finished top with the backing color. 

Finished top with the backing color. 

Batting and backing attached and quilted together! 

Batting and backing attached and quilted together! 

Binding half done. 

Binding half done. 

Completed quilt. 

Completed quilt. 

Then as a way to say thanks for the quilting help, I made this card.


image.jpg

I also made a card to go along with the quilt!  

Embossed mustaches with a tag. 

Embossed mustaches with a tag. 

Then wrapped it up. 


image.jpg

My husband delivered it today and I'm happy to report that the mom-to-be loved it! I hope this inspires you to share some handmade kindness of your own, happy crafting!