Gab with Gaby

An engineer's creative corner studio.

Make a Flower Shadowbox

Diy, Crafts, Scrapbooking, How to, Florigami, Quick Quotes, TutorialGabriela SimsComment

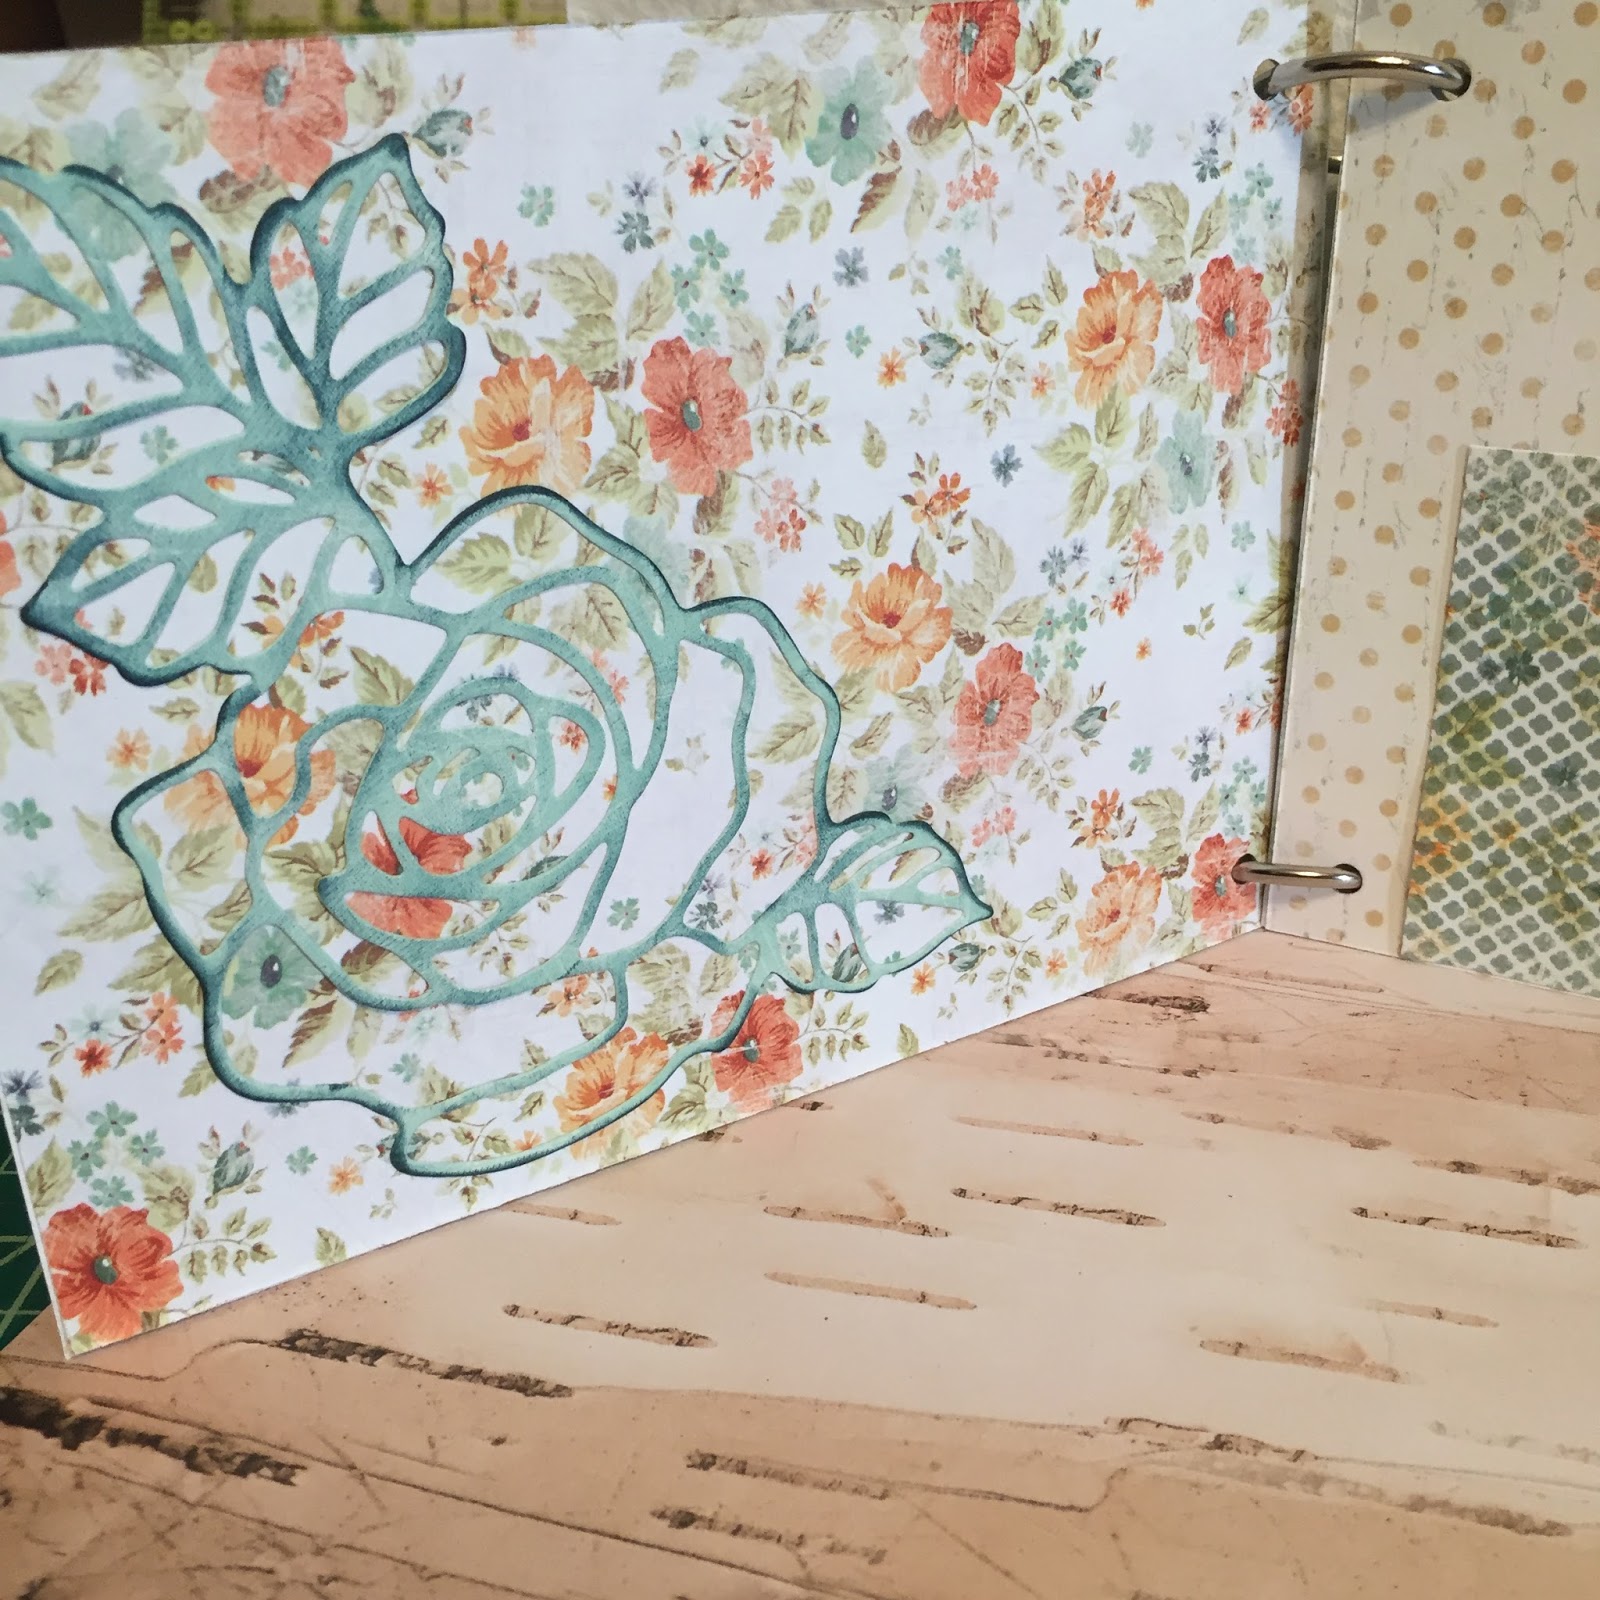
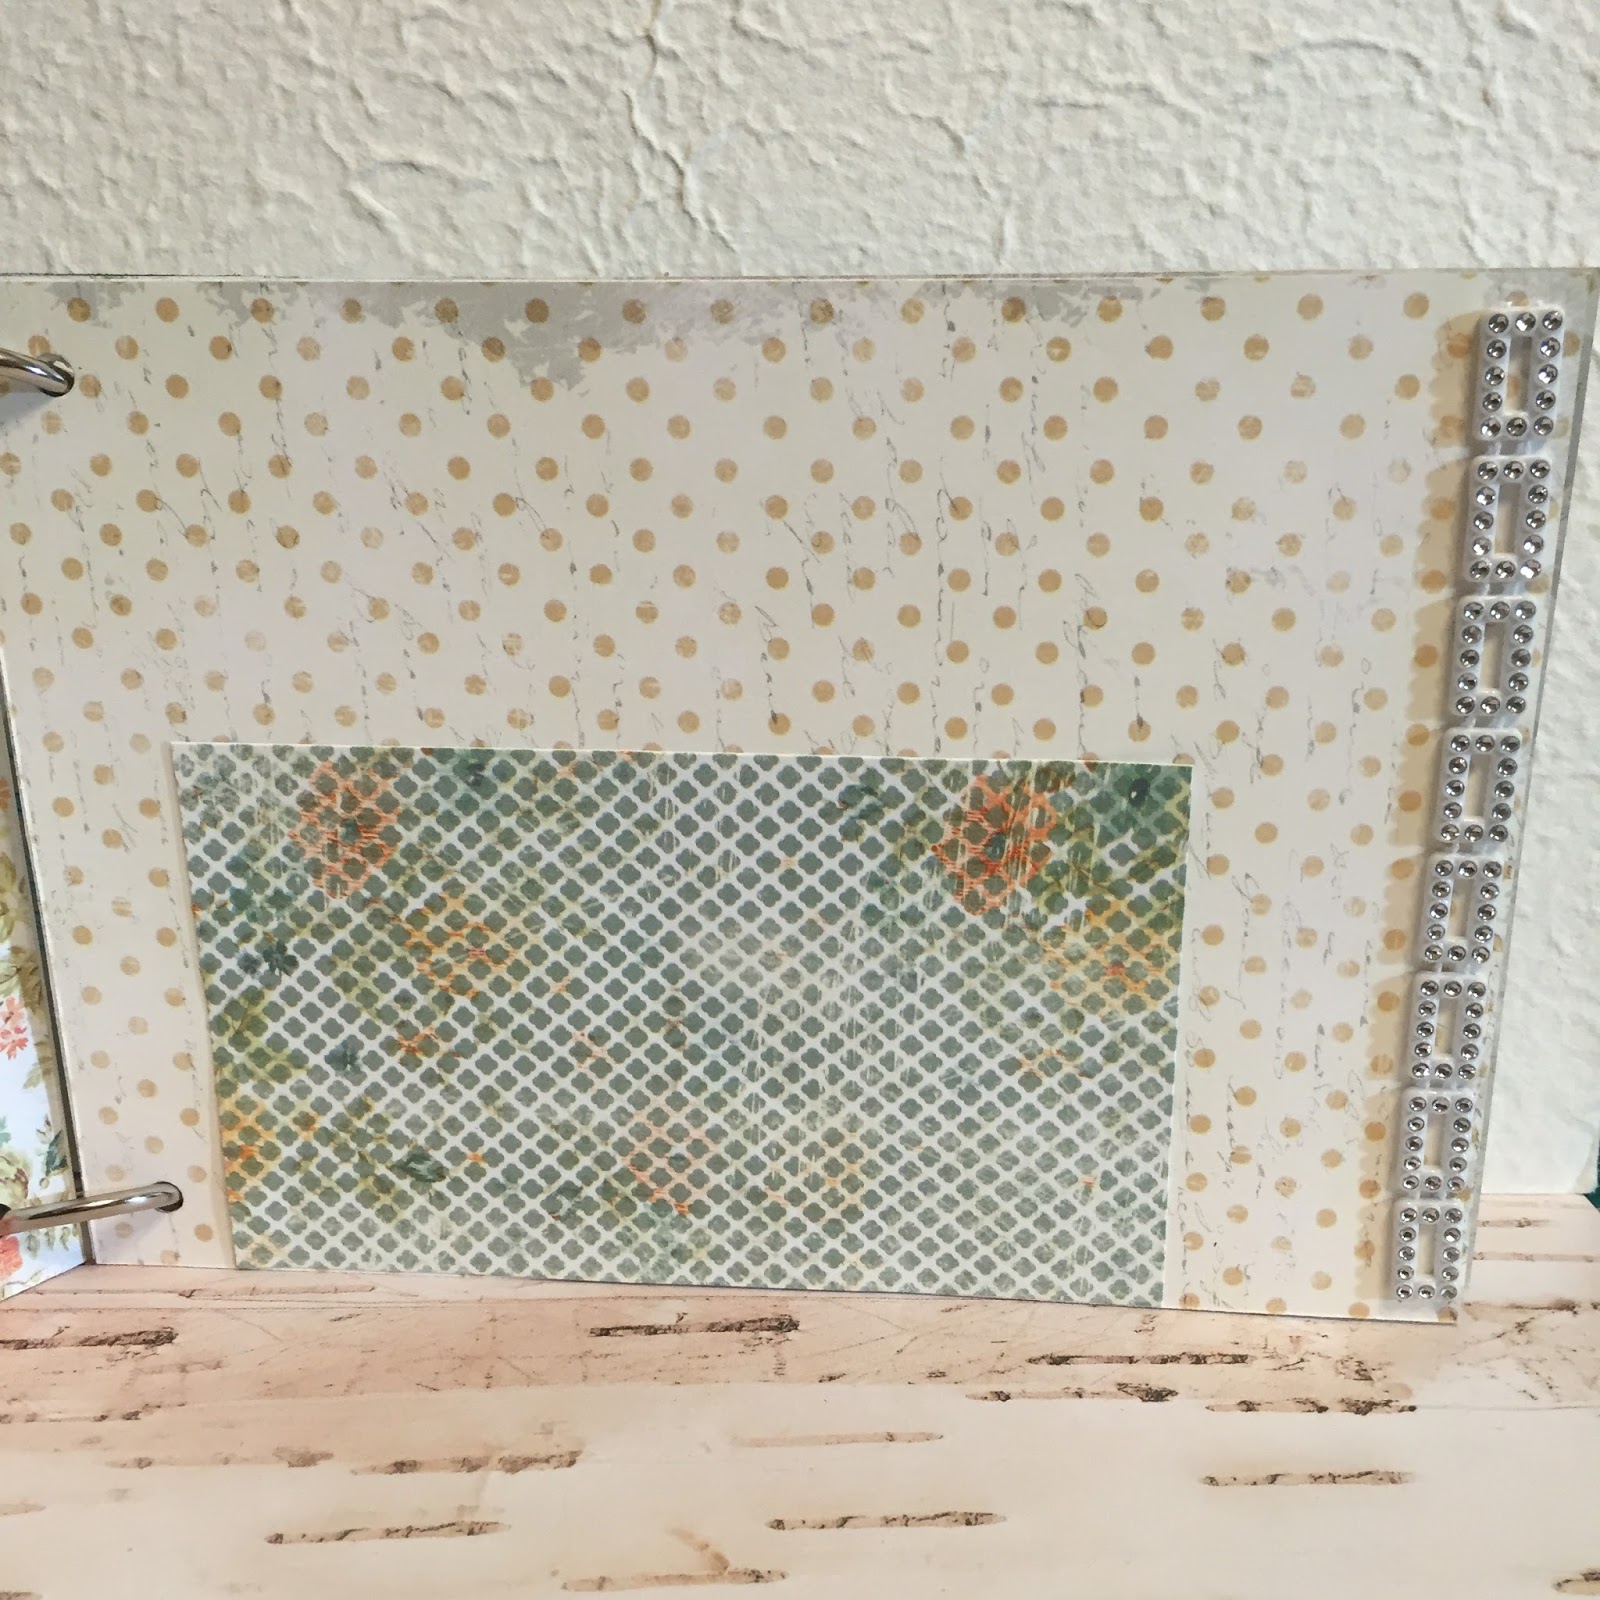
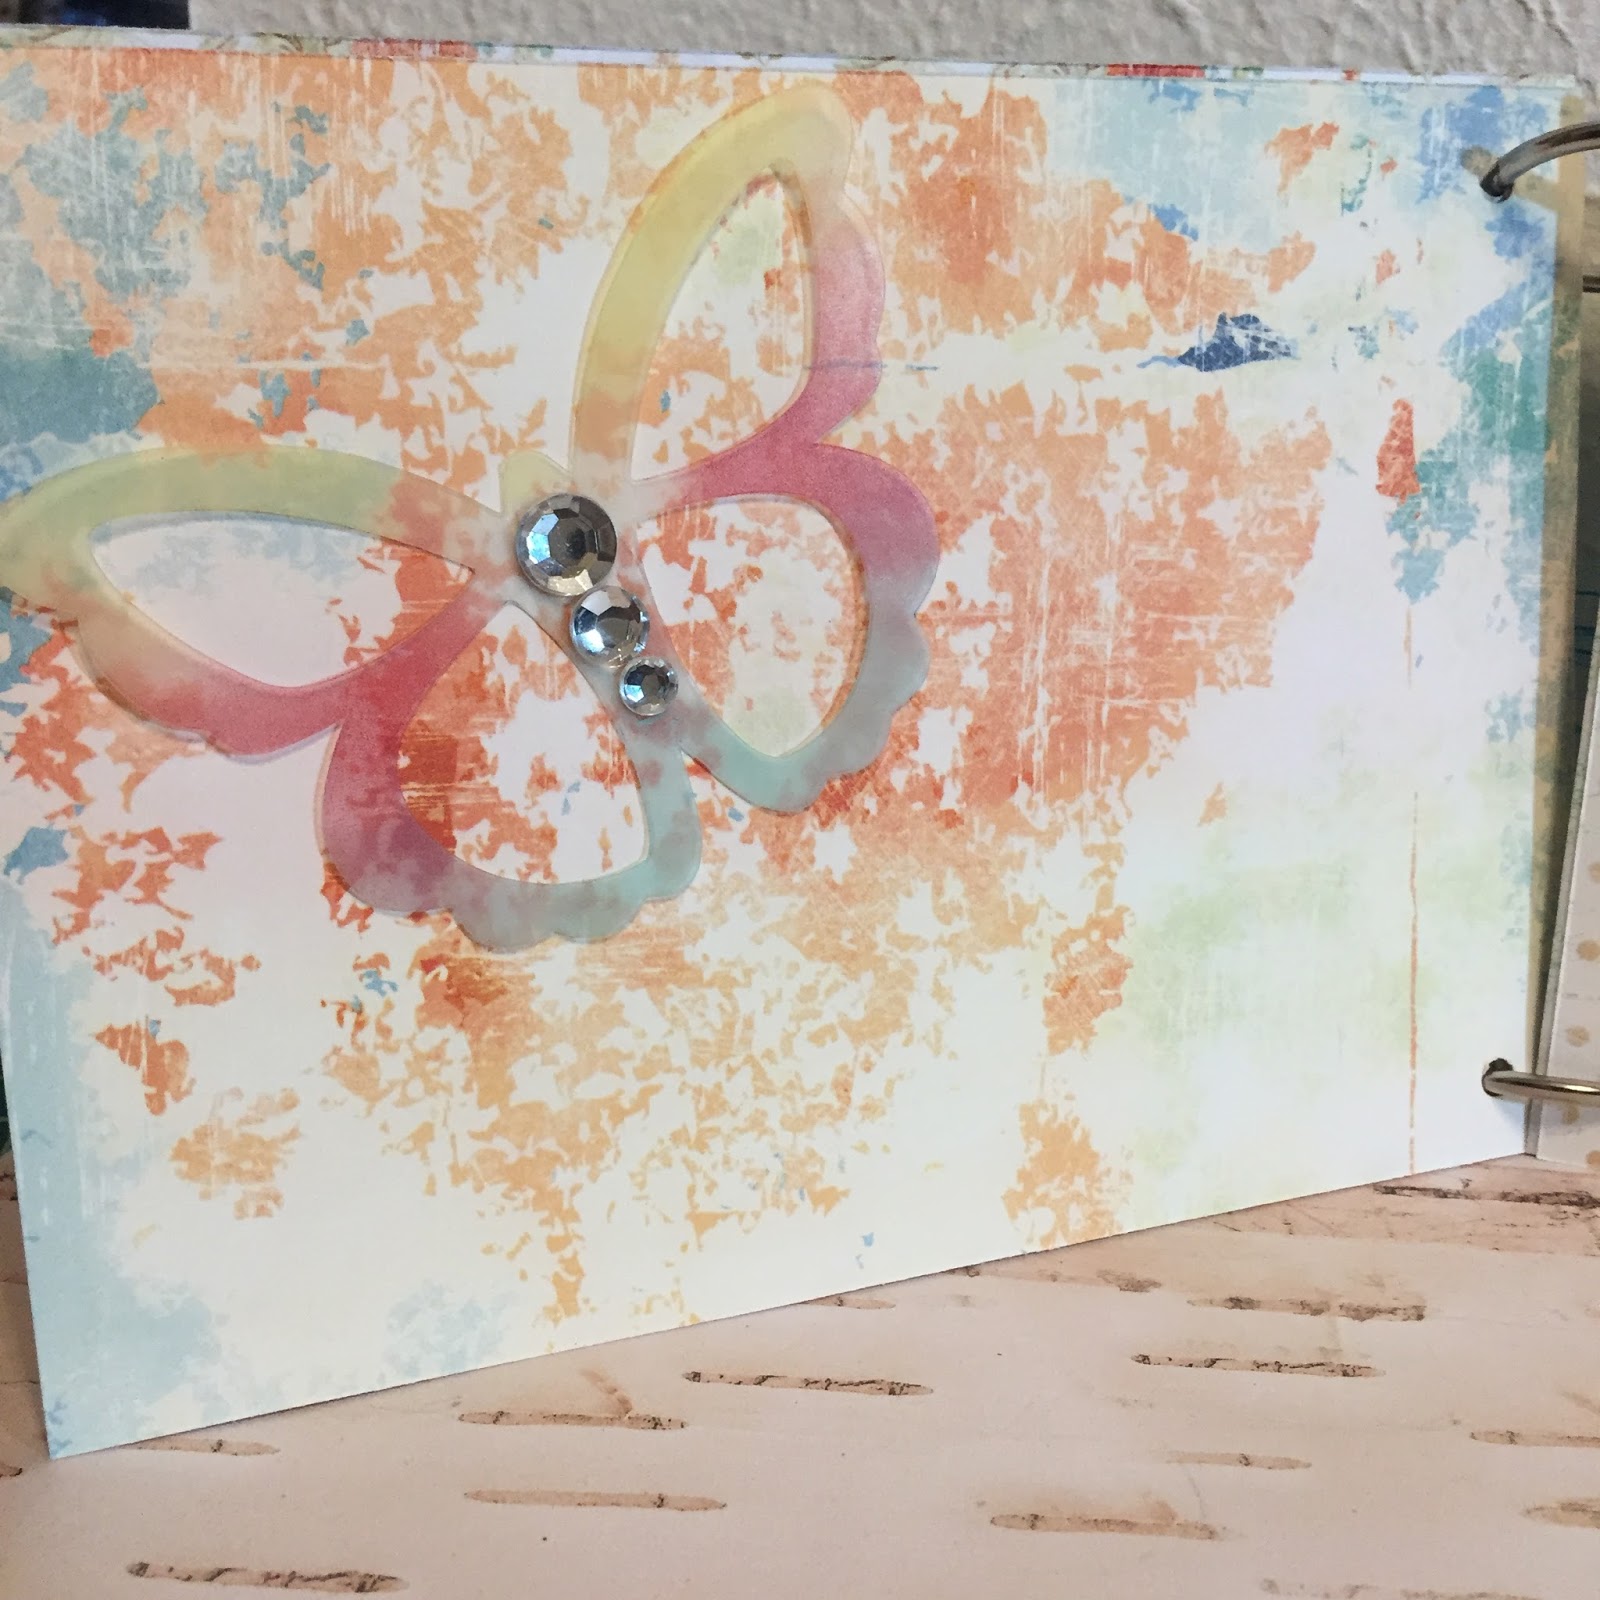
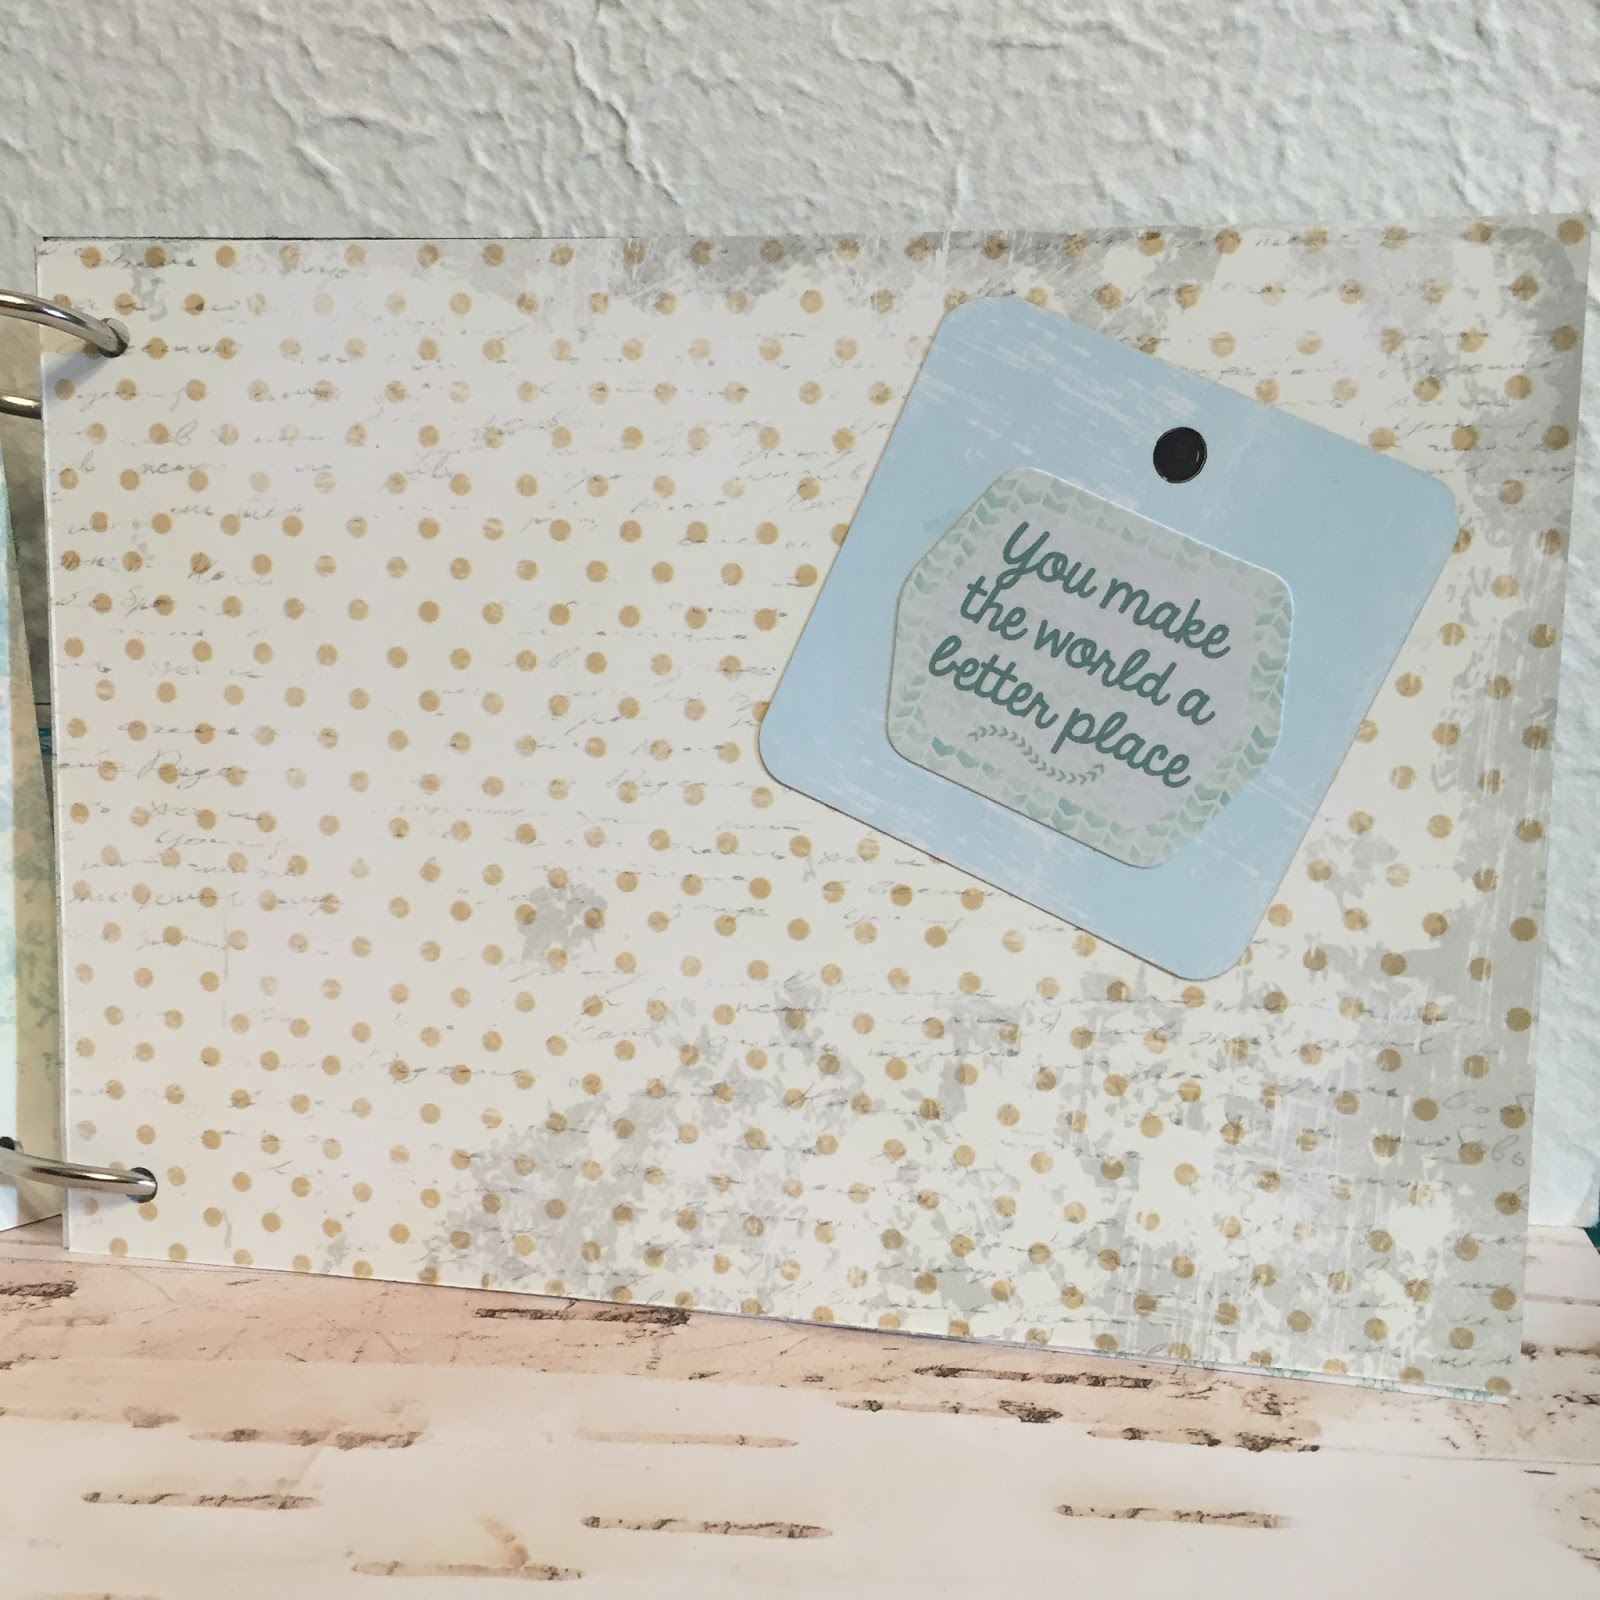
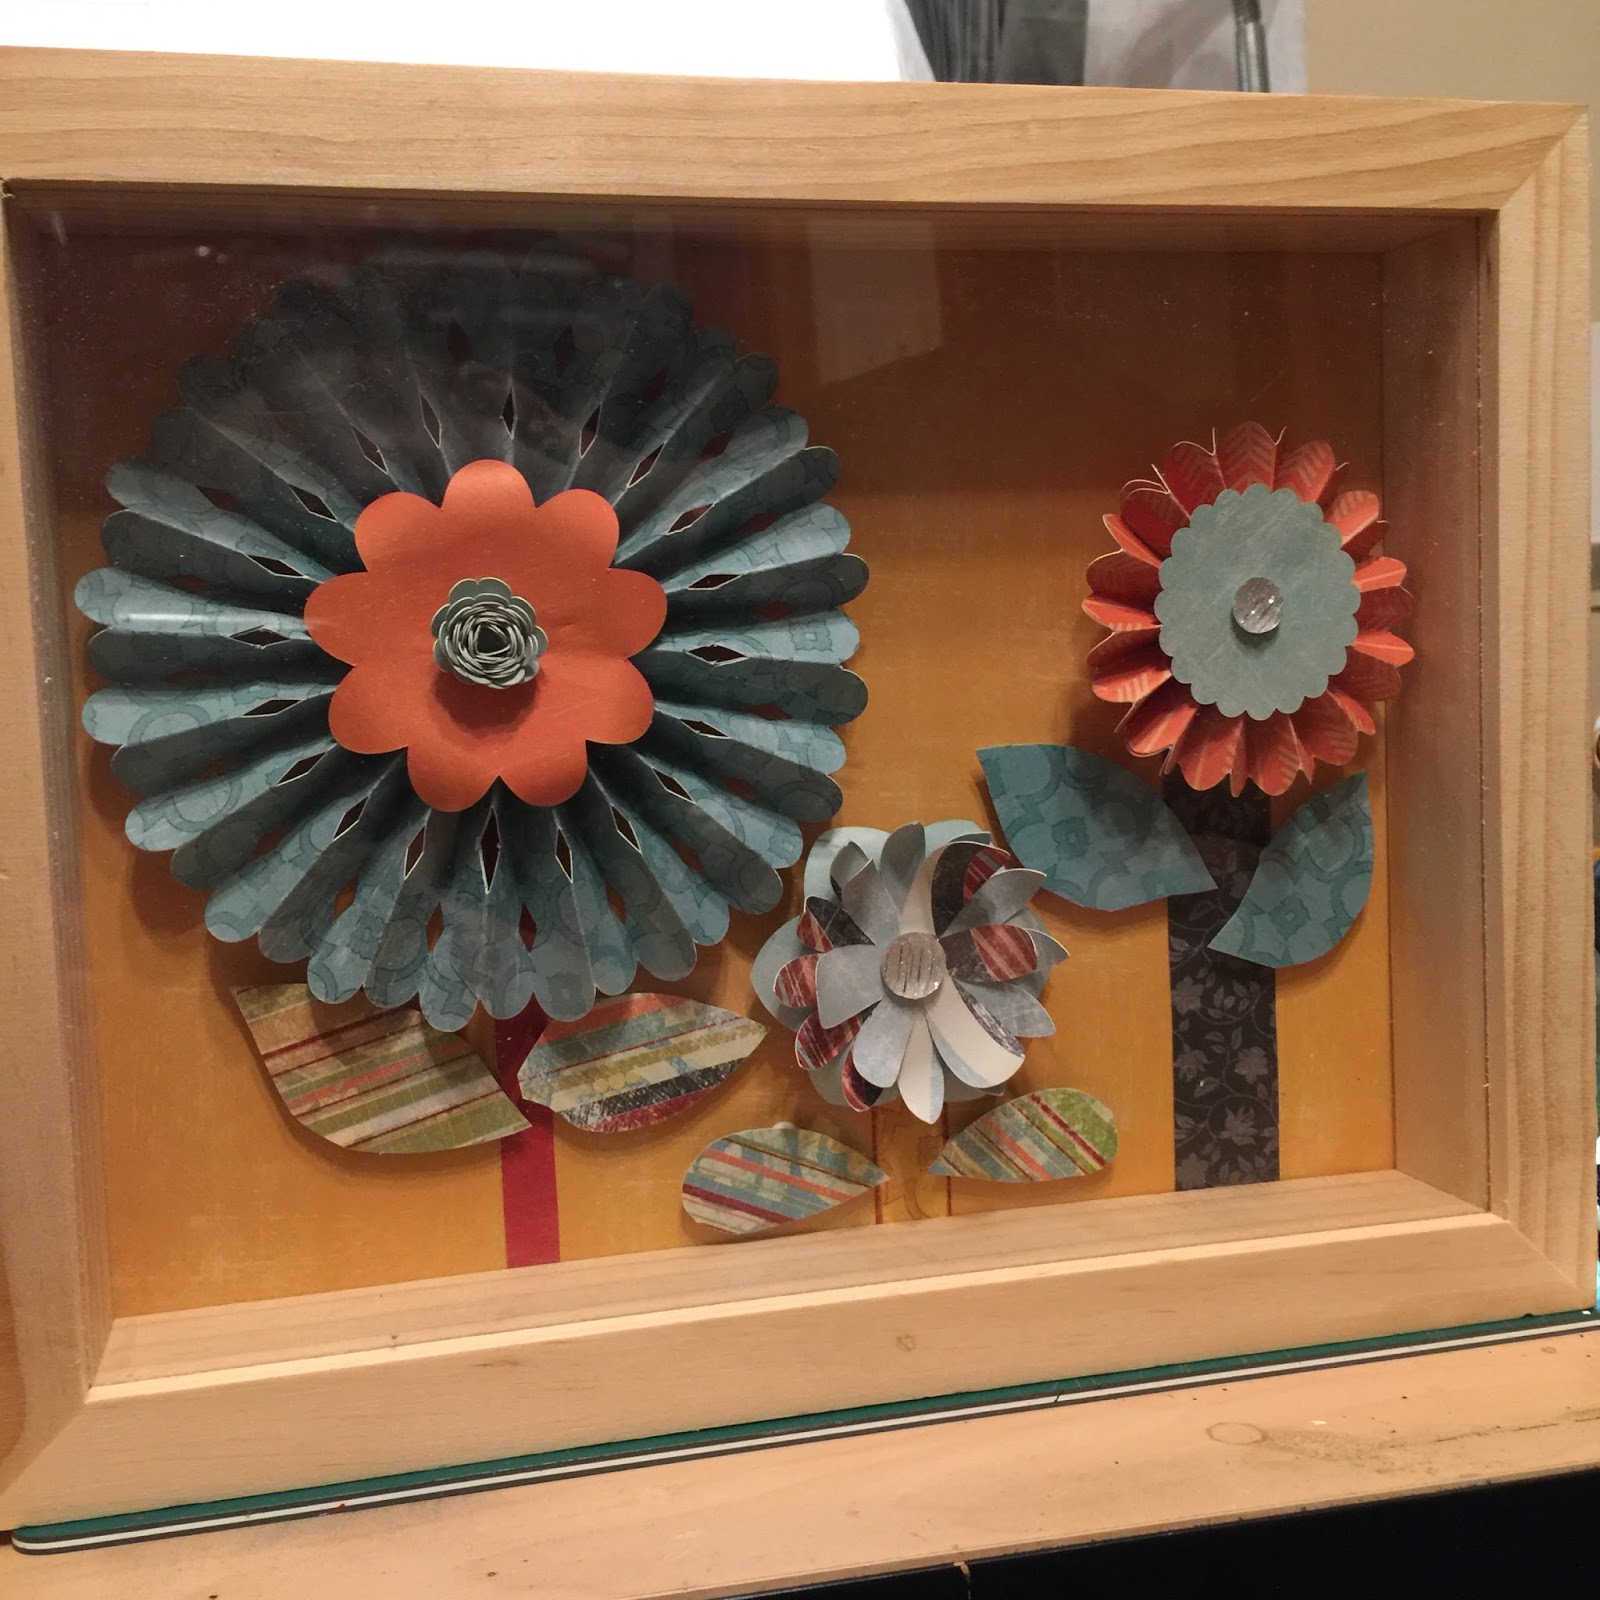
Hi everyone, Gabriela here today with a tutorial on how to make a piece of shadow box art.  I used the Whistlin' Dixie collection again because I'm in love with it right now.  You will need a shadow box and you will need to cut out rosettes and flowers from the paper you choose.  I used my Cricut for this because it saved time.  I cut the stems and the leaves by hand.


Check out the video below.


Quick Quotes Products Used:
Whistlin' Dixie - 109,108, 107, 101, and 100
Powderpuff Chalking Ink - BarnBoard

Thanks for stopping by!

Happy crafting!

Scrapbook Layout - "Enjoy" with Quick Quotes and Xyron

Layout, Paper crafting, Diy, Quick Quotes, How to, Scrapbooking, Crafts, TutorialGabriela SimsComment

Hi everyone, Gabriela here today with a layout using Whistlin' Dixie papers. This layout is for any special moment you enjoyed and would like to remember. I chose a photo from my first year of gardening because I grew sunflowers that were over 6 feet tall. I added some glitter and wood cutouts, check out the video below to follow along.


I hope the video was easy to follow and you have time to scrap a memory you love.


Quick Quotes Products Used: 
Whistlin' Dixie 100, 101, 102
Powderpuff Chalking Inks: Coconut White, Berry Jam, Barn Board

Thanks for stopping by.

Mother's Day Mini Album

Gabriela SimsComment

Hi everyone, Gabriela here today and in the spirit of Mother's Day, I decided to make a mini album for moms. This can be filled with pictures of children, grandchildren, or anyone special to her.  The cover uses a flower from the March Club Q kit and some of the embellishments are from that kit as well.


There is room for four photos and some journaling, the album size is 5" x 7" with lightweight chip board used to reinforce the front and back covers.  I punched the holes with my Crop-a-Dile Big Bite and the put binder hooks through them.  This came together in about an hour and I mixed several paper collections with no problem and I even chalked some of the edges.  Thanks for stopping by!

Quick Quotes Products Used:
Farmhouse 103
Anchors Aweigh 106
Chiffon 100, 101
Farmhouse Die Cut Stickers
Family Full Page Vellum
March Club Q
Powder Puff Chalking Inks 2016

Happy crafting!

When Sewing Takes Over

Graphic design, Scrapbooking, Blankets, Diy, Graphic, How to, Crafts, Drawing, Sewing, Color, QuiltingGabriela SimsComment

I have been busy making things like there is no tomorrow! I just realized I haven't posted anything in over a week, so today, here is a crafty, sewing showcase.

Let's start with the baby quilt that is a companion to the "Amelia" quilt I made. 


Just like the other one, but different colors.

Just like the other one, but different colors.

I also decided to try working on my own fabric by putting my drawings on mug rugs and I started with one of the Jelly Friends, Tamber Melon and my resident Meowfox Mr. Snugglekins.

Hi guys! 

Hi guys! 

Then I coordinated background fabric and attached them to the centers. 


image.jpg

Finally I applied backing and binding. 


All done!  

All done!  

Posing as a mini rug! 

Posing as a mini rug! 

I cannot stress enough how happy it makes me to create things and I am so happy to have a new way to create by being able sew things and quilt.  I wish I'd been doing it forever, but I'm happy I started at all. I encourage you to start doing whatever it is you would like to do, today!!! I have learned to knit, crochet, paper craft, and sew...in the last 5 years! I keep telling anyone who will listen that I am so happy I started seeing because there's this whole world of fabric and patterns that I have access to now! I am really enjoying sewing and I look forward to improving as I keep working! Tomorrow I will be posting a video about making inked backgrounds for your layouts, happy crafting!