Gab with Gaby

An engineer's creative corner studio.

Crafts

My First Jelly Roll Jam Quilt

Crafts, Supplies, Sewing, Color, How toGabriela SimsComment

I wanted to start another baby quilt and ended up finding this awesome pattern for jelly roll quilts! I love the idea of jelly rolls, coordinated bundles of fabric that are pre-cut into strips! It's wonderful. So I started with a really fun roll with some vibrant colors and patterns. 


I used the roll on the left. 

I used the roll on the left. 

Then I started the pattern by piecing my strips. 


Only 15 more to go. 

Only 15 more to go. 

Then I cut my blocks using an acrylic 6" x 12" ruler.


This part was really fun. 

This part was really fun. 

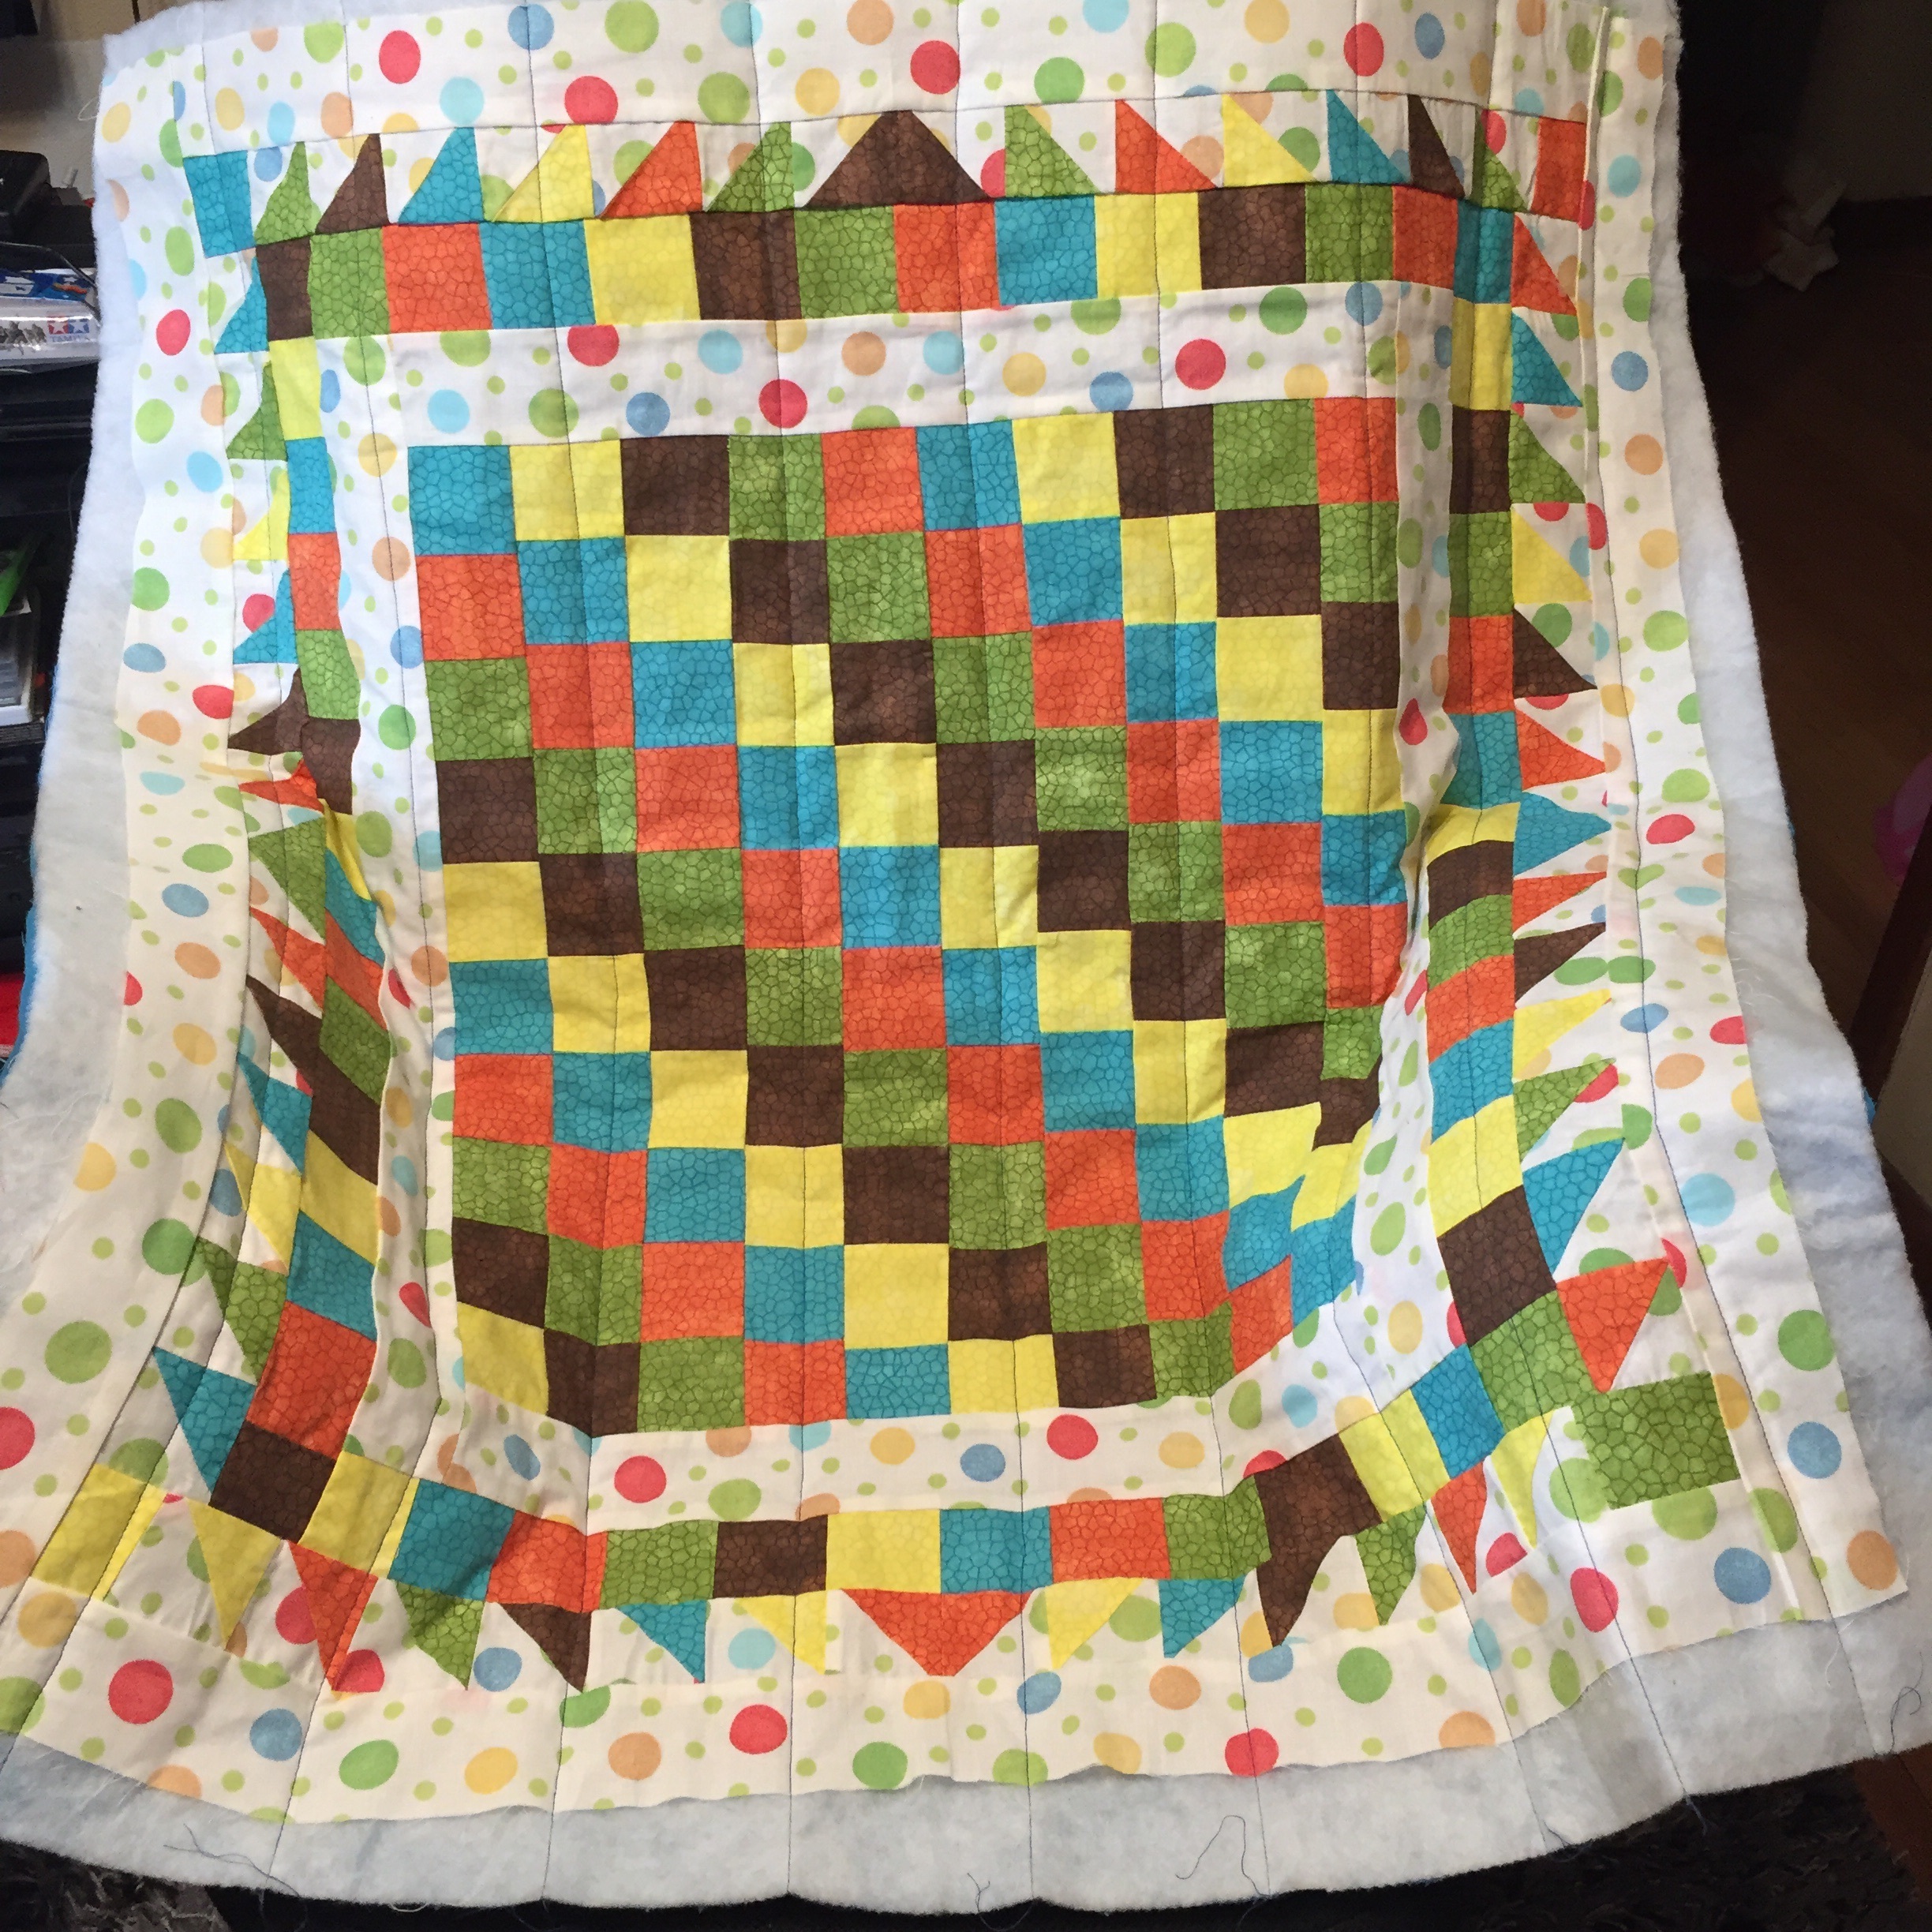
Next I arranged my blocks according to the pattern and started making them into bigger blocks.
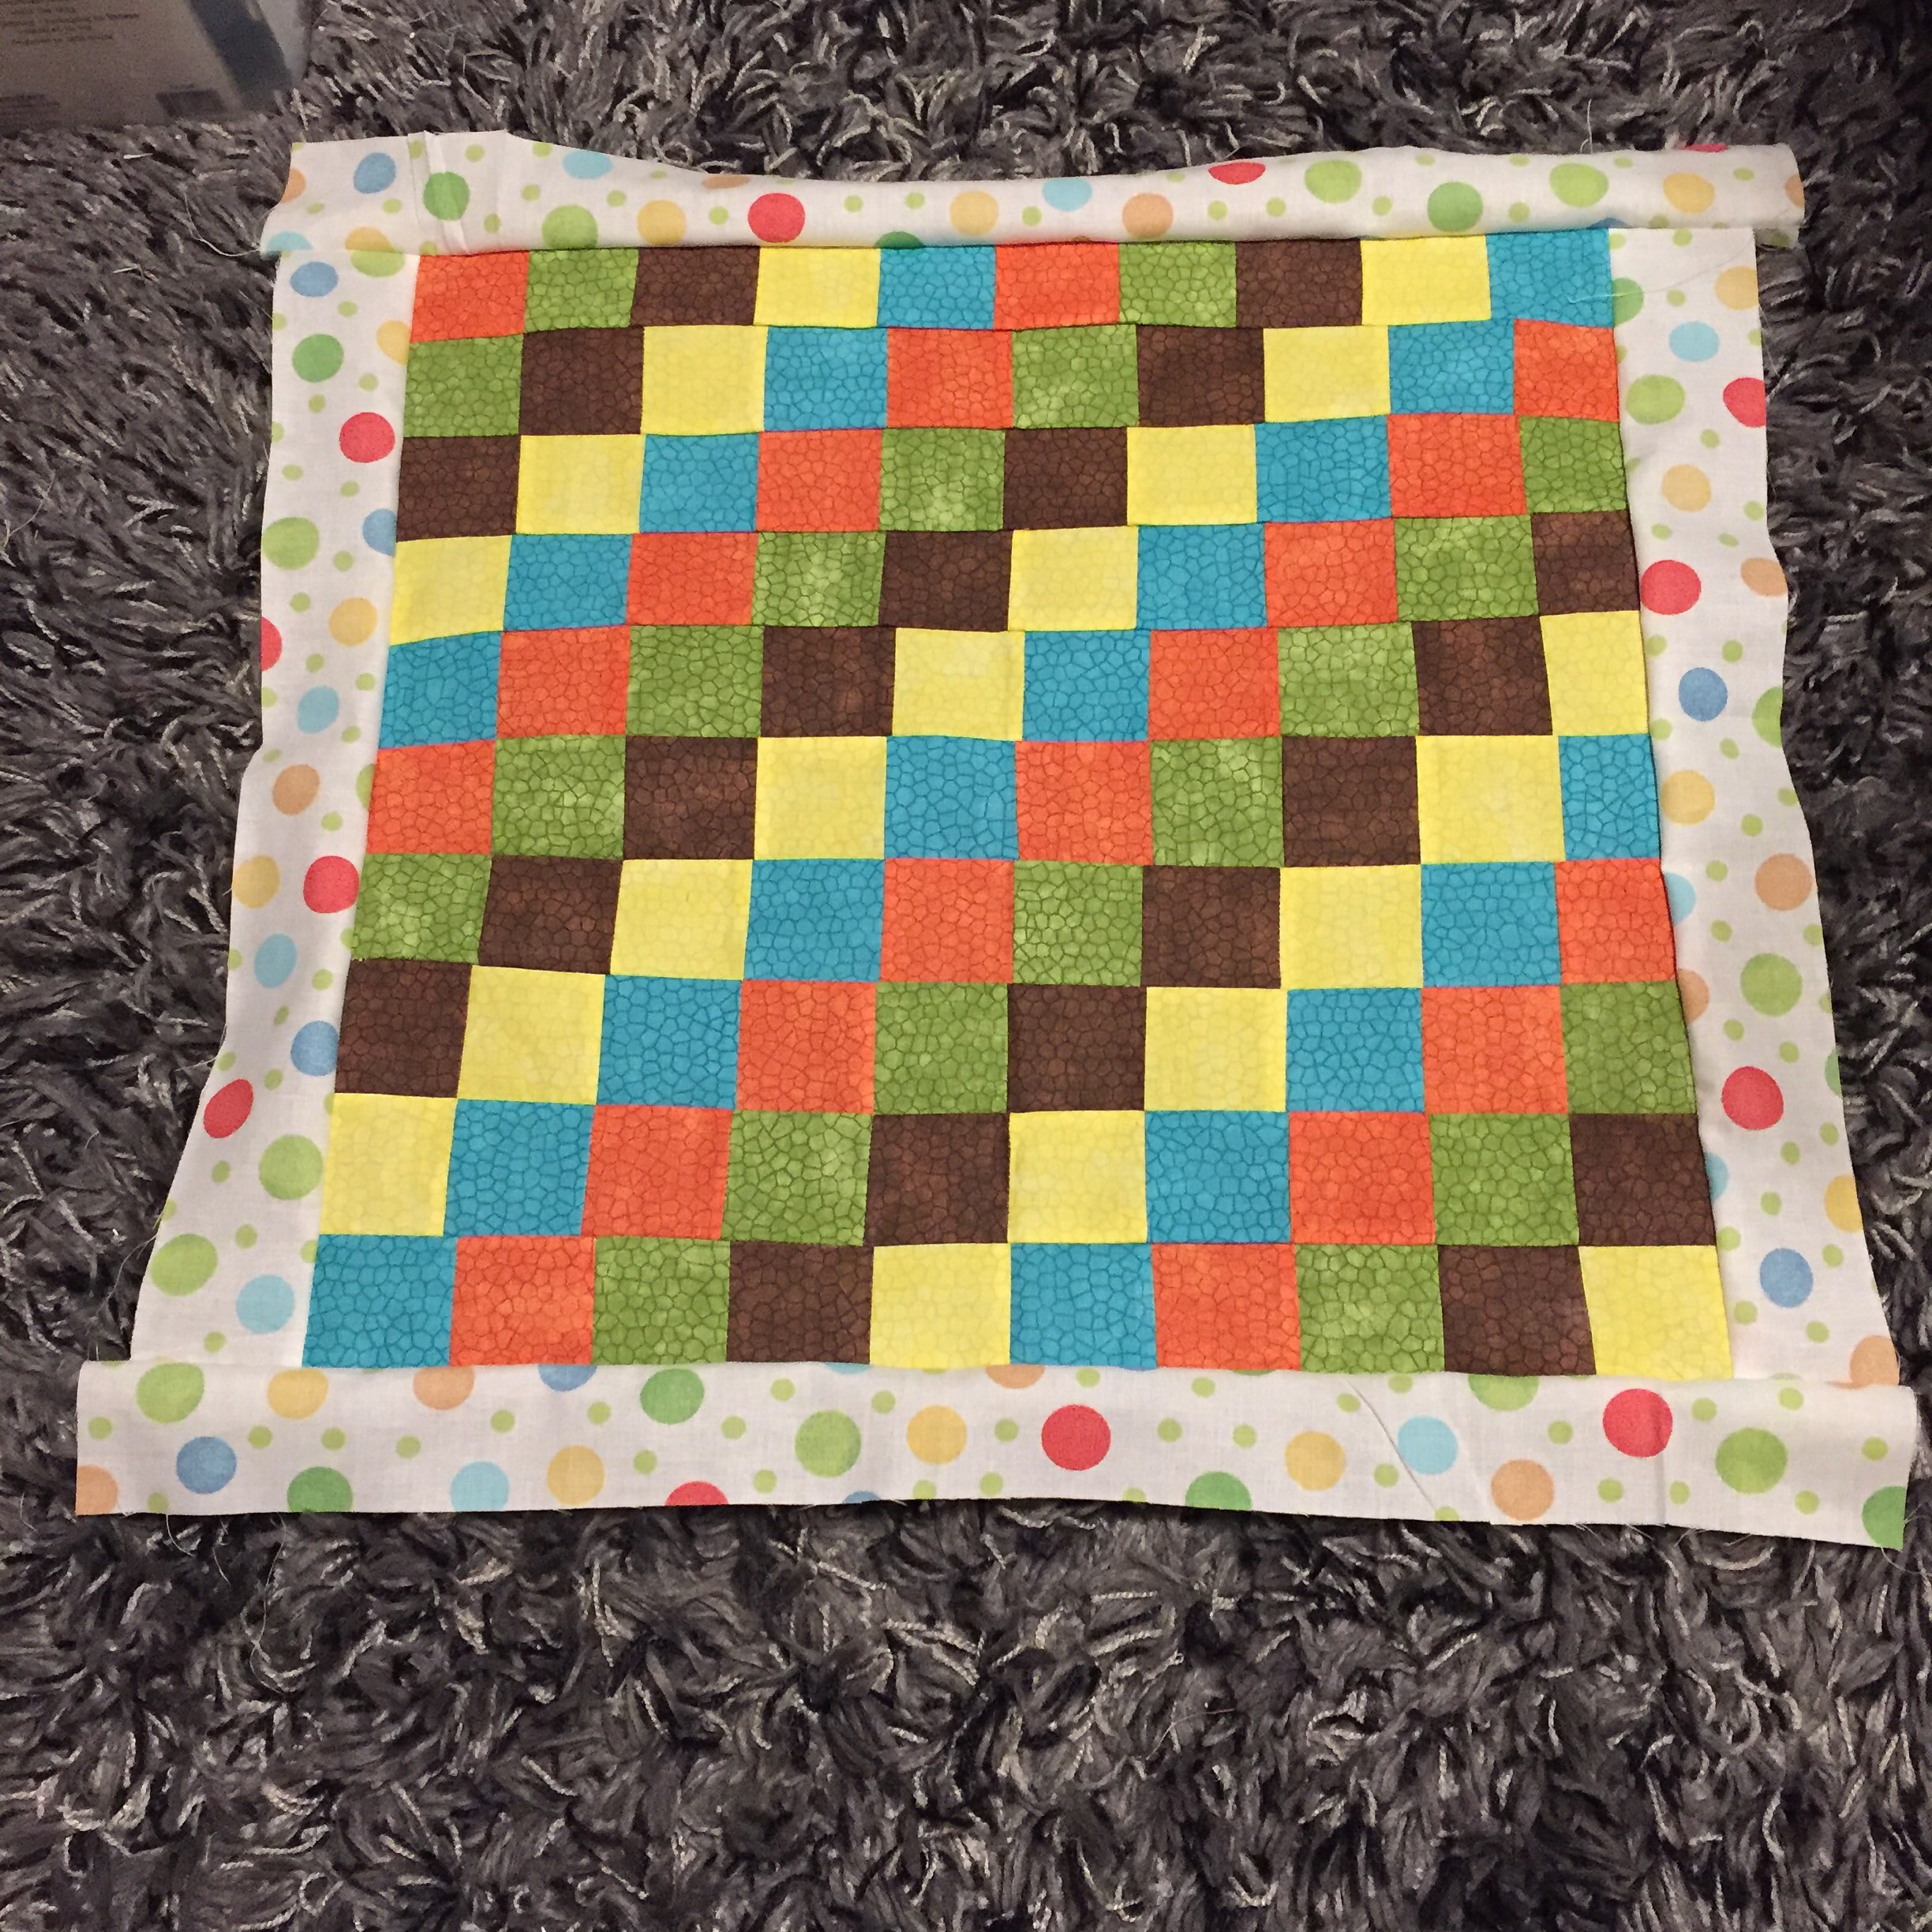
 

image.jpg

I assembled my top. 

Only batting, backing, and binding now (The 3 B's) 

Only batting, backing, and binding now (The 3 B's) 

Now the backing had to be picked out after this was assembled so I could get an idea of how the colors looked together, I decided to go with blue flannel again, but this time with orange binding.


Binding half done. 

Binding half done. 

Here is the finished Jelly Roll Jam Quilt. 


I need to press this, but it's finished! 

I need to press this, but it's finished! 

I thoroughly enjoyed making this quilt and it came together over the course of 3 days. I even had time to start a new project. 


Flannel Animals :) 

Flannel Animals :) 

That's all for today, I hope you shop for a nice jelly roll and make one of these awesome quilts, happy crafting! 

A Craft Evolution

Diy, CraftsGabriela SimsComment

When I first started this blog, it was called engiknitting because I'm an engineer, who knits. As I started to expand my craft horizons, I realized I loved a lot of different crafts, and I wanted my site name to cover that. In the past few years I've discovered knitting, crochet, paper crafting, sewing, and quilting. What has been so great about this is that anytime I discover something "new" to me, I can easily find a community either online or in person that has people with wells of experience. More often than not, they are happy to share their knowledge with someone eager to learn, it keeps crafts going and builds new relationships.  I feel a sense of accomplishment when I learn a new skill and that makes me want to get better at whatever it is I'm doing/learning.  I have been extremely lucky that I have encountered so many people that are more knowledgeable than I am and gracious enough to help someone learn. I hope you've experienced that same warmth in your own crafting adventures! My next task is to use my Big Shot with the new strip die and plates I just got, I will definitely post about that experience here soon! Happy crafting!

The Silhouette Mint is Giving Me Life! (Review)

Reviews, Stamps, Cards, Tools, Diy, Paper crafting, Crafts, Silhouette, Tutorial, Supplies, Scrapbooking, Color, How toGabriela SimsComment

I recently purchased s Silhouette Mint because I love stamping and I also make a lot of handmade cards. I have been wanting a custom stamp for a long time, but I hadn't gotten around to sending my design out to have it done. So before I ordered this, I read a ton of reviews because it's on the expensive end and it has a really specialized function, so I wanted to be certain. Also this would be my first Silhouette machine, I have a Cricut Explore that I love, so I was not sure what to expect. I can honestly say I'm very impressed! The machine is very compact and lightweight, it comes with 2 stamps/stamp kits, 4 ink colors, 1 month of Silhouette Studio, and a software CD.  I have a Mac and downloaded the software from the website.


image.jpg

The included stamps are 30mm x 30mm and 15mm x 60mm. I used the rectangle to make a stamp for my website. The directions are very easy to follow and I was creating my stamp in about 10 minutes. The design software is easy to navigate and reminds me of Cricut Design Space, so I was comfortable after a few minutes.  I printed my stamp and then removed it from the clear wrapping.


image.jpg

Each set comes with a wood block to mount your stamp to and labels you can stamp to identify your image.


image.jpg

I inked up my stamp and only had a little trouble because my letters are so small, I'm going to ink it again later to see if that helps even out the image. 


image.jpg

I'm very happy that I bought this and I would recommend getting a few more stamps when you have a chance as this only comes with two. Also there are additional ink colors available, I ordered magenta when I ordered my machine. Each stamp will imprint about 50 times before you have to re-ink it, so far I've stamped about 20 images and it still looks good.  If your craft budget allows, definitely get one, happy crafting.


My First Finished Quilt!

Sewing, Diy, Crafts, Paper crafting, How toGabriela Sims3 Comments

I am beyond excited!!! I finished my quilt, in less than a week. I was originally gave myself 6 weeks to finish two baby quilts, but to my delight, this one came together so quickly that I was able to surprise the recipient this morning. I have to thank an amazing person who helped me through this, she looked at my progress everyday and gave me tips to make things easier. Without her help, I would still be trying to figure out what to do with all of these squares.  This pattern is called The Hundred Hugs Quilt, and you can find it here.

Here is how the process went down. 


Charm squares. 

Charm squares. 

Beginning rows. 

Beginning rows. 

Center is done. 

Center is done. 

Border added. 

Border added. 

More squares. 

More squares. 

Finished top with the backing color. 

Finished top with the backing color. 

Batting and backing attached and quilted together! 

Batting and backing attached and quilted together! 

Binding half done. 

Binding half done. 

Completed quilt. 

Completed quilt. 

Then as a way to say thanks for the quilting help, I made this card.


image.jpg

I also made a card to go along with the quilt!  

Embossed mustaches with a tag. 

Embossed mustaches with a tag. 

Then wrapped it up. 


image.jpg

My husband delivered it today and I'm happy to report that the mom-to-be loved it! I hope this inspires you to share some handmade kindness of your own, happy crafting!