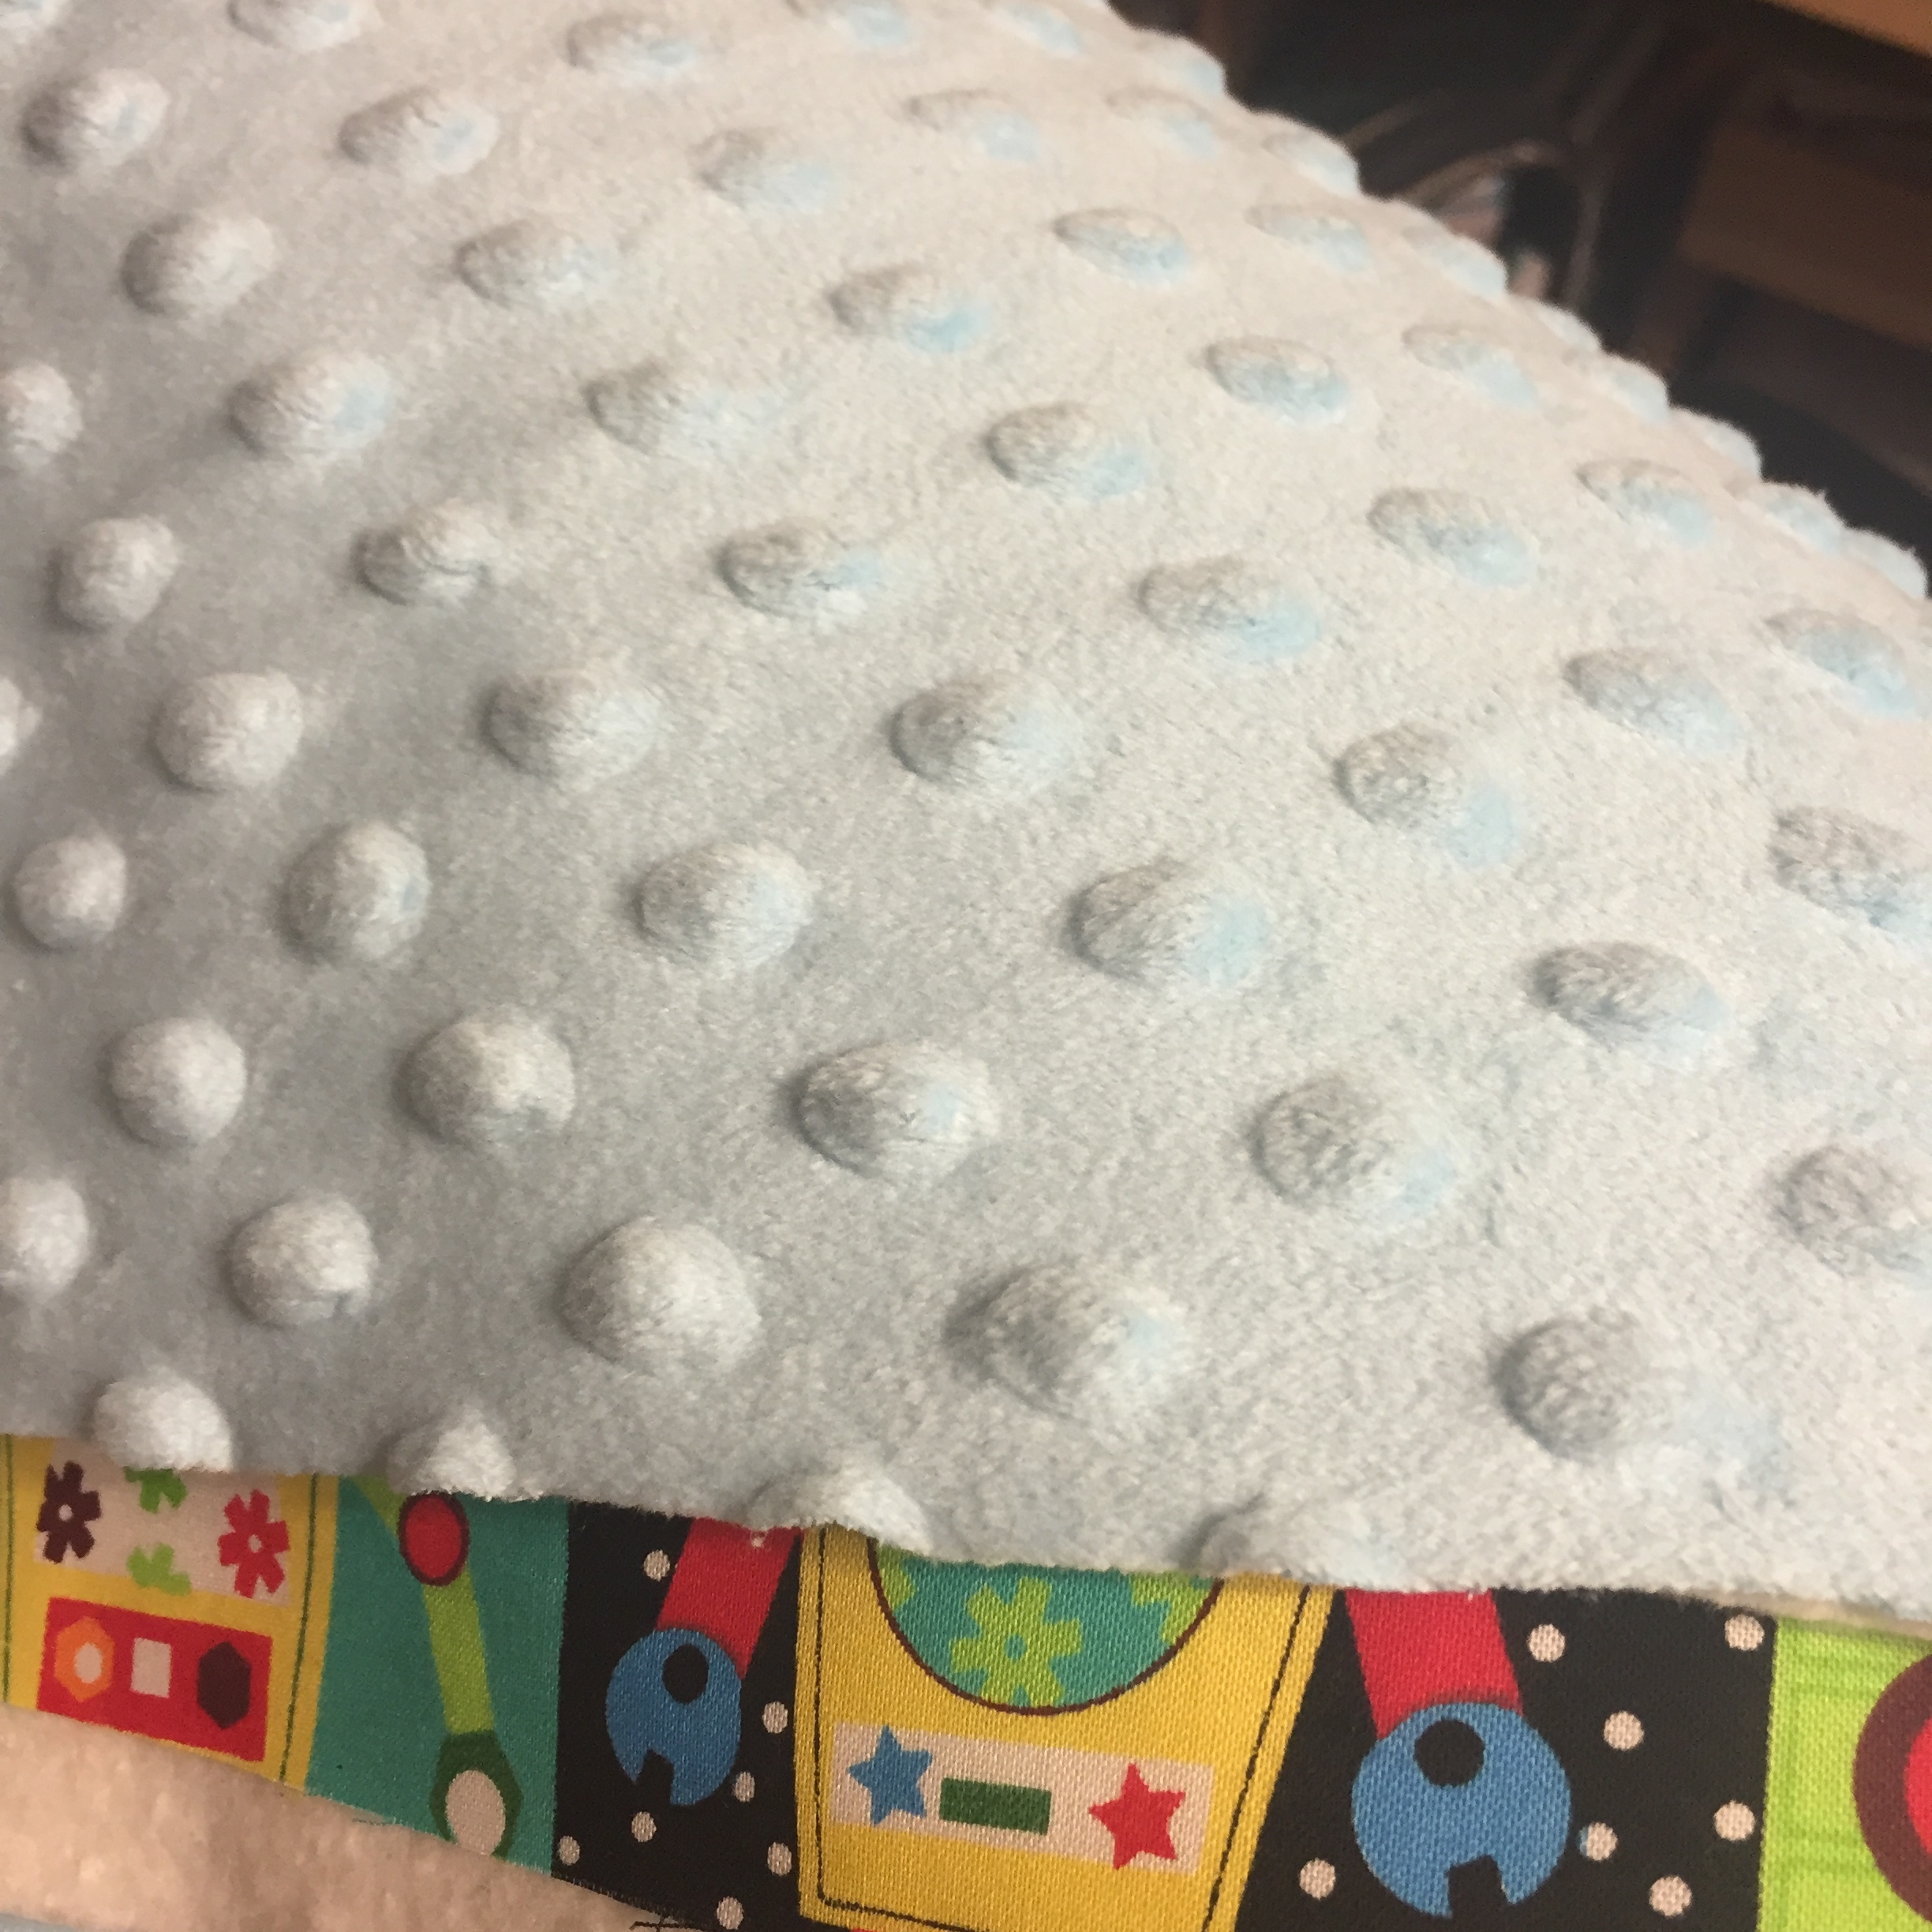
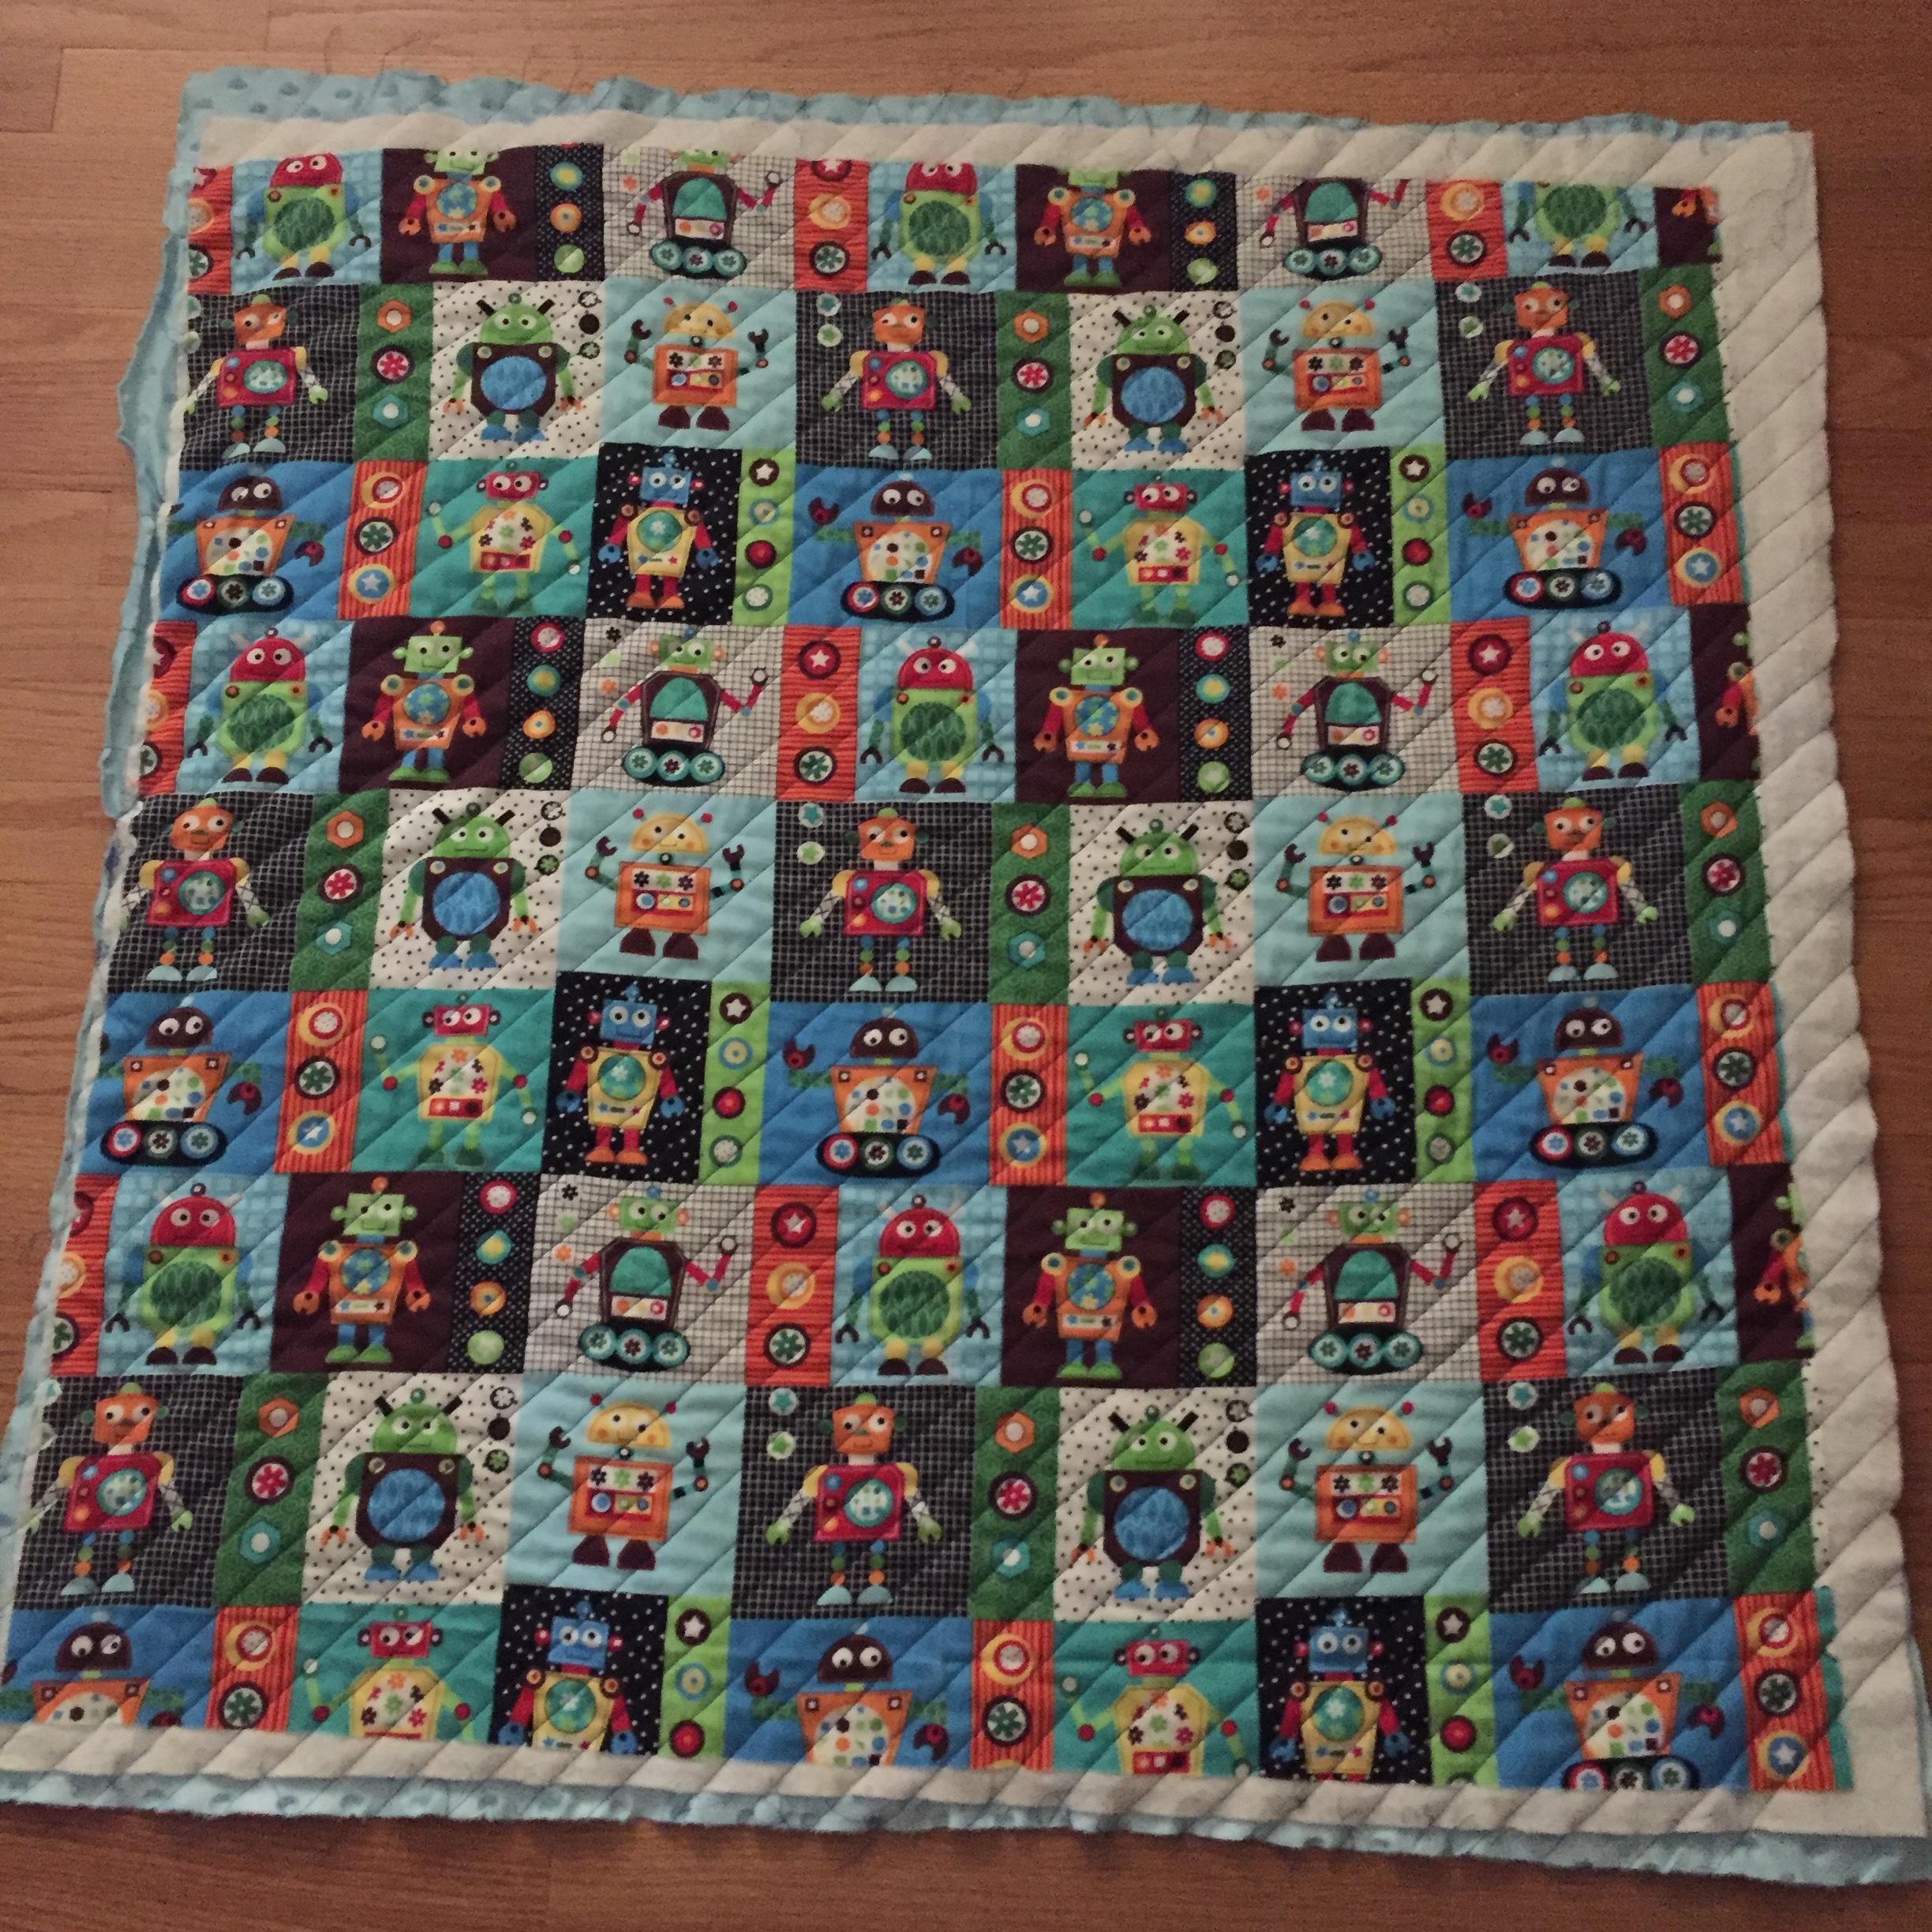
Hi everyone! Gabriela here with my latest project, an easy baby quilt that you can complete on a Saturday morning/afternoon. I bought this fantastic robot fabric from Hobby Lobby and the binding as well. I decided to use minky for the backing in a baby blue color as this quilt is for a friend having a baby boy. First I cut a panel of the robot fabric to 36" x 36", I used some Warm & Natural batting cut slightly larger.
Fabric sandwich.
I tried to keep the edges as straight as possible and then I spray basted the layers. I wanted to do some simple, clean quilting, so I used some masking tape as a guide and taped it corner to corner and then quilted along each side.

To keep the quilting even, I used my walking foot to measure the spacing.

Once the quilting was finished, I trimmed up and squared the layers.
Time to square up.
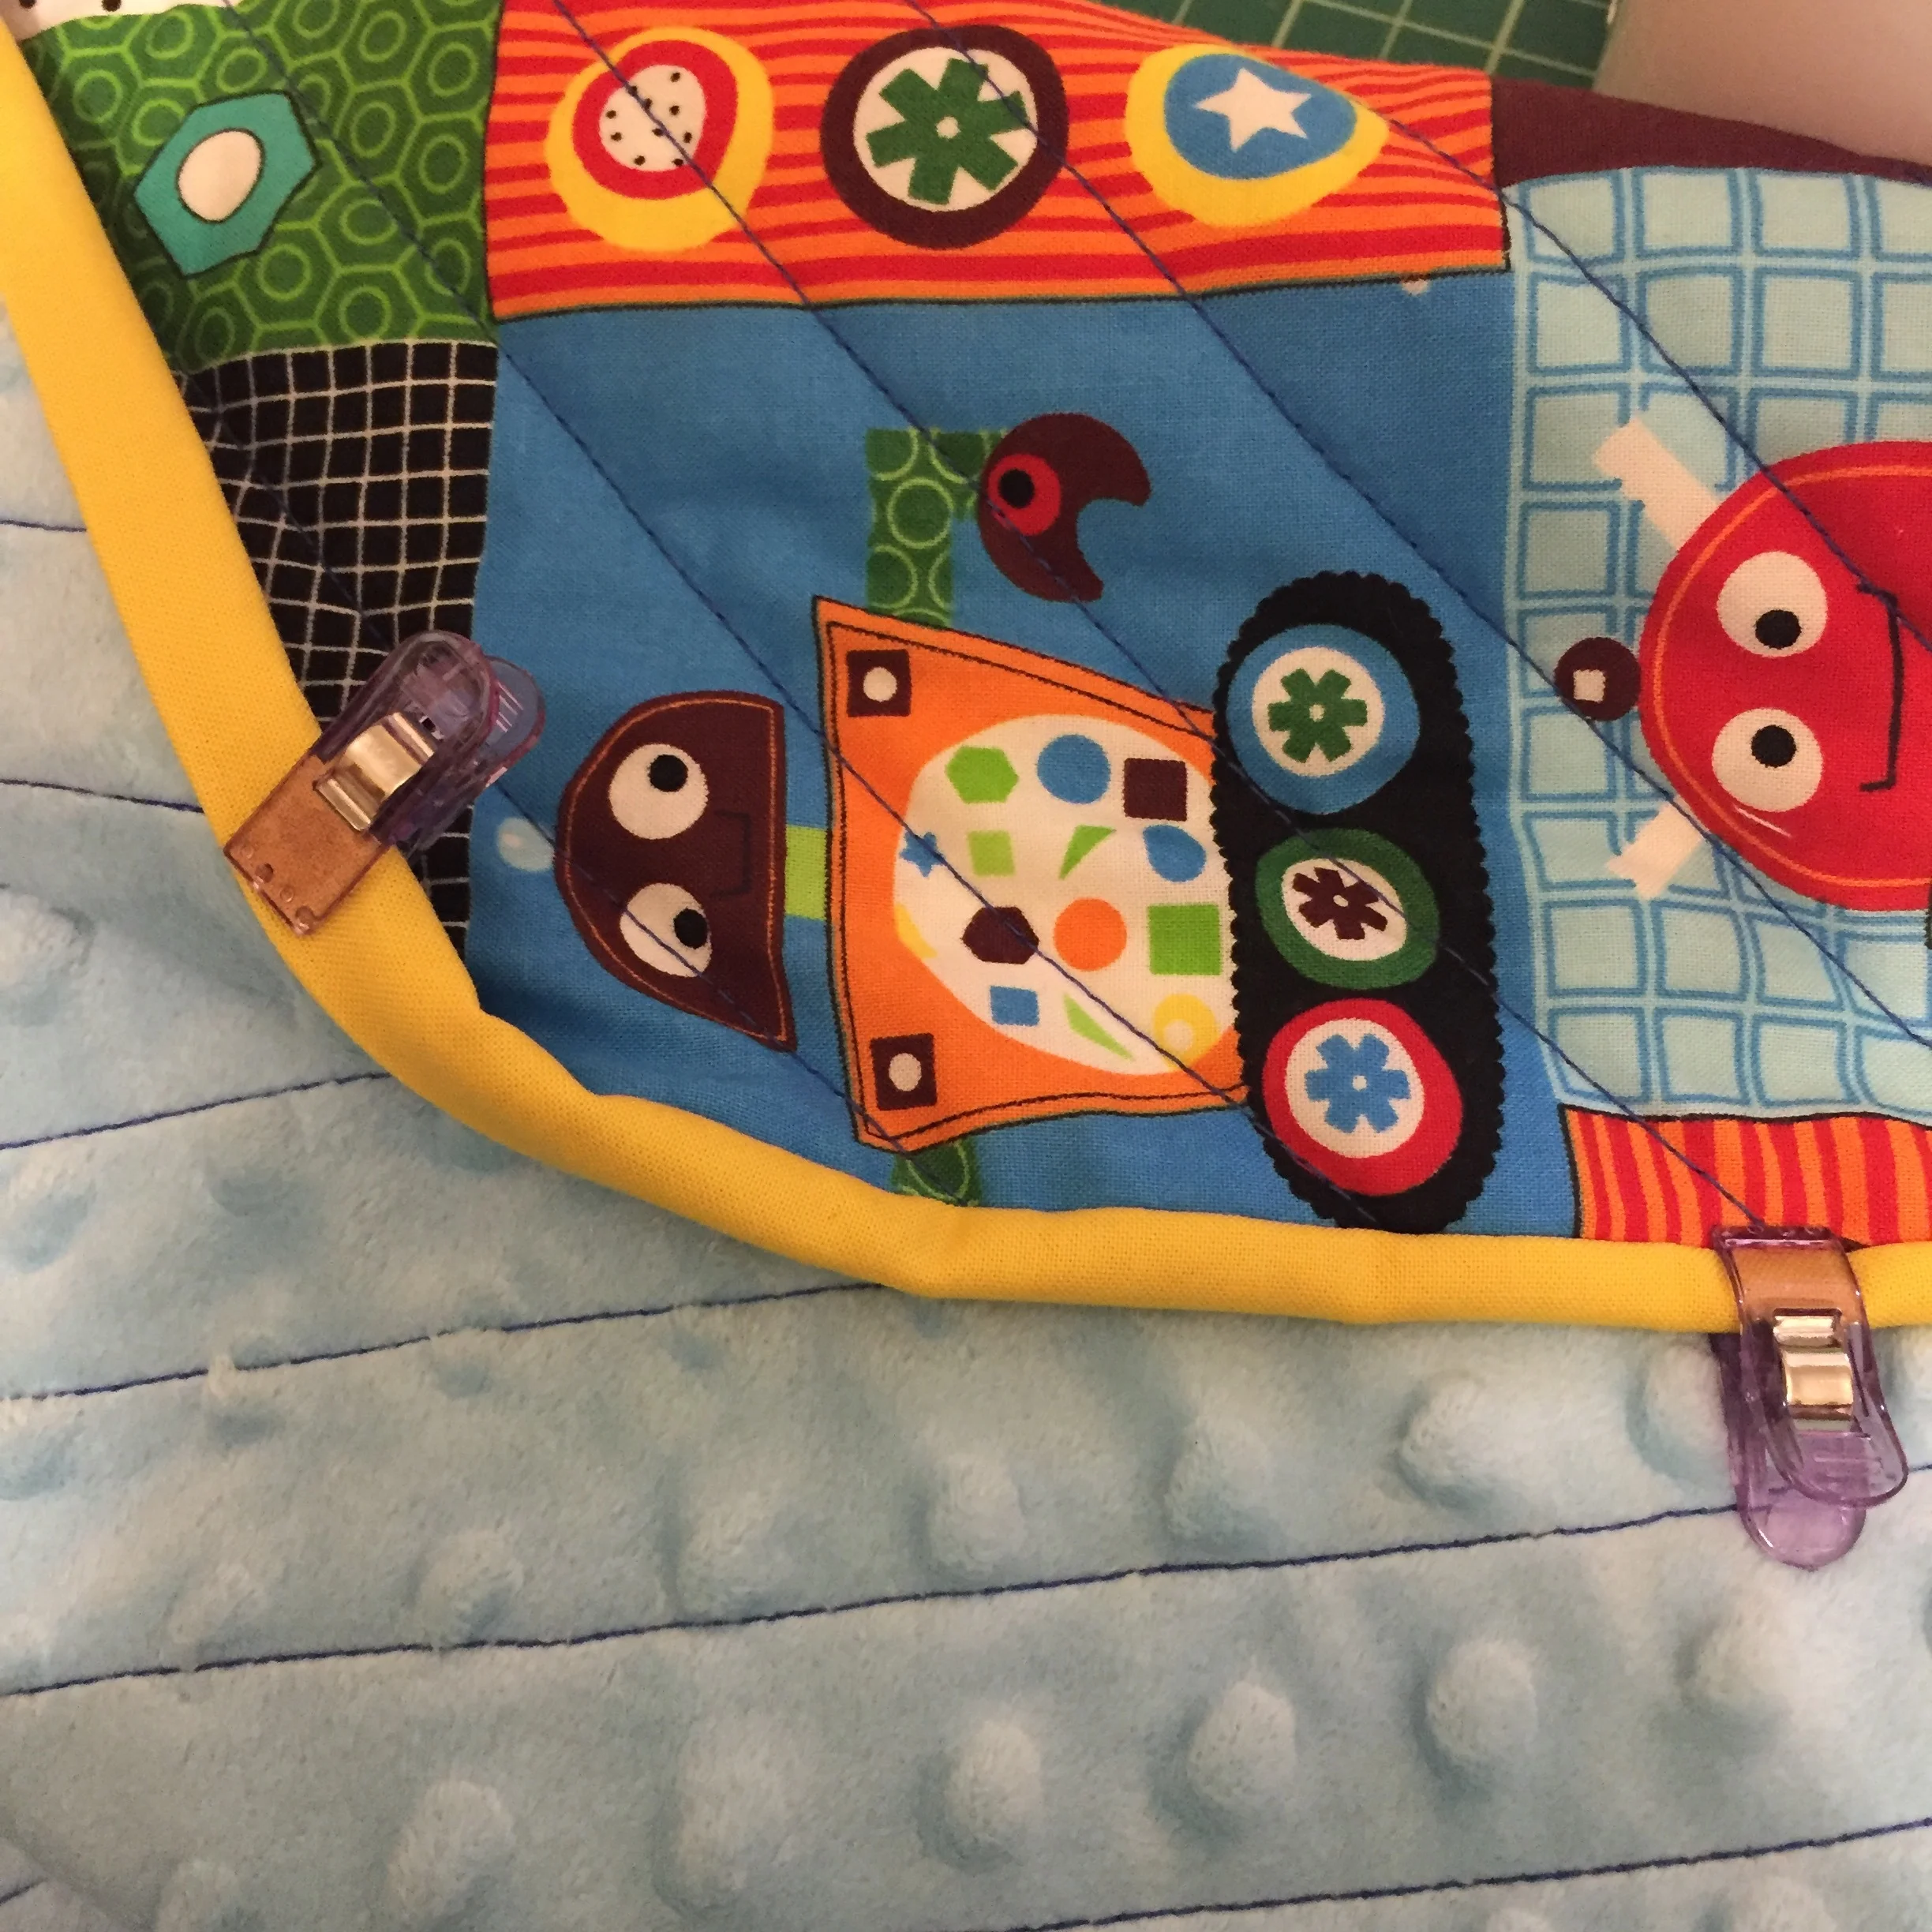
I prepared my binding and attached it to the top.
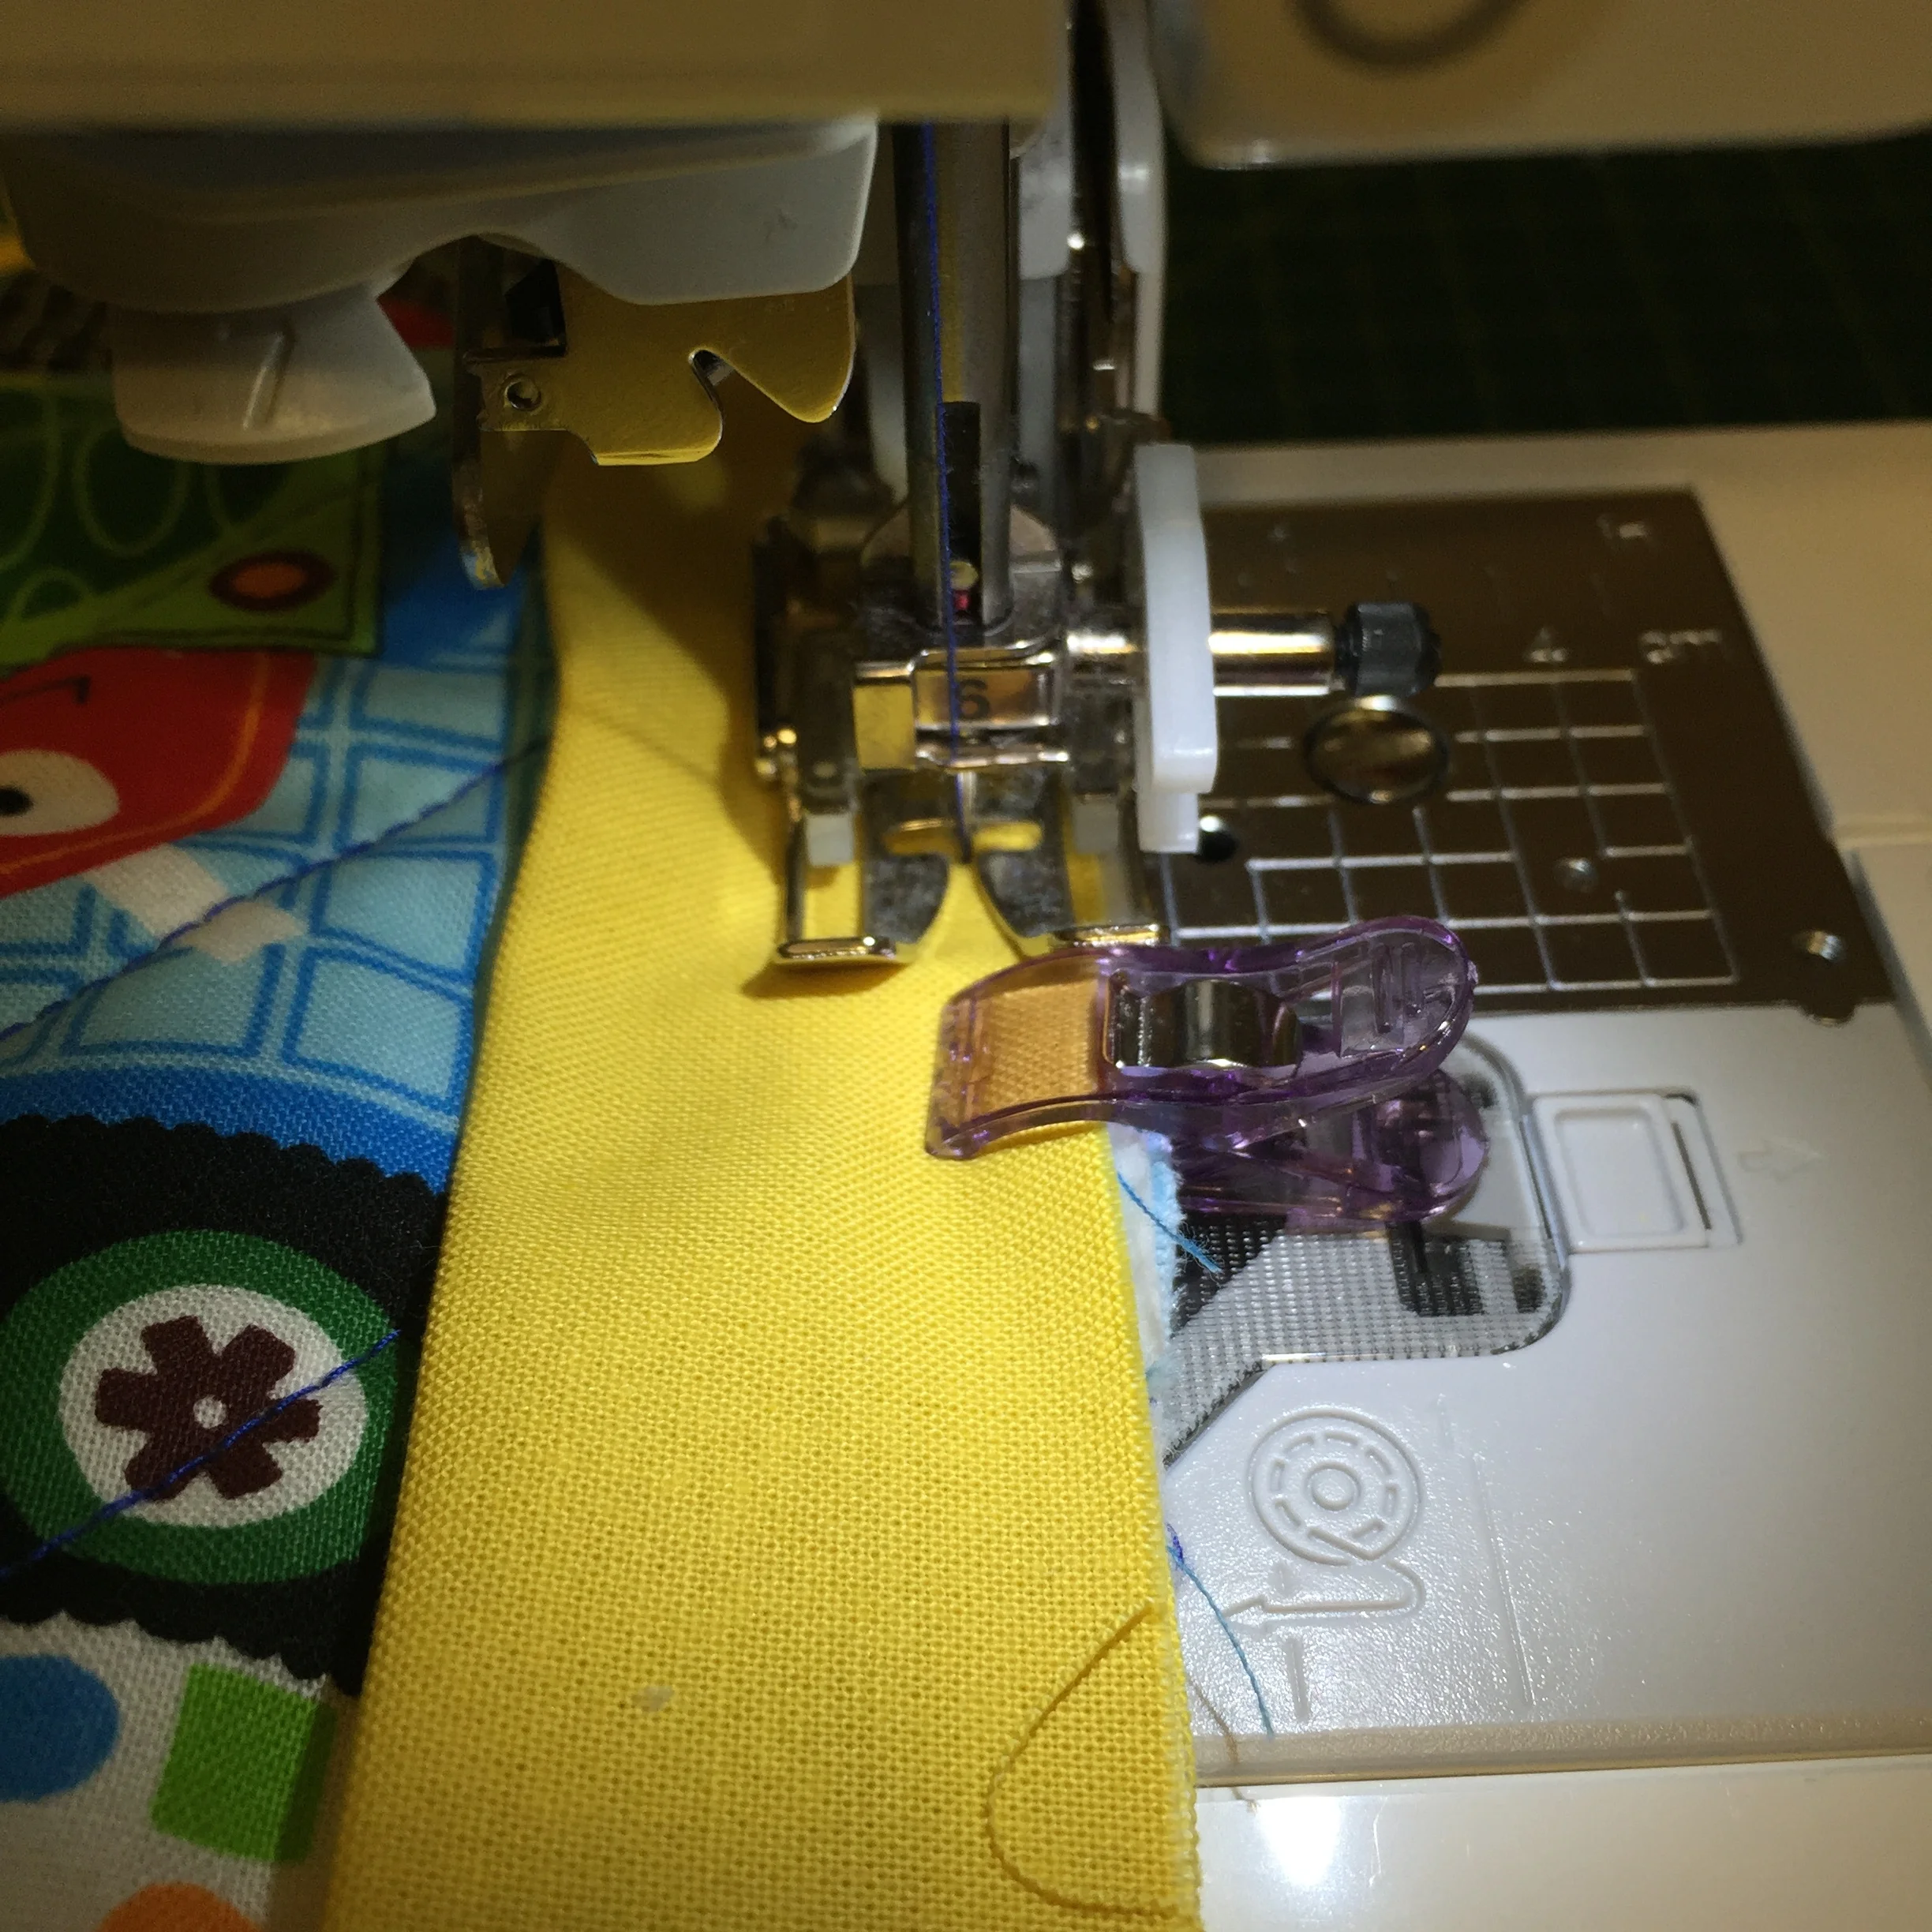

So I just discovered the joy of Wonder Clips from Clover! These cut my binding time by at least 1/3, they are handy little clips with an excellent grip. No more using a bunch of pins and poking myself or watching my pins slip and shift. I cannot believe I just found out about these!
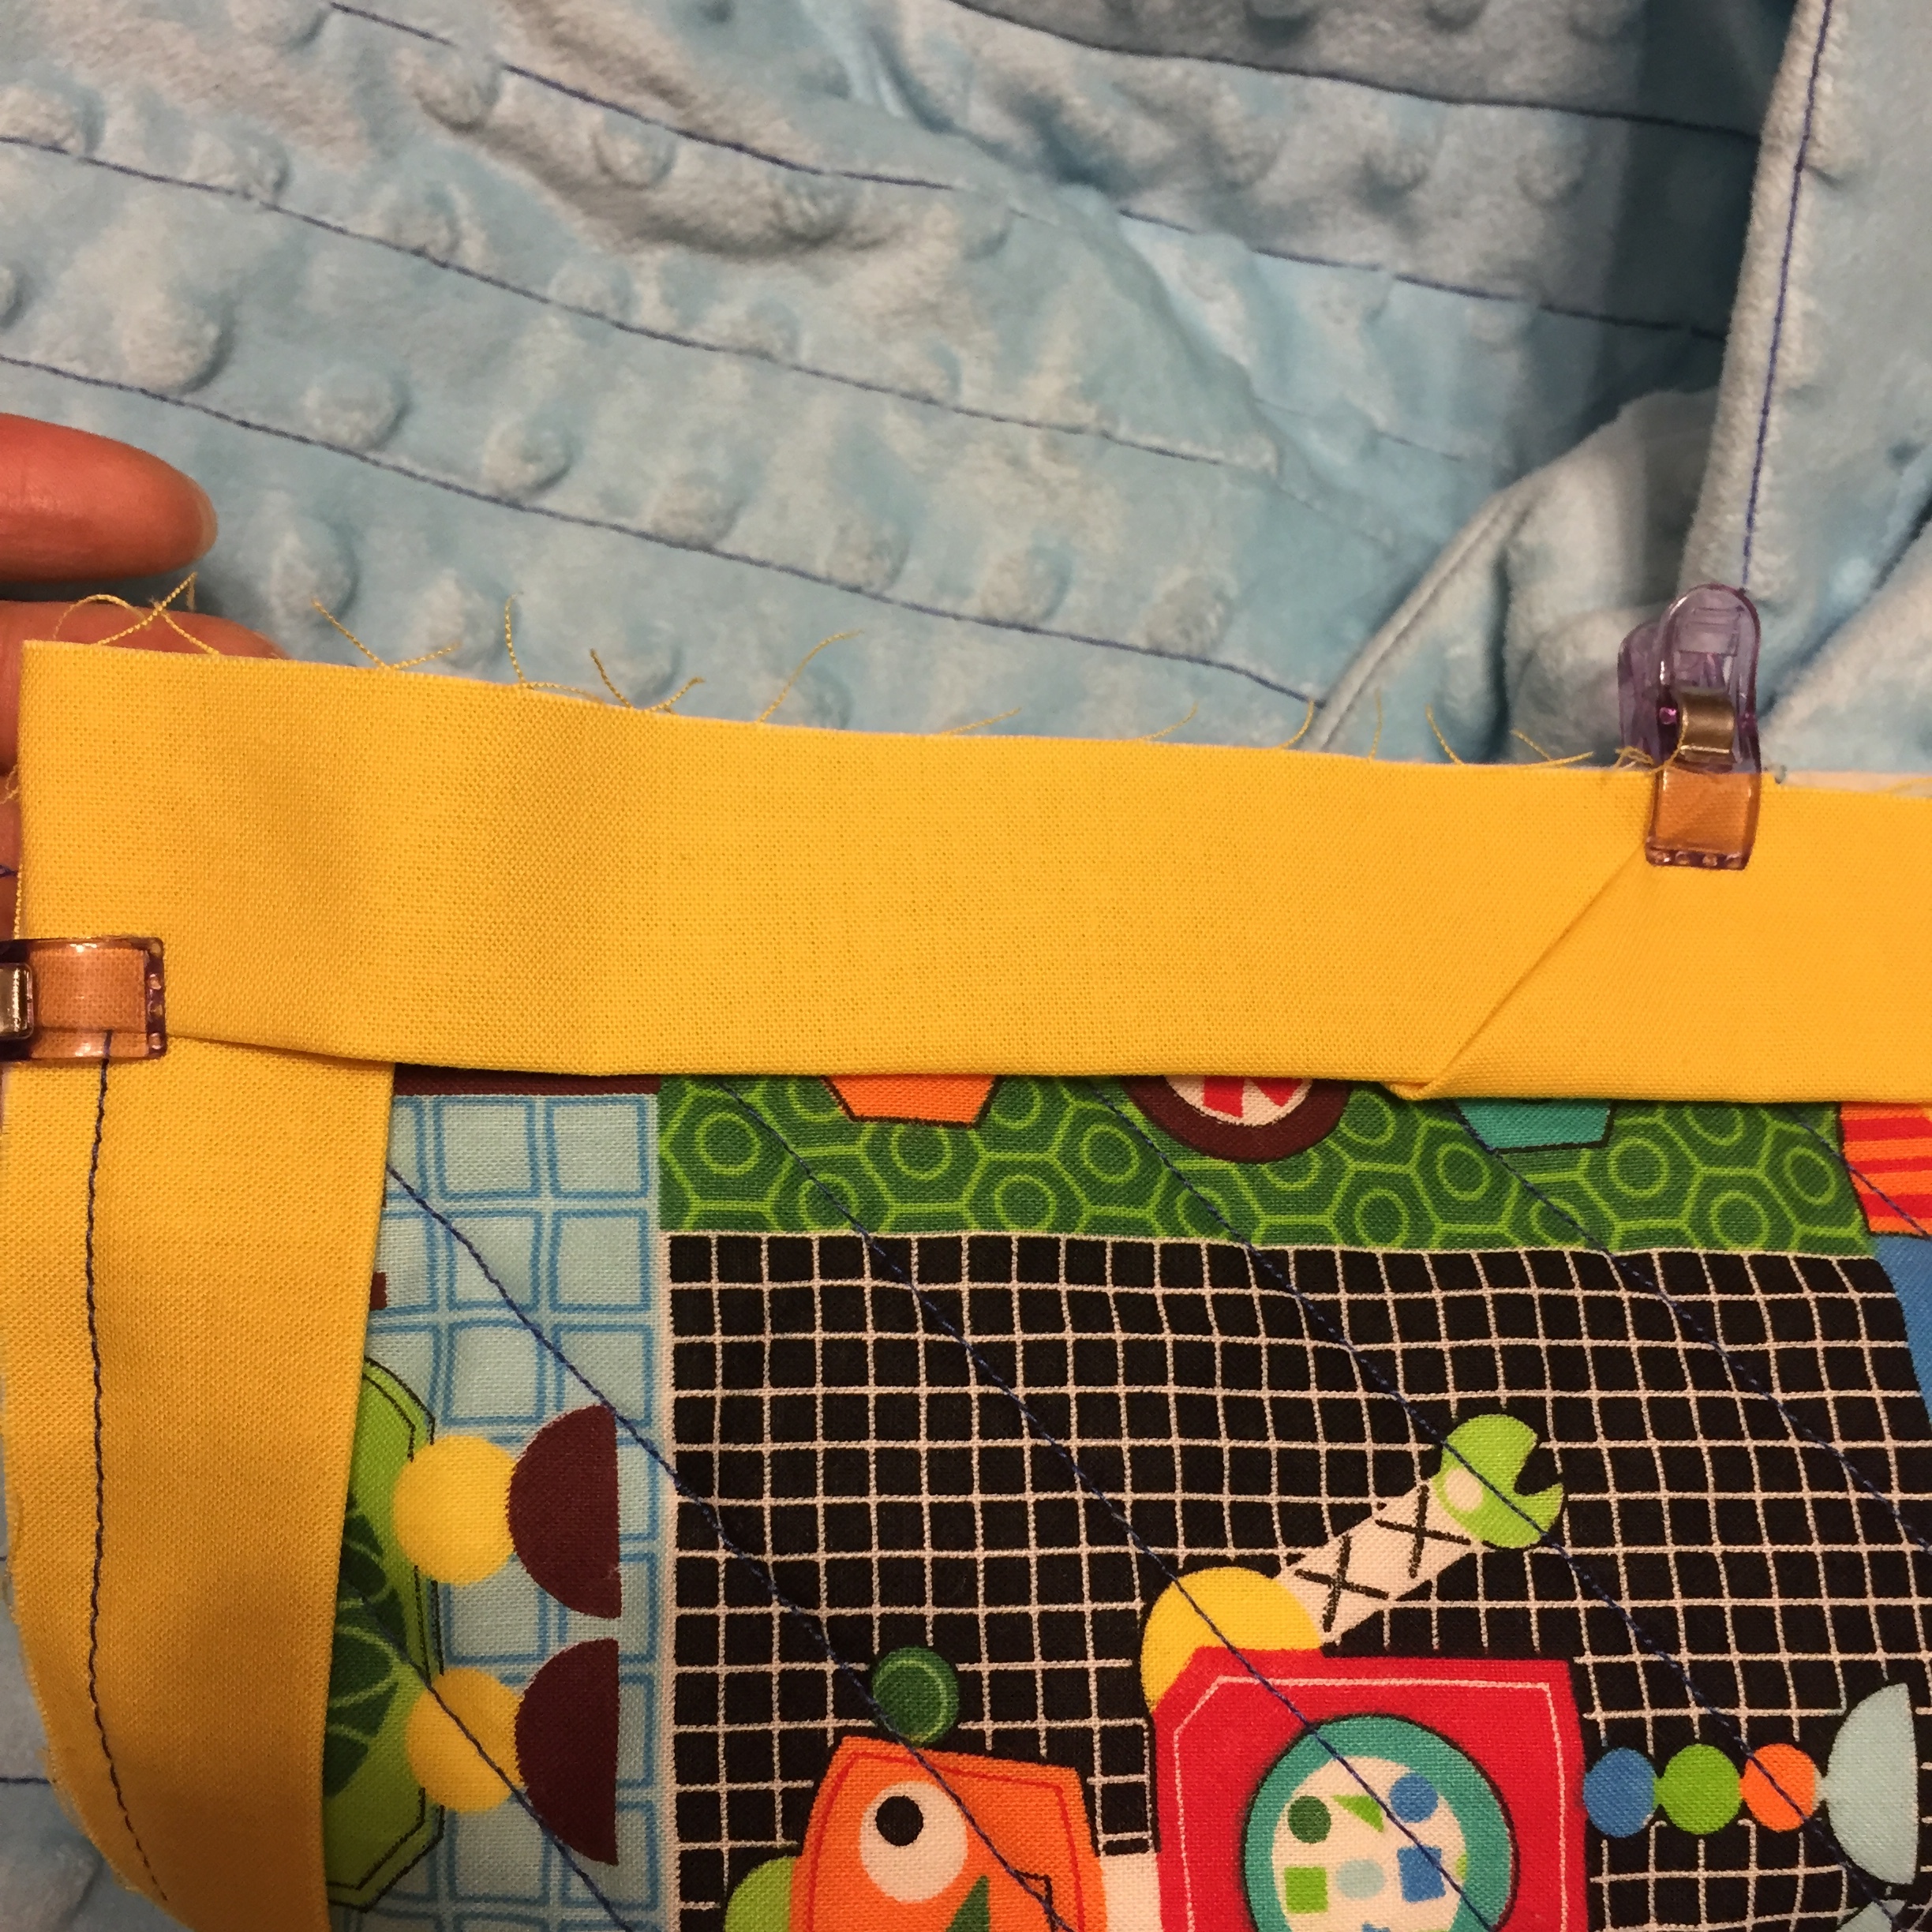
Now stitch in the ditch for finishing the binding.
That's it, now you're done!

Front.
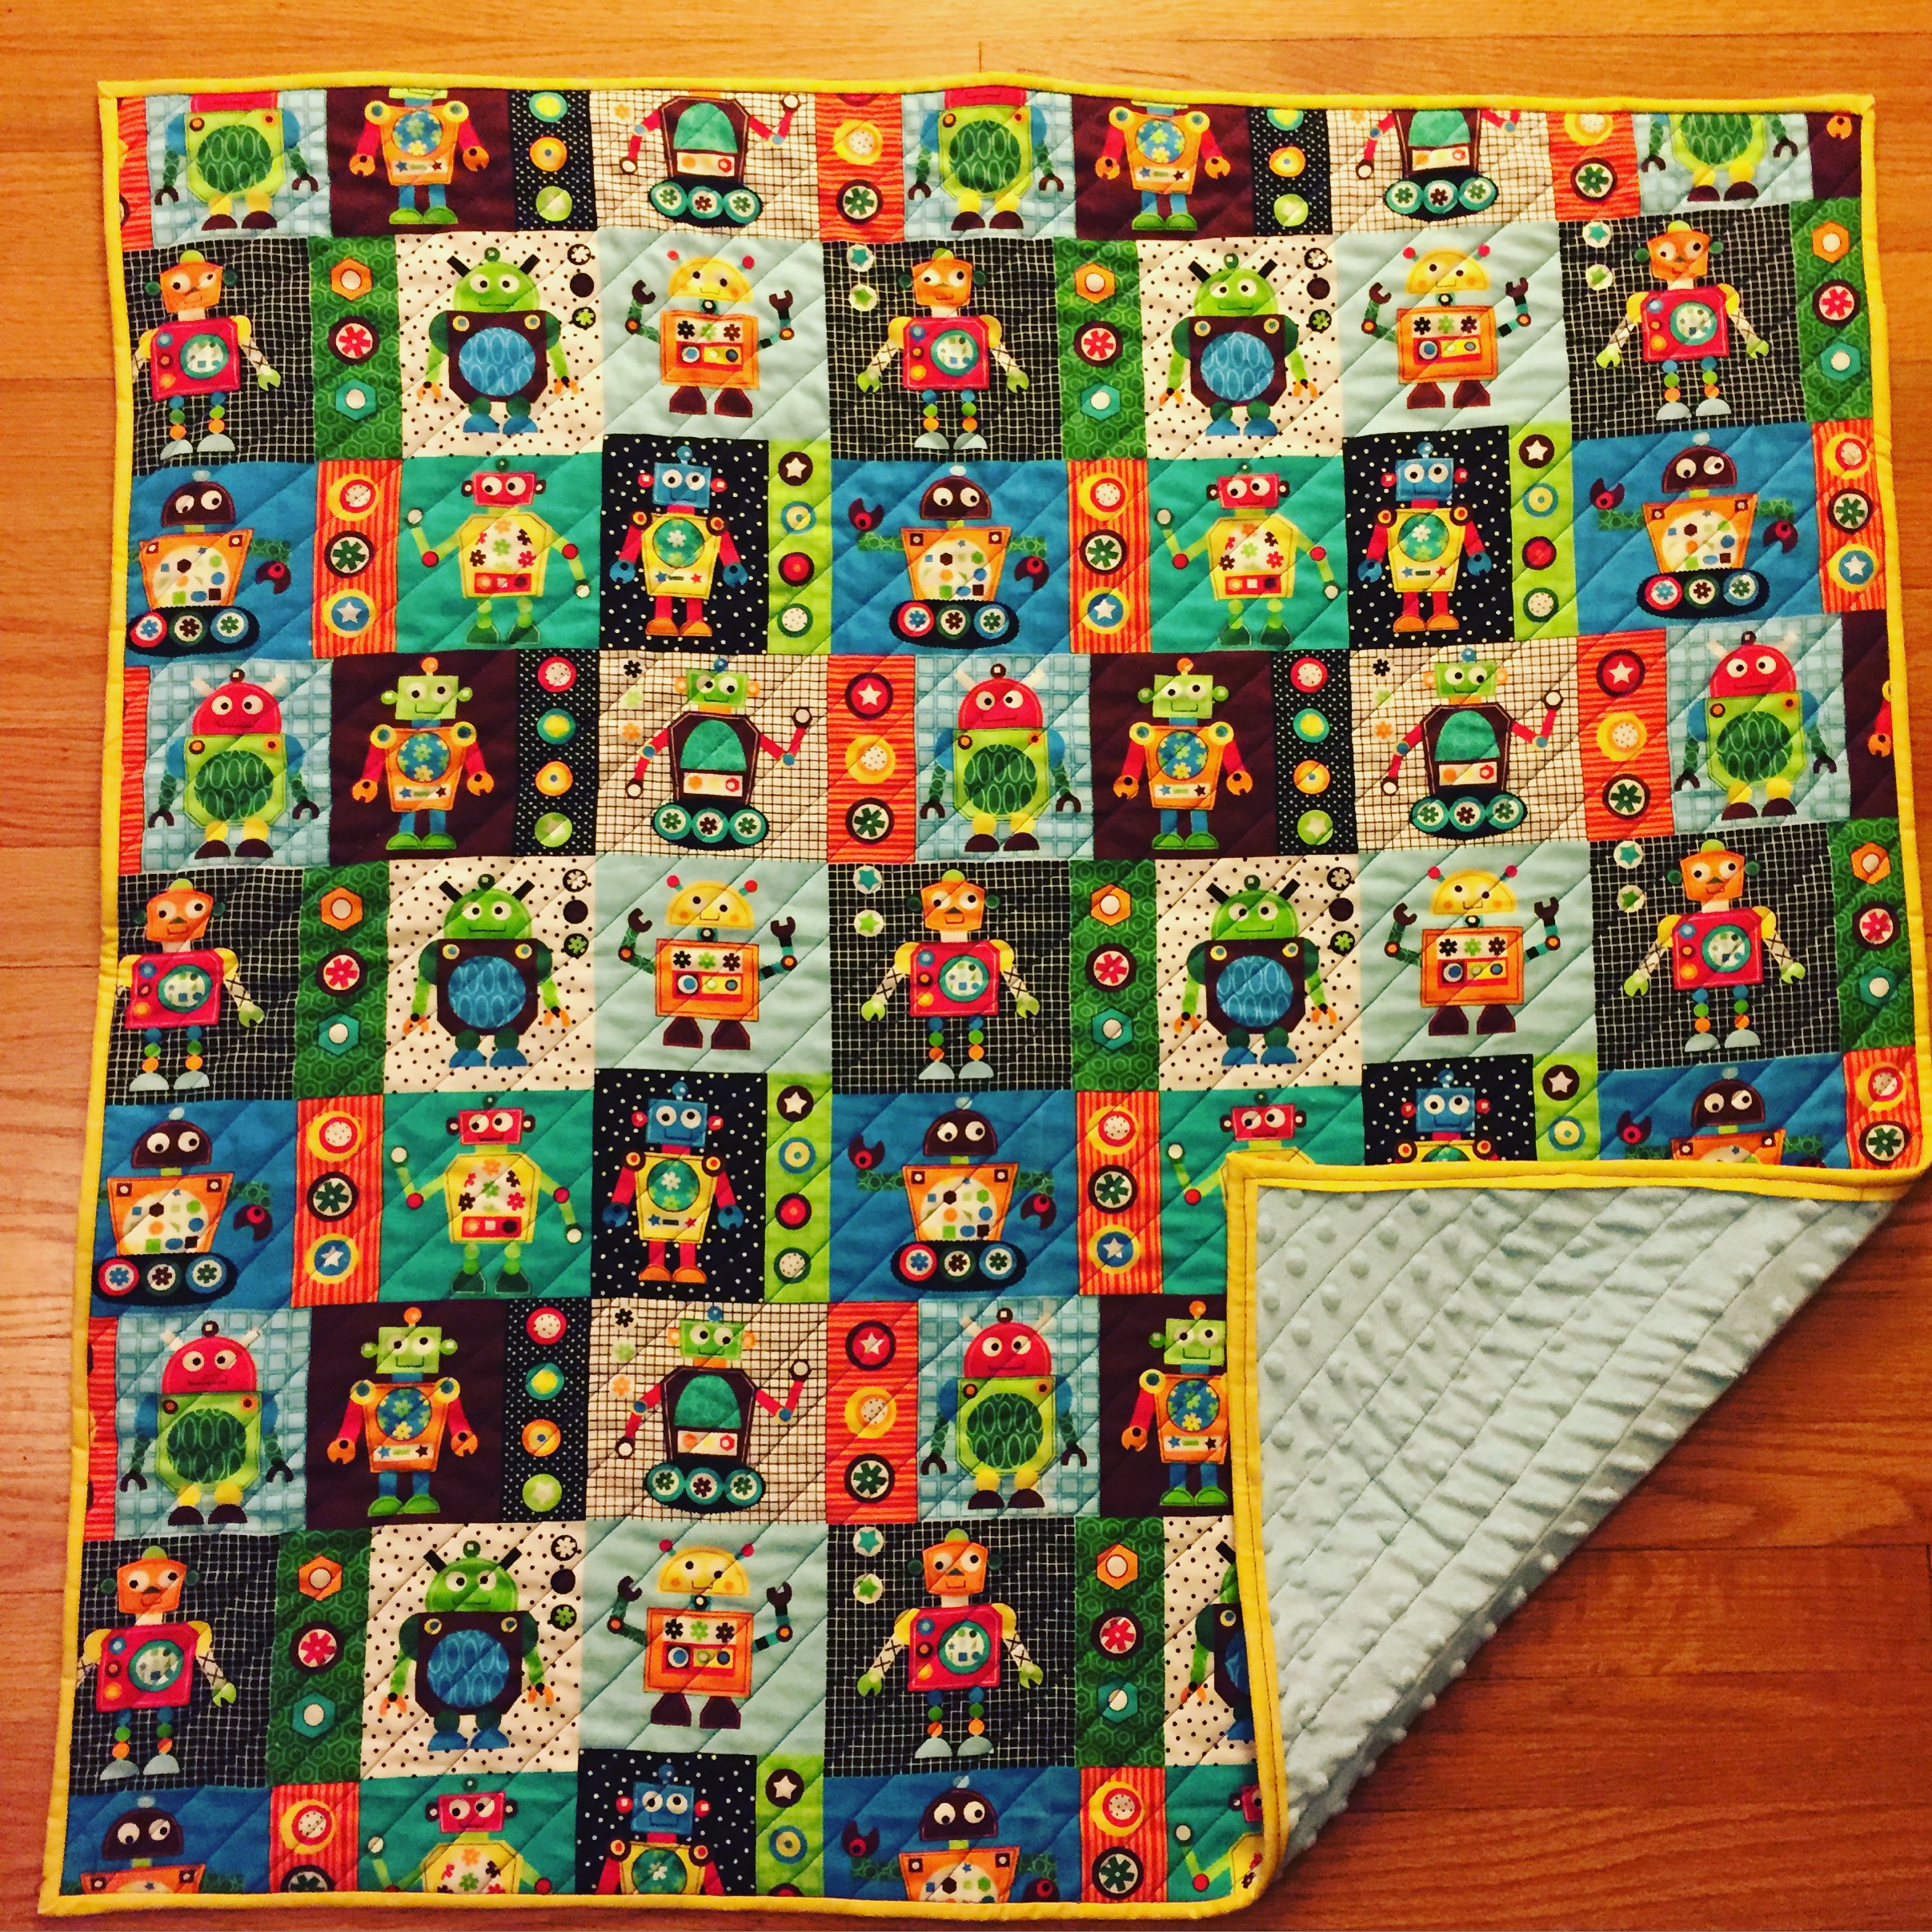
I decided to make this quilt out of one big panel because I really loved this fabric. You could do this with any fabric that you like and you could even add an appliqué. I hope you make a ton of quilts like this and please let me know if you have any questions.
As a bonus, I also made this little mug rug for my hubby.

Happy crafting! I'll be posting some new lettering soon too.