Gab with Gaby

An engineer's creative corner studio.

Happy

Gab about Lawnfawnatics - Happy Little Critters

Stamping, Copic Markers, Lawn Fawn, StampsGabriela Sims3 Comments

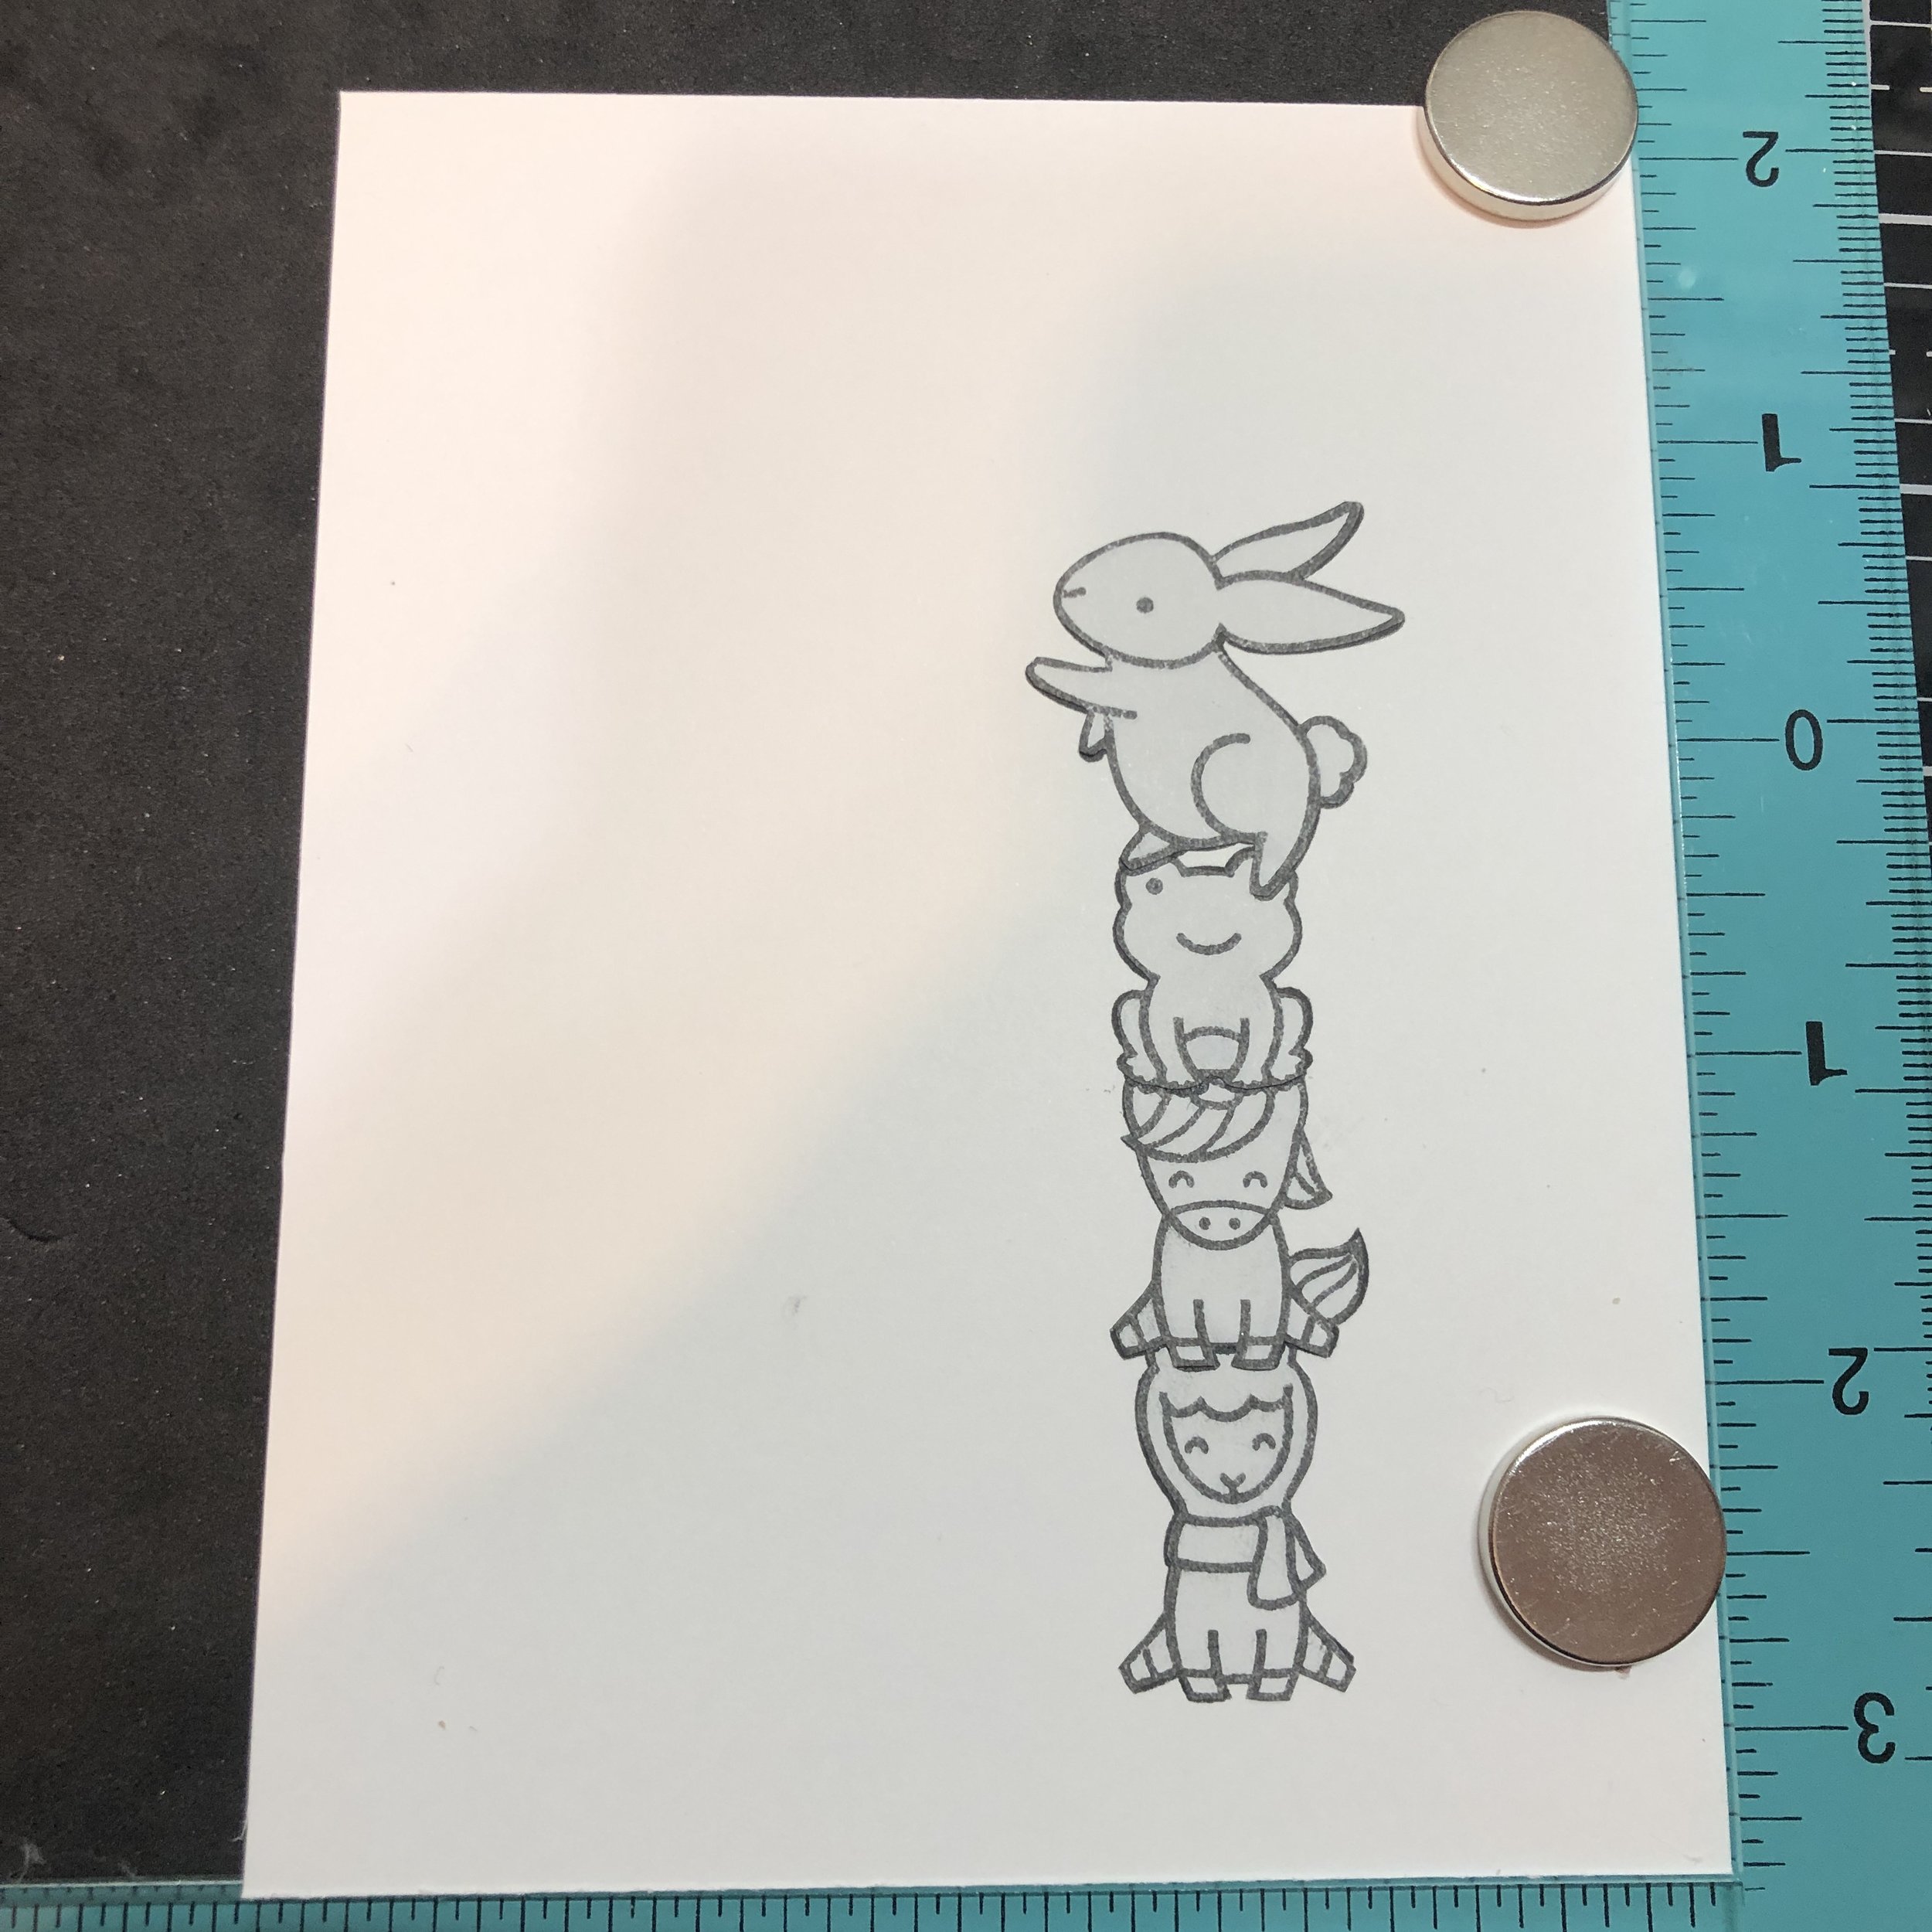
Hello there! The new challenge is all about critters so I pulled out several stamp sets and got to work. I decided to do a one layer card that involved Copic coloring and some masking. I wanted my critters to be doing something normal, so I decided to have them  delivering a handmade card. I used Toadally Awesome, Say What? Christmas Critters, Love Letters, Yay Kites, and Jump for Joy. I started by arranging my images to get an idea of what I would need to mask.

IMG_1189.JPG

Then I started stamping and masking using some Post-it tape. 

IMG_1190.JPG

I then used my copics to color the sky and grass.

IMG_1192.JPG

Next I peeled the images off one by one and started to color them.


IMG_1194.JPG

My sentiment is from the Yay, Kites set and I stamped it with some Versamark ink and heat set it with white embossing powder. I finished by adding some Spectrum Noir Sparkle Pen, some tiny hearts, and some Gelly Roll pen accents. I trimmed a piece of Gotta Have Gingham down and mounted it on a 4.25” x 5.5” card base. 

IMG_1199.JPG

This was a super fun card to make and it reminded me that I have quite a few Lawn Fawn sets that I really love. Until next time, stay safe in these crafting streets.

Happy crafting,

Gaby

I have linked* to the supplies I used below:

Yay, Kites

Toadally Awesome

Say What? Christmas Critters

Love Letters

Jump for Joy

Gotta Have Gingham

Embossing Powder - White

Gelly Roll Pen

VersaMark Watermark Stamp Pad

Copic Markers

*Affiliate links used at no additional cost to you.

Cardmaking - Birthday Flowers

Card Making, Paper crafting, Diy, Crafts, StampingGabriela SimsComment

This is a fairly simple birthday card I made, using a few different techniques. Materials you will need:

Scoring board and bone folder

Card stock in 2 coordinating colors

White card stock  

Stamping ink in color of your choosing

Large background stamp

Happy Birthday stamp

Edge punch

Adhesive ribbon

Markers

Glue runner  


image.jpg

Start by cutting and scoring your card stock to the desired card size, I chose 5 x 7 to fit in A7 sized envelopes.  Then edge punch what will be the front of the card, I used a lace edge punch.  I stamped my background image on a 4 x 6 piece of white card stock and then colored in the image with markers. I used a coordinating piece of adhesive ribbon along the left side, but washi tape will work as well.  Then I cut a coordinating rectangle of card stock 1.5 x 3 and layered my "Happy Birthday", stamped on white card stock to it. I then used dimensional dots to give it some depth when attached to the front of the card. I also used patterned scissors to cut around the "Happy Birhday" stamp to give it a nicer edge. Try this out for any occasion and set of stamps you love, happy crafting!