Friends...I finally got a Workbox!!! It started as me showing the video to my hubby and he said "You should just get it." 24 hours later my pre-order was complete. It arrived about two weeks ago and honestly, I have been working on it since then. I built it over the course of a few evenings and I just finished putting all of my items into it this past weekend. I will do another post soon that gives a full look at it, but this post is just about the build and my first impression. To be frank, this is not a single person job, I repeat, find someone to help you! I am an experienced engineer and by the time I was done, I had used several principles of leverage, power tools, and light woodworking; it was a monster. However, once it was finished, it was magnificent! I was able to fit so many supplies in it because of all of the tote storage. Check out some photos below.
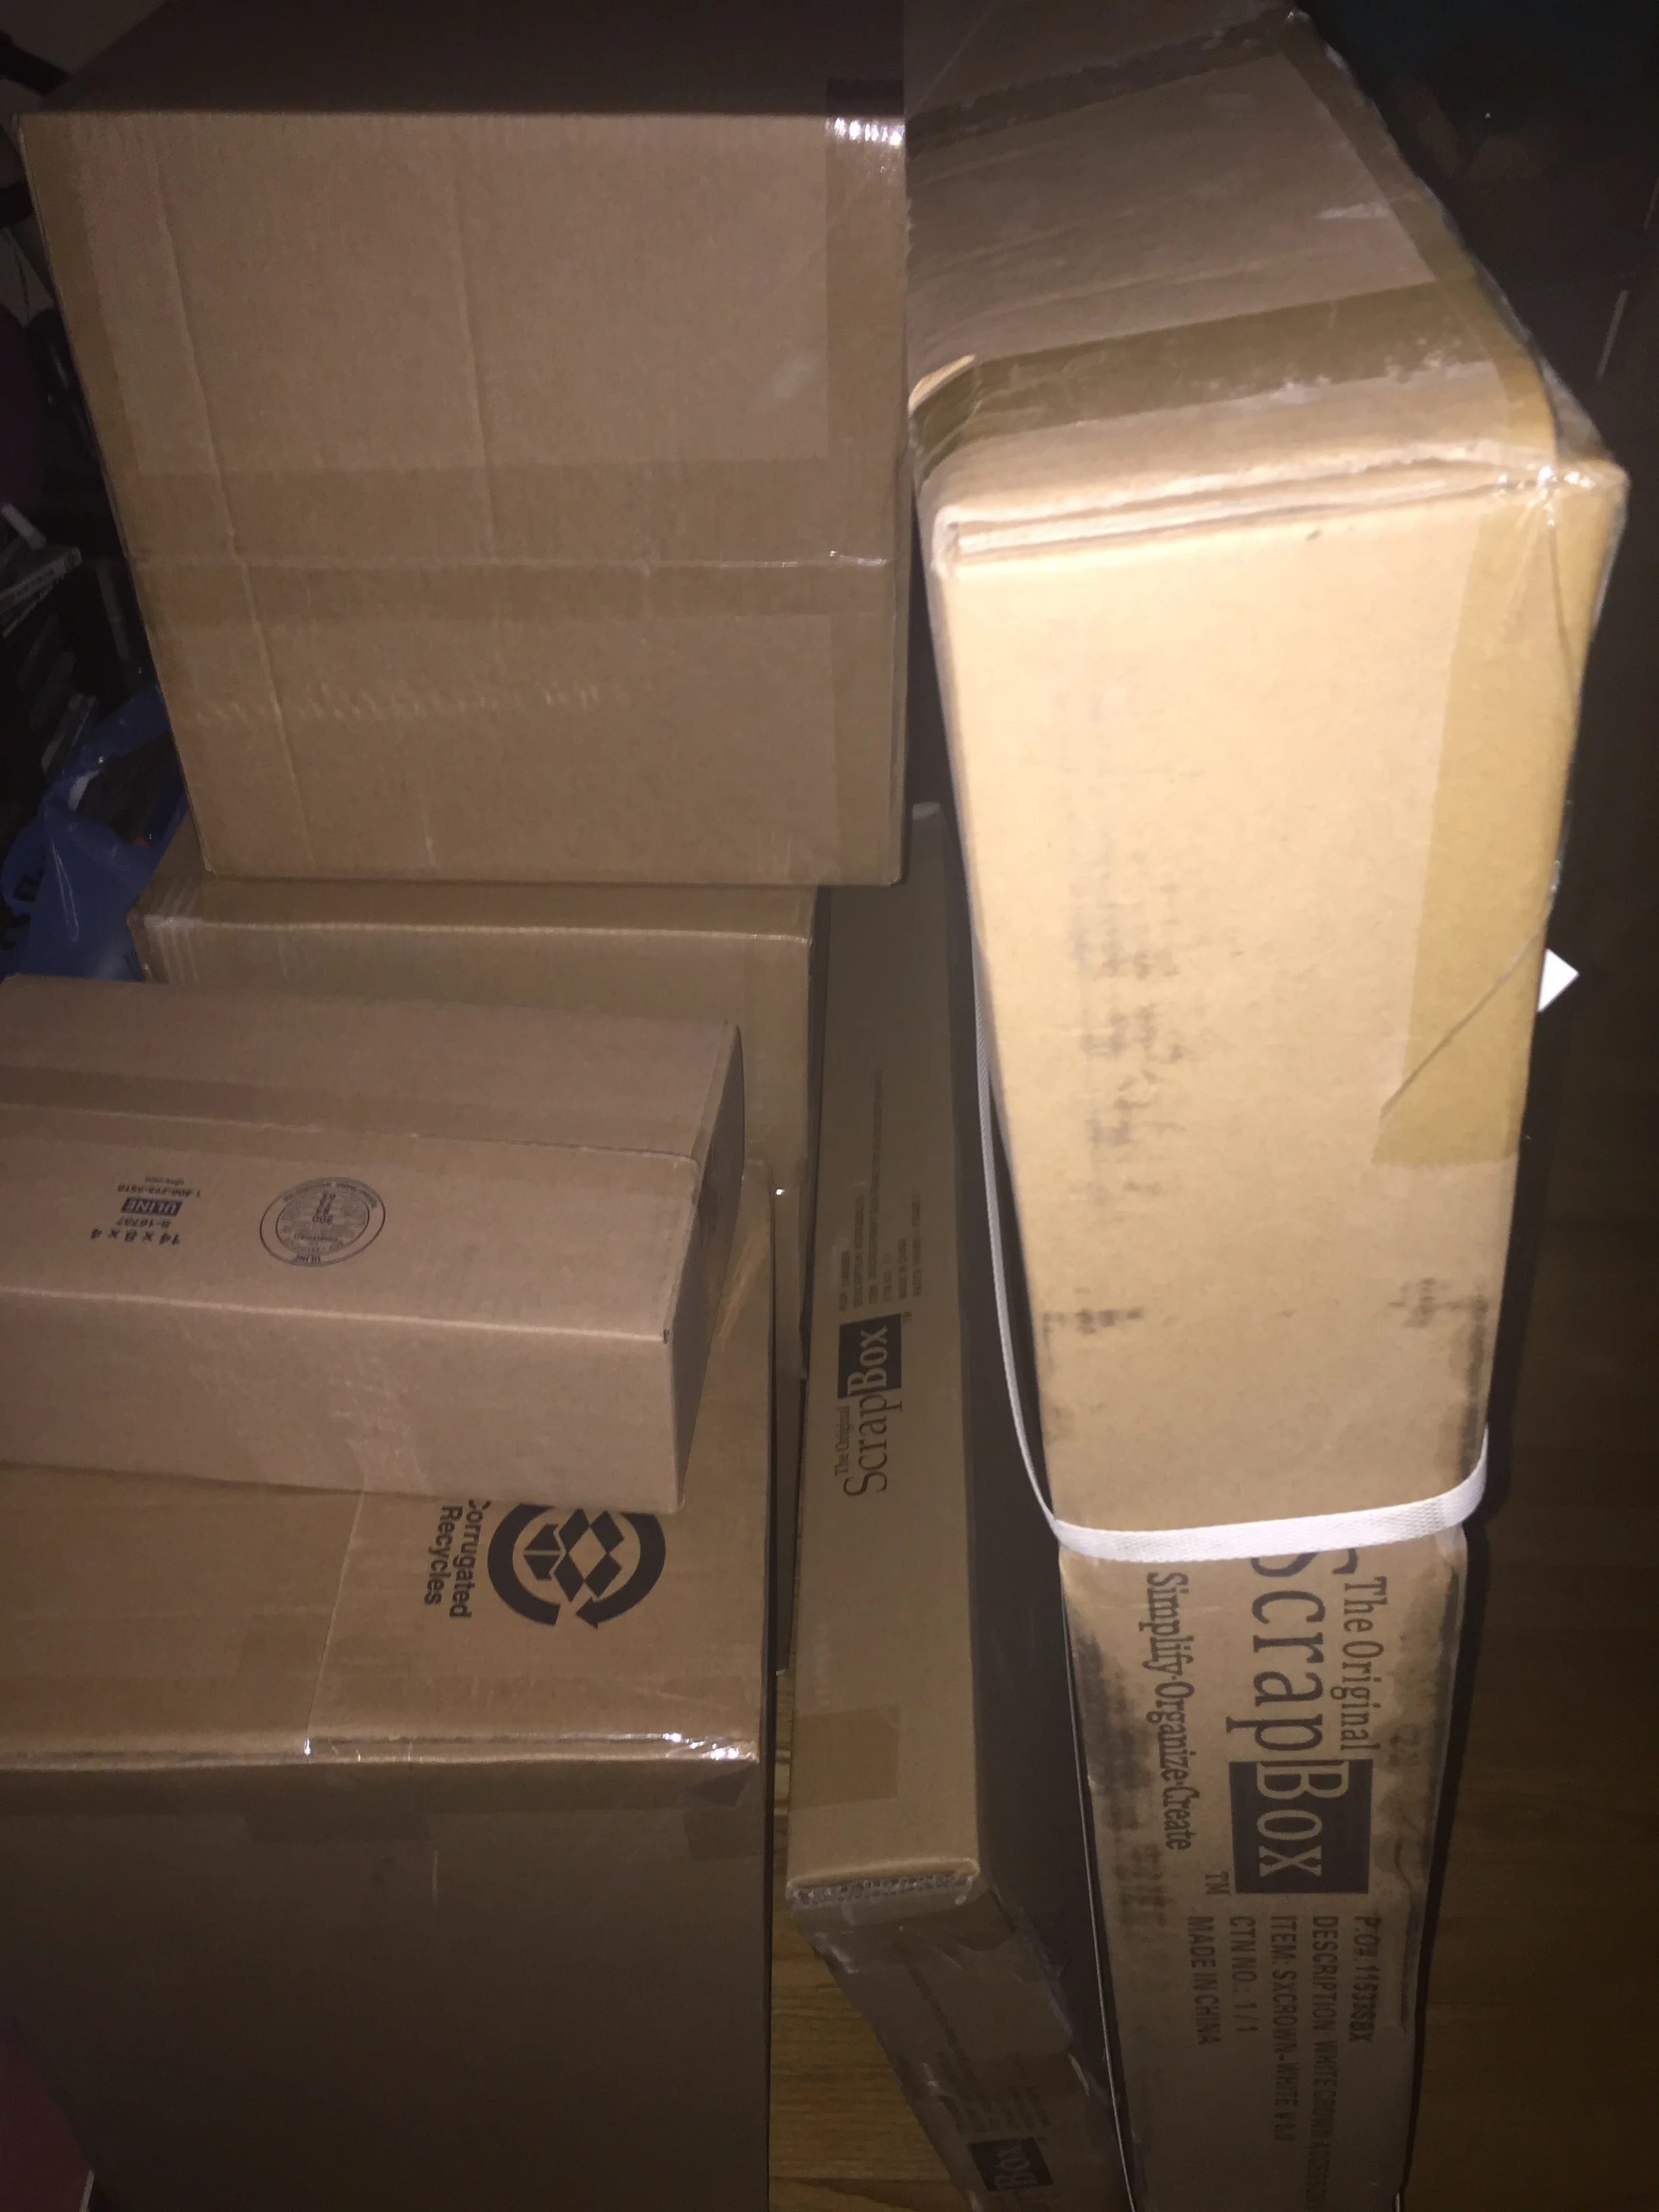
These boxes are in addition to a crate that was about 7' x 3' that I had to leave in my garage.

This is all of the hardware that comes with the Workbox.
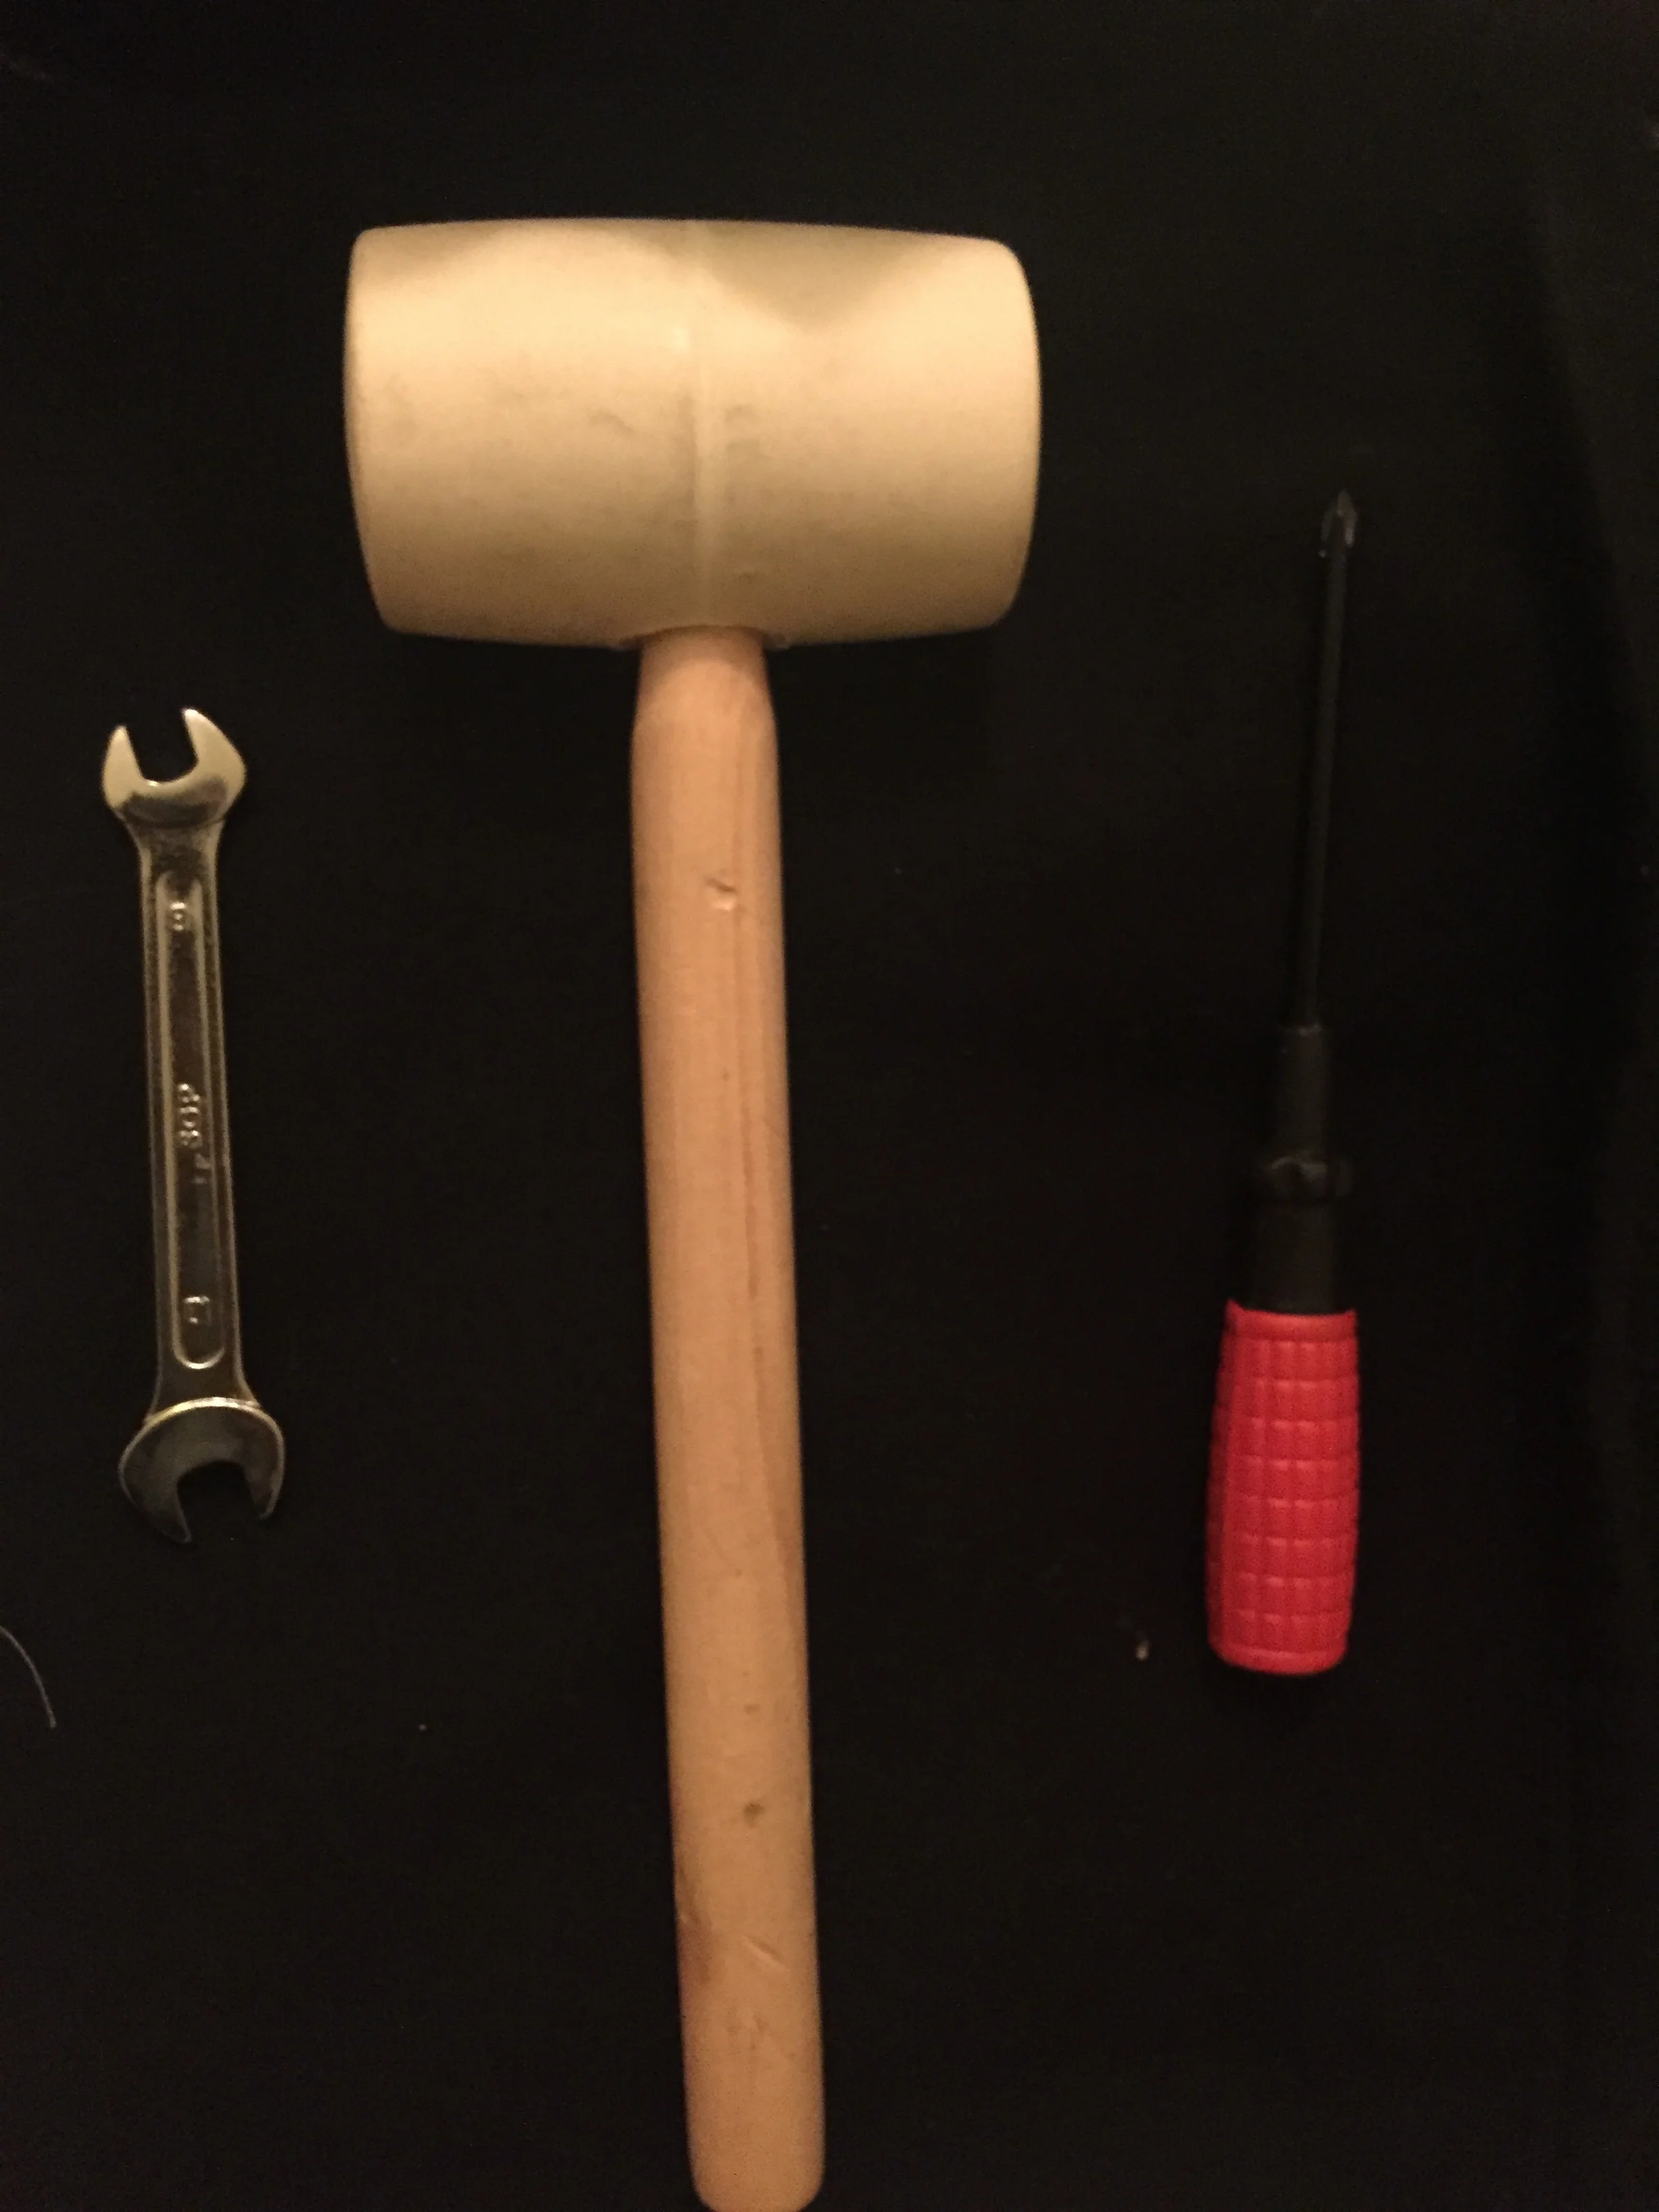
These tools are included, if you have a decent rubber mallet, use that instead, I found that the head kept popping off of this one.

End of Day 1.

End of day 2.

End of day 3. Putting the shelves in was surprisingly difficult because some of the spacing was really tight.

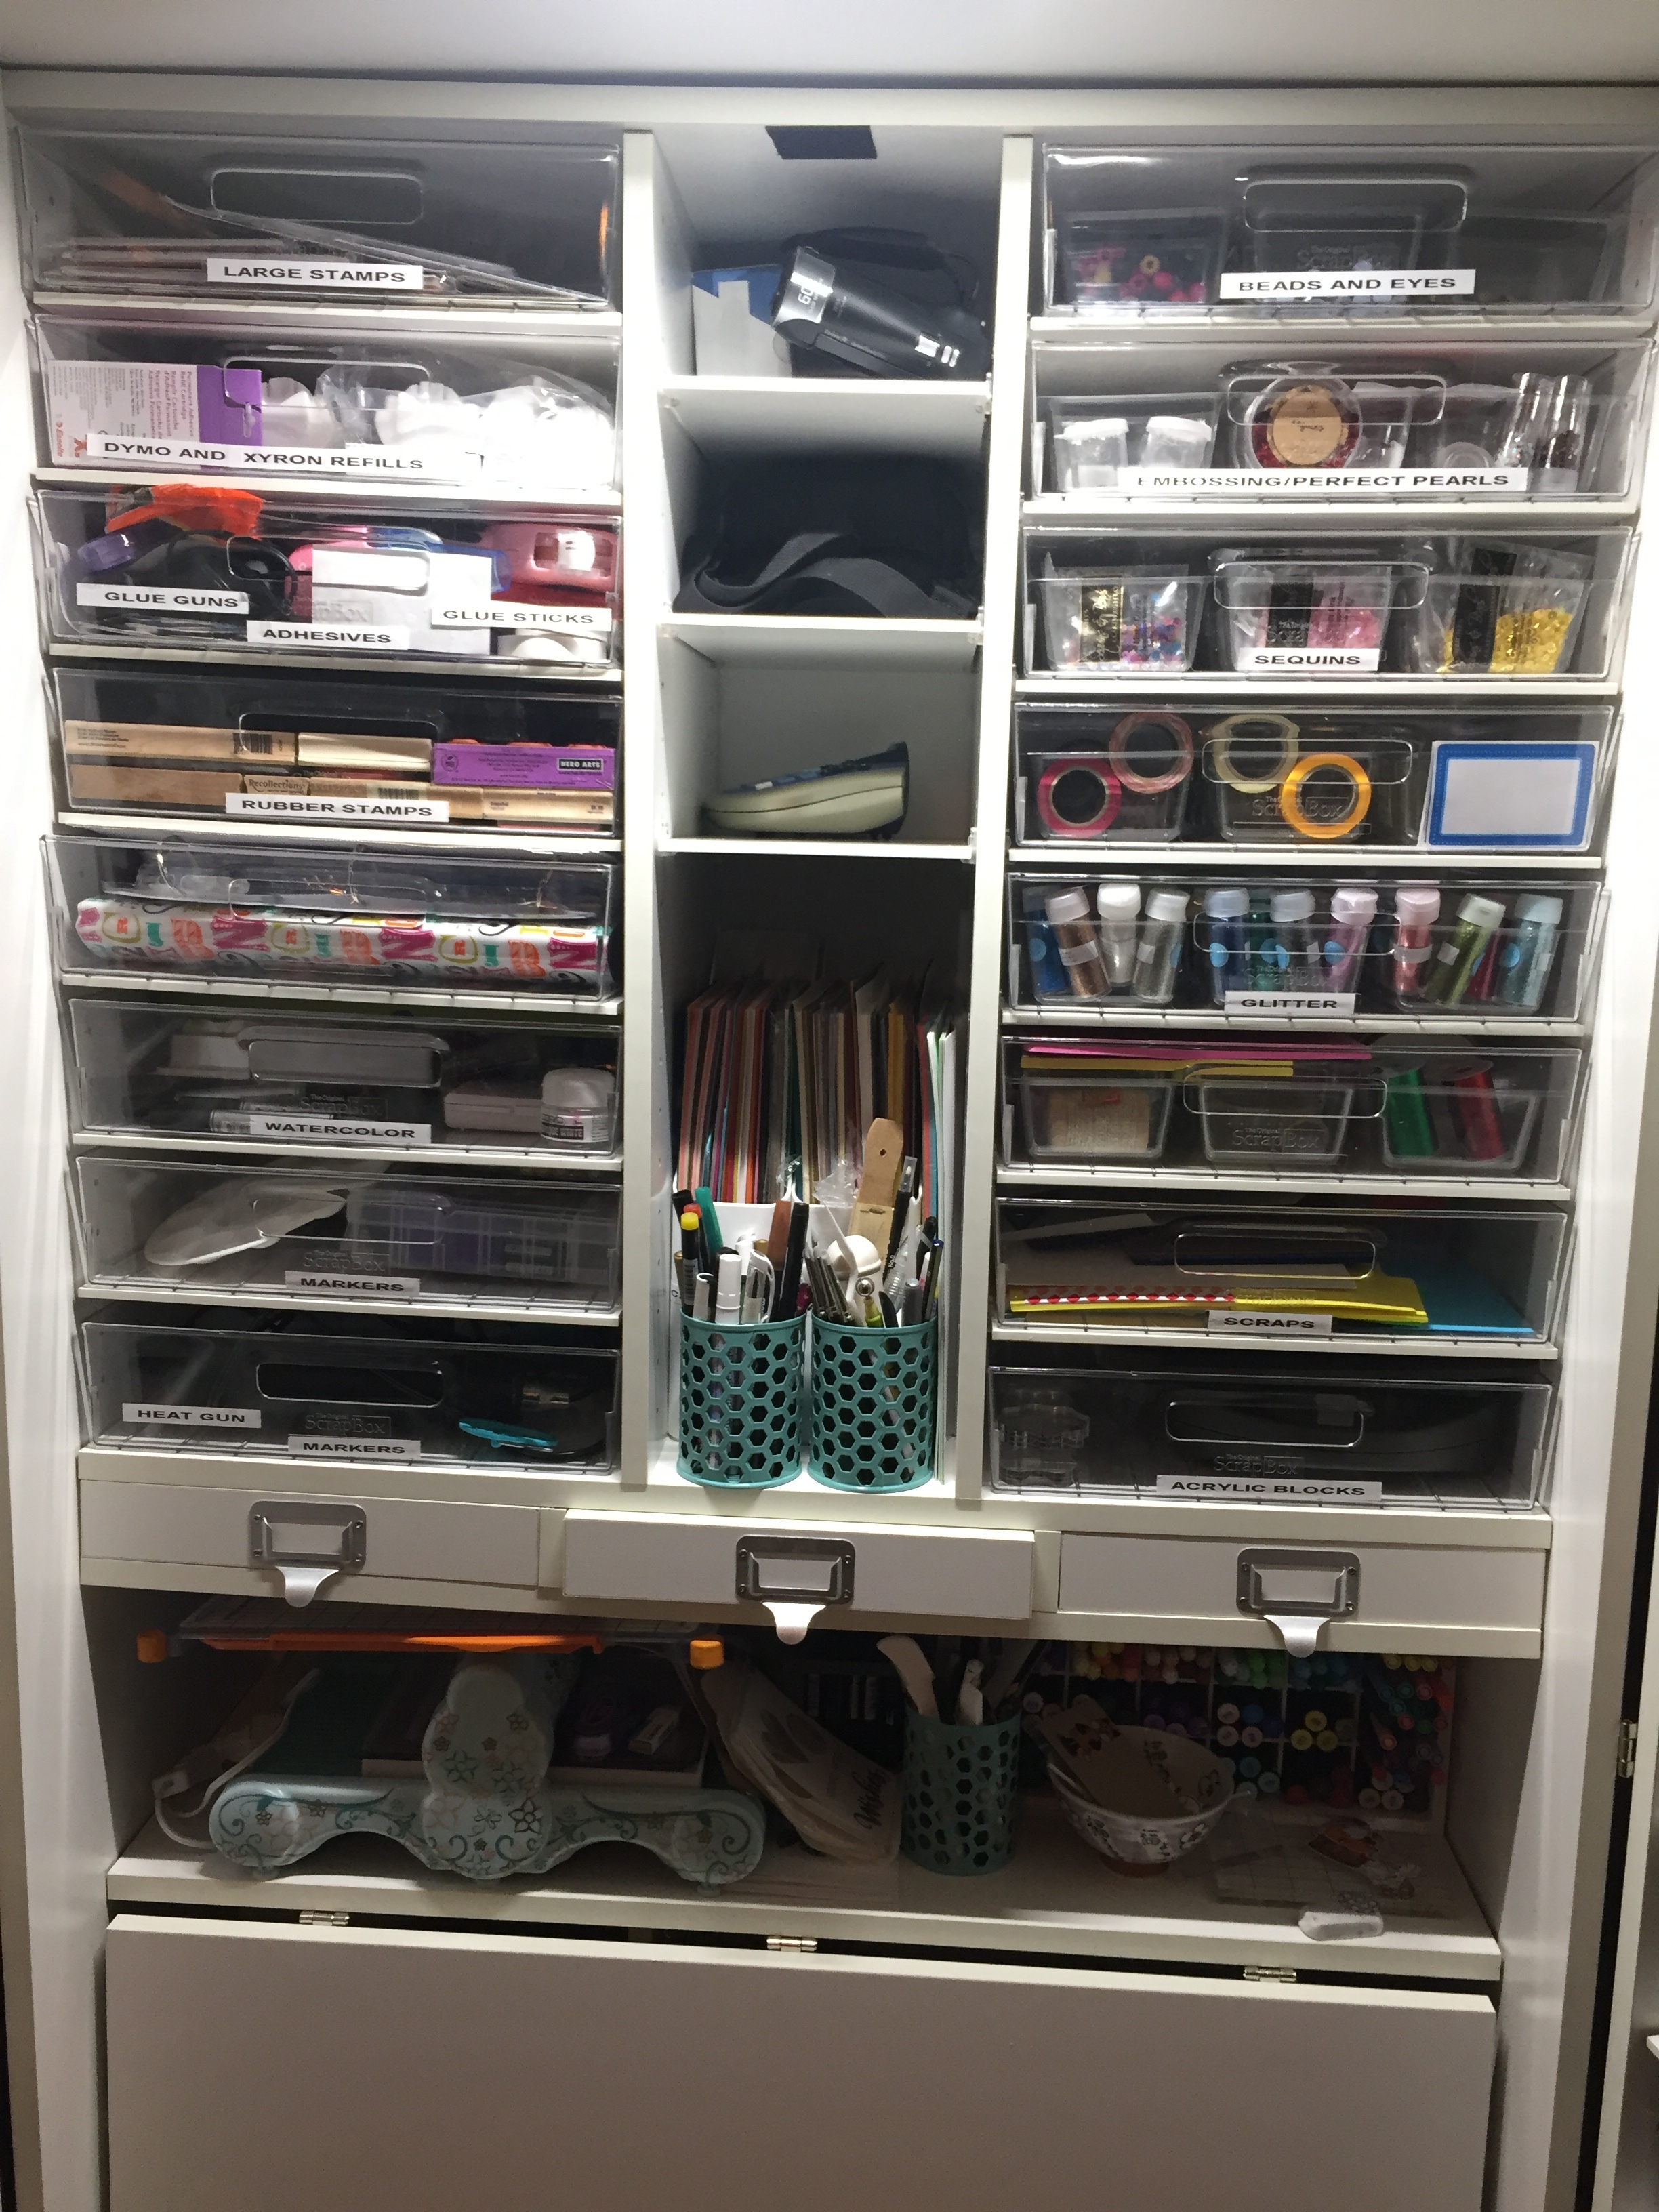
As you can see, I started putting things in there right away, and this was when it started to get really fun and exciting. This was also before I installed the crown, which I love, the light is great.

I ordered the magnetic boards for both doors because I have a ton of dies that I wanted to store and this worked beautifully. Also I ordered the shelf upgrade for the Velcro swing door, but I haven't installed it yet, I'm still debating if I will.
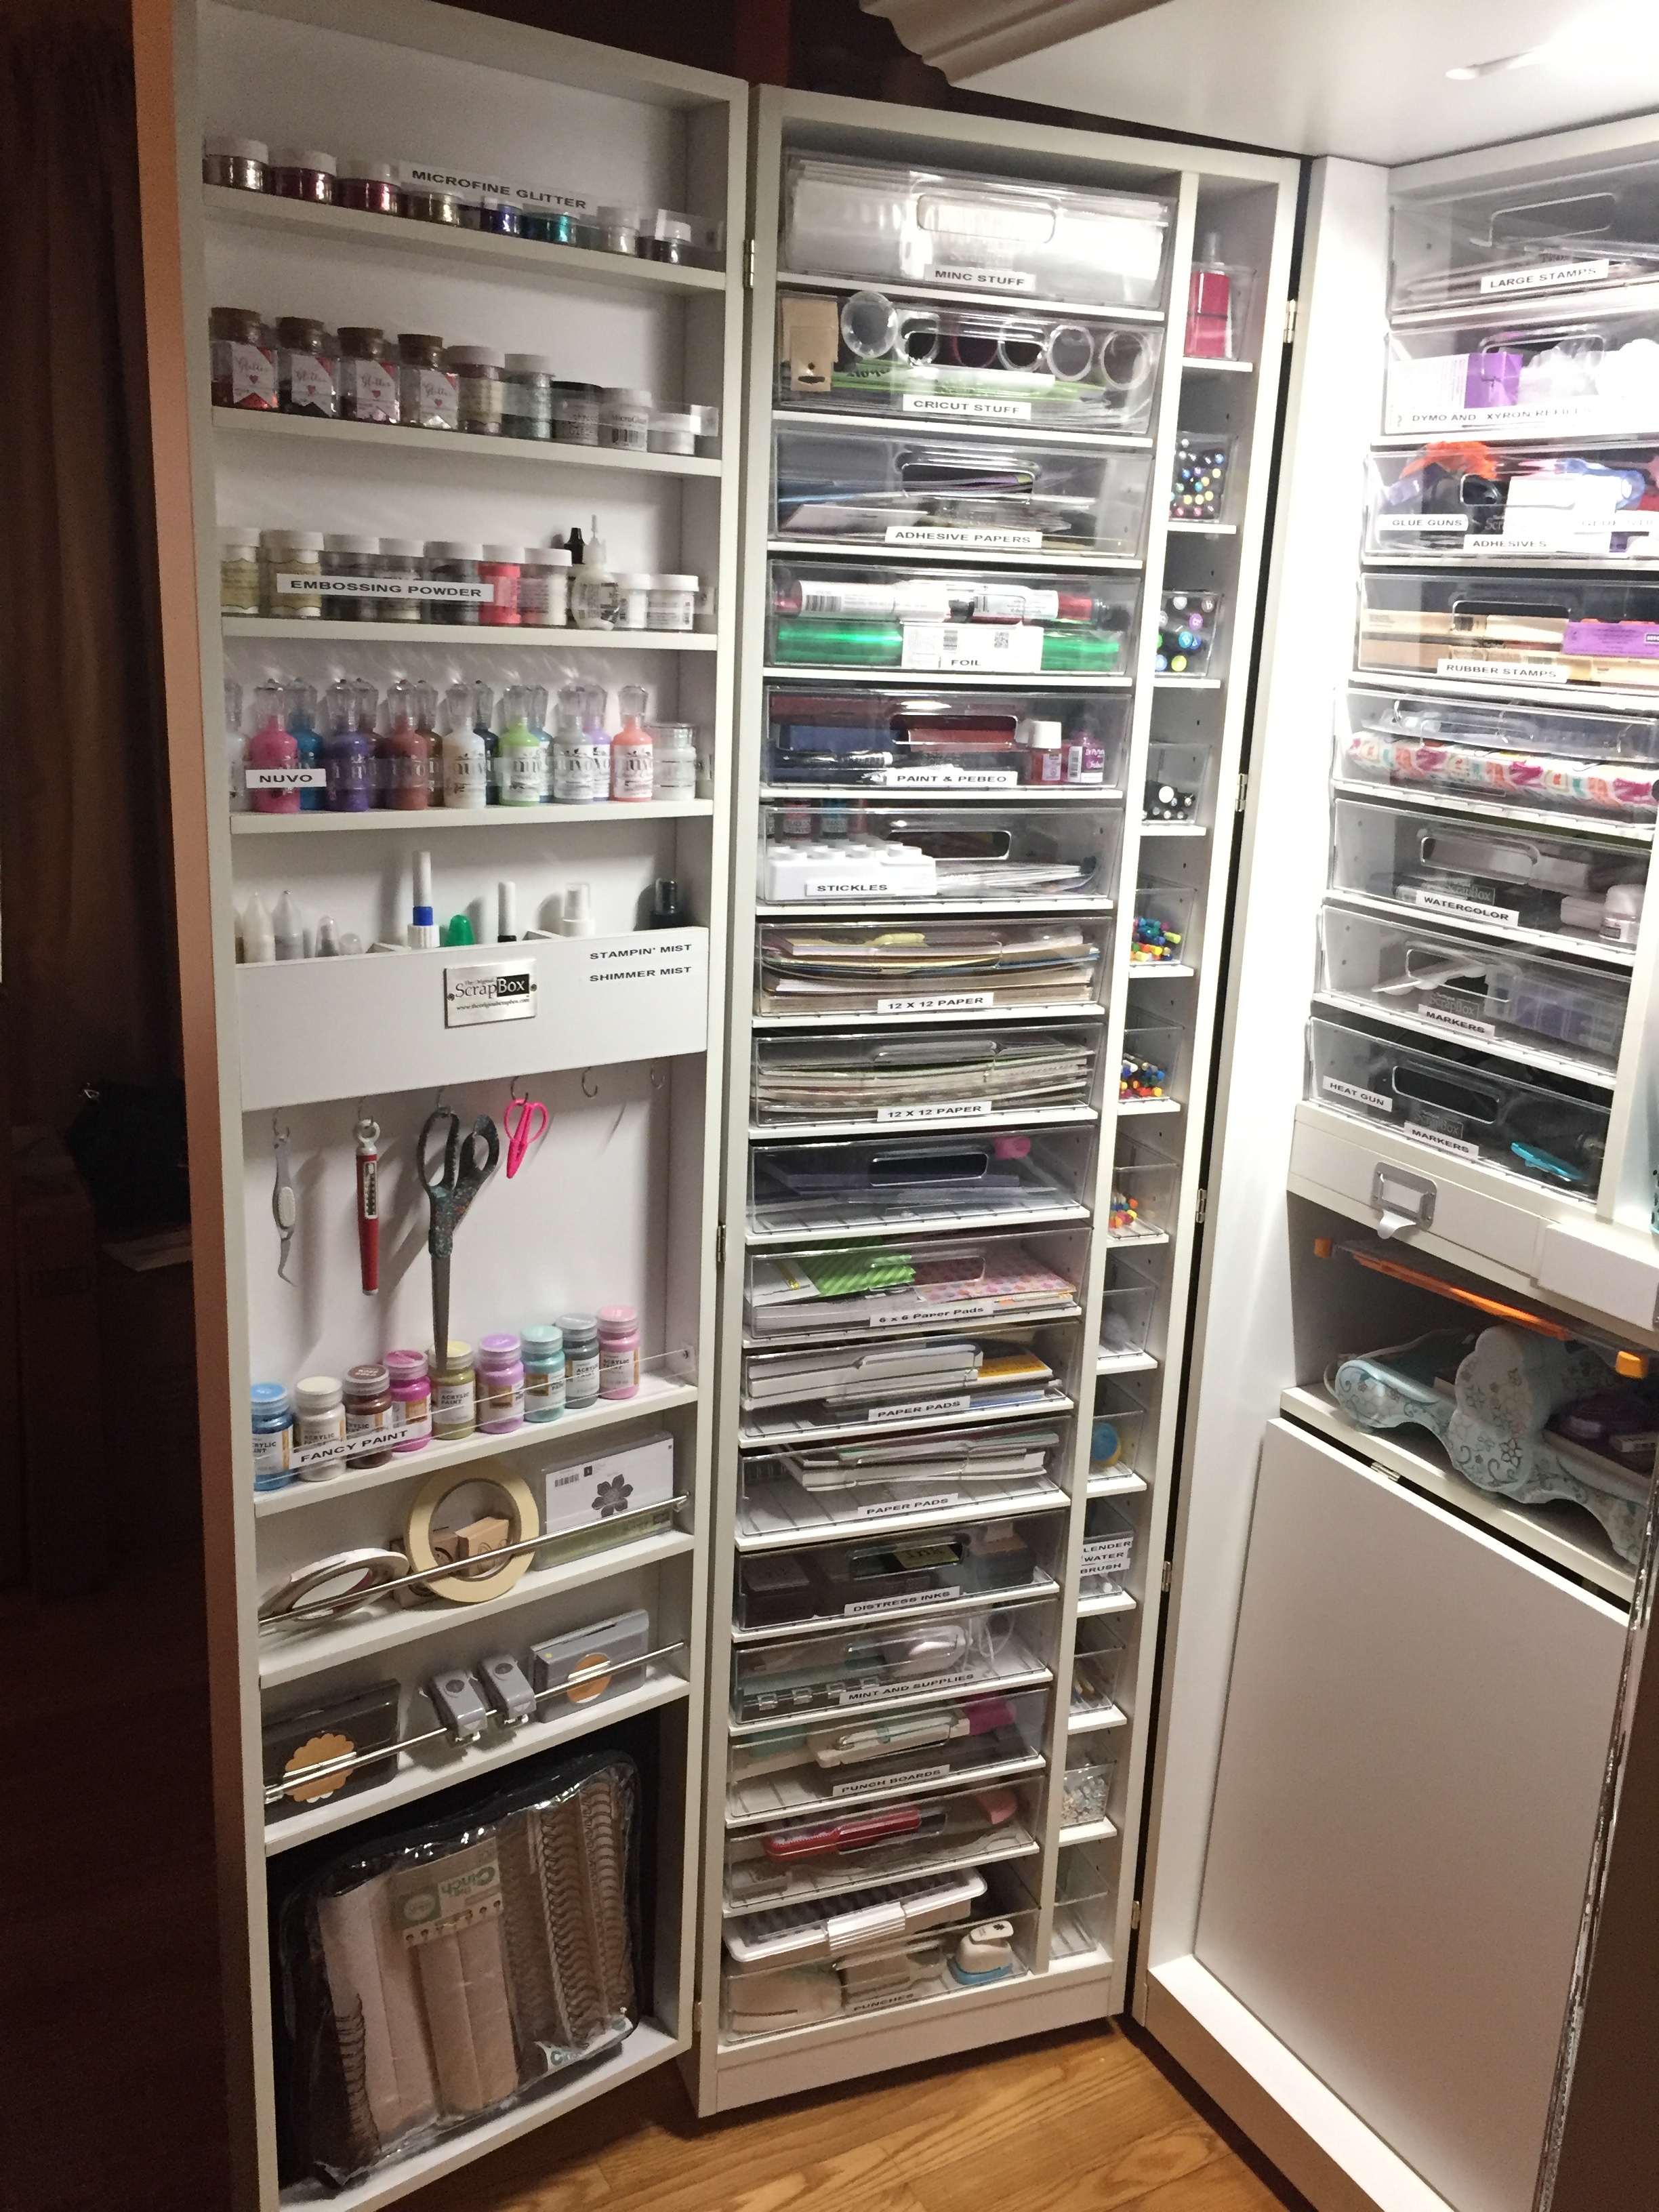
Left side.
I used my Letratag to put labels on almost all of the totes/shelves because as I was organizing, I realized everything would be in a new place. That part was super fun too, I went through 3 cartridges!
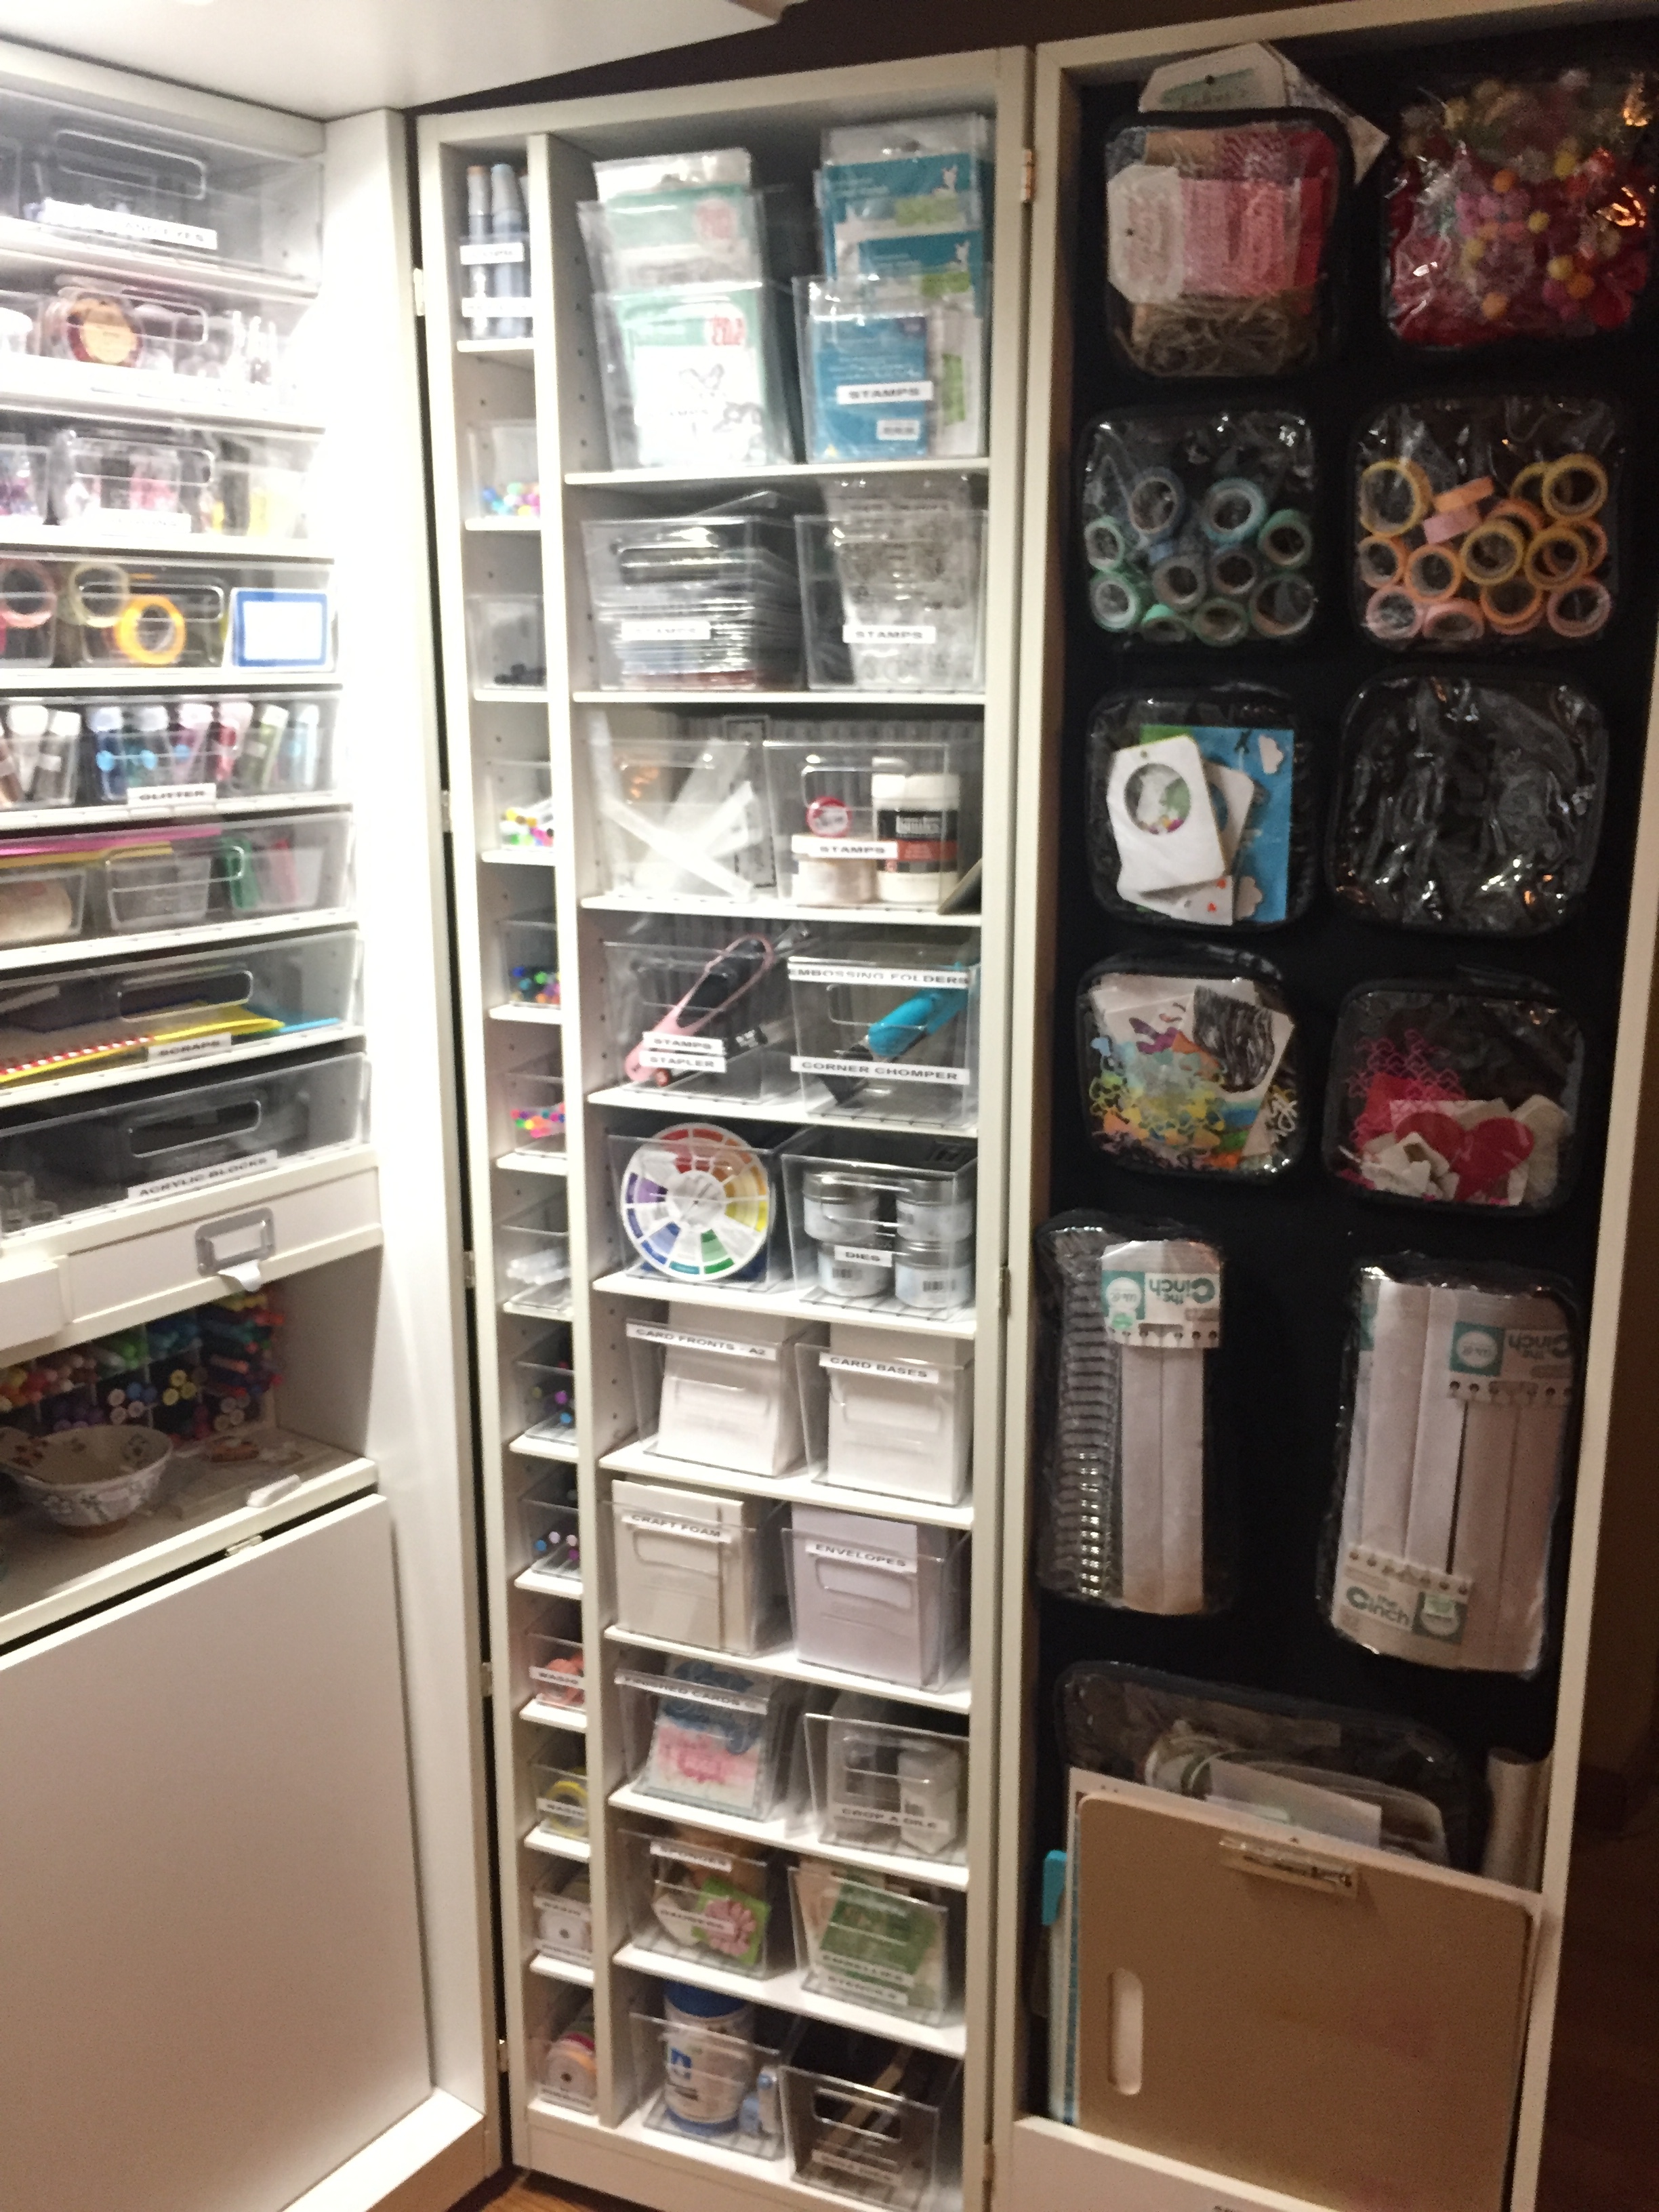
I found so many things I had forgotten about and apparently at some point I needed to buy every roll of washi tape known to man, I found at least 30 rolls. I also found duplicates of a few items and this made me realize I will probably spend less on supplies now because I can see everything that I own. I think that is awesome because in just the few weeks that I have had this, I have been able to make more cards and drawings because I'm not wasting g time looking for supplies or trying to find a clean work space.
My camera even mounts to the top shelf!
I am so happy with this view; so many of my frequently used supplies are right in front of me. I am still working on organizing a few things as I use it more. In fact, my paper trimmer now has a designated space instead of sitting on top of my Big Shot.

It is so easy now to sit down and color or stamp, record tutorials, or work on blogging. This was a big expense, but it was really an investment that I think is worth it just for the time and sanity saved. If you are on the fence about it I can honestly say I am very pleased with this piece and it looks beautiful closed. I did not show under the table, but my sewing/embroidery machine is under there along with my colored pencils, my Crop-a-Dile Big Bite, my Cinch, my Xyron Creative Stations, and my Fiskars Rotary Cutter, and they all fit comfortably. I am still impressed by how much it actually holds, I was able to put all of my regularly used supplies in there and free up so much space in my closet in the craft room.
Now that I have completed that, expect regular posts and videos! I have recorded a few but I have to edit them, also I will be doing a full tour of my Workbox soon. As always, thanks for stopping by and happy crafting!