If you're on the fence about the Spectrum Noir Sparkle Glitter Brush Pens and want to see how they compare to the Wink of Stella Pens, check this out.
Spectrum noir
Gab about Craft Storage
Tools, Diy, Stamps, Cards, Supplies, Crafts, Color, Craft Haul, Thrift, How to, Tutorial, StorageCommentSo my husband agreed that it would be a good idea to convert the closet in the craft room into extra craft storage. Yesssssss! Here is how it went down.

A mess!
First I removed the doors.

Easier to see.
Then clearing out the stuff!

So much stuff!
Then adding the shelves.

Looking good!
Now the fun part, adding supplies.

Finished!
I am beyond happy with the results!! I can see and access all of my supplies now and I'll probably add a little wall storage soon, but the bulk of the work is done! The final thing I need to do is to mount a curtain rod and put a drape across the door so I can "close" it when it's not in use. This could work in any smaller closet, it took me about 2 hours to do, I bought that shelf at the home improvement store for $24.99. Let me know if you have any questions, happy crafting!!!
Under the Sea Shaker Card
Crafts, How to, Graphic, Paper crafting, Color, Supplies, Tools, Tutorial, Diy, Drawing, Cards, Stamps, Coloring2 CommentsThis card was done using the "No lines" coloring technique. No video today, but here is a step out.
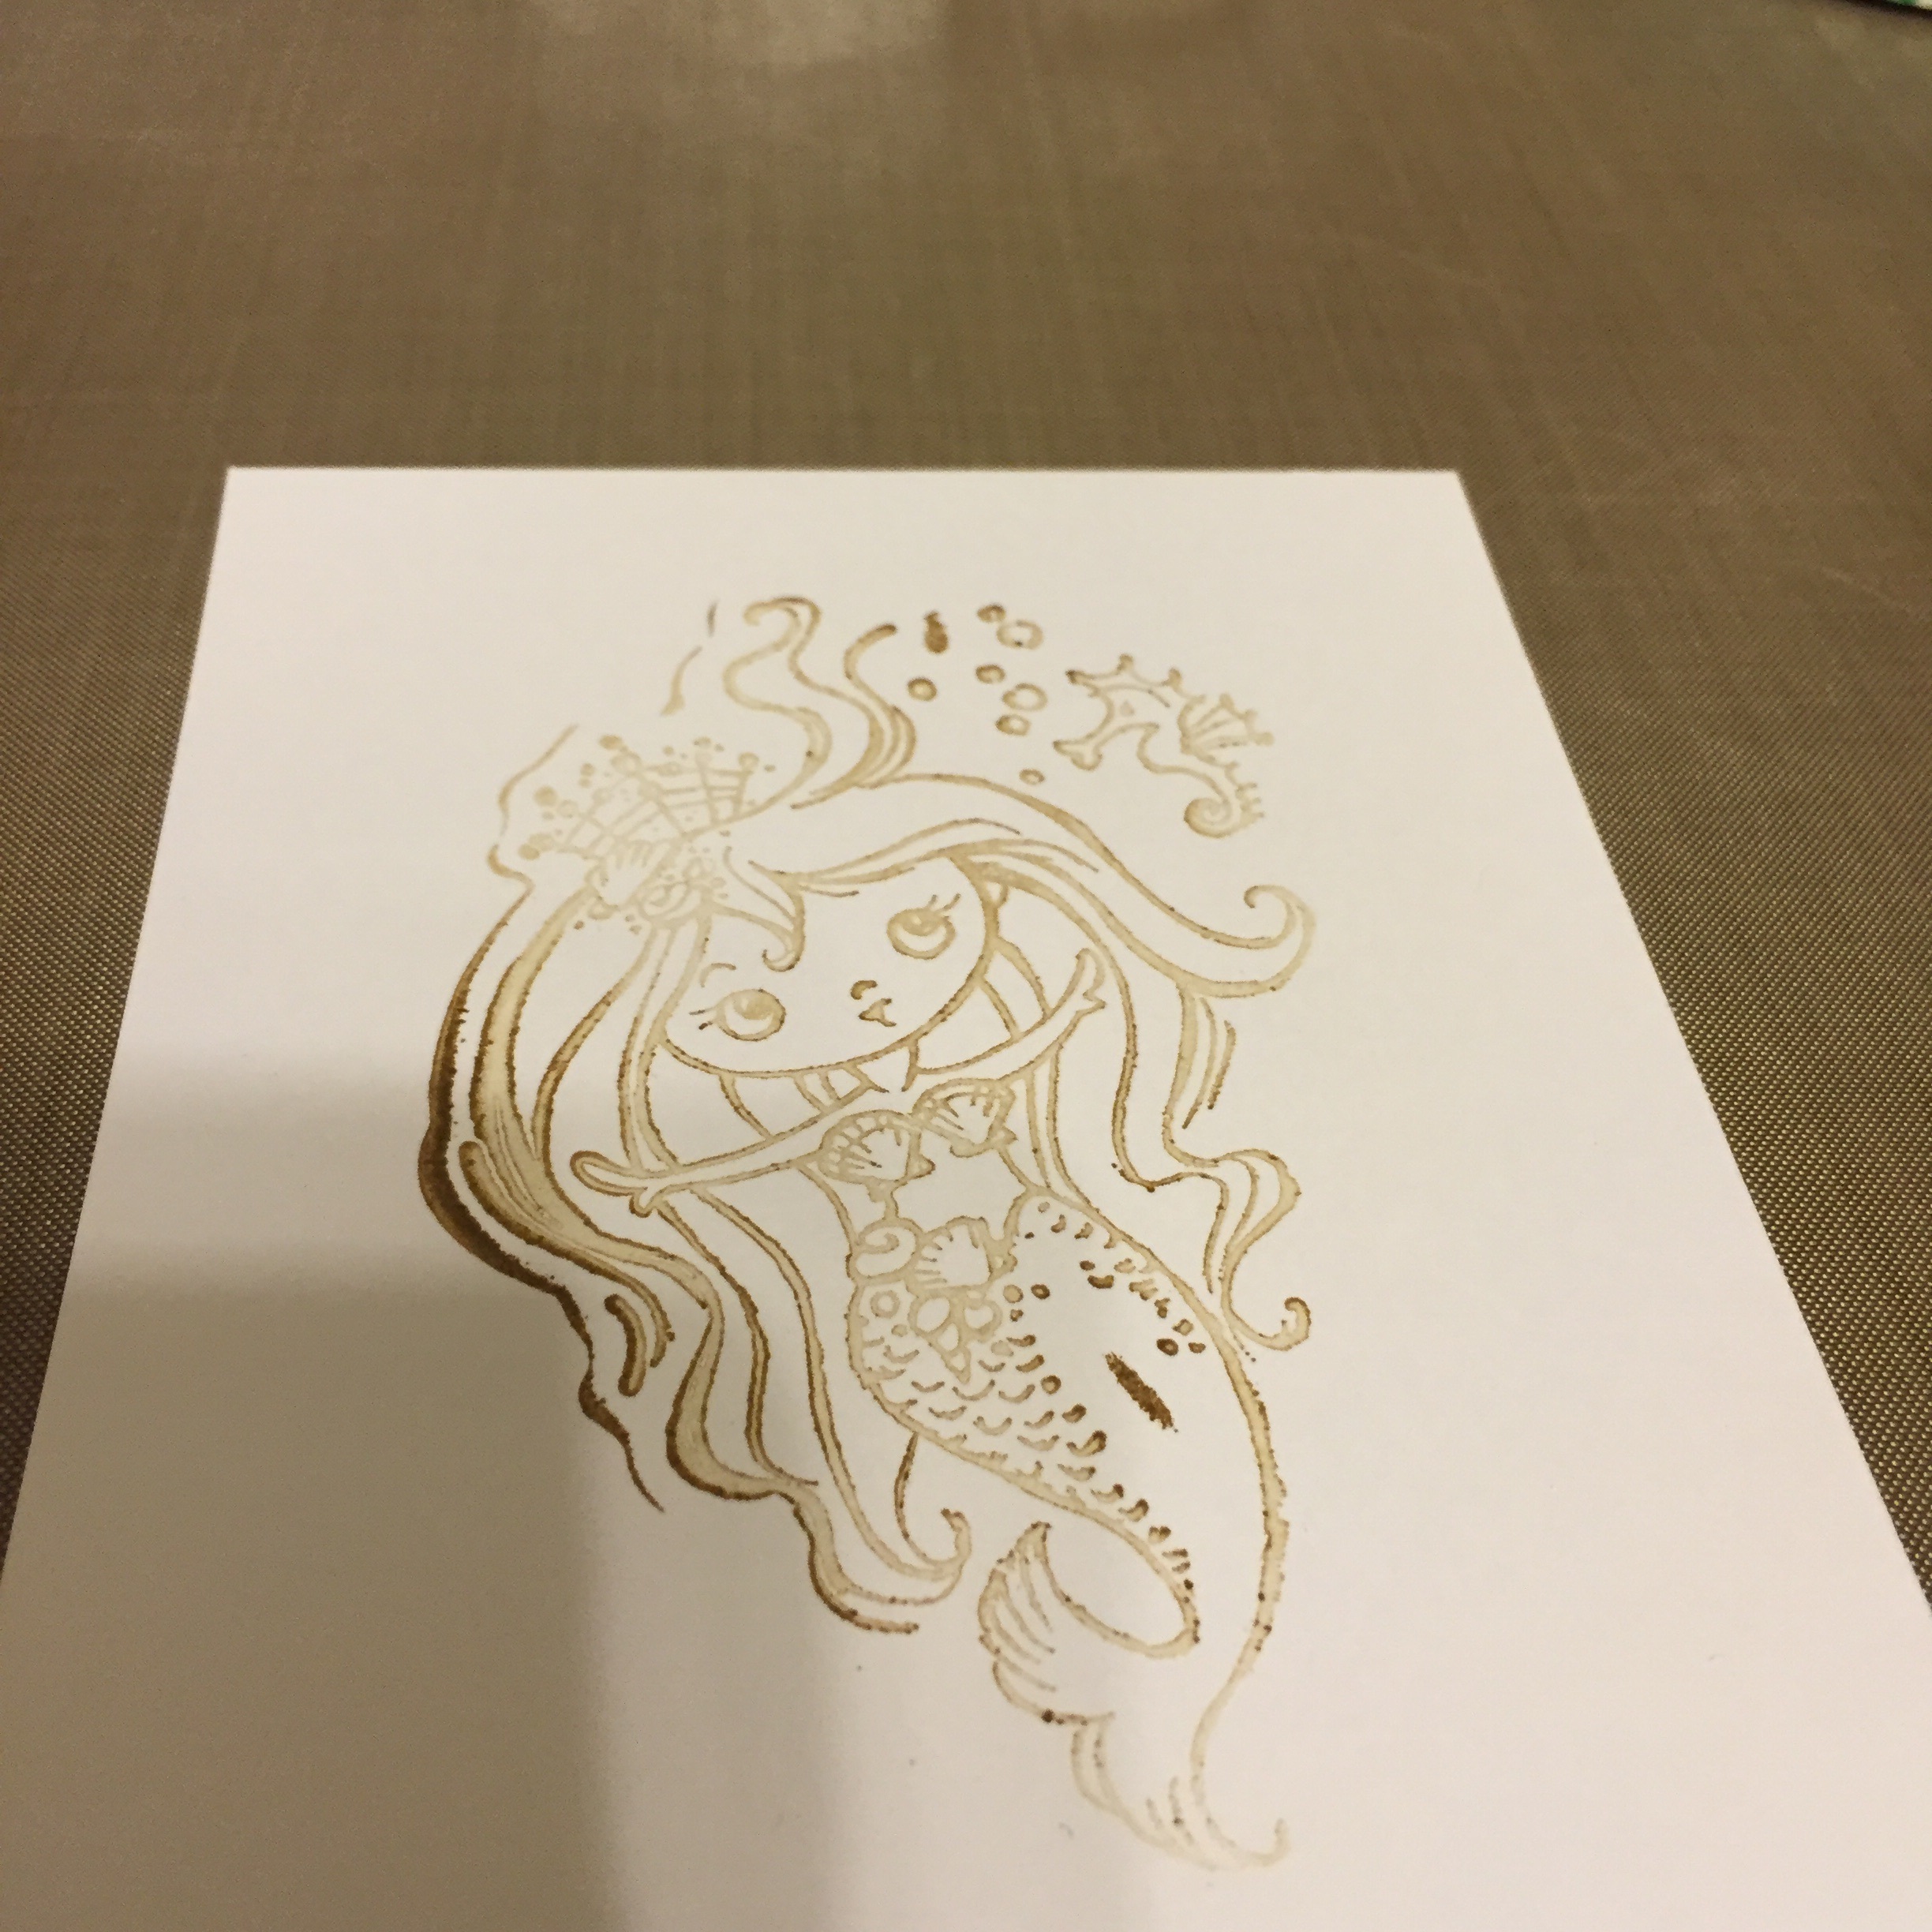
Stamp your image in a soft, neutral color.
This is one of my favorite stamps, a mermaid from Stampendous.

Color your image, I used Copic Ciaos
I used a few Spectrum Noirs too.

Cut out your image.

I used Distress ink in varying colors to make the "water", I used a torn paper masking technique.

Rain stone application.

Shaker sequin selection! Those flowers are from a set I got at Target!
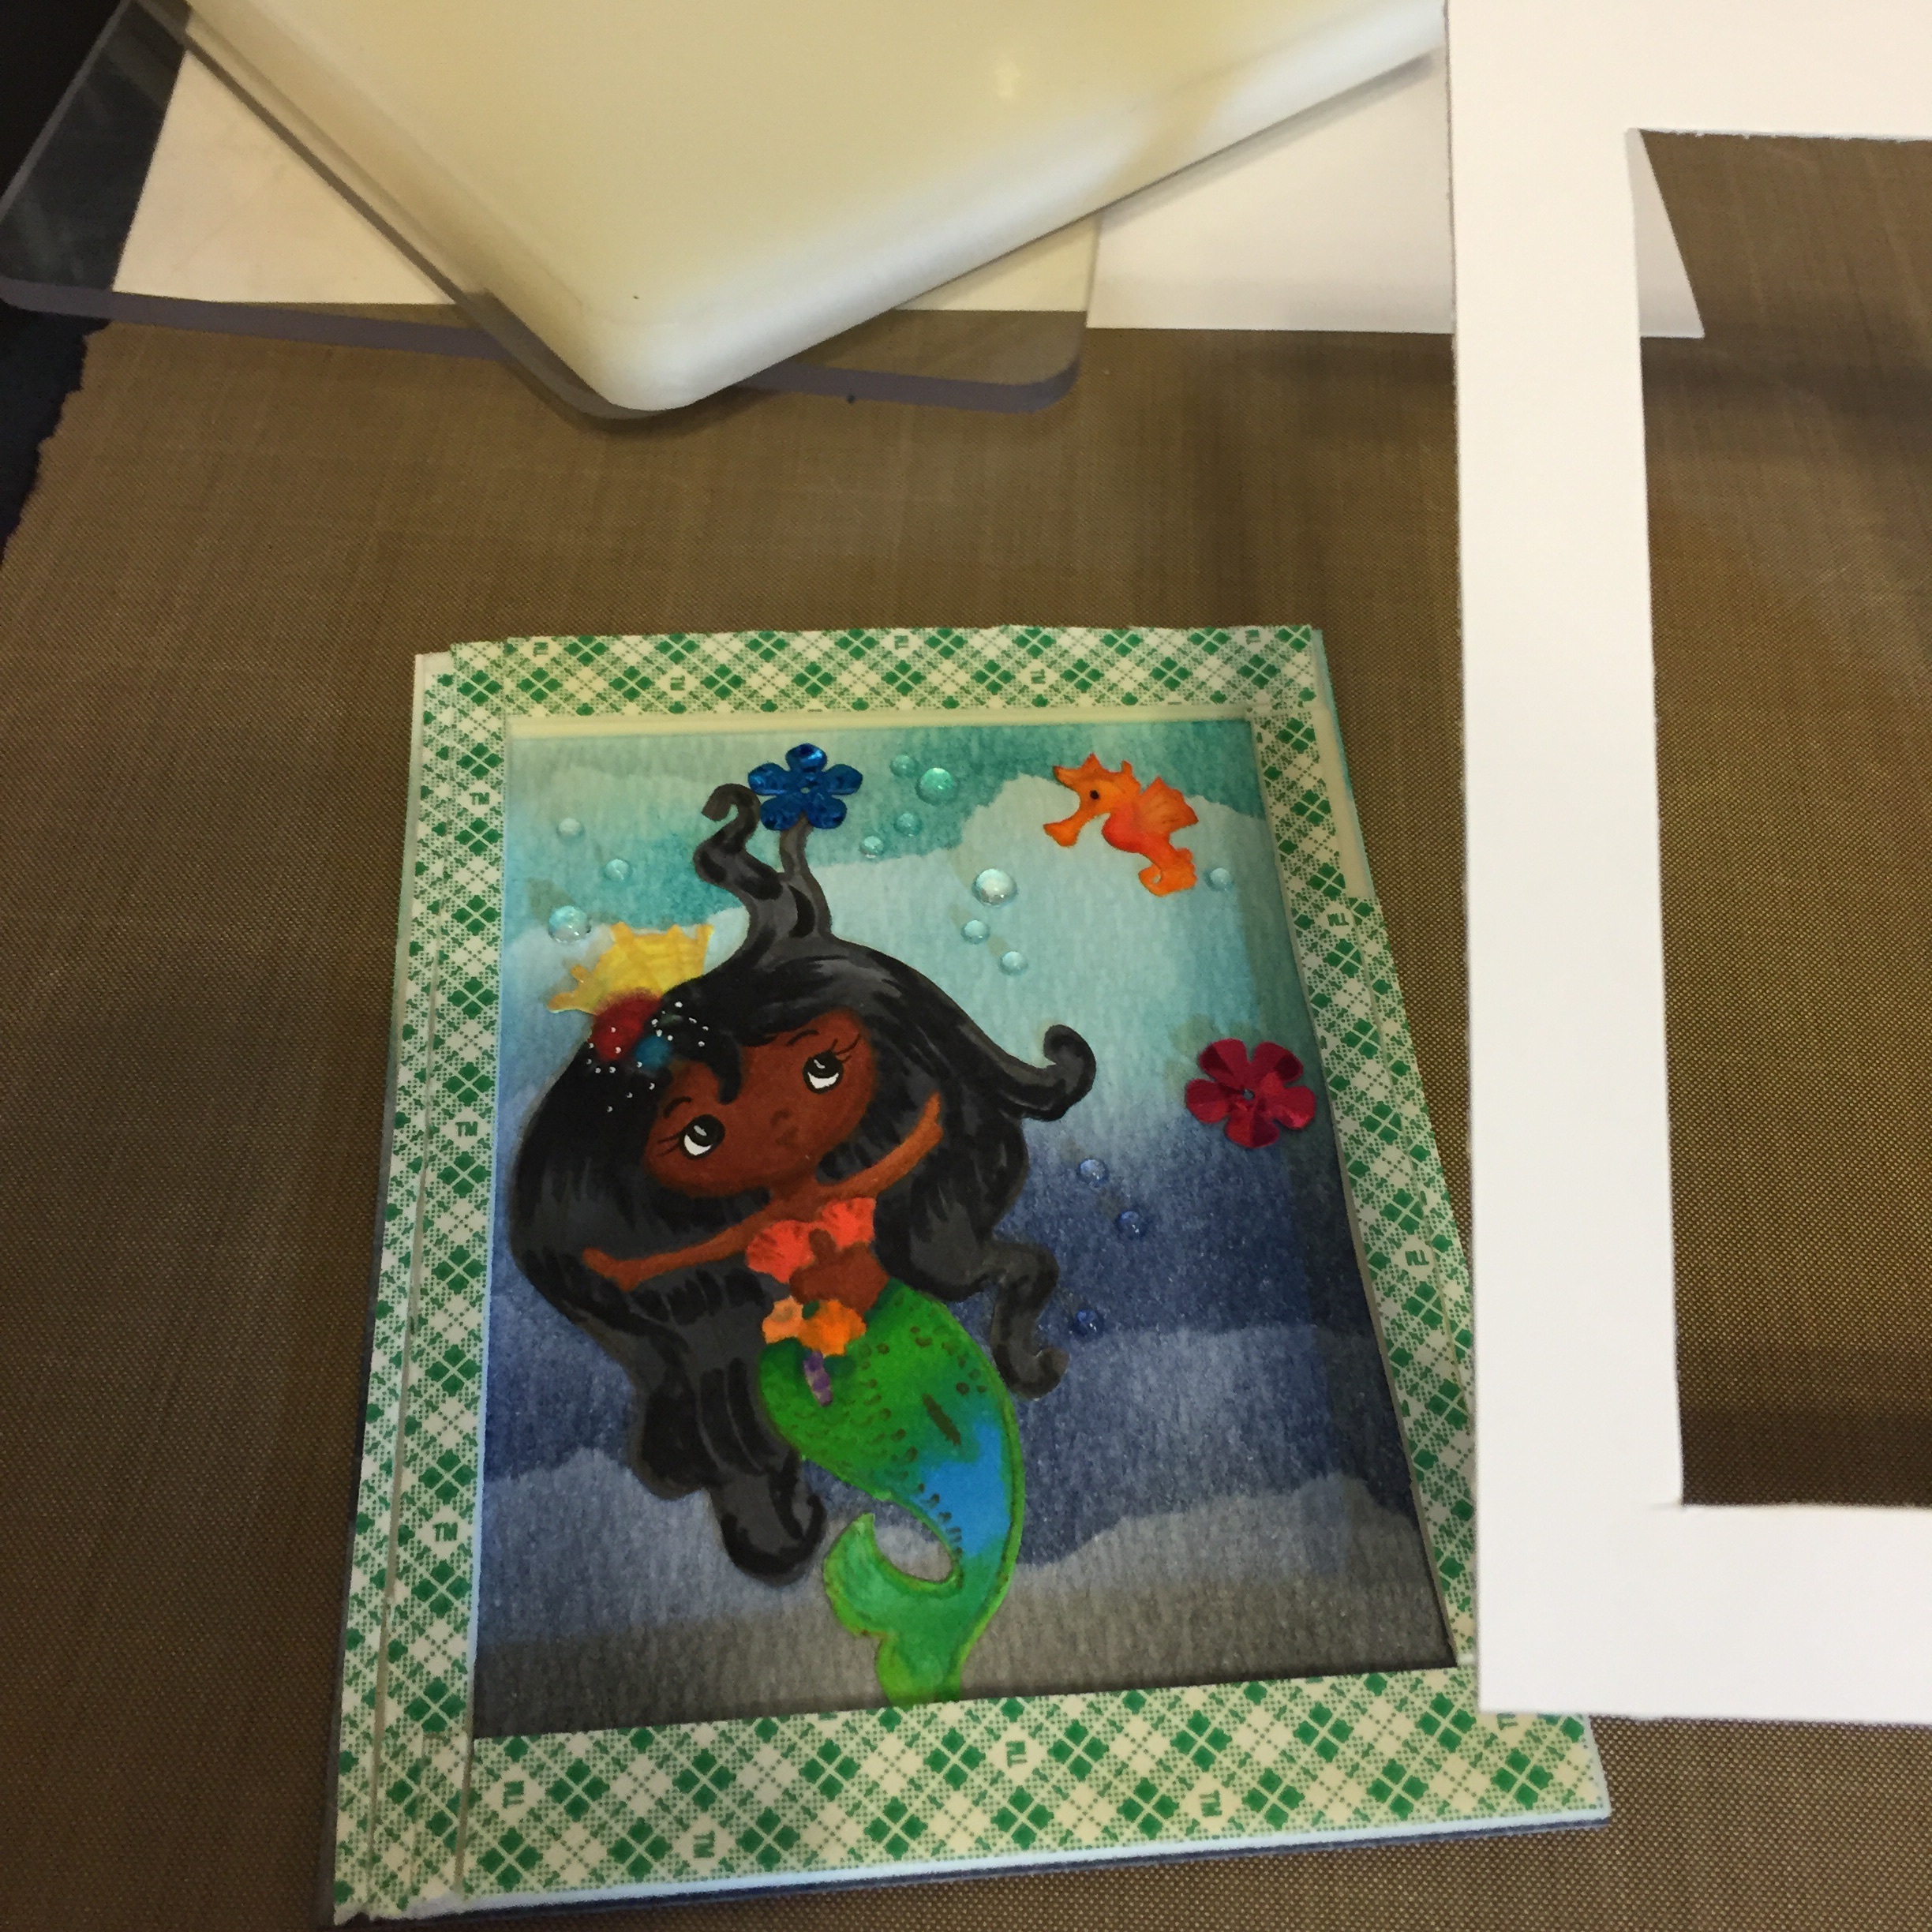
I made a foam tape barrier.

Adhered the front, and it's done!

Under the sea!
That's all, hope you're inspired to make something fun! Happy crafting!
The Robot Shaker Card
Diy, Stamps, Tutorial, Cards, Crafts, Paper craftingCommentHi everyone! I promised a video about making that robot card and here it is! I used cardstock, markers, a stencil, Distress Ink, a robot stamp, some miniature gears, Ranger Glossy Accents, scrap acetate, foam tape, and a glue runner. Please let me know if you have any questions and feel free to leave a comment! Happy crafting.
A how to for you.
Coloring with Markers
Coloring, How to, Stamps, Diy, Graphic, Crafts, Paper crafting, Cards, Color, Graphic design, DrawingCommentHi everyone, I have started coloring more and I have to say I'm really enjoying it. The video below is for a masked stamping shaker card that I colored.
I was so happy with this that I asked for new stamps for Christmas! I am also going to be doing some examples like this with my own drawings soon, until then, here are a few other stamps I finished.

Original stamp

Masking

More masking

The finished jar!

Some super cute elephants.

Some hearts on strings.
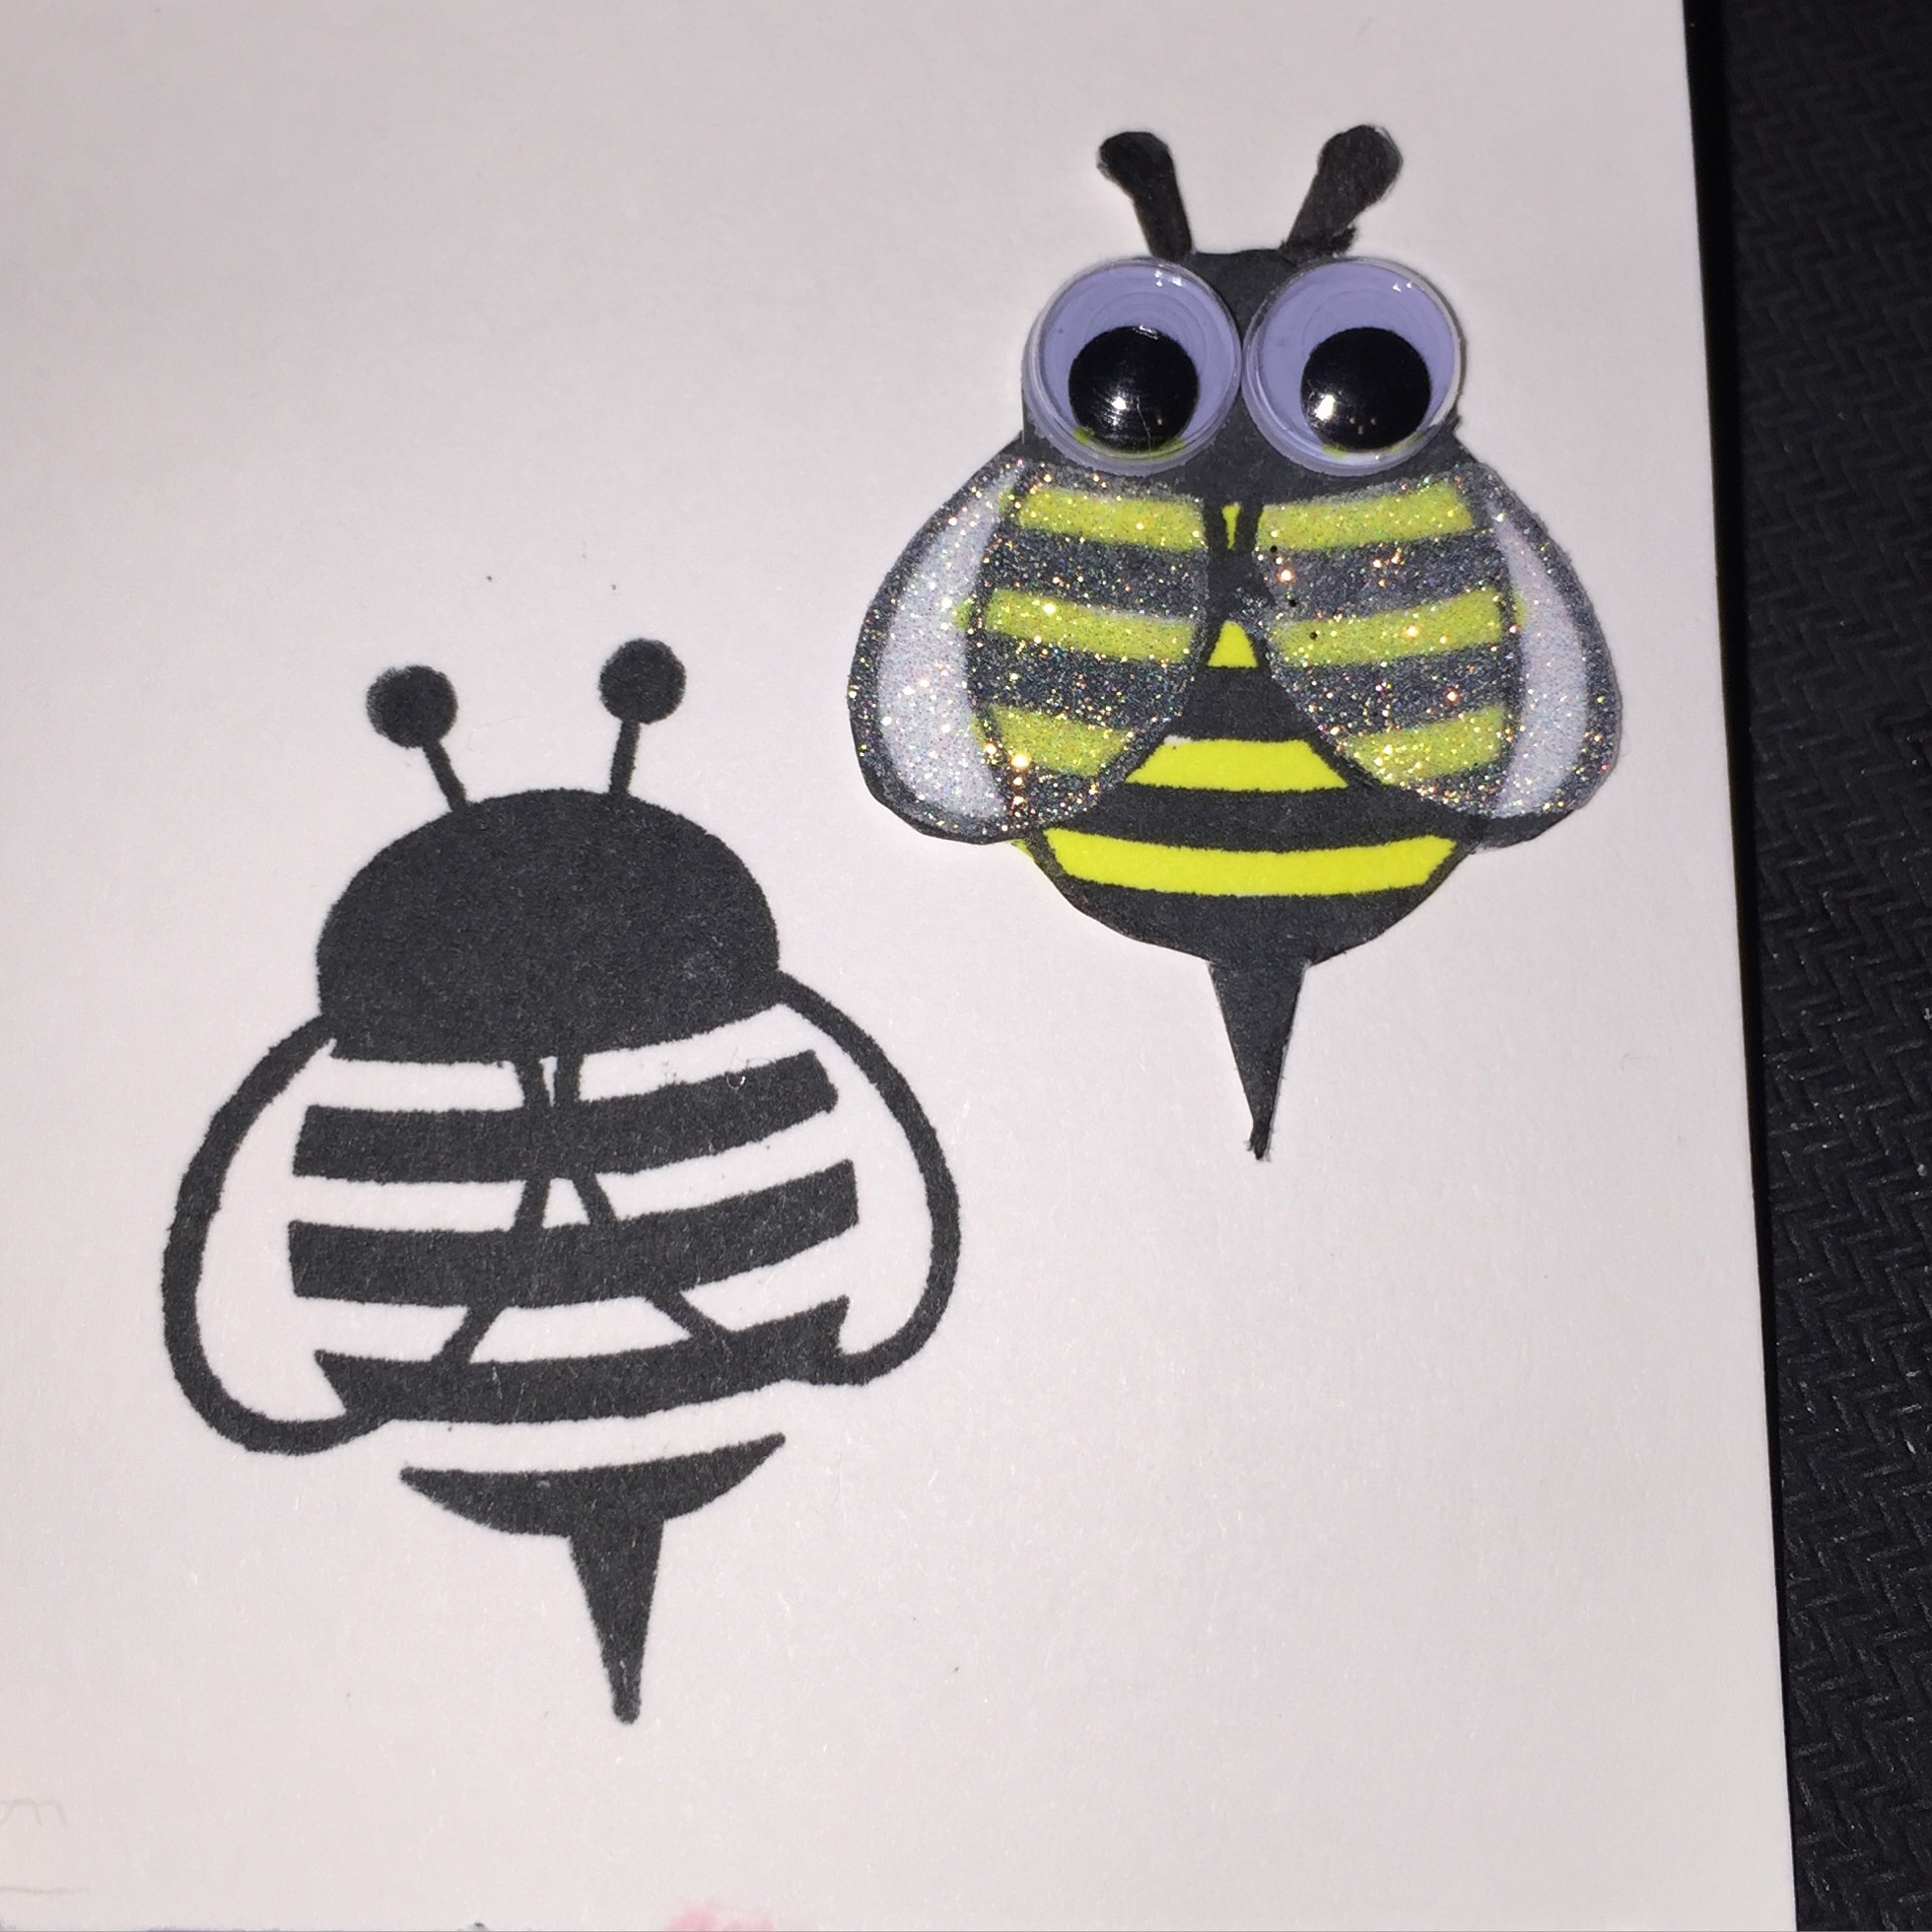
The original is on the left and the right is after I added eyes, color, and glitter.
I think I'm going to really enjoy doing these, happy crafting!