Gab with Gaby

An engineer's creative corner studio.

Design

iPad Pro is Everything and I've Been Missing Out

Reviews, Graphic, Drawing, iPad Pro, Lettering, How to, Hand Lettering, Graphic design, Diy, ToolsGabriela SimsComment

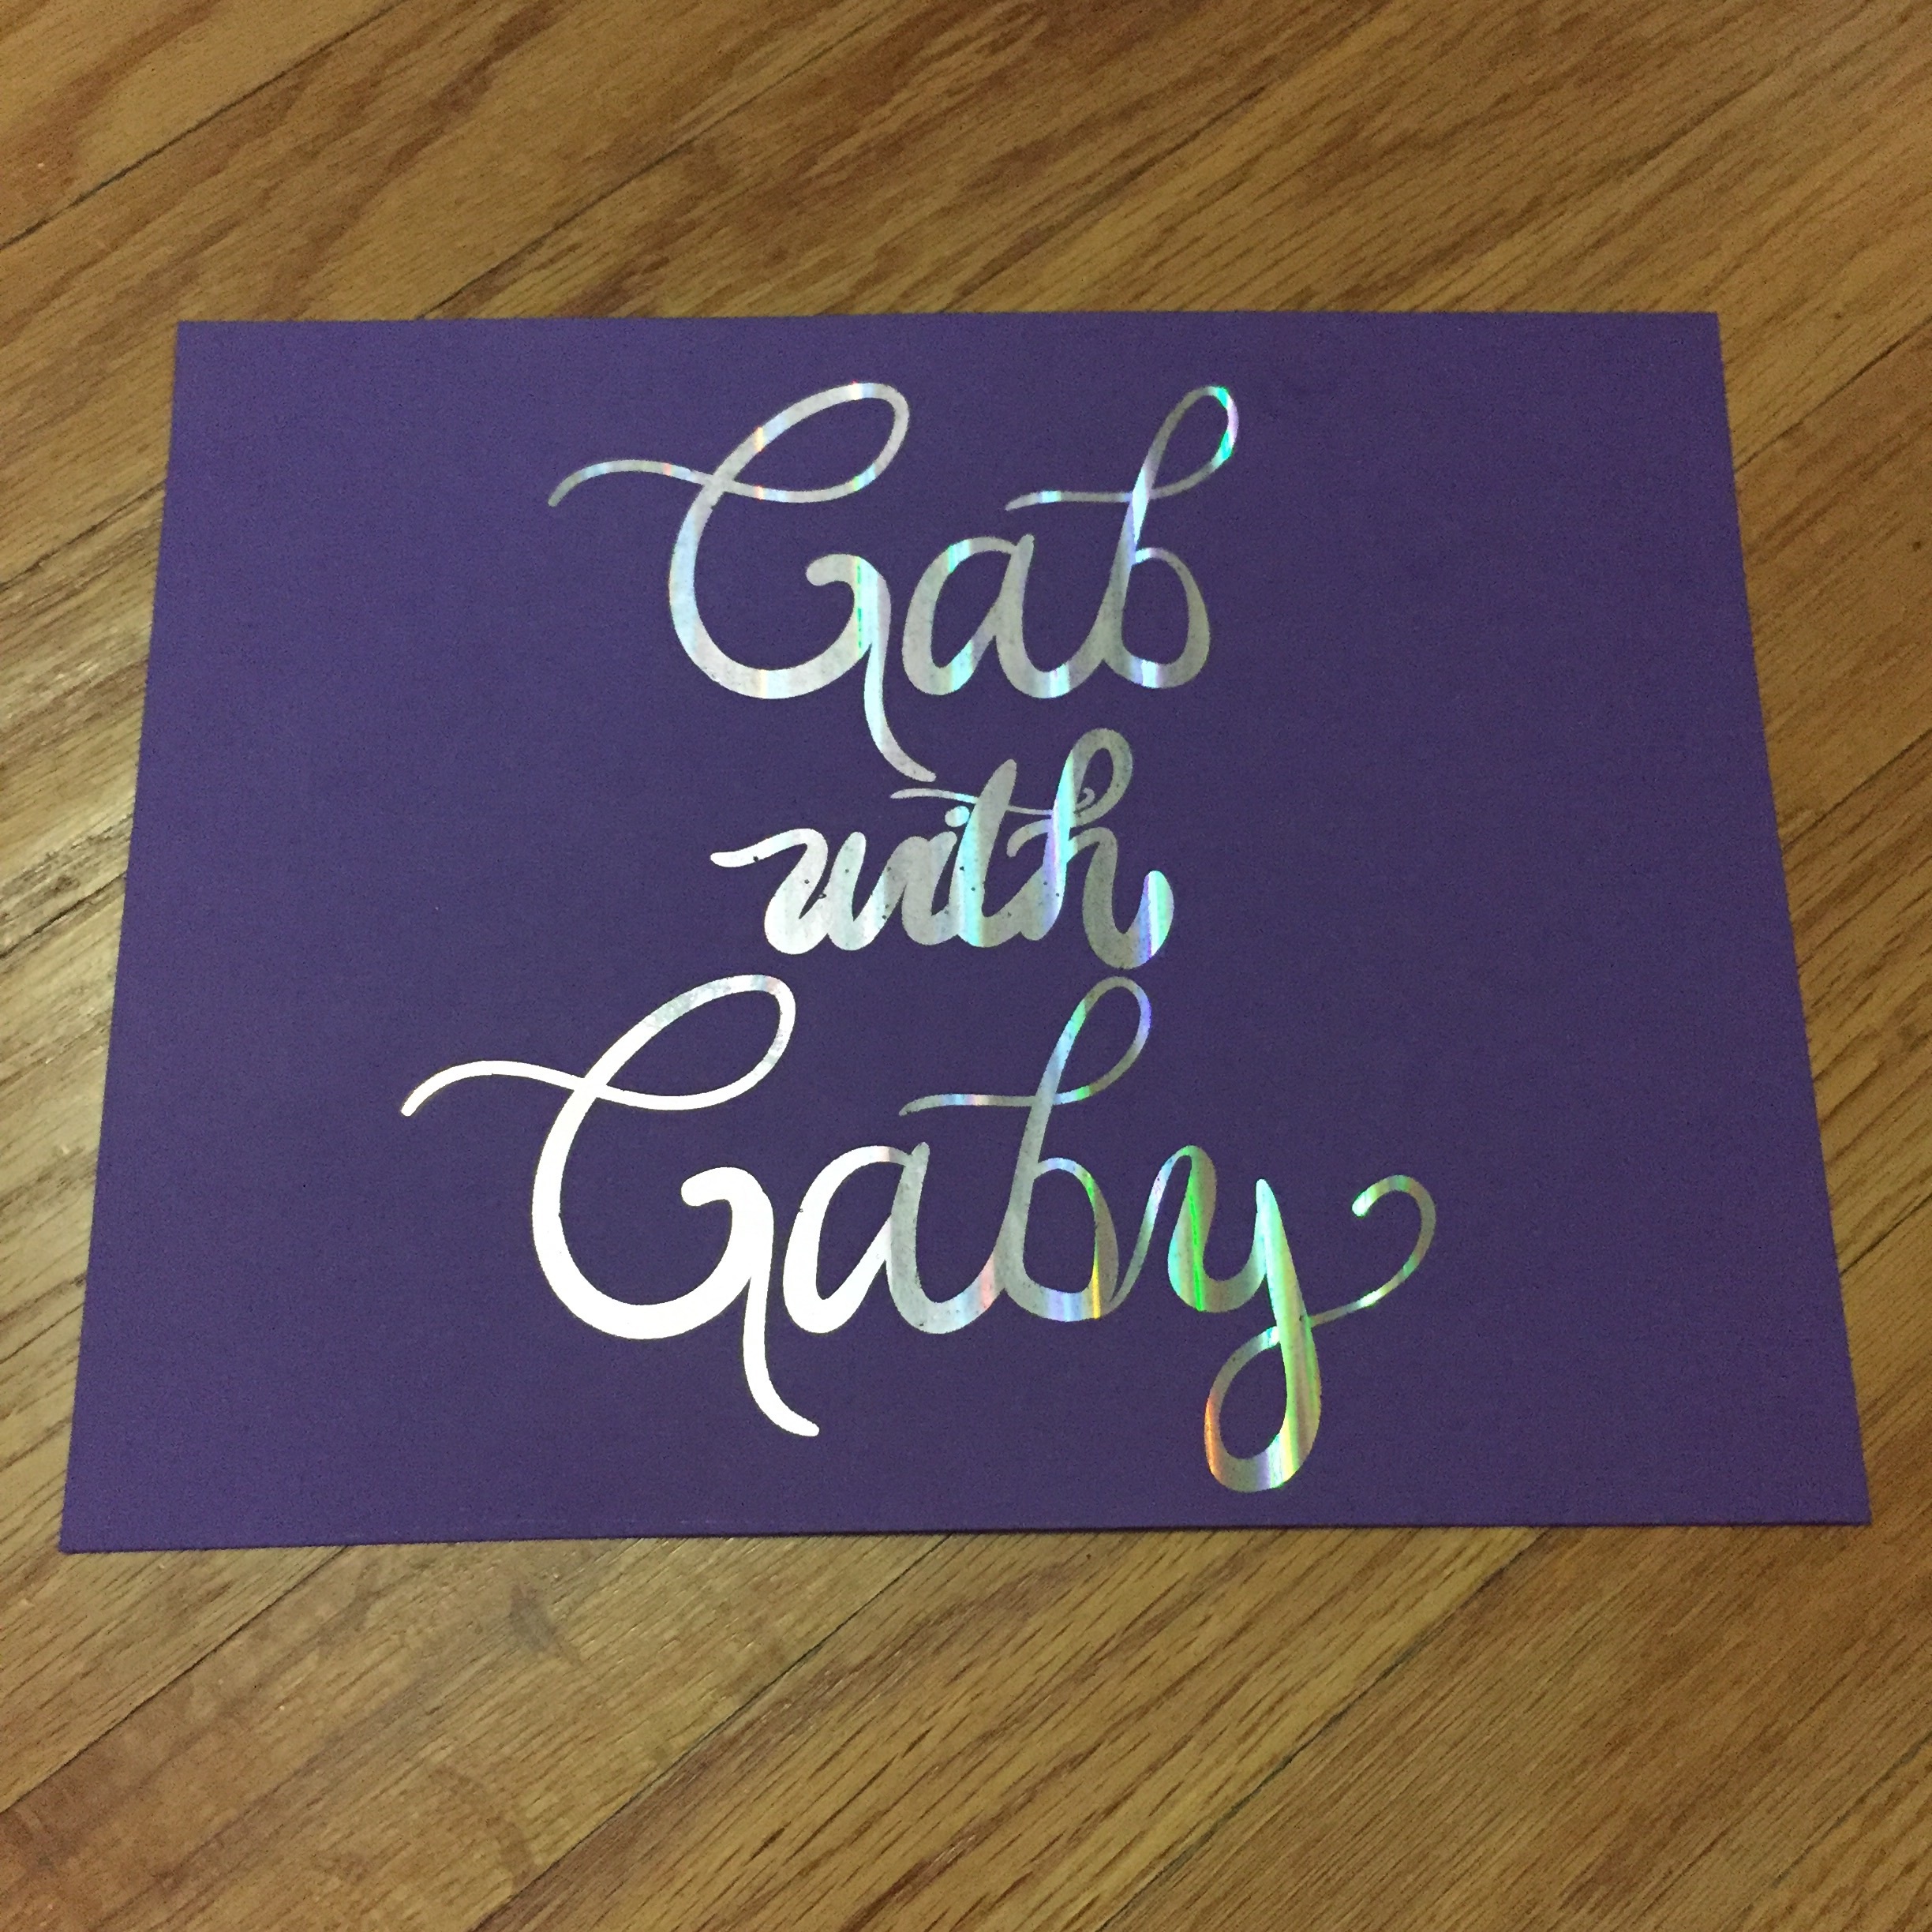
Maaaaannnn, where do I begin!? I finally sat down to use an iPad Pro to try handlettering because I keep seeing everyone using ProCreate, so I wanted to try it. When I tell you that I literally improved my lettering in minutes, I am not exaggerating. I even rewatched a time lapse video of my first attempt and you could see the progress after 35 minutes! That's a really neat feature by the way; you can export a video of your art work. I am just starting out, so I am super excited about practicing and learning more. Before I was using my Wacom pad and Adobe Illustrator; I won't get rid of that, but I can tell an immediate difference in ease of use and results.

Some lyrics from "This Town" 

Some lyrics from "This Town" 

Below you can watch the video of me starting to use the software and finally getting the lettering right. 


I cannot stress enough how excited I am! I even did another picture for the #DNDchallenge.  You can get the full list of prompts over on www.bydawnnicole.com along with some other cool tips and techniques about hand lettering! Yesterday's prompt was "Hot Pink" and I may have gotten carried away.

So easy to do backgrounds!  

So easy to do backgrounds!  

I will be using this more than my Wacom I think, any letterers out there care to chime in? Leave a comment about what method you prefer; is it iPad, Wacom, or paper? Thanks for stopping by and happy crafting.

-Gaby

The Kickstarter has Launched!

Crafts, Drawing, Gab with Gaby Stamps, Paper crafting, Shopping, StampingGabriela SimsComment

Hellooooo everyone! Sorry I have been away for so long, but I have been working on getting my stamp artwork done and creating an enamel pin design.  All of that was for...MY KICKSTARTER! I am beyond thrilled to announce this! I have been working on this project for over a month and there were a few setbacks, but I have all of the samples done and now the campaign is live.  If you order the stamps from the campaign, they will be slightly lower than the individual prices listed here, mainly because I will be making them in much larger quantities, likewise with the enamel pin.  I will be working hard to promote this campaign but I will have more time for card videos now...I remember that I owe you all a video about making a pop-up card, I have filmed it, I just need to edit.  That's all for today, and as always, happy crafting!


Gaby

This is the link you can follow to the Kickstarter campaign and below is the video if you want to see a little of my process and listen to me chat.

I Love You - Want2Scrap and Quick Quotes

How to, Paper crafting, Tutorial, Quick Quotes, Crafts, Coloring, Scrapbooking, Layout, StampsGabriela SimsComment

Hi everyone, Gabriela here today and I finally made a page I've been thinking about for a while. I thought it would be fun to make a page with a shaker window, so I tried it out. I used a chipboard cutout from Want2Scrap along with some of their bling and of course paper and ink from Quick Quotes. I scrapped a picture of my husband and I on vacation in New Orleans a few years ago, it's one of my favorite pictures of us and it seemed like a good fit for this page.

Me and my hubby on vacay! 

Me and my hubby on vacay! 

​Check out the video below!


Quick Quotes Products Used:

Urban Oasis - 101
Honeycomb - 105
Powder Puff Chalking Inks - Barn Board, Pixie Pink

Want2Scrap:
I Love You Chipboard
Self Adhesive Bling

Thanks for stopping over and happy crafting!  Please ask any questions below. 

Lettering on a Wacom Pad using Adobe Illustrator

Tutorial, Diy, Tools, Drawing, Hand Lettering, Graphic design, How to, GraphicGabriela SimsComment

Hi there! I wanted to pop in and give you guys a quick tutorial of how to jazz up your hand lettering.  I have an Intuos Wacom Pad that I really love for digital drawing and I wanted to do some lettering on it as well.  I used Adobe Illustrator for this project; a simple graphic of my web address. You can play around with some of the settings, I settled on a Calligraphic Brush at .75 pt.

image.jpg

Then once I finalized and smoothed everything out, I sent the image to my toner printer and printed it on 2 sheets of cardstock, a purple sheet and a white sheet. 

image.jpg

Then to apply the foil I used my trusty Minc with fuschia and holographic foils.


Holographic on purple. 

Holographic on purple. 

Fuschia on white. 

Fuschia on white. 

These were so fun to make! I can see myself making lots of prints like this and experimenting with more brush types and techniques and doing more digital stamps.  See you soon, happy crafting!