Hi everyone! I just started using my Sizzix Big Shot to cut fabric and I had an epiphany. I'm a modern quilter and I love jelly roll quilts. I was cutting some fabric last night and decided to "kit" my jelly rolls.

Cutting 2.5" strips

Strips galore!
Then I put them into groups I would probably use together.
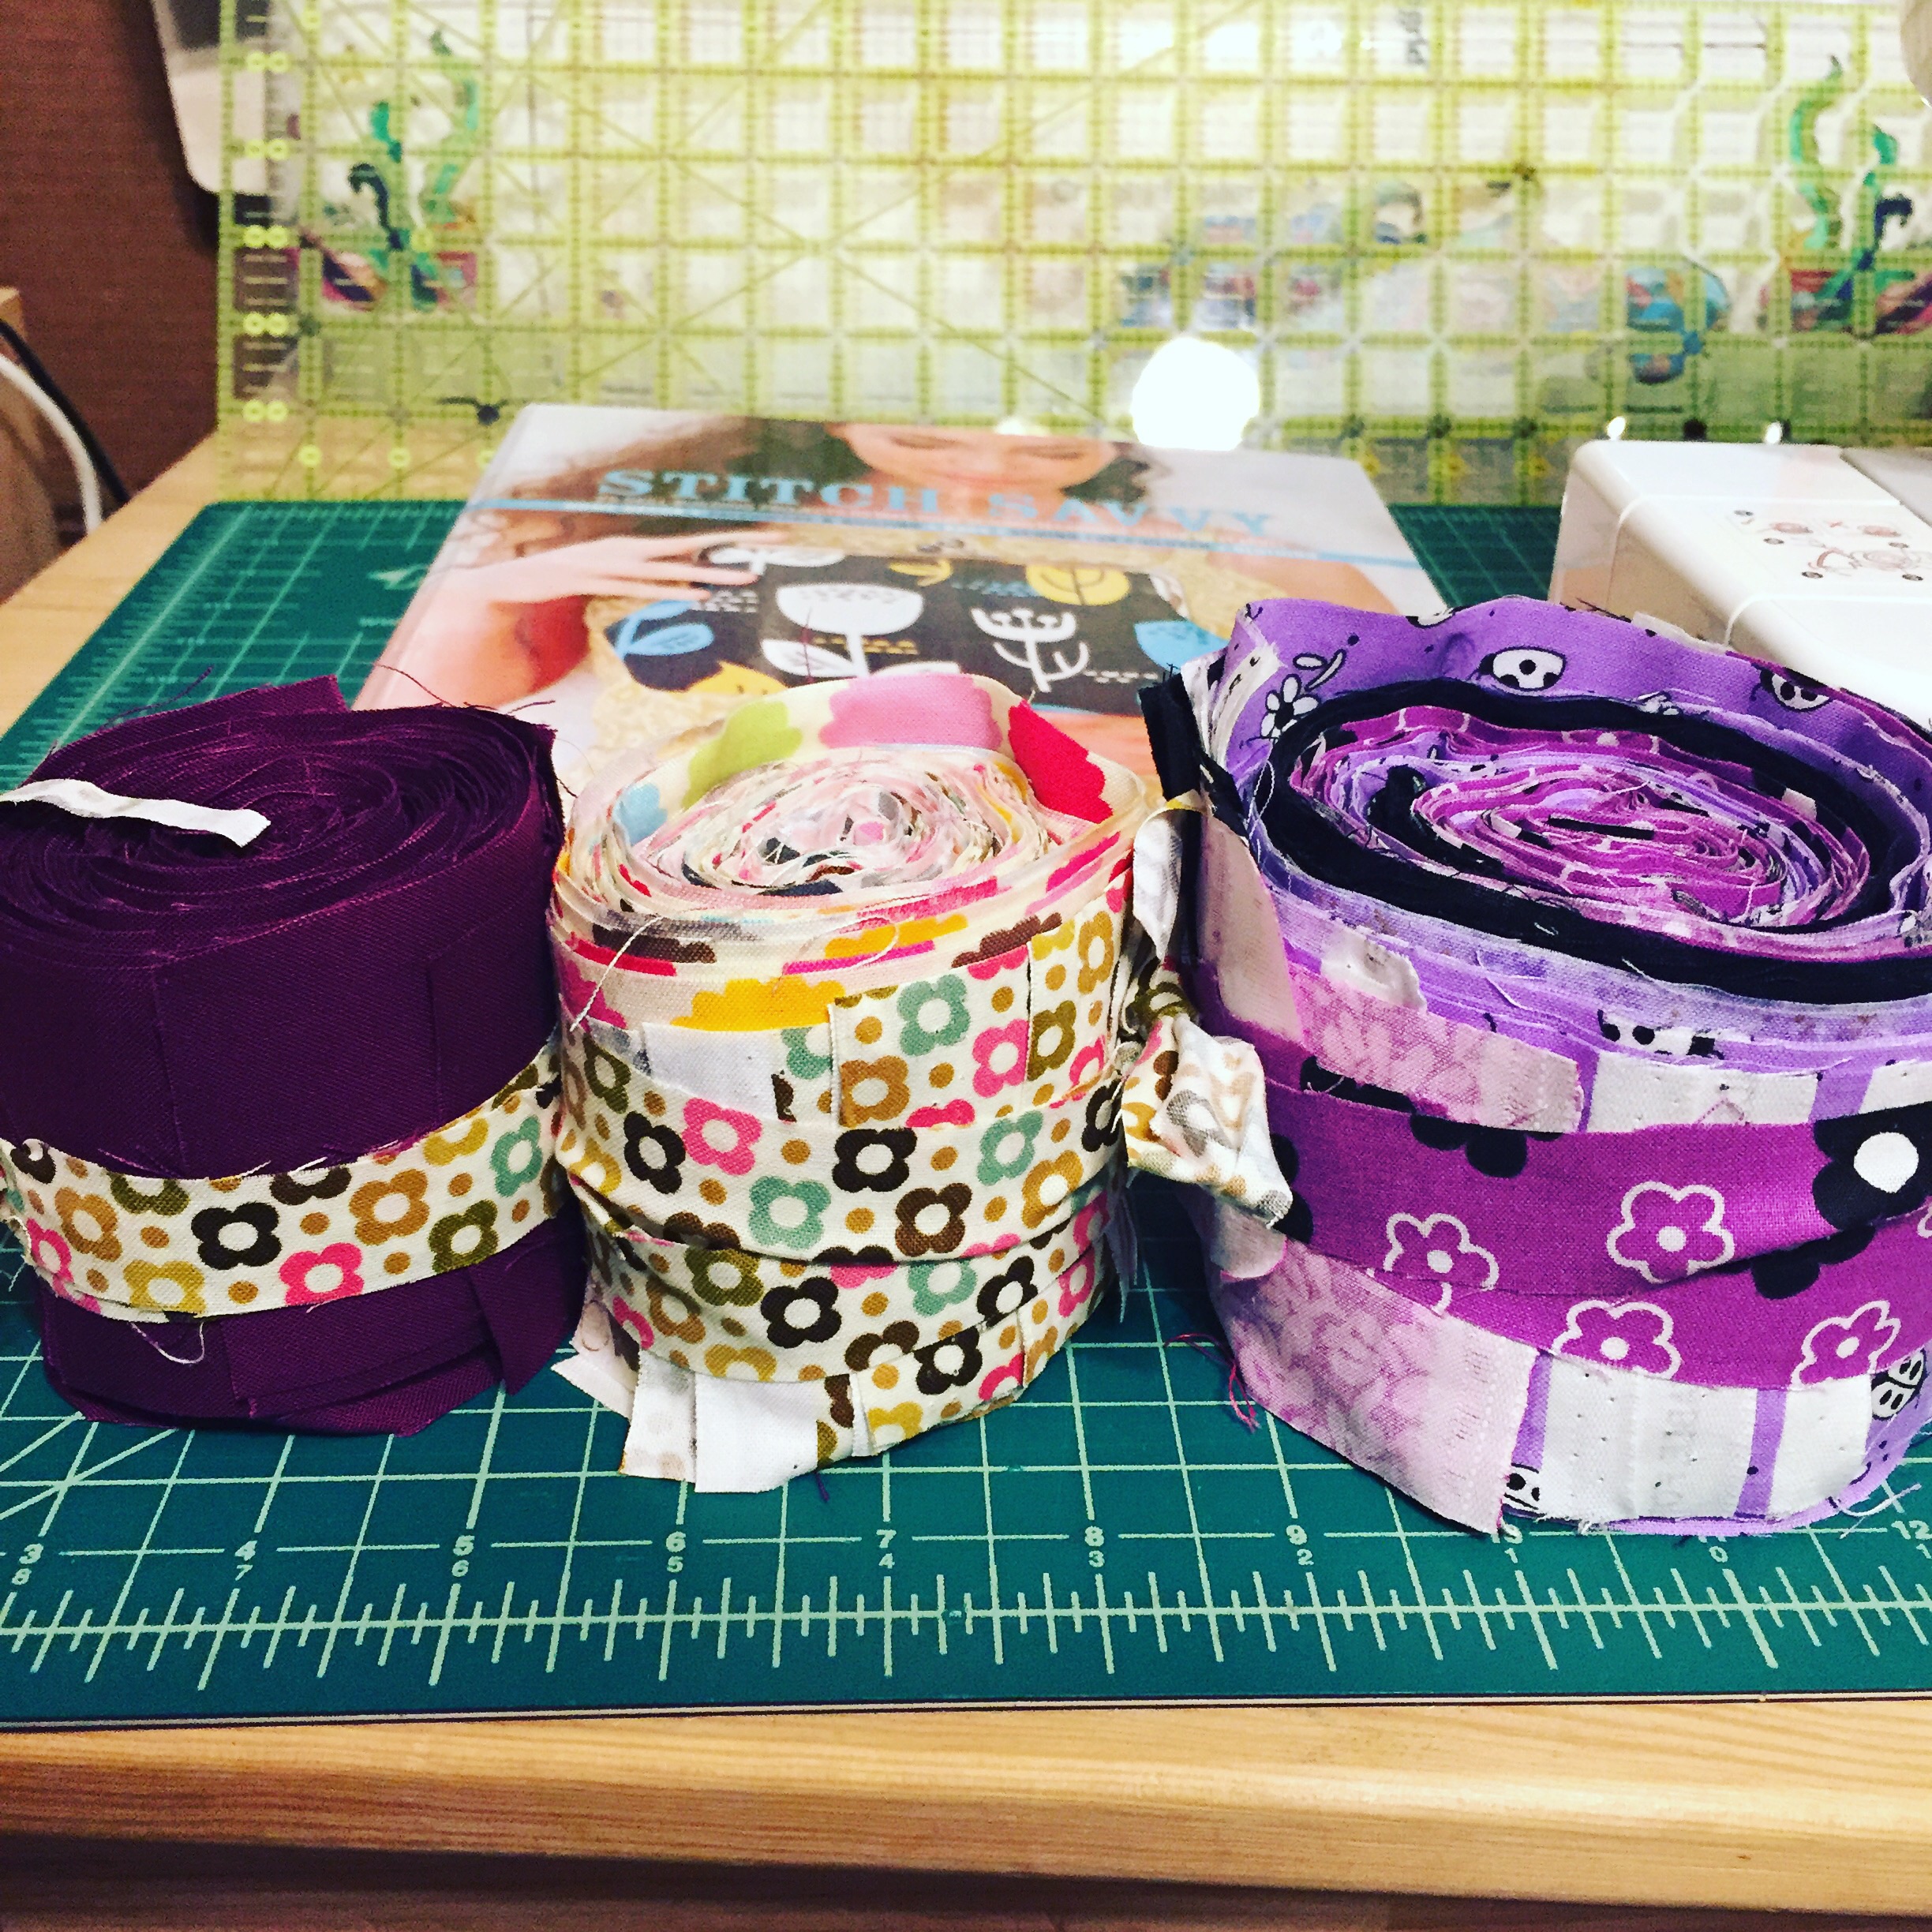
I tied the rolls with scrap strips from cutting.
Then I can just stack them up and save space! This would make an awesome gift for a fellow quilter as well. Hope this helps organize your stash, happy crafting!