Gab with Gaby

An engineer's creative corner studio.

Stamping

Gab about Foiling - Embossing Powder and Stamps

Stamping, Tutorial, Sending All These Things, The Gab with Gaby Shop, Techniques, Gab with Gaby Stamps, FoilingGabriela SimsComment

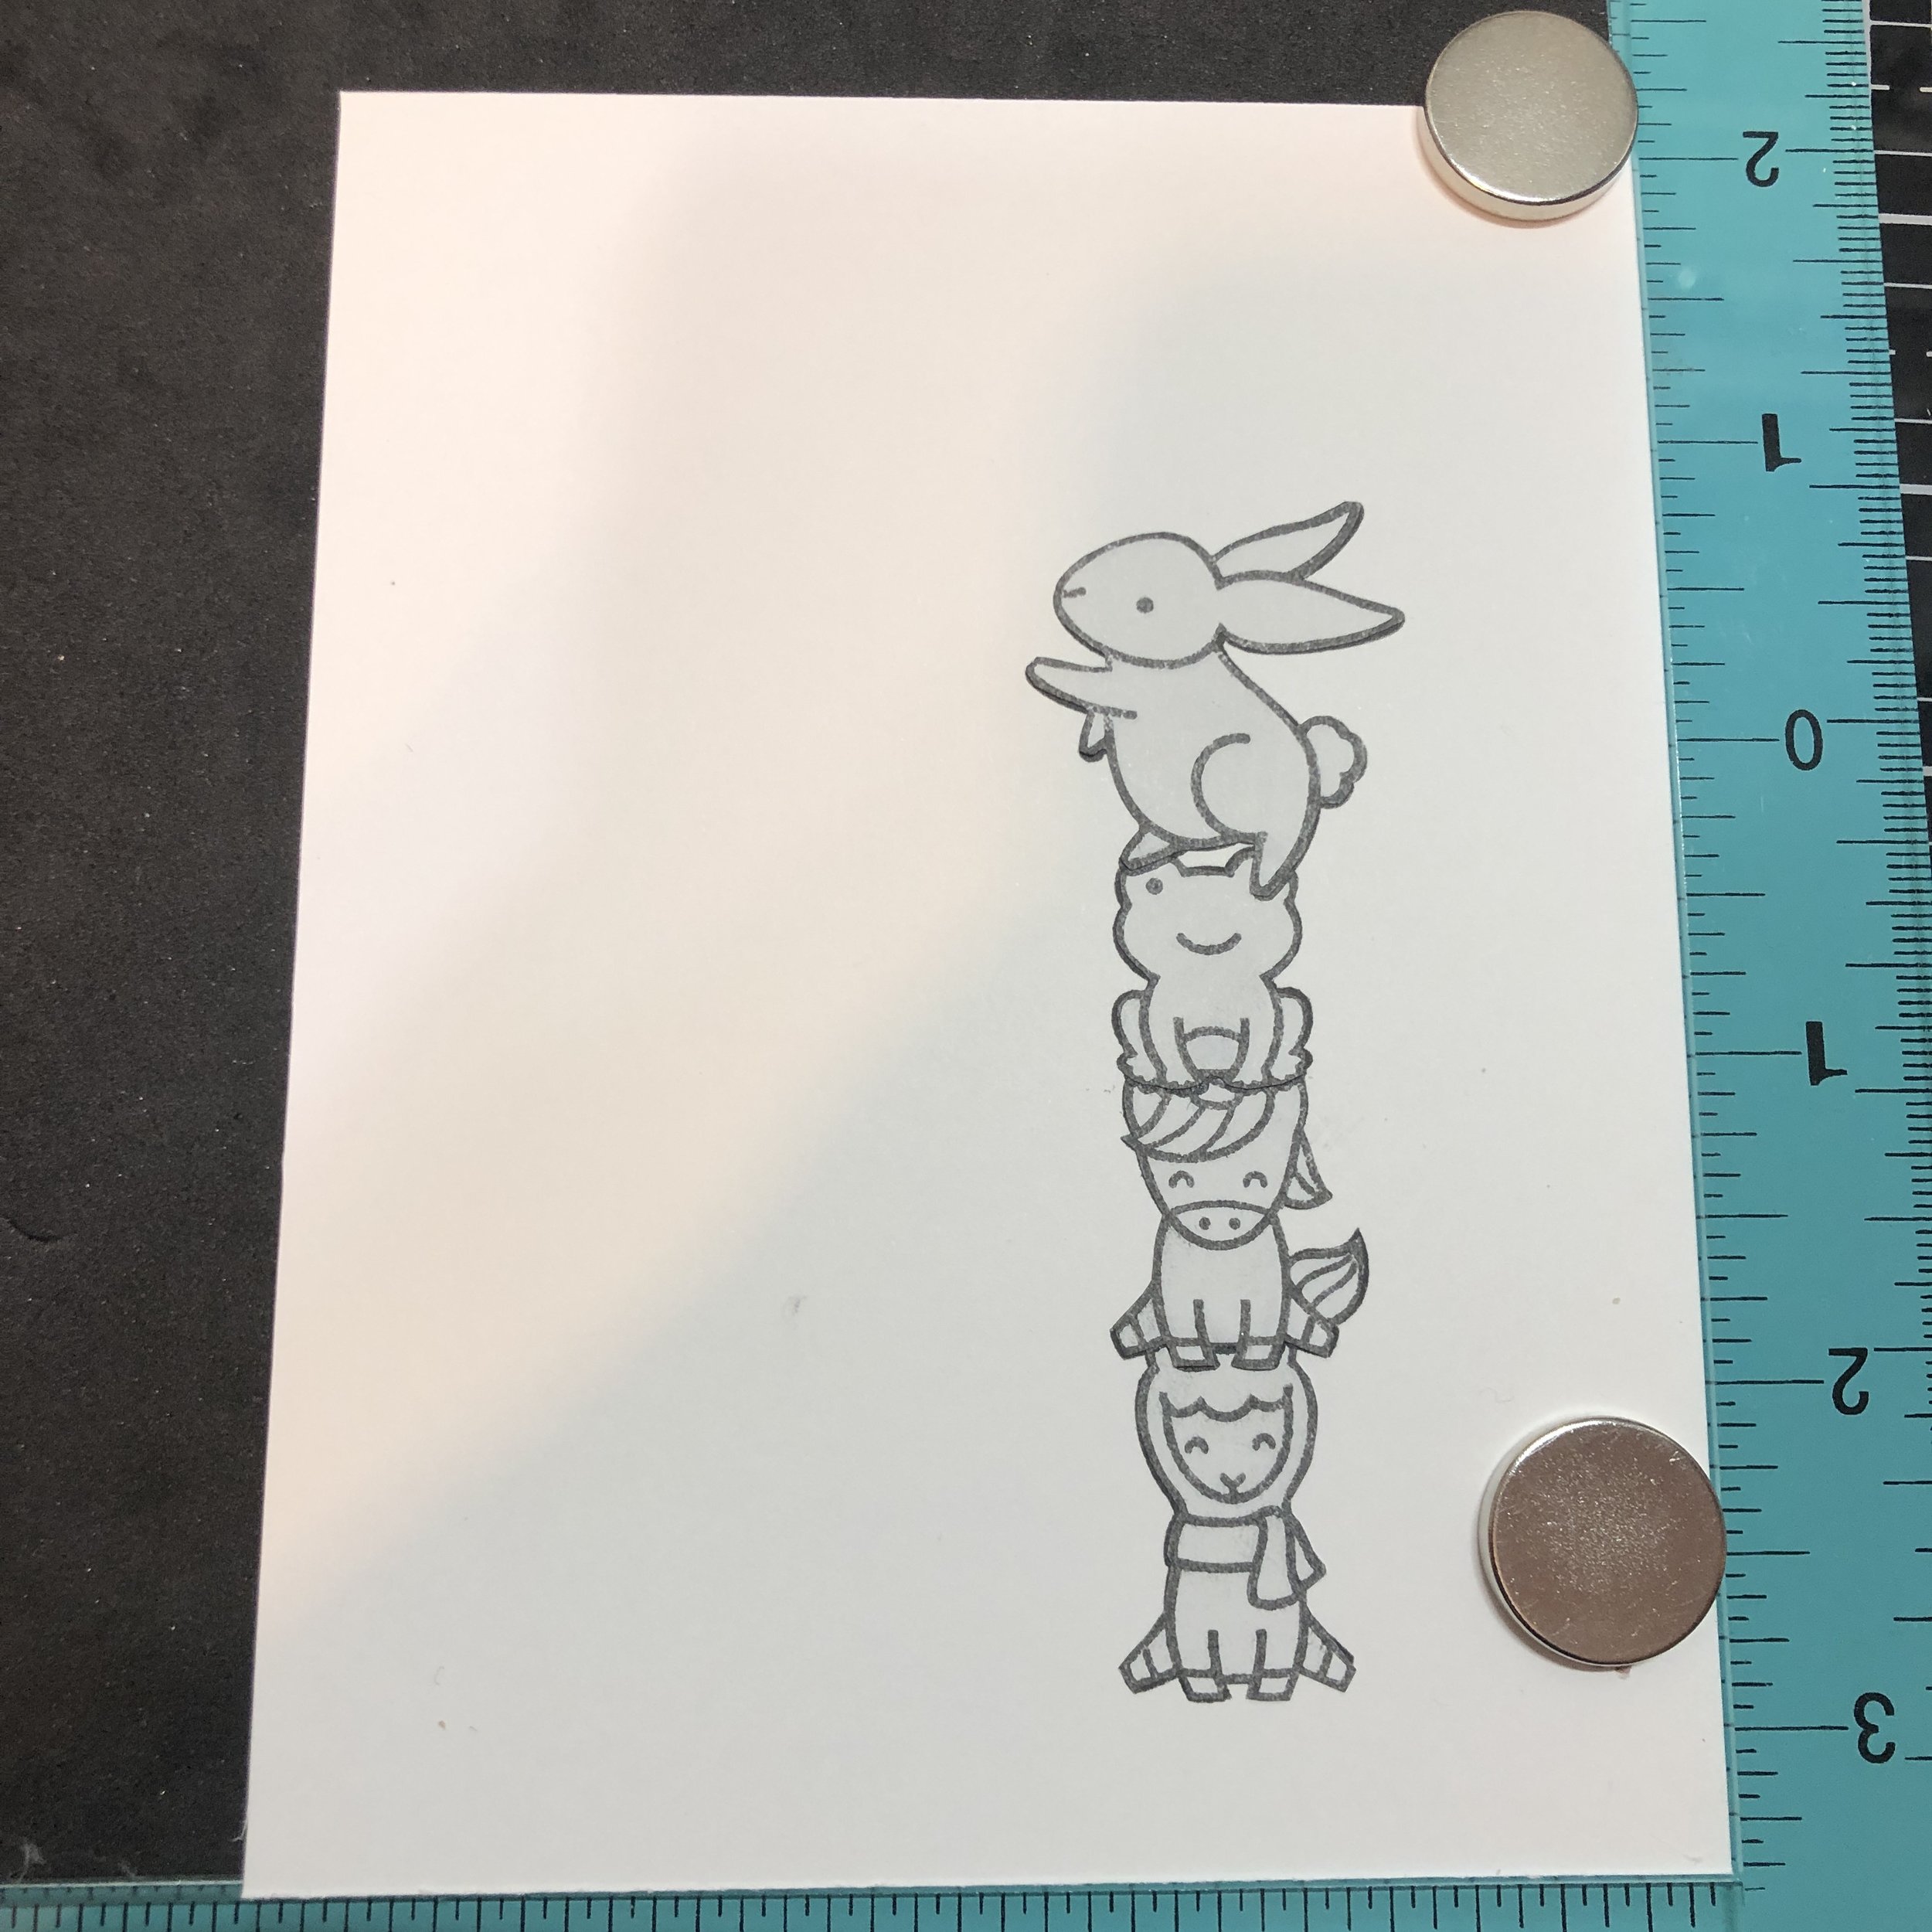
Hello there! Today I am sharing a new discovery that I made using my Sending All These Things stamp set and my Minc. I love using my Minc and am always looking for new ways to use it; I’m also a big fan of stretching my stamps. I decided this technique would make a great video tute, so I filmed the whole process, this includes the first attempt that was a total disaster. 


If you do not have time to watch the video, what I learned is that you can use any stamp set that you have with clear embossing powder. Turn your Minc on to the “1” heat setting until the light is green, then let it cool down for about 5 minutes and turn it back on, you can set it to, “0” this time and run your image through with the foil on top inside the carrier folder (or copy paper) and you will get a crisp, foiled image. This means you can now foil tons of images and get completely new looks!


522D2221-1E1B-42FA-A4F5-B952BF0FF0DB.JPG
60B6CE5C-7FB1-4E2D-BC39-38F5E116802C.JPG

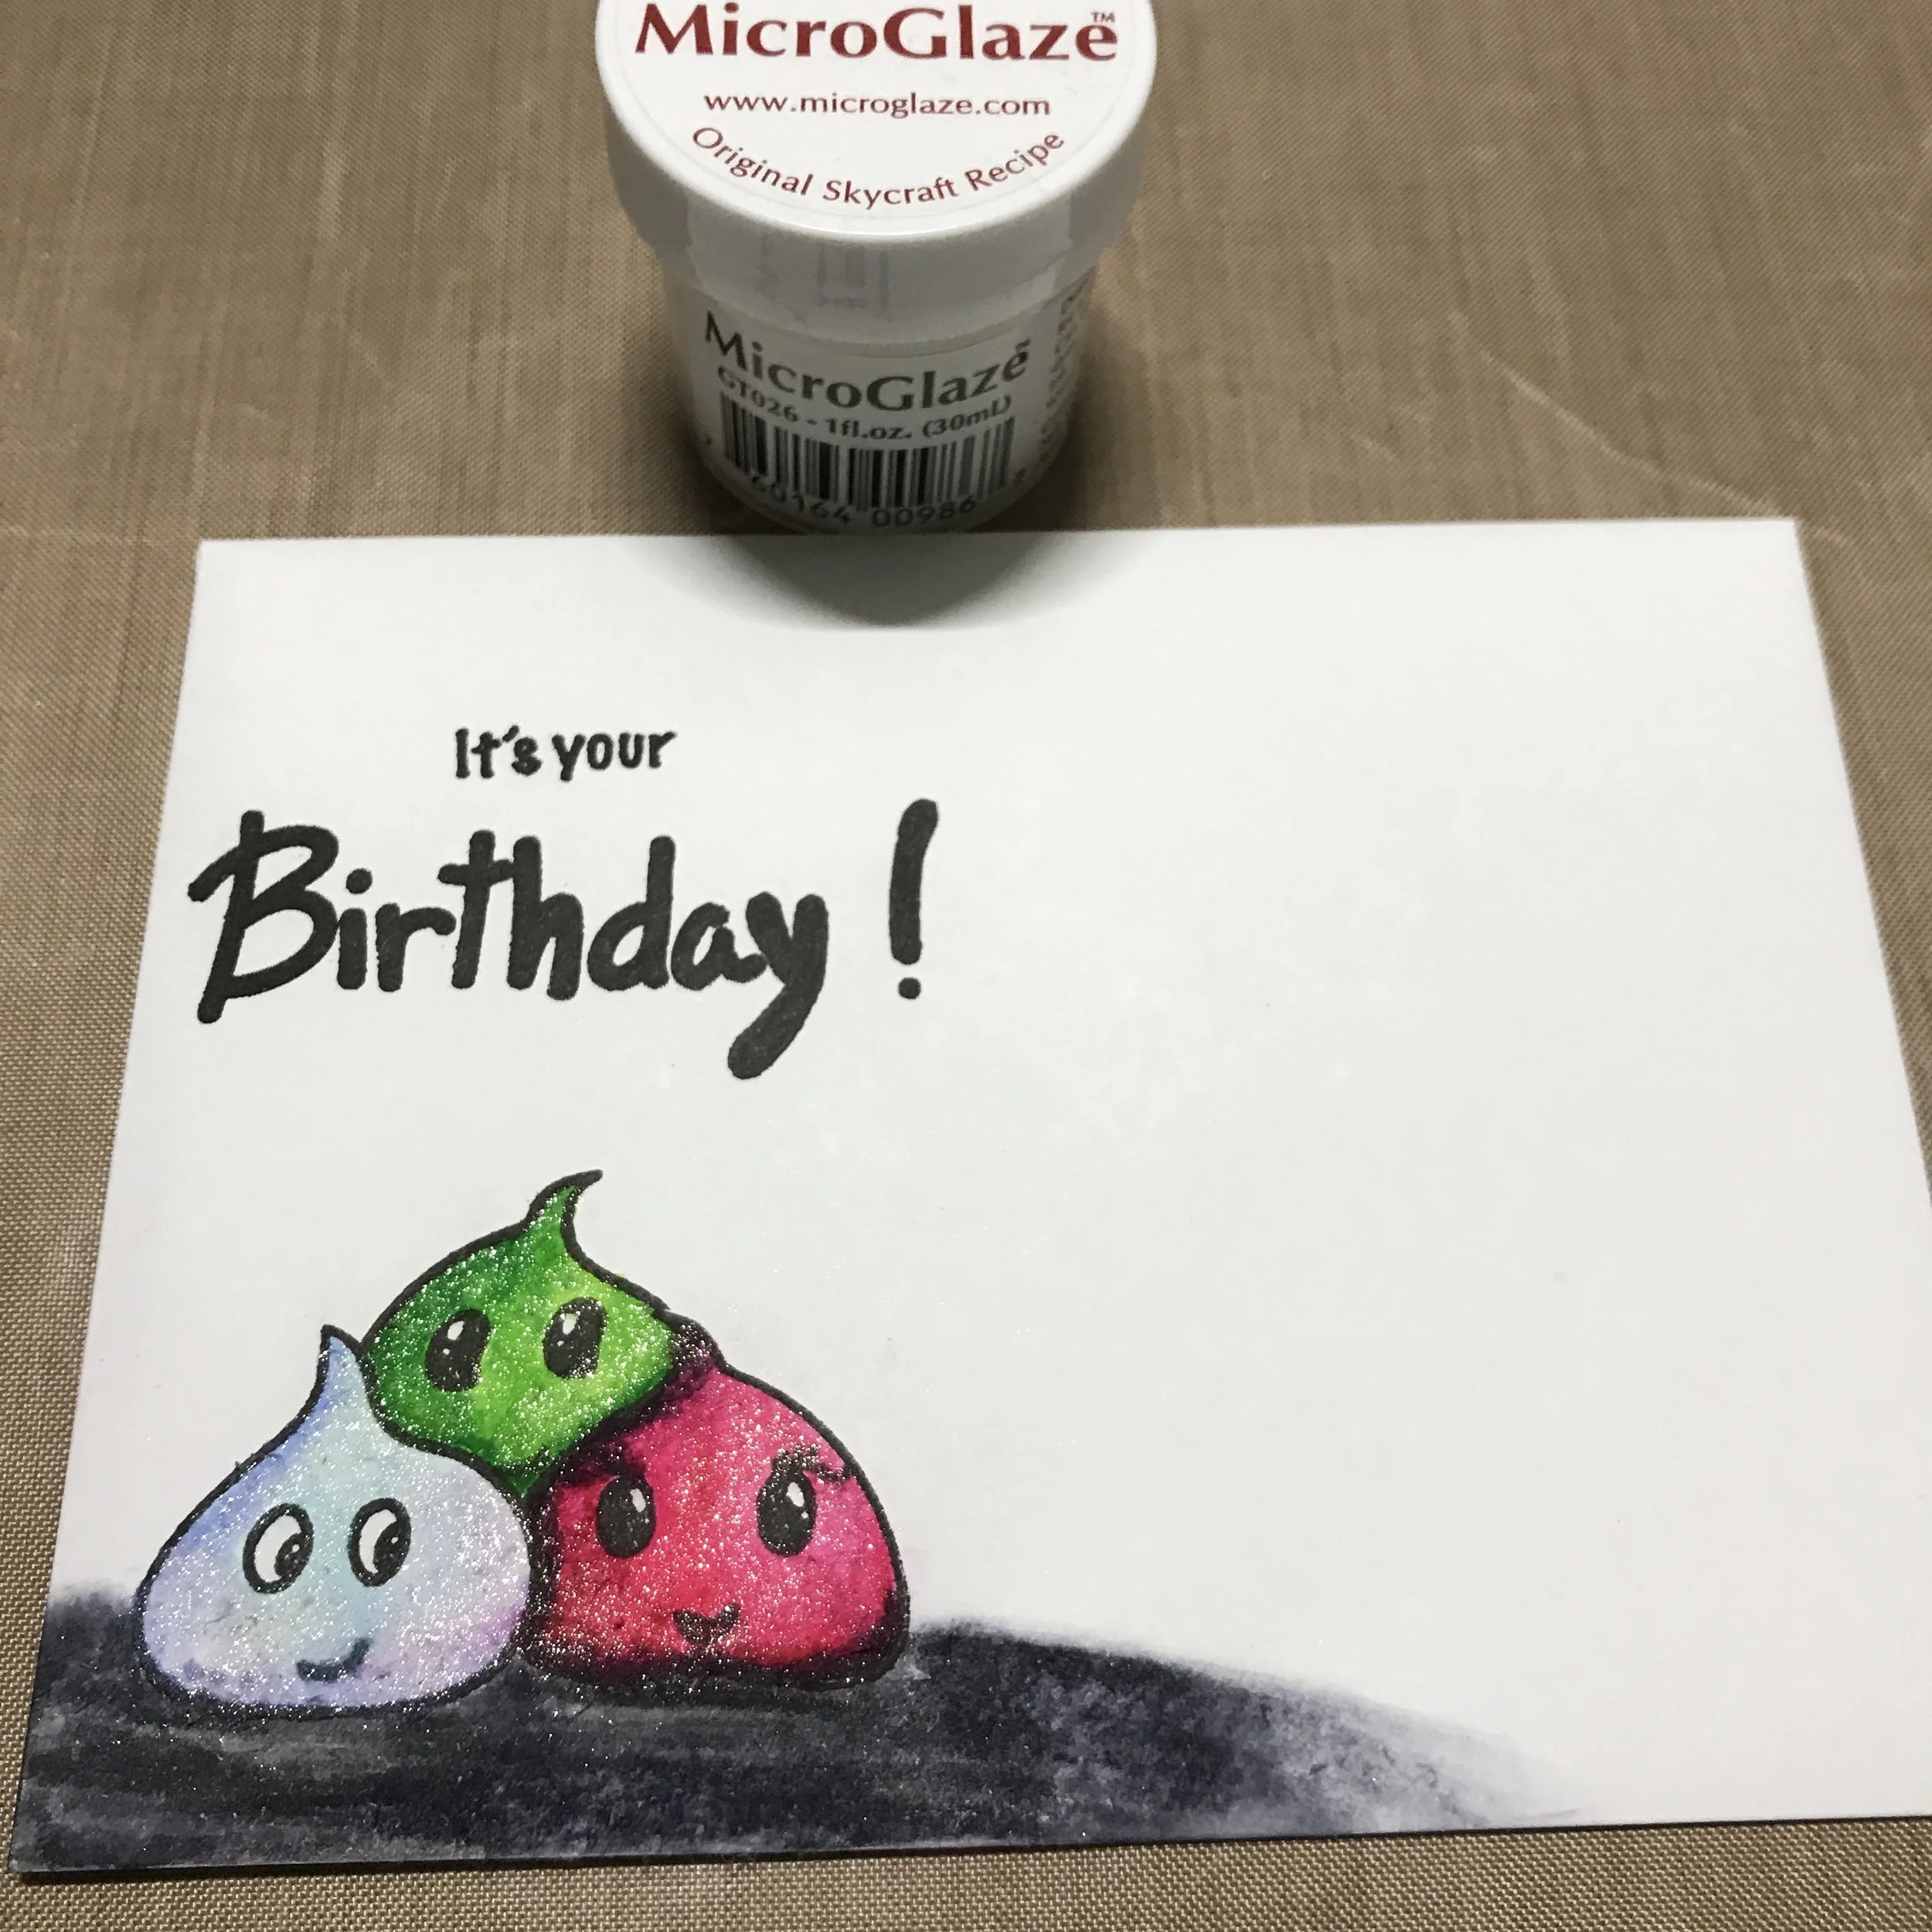
I foiled this stamp 2 times, 3 if you watched the video, and added some sequins and starts to finish the card. Any heat foil will work, I used some Deco Foil and some Minc Foil and both results were gorgeous. 

Until next time, stay safe in these crafting streets. 

Happy crafting, 

Gaby

I have linked the supplies I used below: 

Sending All These Things

Sunshine Sequin Mix

Gab about Lawnfawnatics - Happy Little Critters

Stamping, Copic Markers, Lawn Fawn, StampsGabriela Sims3 Comments

Hello there! The new challenge is all about critters so I pulled out several stamp sets and got to work. I decided to do a one layer card that involved Copic coloring and some masking. I wanted my critters to be doing something normal, so I decided to have them  delivering a handmade card. I used Toadally Awesome, Say What? Christmas Critters, Love Letters, Yay Kites, and Jump for Joy. I started by arranging my images to get an idea of what I would need to mask.

IMG_1189.JPG

Then I started stamping and masking using some Post-it tape. 

IMG_1190.JPG

I then used my copics to color the sky and grass.

IMG_1192.JPG

Next I peeled the images off one by one and started to color them.


IMG_1194.JPG

My sentiment is from the Yay, Kites set and I stamped it with some Versamark ink and heat set it with white embossing powder. I finished by adding some Spectrum Noir Sparkle Pen, some tiny hearts, and some Gelly Roll pen accents. I trimmed a piece of Gotta Have Gingham down and mounted it on a 4.25” x 5.5” card base. 

IMG_1199.JPG

This was a super fun card to make and it reminded me that I have quite a few Lawn Fawn sets that I really love. Until next time, stay safe in these crafting streets.

Happy crafting,

Gaby

I have linked* to the supplies I used below:

Yay, Kites

Toadally Awesome

Say What? Christmas Critters

Love Letters

Jump for Joy

Gotta Have Gingham

Embossing Powder - White

Gelly Roll Pen

VersaMark Watermark Stamp Pad

Copic Markers

*Affiliate links used at no additional cost to you.

Decorate an Envelope

Stamping, Gab with Gaby Stamps, Paper crafting, The Gab with Gaby ShopGabriela SimsComment

Hi there, Gaby here with an idea you can use to pretty up any envelope!  I used Tombow markers for this and a Wink of Stella pen.


IMG_0158.JPG

I put a piece of card-stock in the envelope to keep any ink from seeping through the paper.


IMG_0123.JPG

I started by using the Meet The Jelly Friends stamp set and did some masking to group three of them together. I used pigment ink here so my stamped image would not bleed.


Hey guys!

Hey guys!

IMG_0129.JPG

I did my coloring here by doing the back ground first and then coloring in each stamped image.

IMG_0134.JPG

I added my Wink of Stella and then used my Monotwin to fill in the part of my sentiment that did not fully stamp.

IMG_0138.JPG

Finally, I cleaned up my image and then covered it with MicroGlaze, that way when it goes through the mail it will be water resistant.

IMG_0139.JPG

If you do use MicroGlaze, write the recipient's address and apply your postage first because the glaze is almost like a wax.  I had to glue on a stamp once because I forgot!


IMG_0158.JPG

I used the Mono Sand Eraser to clean up pills before I applied the MicroGlaze.  That's all for today, I hope you make some amazing mail art! Happy crafting.

-Gaby